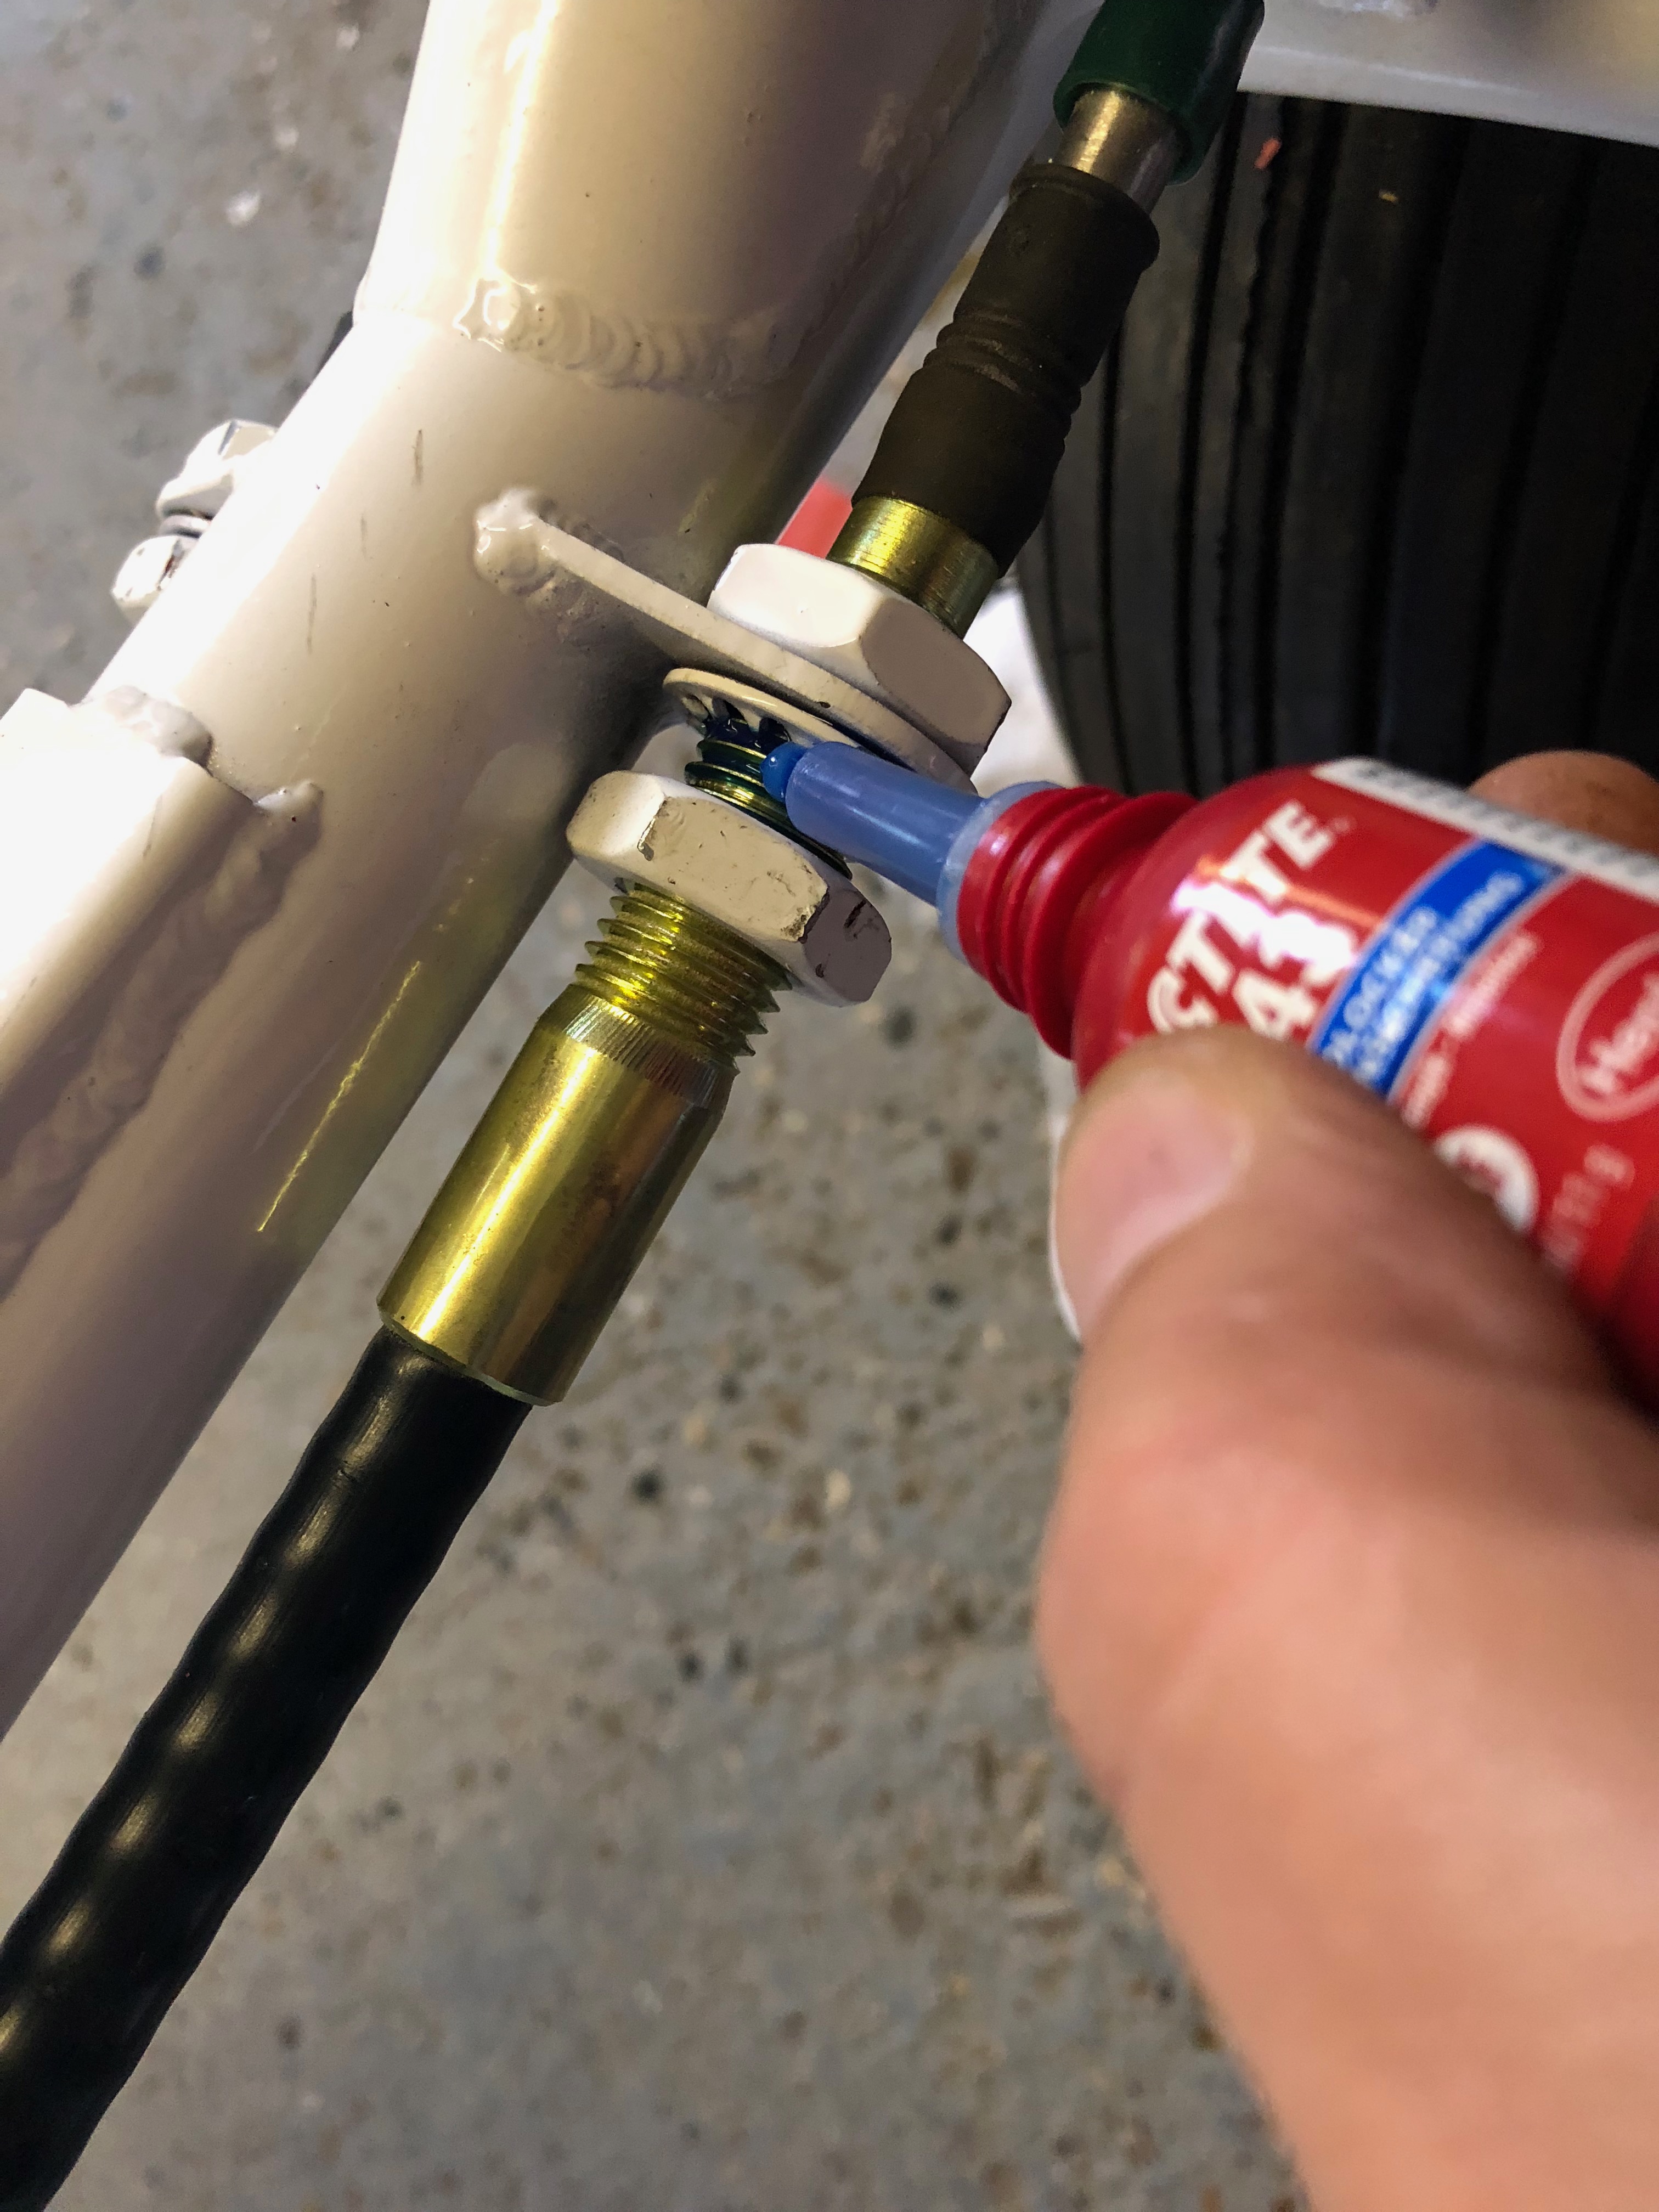
Although the Teleflex cables are already installed the nuts need to have Loctite 243 applied and retightened to ensure they don’t loosen during service.
Not forgetting those underneath…
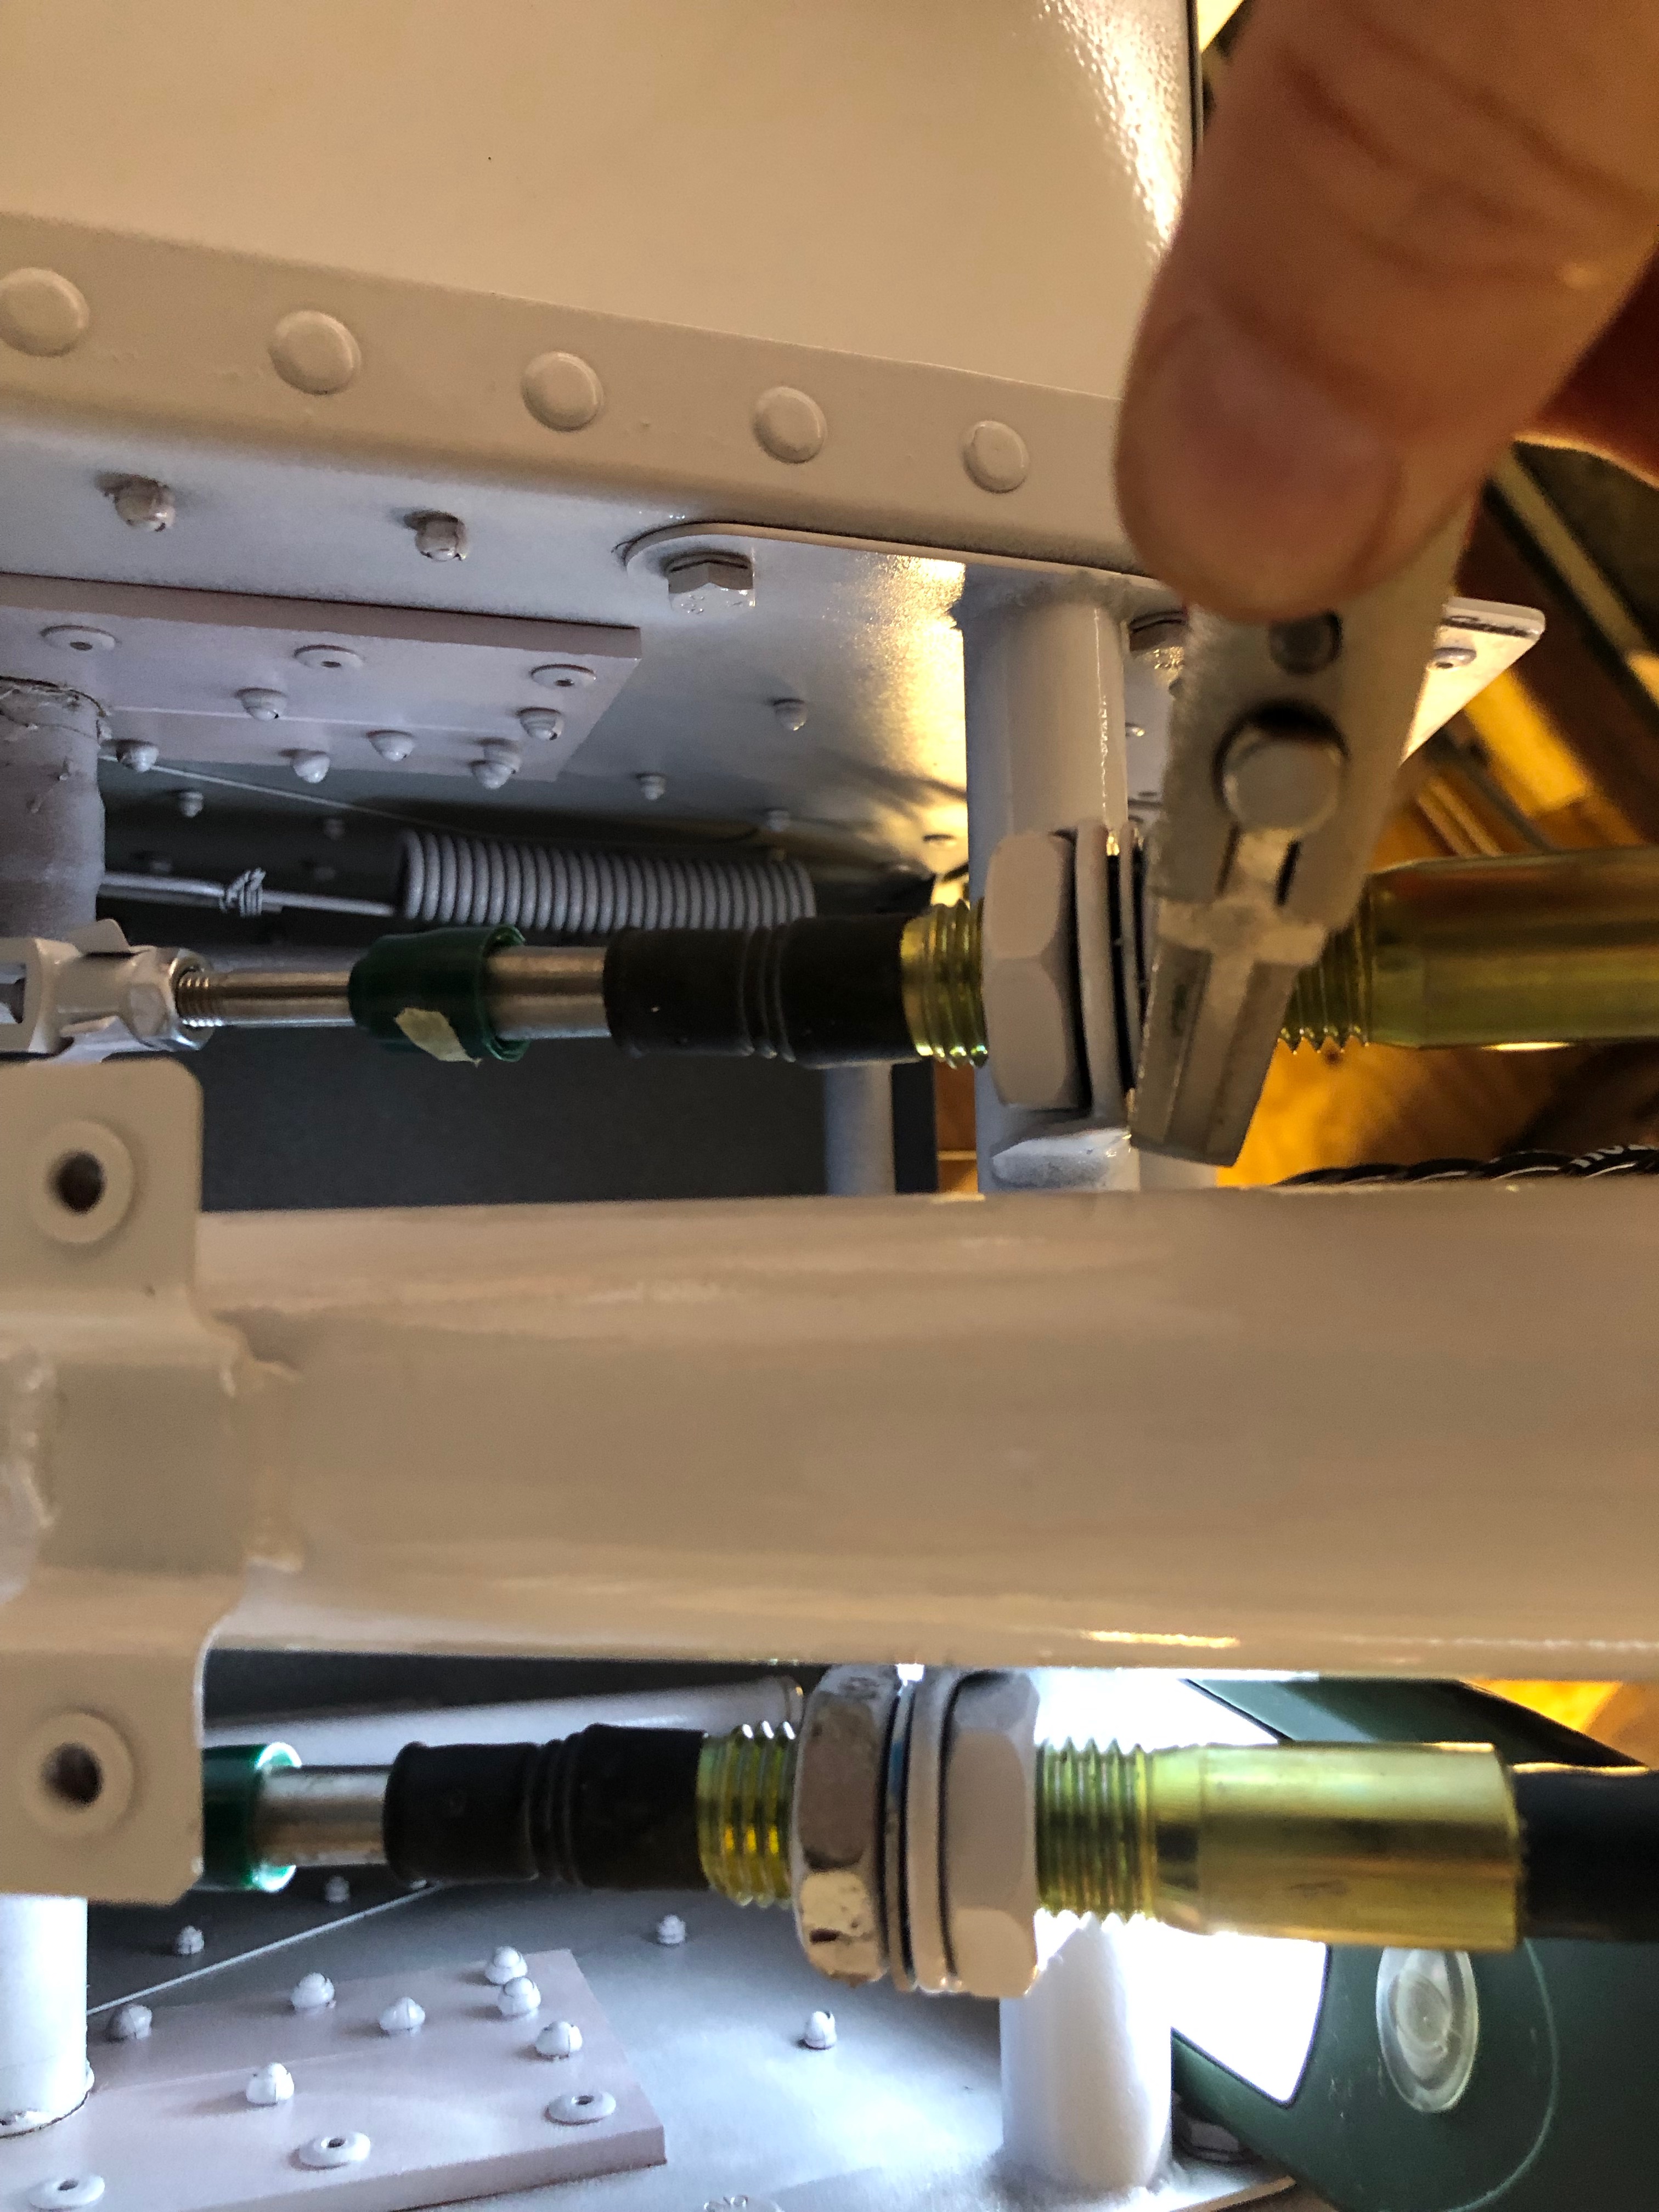
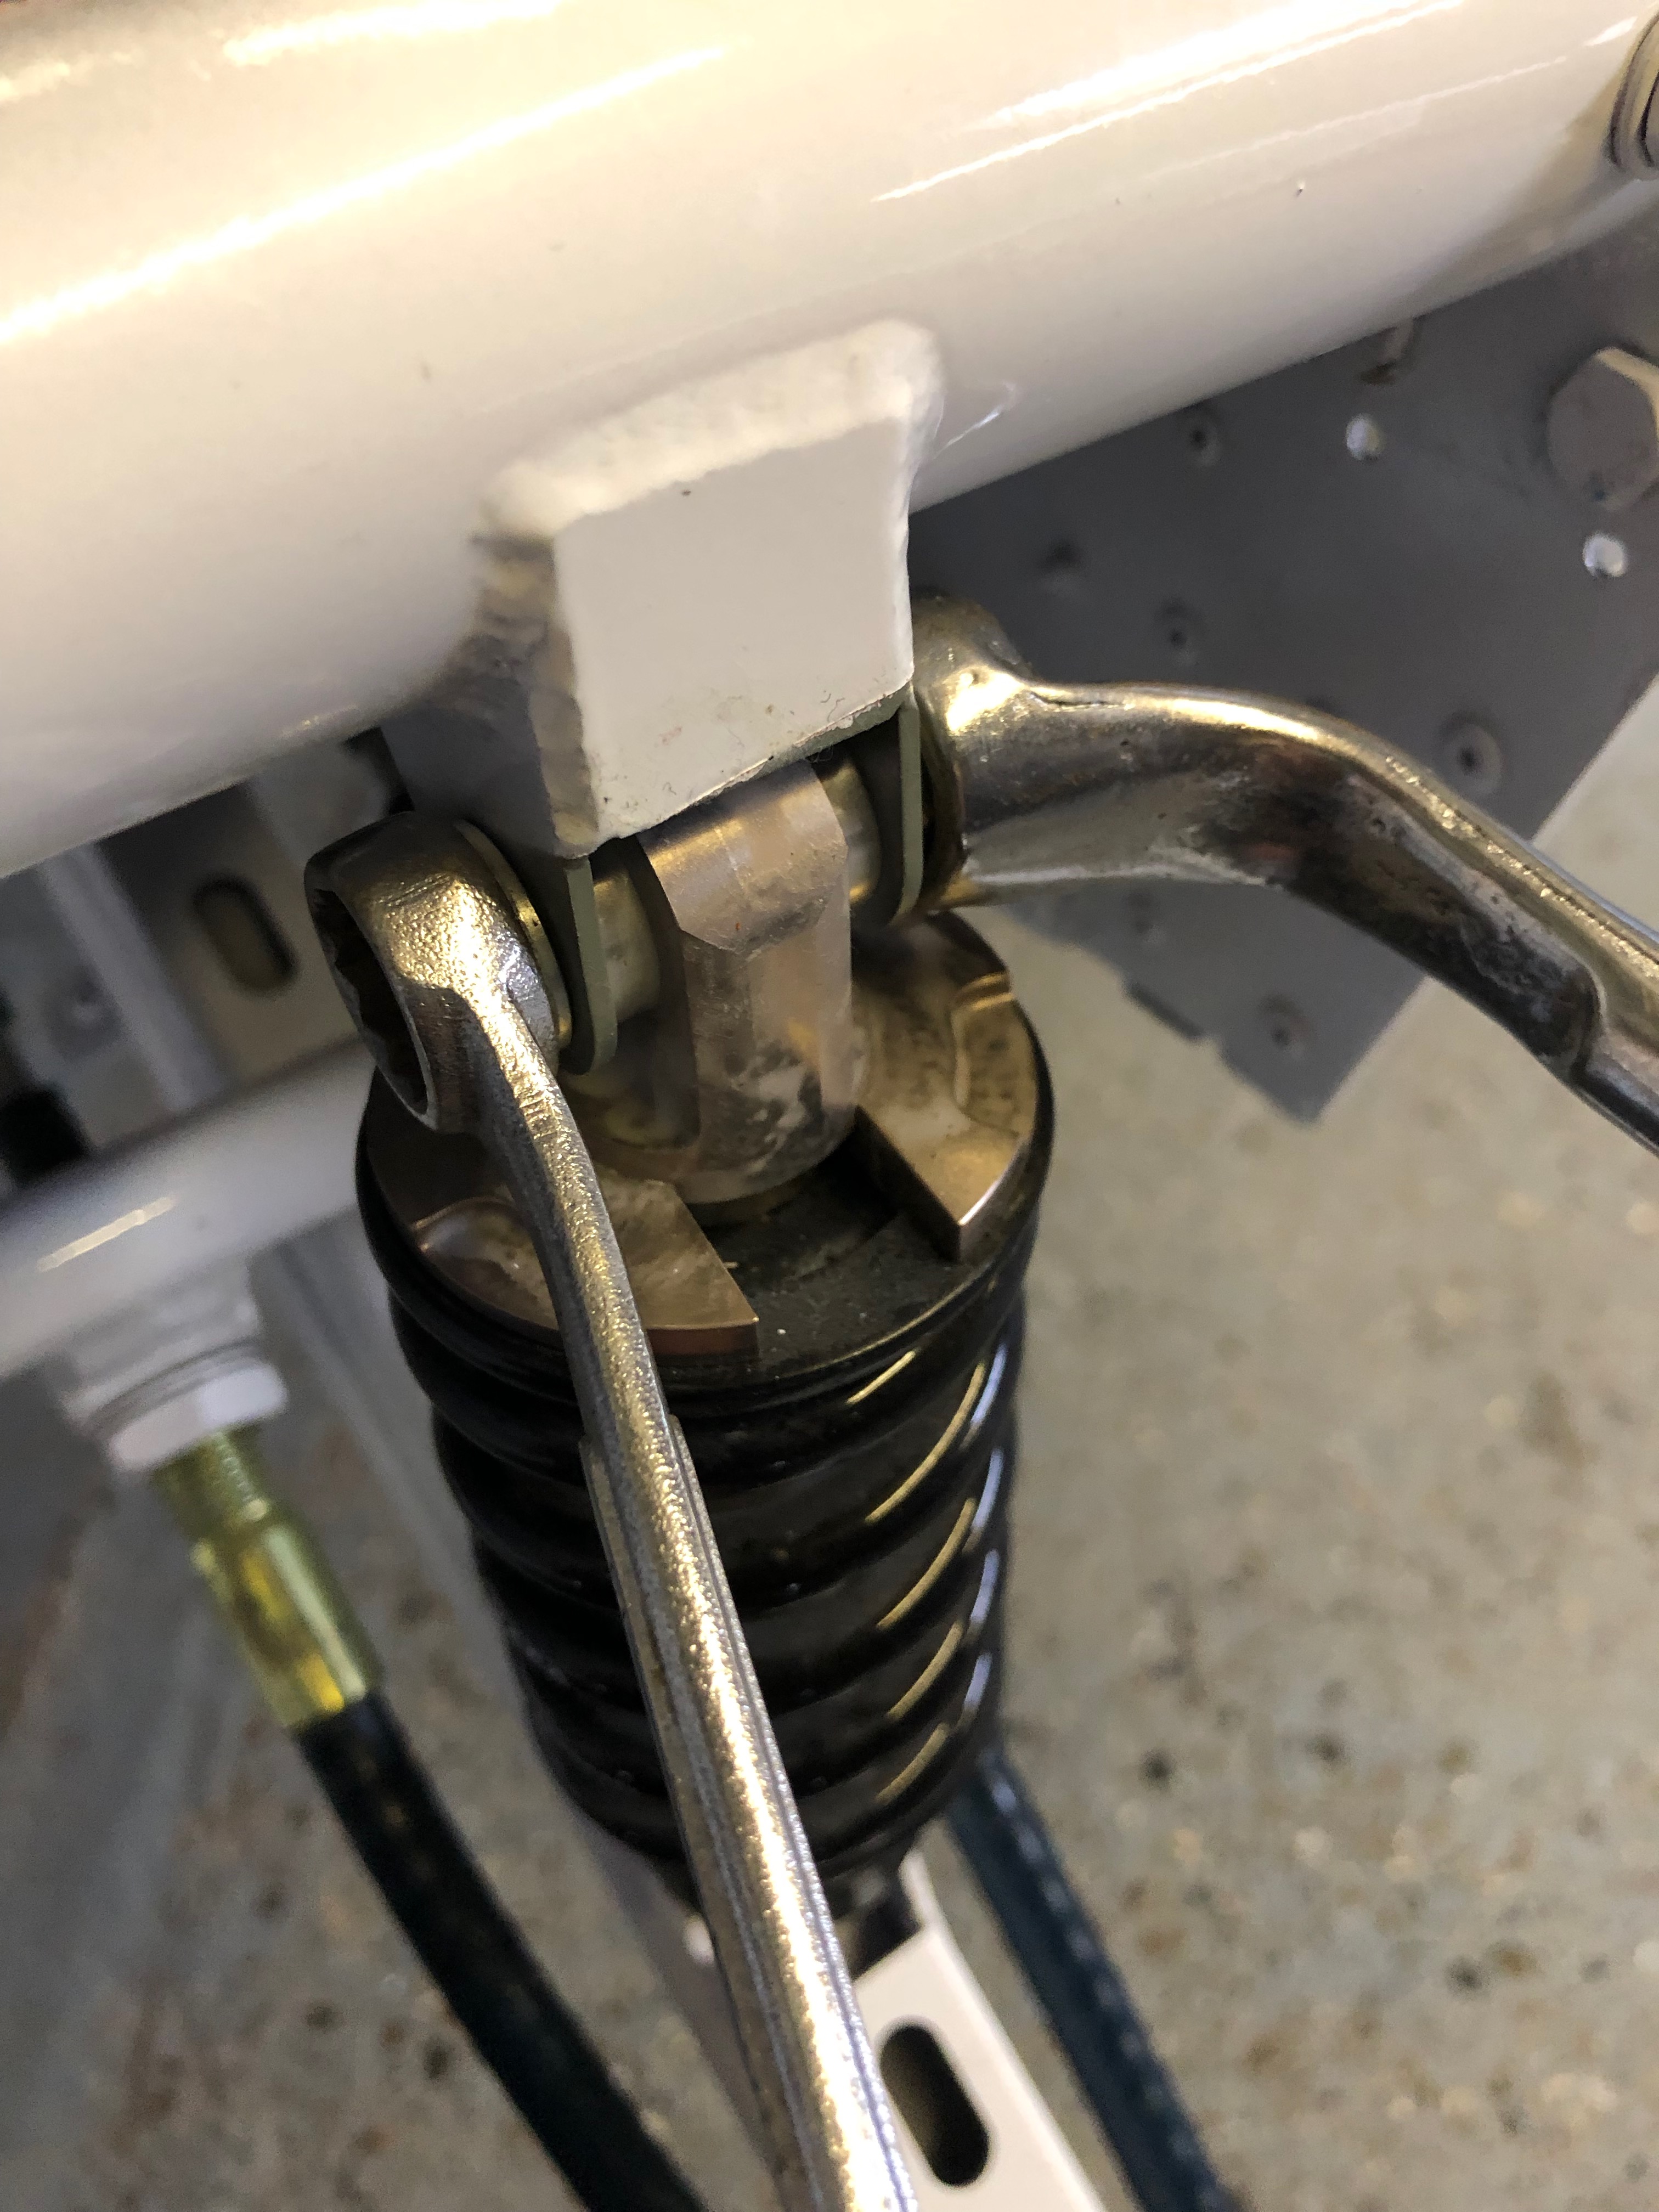
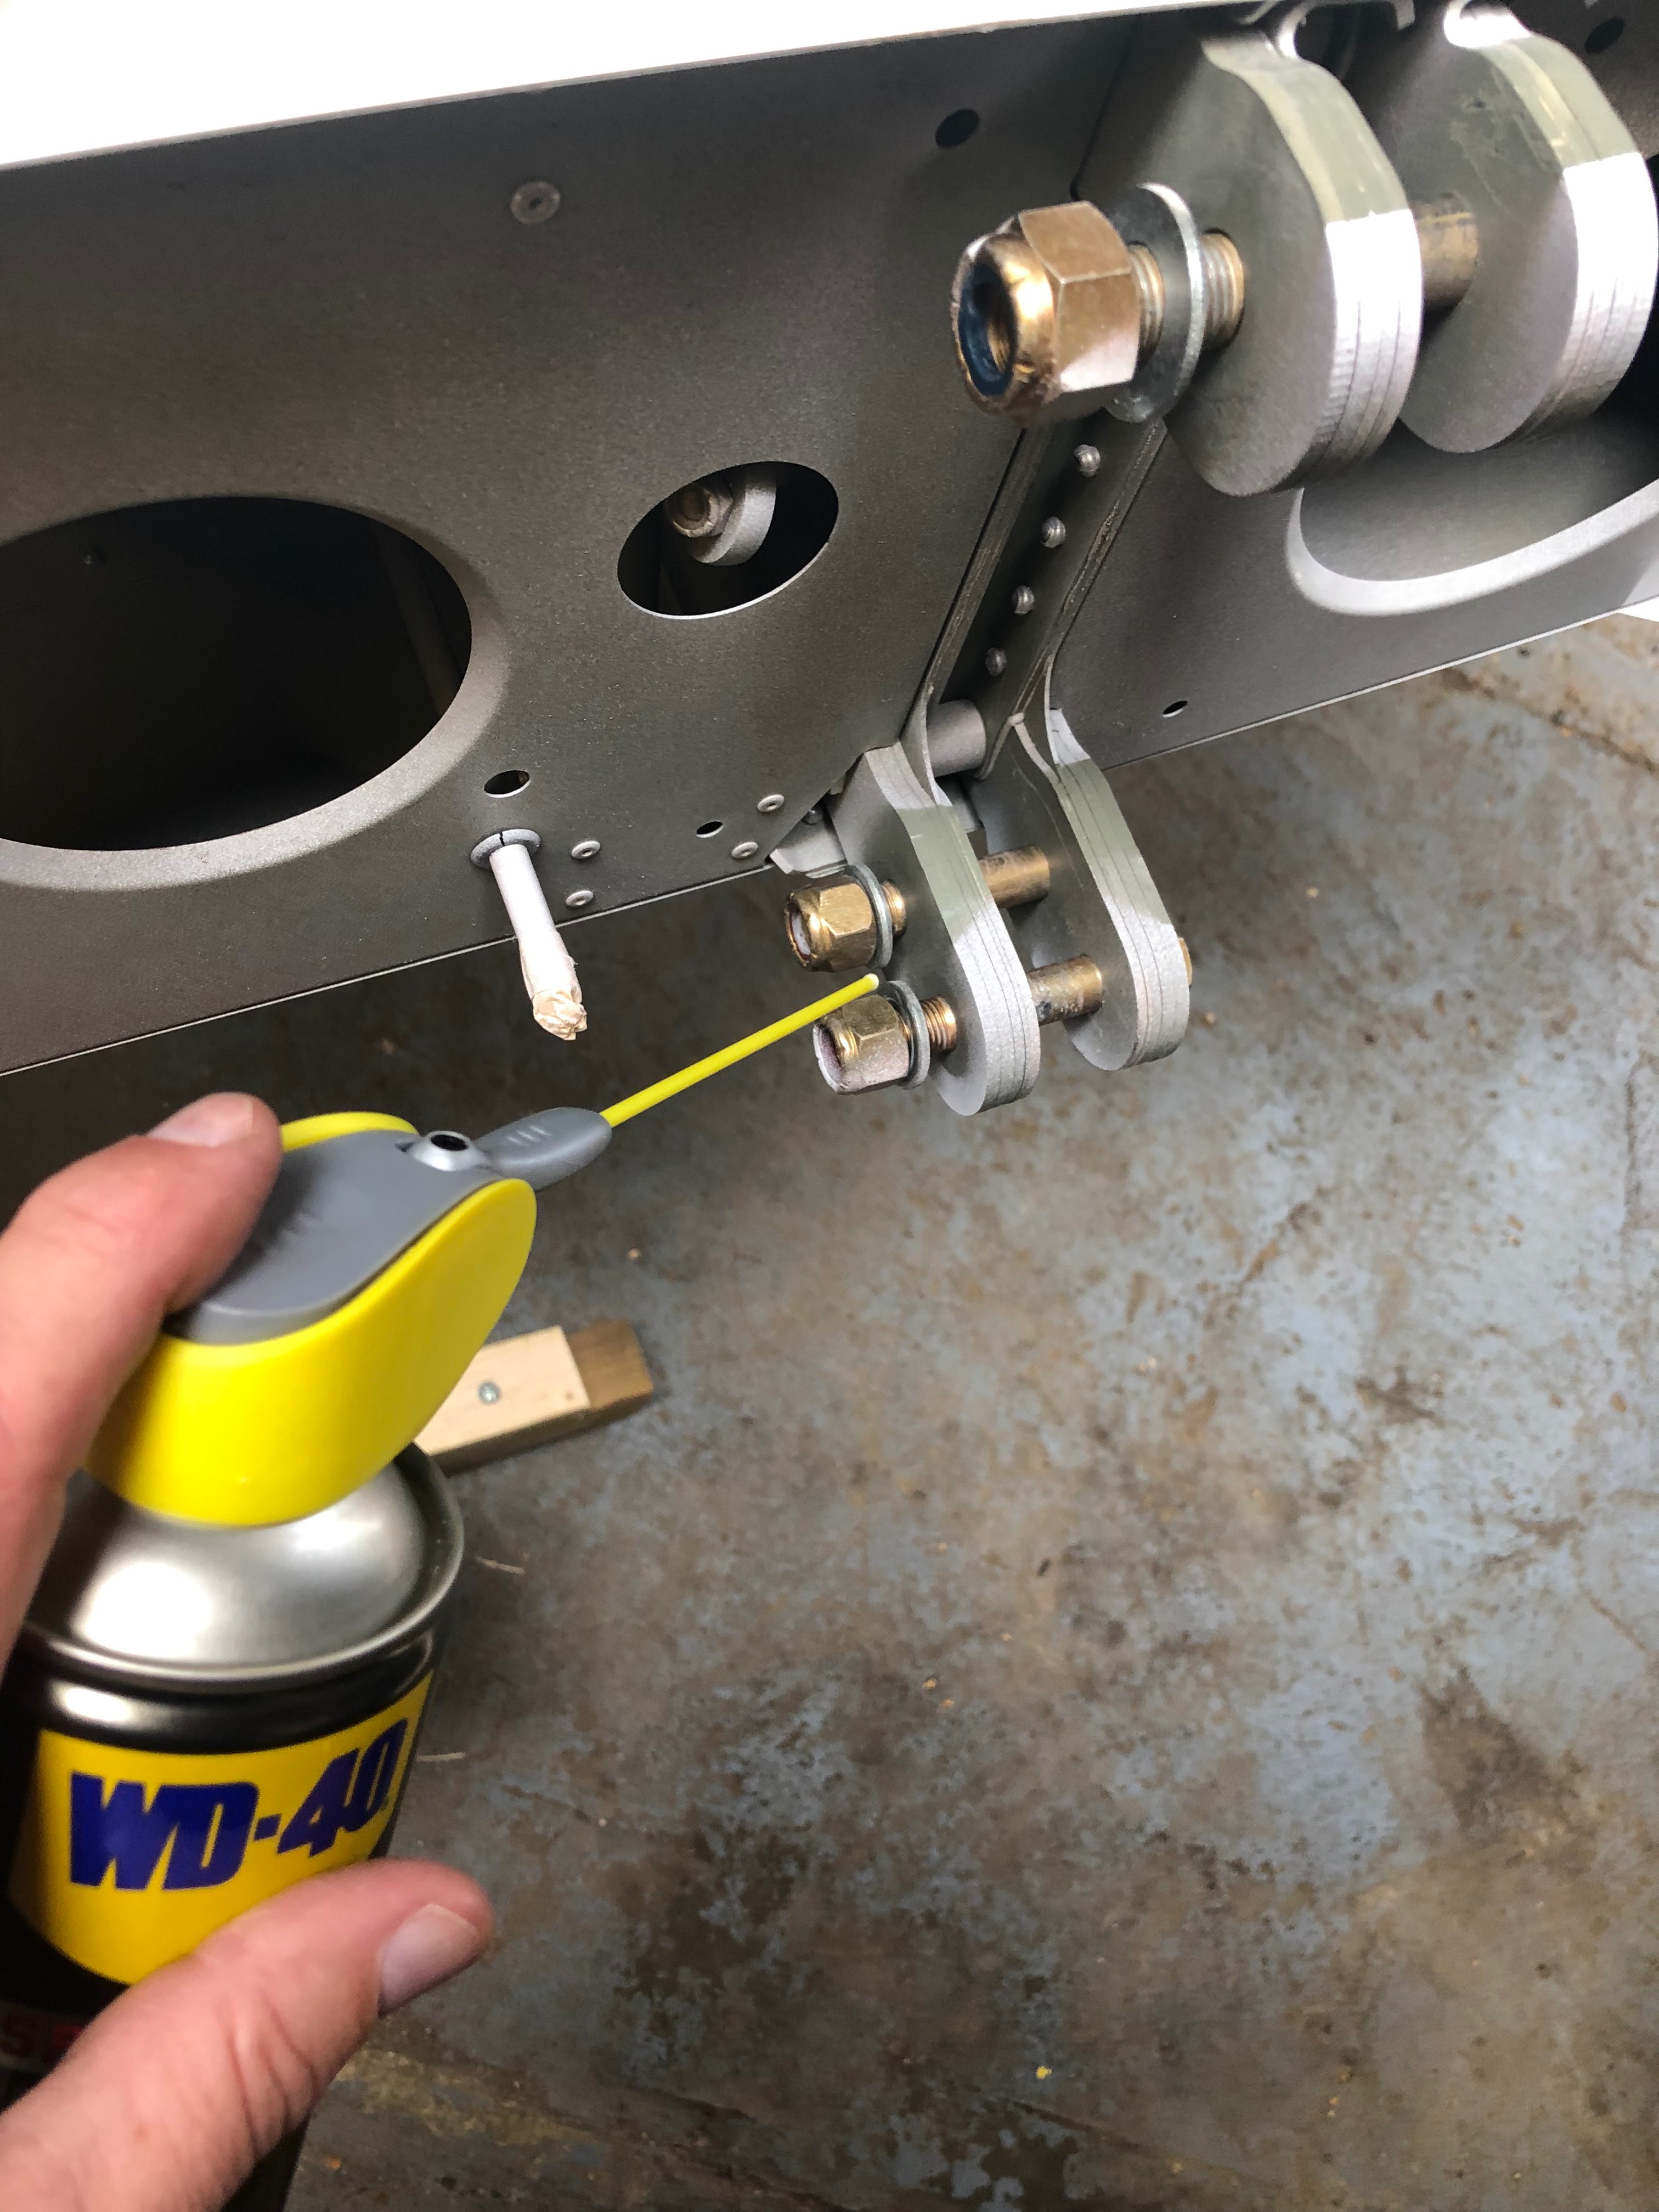
All the nuts and bolts also need to be checked.
Once checked then Torque Seal is applied so an easy visual check can be made to ensure that they haven’t loosened.
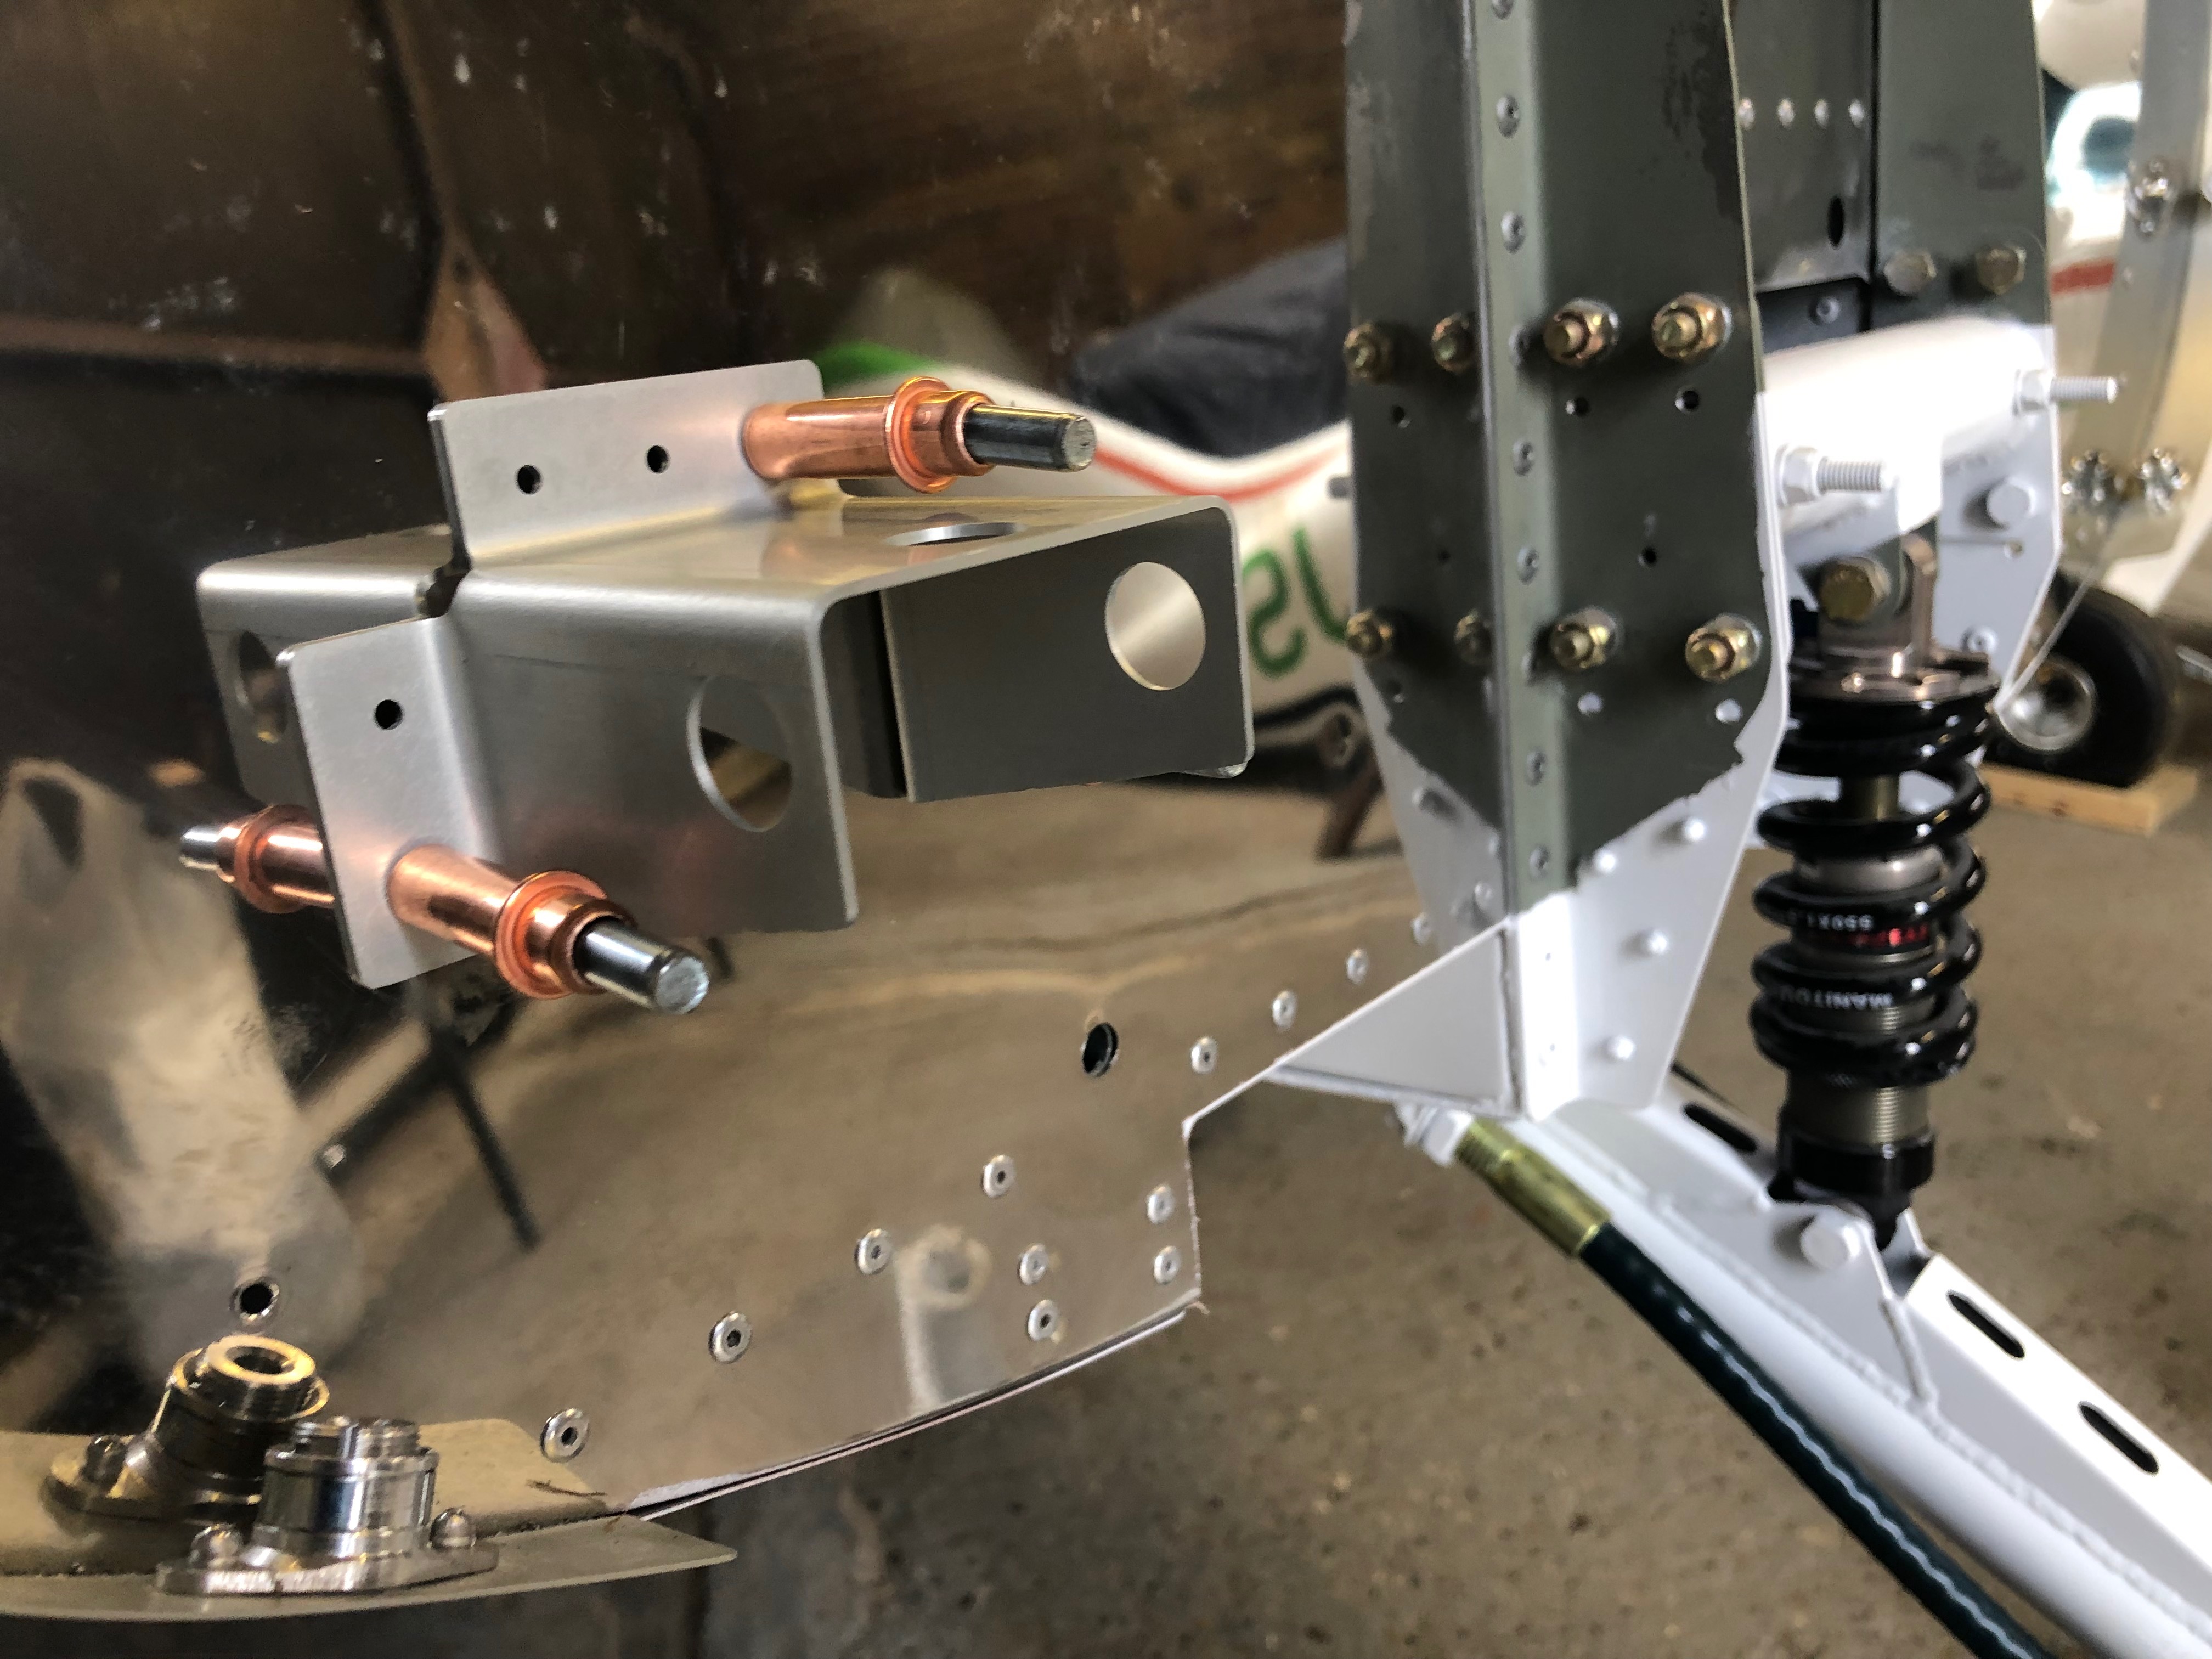
I wasn’t happy with the screws used for mounting the control unit so I removed the Rivnuts and used M6 stainless steel nuts and bolts instead.
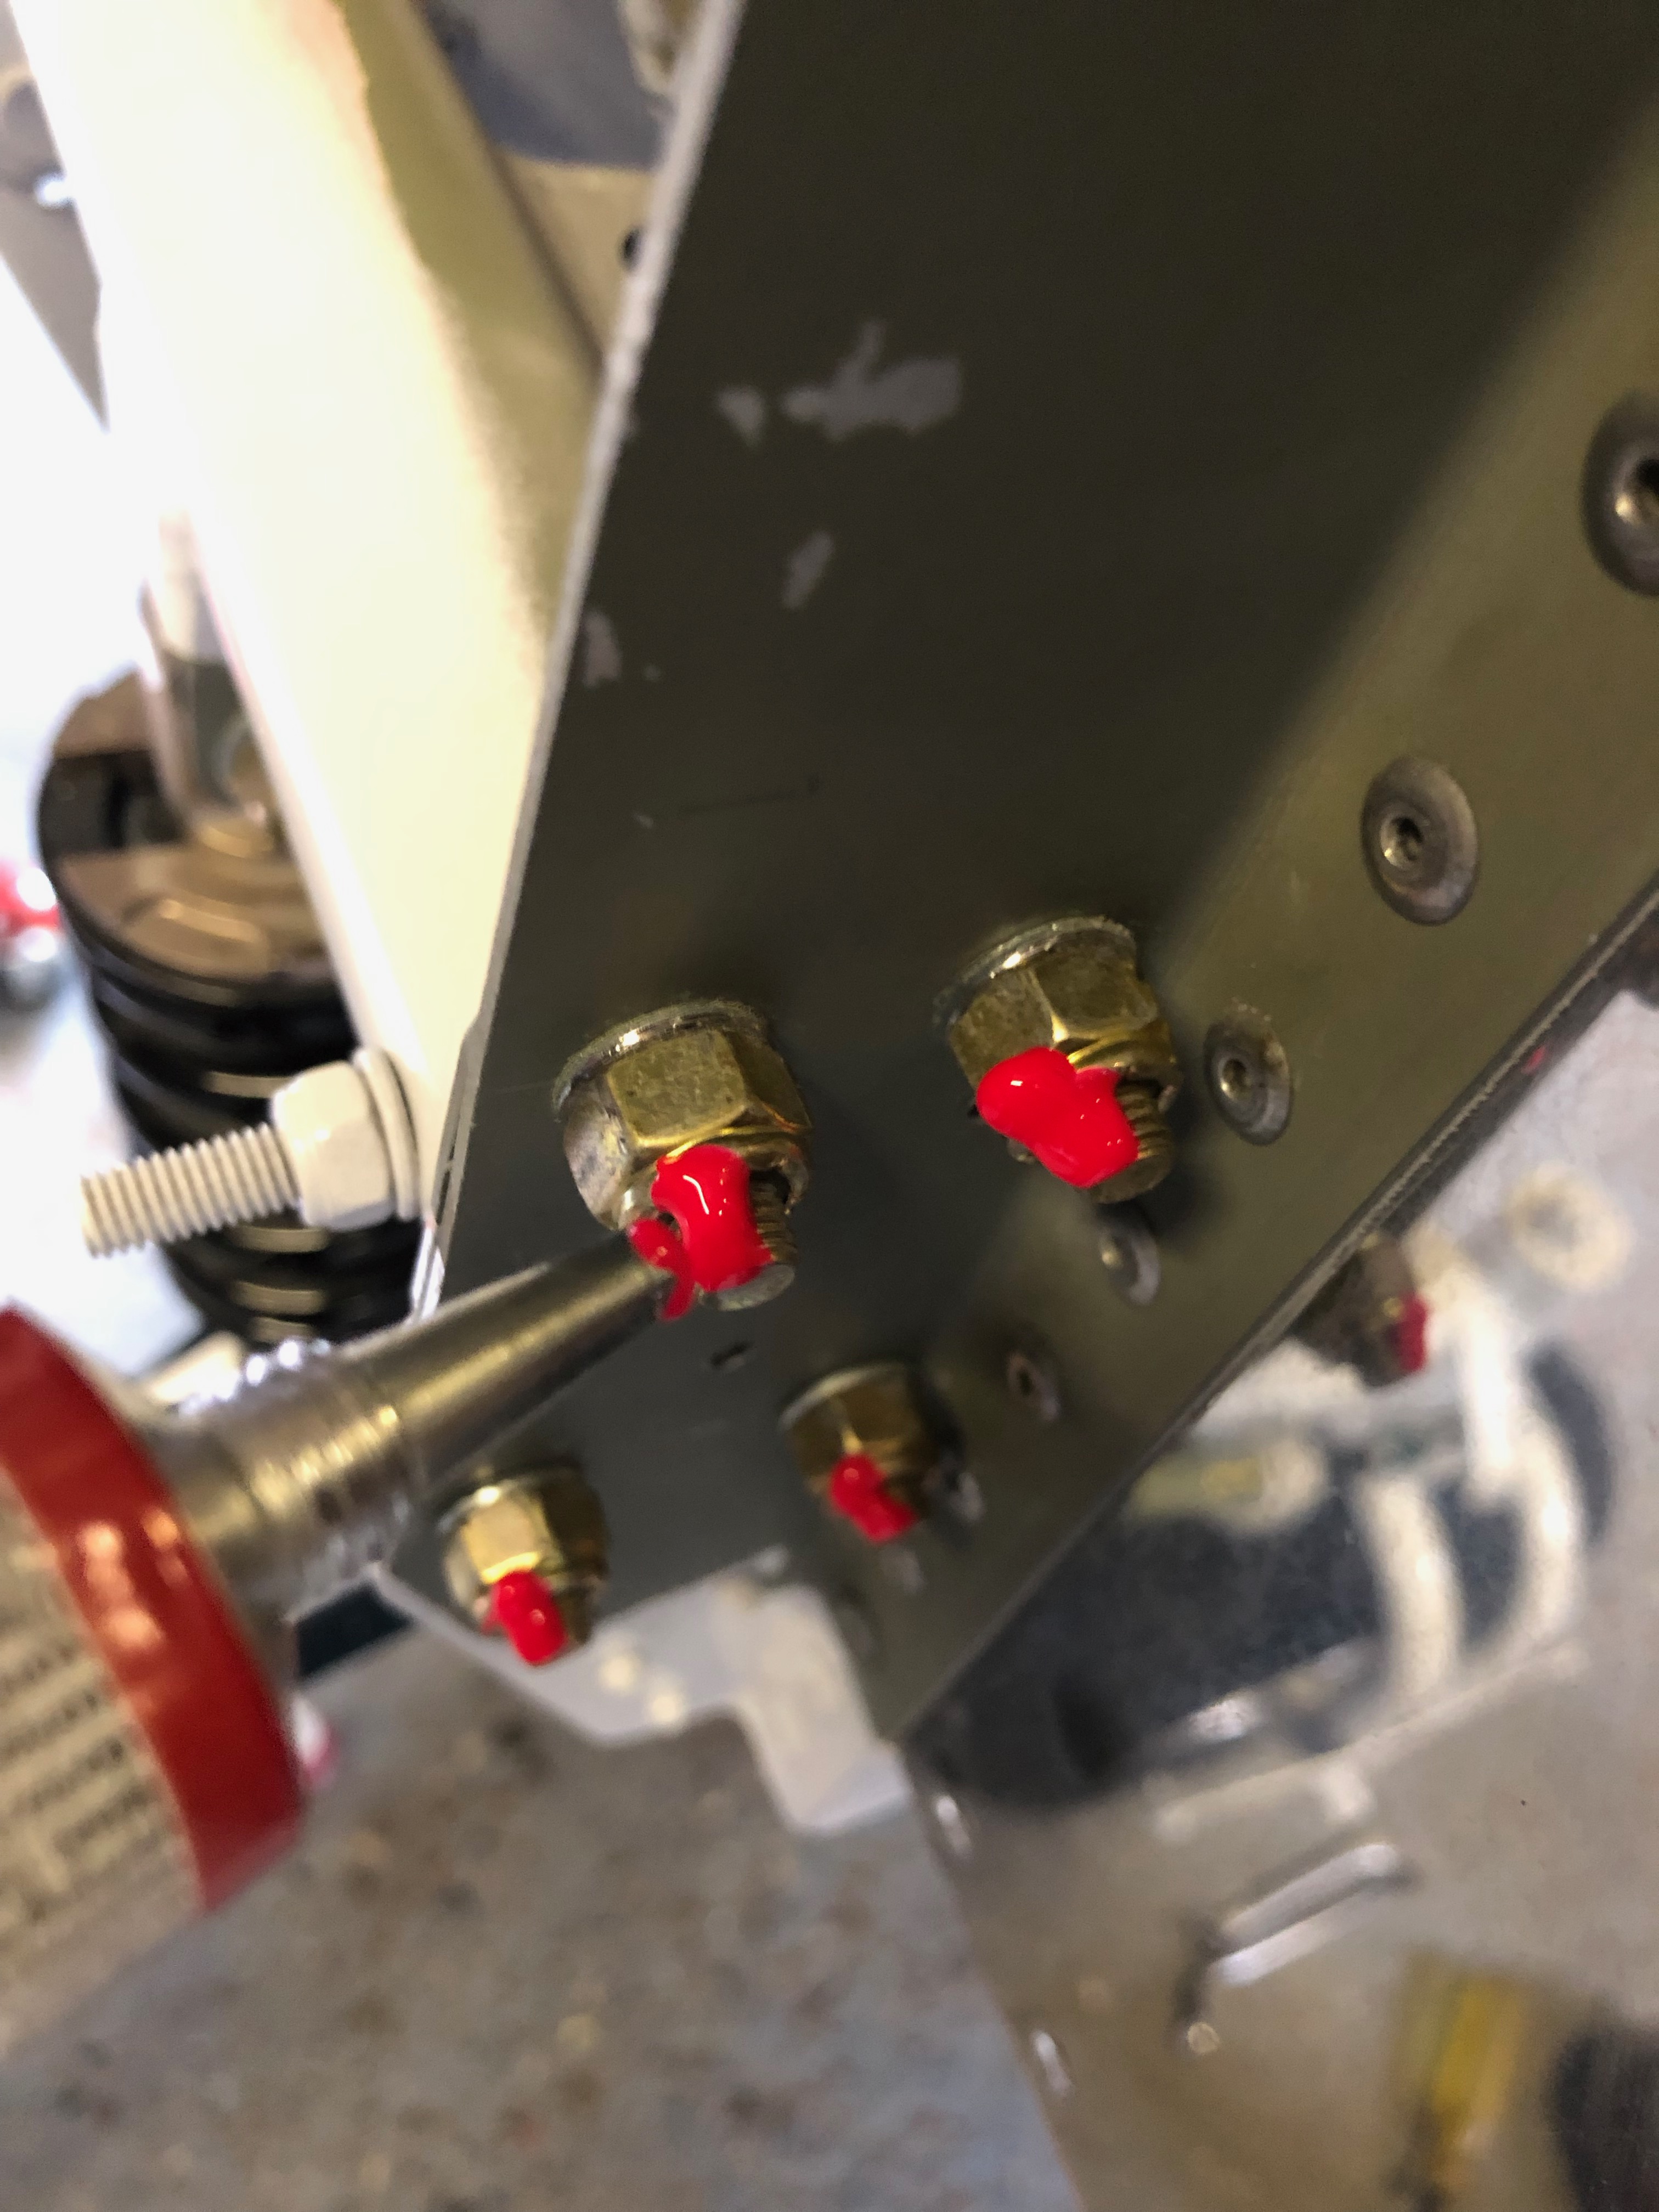
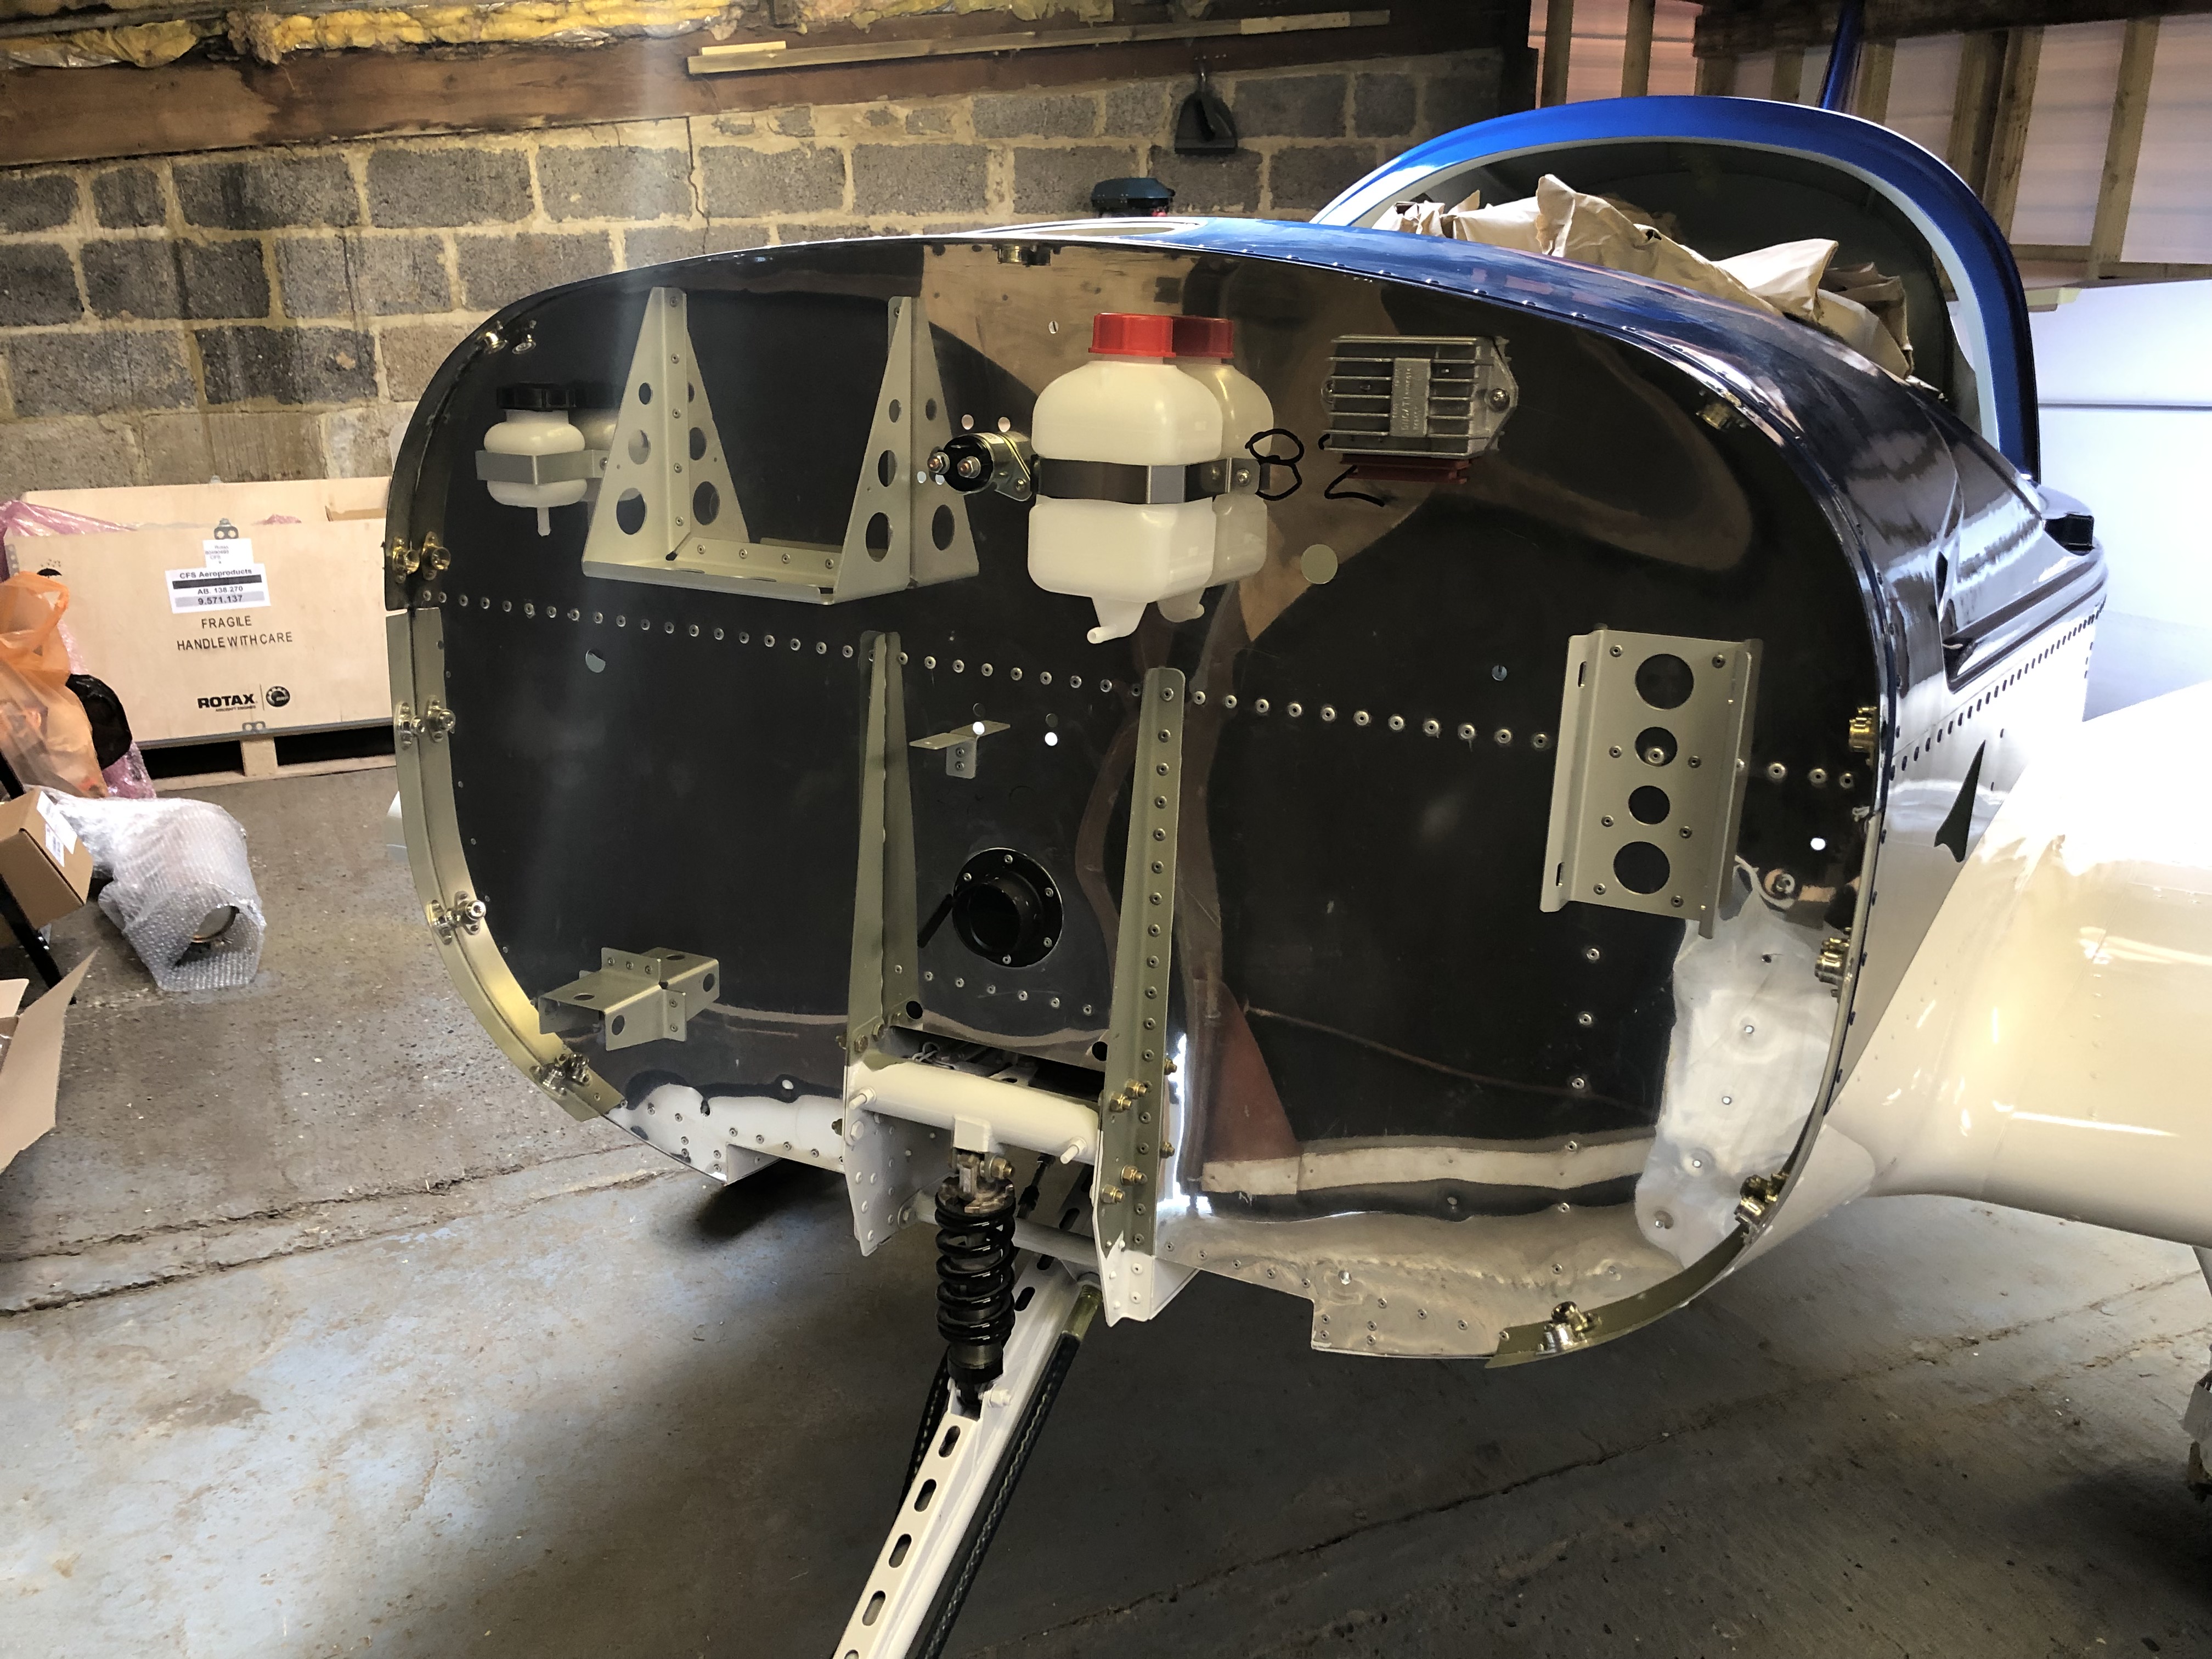
A view of the Firewall with the Torque Seal clearly visible.
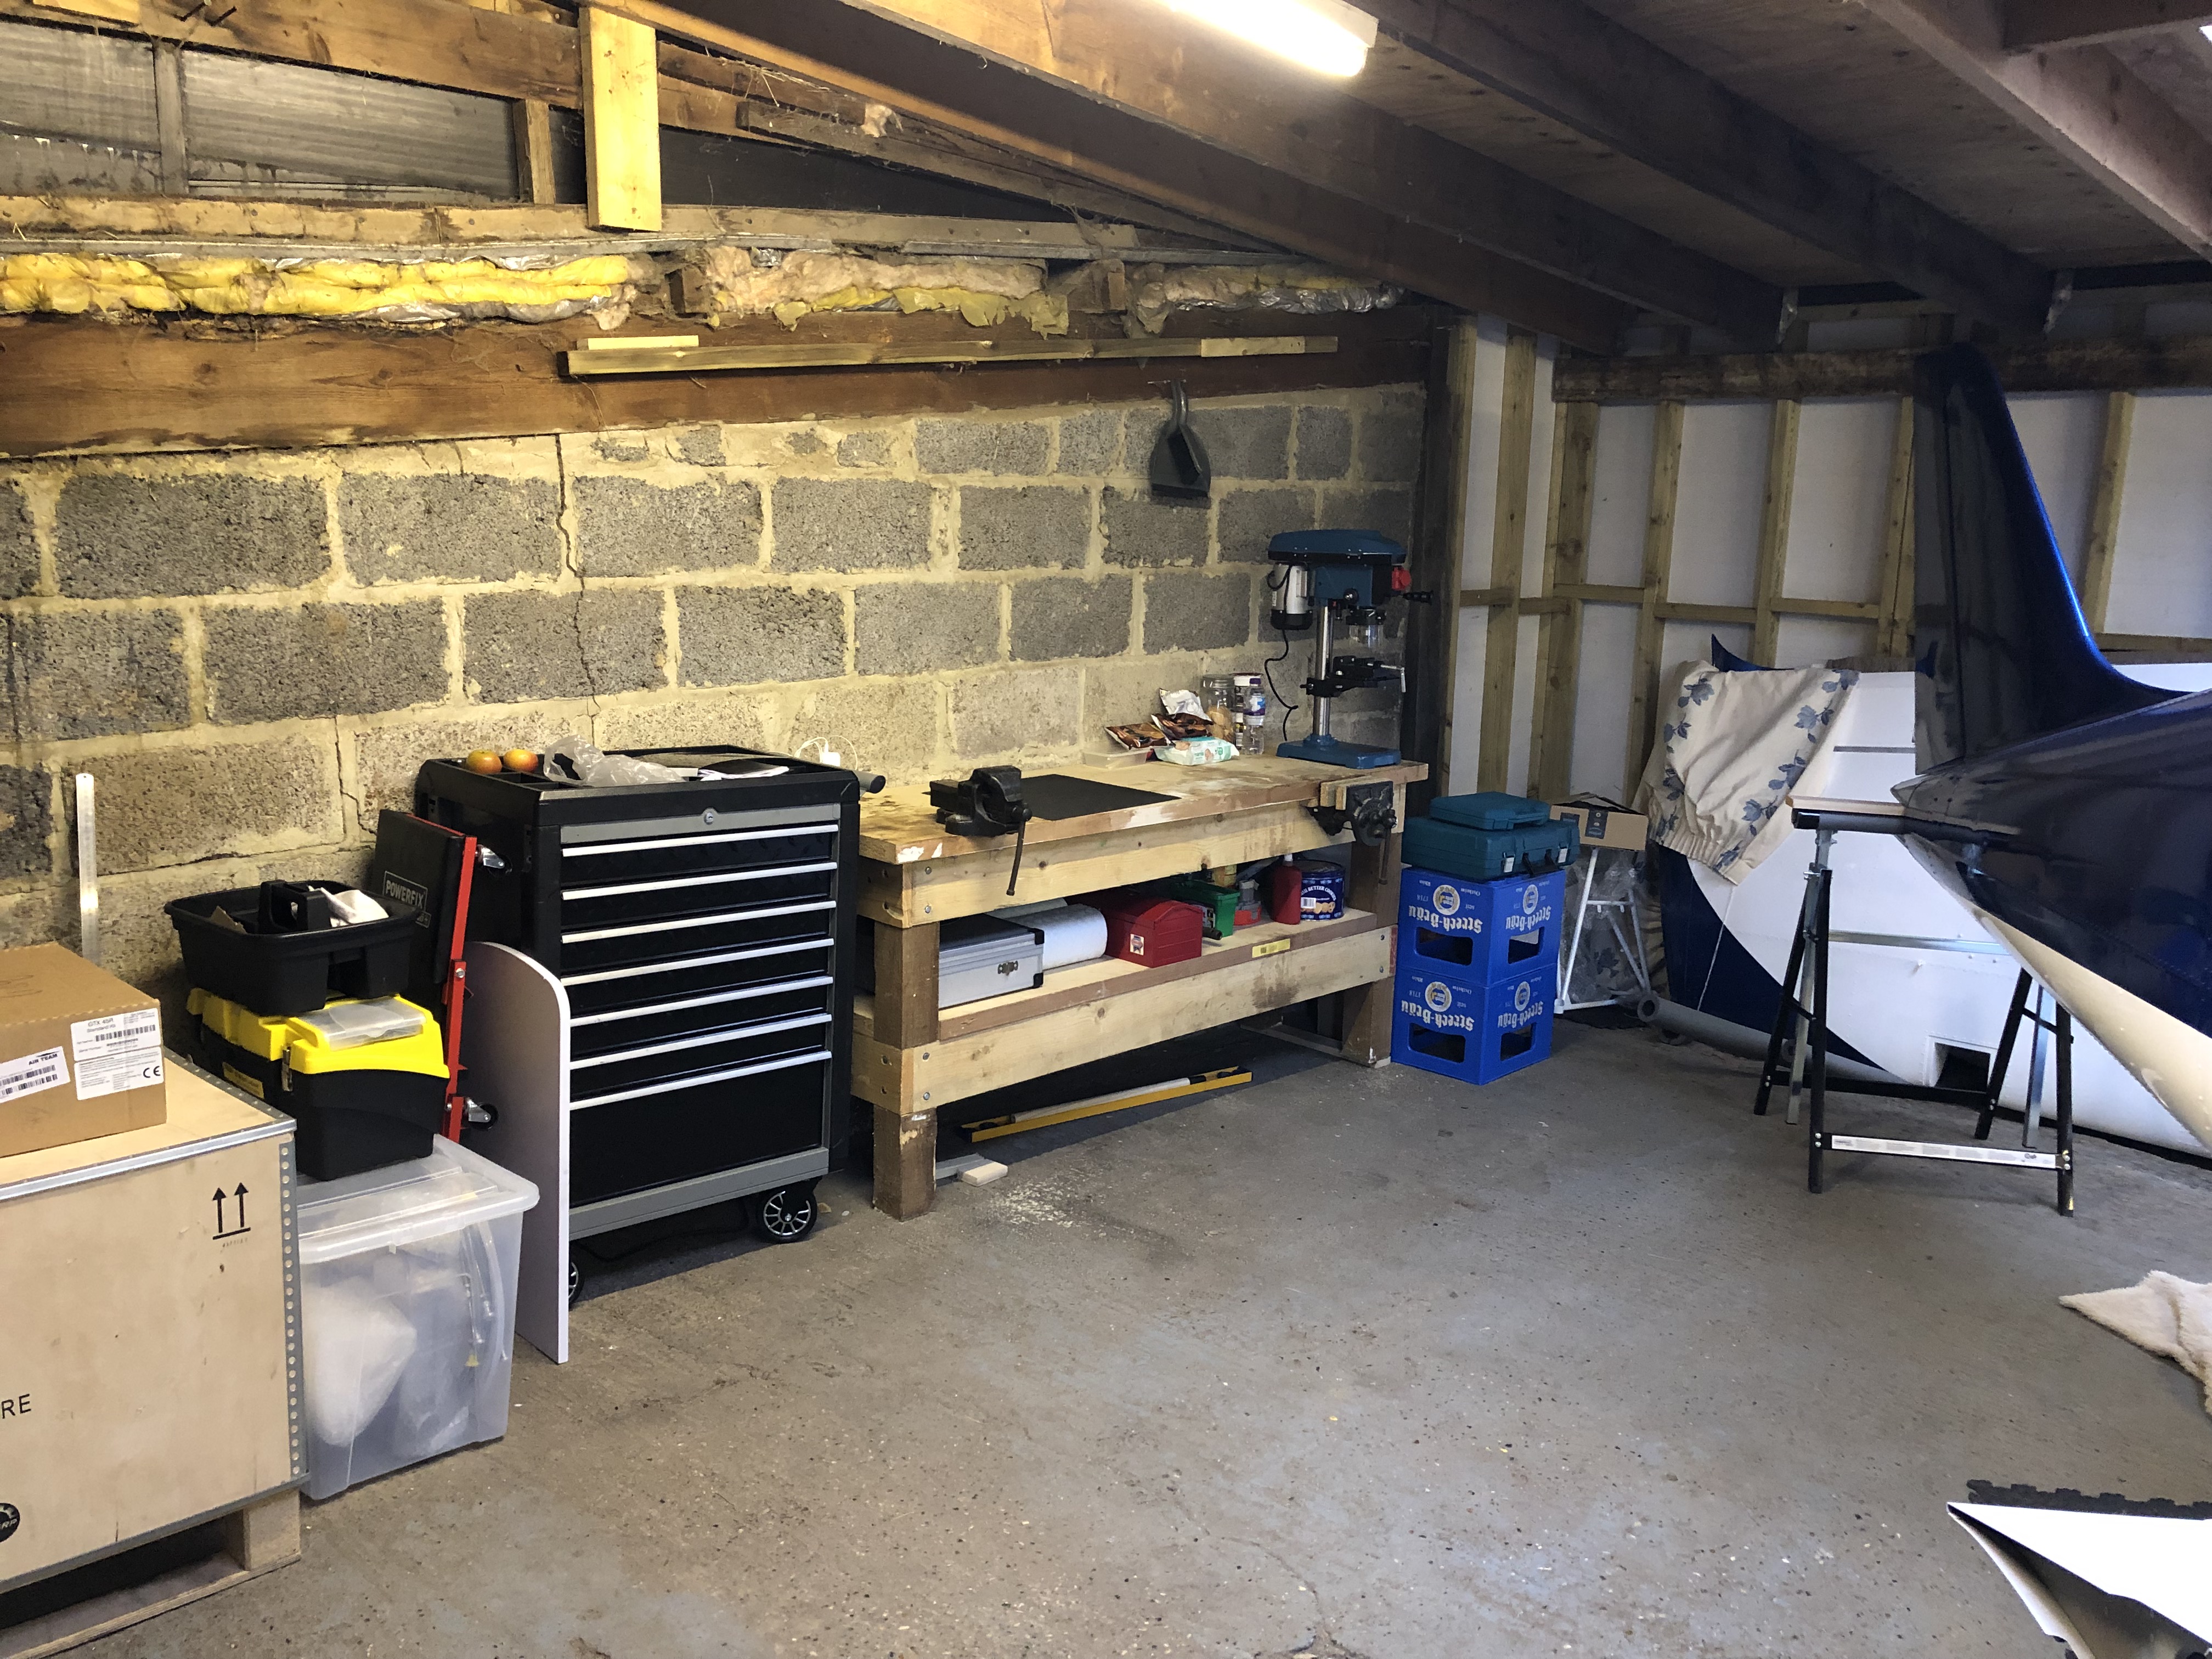
A tidy of the workshop was required to give me a bit more space on the workbench and clear area to work in.
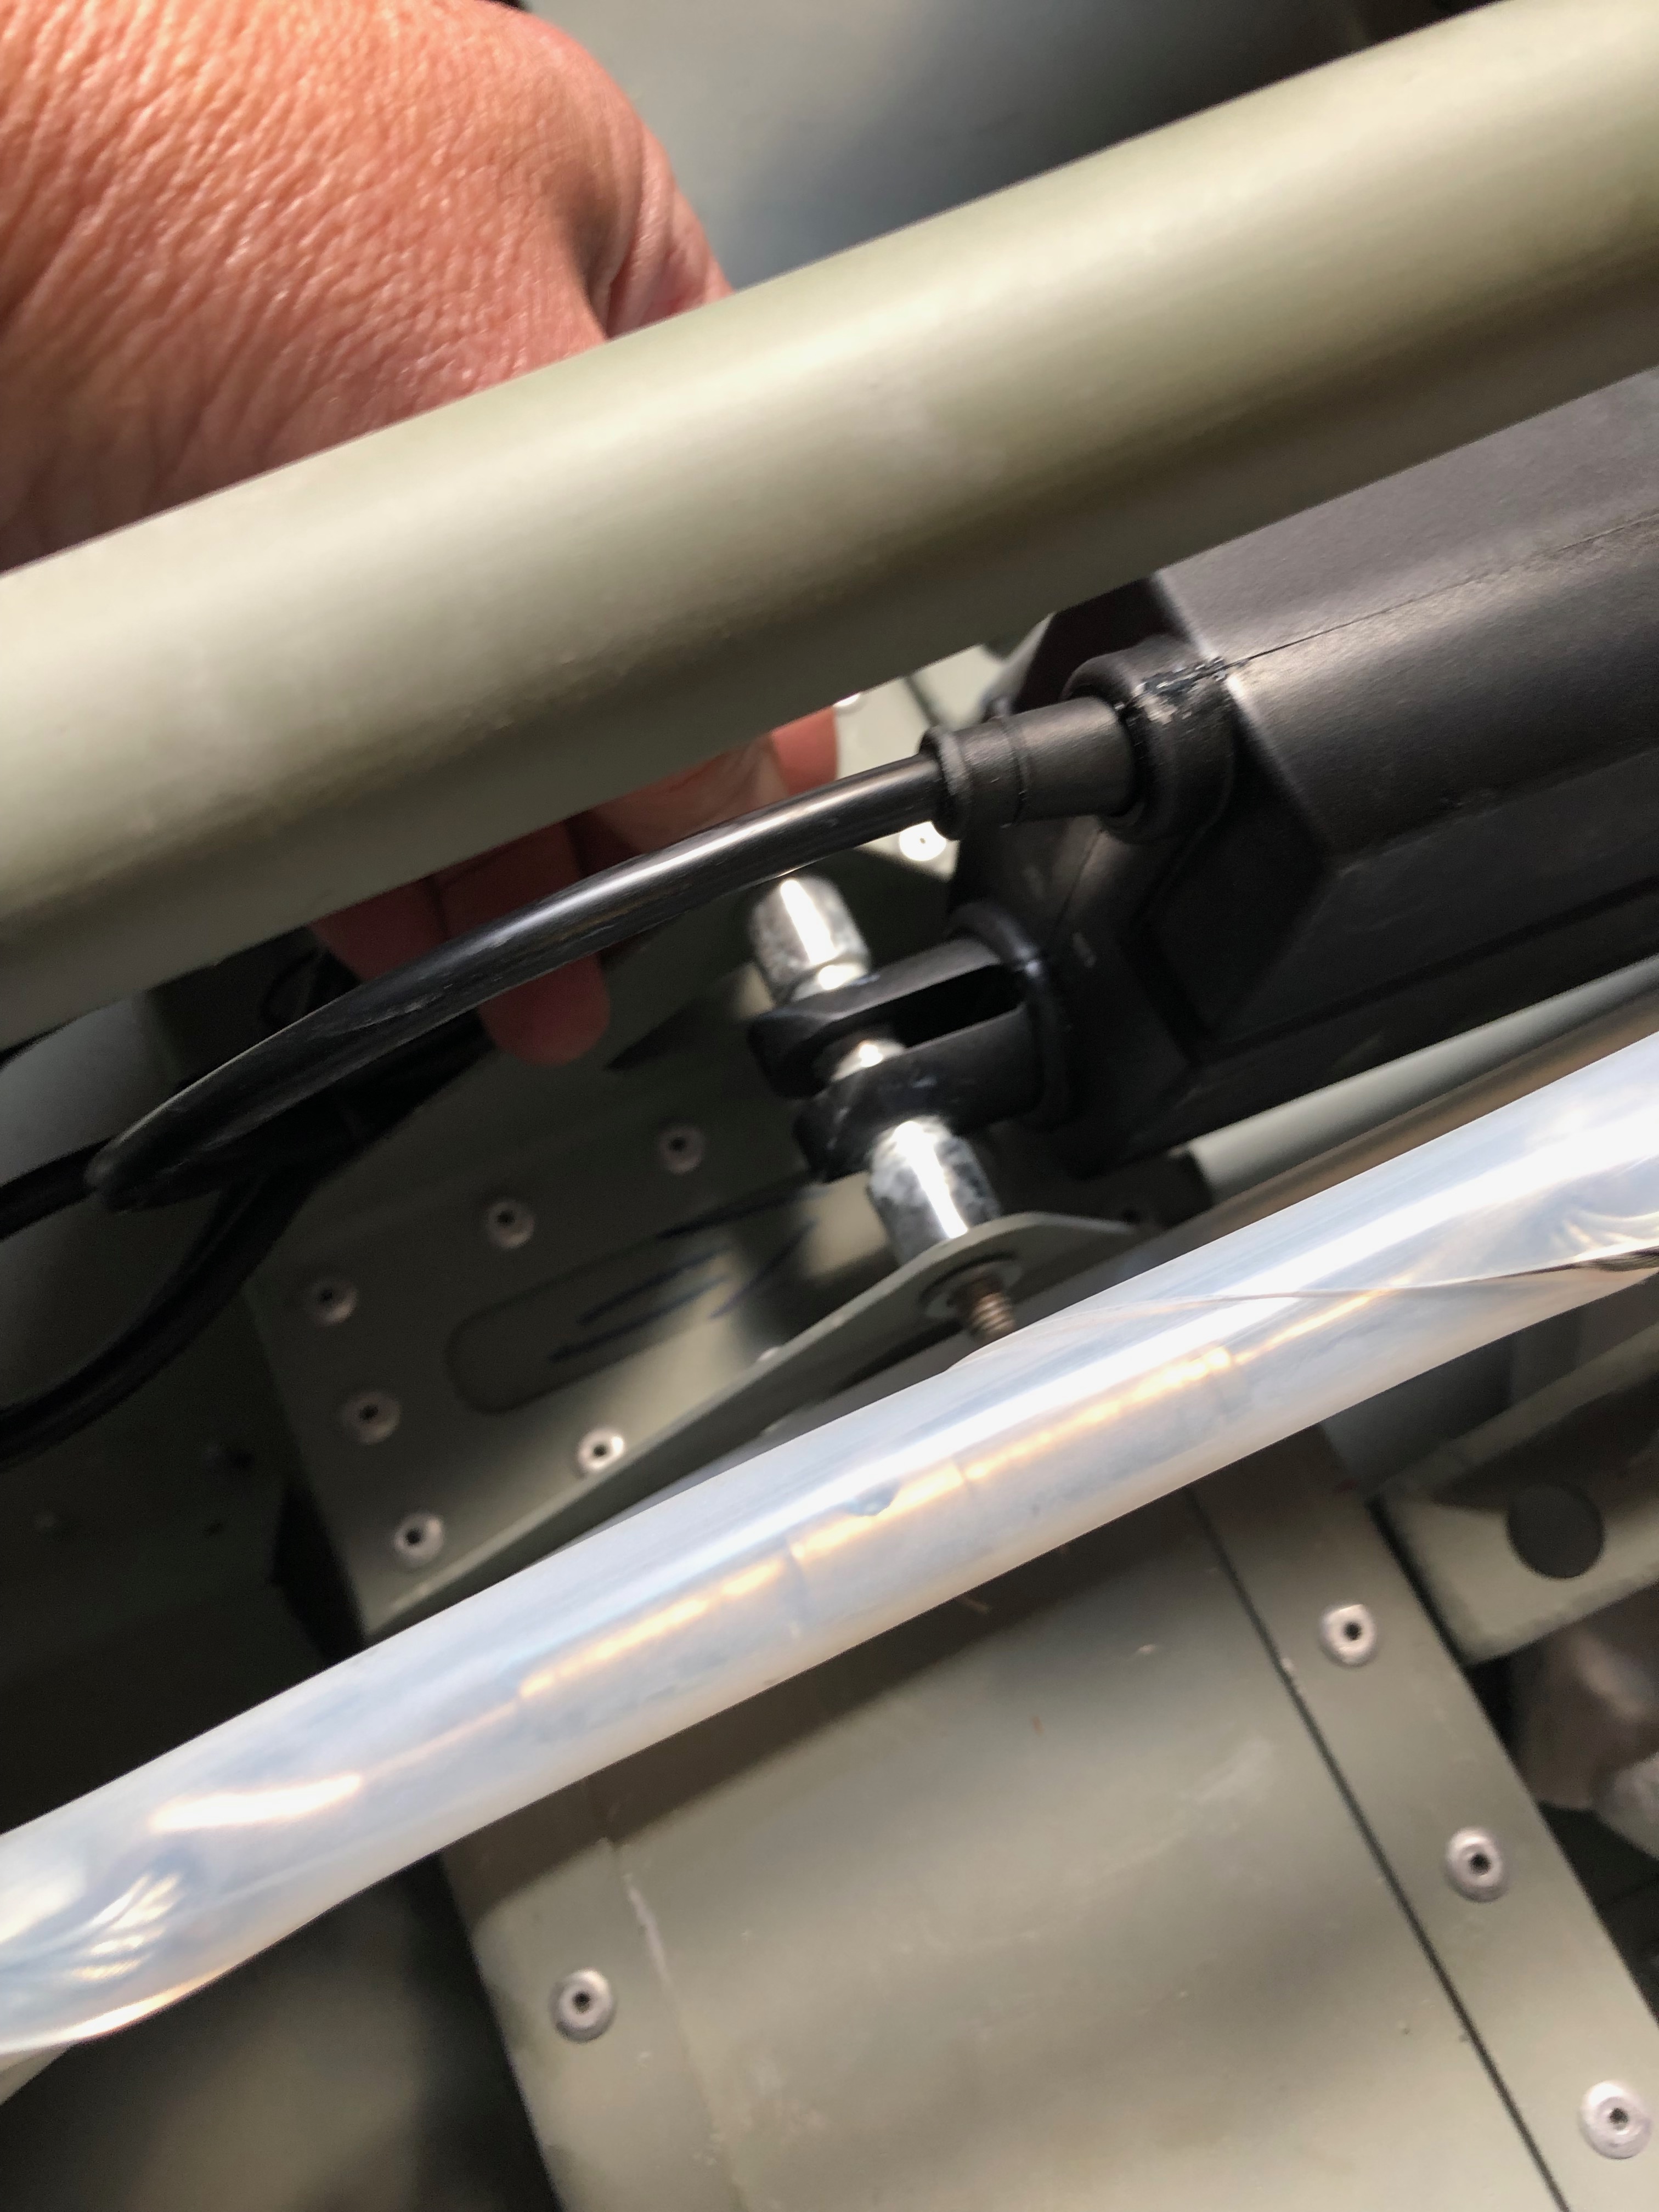
Time to install the flap motor. The bushes need to be sprayed with Lithium grease and then installed.
Fairly easy install but just a bit fiddly to install. You must connect the flap motor arm to the flap actuating arm first as you can’t get the bolt in after.
Motor installed.
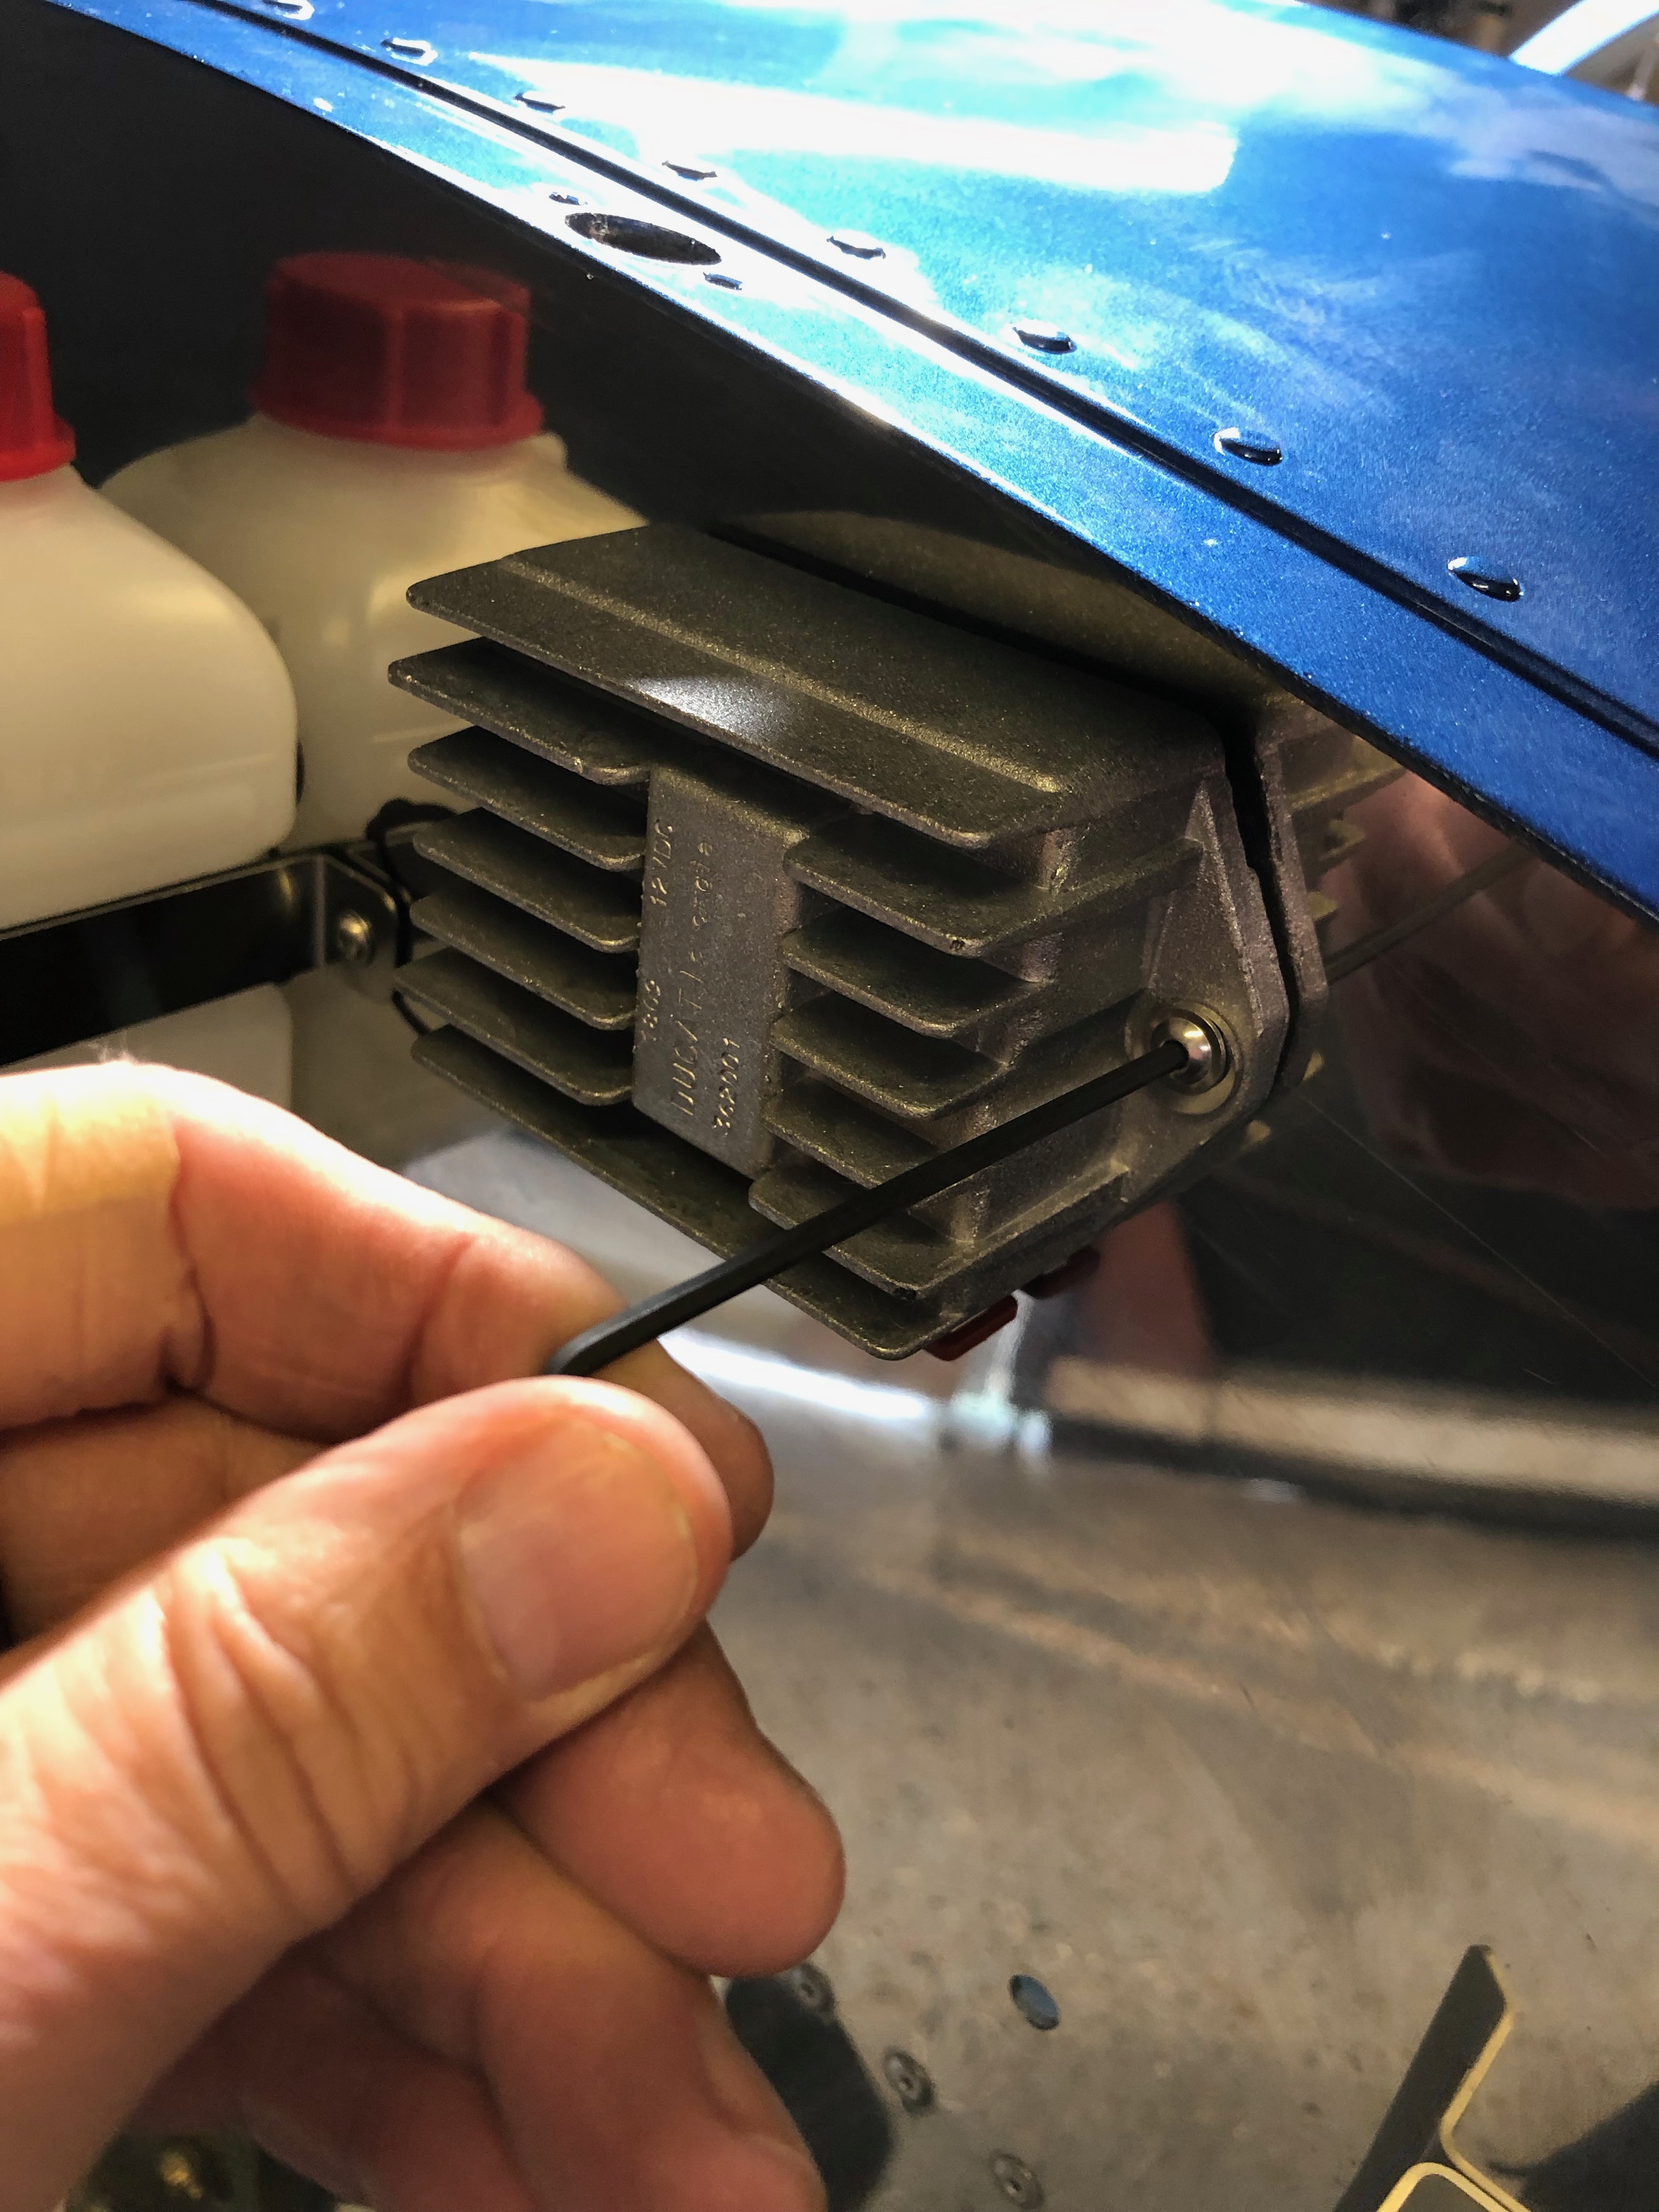
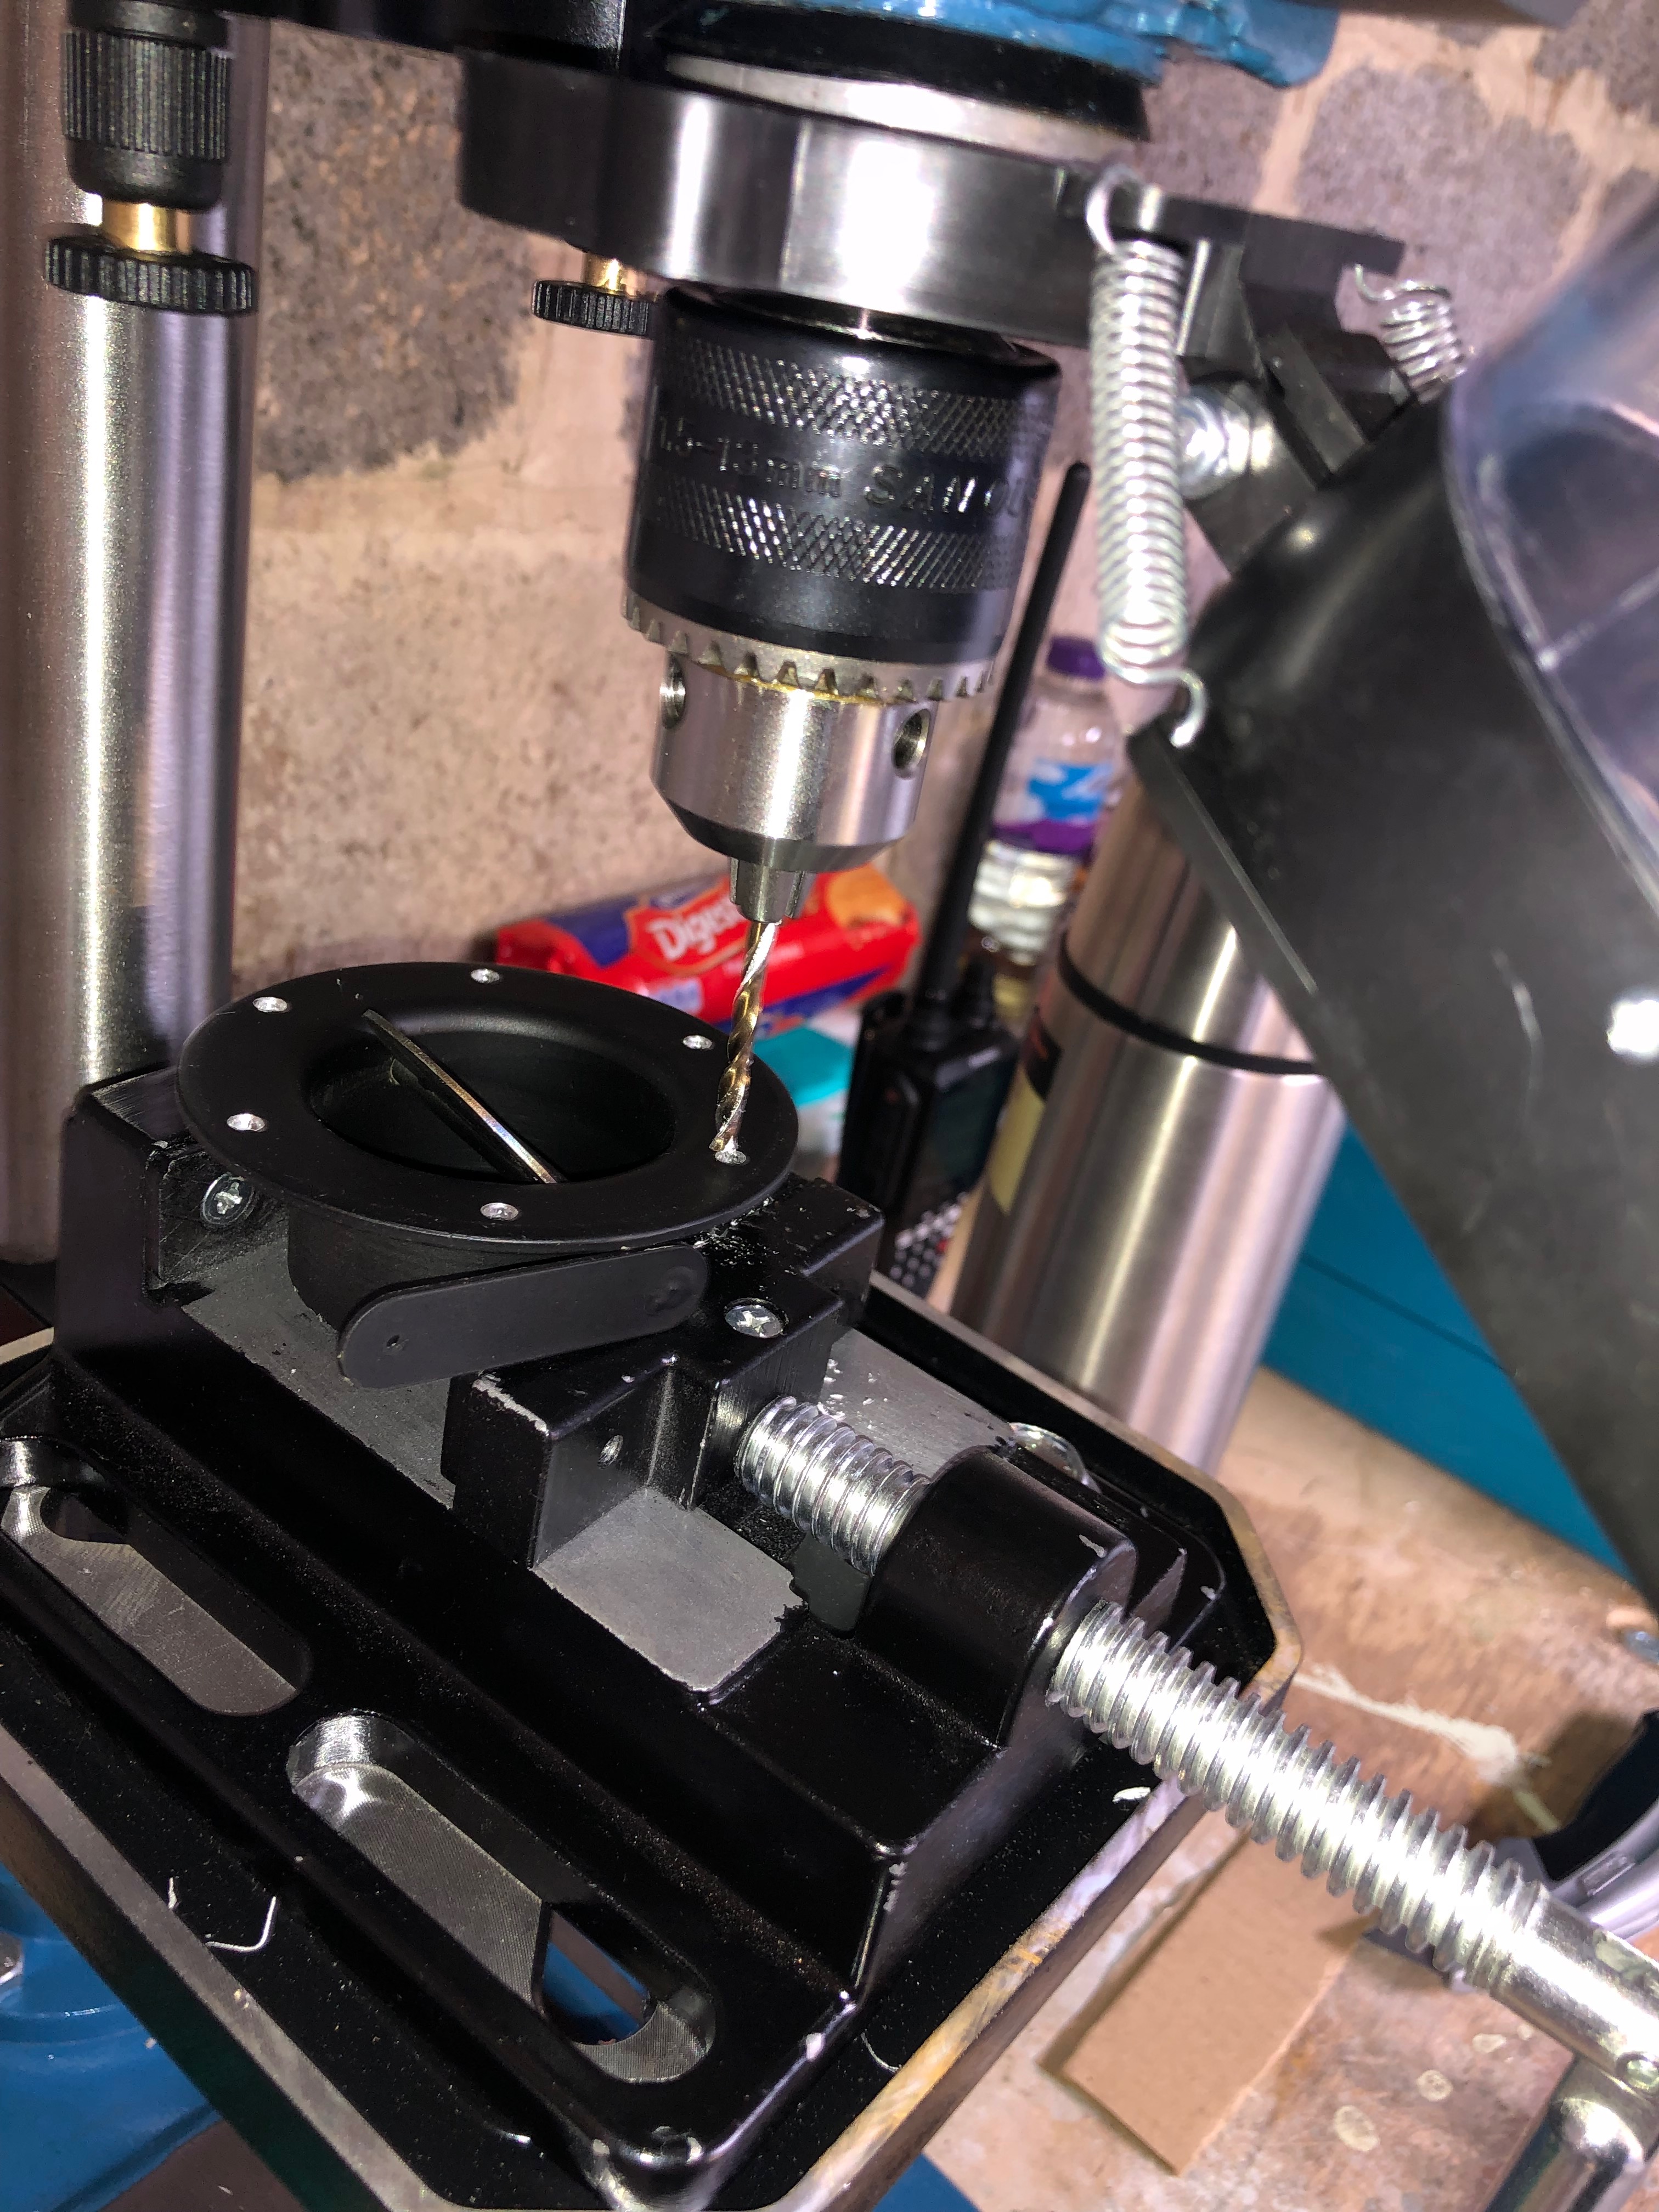
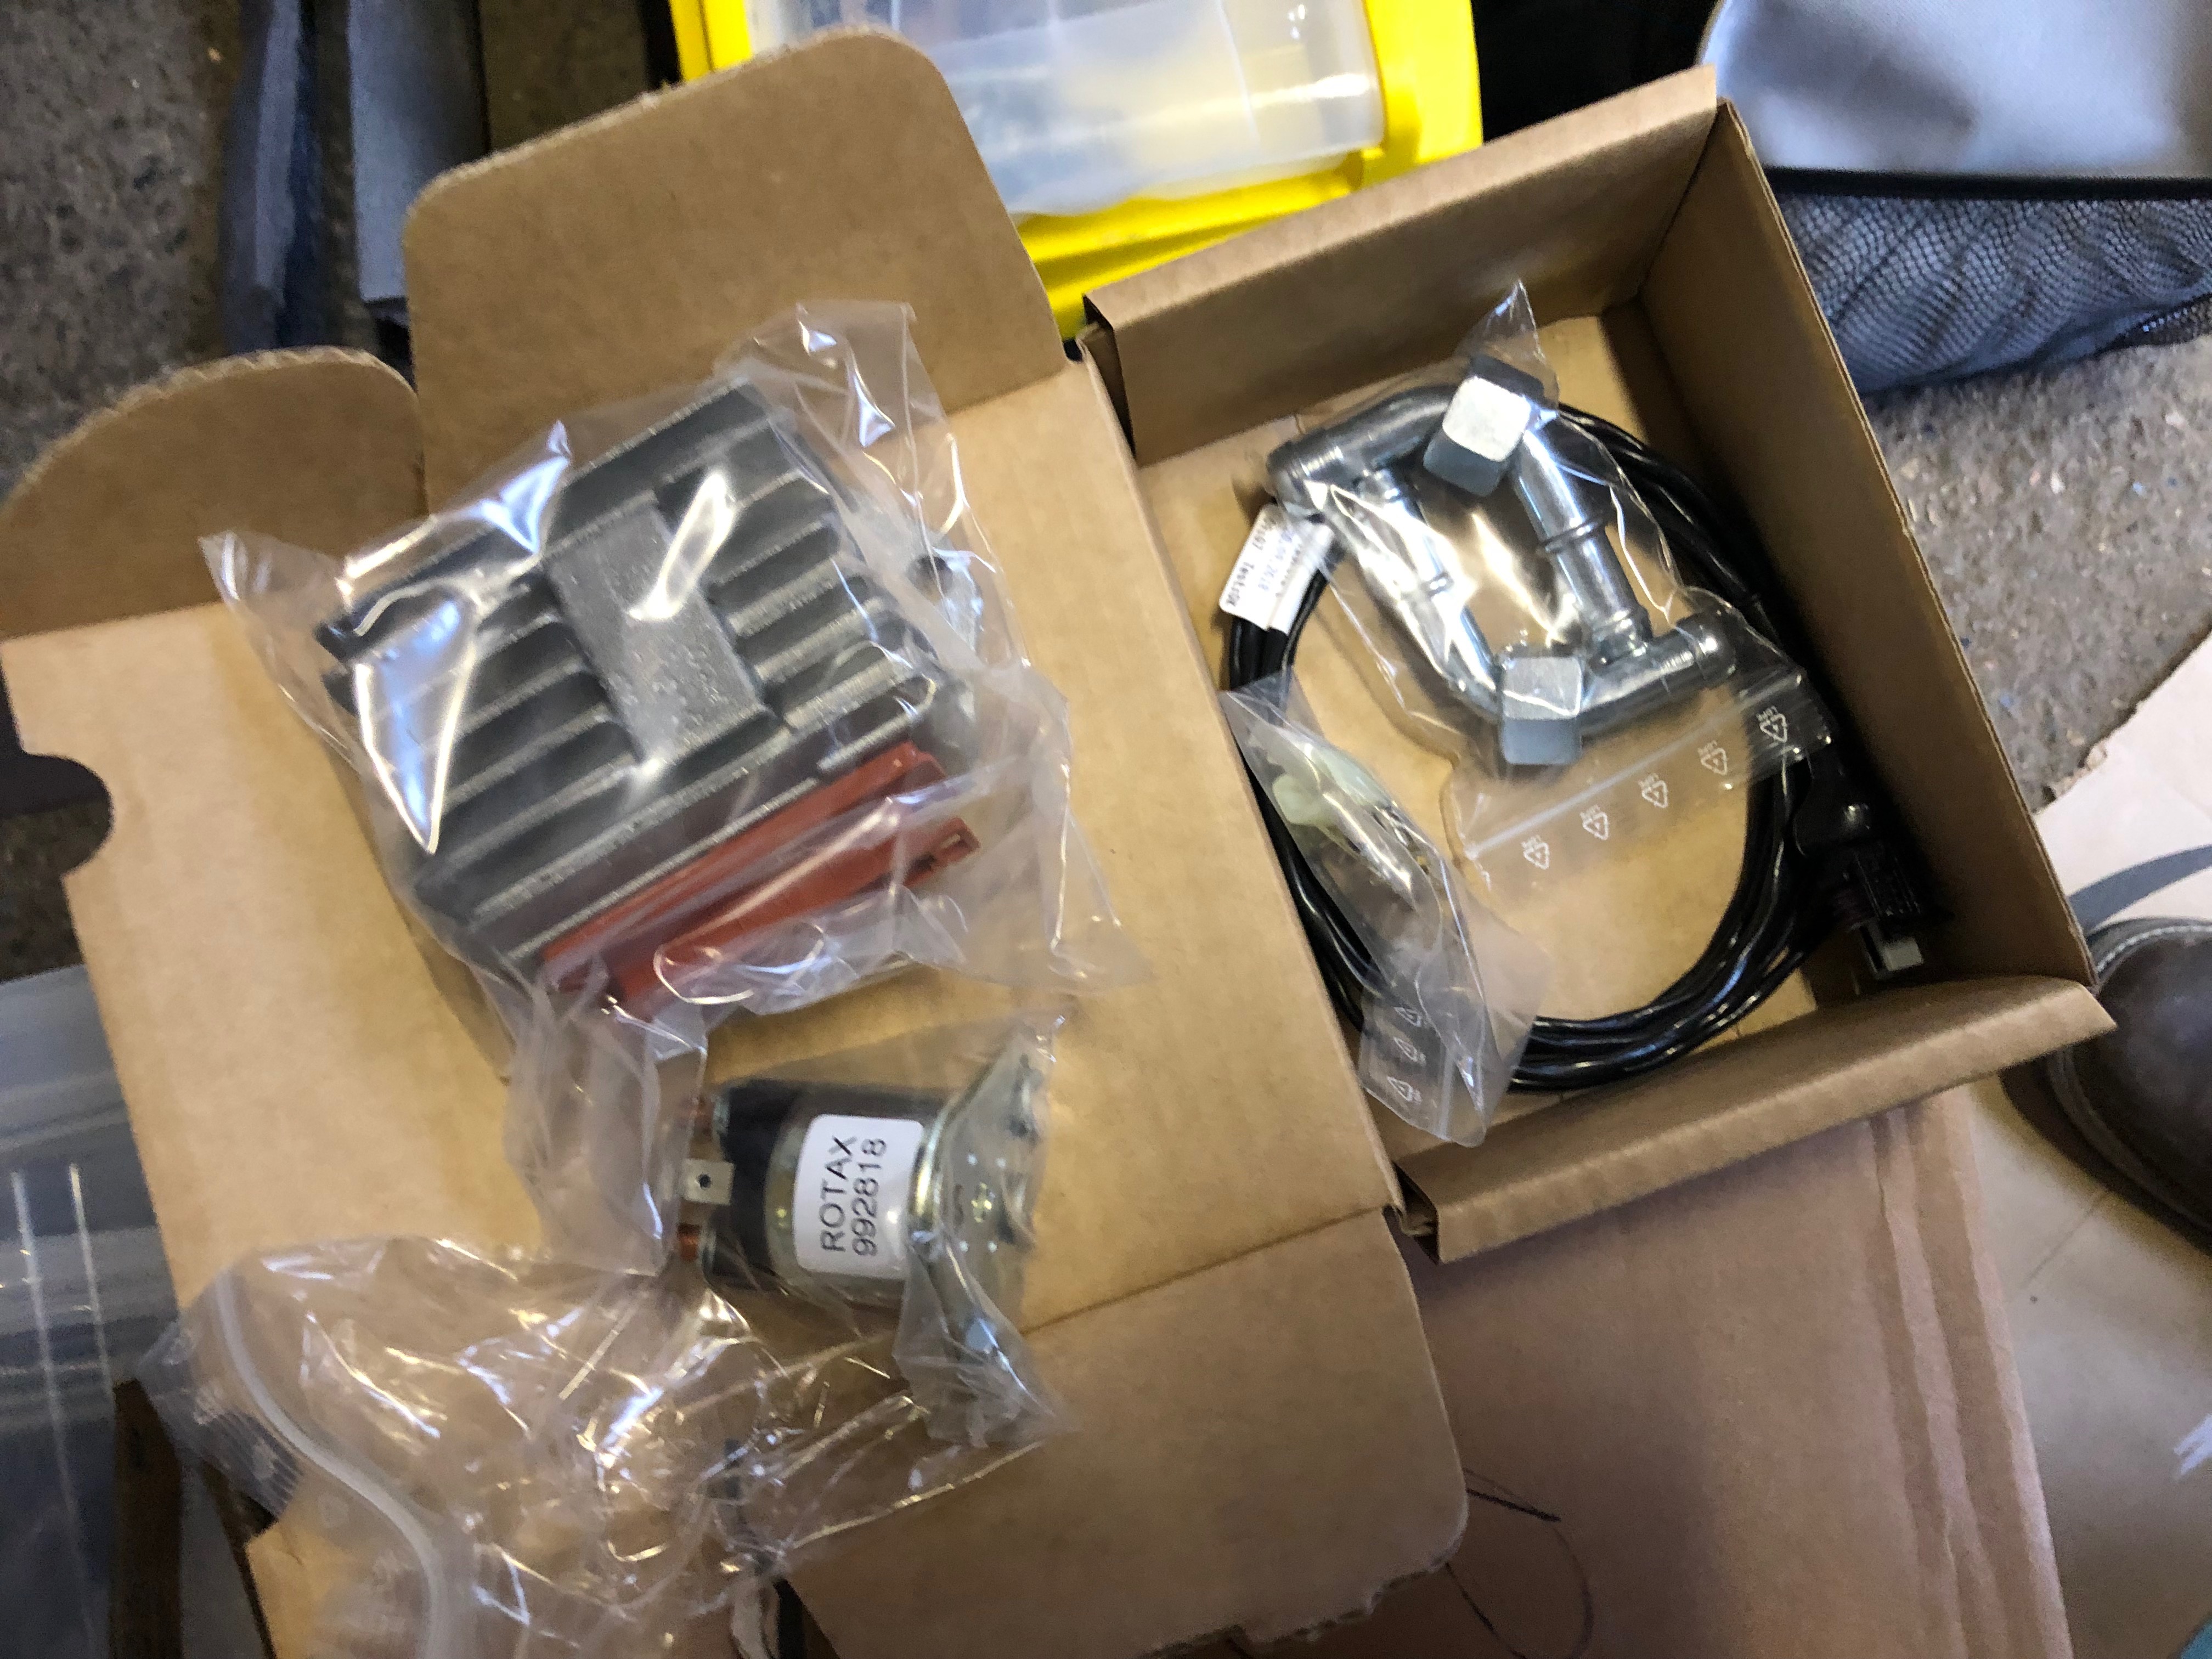
Next to be installed is the starter solenoid. A couple of M4 Rivnuts are installed with hex top screws to fix.
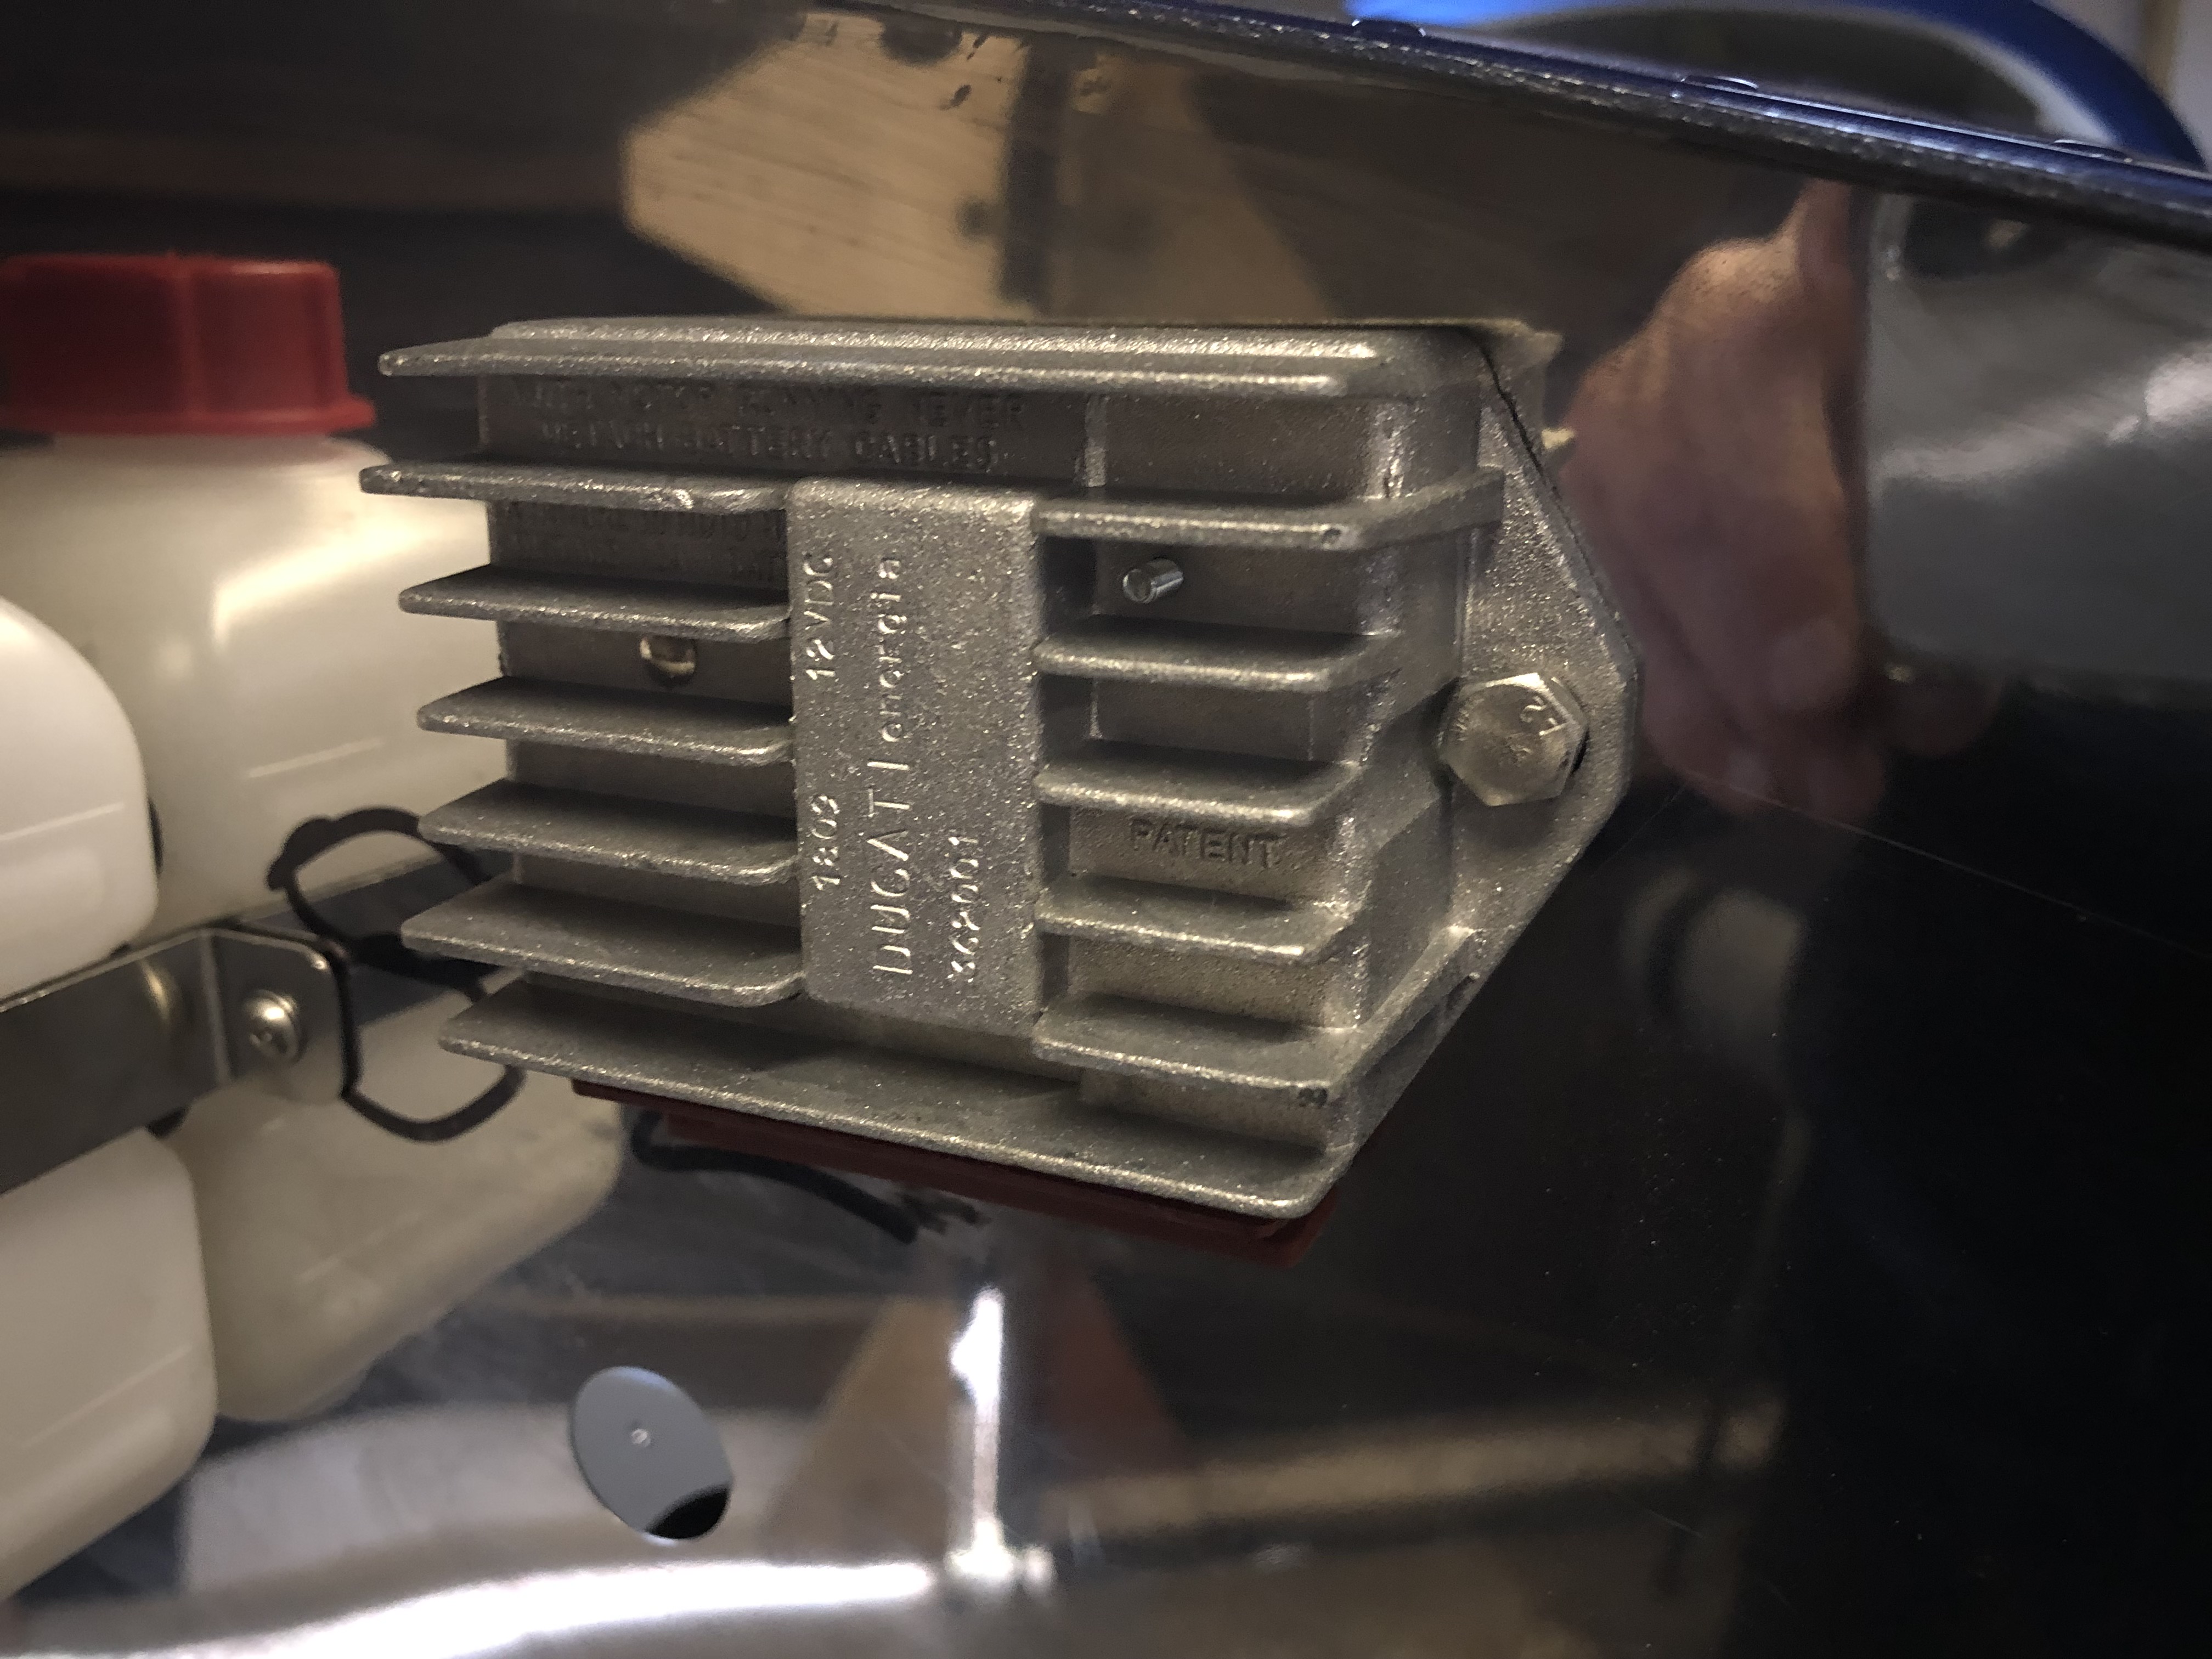
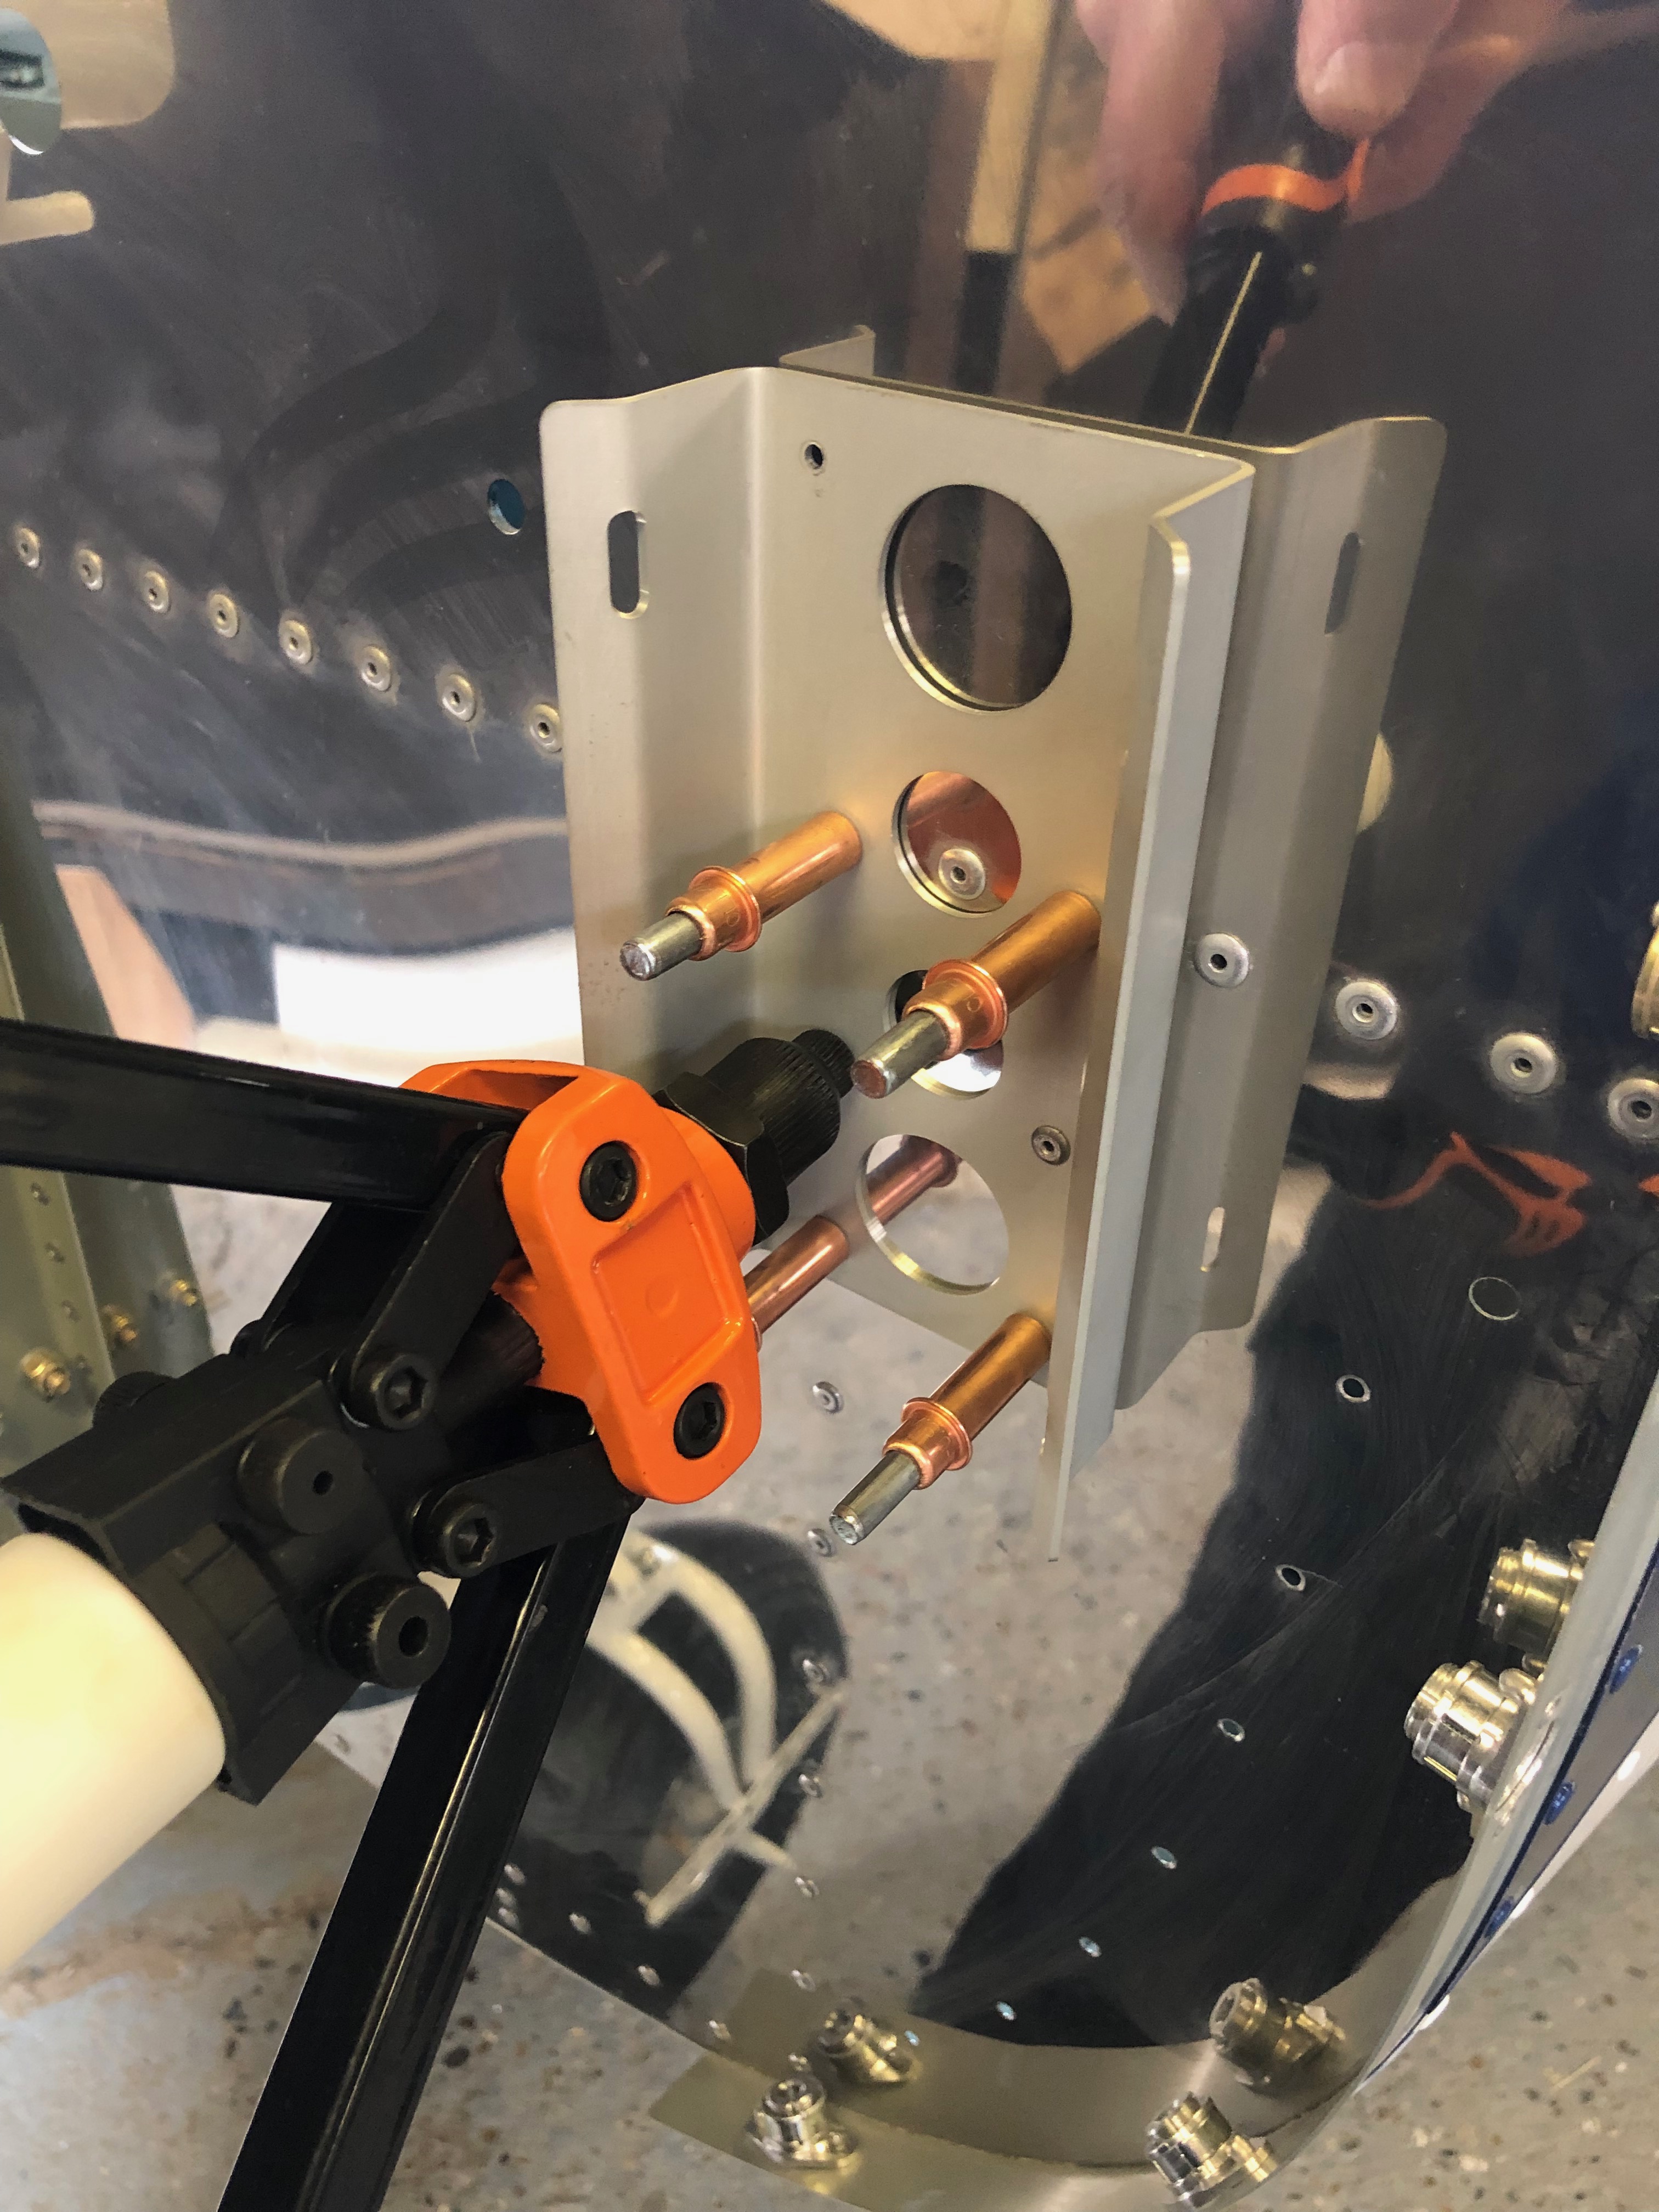
Now the Rotax control unit is installed using Rivnuts and screws.
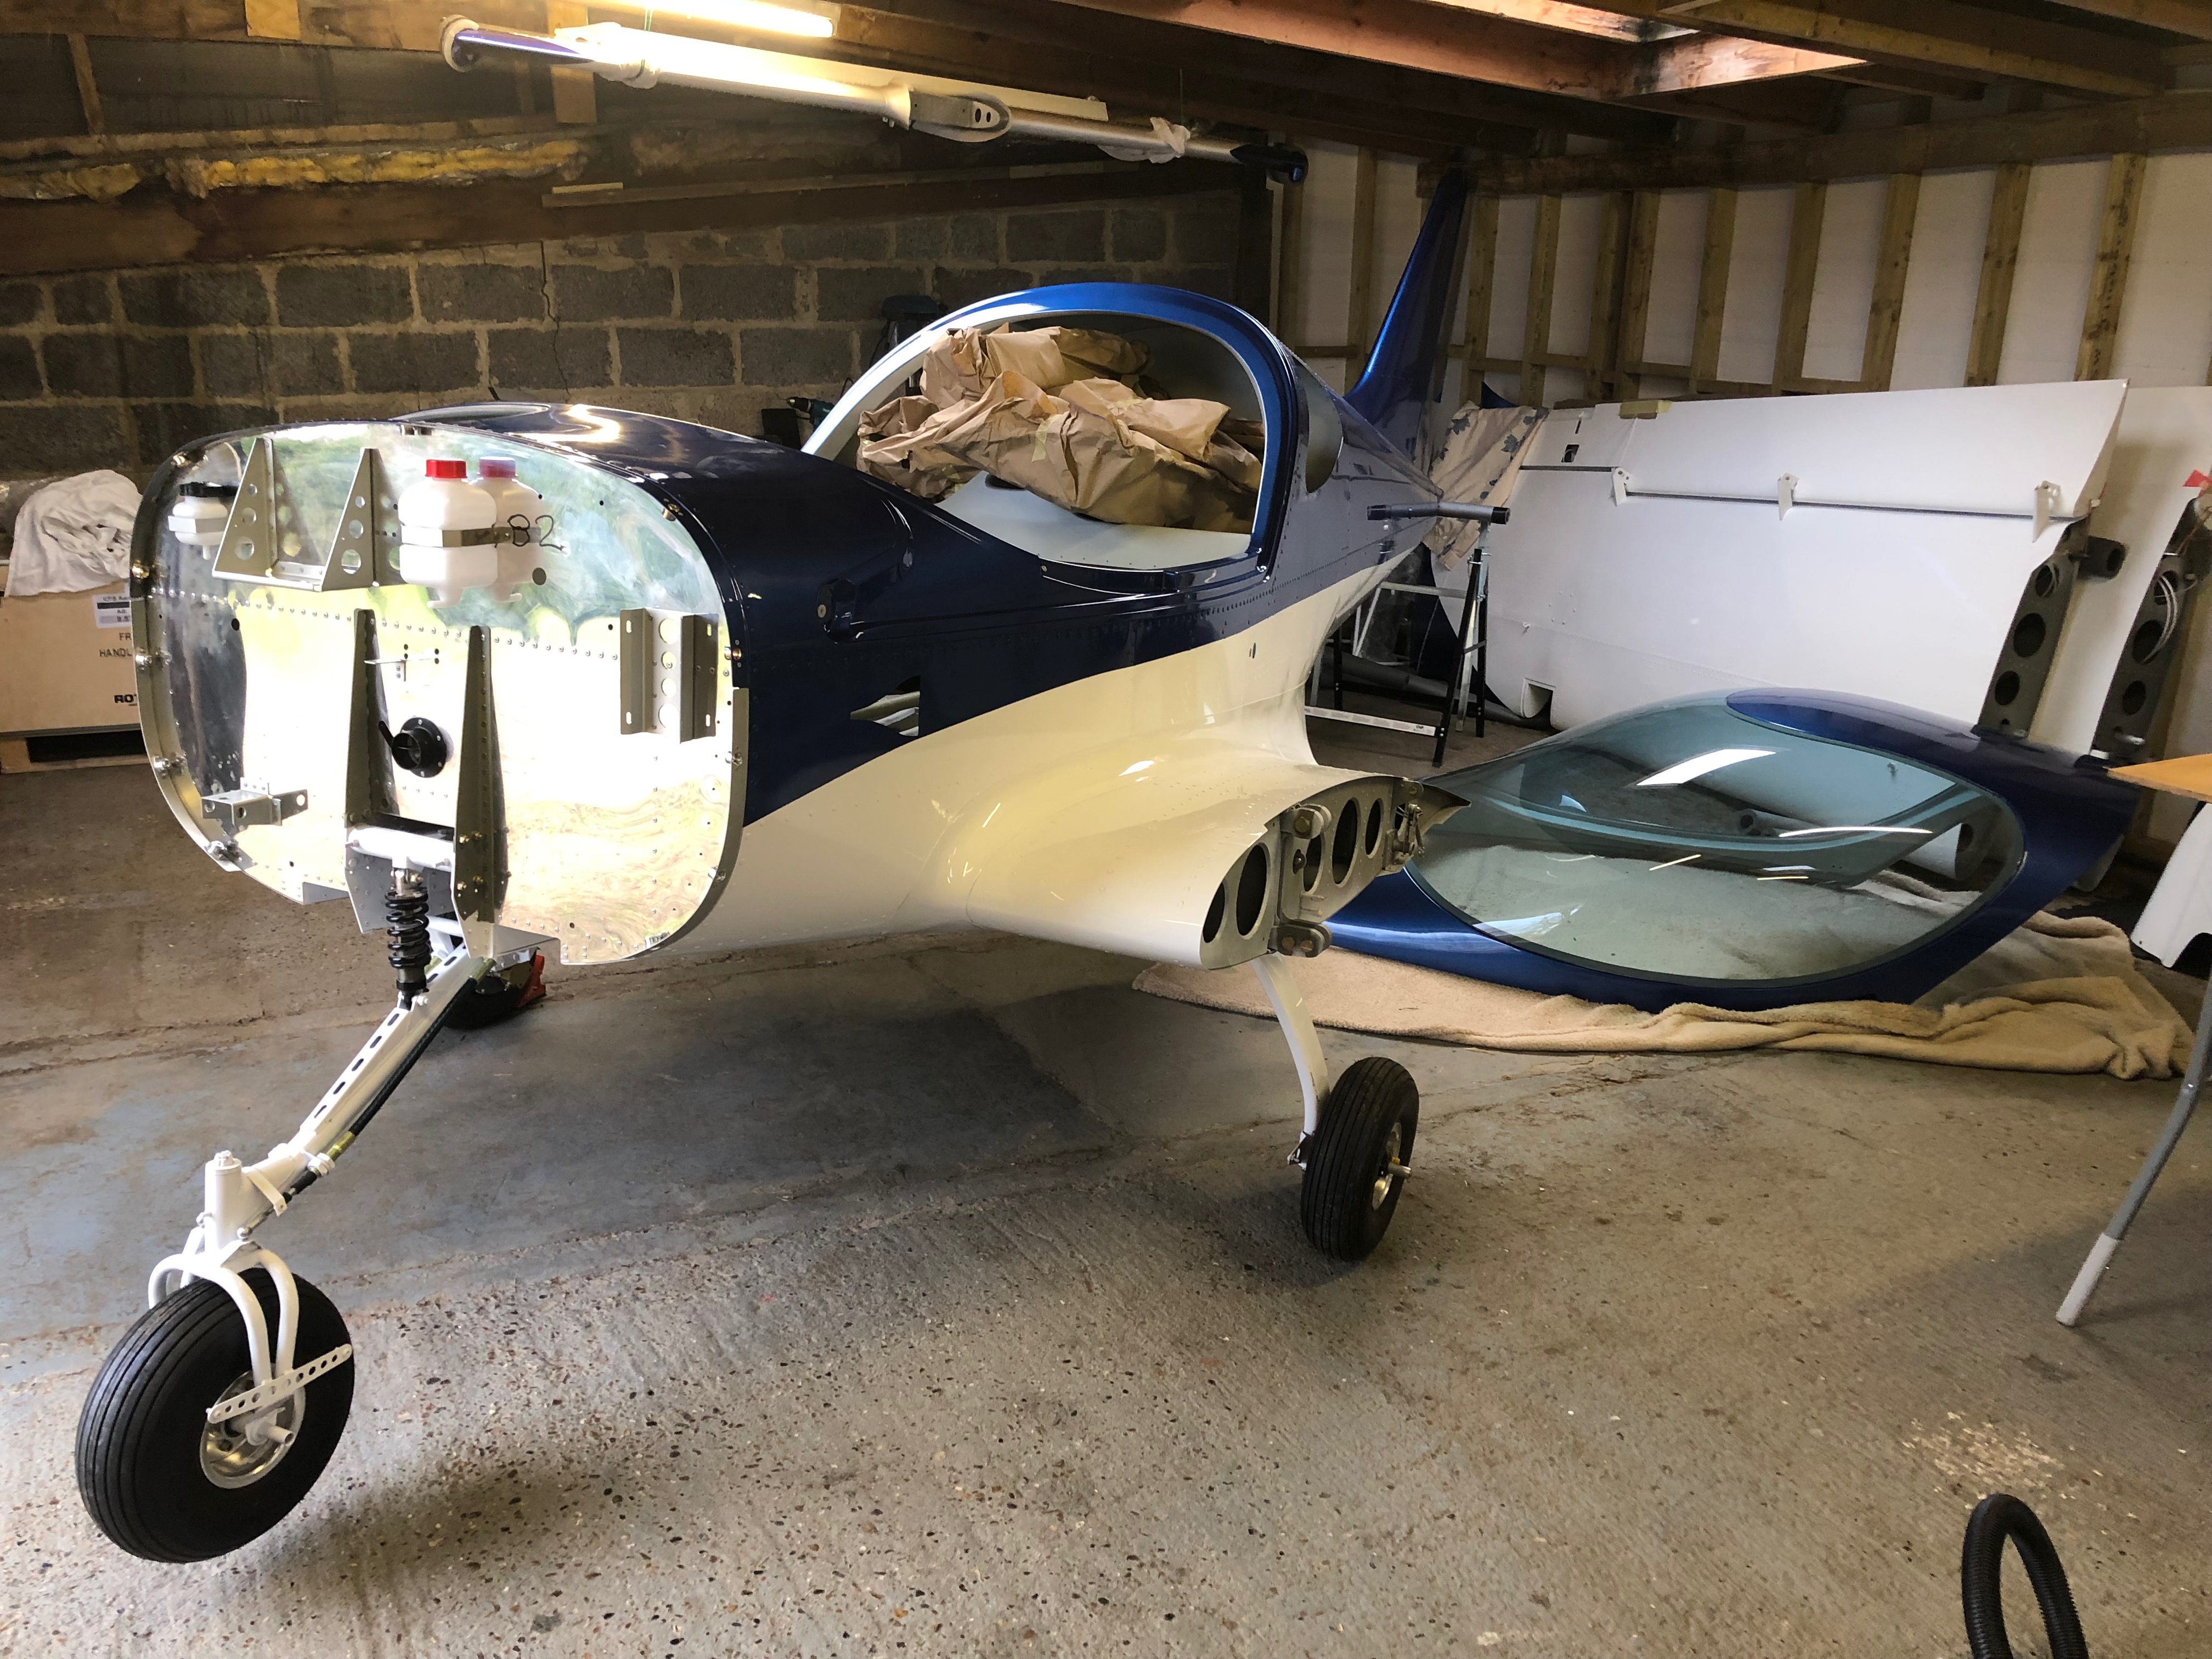
The Firewall at the end of the day.
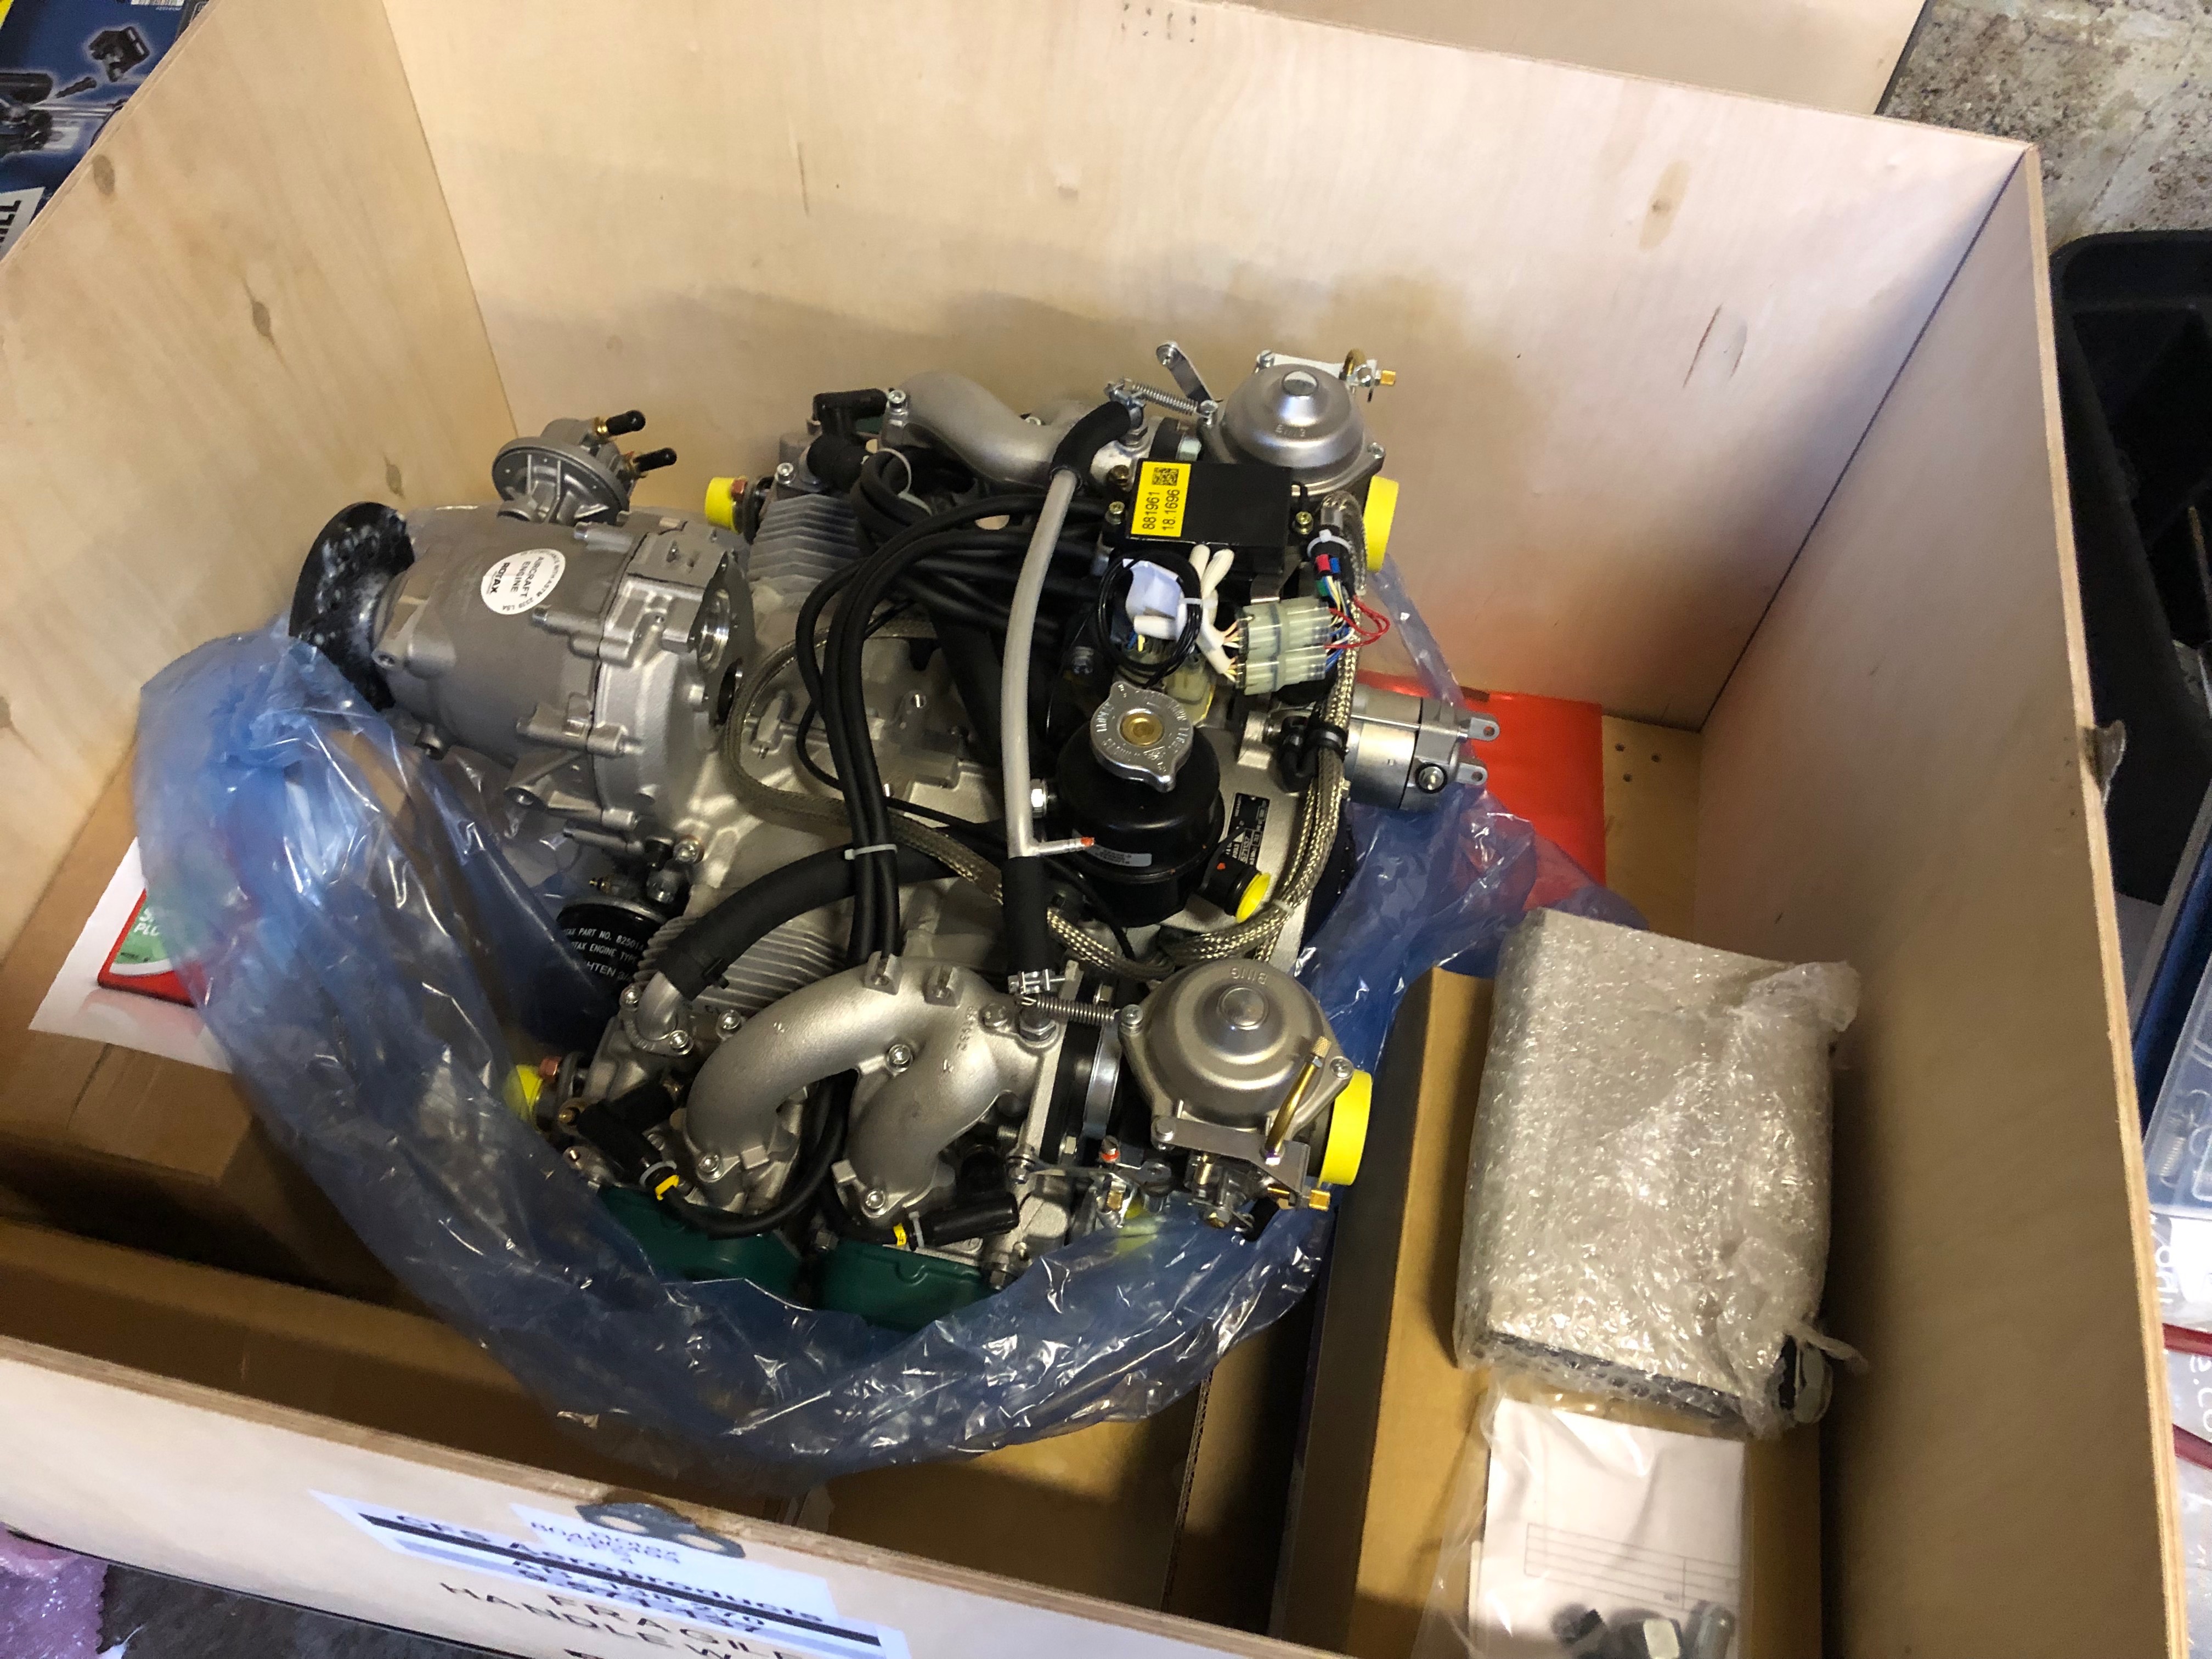
The engine needs to be lifted out of the crate and suspended whist the water pump is modified and engine mount is attached.
A bracket needed to be made from steel bar so it can be used for lifting.
Oil tank bracket. I’ve decided to use a different rivet gun which helps speed up the job
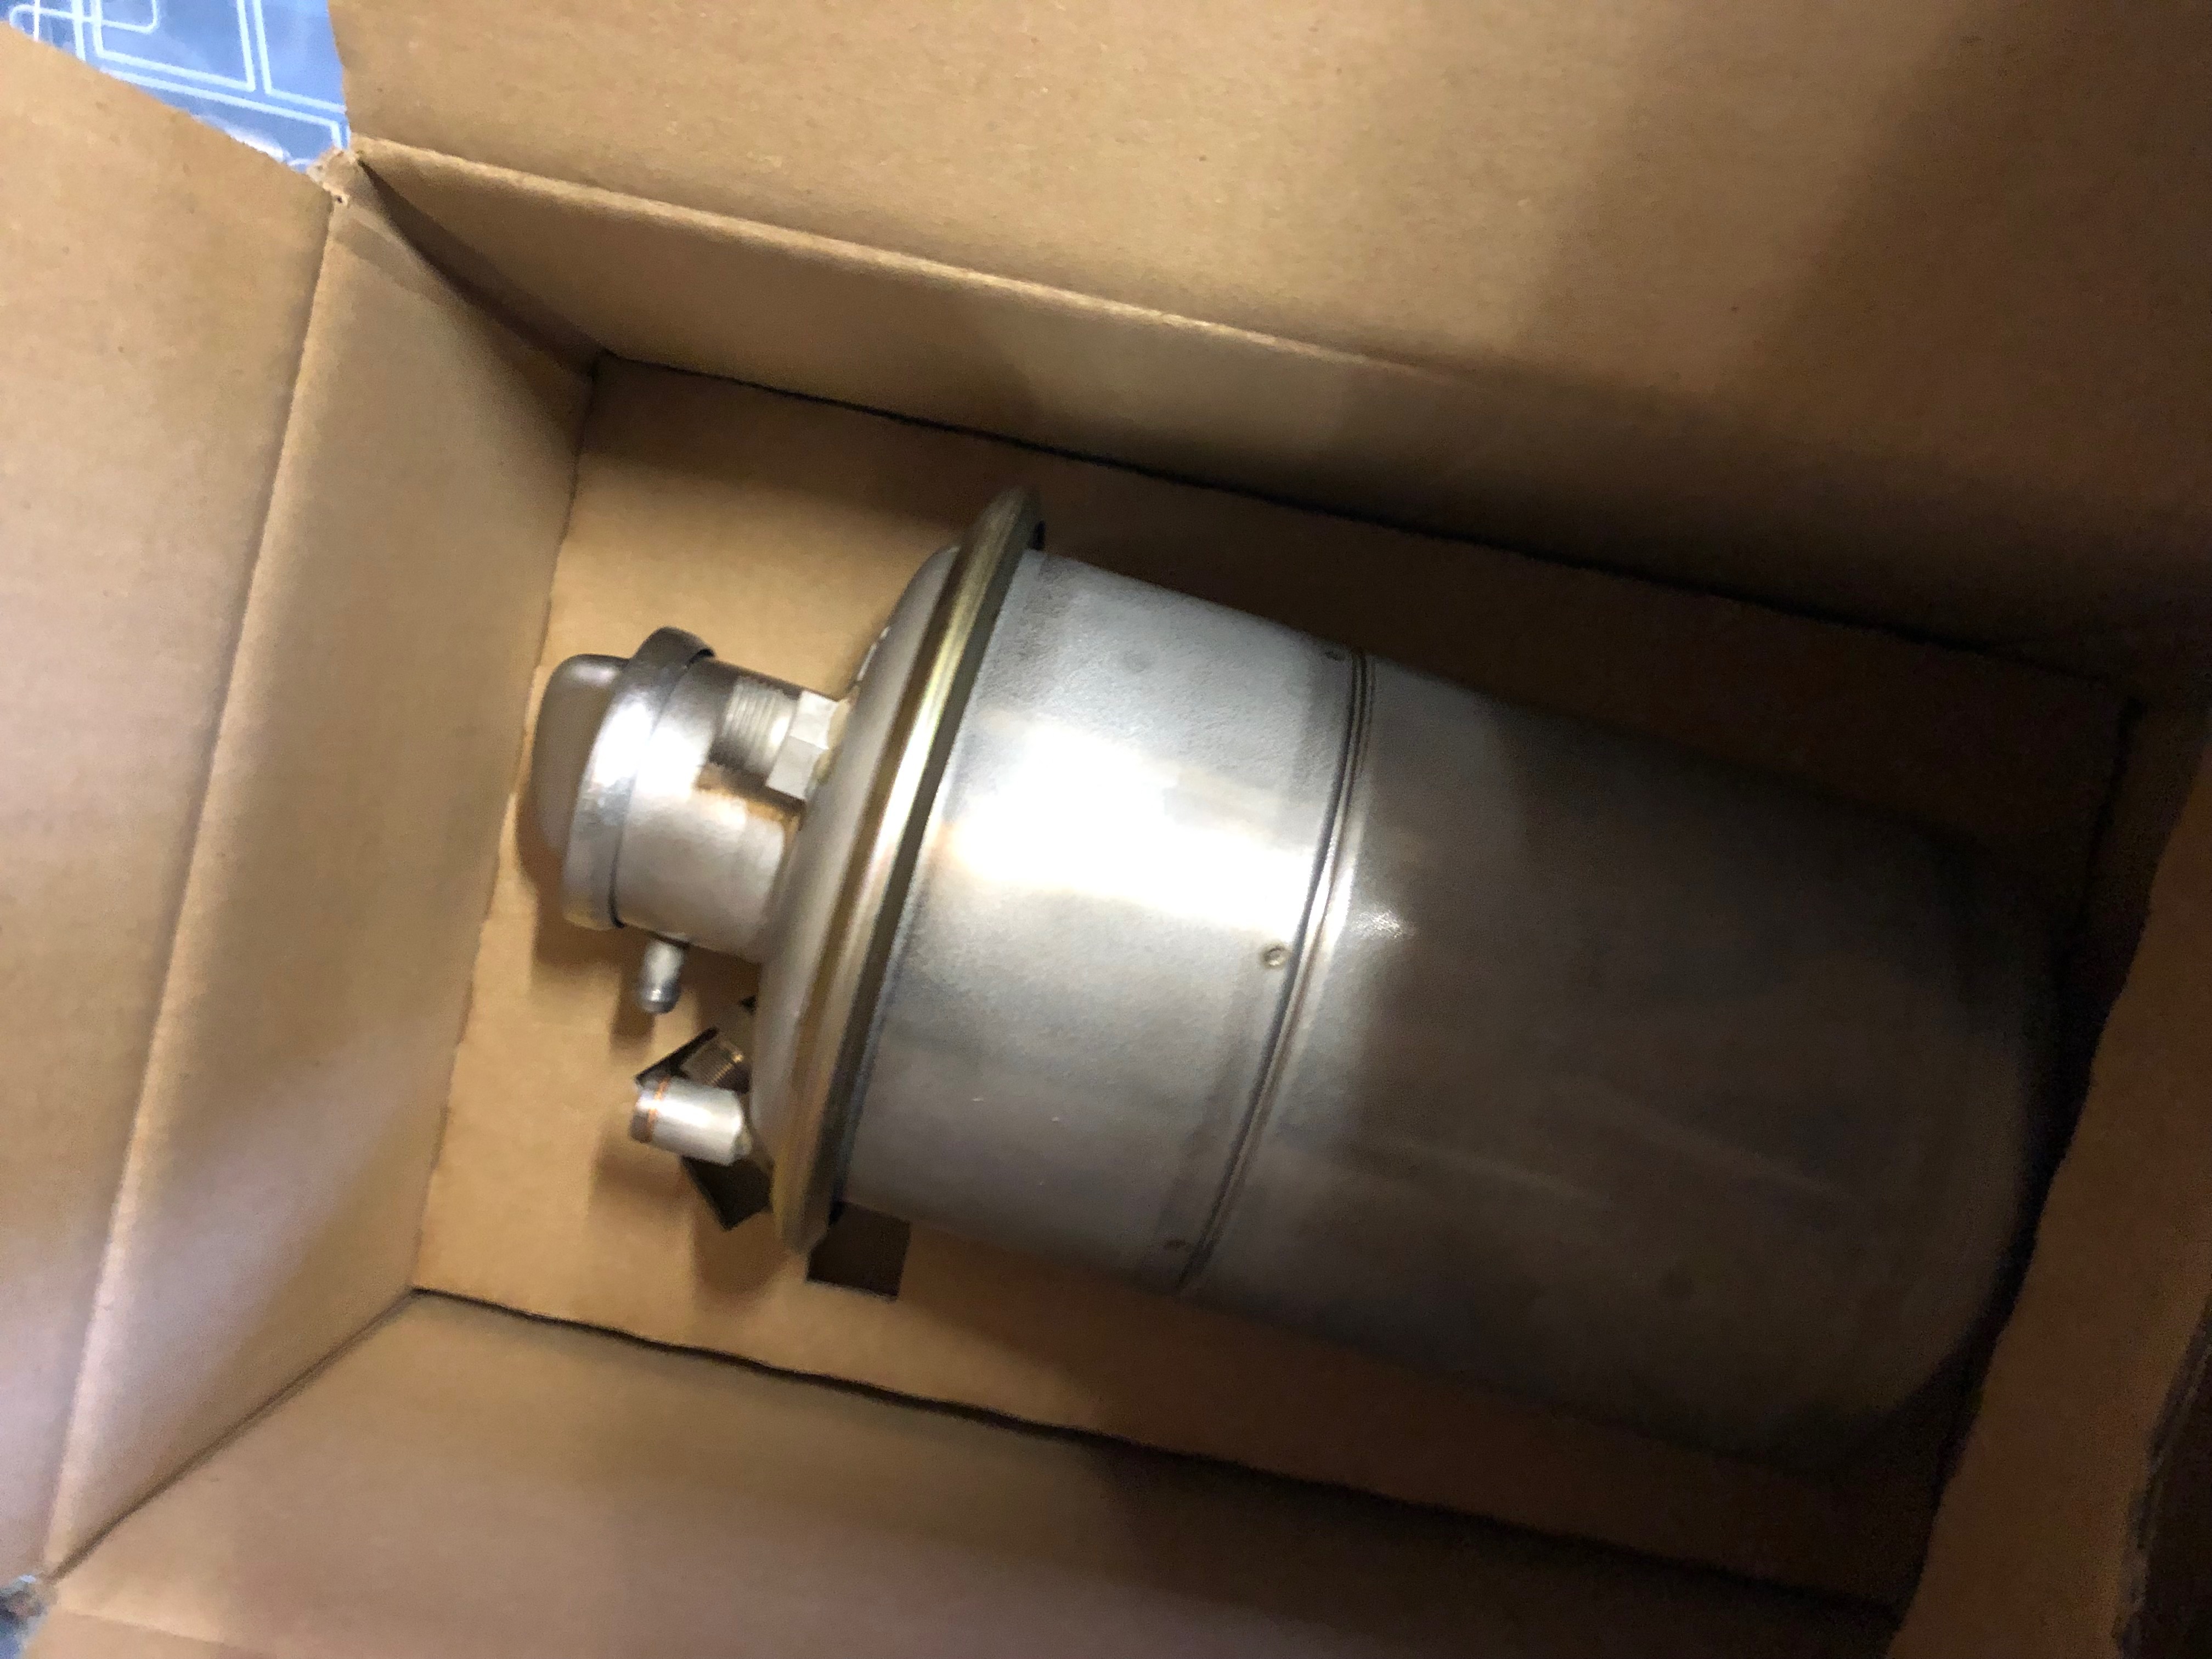
Gascolator bracket
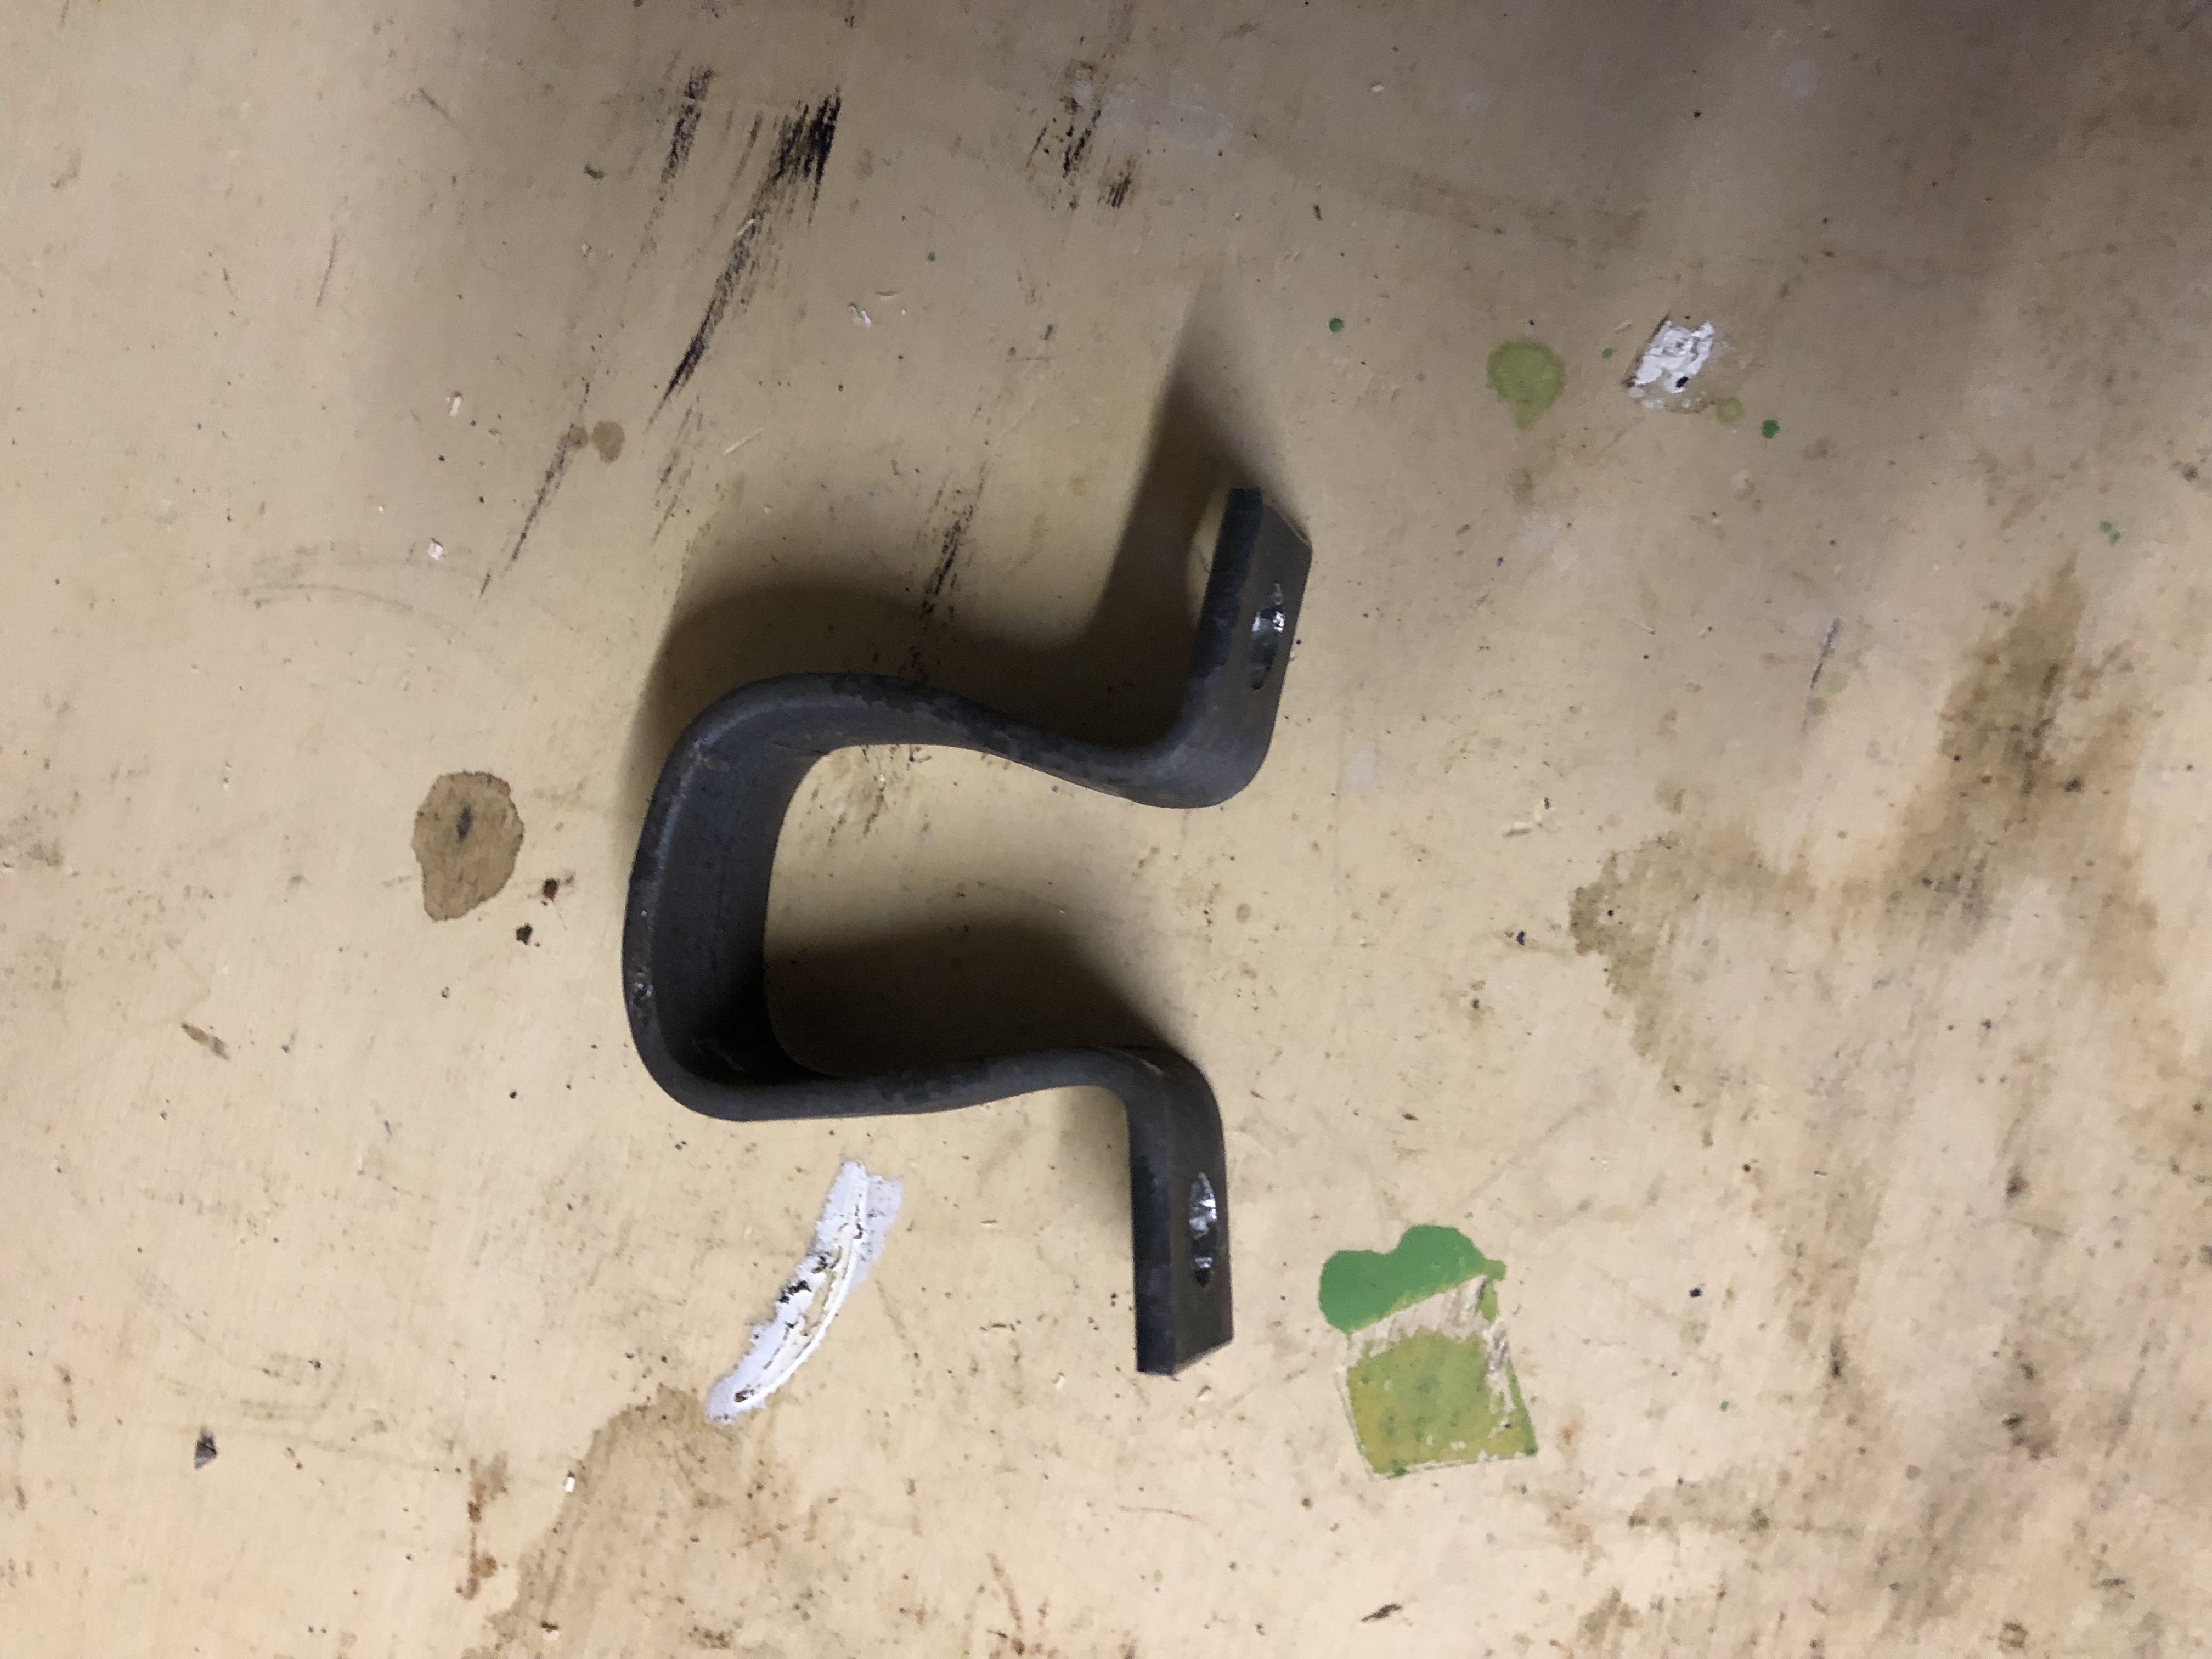
Heater control cable bracket
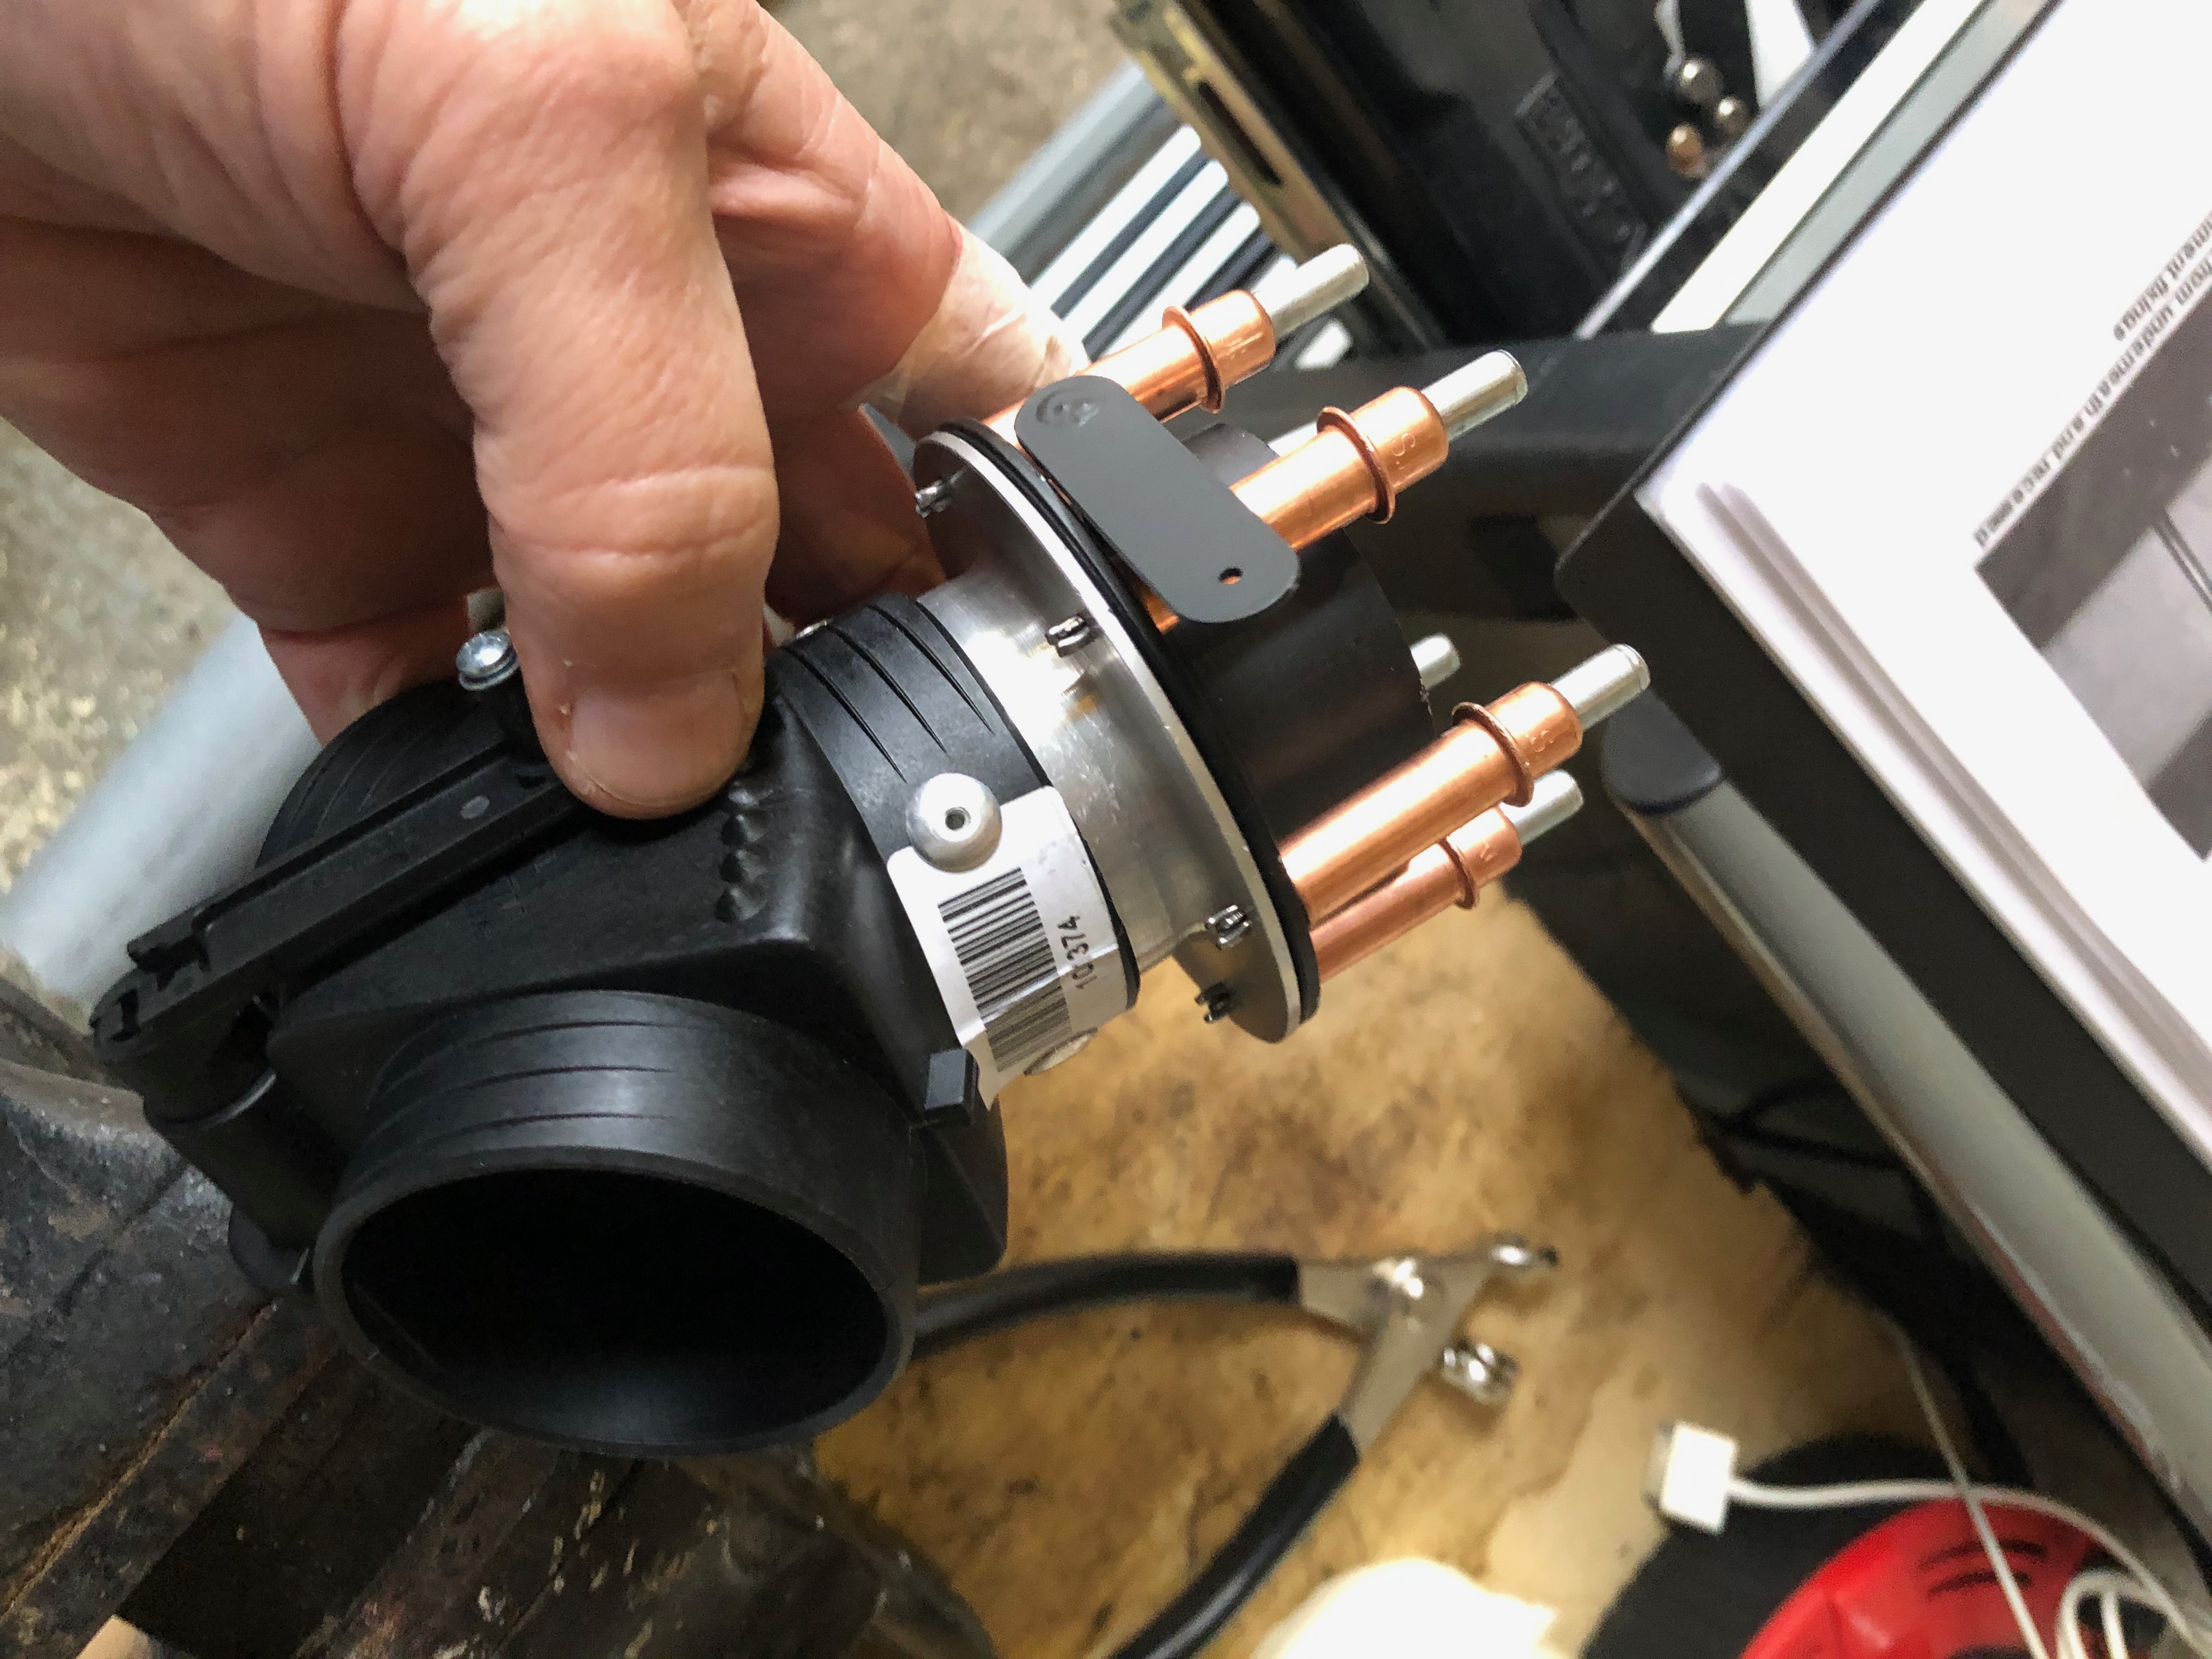
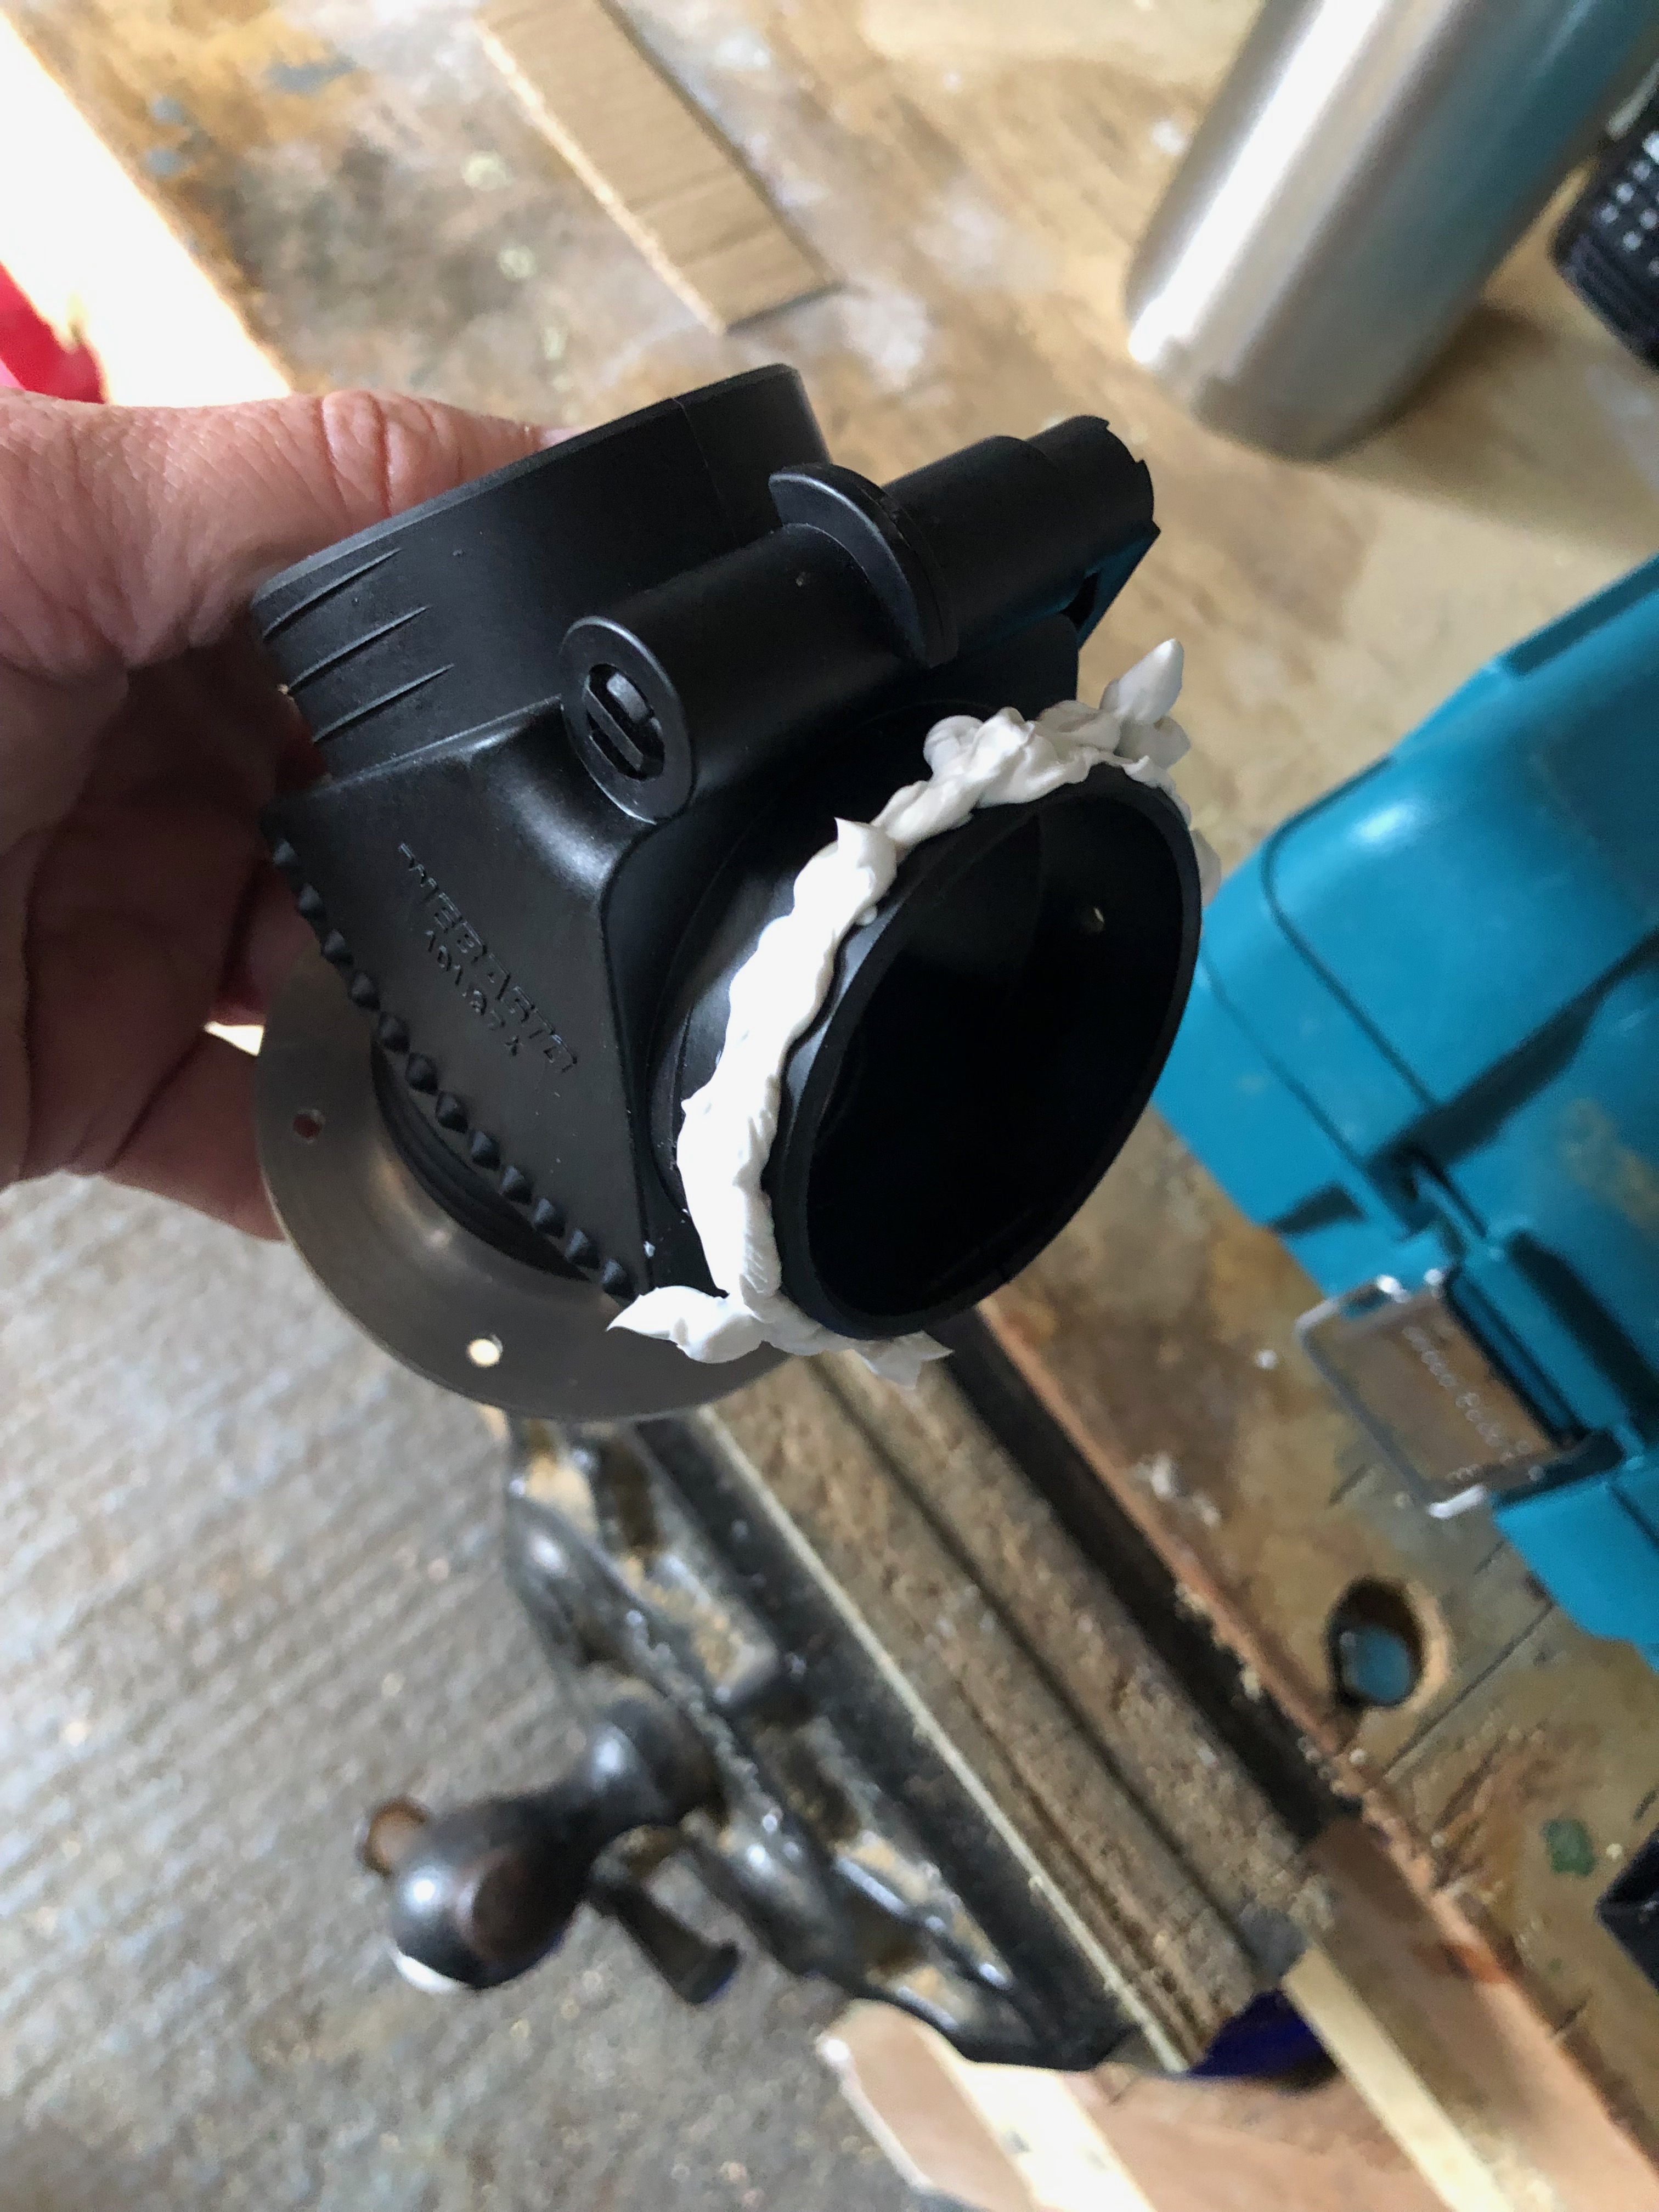
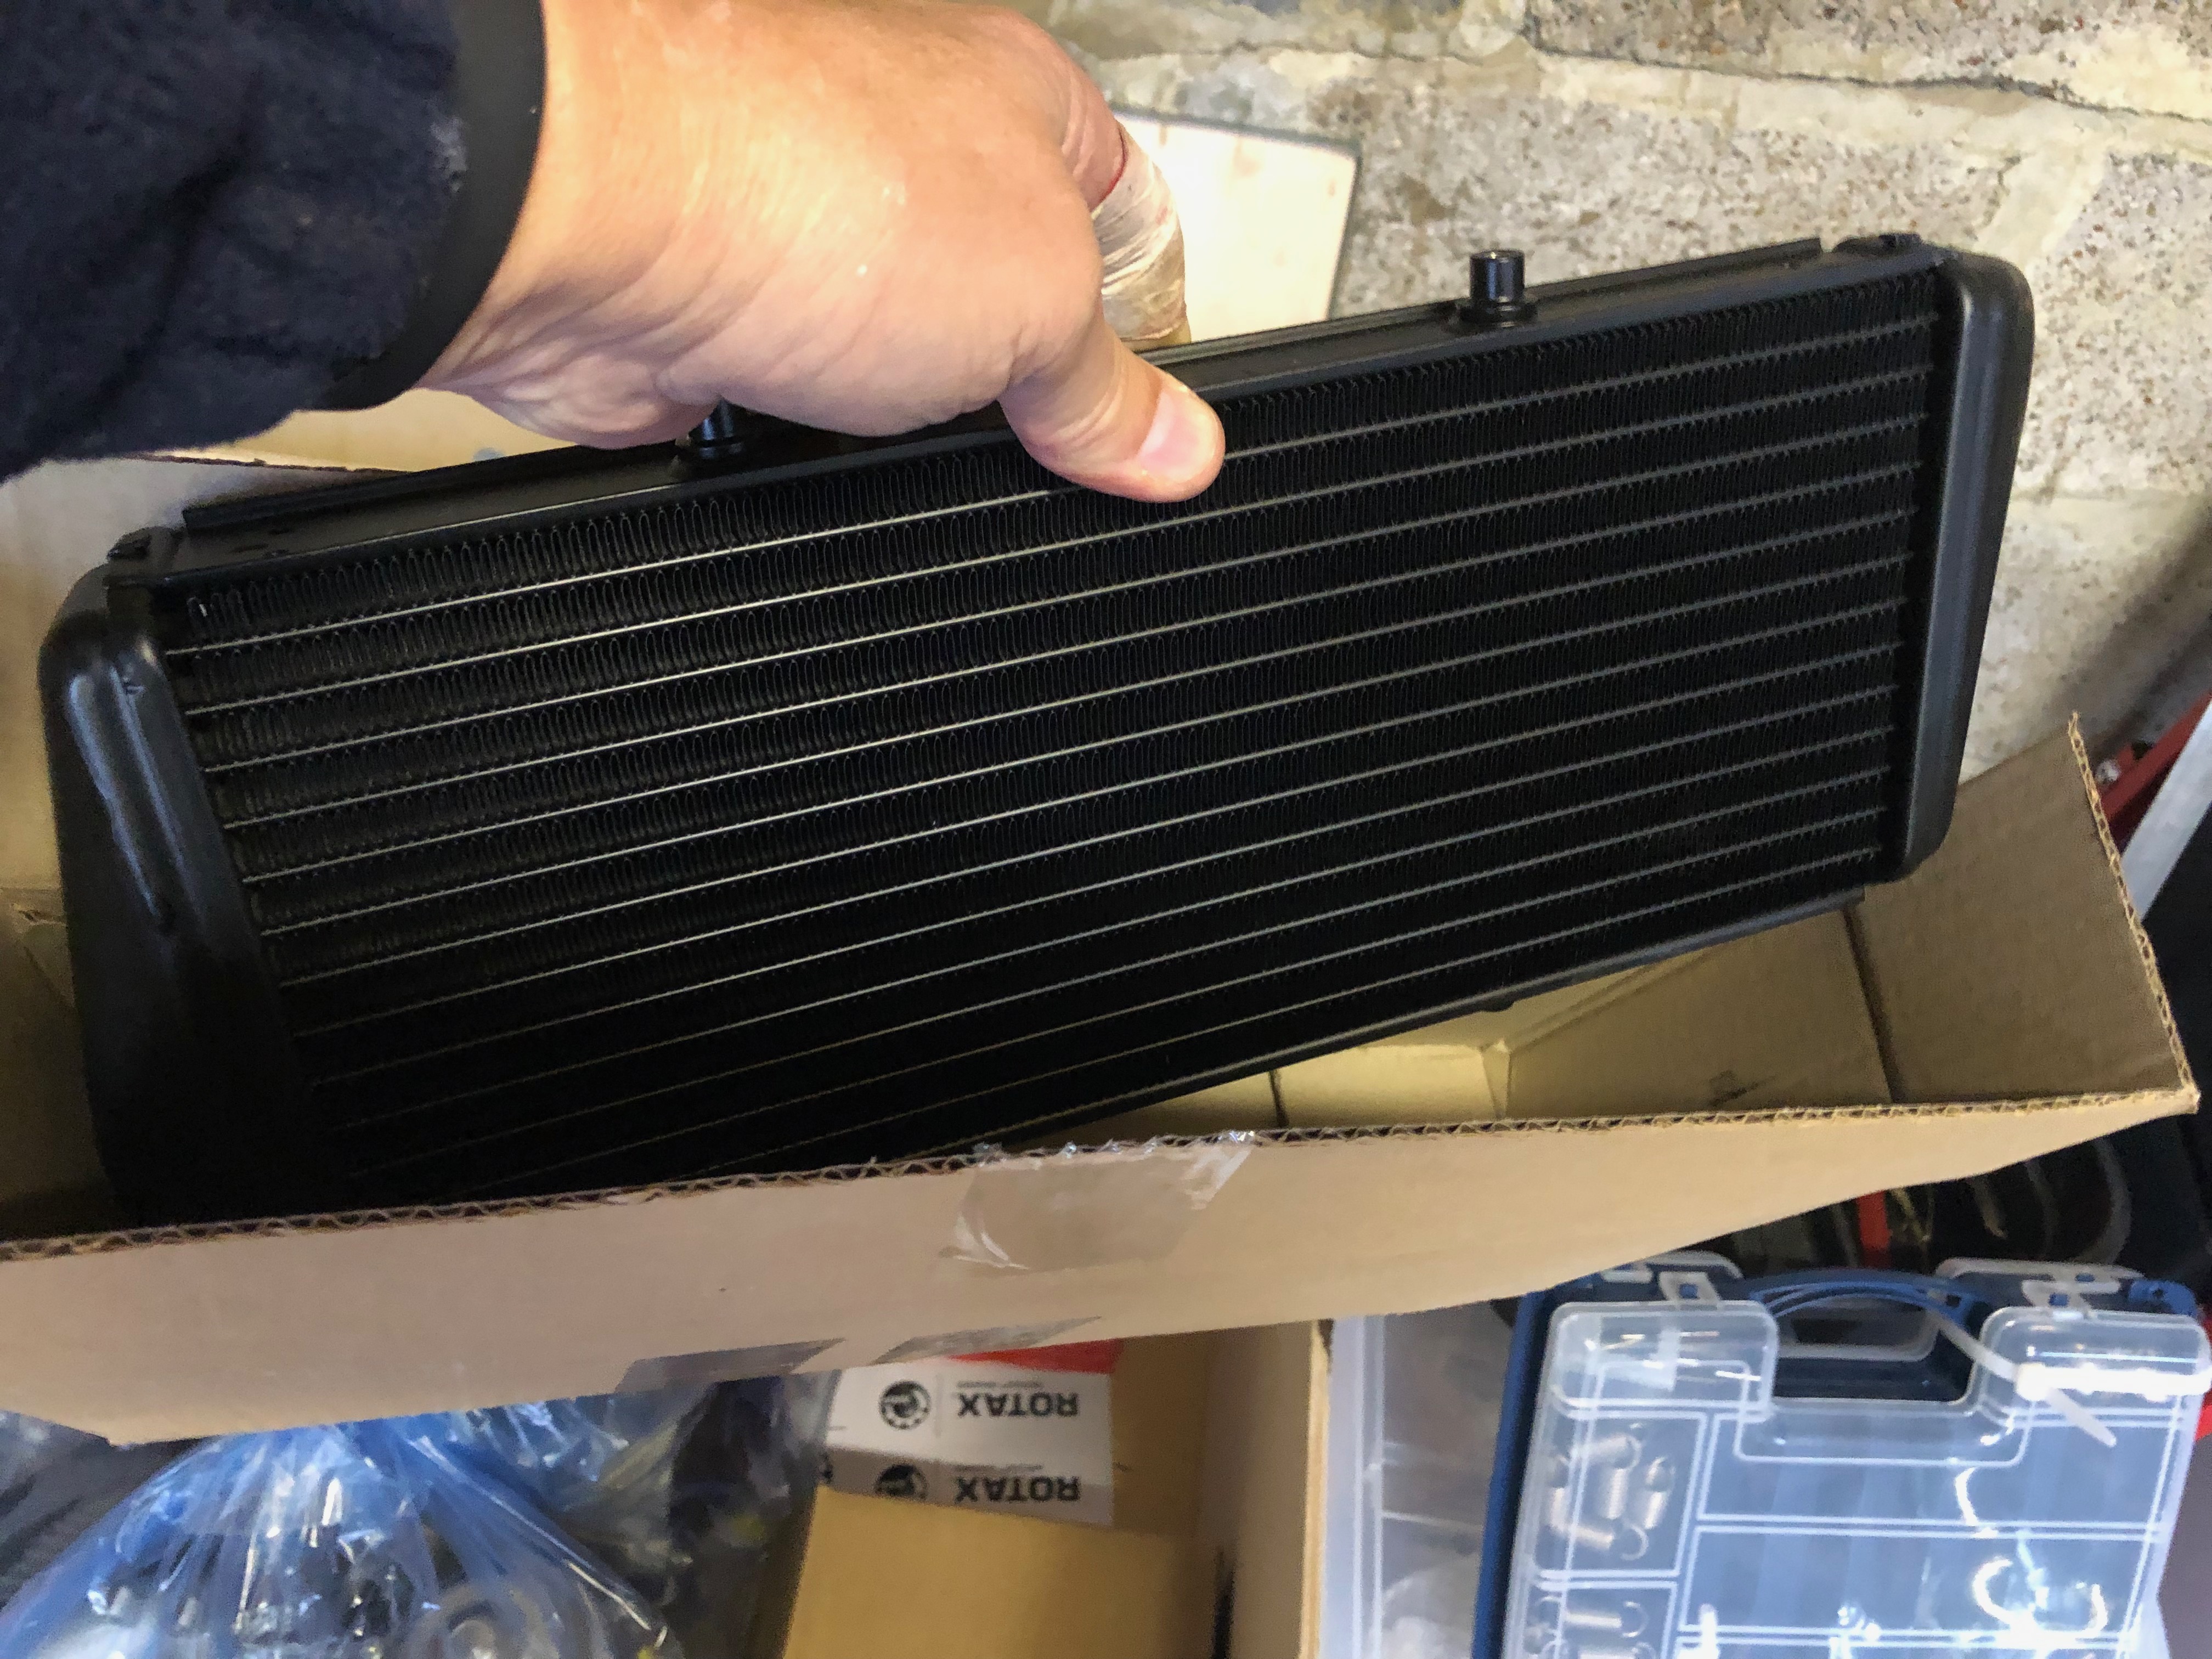
The fuel pump and firewall air ducts are next to be fitted once the canopy is removed
To ensure the wing root bolts don’t rust some lithium grease was sprayed on them
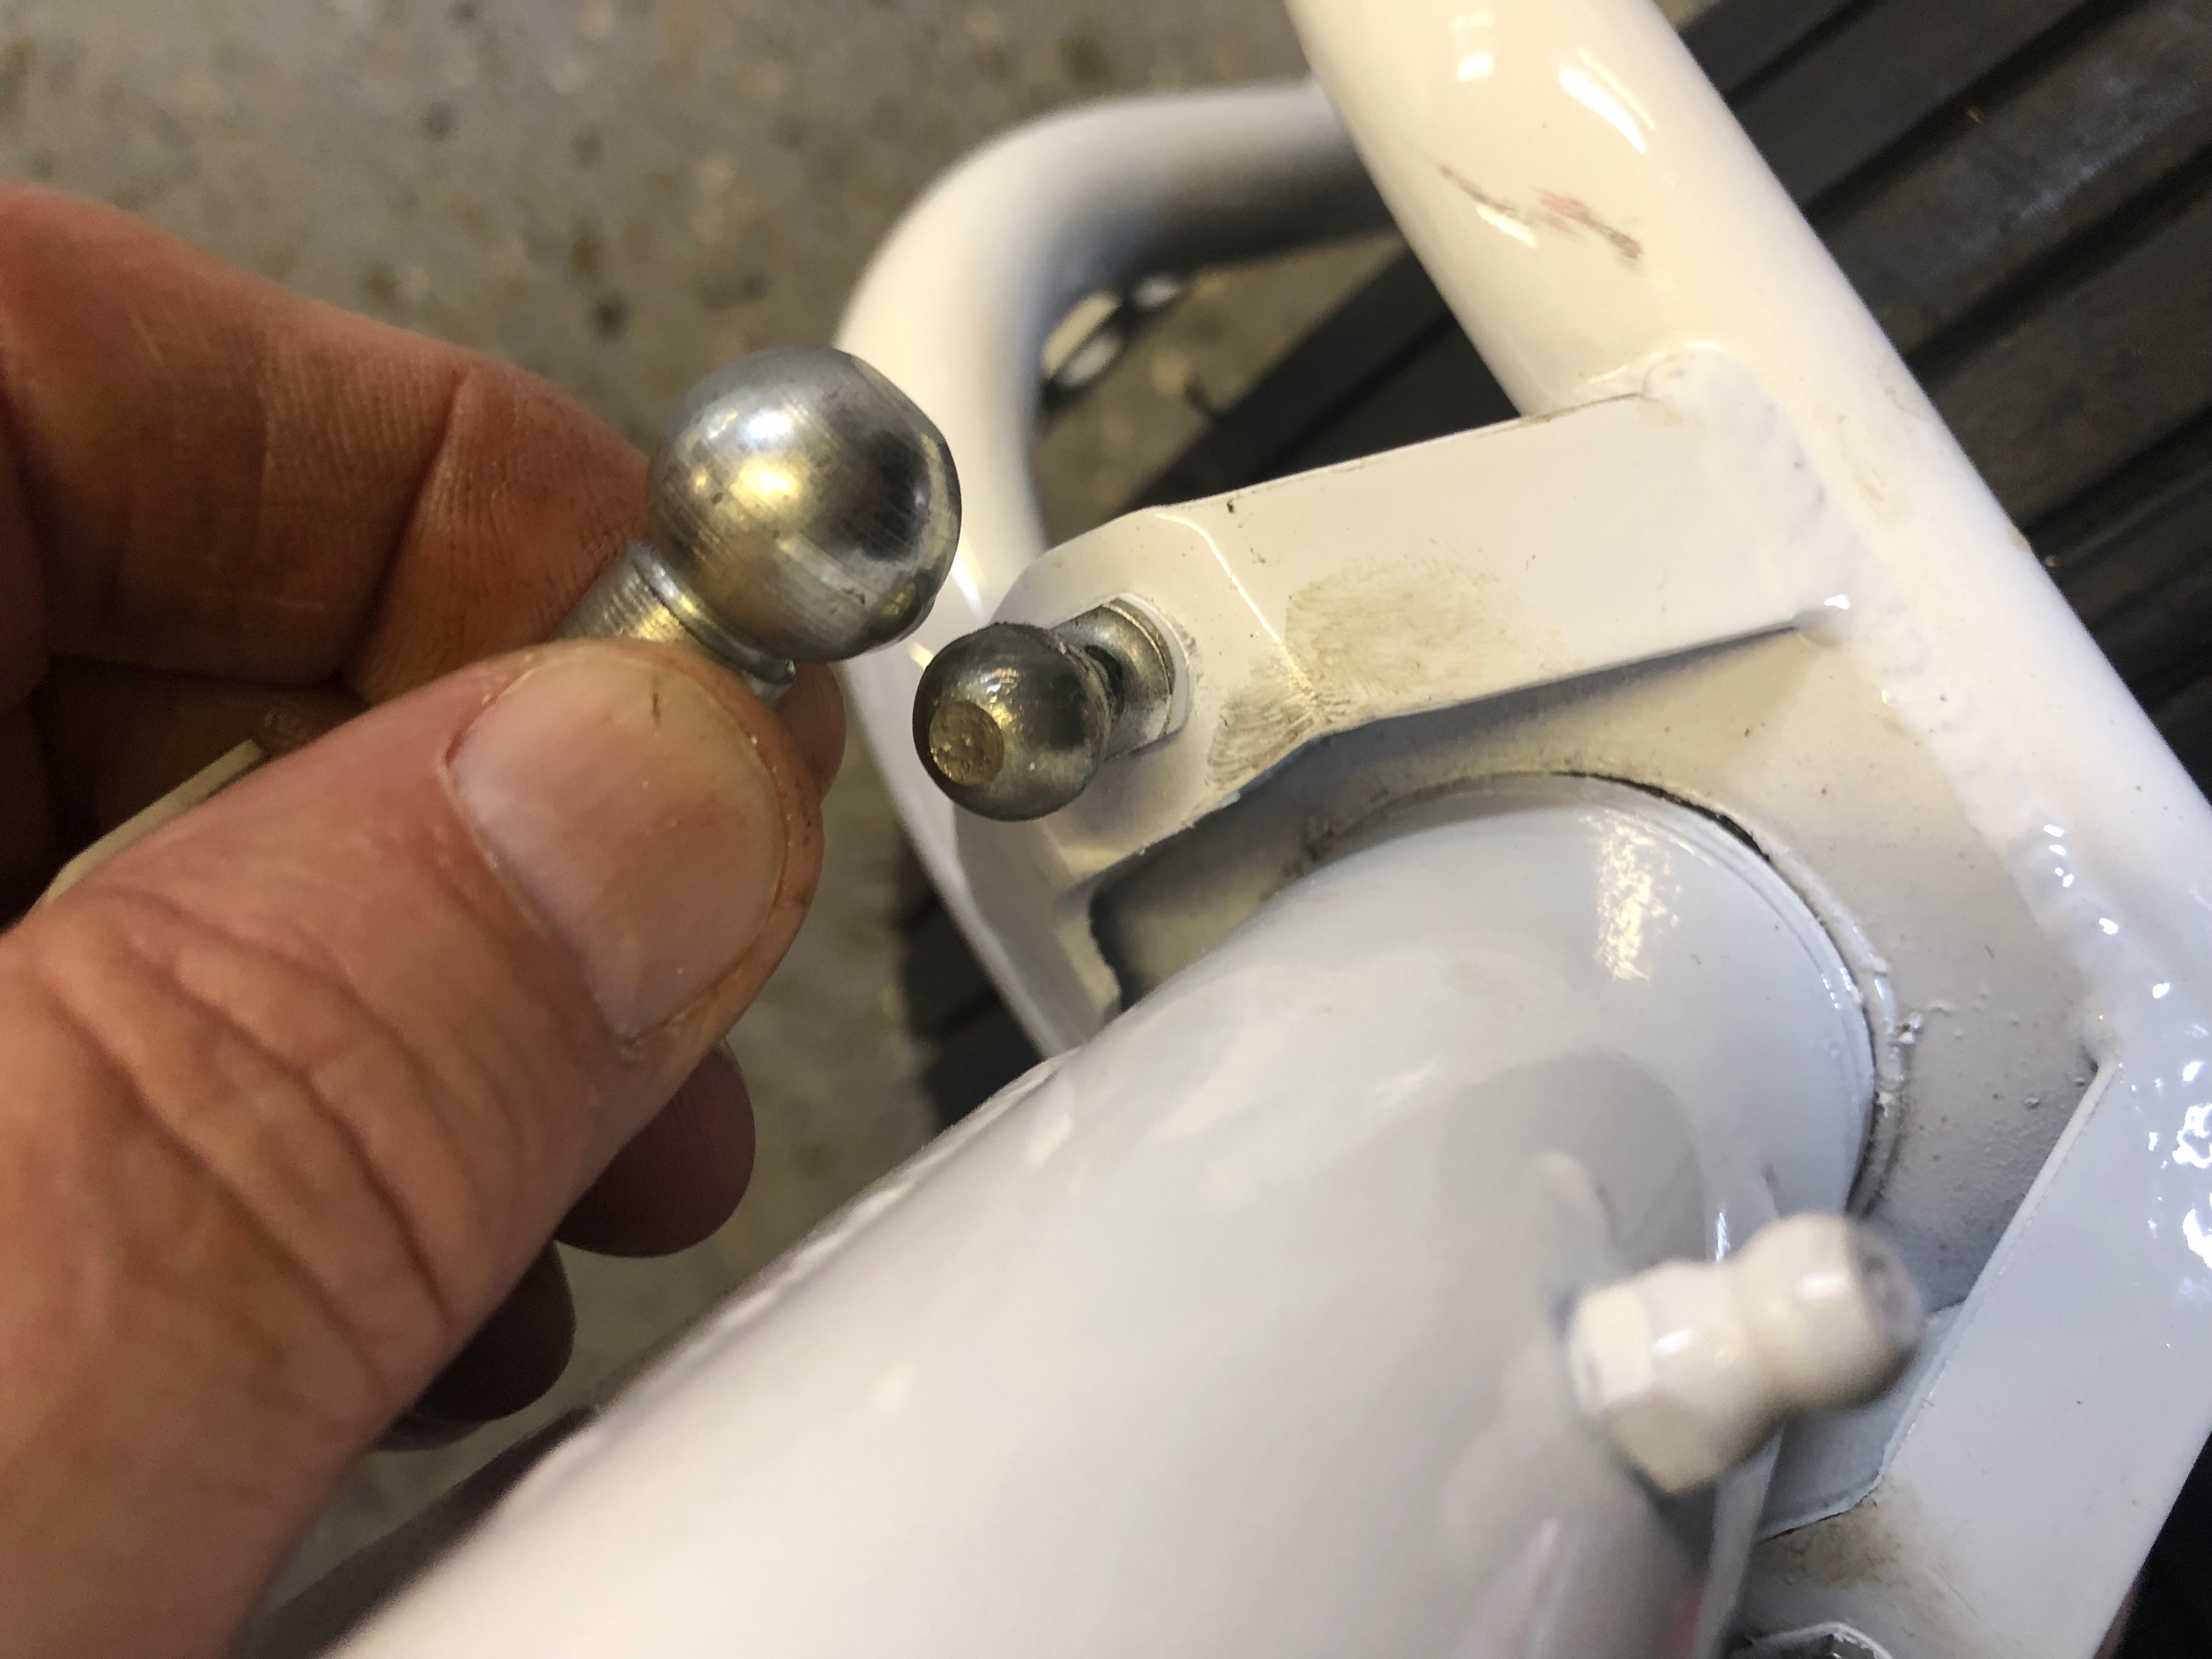
Steering cable ball connectors were removed, greased and refitted
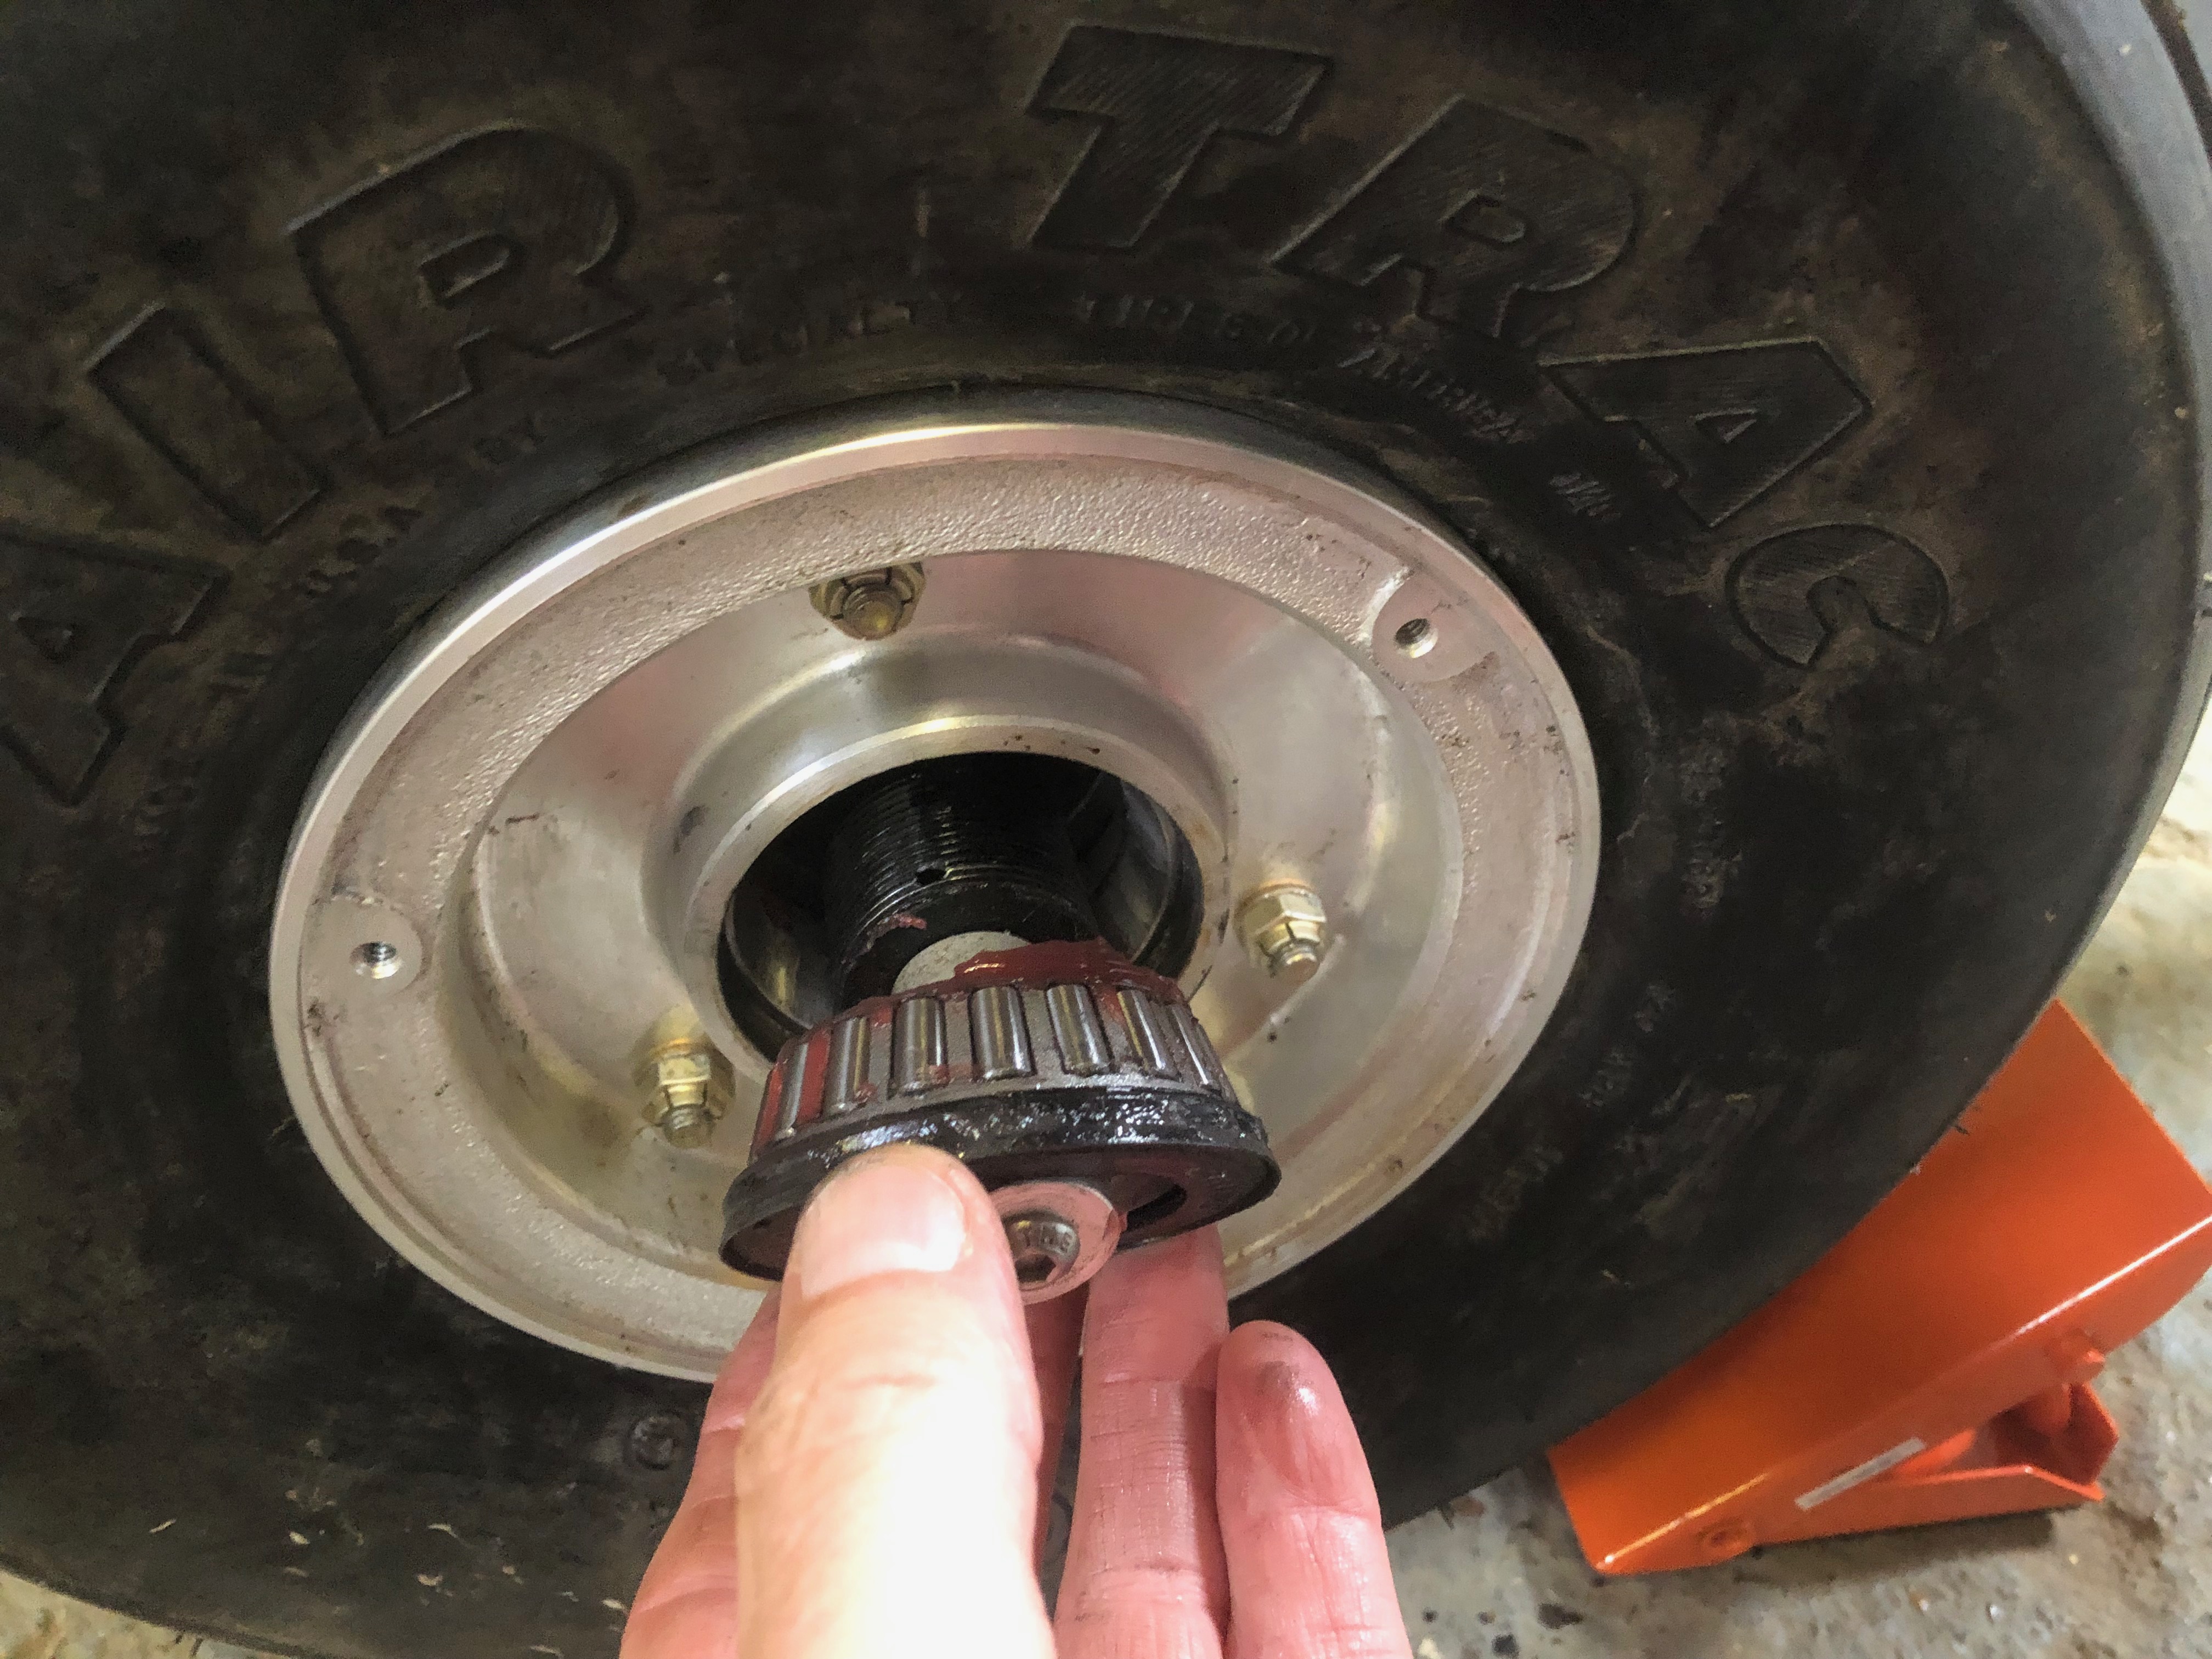
The kit comes with the wheels, hubs and brake callipers fitted to facilitate transport and movement but are not final fit so need to be removed, greased, checked and refitted ensuring all bolts are correctly torqued.
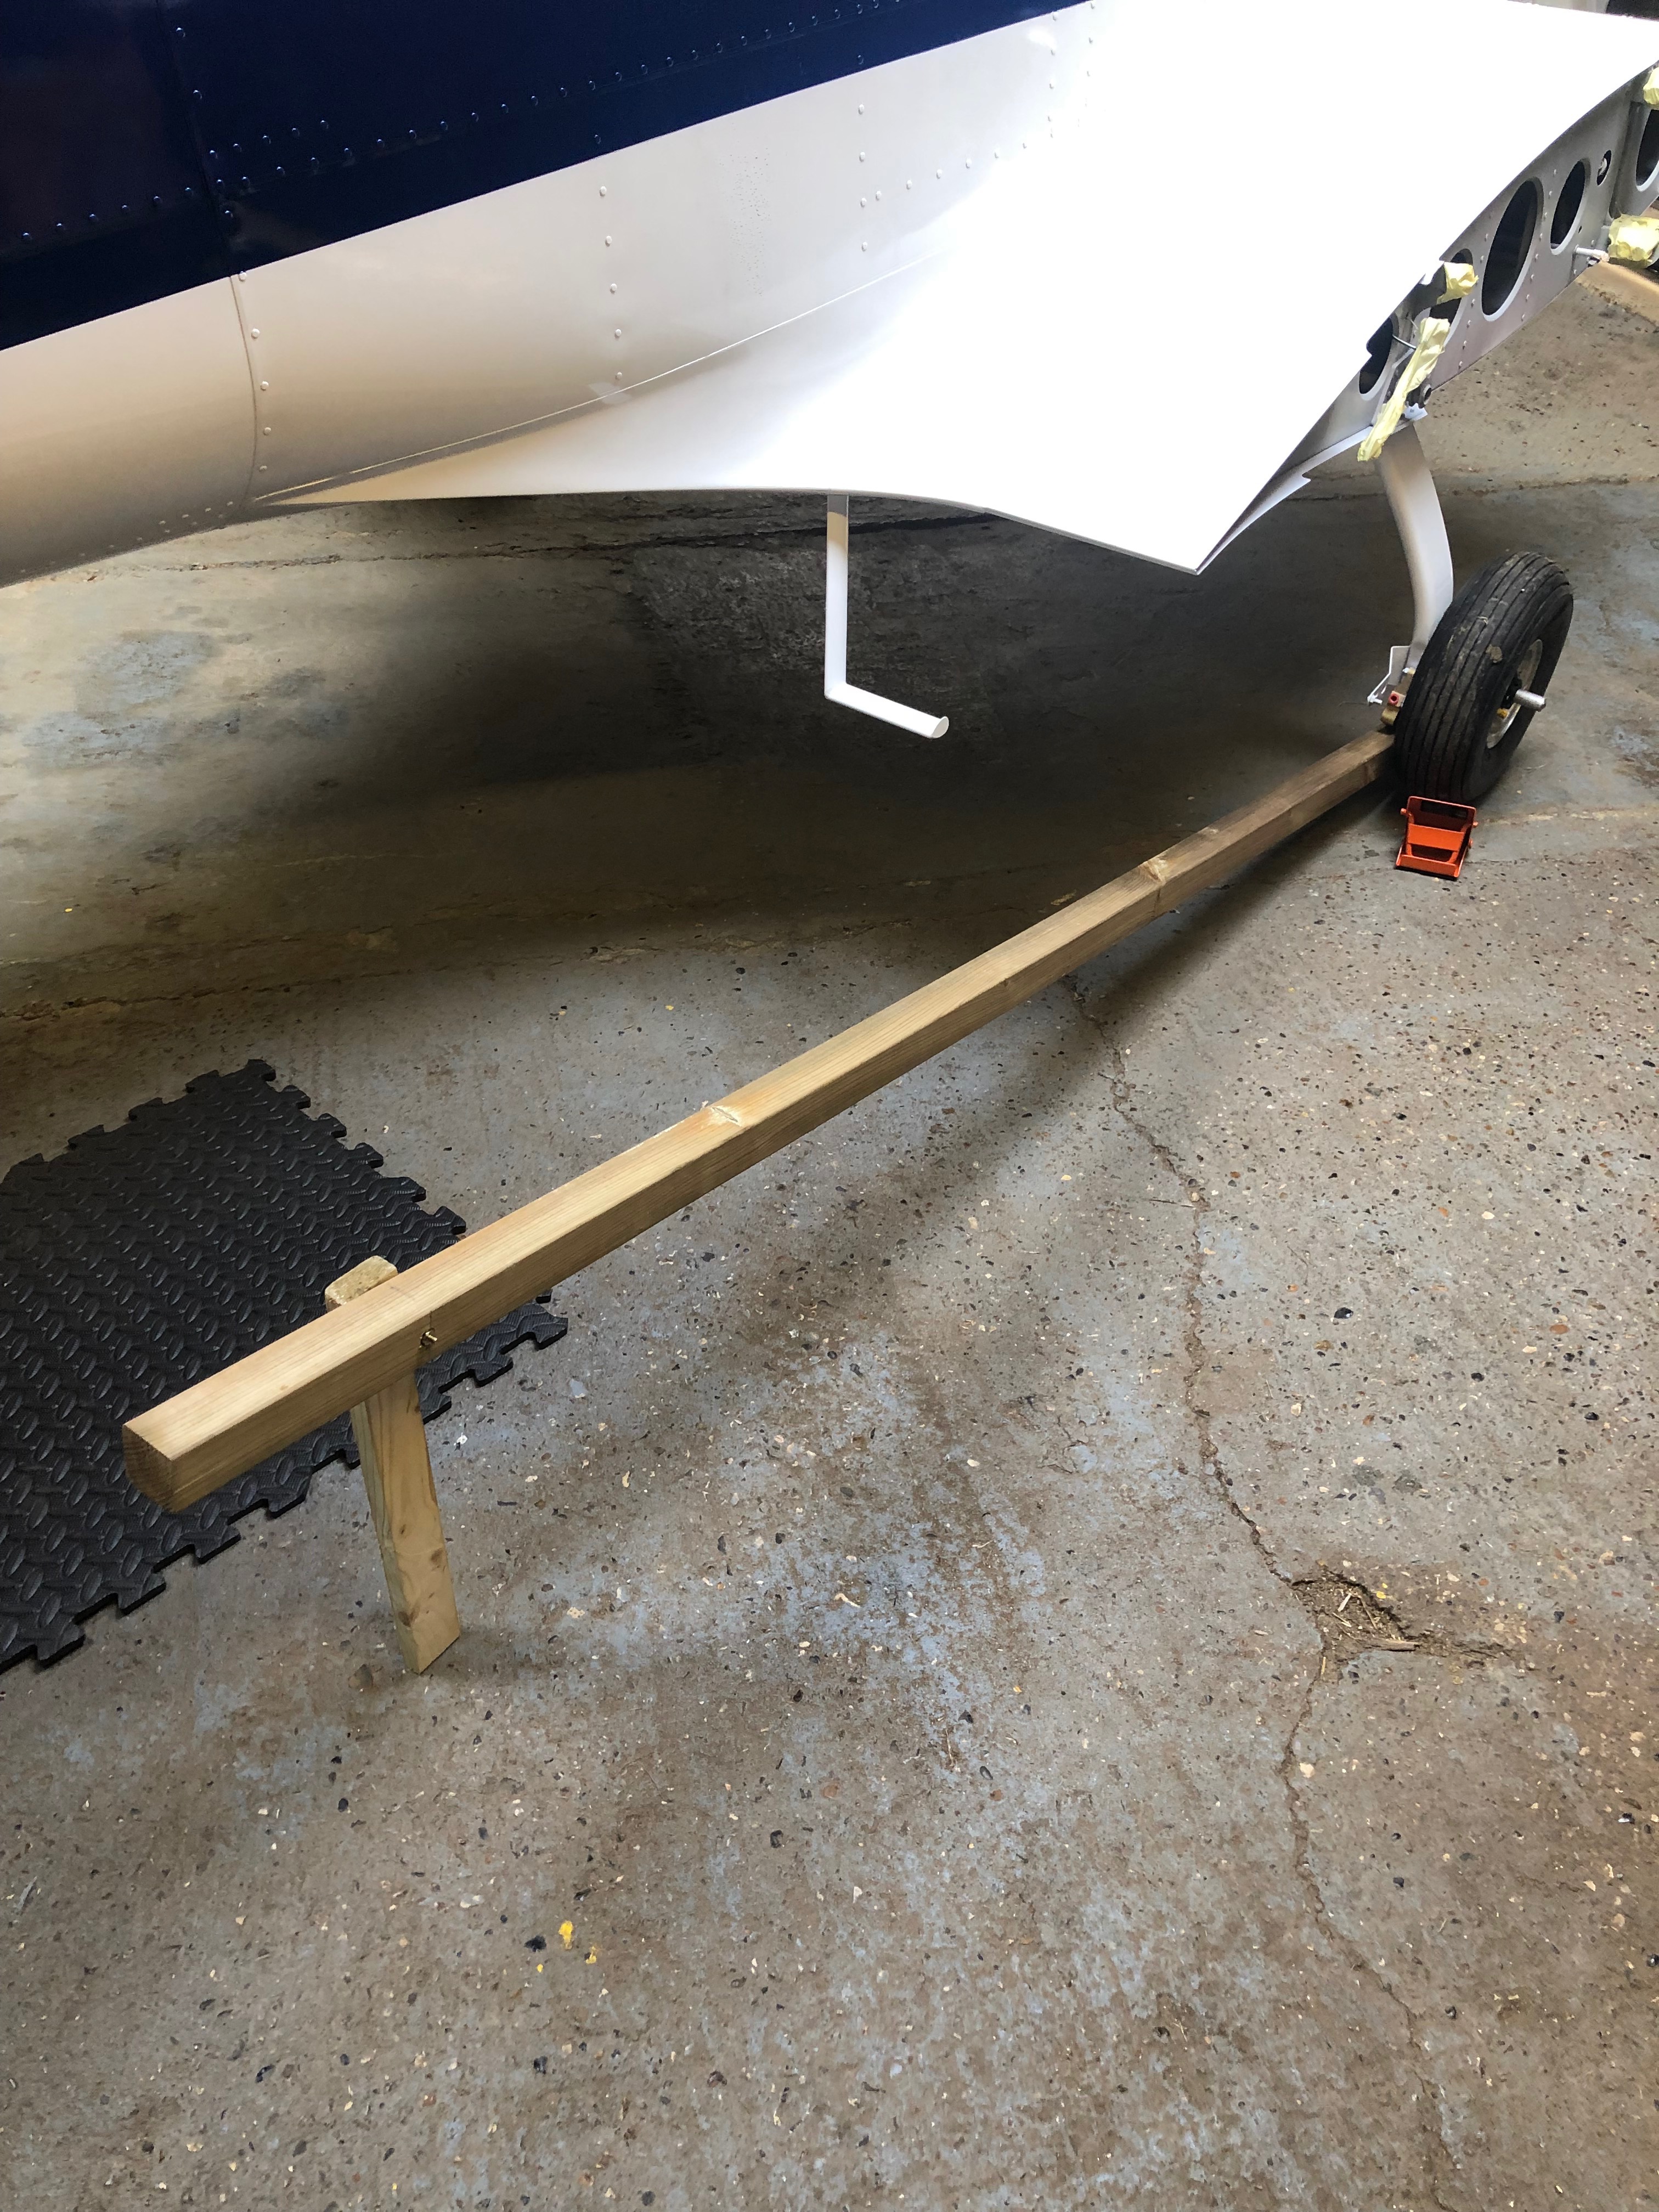
To jack the aircraft so the wheel bearing can be removed and greased a simple wooden jack is made.
To help lift the wheel off the ground a suitable ‘jack’ was made from a length of 2″ x 2″ wood.
Once the wheel is clear of the ground the bearings are removed
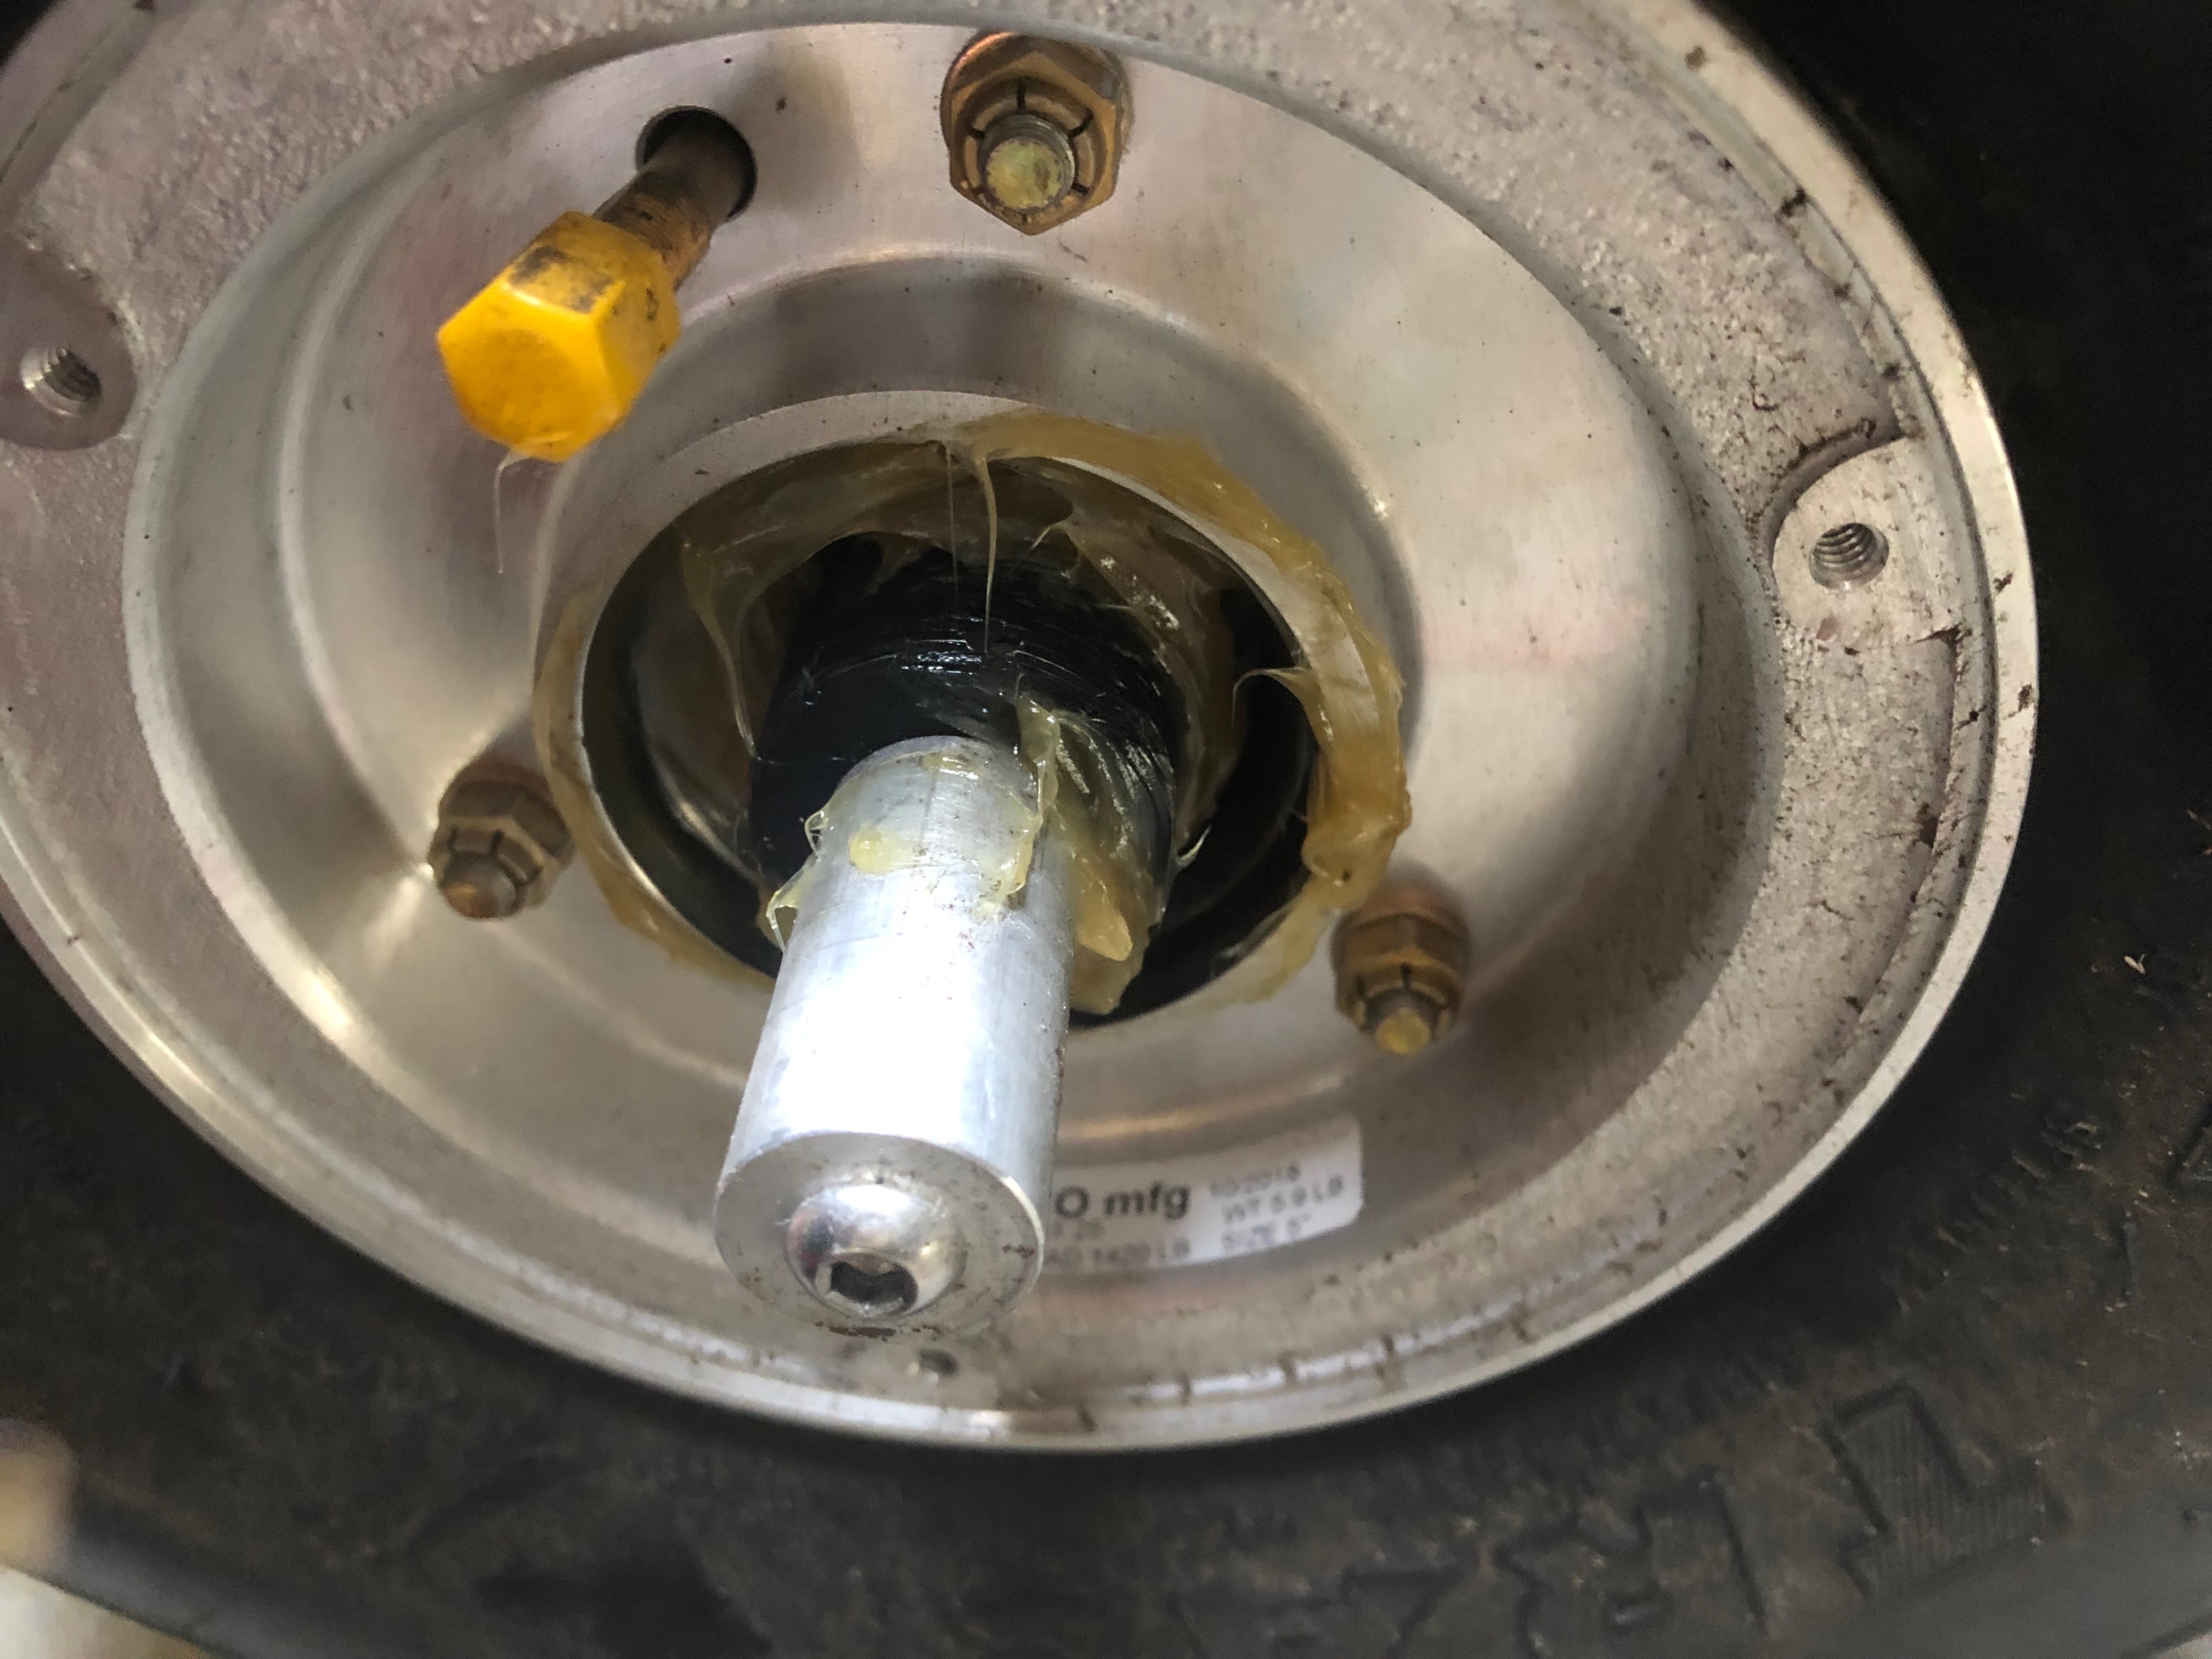
Recess packed with grease.
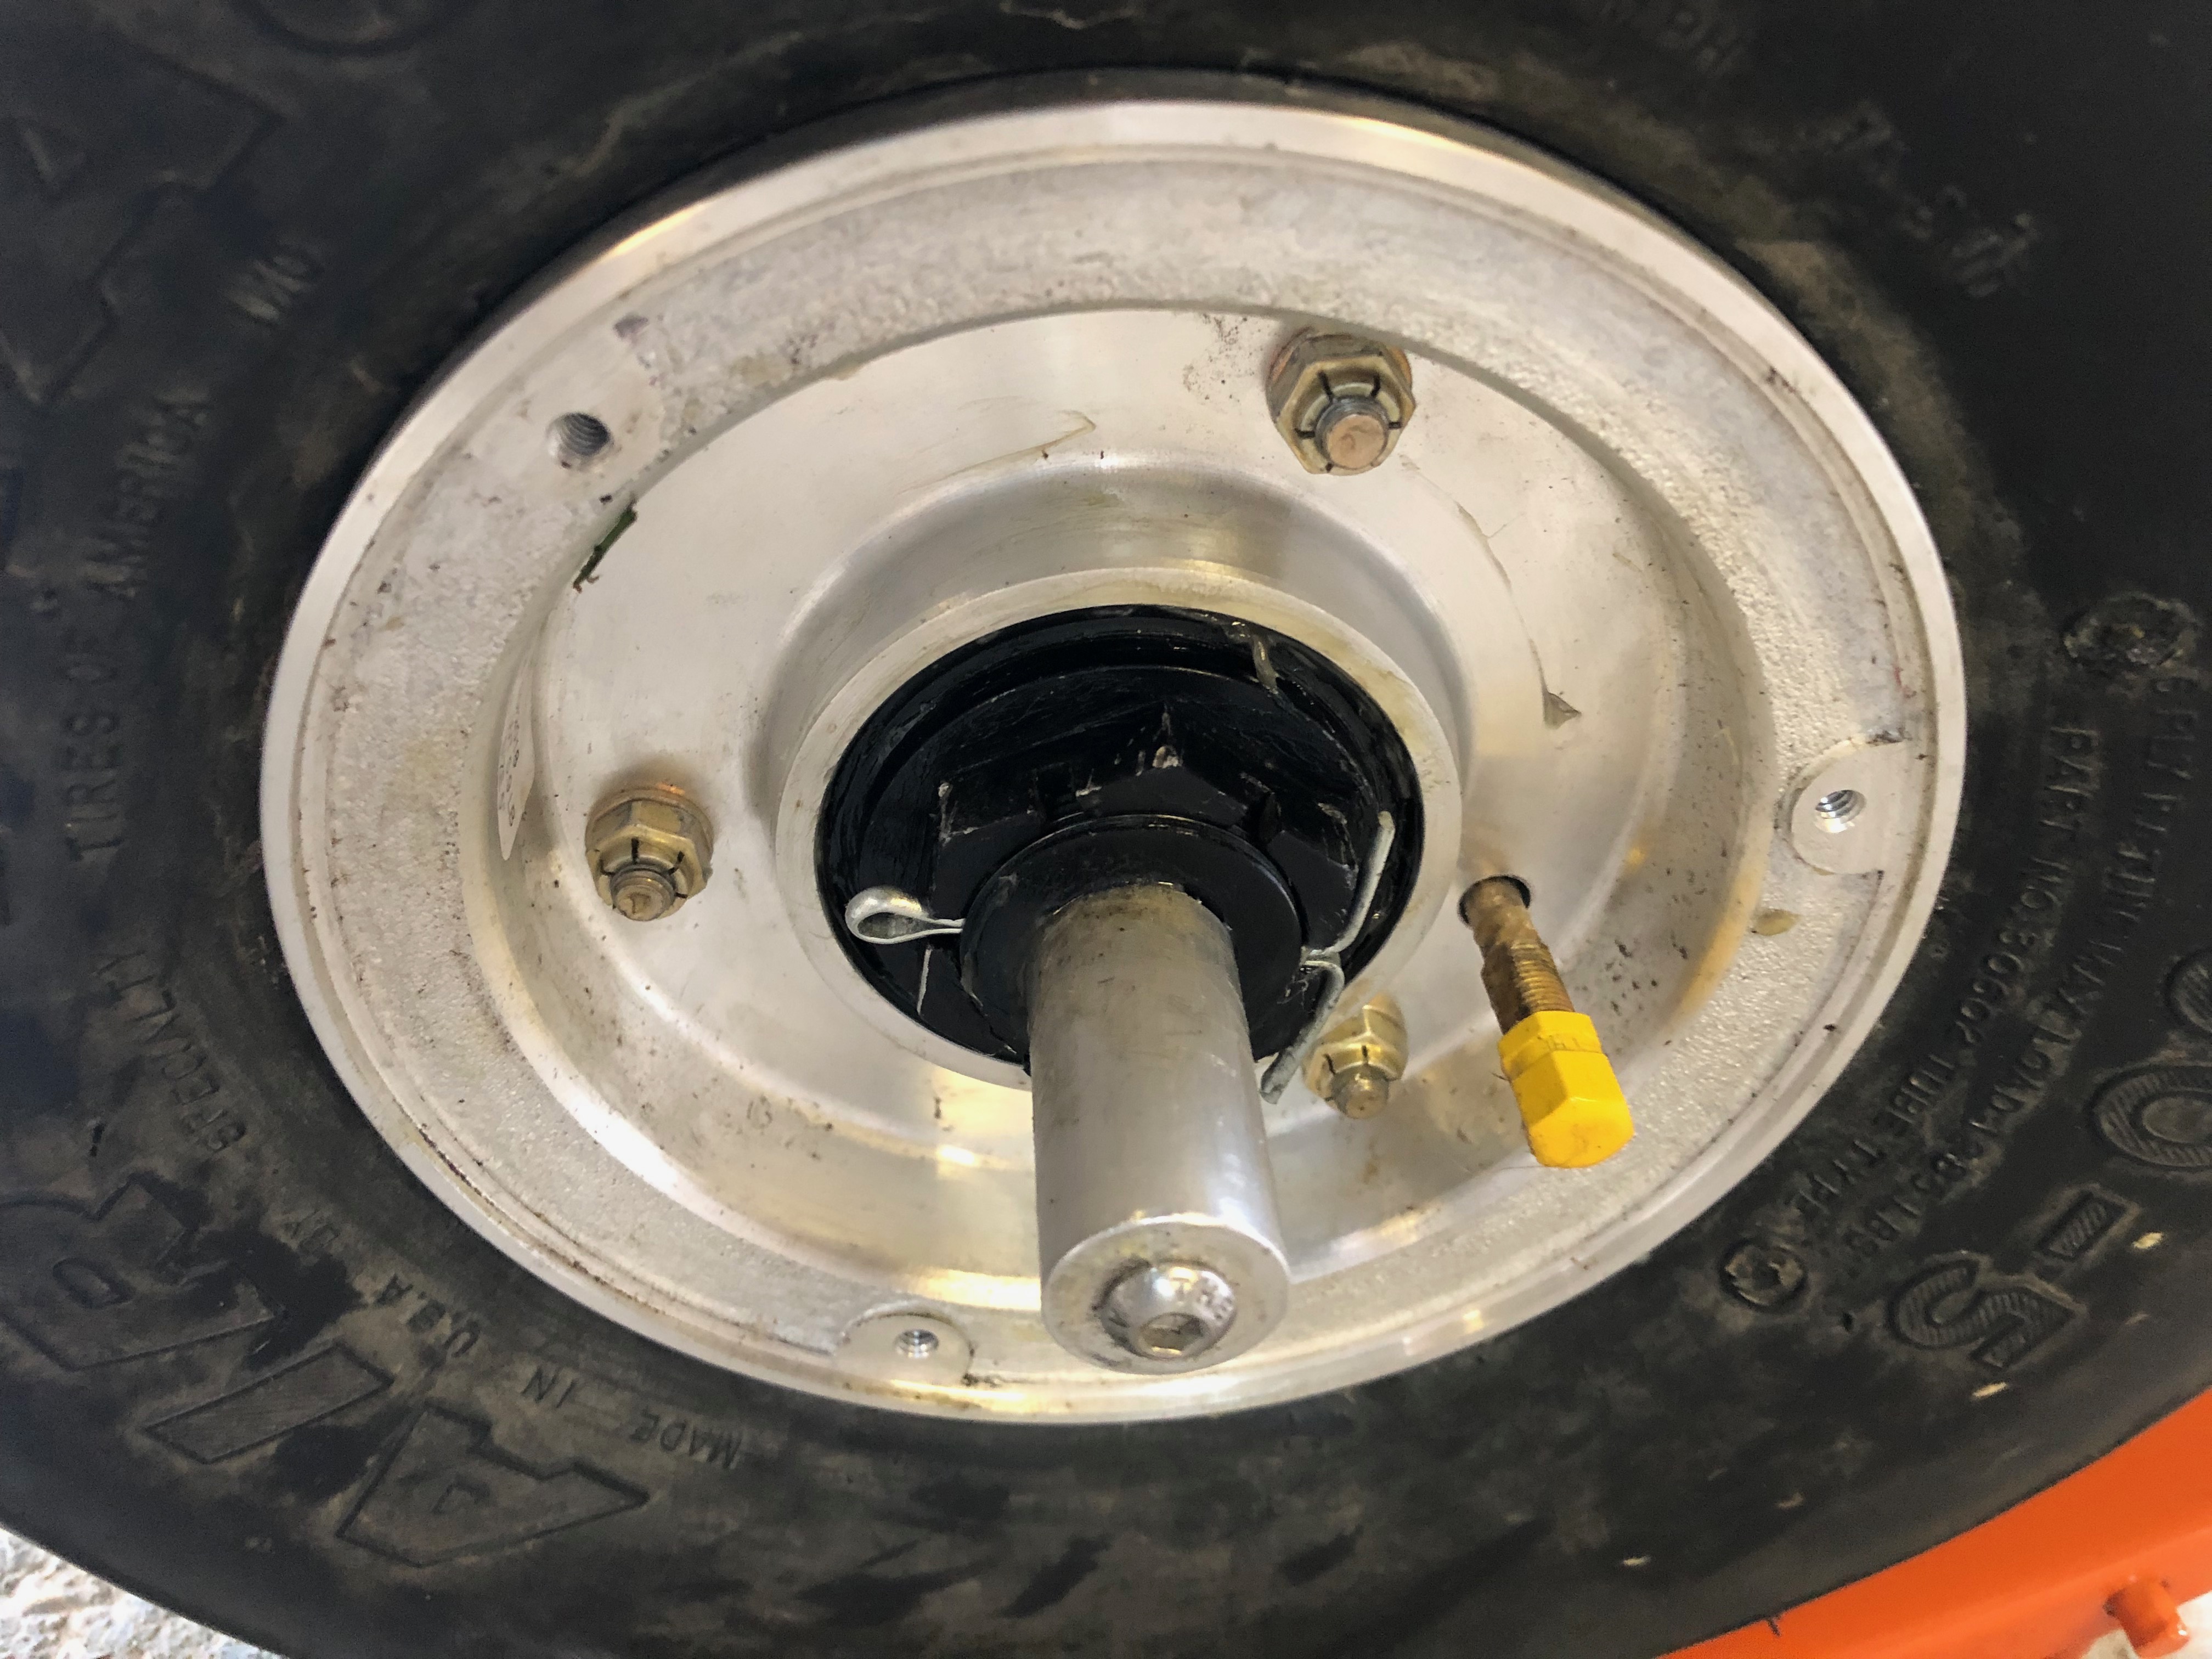
Wheel bearing is refitted, the wheel nut is refitted, tightened and a new split pin fitted.
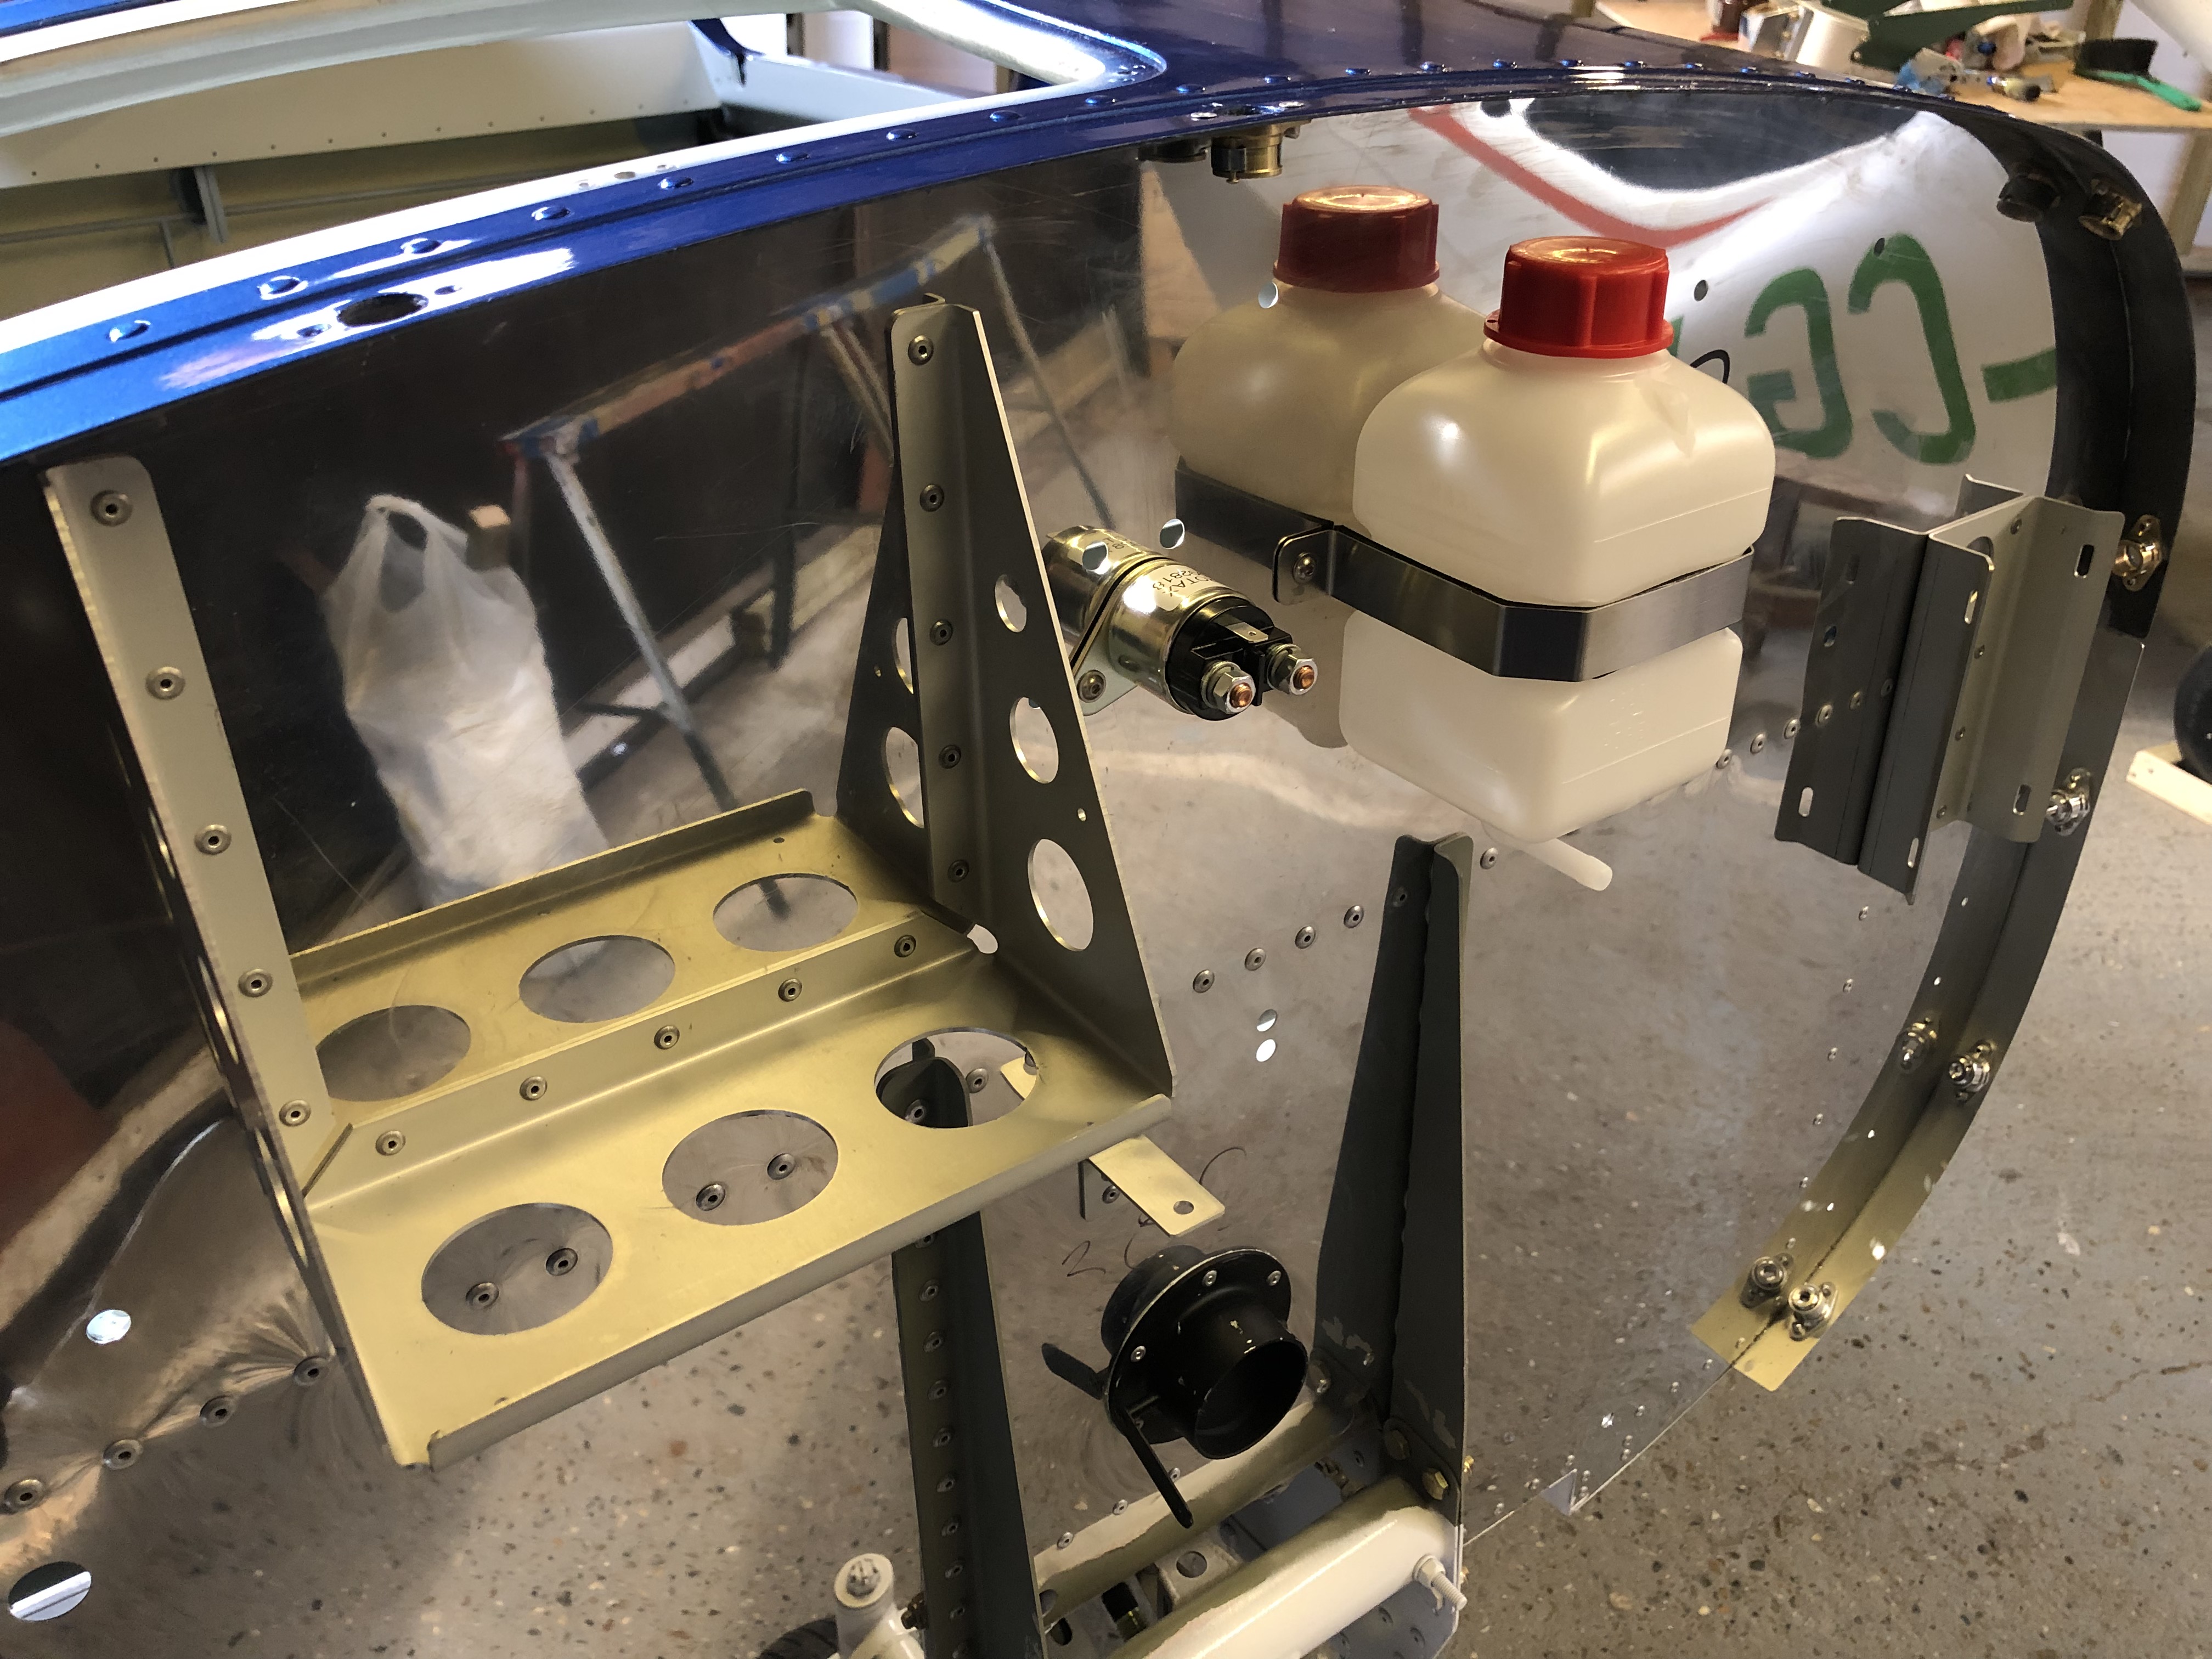
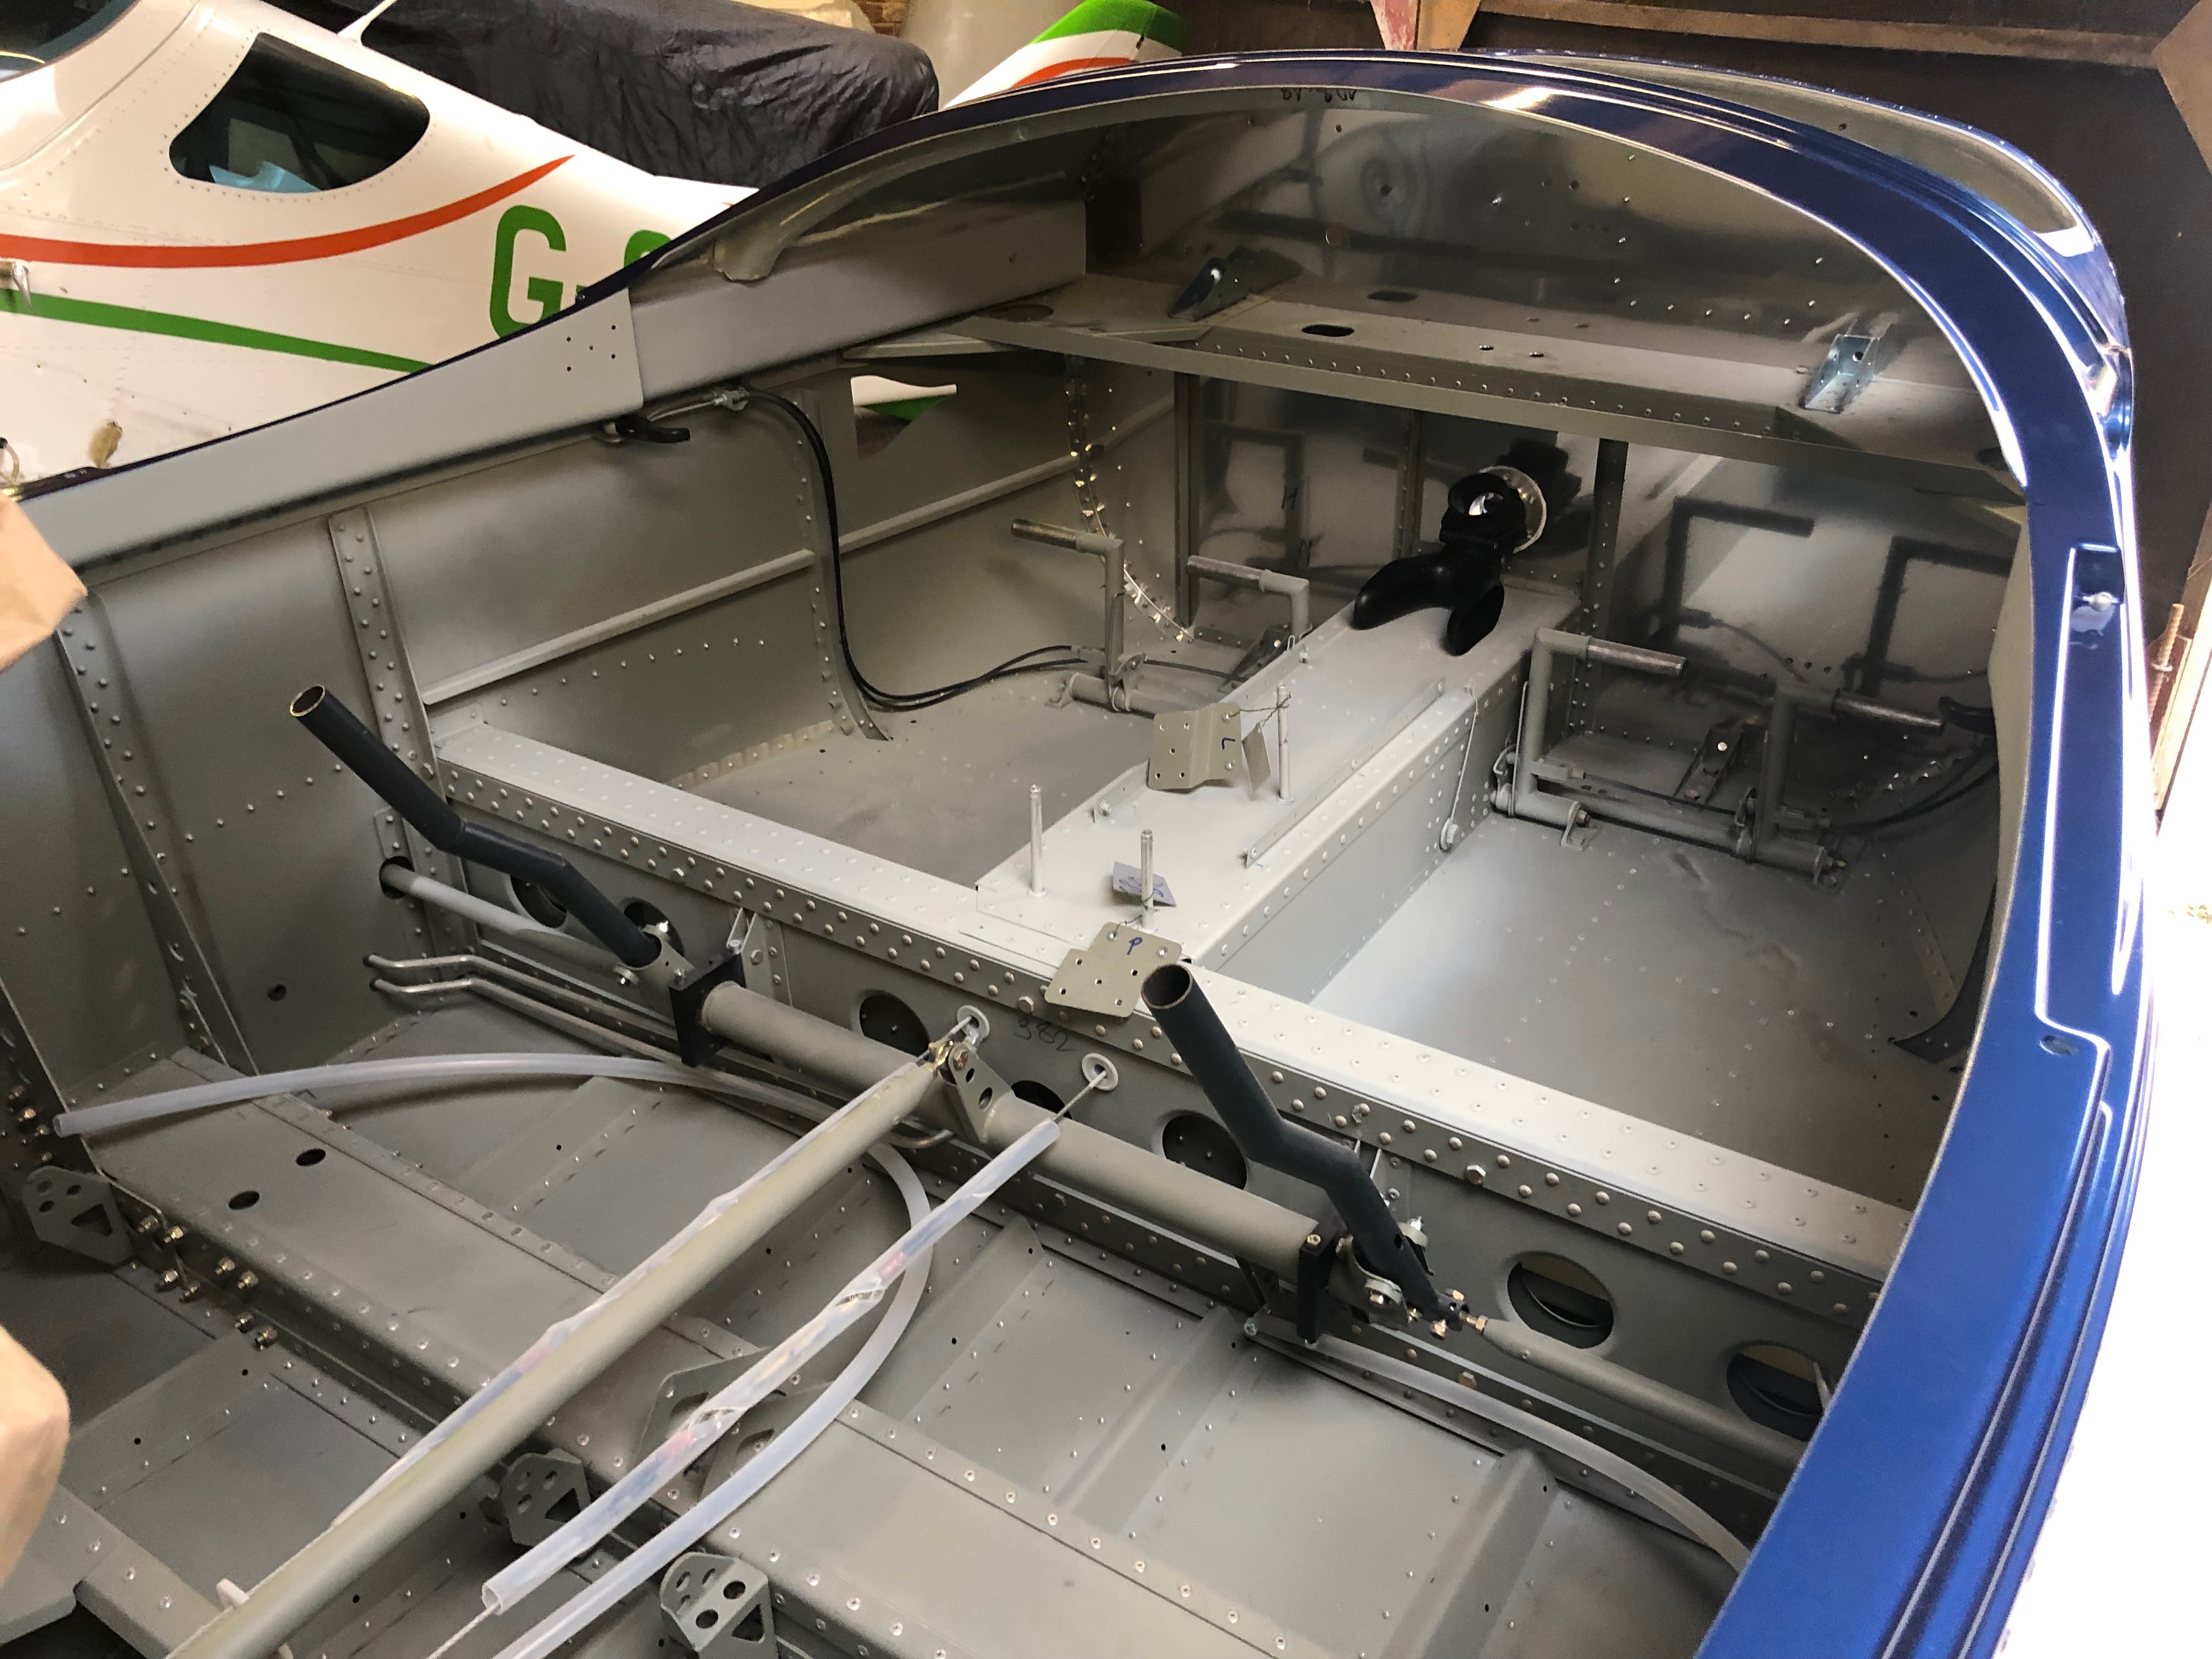
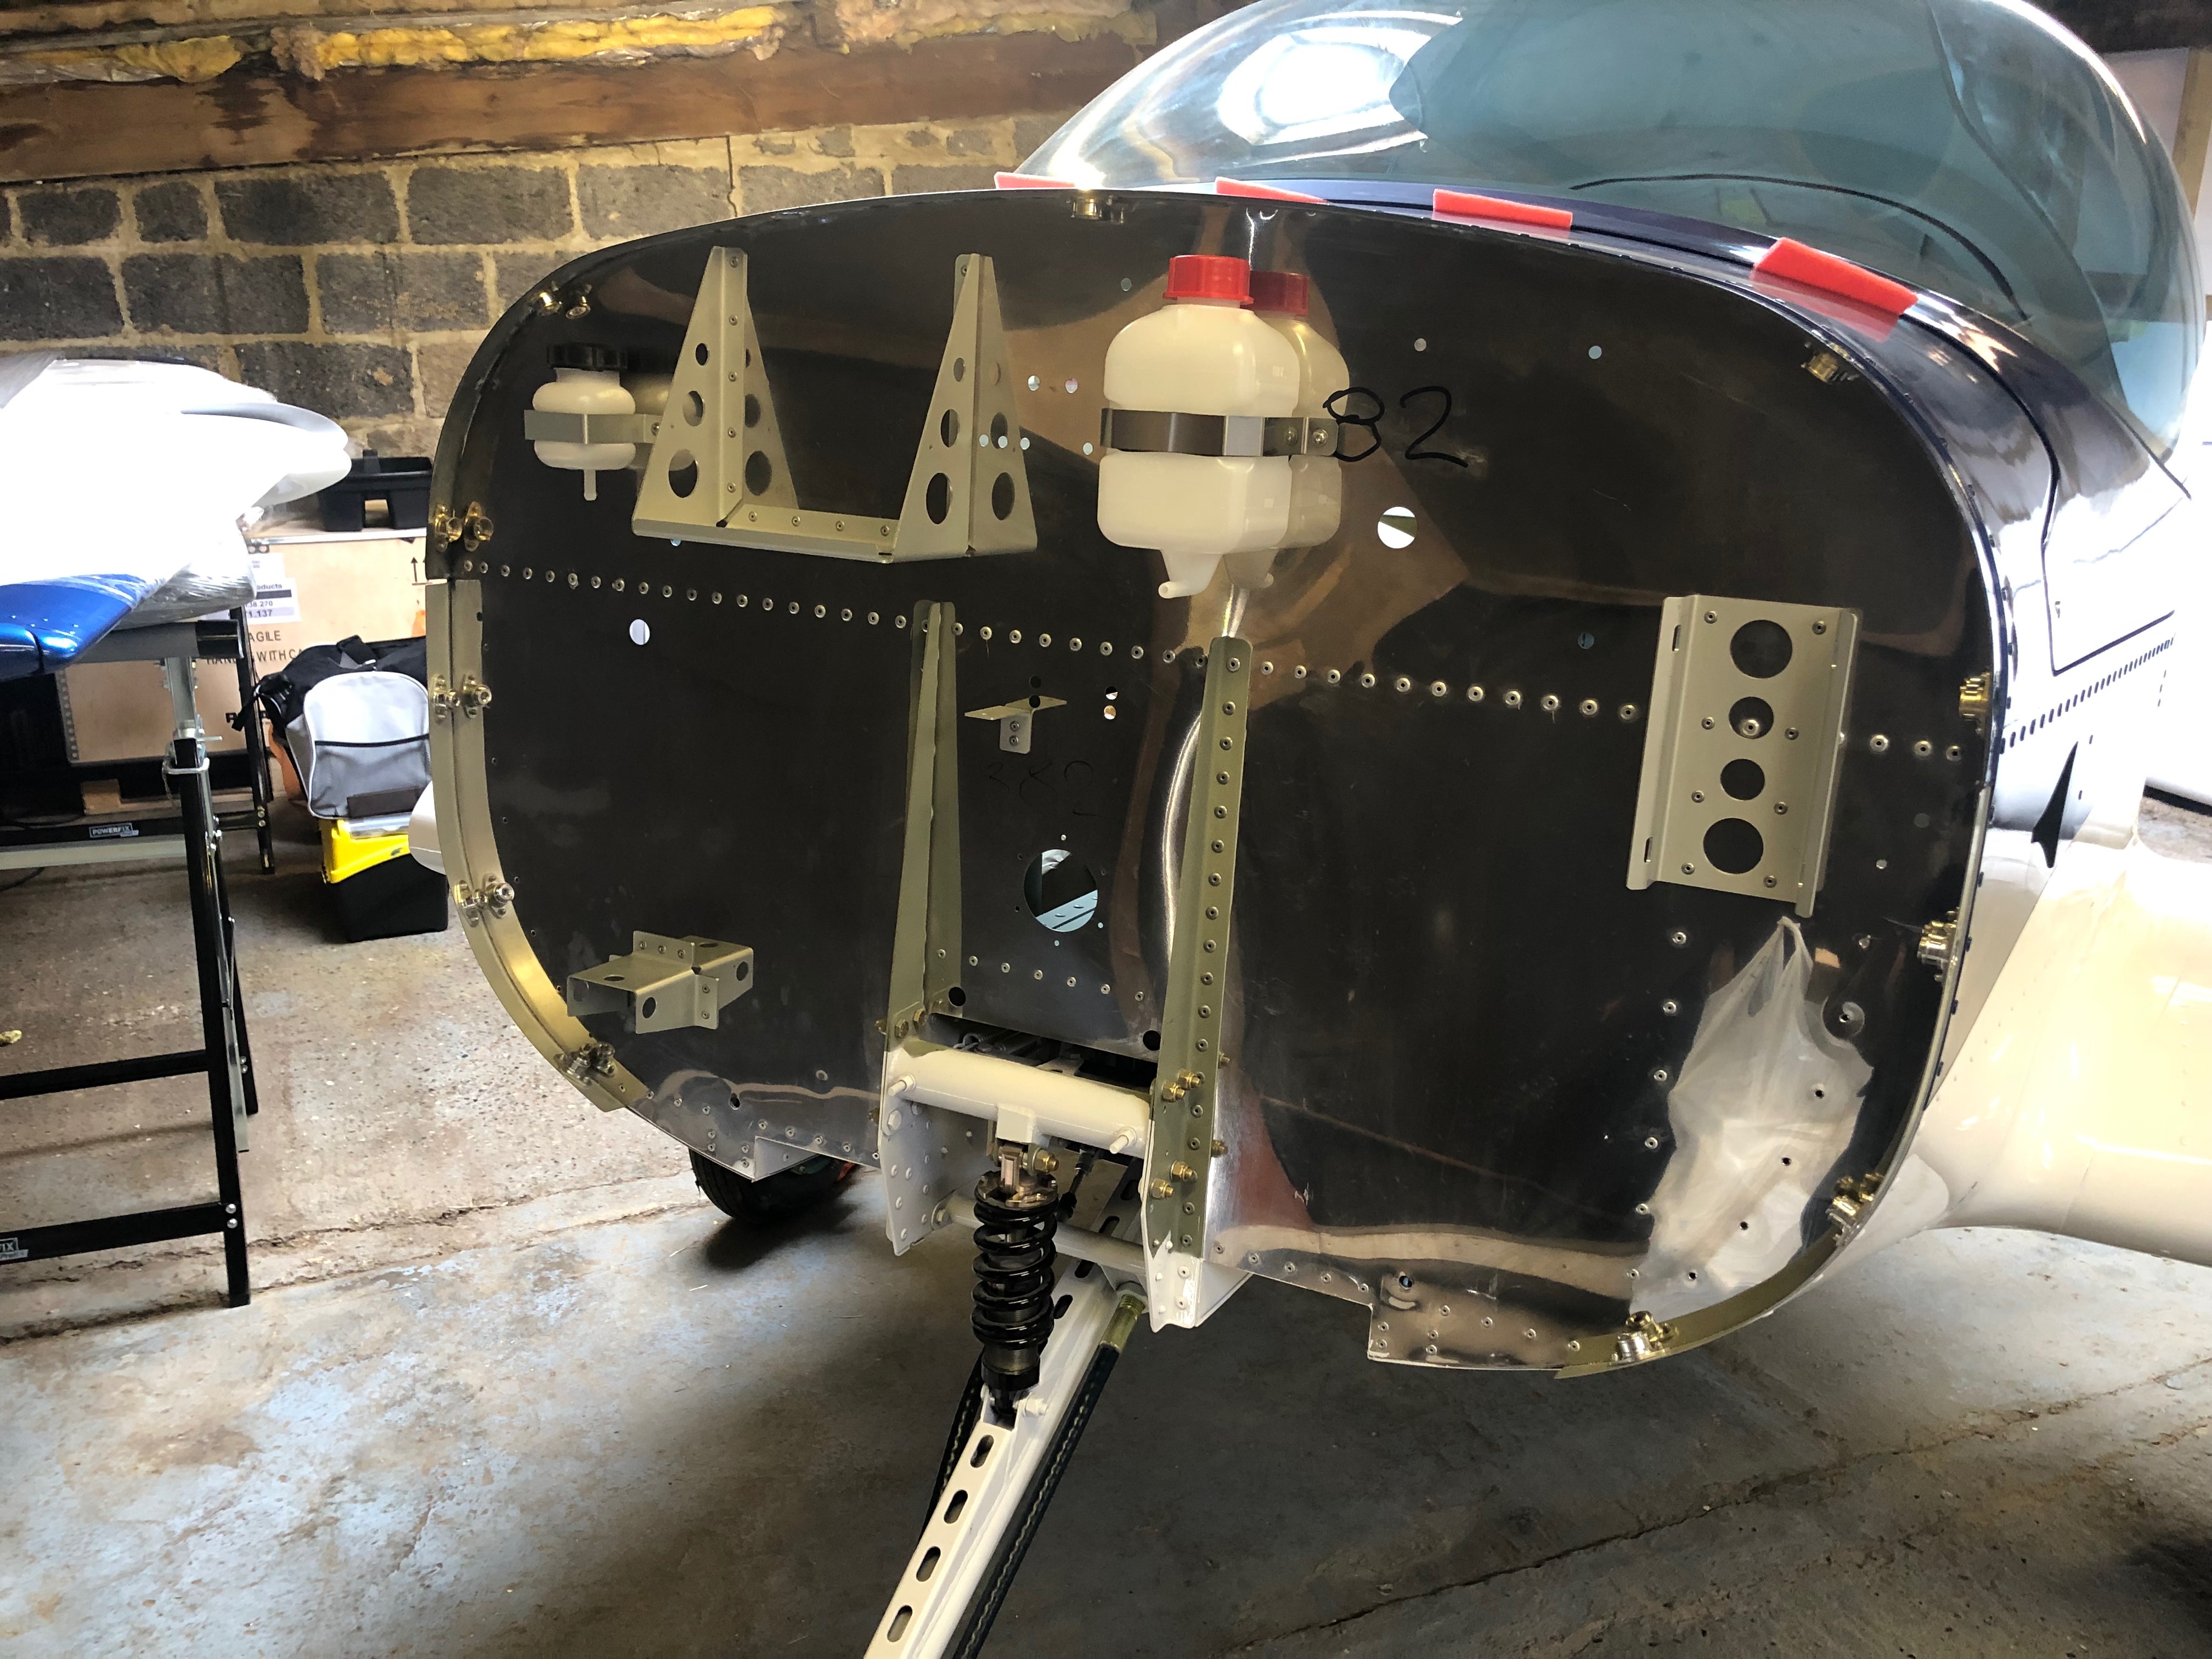
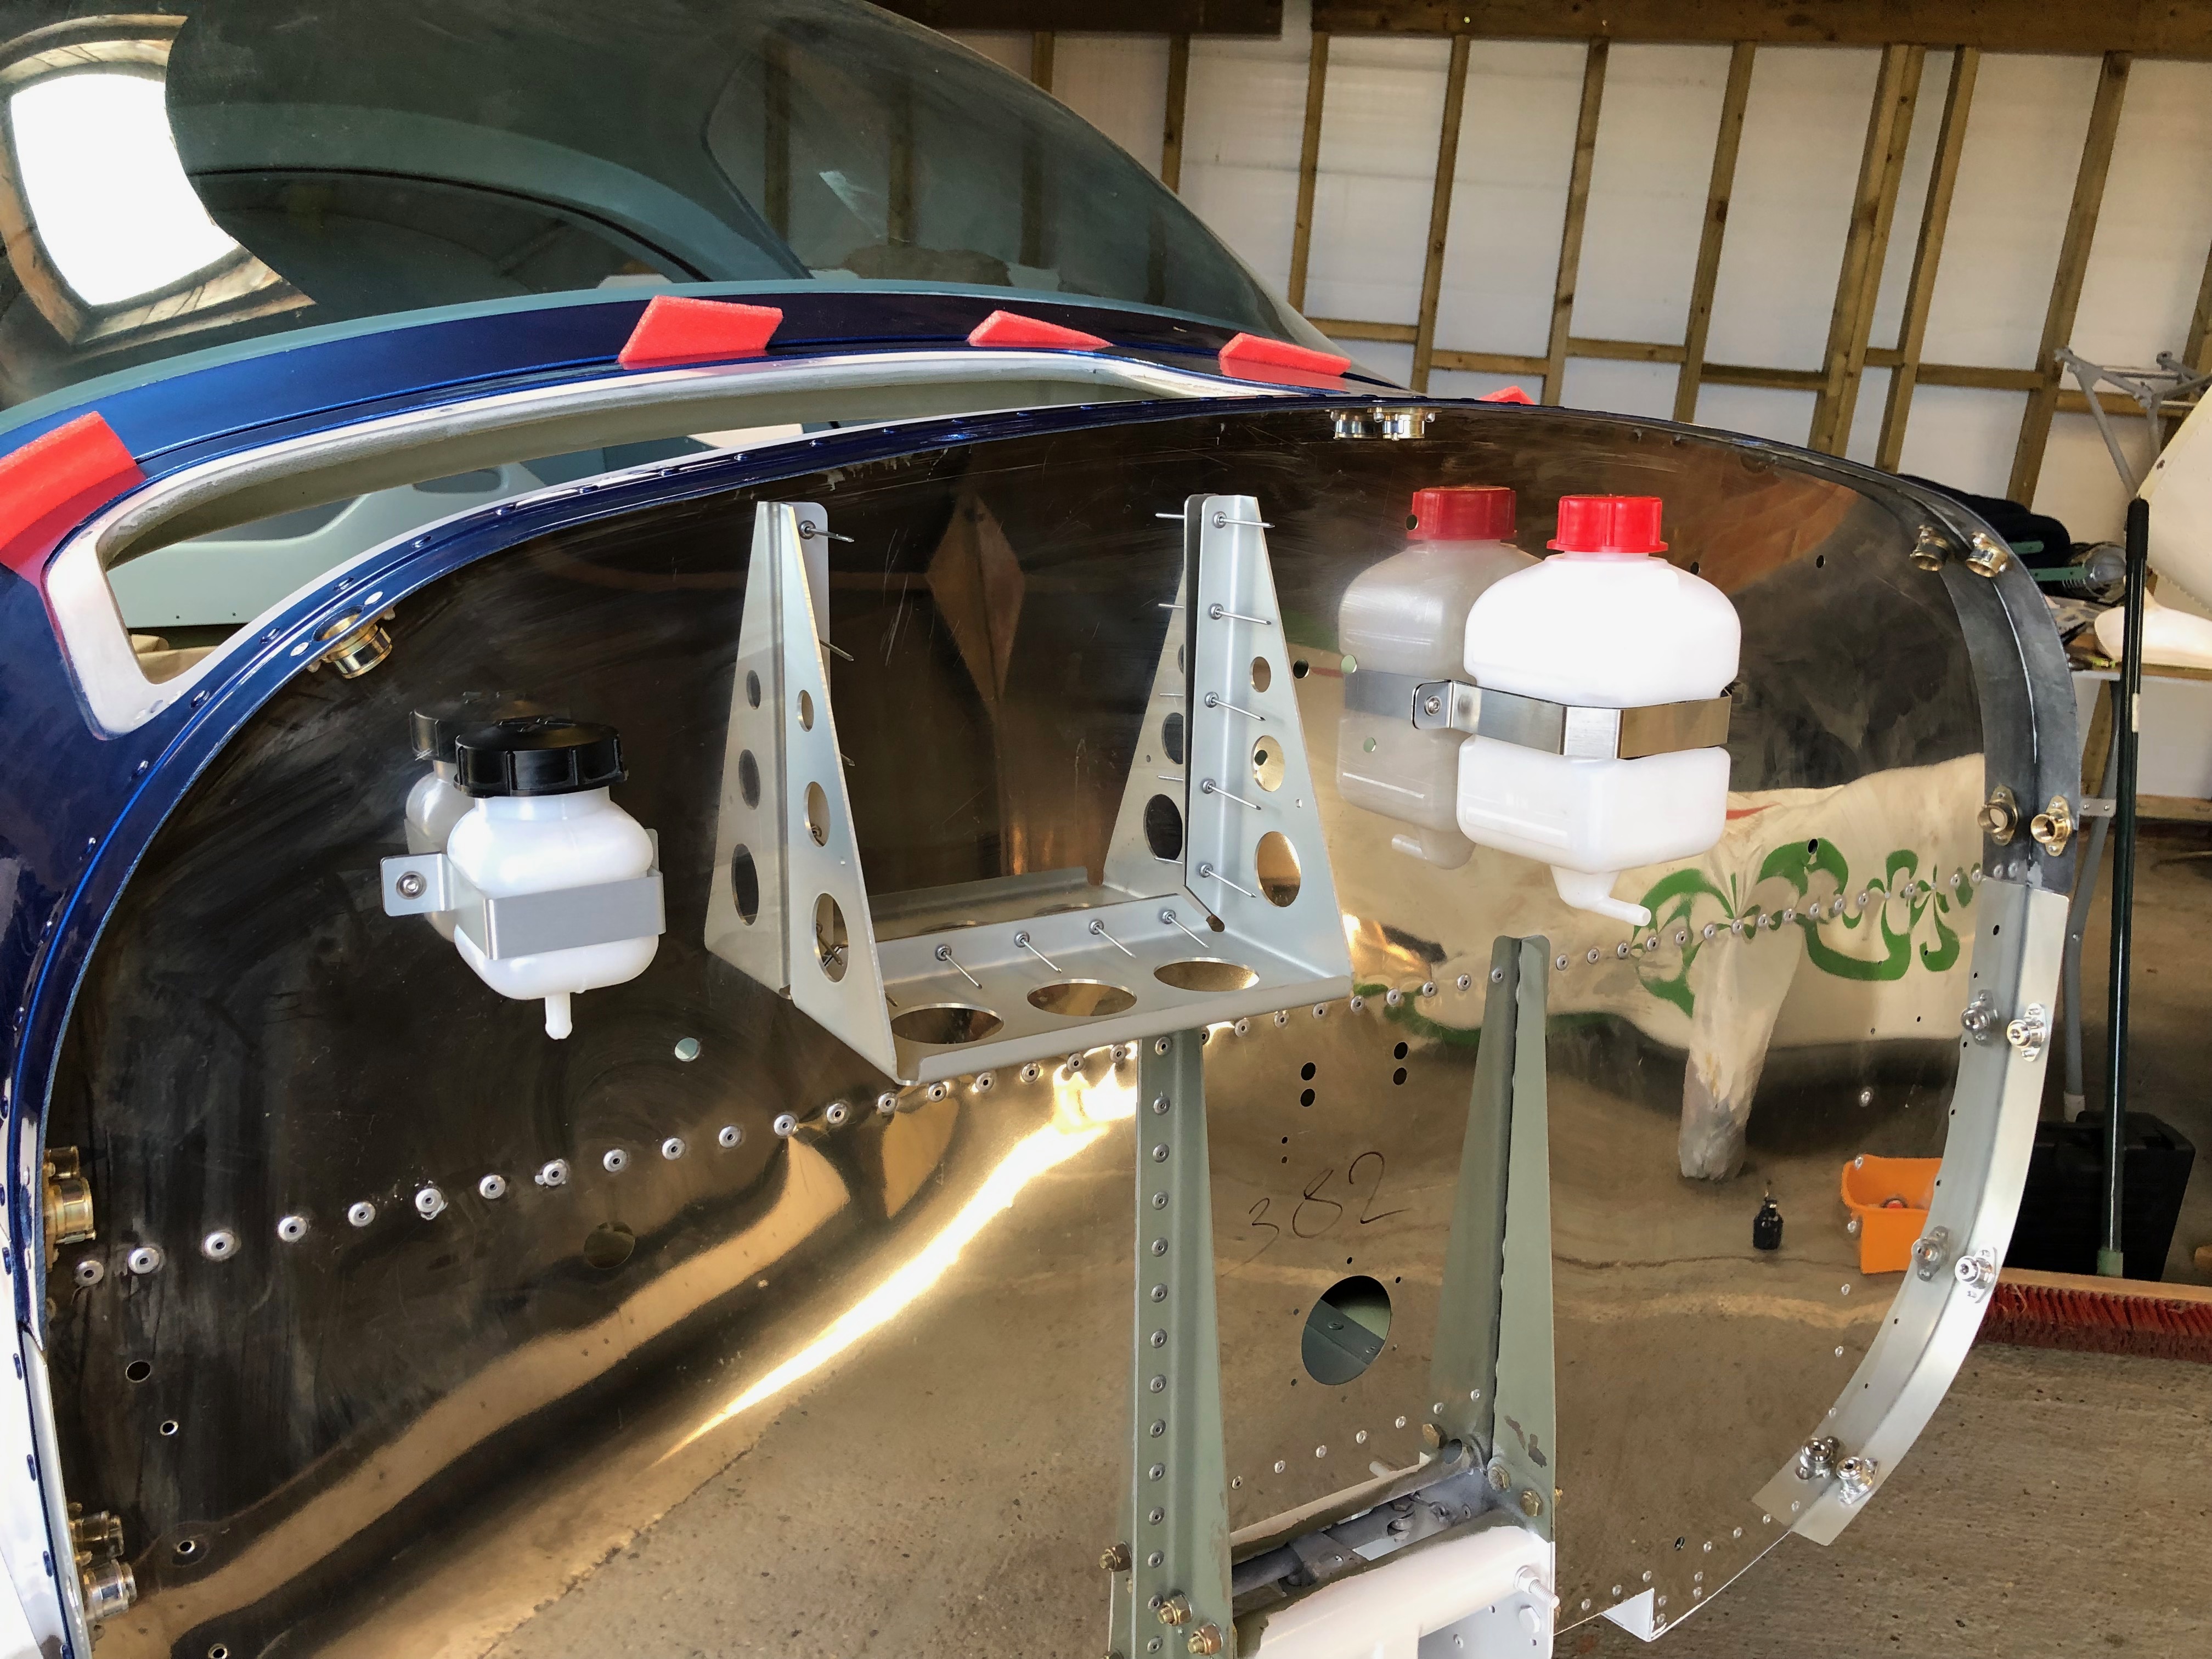
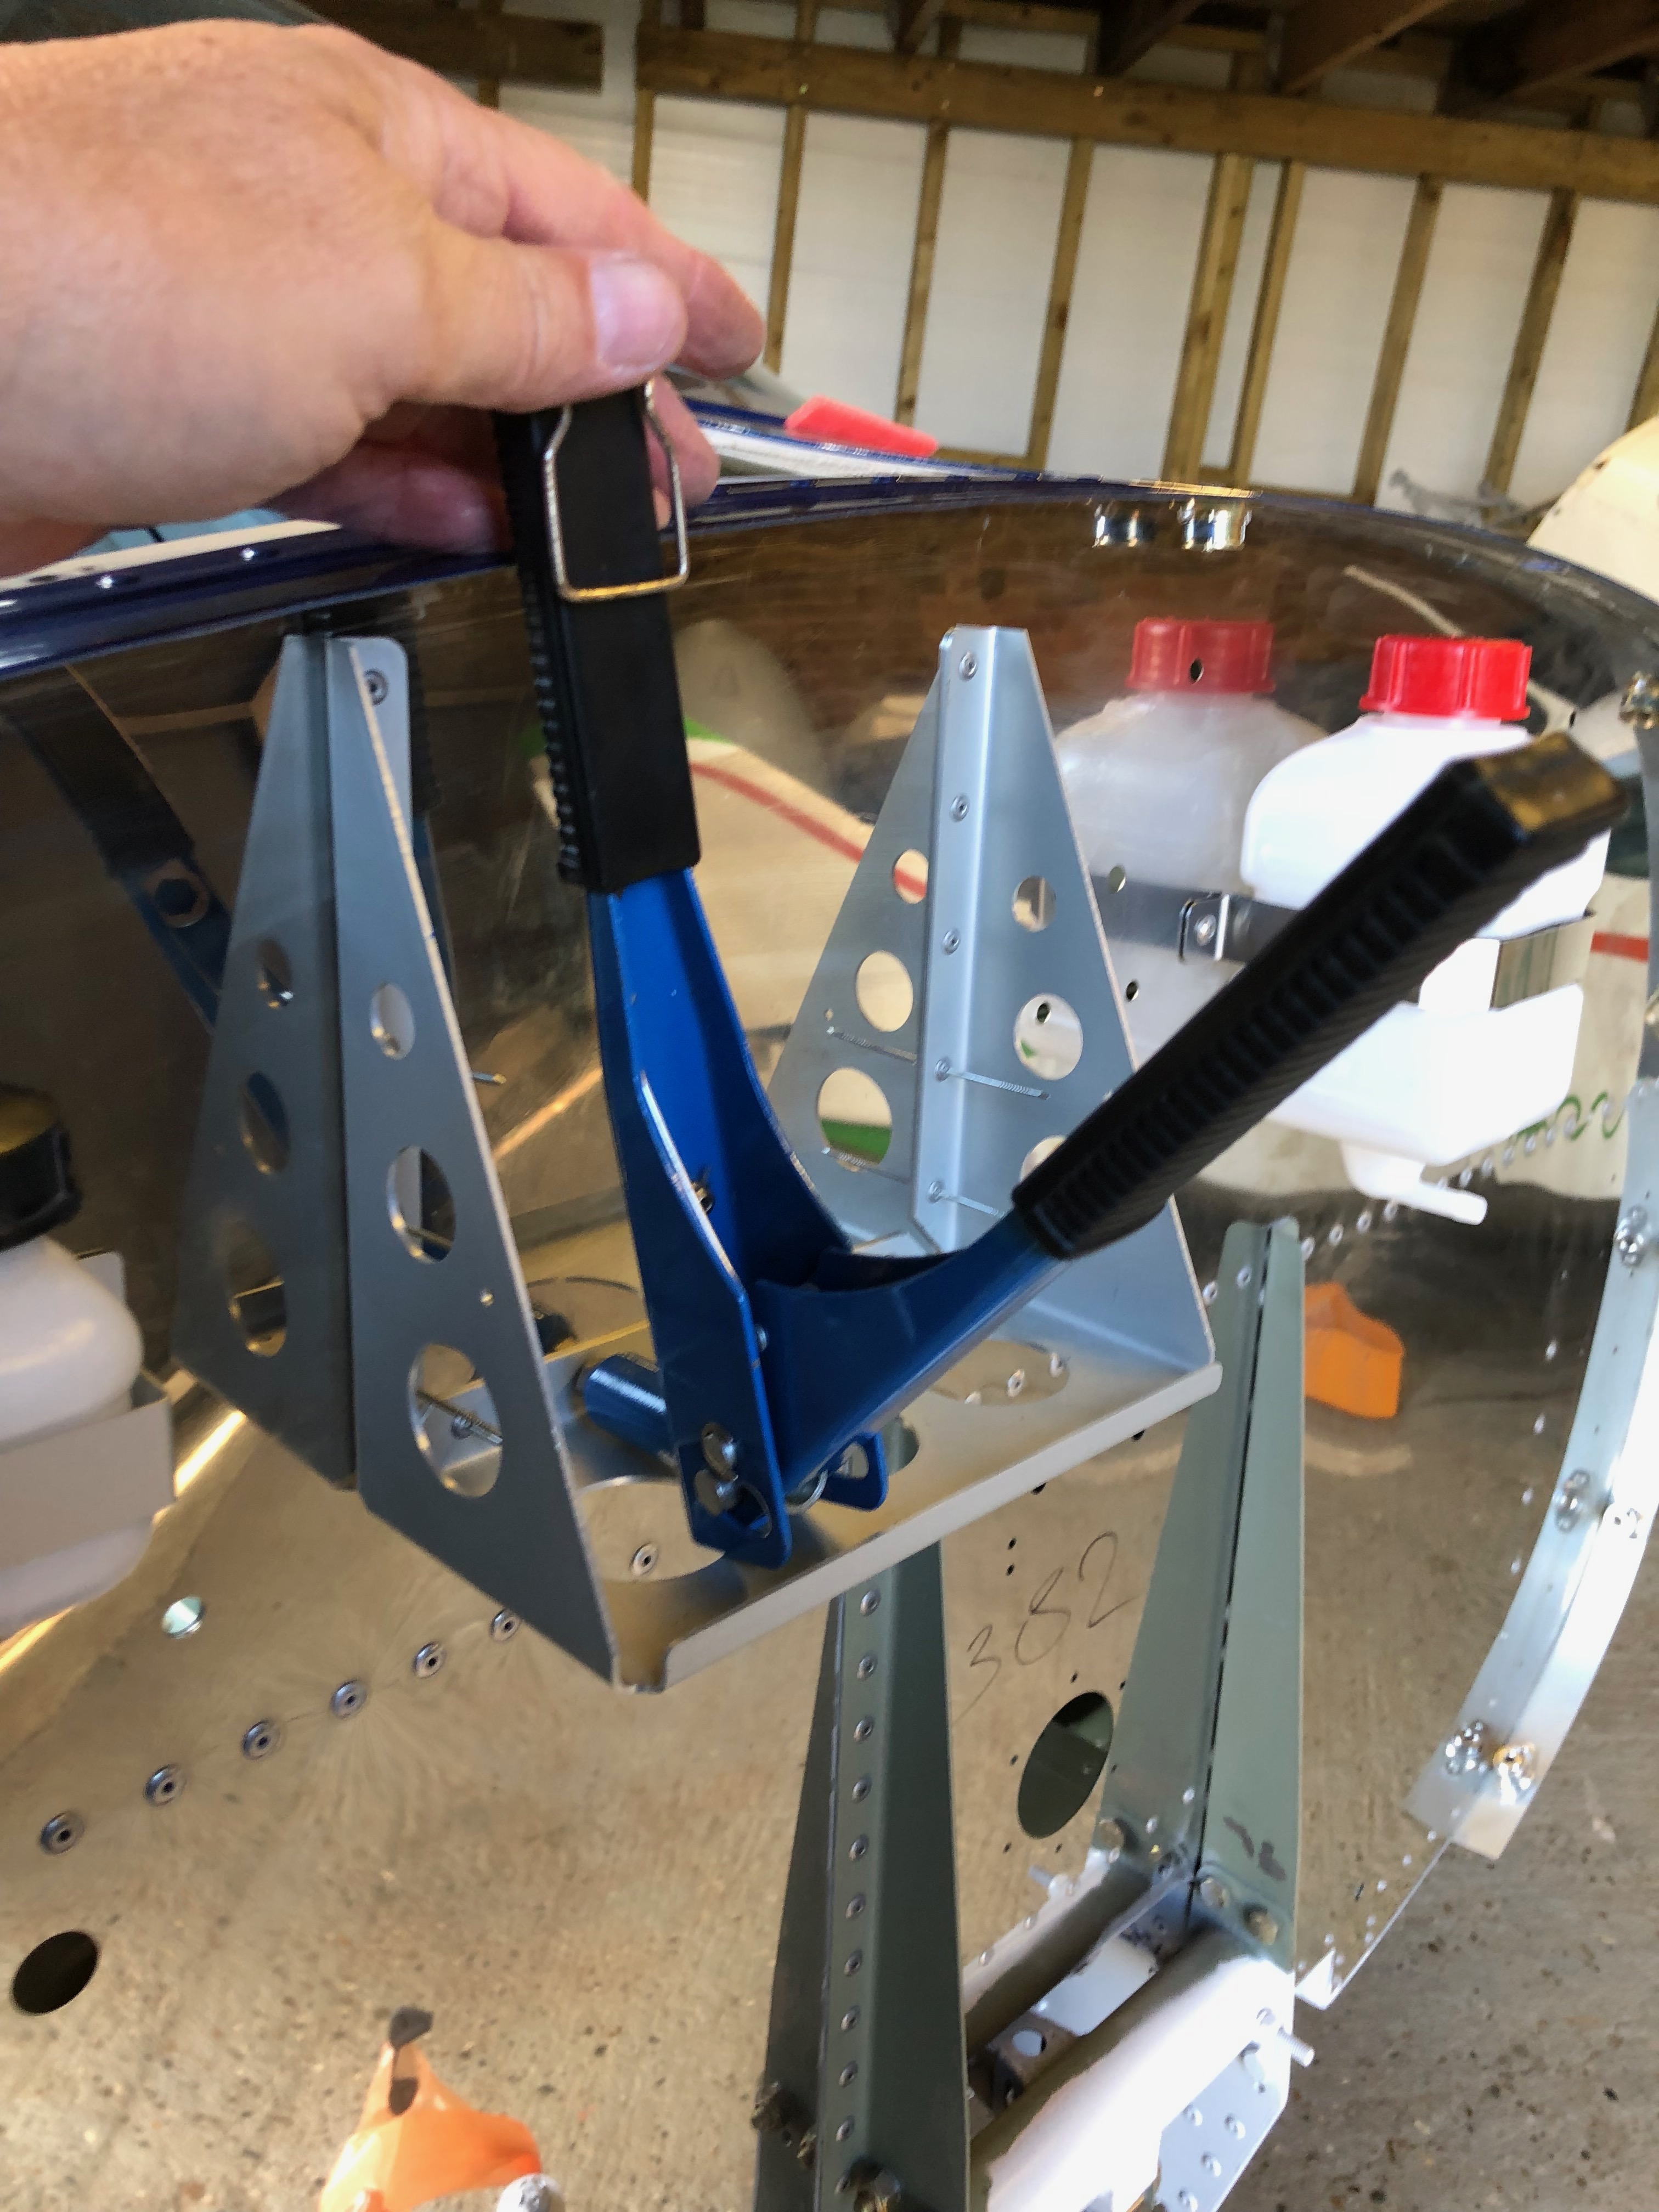
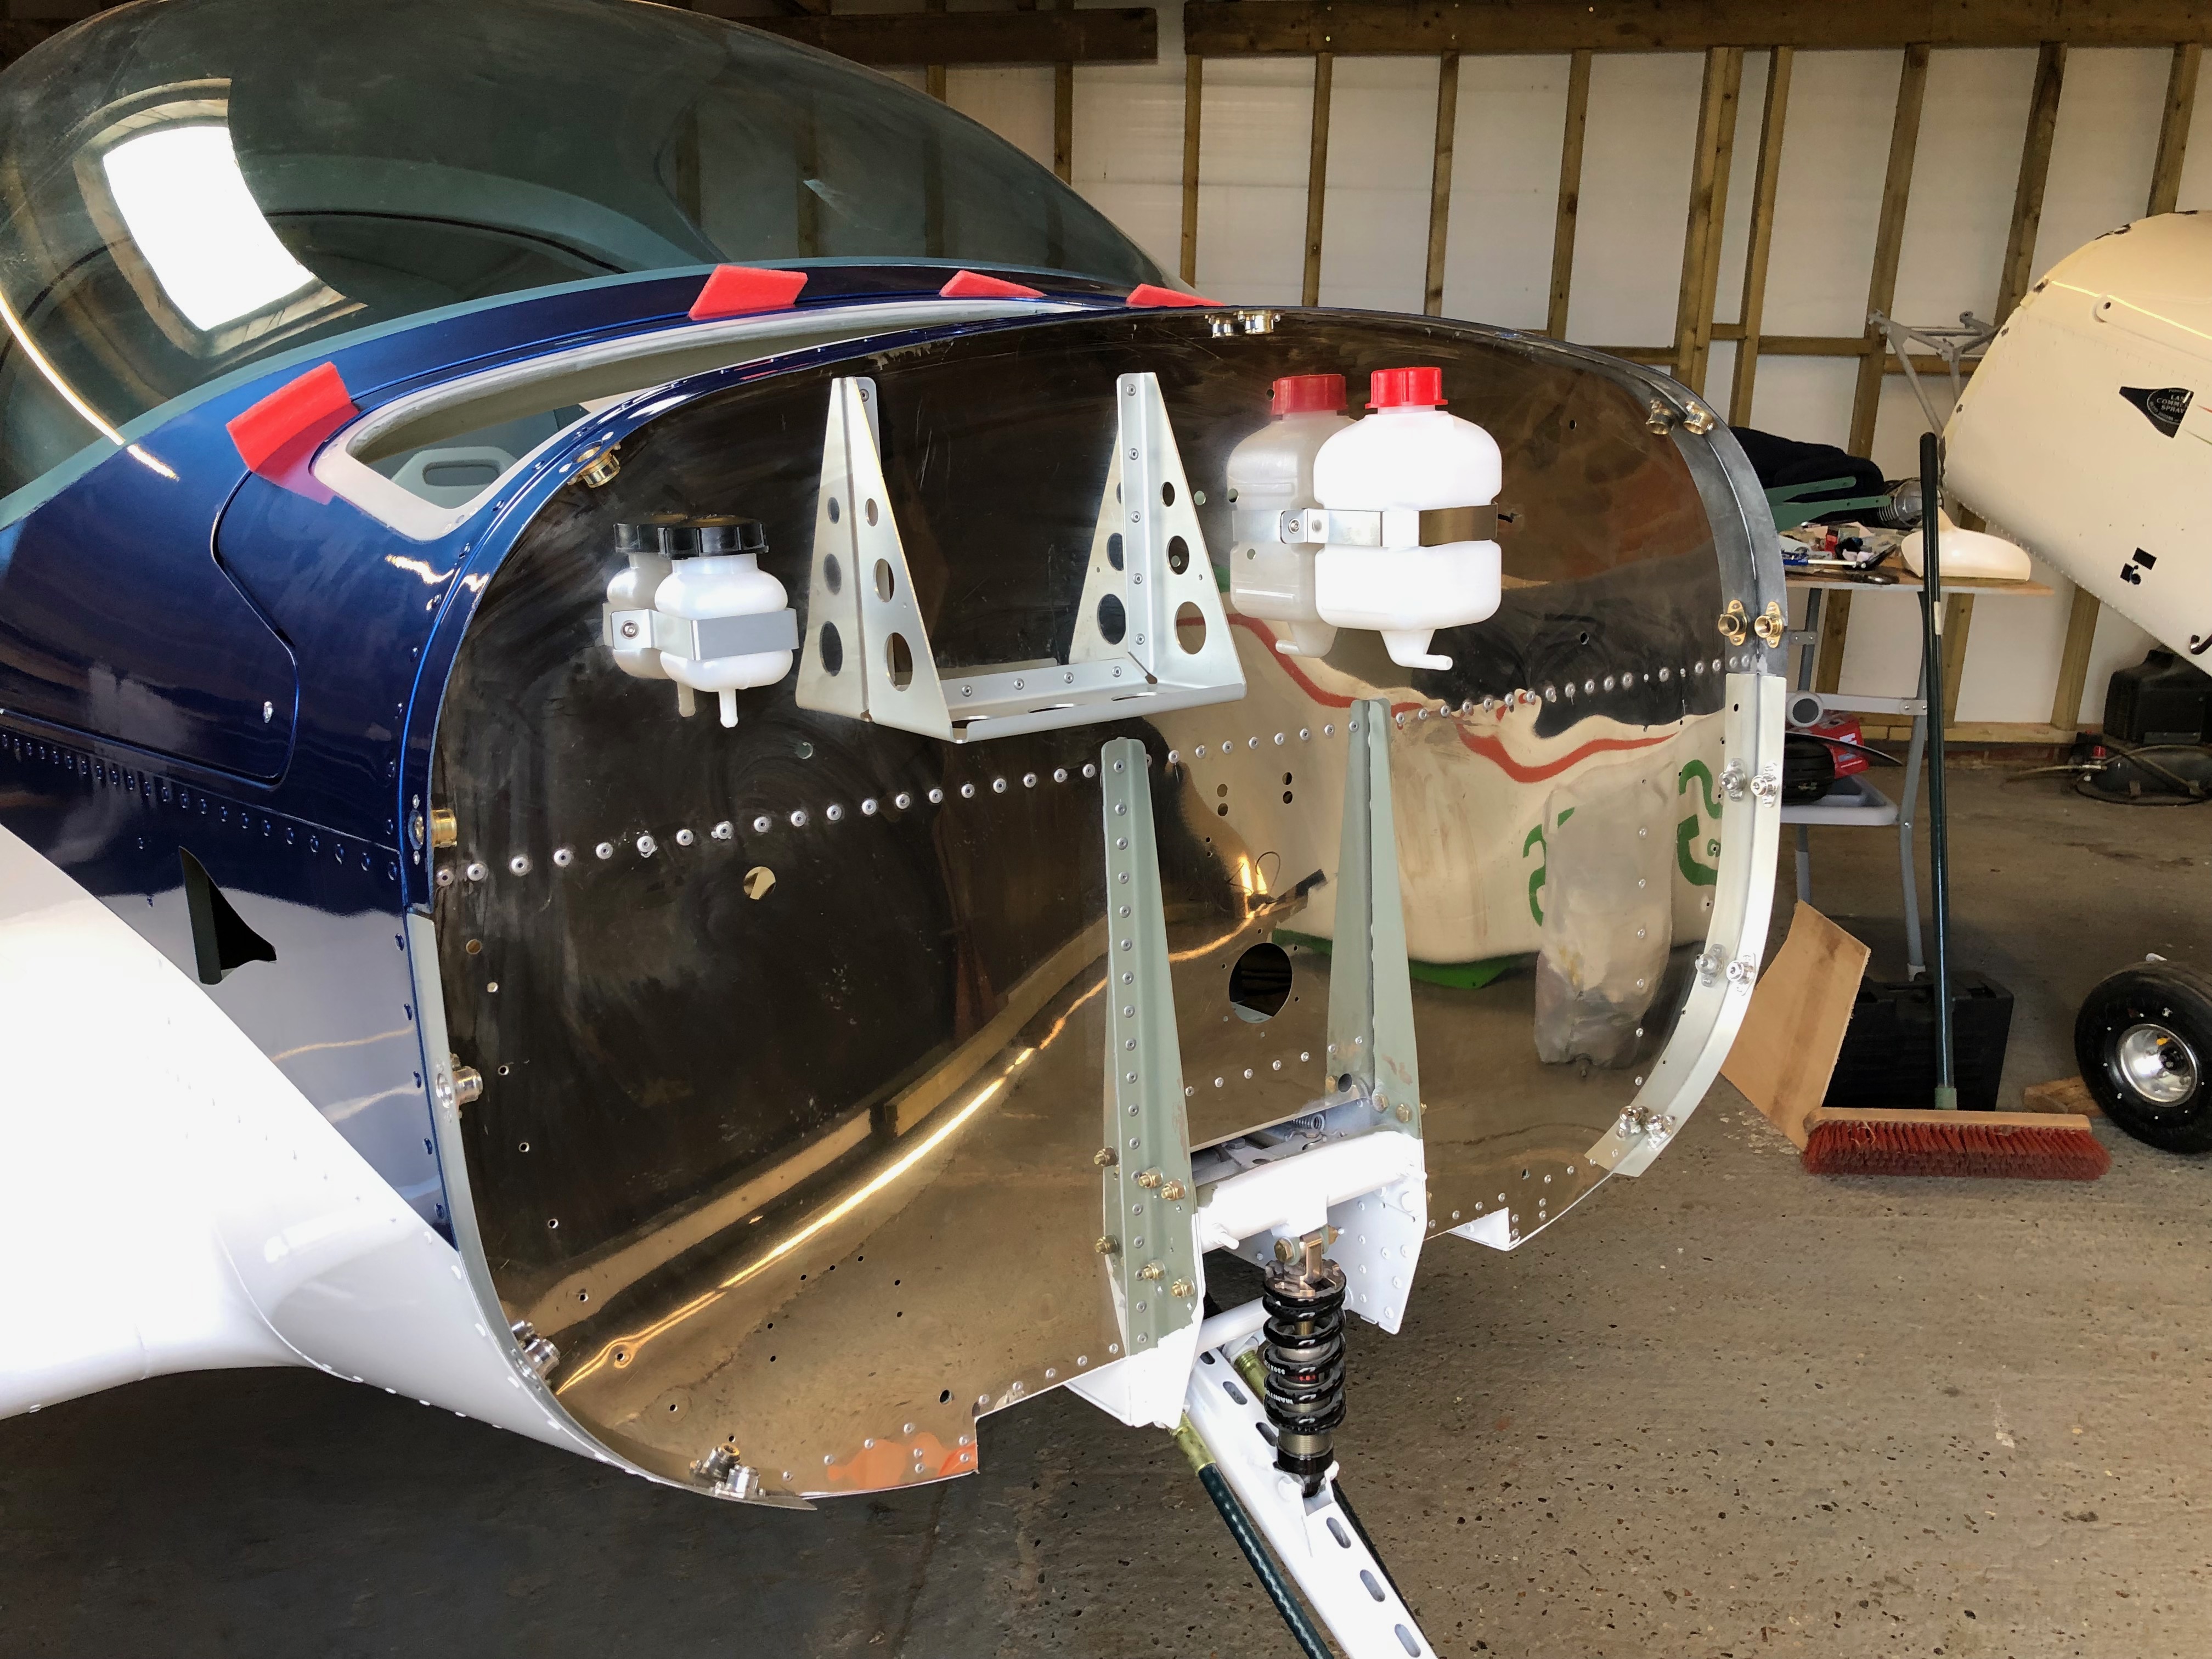
A number of brackets, bottles and components need to be installed before the engine is hung as it’s far easier to gain access to it. Some are just riveted onto the Firewall but other items need to be removed for servicing so Rivnuts are used with hex screws.
Setting an M4 Rivnut
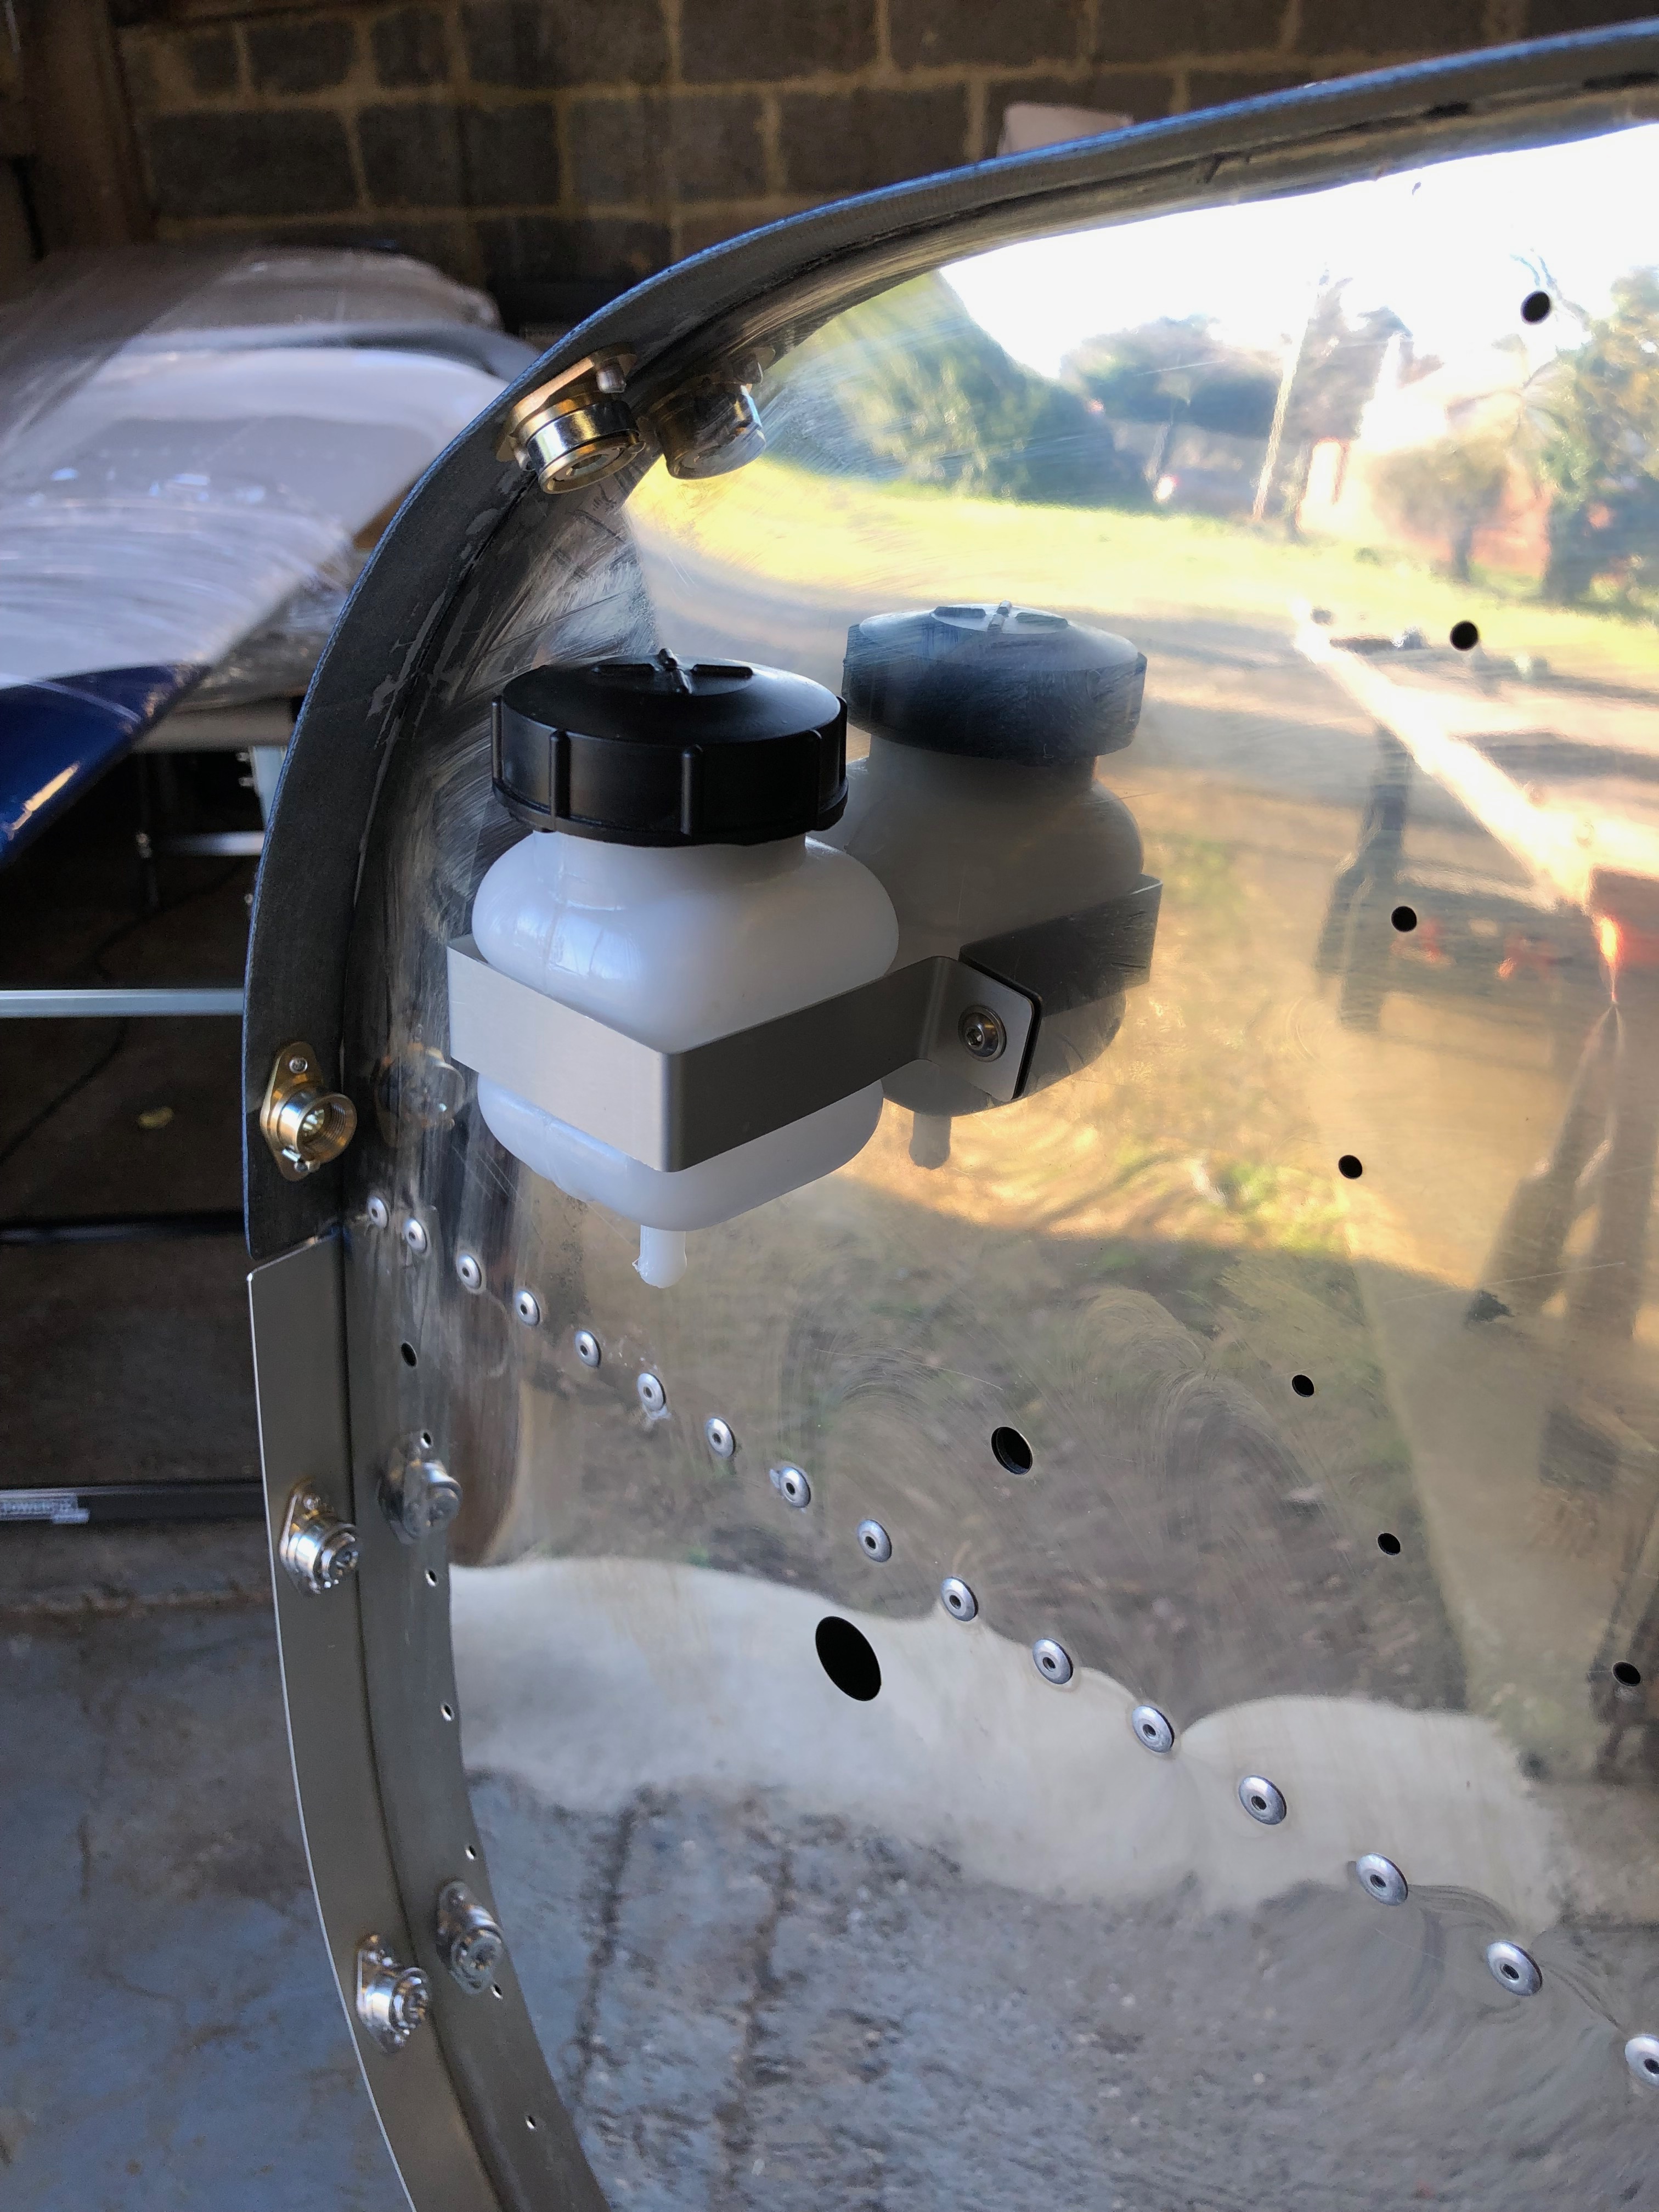
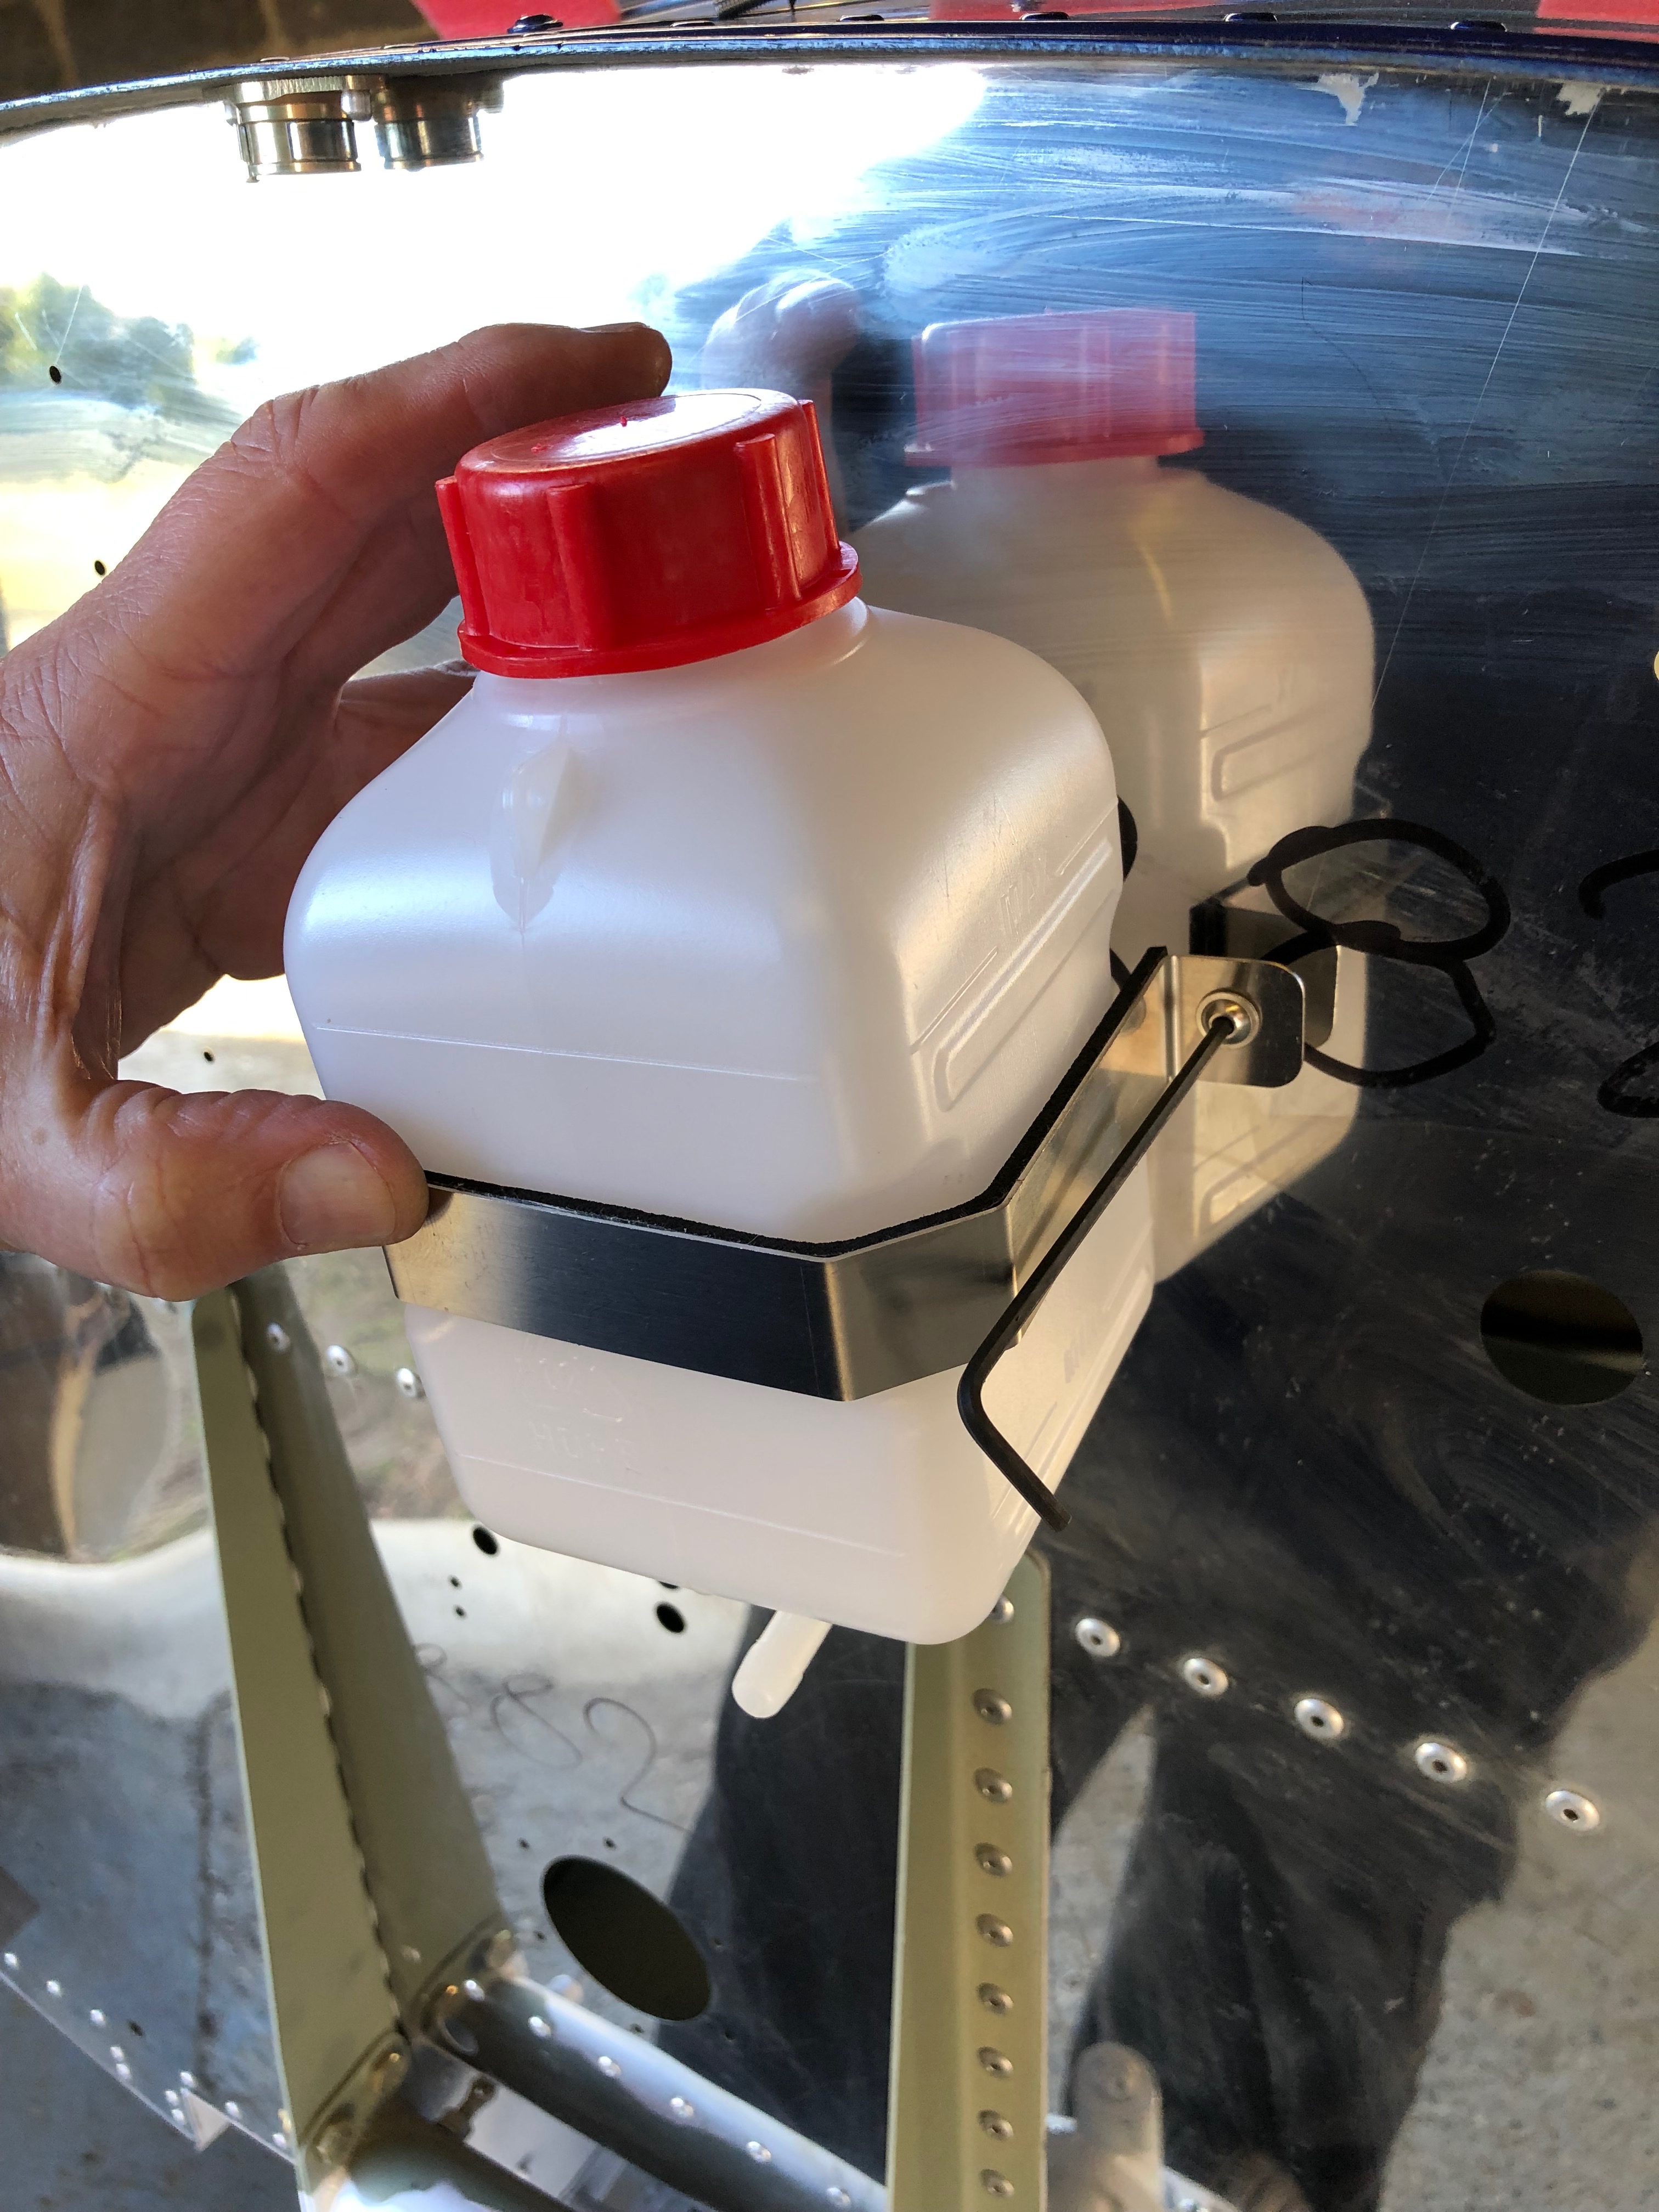
Brake Oil bottle installed
Repeating the procedure for the Rotax water expansion tank
As the battery holder is predrilled I was able to rivet without the use of Clecos.
Farry confirmed that all was painted and ready for collection from his farm. Tony agreed that Thursday 17th Jan would work for his so the date was set.
Starting out at 07:30 I expected a 2 hour, busy but easy journey towards Horsham but that wasn’t to be. An accident just after junction 5 on the A2 meant that I sat stationary in traffic for over an hour. They reopened the road but with the associated delays on other roads it doubled my travel time to 4 hours.
I finally arrived and inspected the work. Overall it was good with a couple of areas of orange peeling. Farry said that it will require a polish and diamond cut later closer to when it will fly and any issues with the paint will be dealt with if I bring it back at some point in the future. There’s a few items outstanding including the wing join covers, noseleg fairing and wheel spats which still need to be painted but don’t impact on the build.
Loading it onto Tony’s trailer and secured, it was time for the journey back to the airfield.
The journey back to the airfield was very straightforward and I managed to pick Karen up from home and still have time to unload in daylight. Ian Daniels was also on hand to help unload the fuselage, wings and engine.Gallery
Following the build of my Bristell NG5 Kit No. 382 Registration G-MLSY