
Music: Snow Patrol & David Gray
When the aircraft was painted the cowls fasteners were fitted however they weren’t fitted very well. I decided to remove all of them and start again. Having spoken to Ian Daniels my LAA inspector he agreed and said that he would refit them with solid rivets.

First thing was to use a parallel drift to punch out the hardened pin from the rivet.

Then the head needs to be removed with a large drill bit. Need to be very careful here as there is a chance that the hole could be enlarged which would cause problems when re riveting.

The fitting is removed and the old rivets are punched out.
Ian doesn’t lend his rivet squeezer out so did the job for me – saved me a job.

The result is much better, they are completely flush now and won’t rub on the underside of the cowling.
Ian in action squeezing one of many solid rivets.
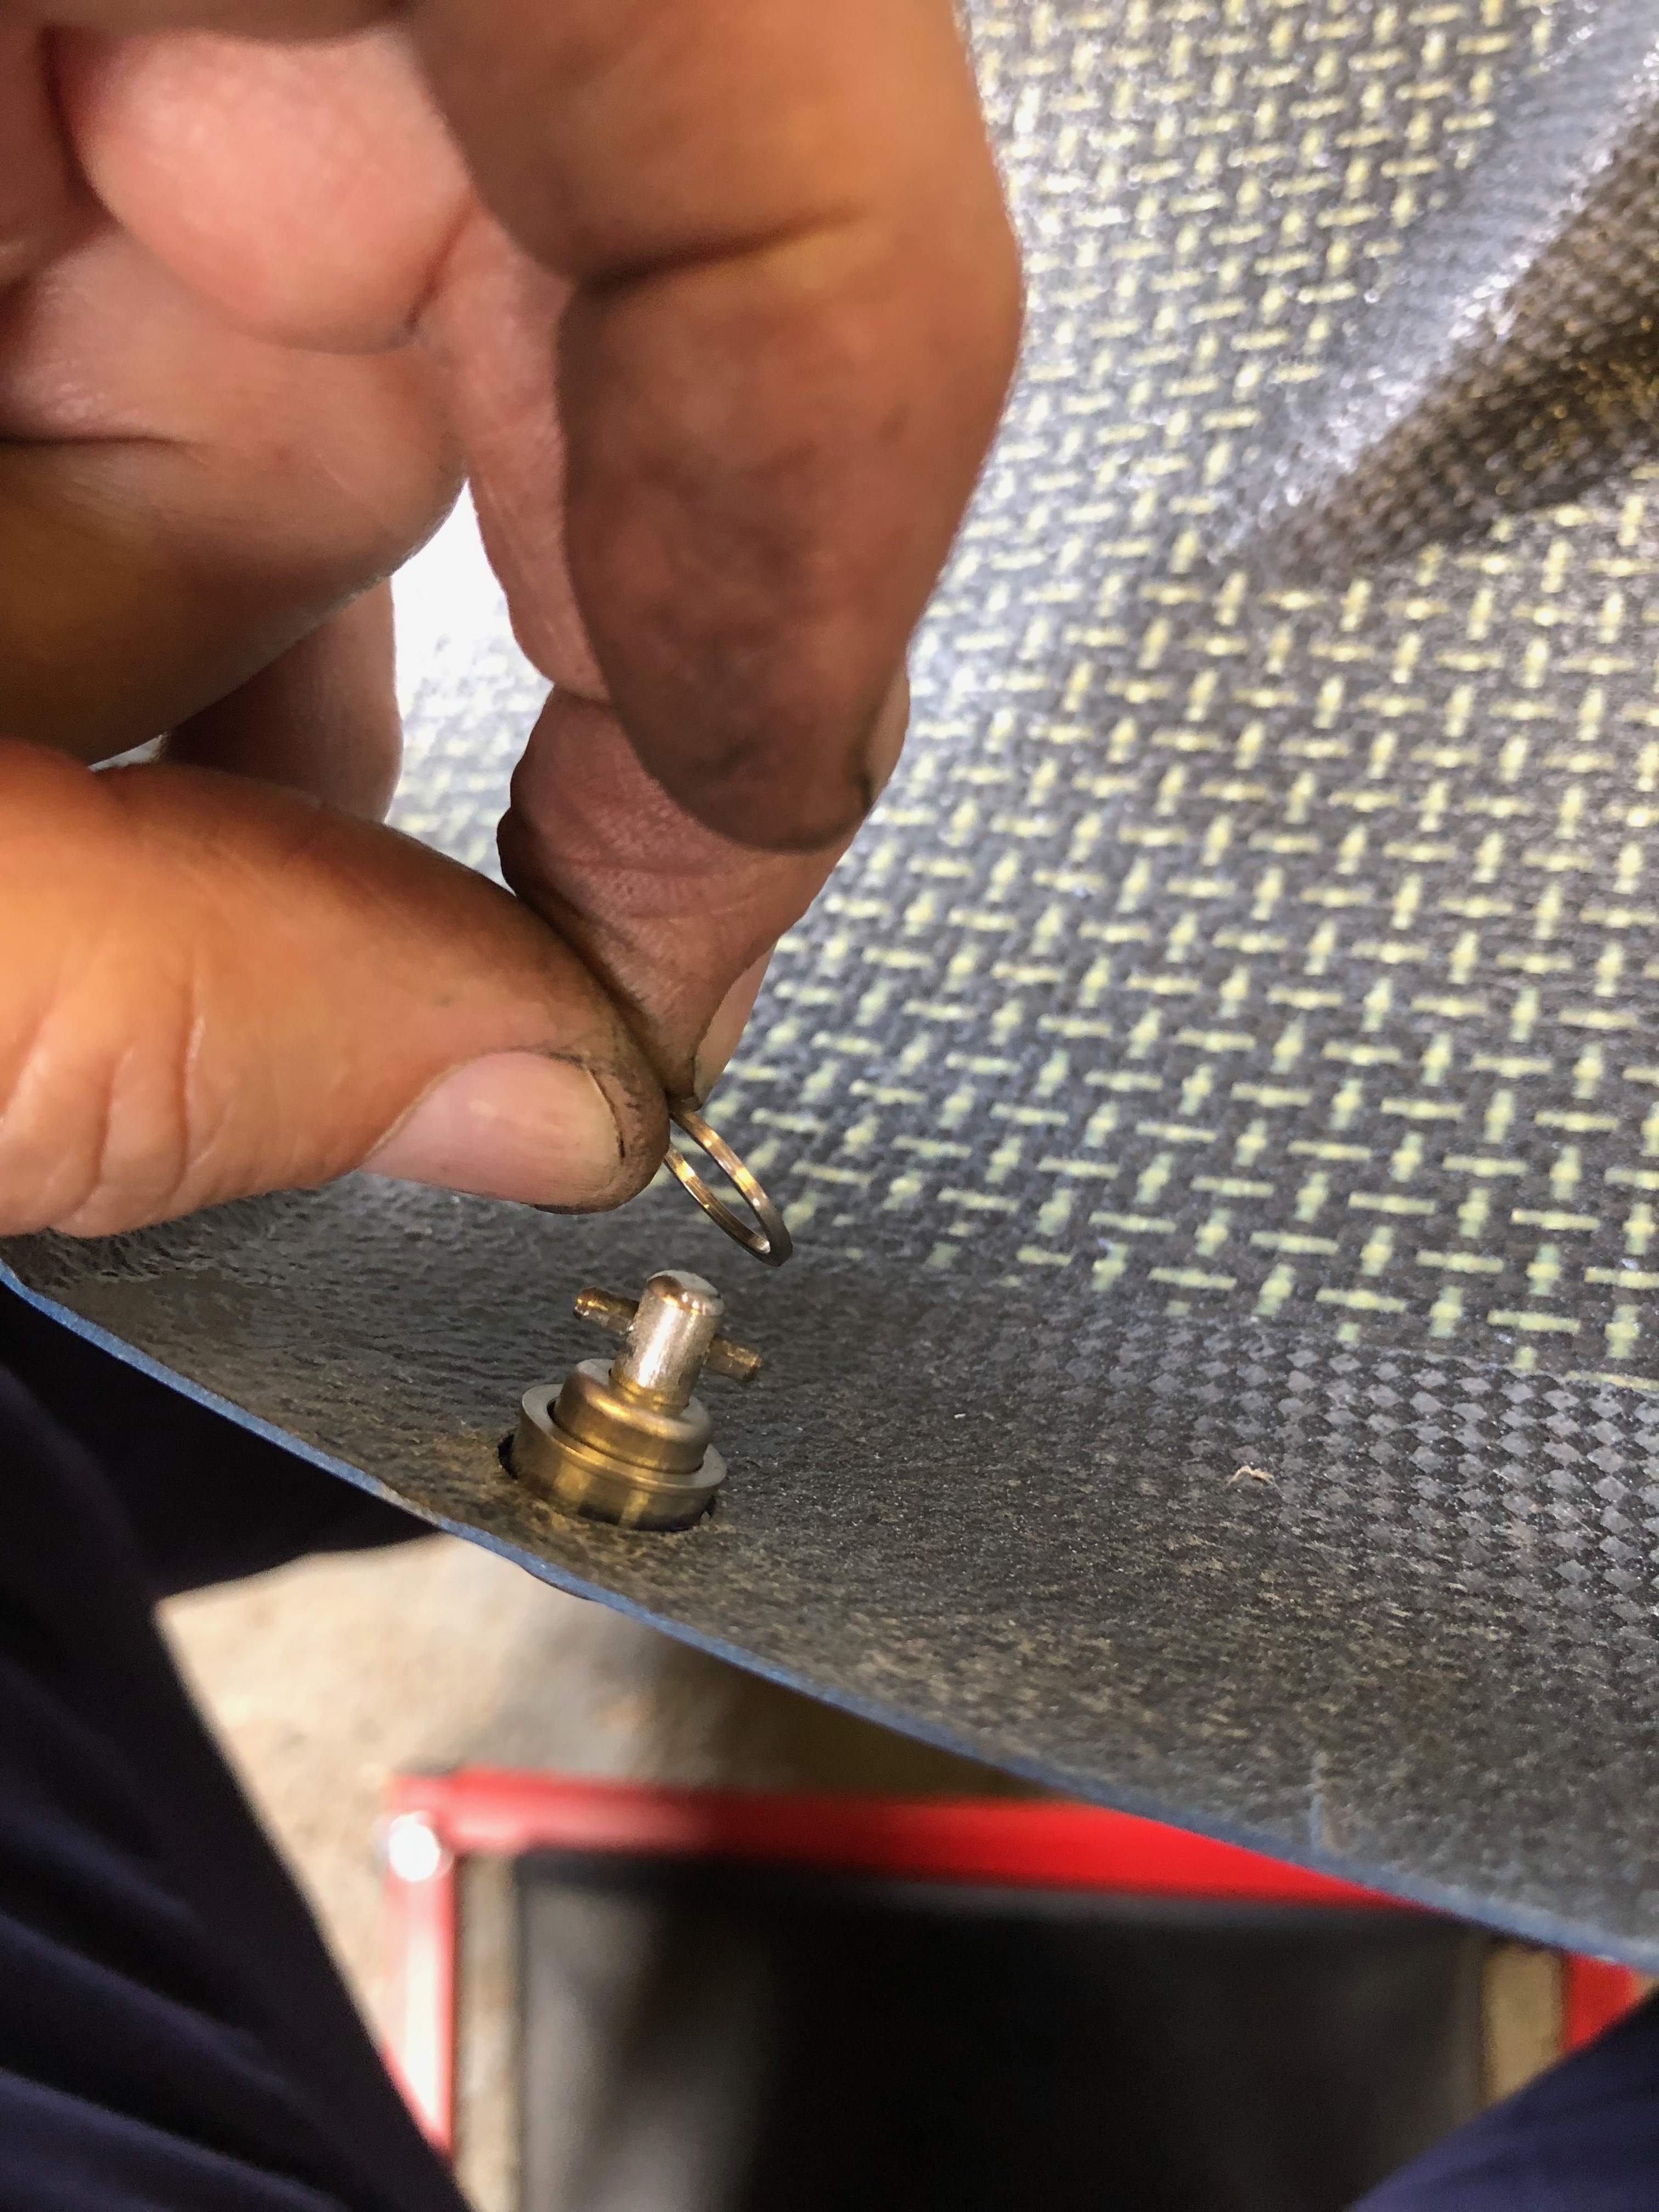
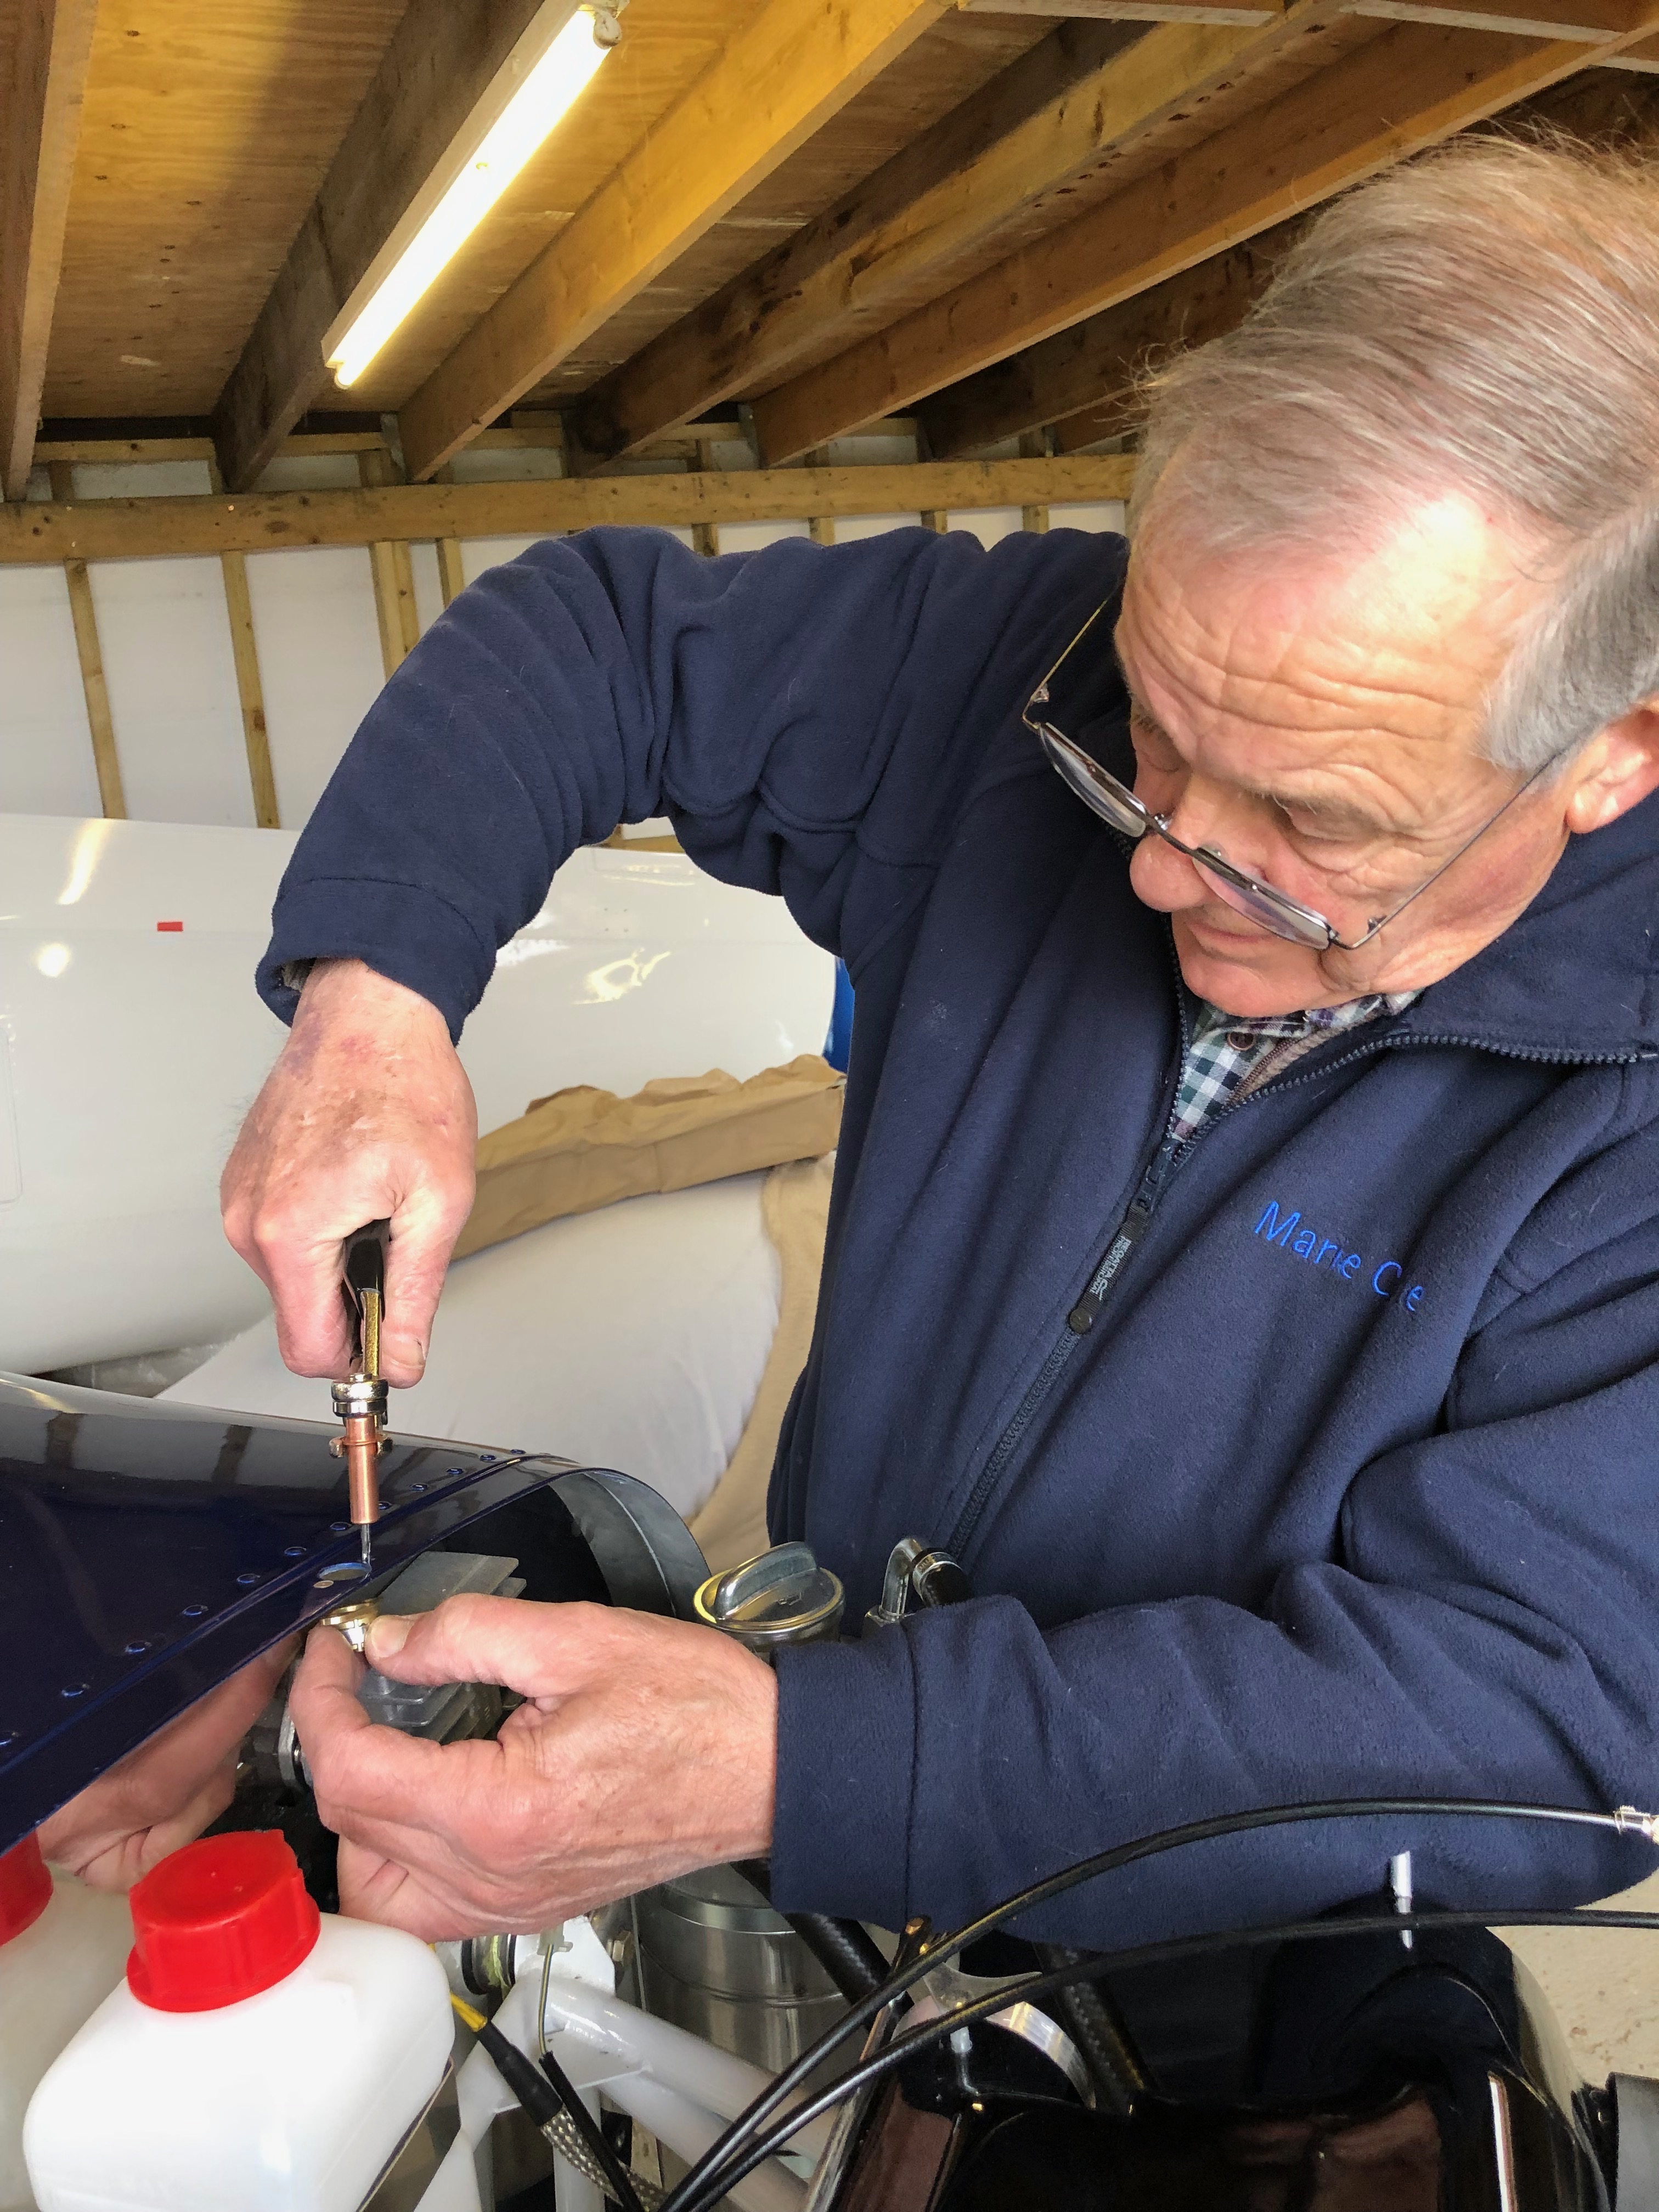
The cowl is secured by quick twist screws which are held in position by spring washers. These are installed in the top cowl.

A little fiddly to install when you first start out but they are quite easy to install with the help of a small screwdriver.
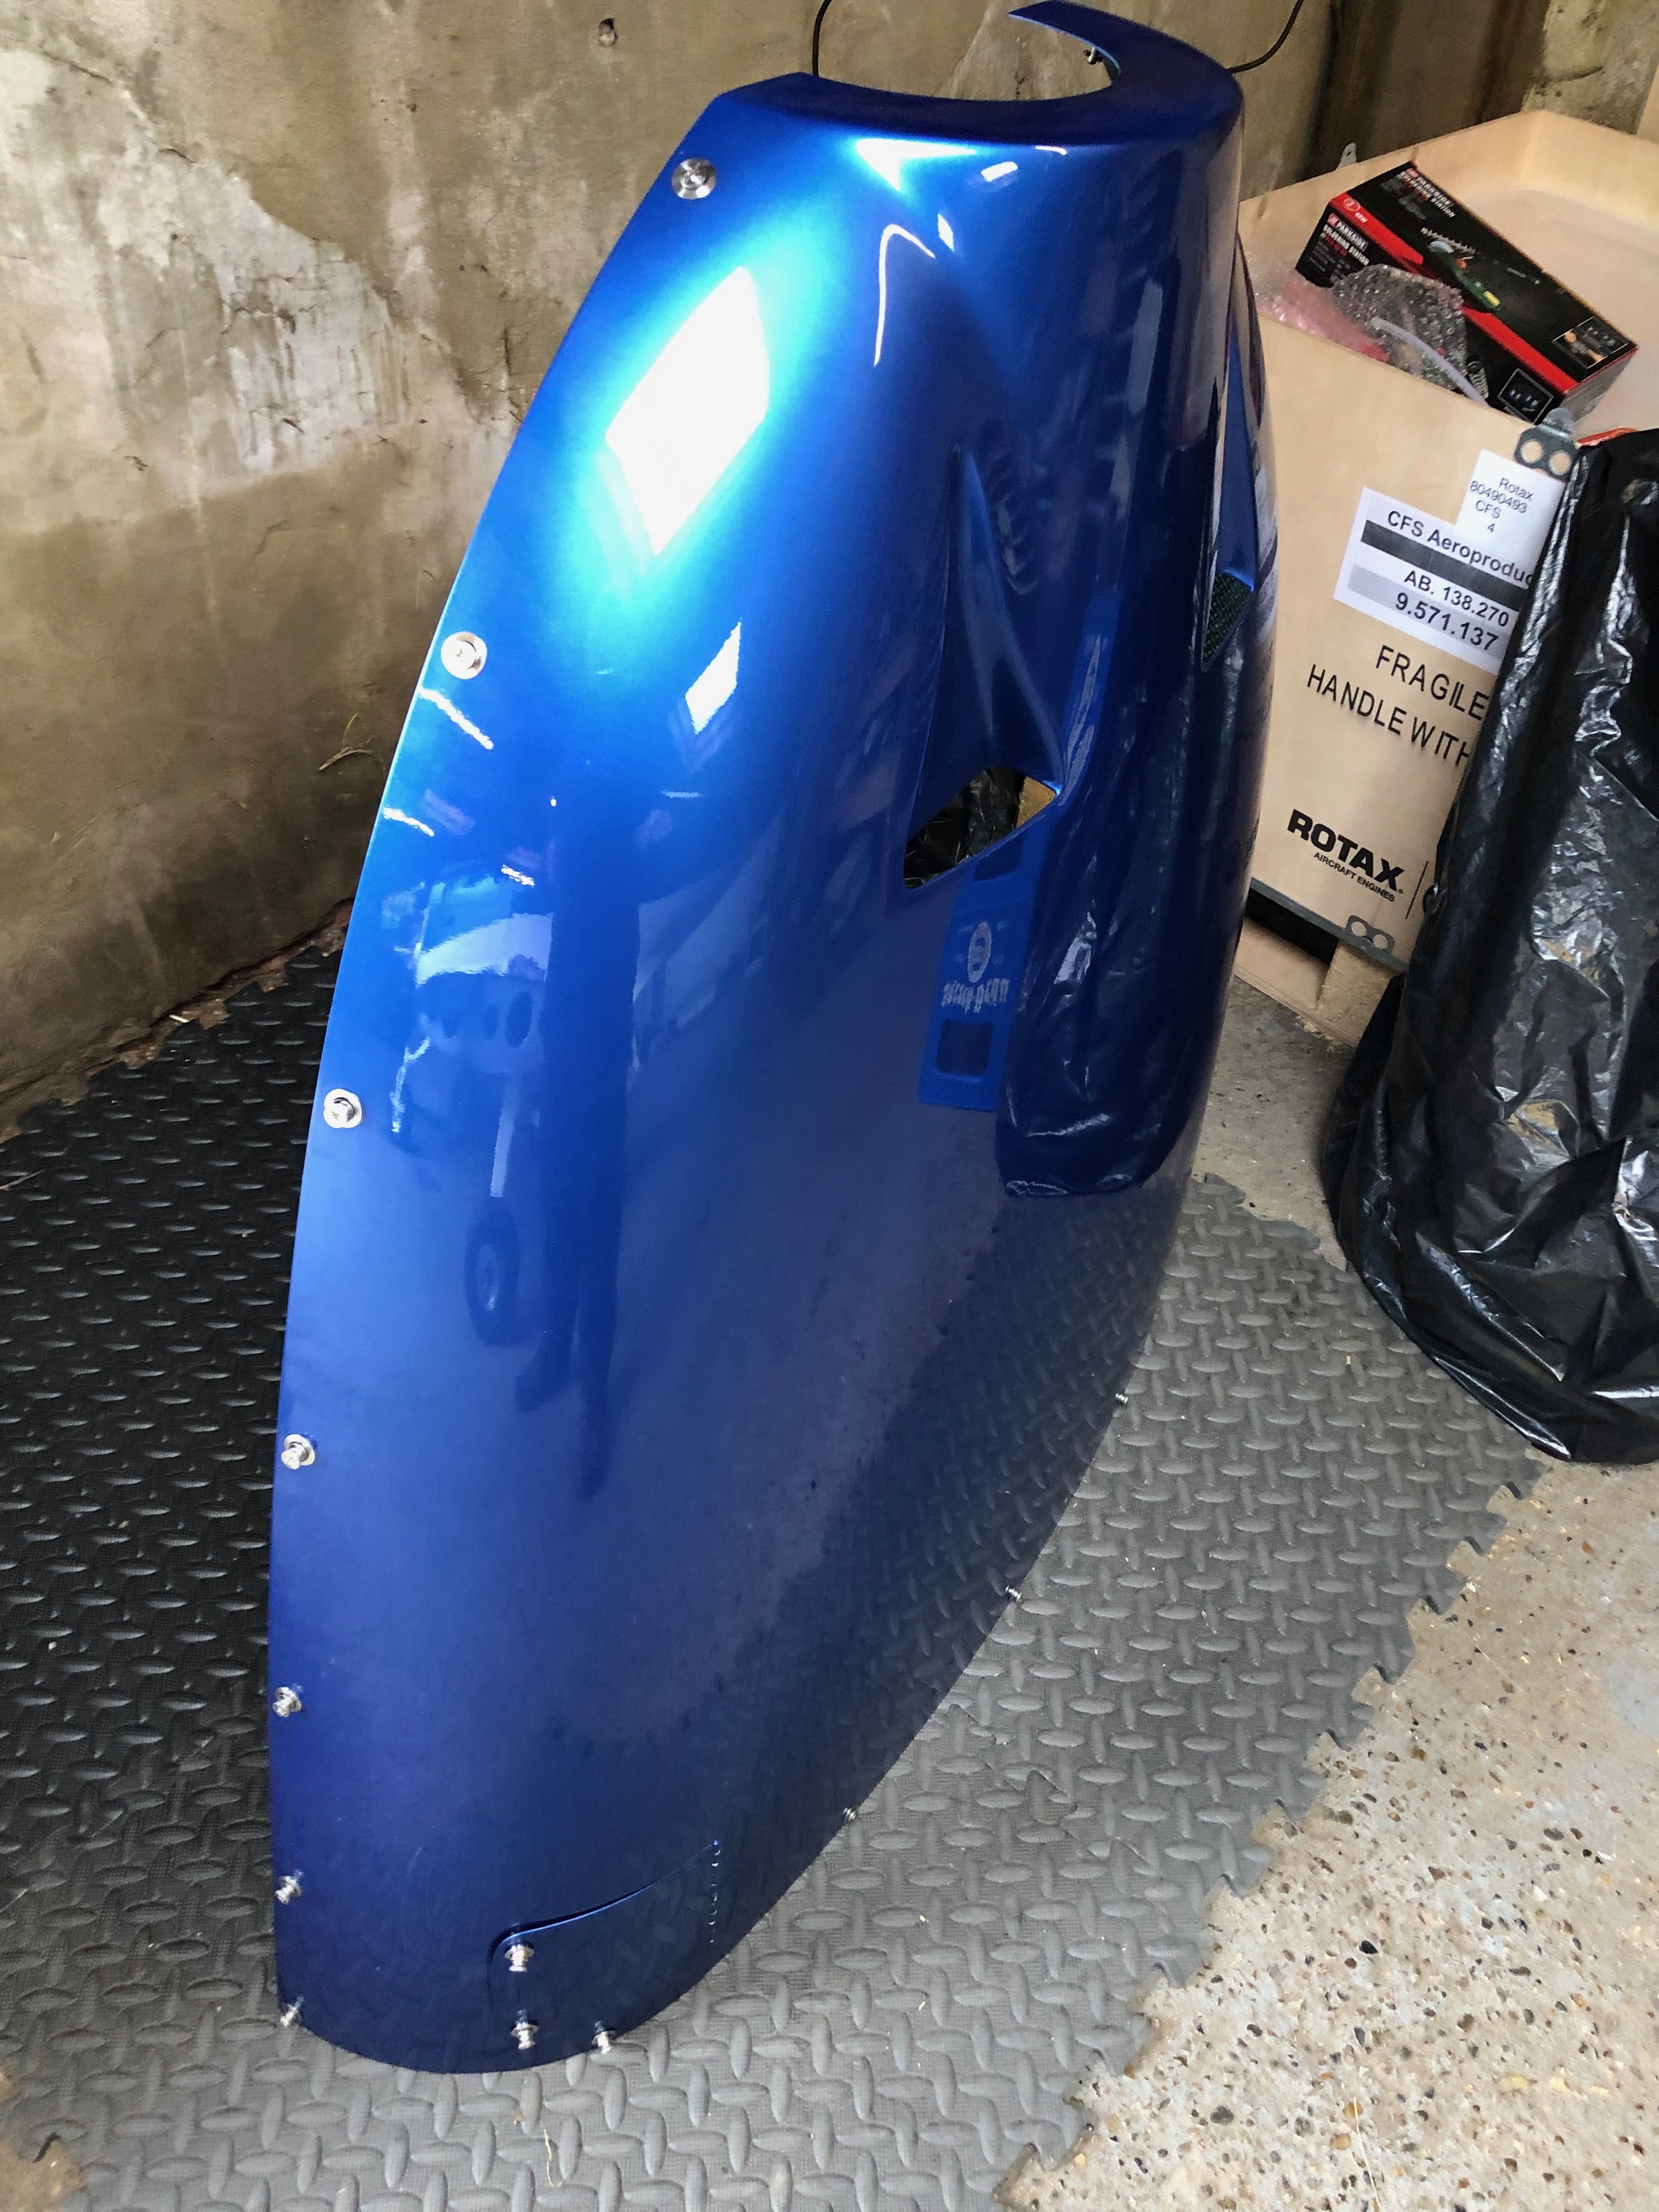
The top cowl with the quick twist screws in place including the ones for the oil inspection cover.

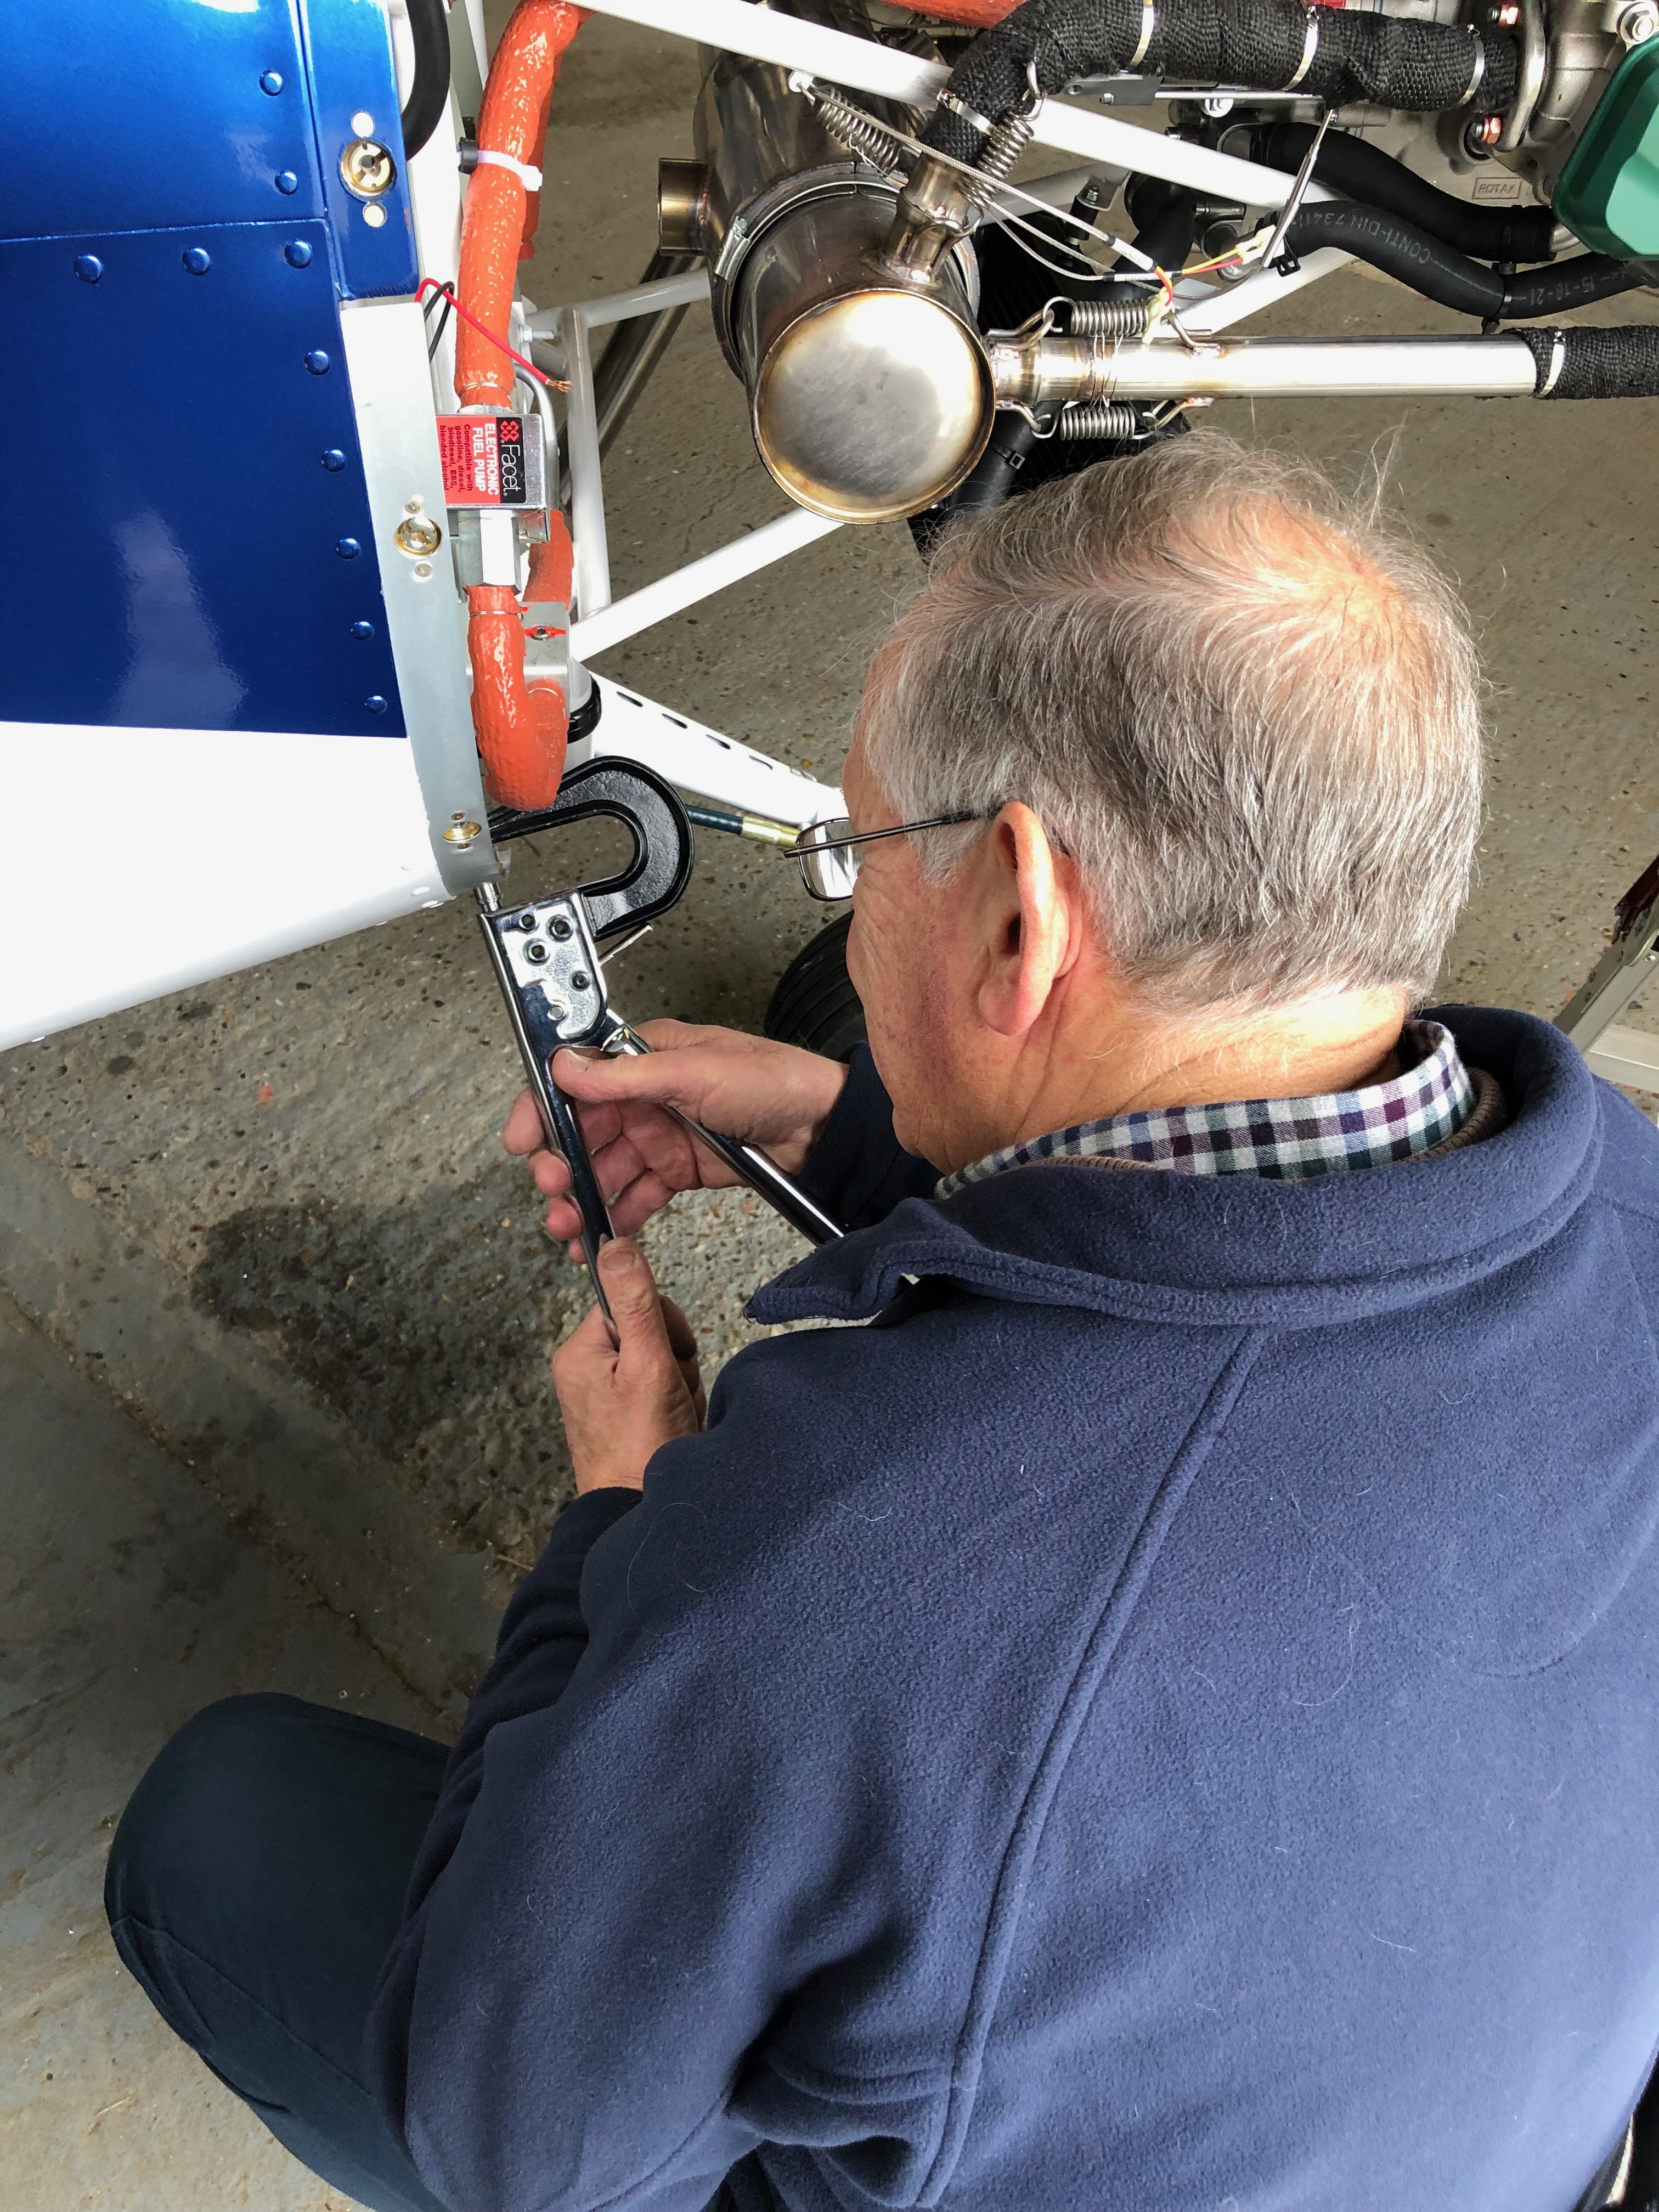
The bottom cowl quick release fasteners are fitted, the ill fitting fasteners will be removed, re countersunk and the fitting secure with solid rivets as described before.

One final job was to replace the exhaust system spring wire locking I had applied as I wasn’t quite happy with the way I had done it. The wire should prevent debris being dropped from the plane and create FOD should the spring fail in service.
