Friday 17th May 2019

Music: James Taylor and Oh Wonder

A couple of days away to do some flying and meet up with an old mate for a beer or two and now back to the grindstone!

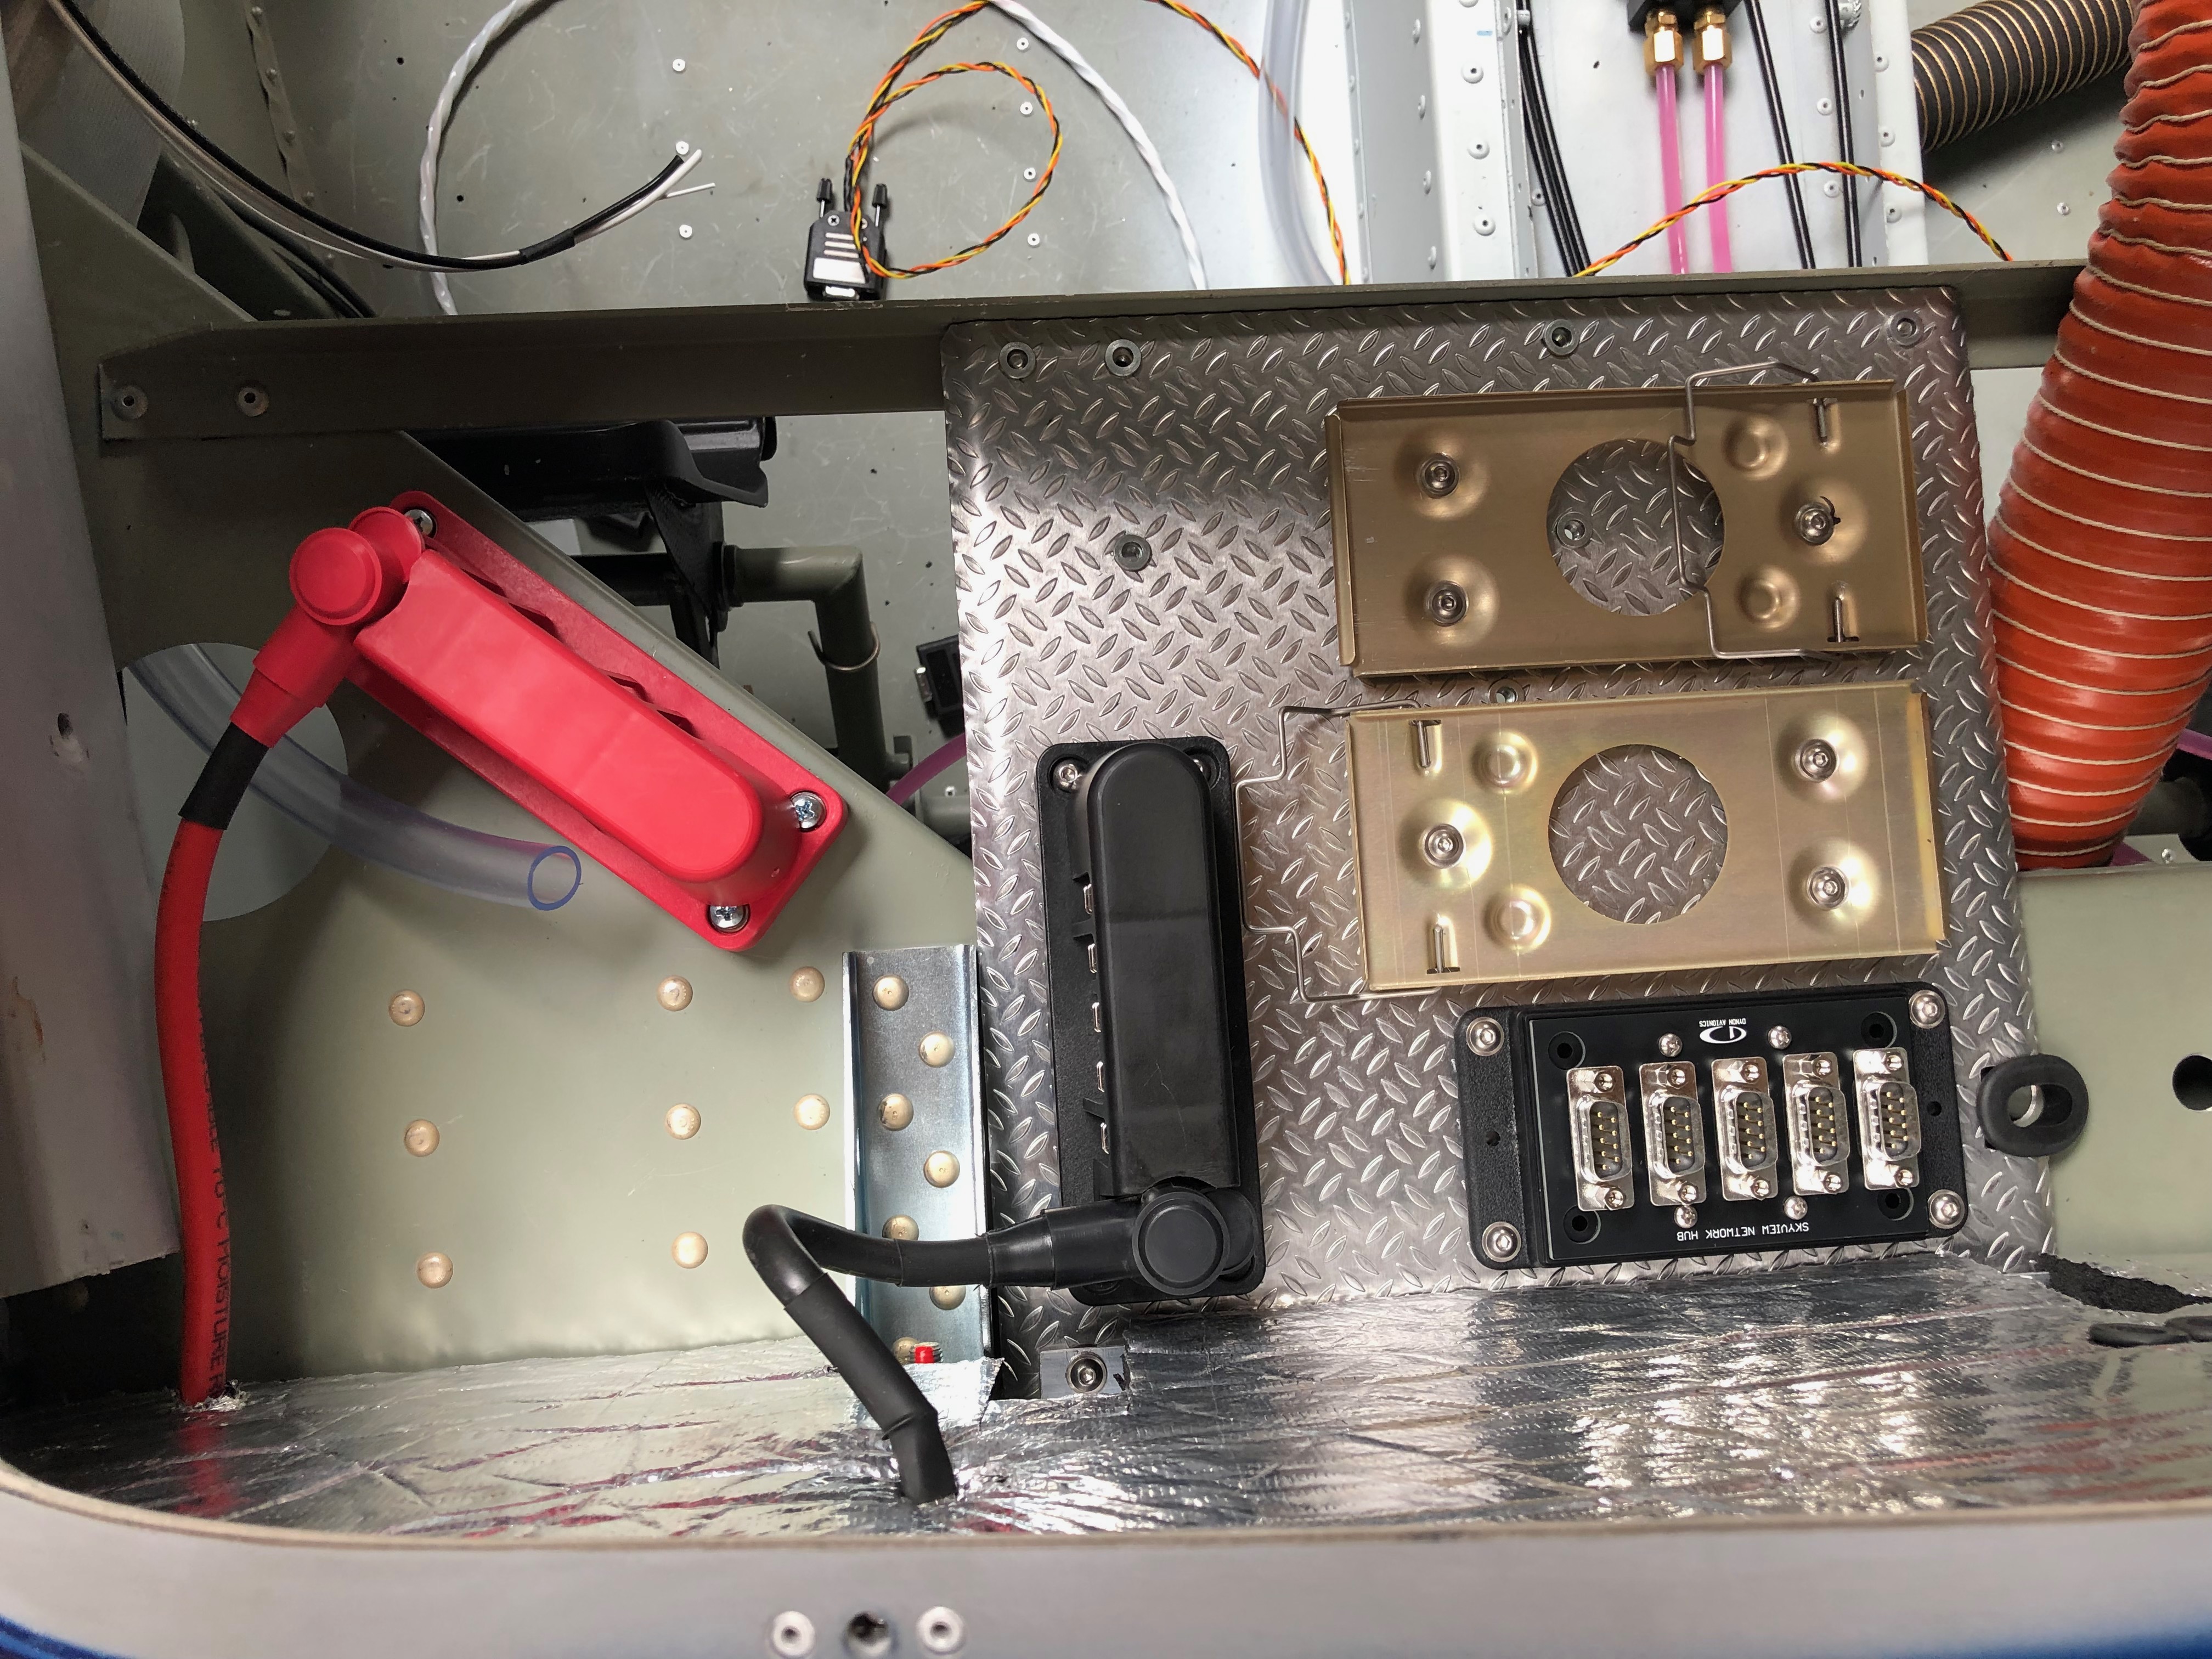
A couple of items to complete the installation of the primary power system. The power and earthing arrangements that I’ve decided to use necessitates rearranging the items on the comms tray. Once this stage is complete and with virtually all the other activities complete until the prop arrives it’s time to move on to wiring the all the systems together. It’s getting to the stage where I need to finalise my panel design and start cutting it out. I haven’t decided whether I will do it myself of get a company to water cut it.

I decided to use a neat 20 way earthing block (VTE 120amp busbar) that complements the power distribution block that I’ve already installed. Where to mount it was an issue but thought the comms equipment tray would work well and shouldn’t produce any interference. So an hour or so was spent trying to work out the best position to ensure ease of access and sensible wiring runs.
I think this is the best option. I made up a short earth wire terminated with and 8mm on one end to bolt to the firewall earth stud and 6mm the other to connect to the busbar. This solution will provide 20 feed and earth connections that should be adequate as I have 15 circuits to cater for in the current electrical design.
The last wire to add is an earthing strap that is bolted on to the starter motor. This will ensure that the start draws all it’s power from direct connections and not through the aircraft frame or engine mount .
The completed primary power system.
Onto running the wires and harnesses in that I’ve made into the aircraft and ensuring that they don’t get damaged during service. This is the ADAHRS network cable. I’ve chosen expandable braided PET cable sleeve. It’s tough, very light and is easily installed.
Once the cable is run in it can be secured with cable ties. This will be hidden behind the interior panels that I’ve decided to make removable so I can get to these when I carry out my annual checks.
For harnesses with connectors on I’ve chosen flexible split conduit which is tough, and light but a little more bulky. The split in the conduit allows me to slip it over my pre-made wires.
With all the wires and services that will eventually be installed I have to make sure that the installation remains neat and tidy that will facilitate easy maintenance, good protection of the various services and easier fault finding if I ever have a problem.