Tuesday was a non event as I was ill with some stomach bug which left me very lethargic.
Back to full strength Wednesday but there are less and less jobs to do as the days pass. It’s very windy today so will leave the engine runs and associated tests until tomorrow. Looking to do final inspection before first flight next week. The original chap can’t do it until after the LAA rally at the end of August which is of no use to me as I’m off to Llanbedr for a couple of weeks Gliding. Luckily Ian has managed to arrange for someone else to do it for me.
I spent the day today doing some ‘little’ jobs.
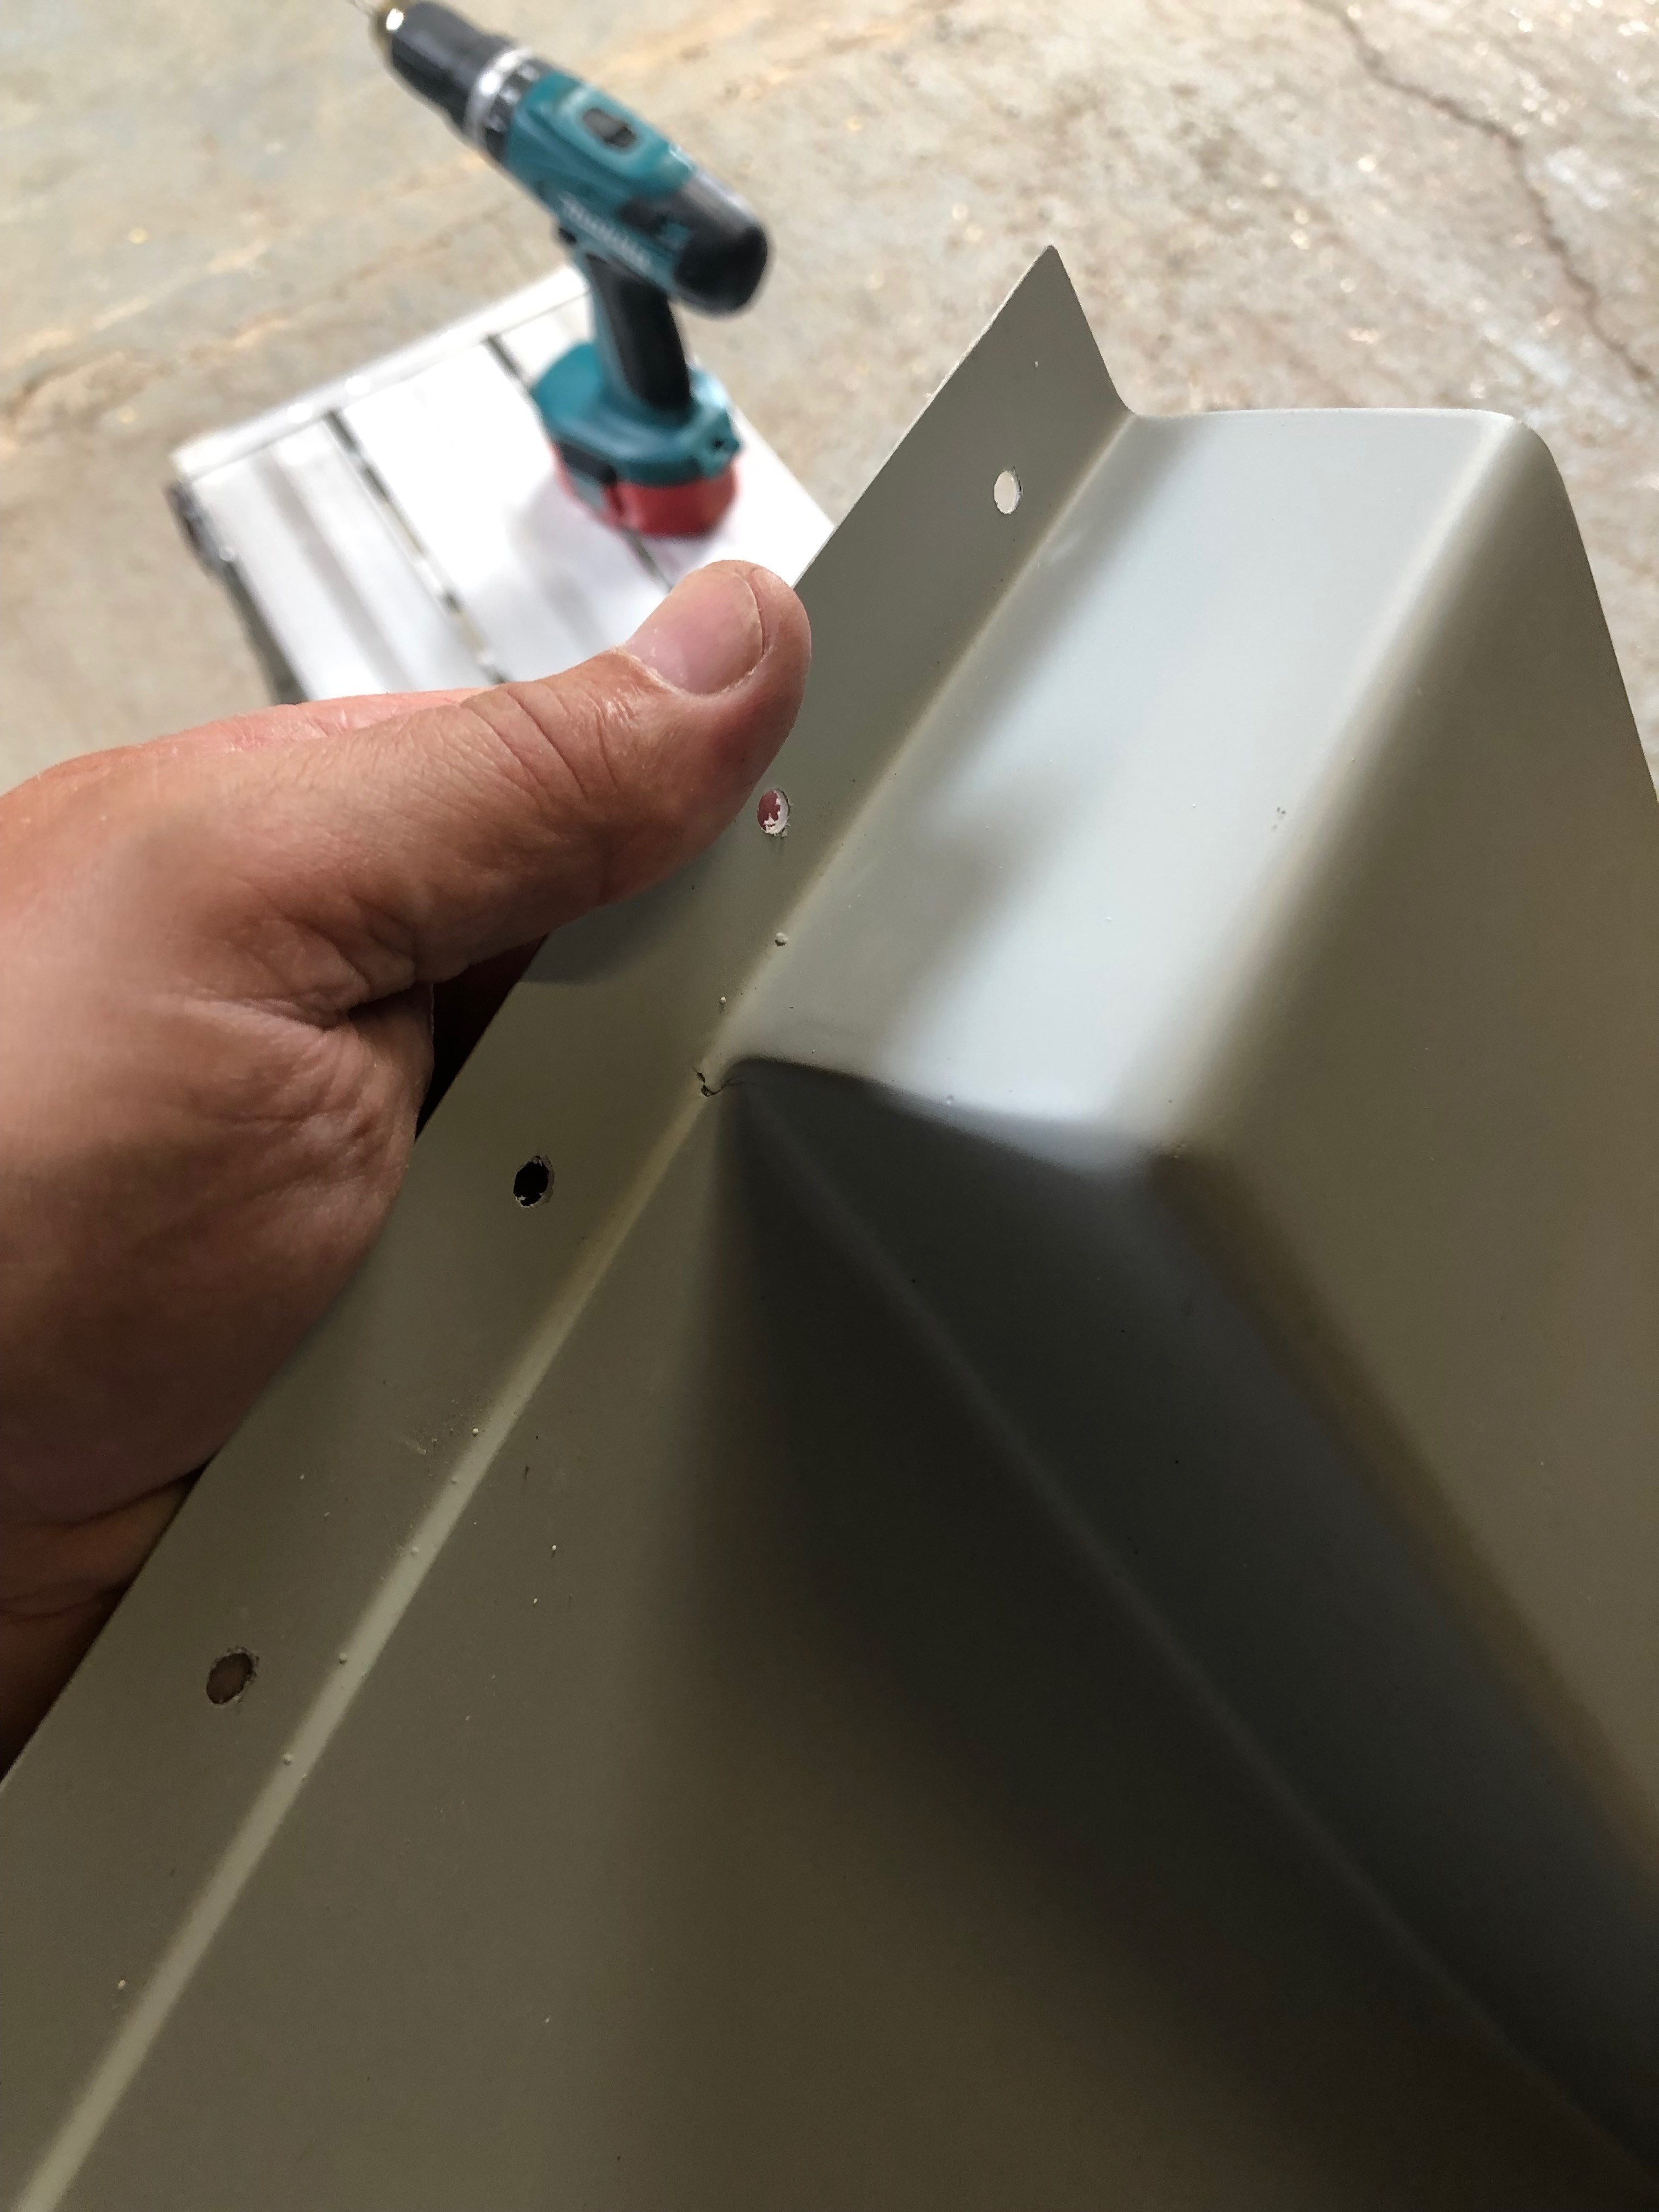
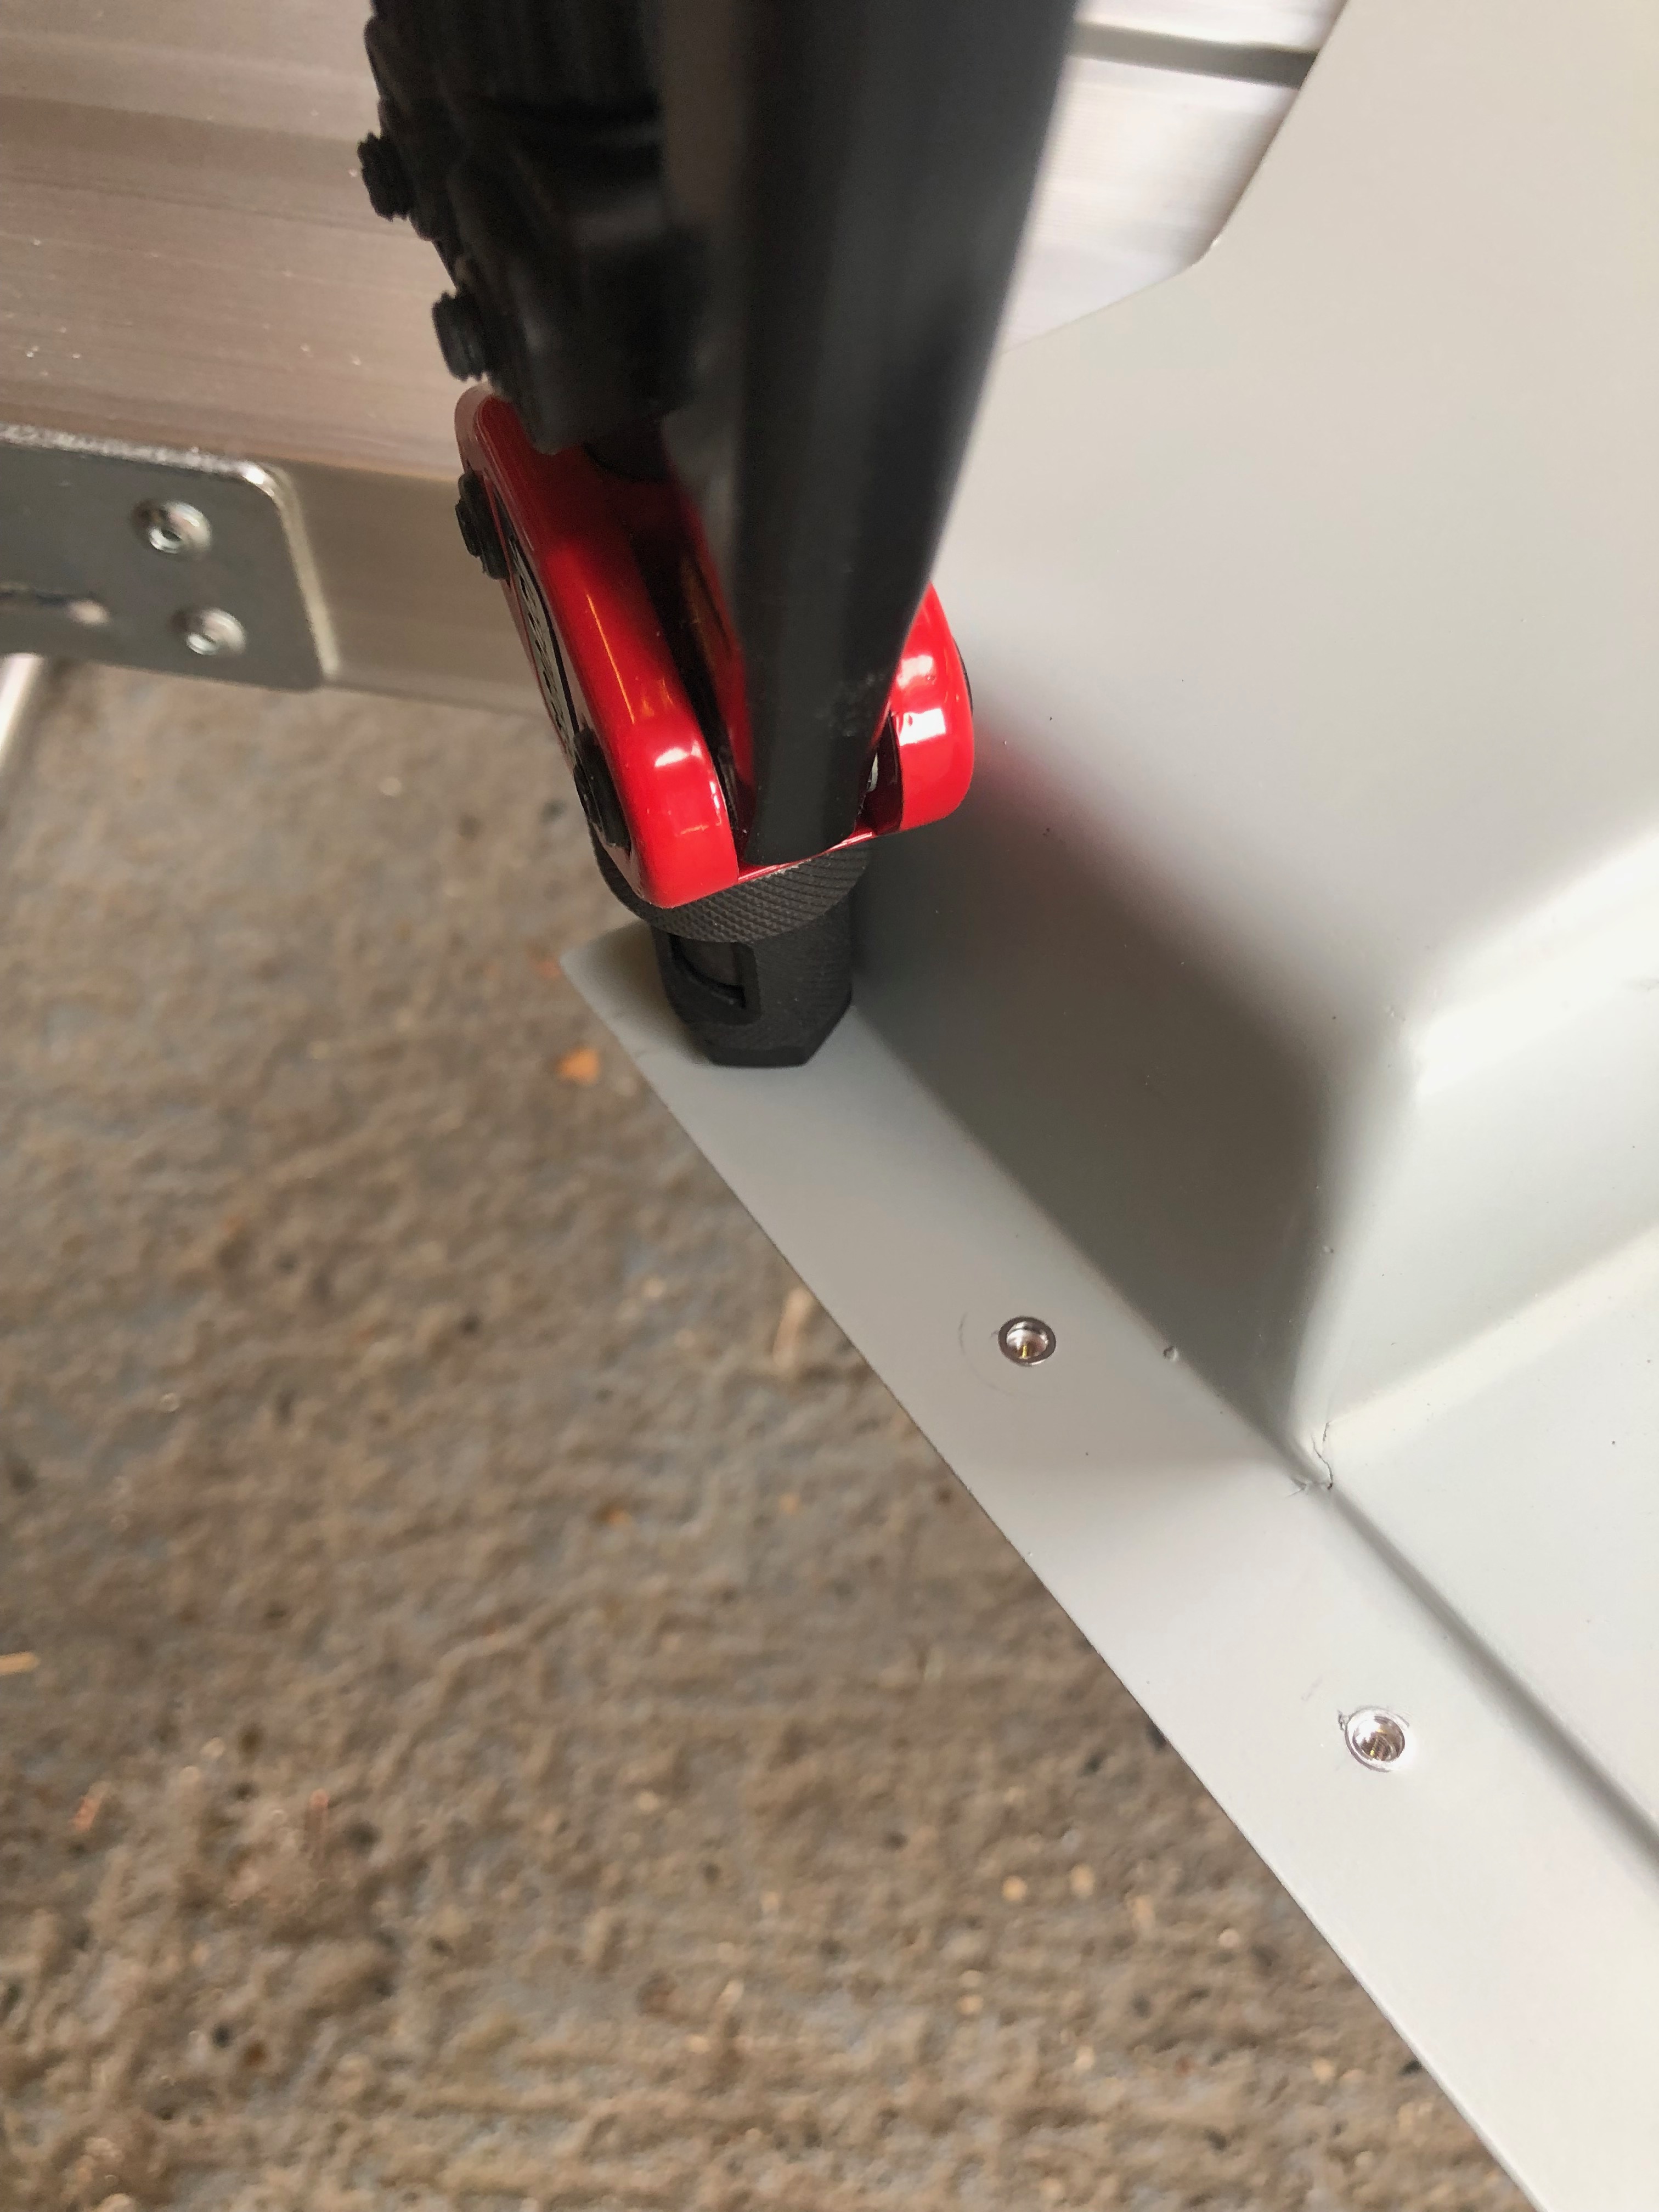
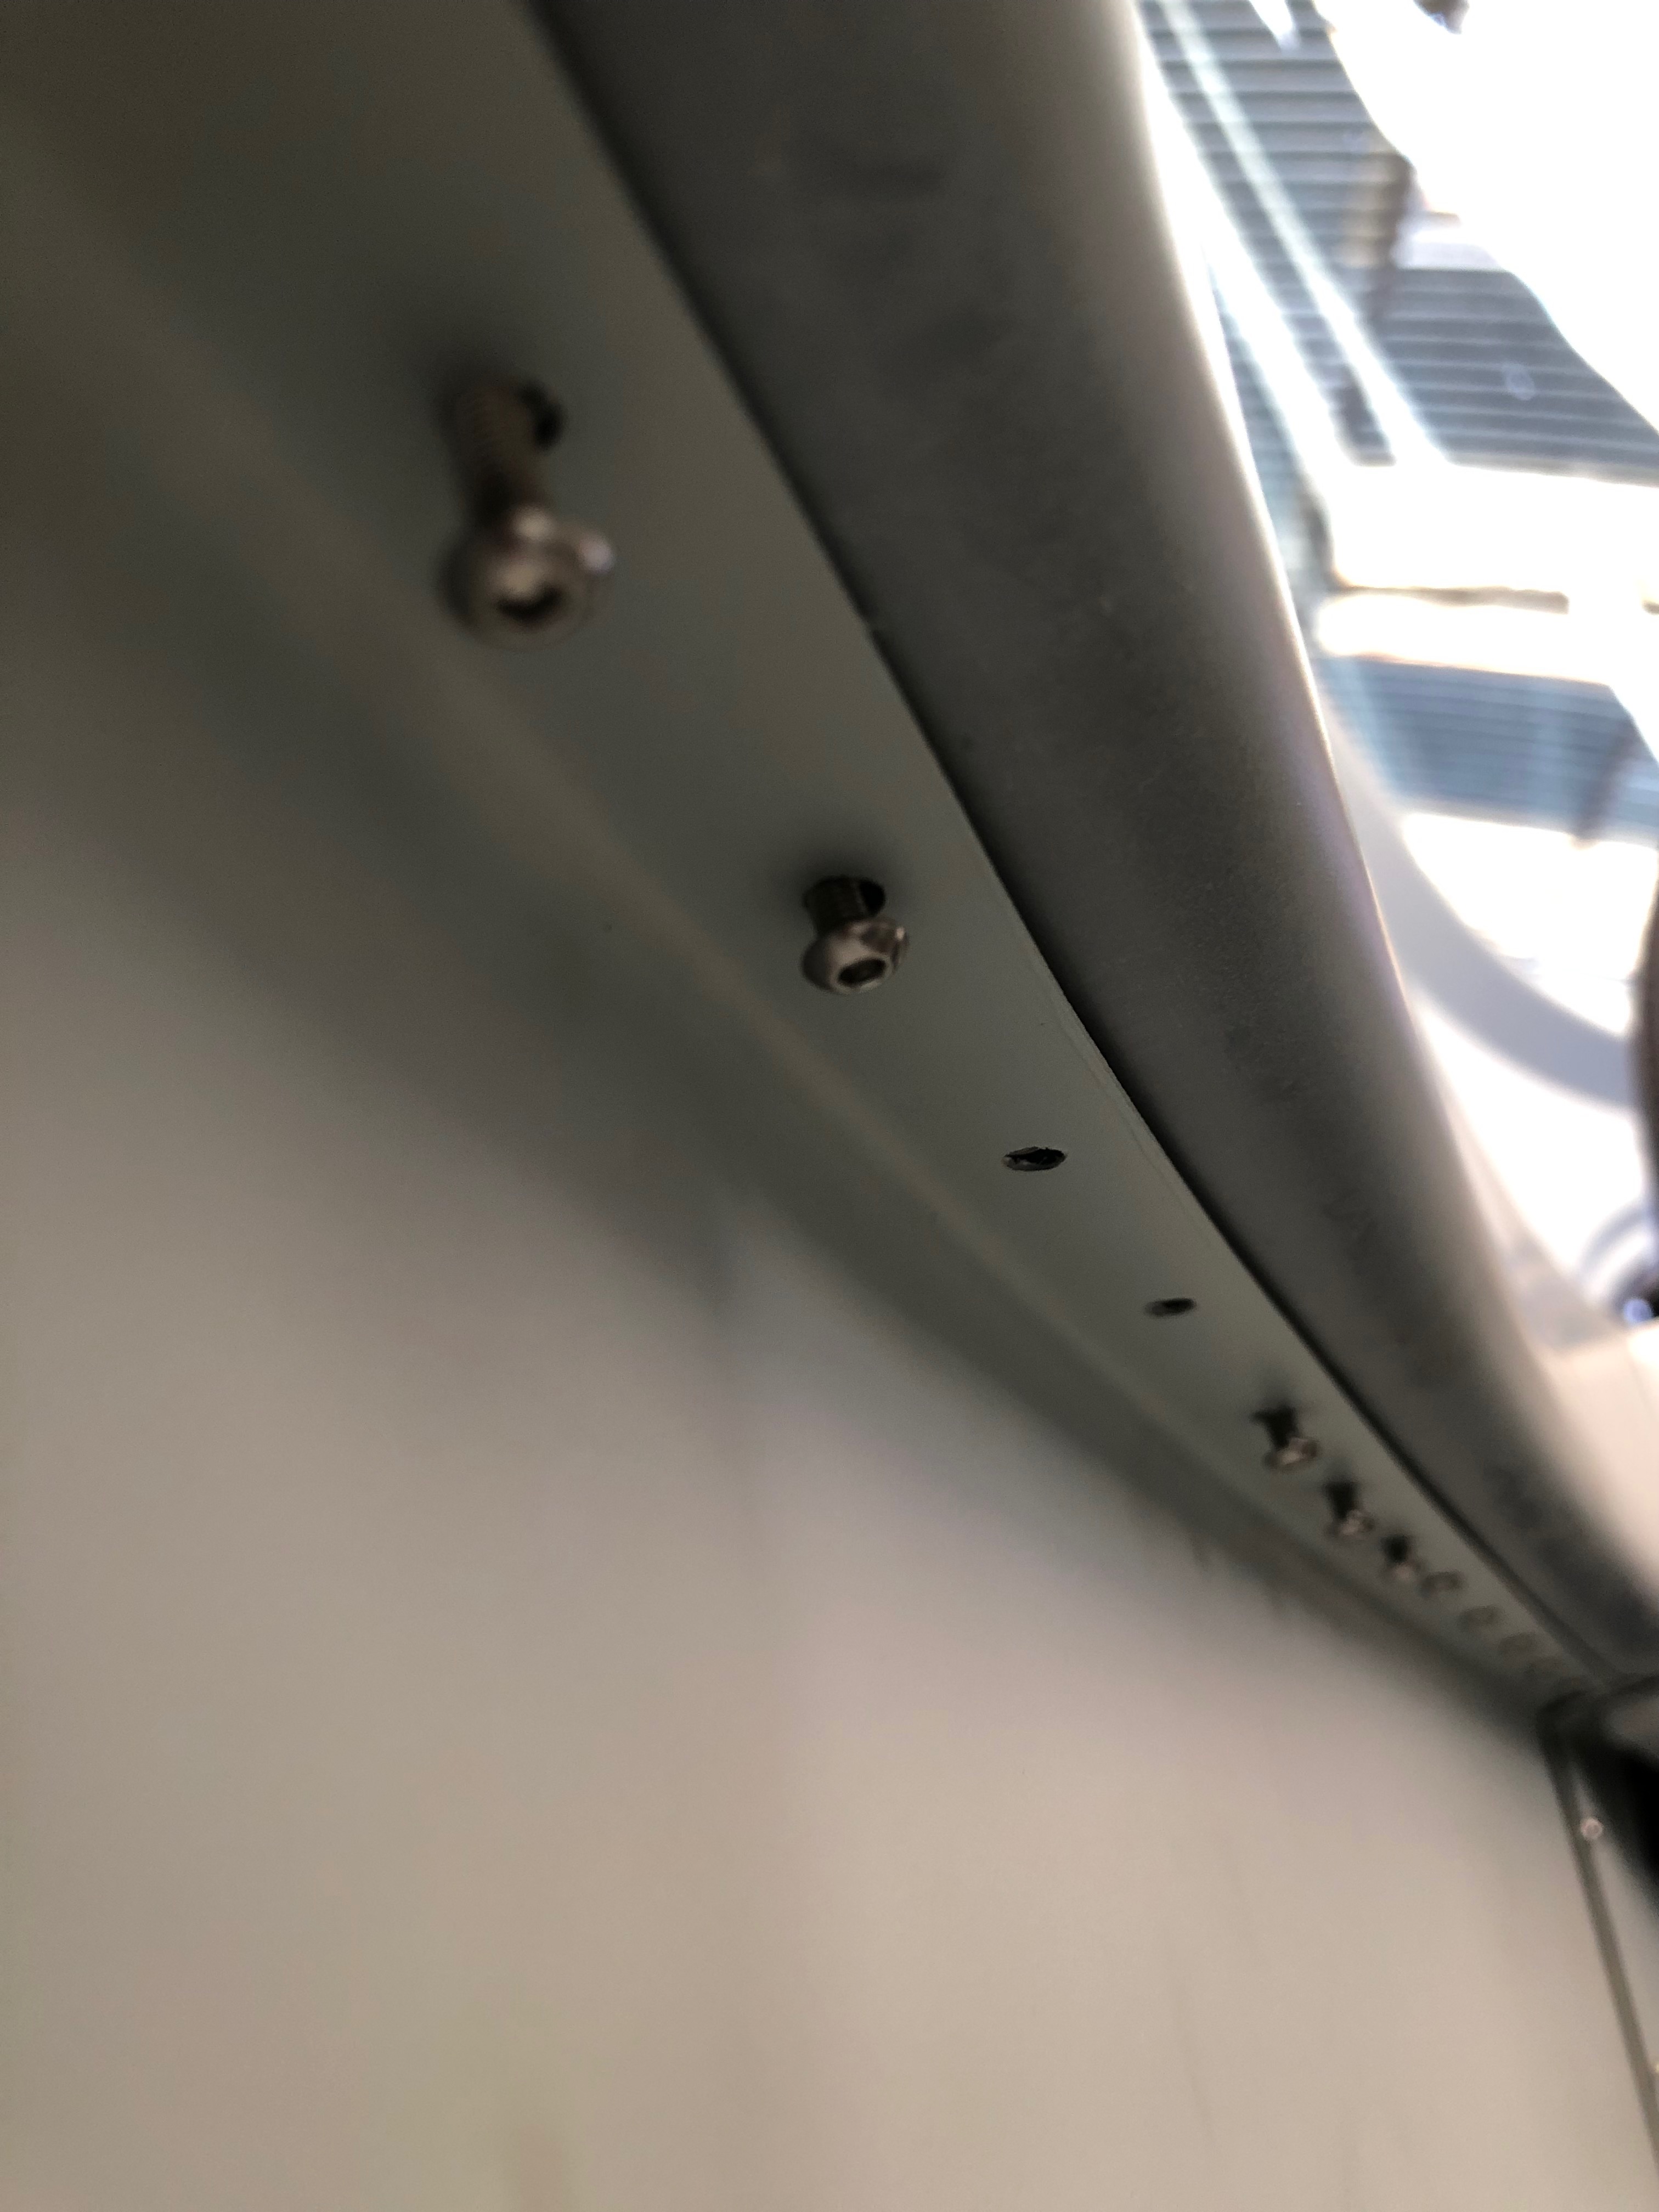
One of the little issues that I found when I first run the engine was the park brake cable travel was too much which could result in the inner coming out of the outer by a couple of mm. I did a small mod, shortened the inner by a few mm and put a more definite cable travel stop on the cable to prevent it pulling out. It works a treat now as do all the other controls.Earlier on in the project I decided after a conversation with Ian to use M3 rivnuts and screws to secure all the internal panels instead of rivets. That would allow me or anyone else that does maintenance or wanting to run extra cables in to easily remove the panels to gain access. This is the side armrest panel I’ve used reduced shoulder M3 rivnuts that don’t protrude so much as others I’ve used and are ideal for this job. You have to be careful though as the material is thin and the there’s not much to ‘get hold of’.There’s loads of holes to secure the panel probably because it’s an armrest so there is an amount of downward pressure. Fixing this panel was no easy job as I had to work ‘upside down’ to find the hole for the screw, line it up and screw it in. I was exhausted after this but it worked well.
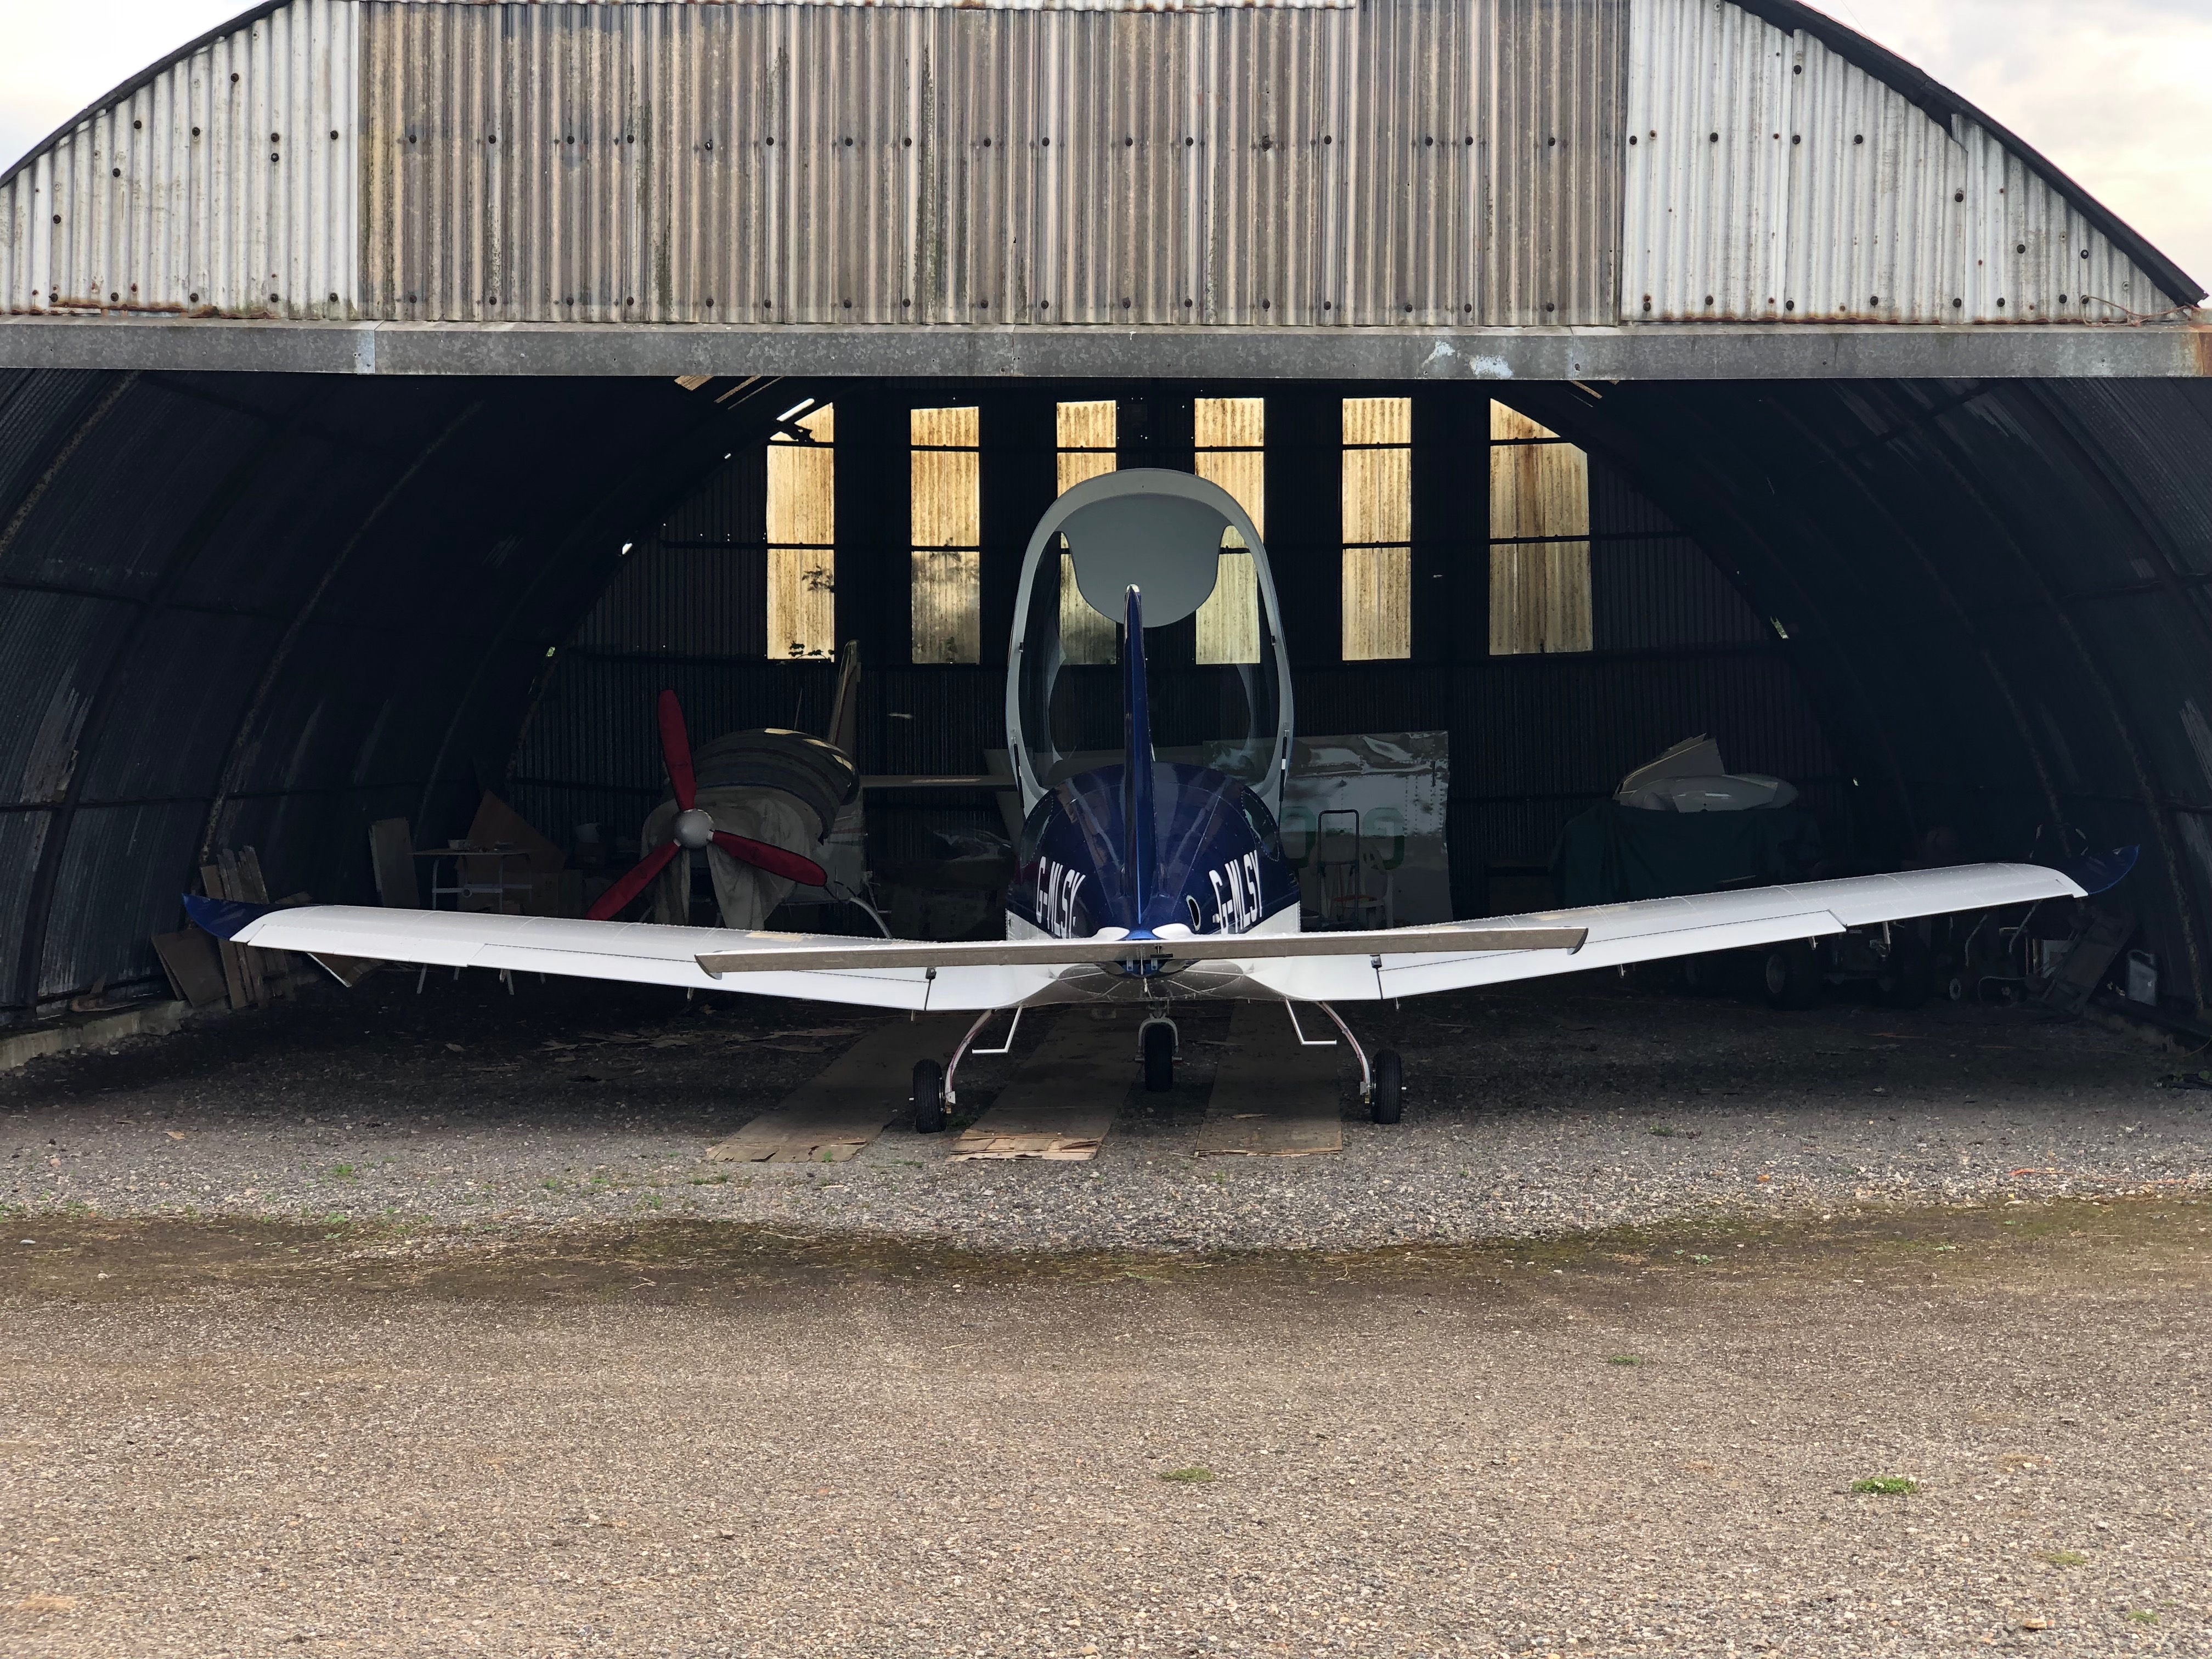
There’s still a few jobs to do before final sign off hopefully next week. I’ve moved G-MLSY out of the workshop but I’m still using it for my tools. It’s now housed in one of the mid sized hangers until I finish when it’ll be moved to the main hanger.
After the success of the first engine run on Friday I need to adjust and secure the canopy, fit the wing walk anti-slip tapes and fit the wing join covers.
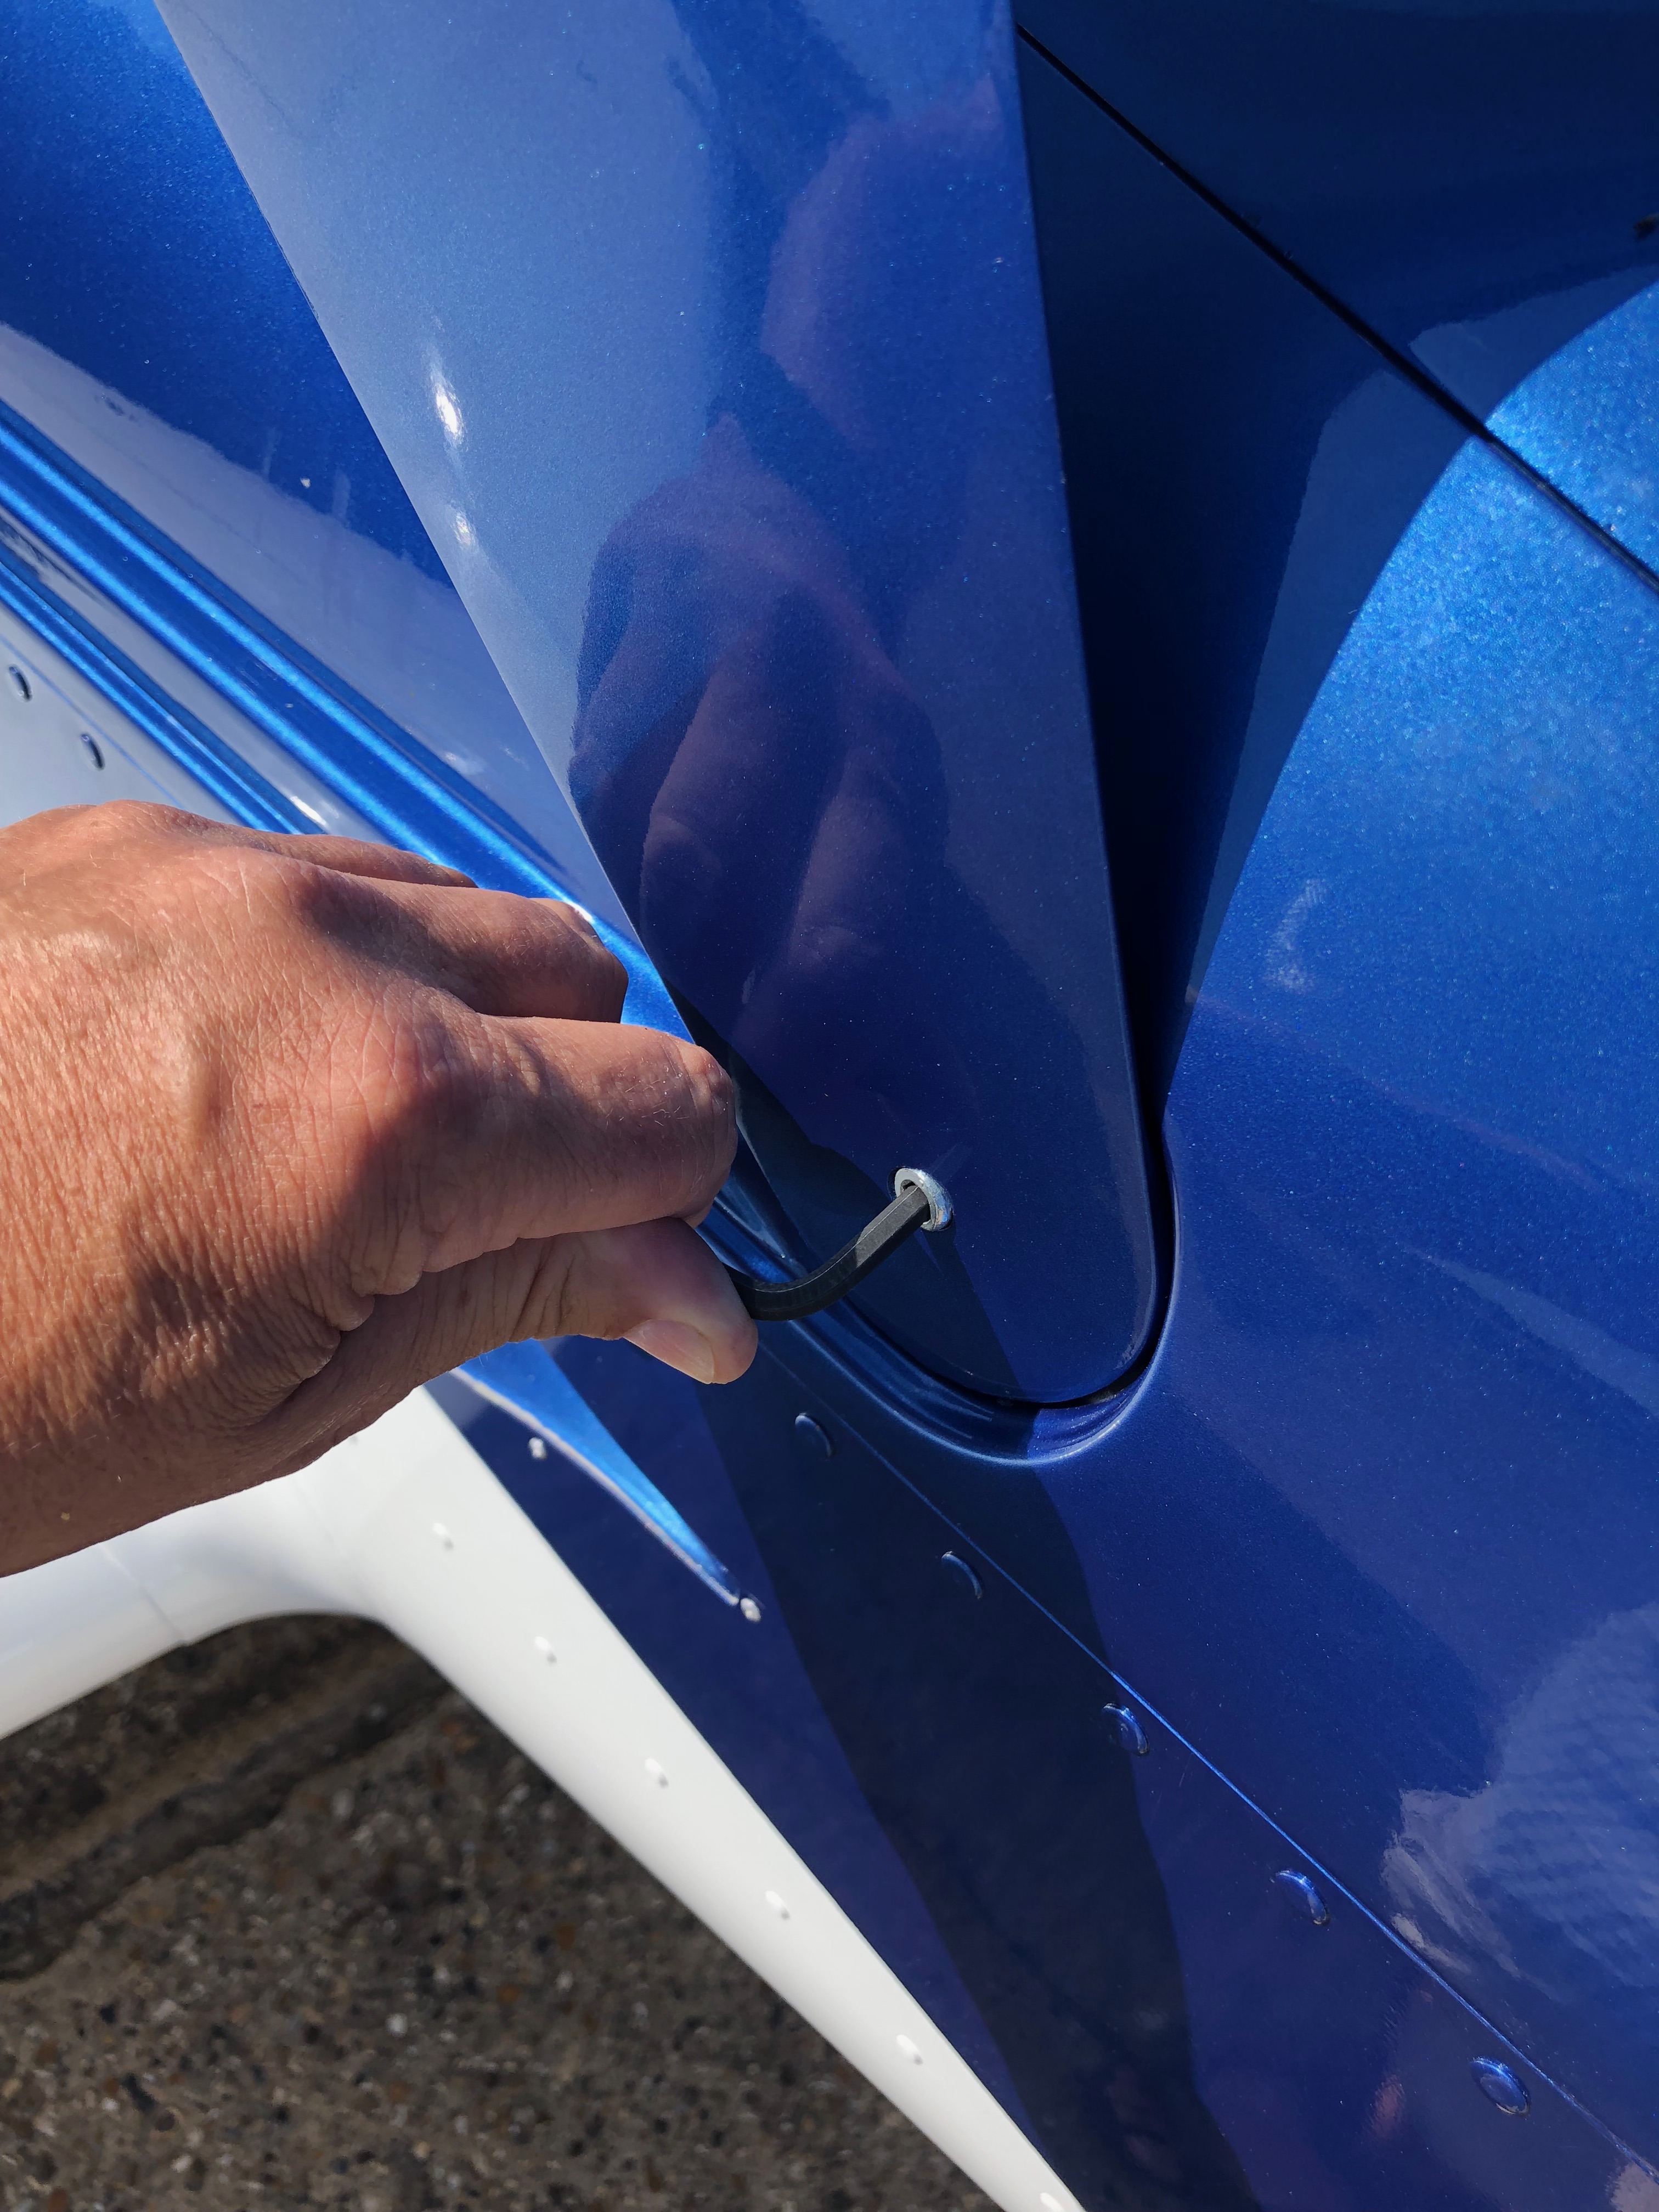
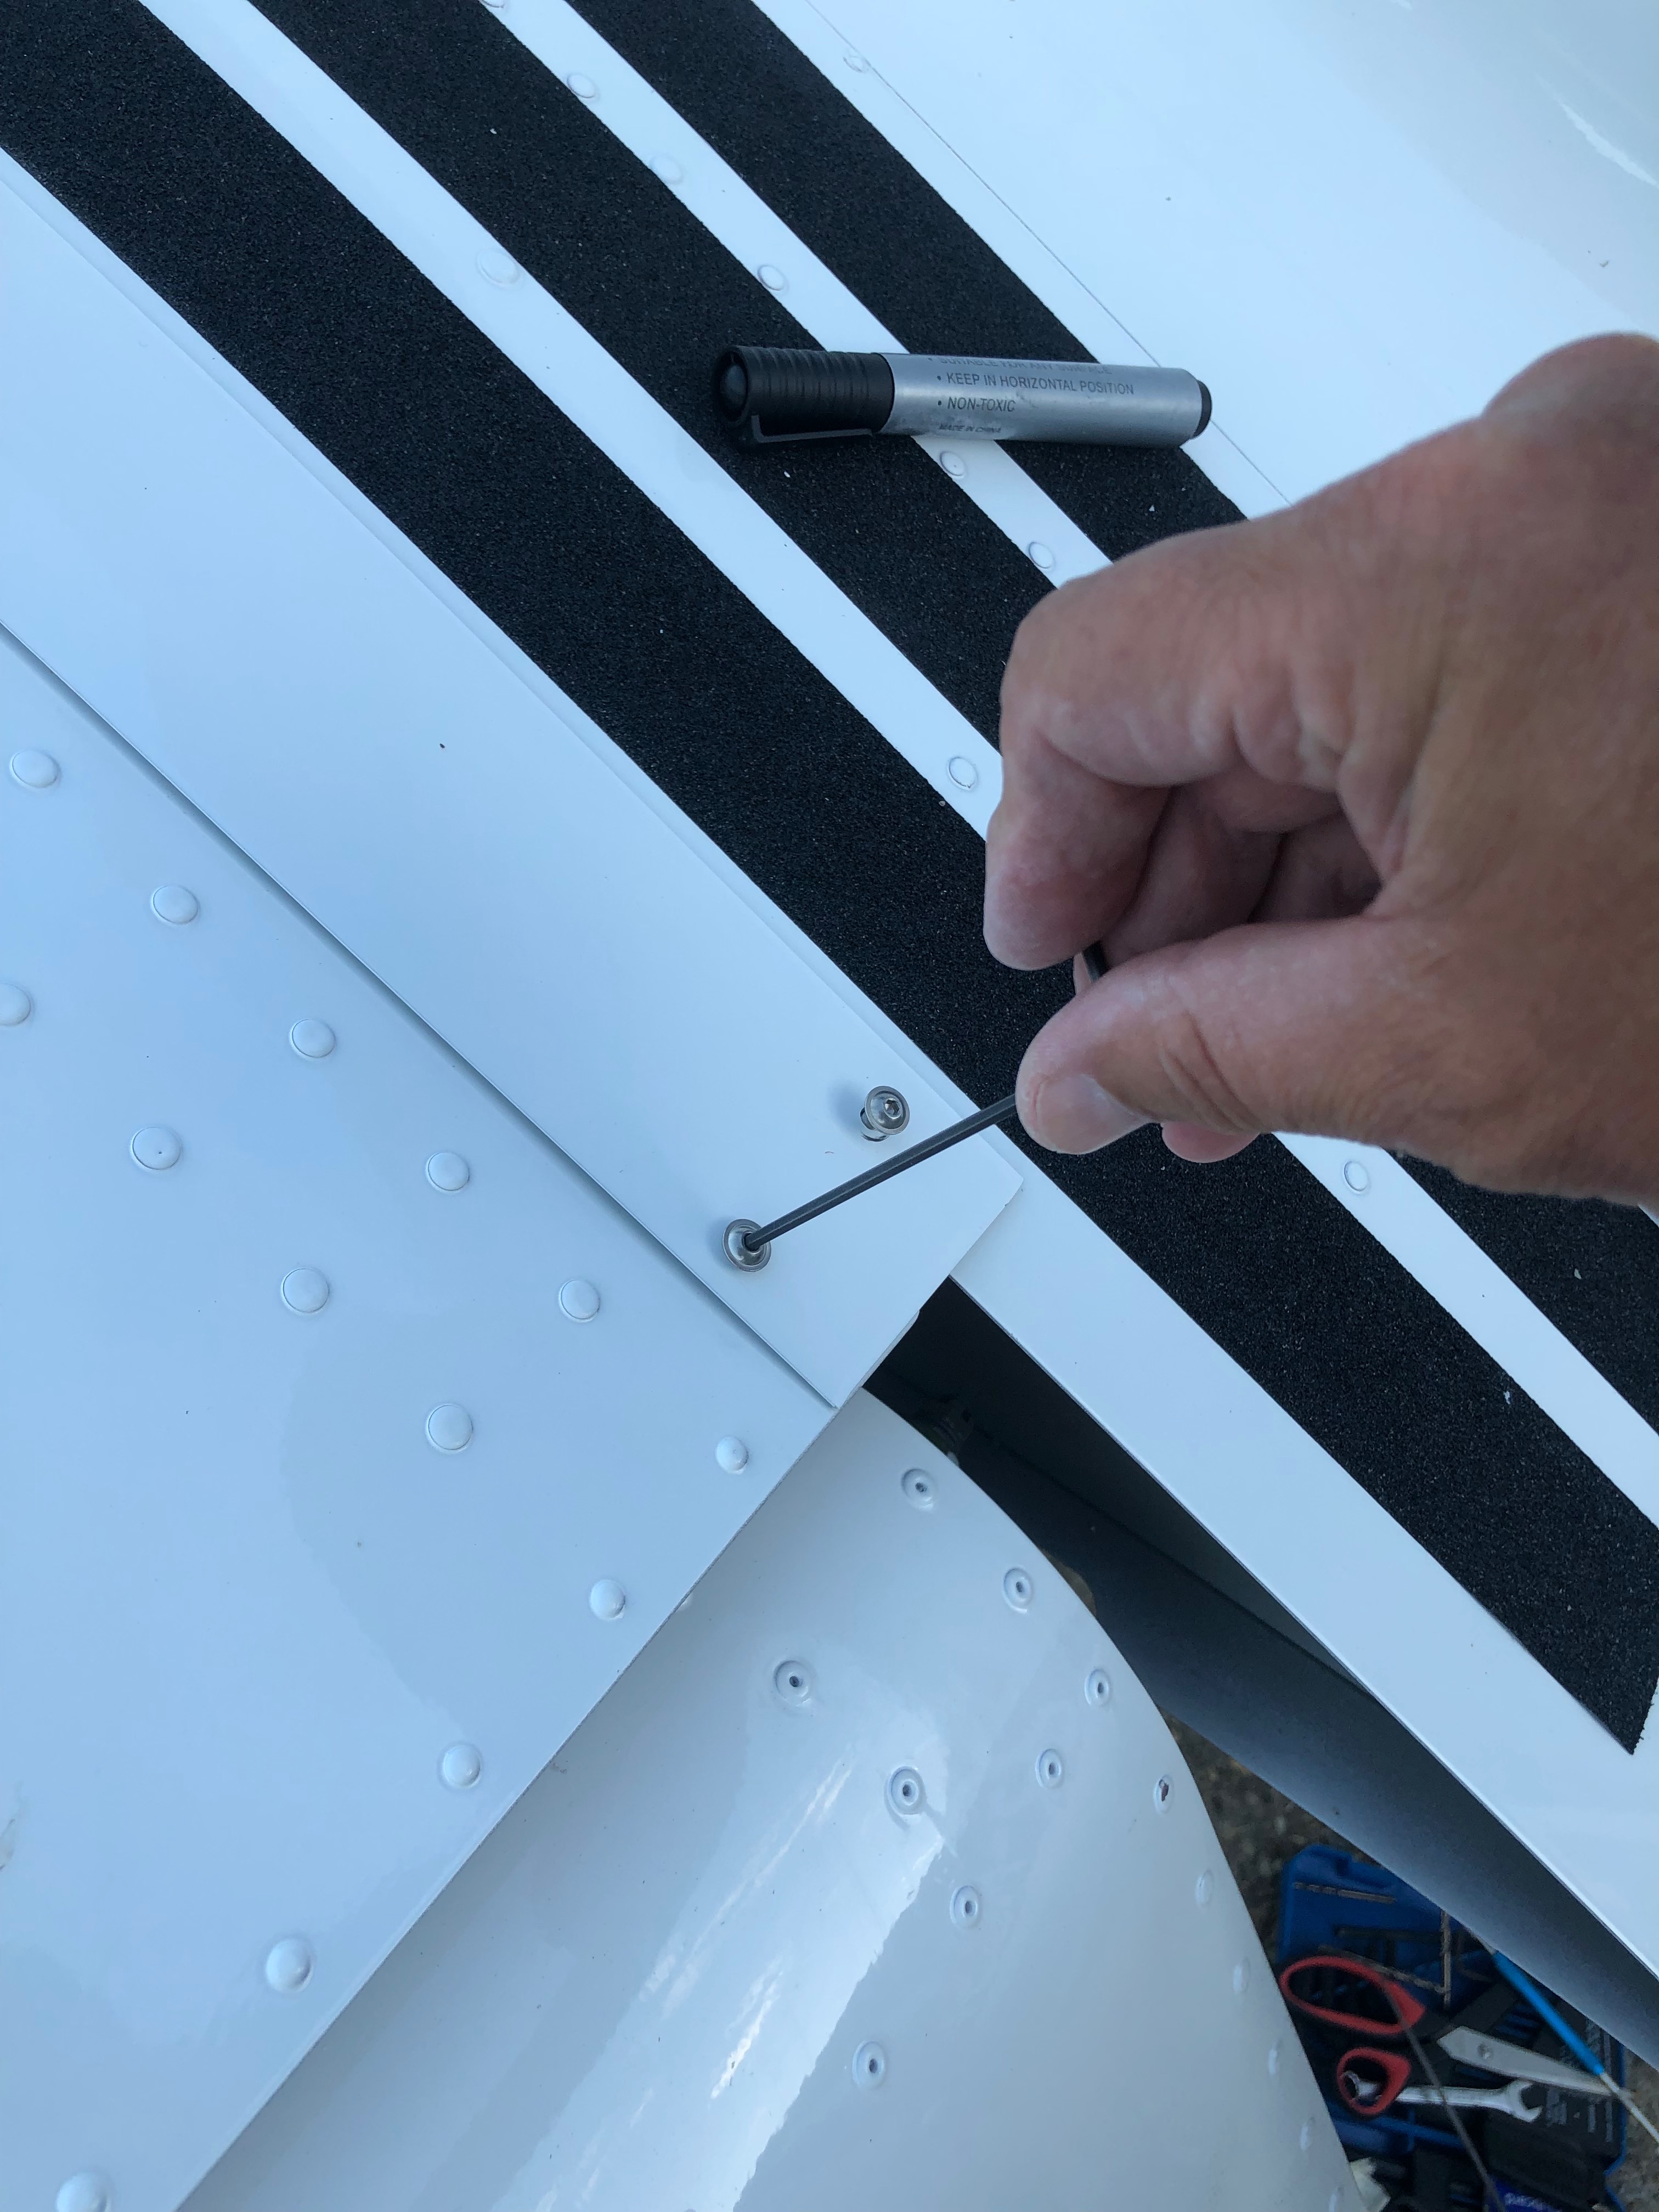
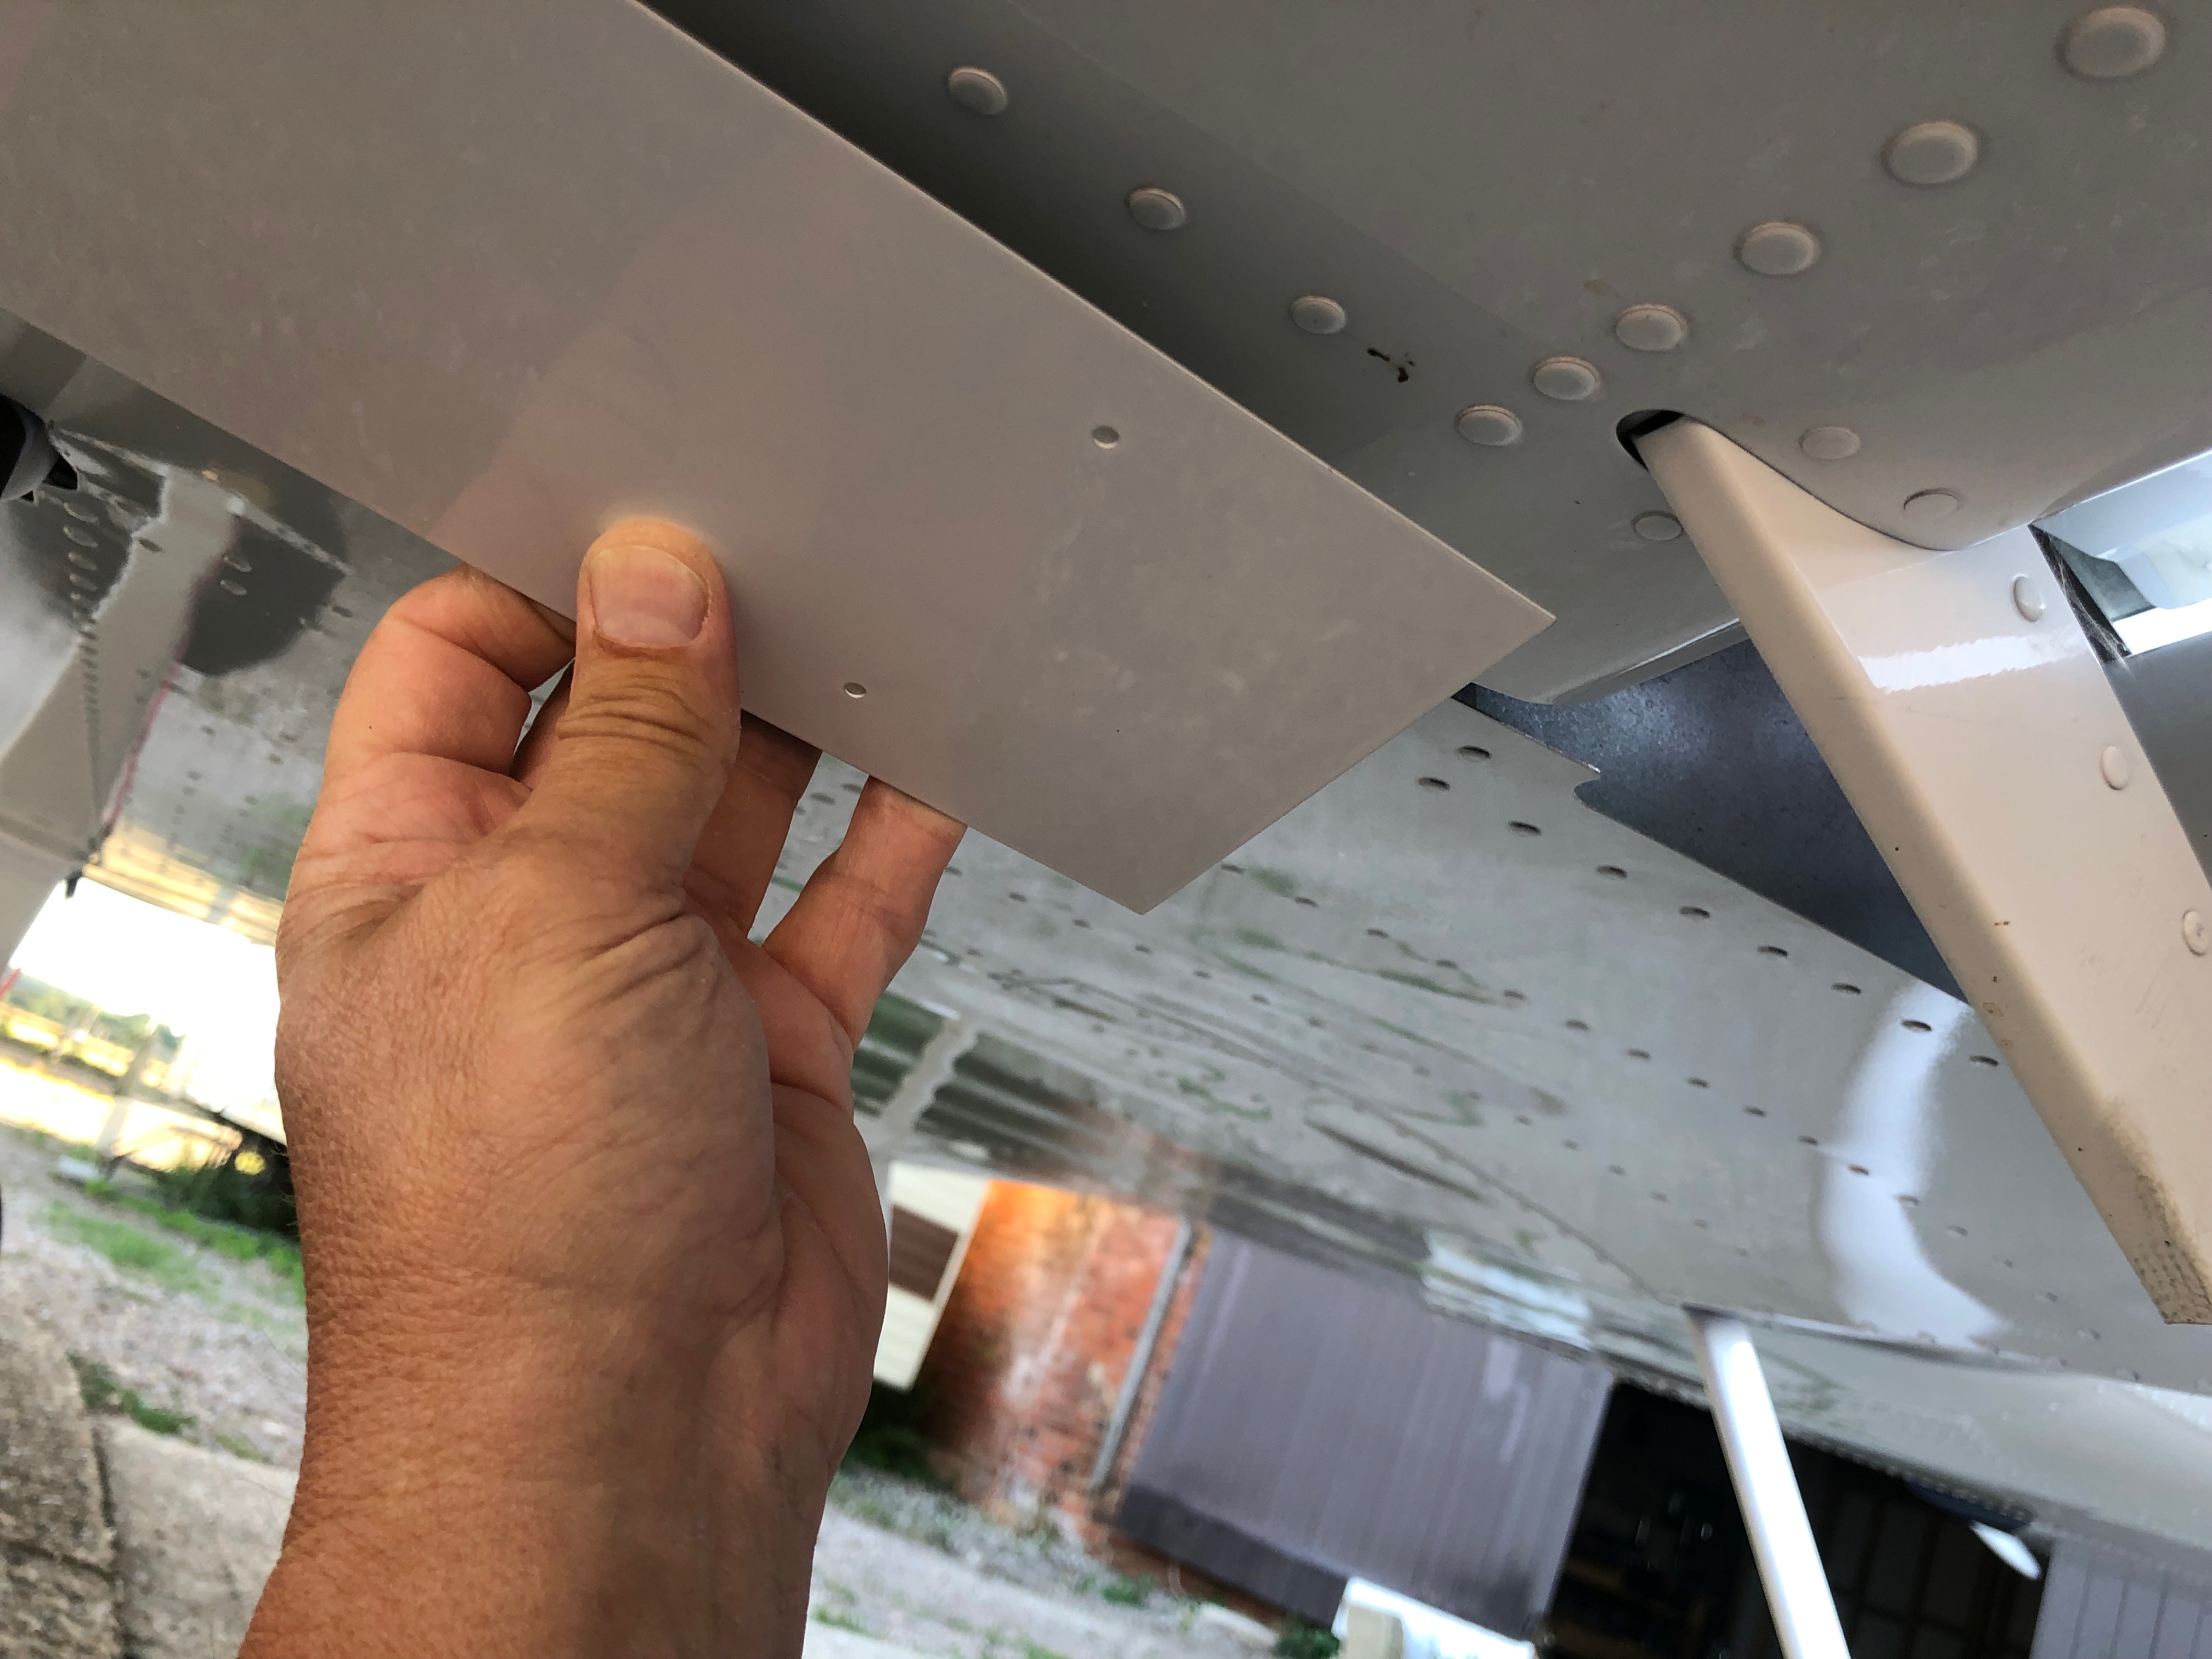
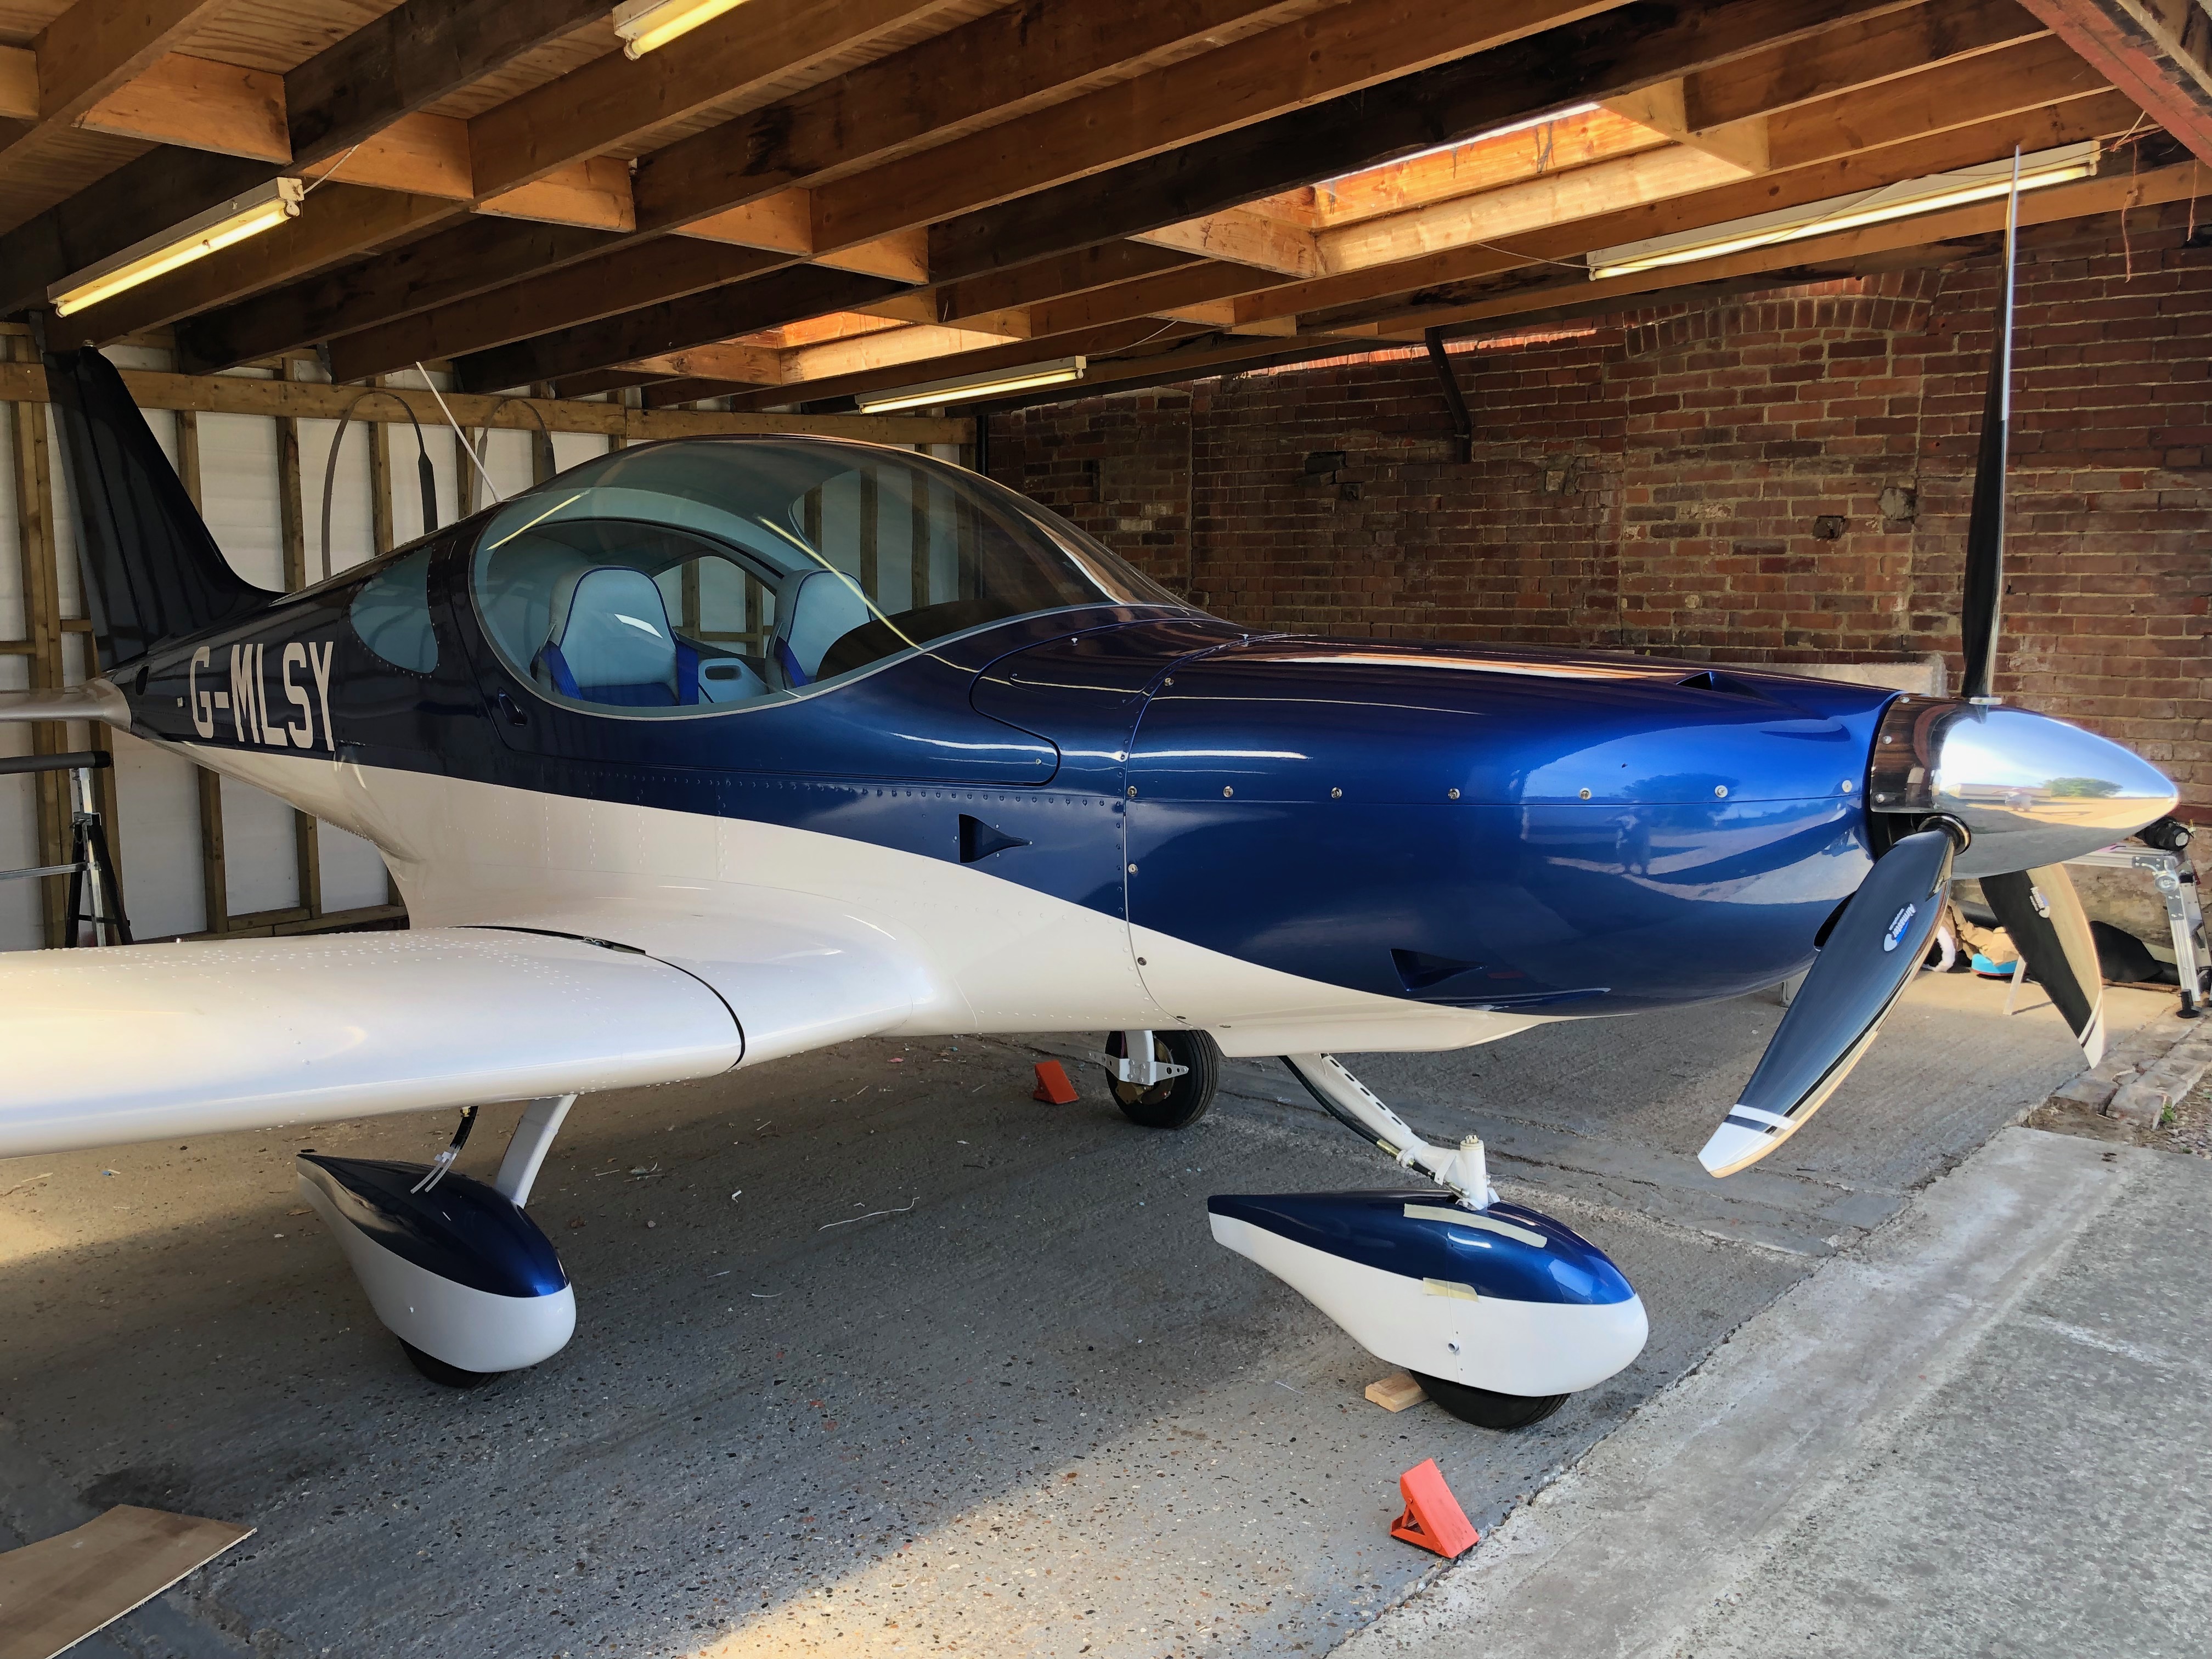
The canopy was temporarily fitted for the engine test so I adjusted the canopy catches and secured the hinge bolts.Next up is sticking the wing walk anti-slip tapes onto the wing root. The area is thoroughly cleaned and degreased to ensure they stick properly. They need to be straight and equally spaced otherwise it’ll look awful. Each tape is carefully placed in position and the backing paper is removed slowly to ensure that it’s parallel with the first tape. The finished job looks quite good.The Bristell’s wings attach to a wing root stub that protrudes from the side of the aircraft. The way the wing joins means that there is a small gap that needs to be covered. A metal joint strip is used which is attached at both ends and pulled together with springs. A couple of Rivnuts are installed on the top of the wing and one end is secured…… the strip is fitted round the front od the leading edge and the springs are added to pull and tension the strip.Finally a couple of Rivnuts are installed on the trailing edge and the joining strip is fixed into position.Quite pleased with final result. It’s important to ensure there is a bit of play in the fixing holes otherwise the strip may buckle and it won’t be flat on the wing. G-MLSY in it’s new home for now. Just the spats to fit now and then the external features of the aircraft will be complete.
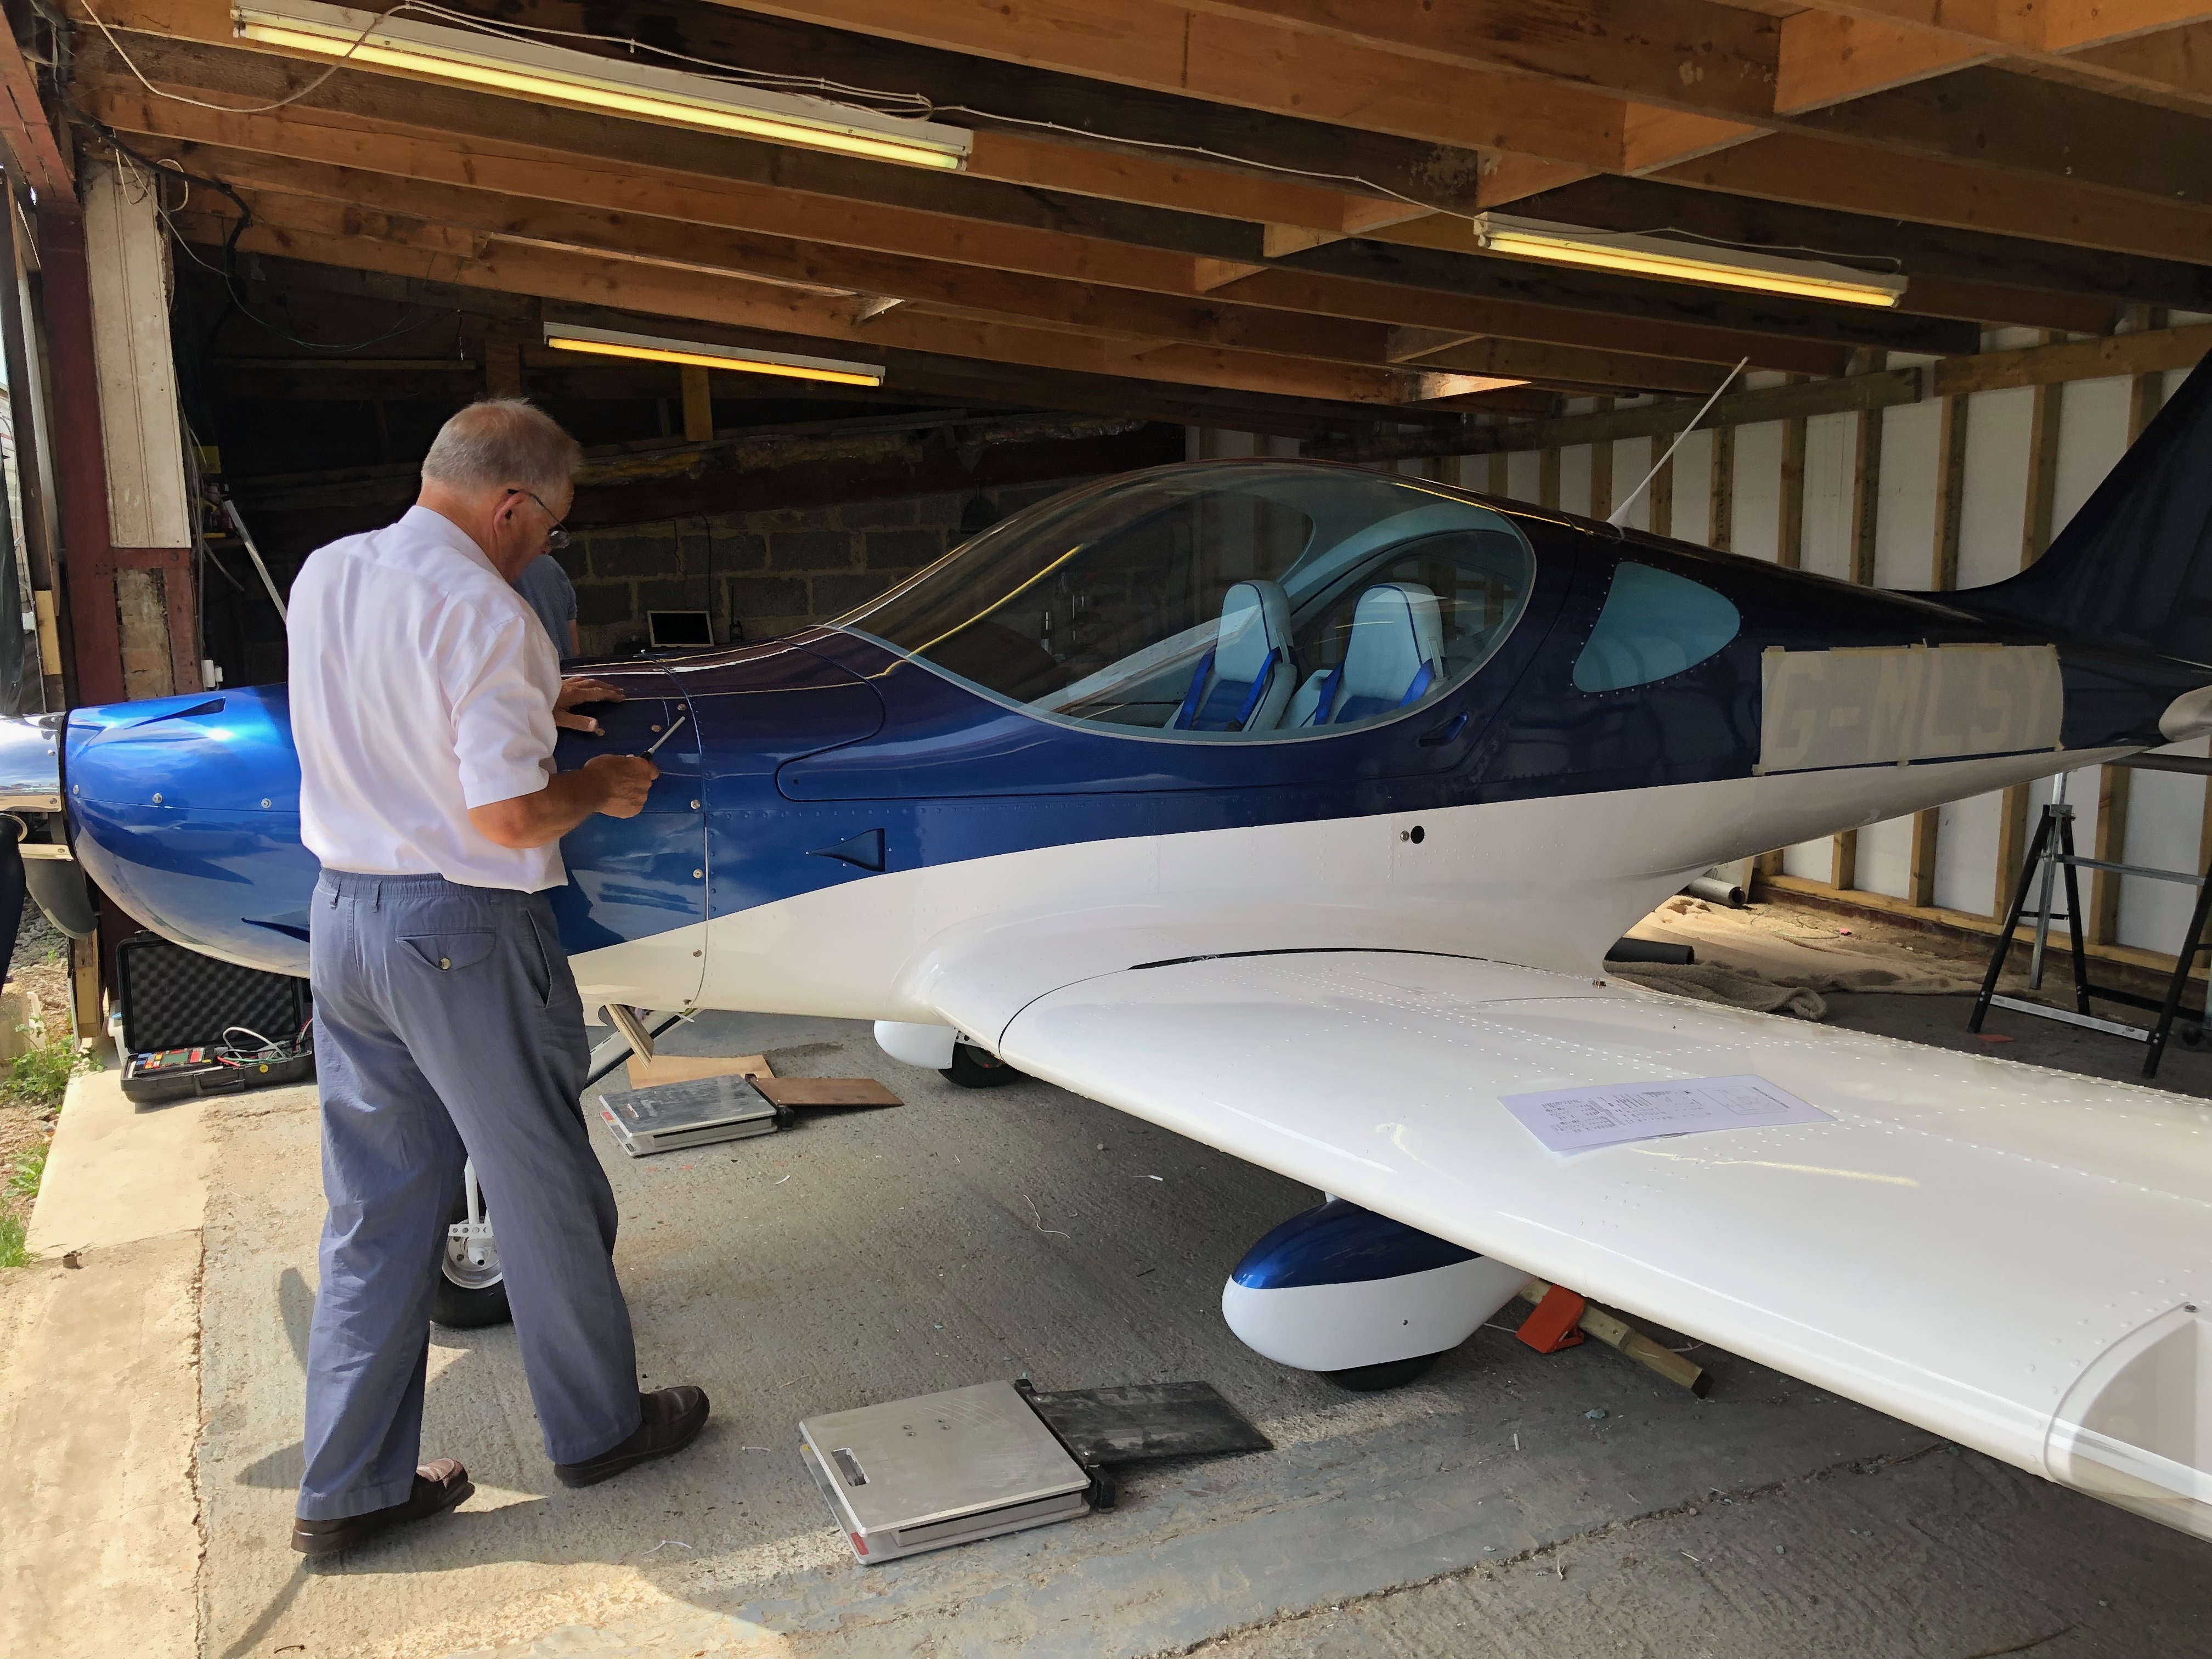
With only a few things left to do one of them is to set the control surface deflections. On the face of it, it’s an easy job but it requires a differential movement from fully up to fully down. Due to that specification there’s more than one place to adjust. It requires a bit of juggling to get it right and in the heat of Thursday it wasn’t the day to do it.
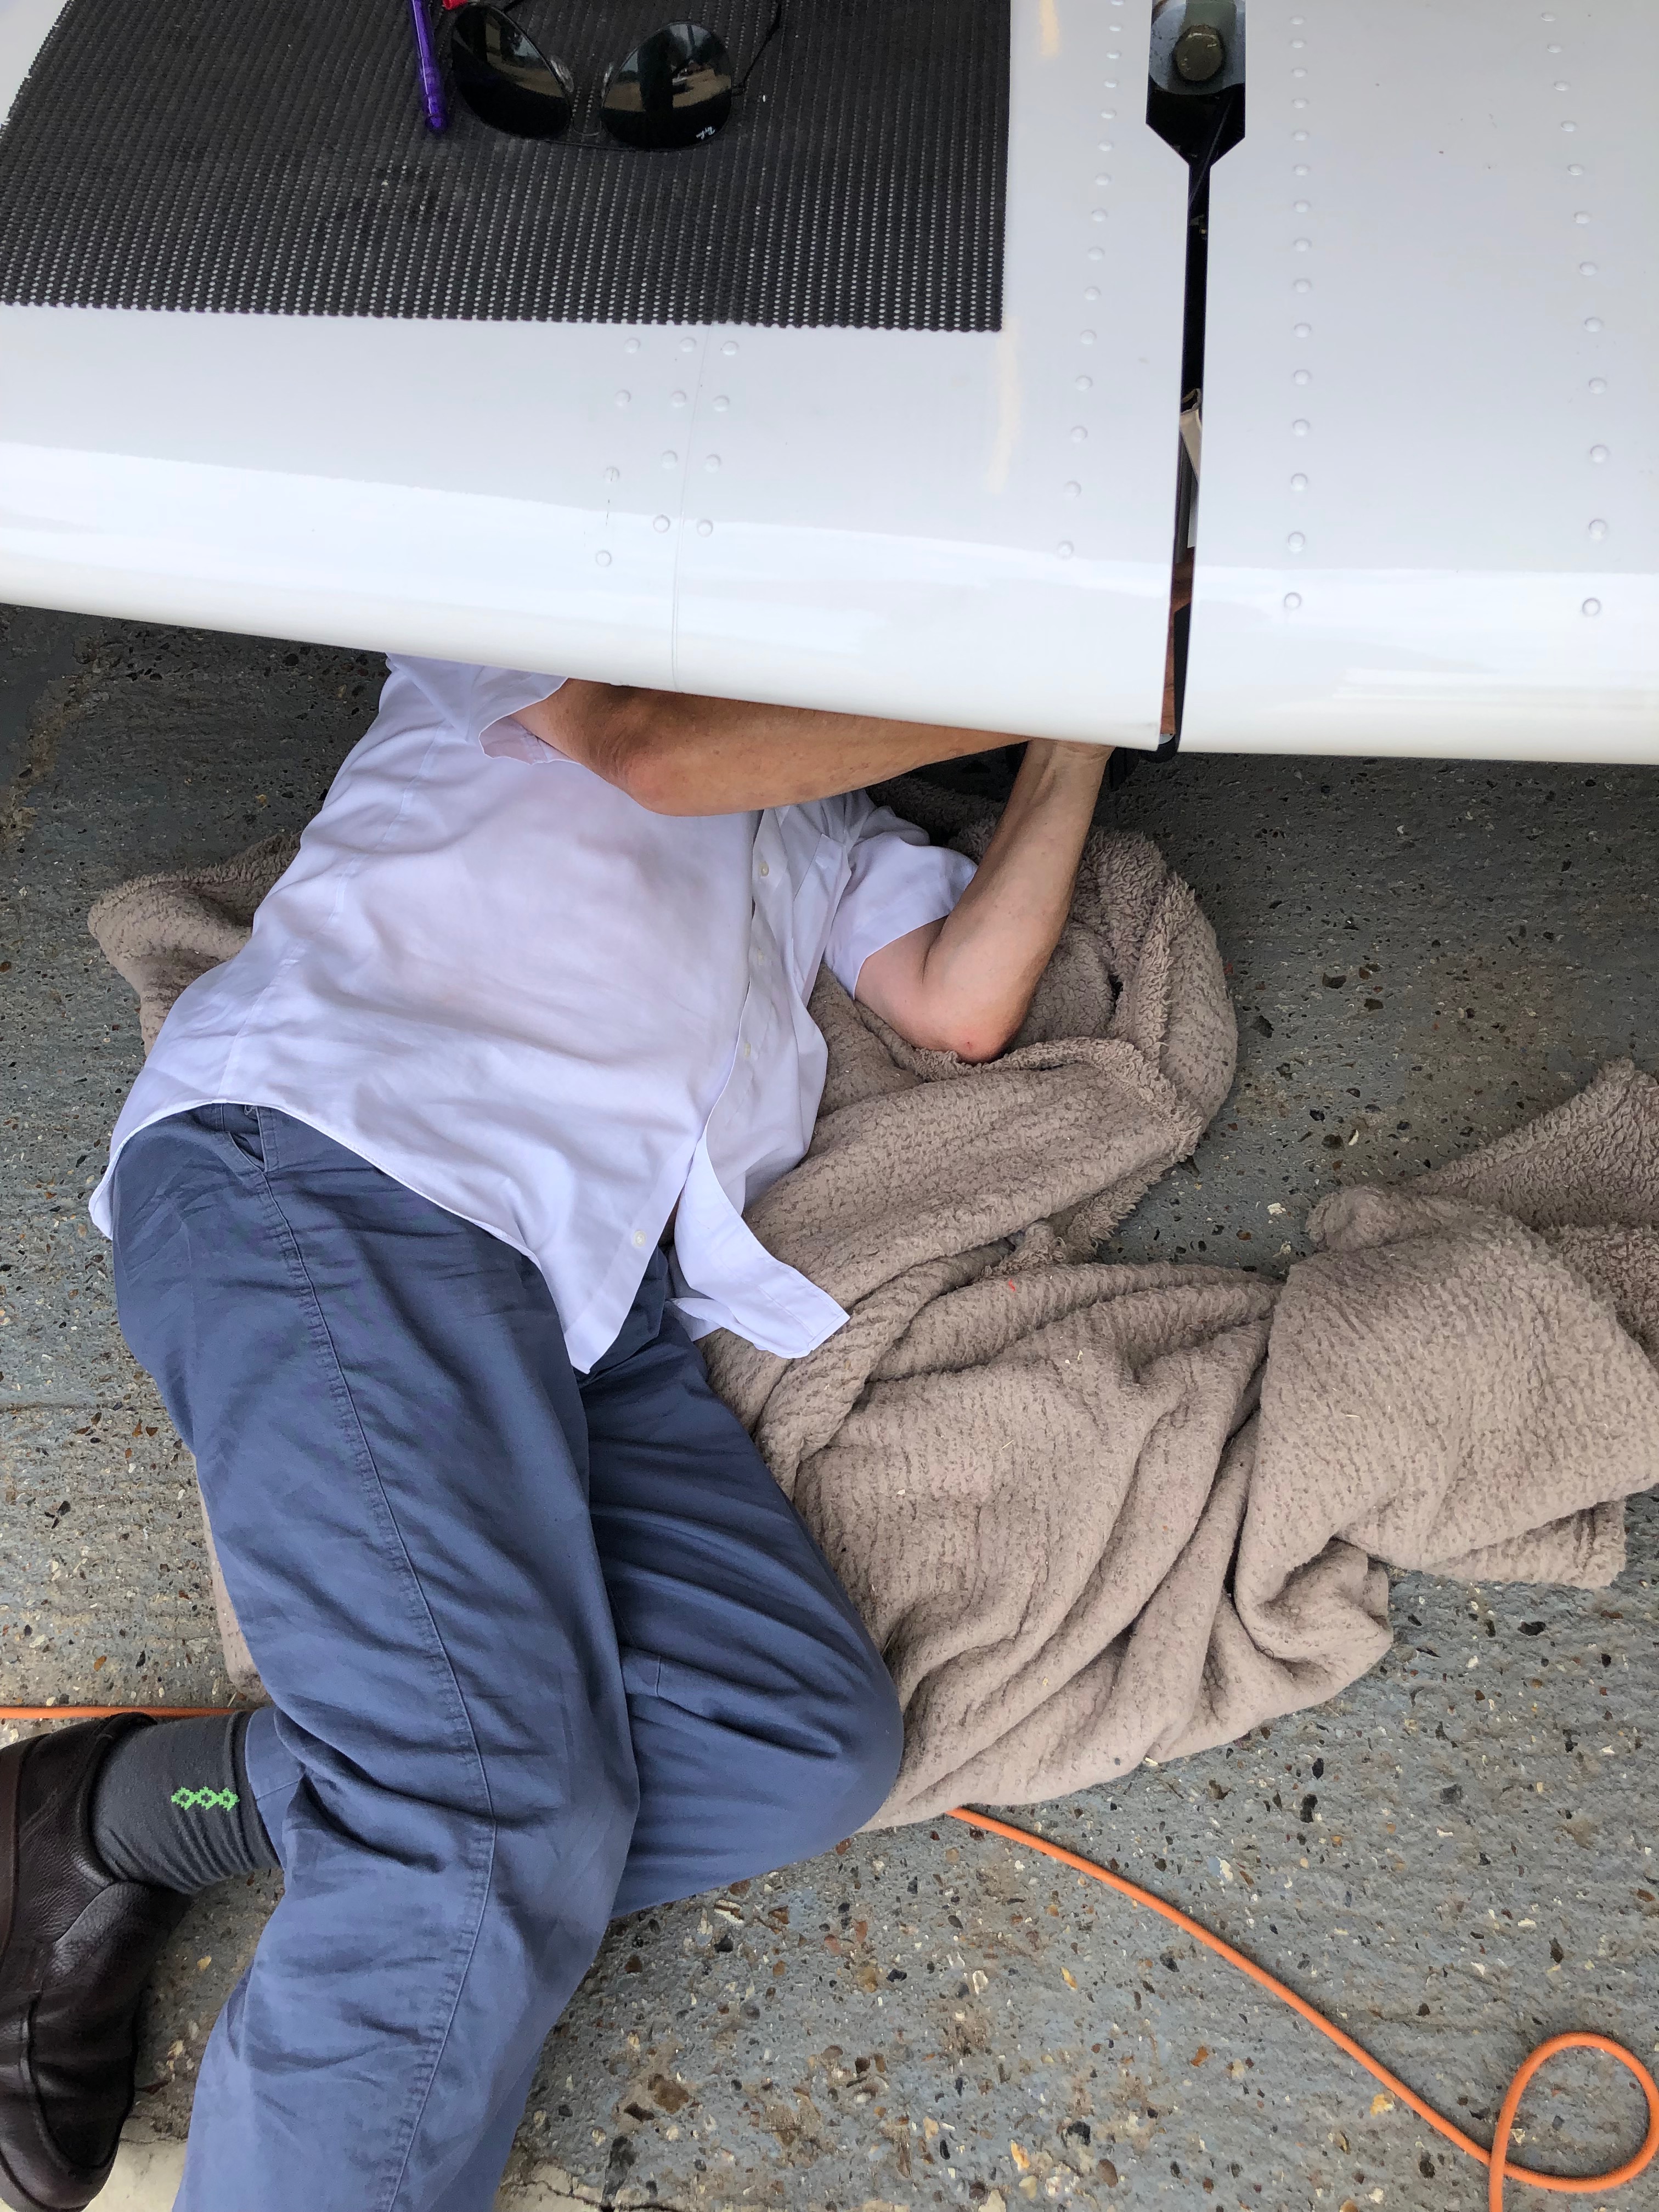
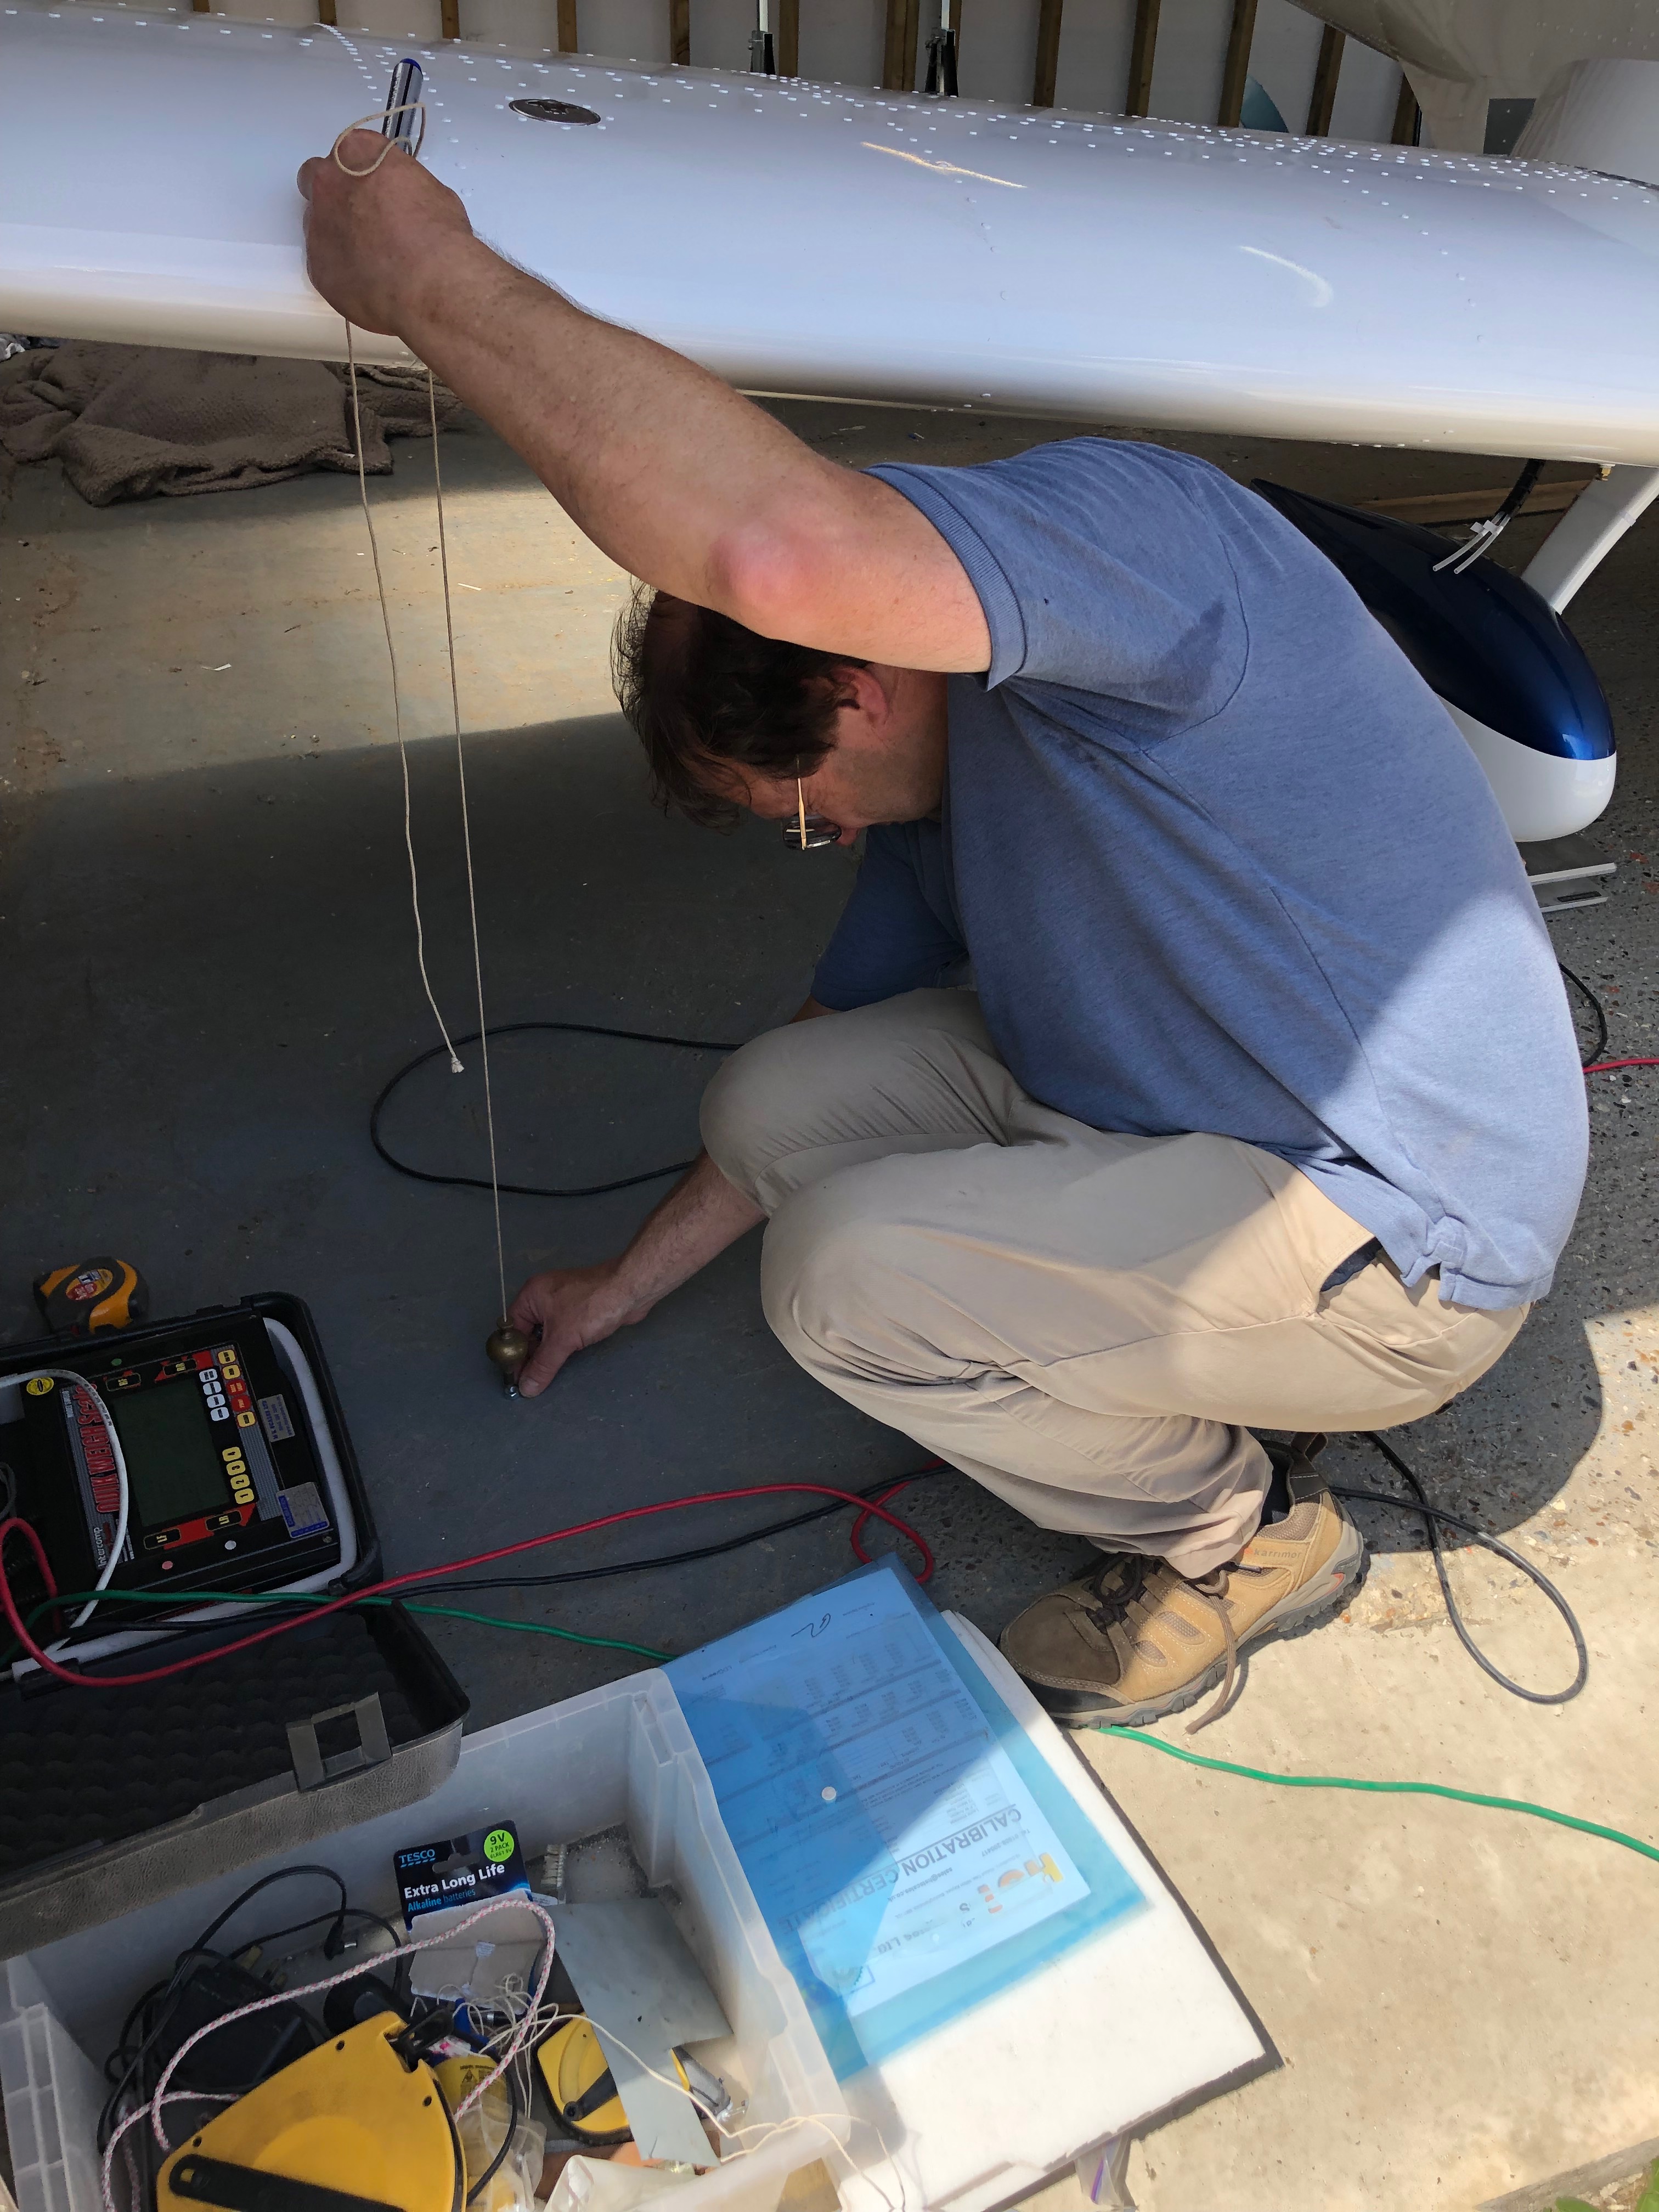
One of the adjustment points in in the rear of the aircraft with a very small inspection panel to undo nuts and make the adjustment. It was very tricky and time-consuming but got there in the end. I used an iPhone inbuilt app for the level that was then checked by Ian who has a digital protractor. Amazingly the iPhone reading match Ian’s readings +30 deg -15 deg.Ian came round to ask if I wanted to run the engine today as he’s away Monday and Tuesday. With the temperatures very much lower today it seemed a good idea so we got on with checking everything was ok before taking it out of the workshop.The workshop ceiling was far too low to fit the canopy so needed to do it once it was out. It took a lot of jiggling to get it out of the workshop and now it’s out it won’t be going back in! Out on the grass away from all the stones and Pete Sharpe recording the event on my iPhone it’s time to do a final check before the first start. The electric fuel pump was switched on to check for leaks from the fuel system, all seems ok. First time in the cockpit for real so another good check to make sure every thing is working as expected. Ian is standing by just in case anything goes wrong with a radio and fire extinguisher!Canopy down, calling “CLEAR PROP” as I turn the ignition key and my baby burst into life on the very first turn – I can only shake my head in disbelief – Amazing!Watching the Ts&Ps as the engine is running Ian does a walk round to check for any obvious problems but there aren’t any. It’s running as sweet as a nut.After being told to smile I look up as one happy chappy… Ian prompted me to taxy the aircraft to spread the noise about a bit so I did a few runs up and down the runway checking brakes, steering, instruments, pitot system and then power checks. All very good apart from the flys on the firewall. Ian carried out a further check once the engine had stopped but all was ok and there were no problems.A very empty workshop. It seemed big enough when I first started but as time went on it proved to be too small to house the aircraft on a permanent basis.So this is where G-MLSY will be for the weekend before being moved to its new position in the main hanger.
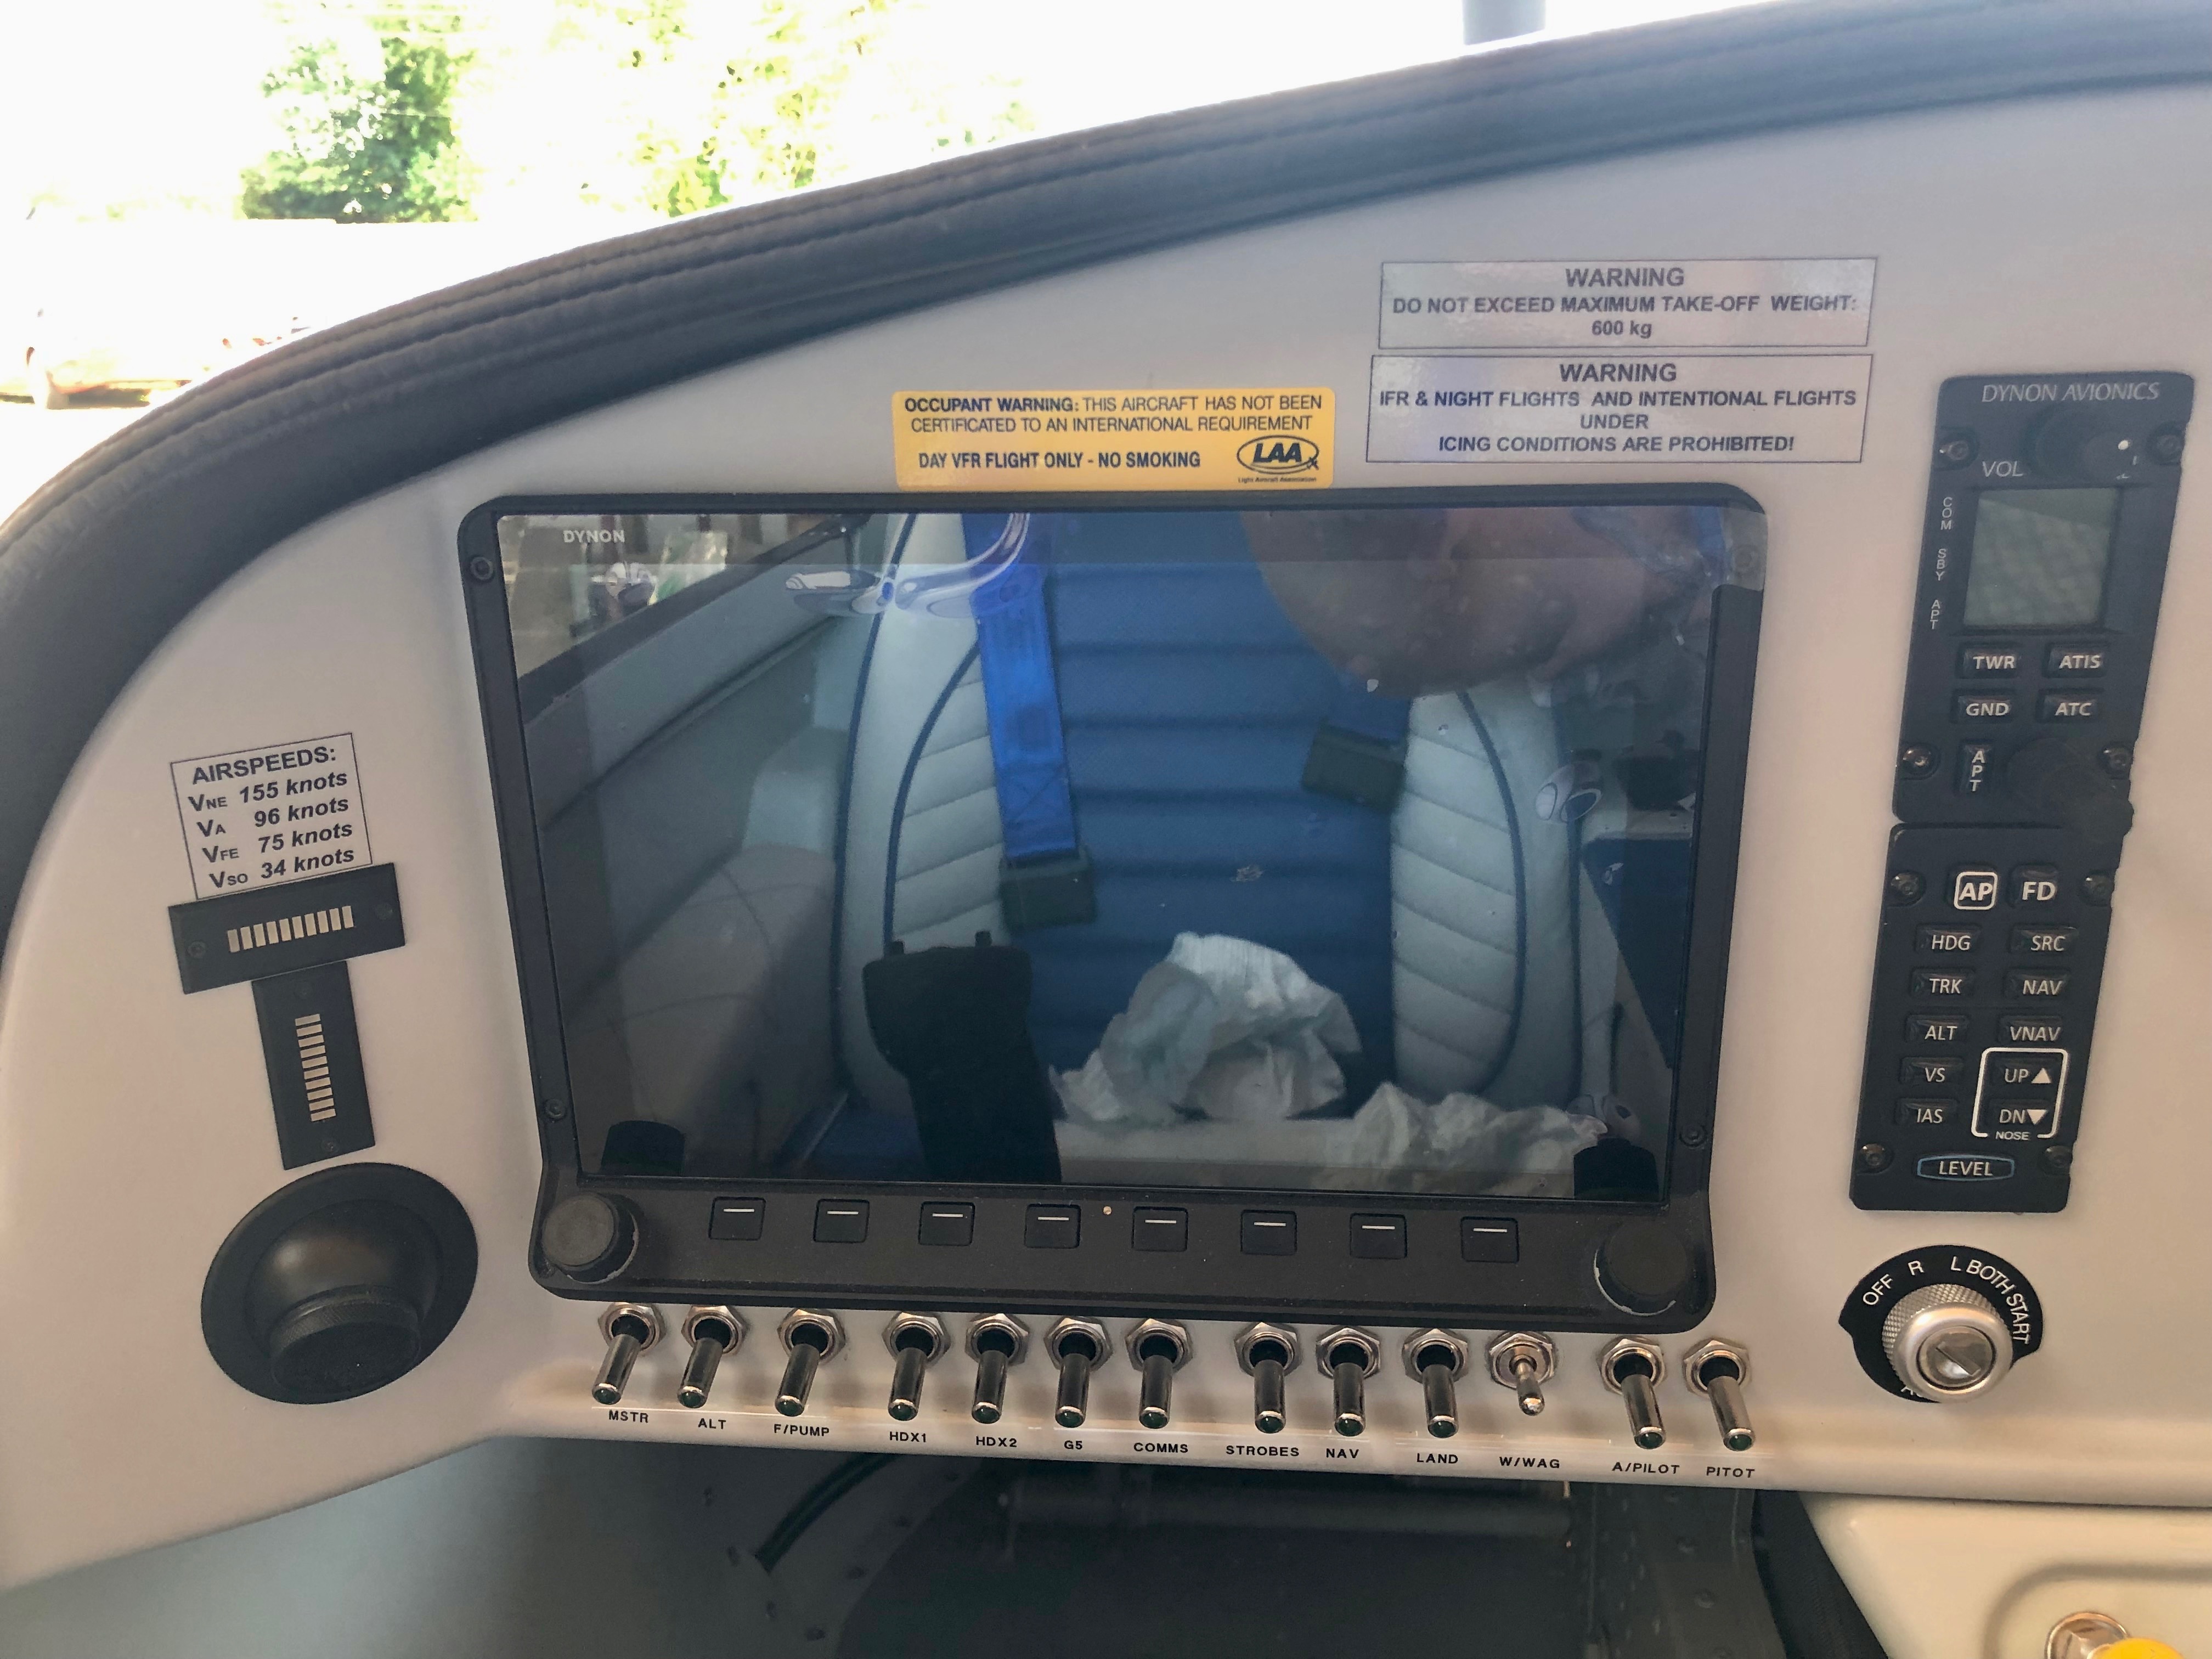
Today was Hot, Hot, Hot. In fact too hot. I had planned to flush the fuel lines before the first engine run but it didn’t quite work like that. I wanted Ian to be around to check for issues as I started the engine just in case. However Ian was delayed so I got on and did the placards and labels.
When Ian arrived we started to carry out the control surface deflection adjustments but it was just too hot so we will re-engage tomorrow.
I’ve used an Inkjet printer to print on an inkjet transparent sticky backed labels. This was suggested by Alan Radford after I saw his Bristell panel and label. They have worked much better than I expected. As they are transparent they’re not so unsightly as some I’ve seen. The yellow one in the middle was supplied by the LAA.The centre console with the labels applied for the throttle quadrant and various controls.The switches and circuit breaker labels were printed using a electronic Demo LableMaker 200 with Black on Transparent tape. It works very well but there is a limit on how long it can print at one time so I had to do it in two passes. Also it’s quite tricky getting the spacing right so I needed to adjust the spacing after printing the first time and then print again. A little wasteful but it worked out ok,These are supplied by the LAA FOC so it would be silly not to use them.
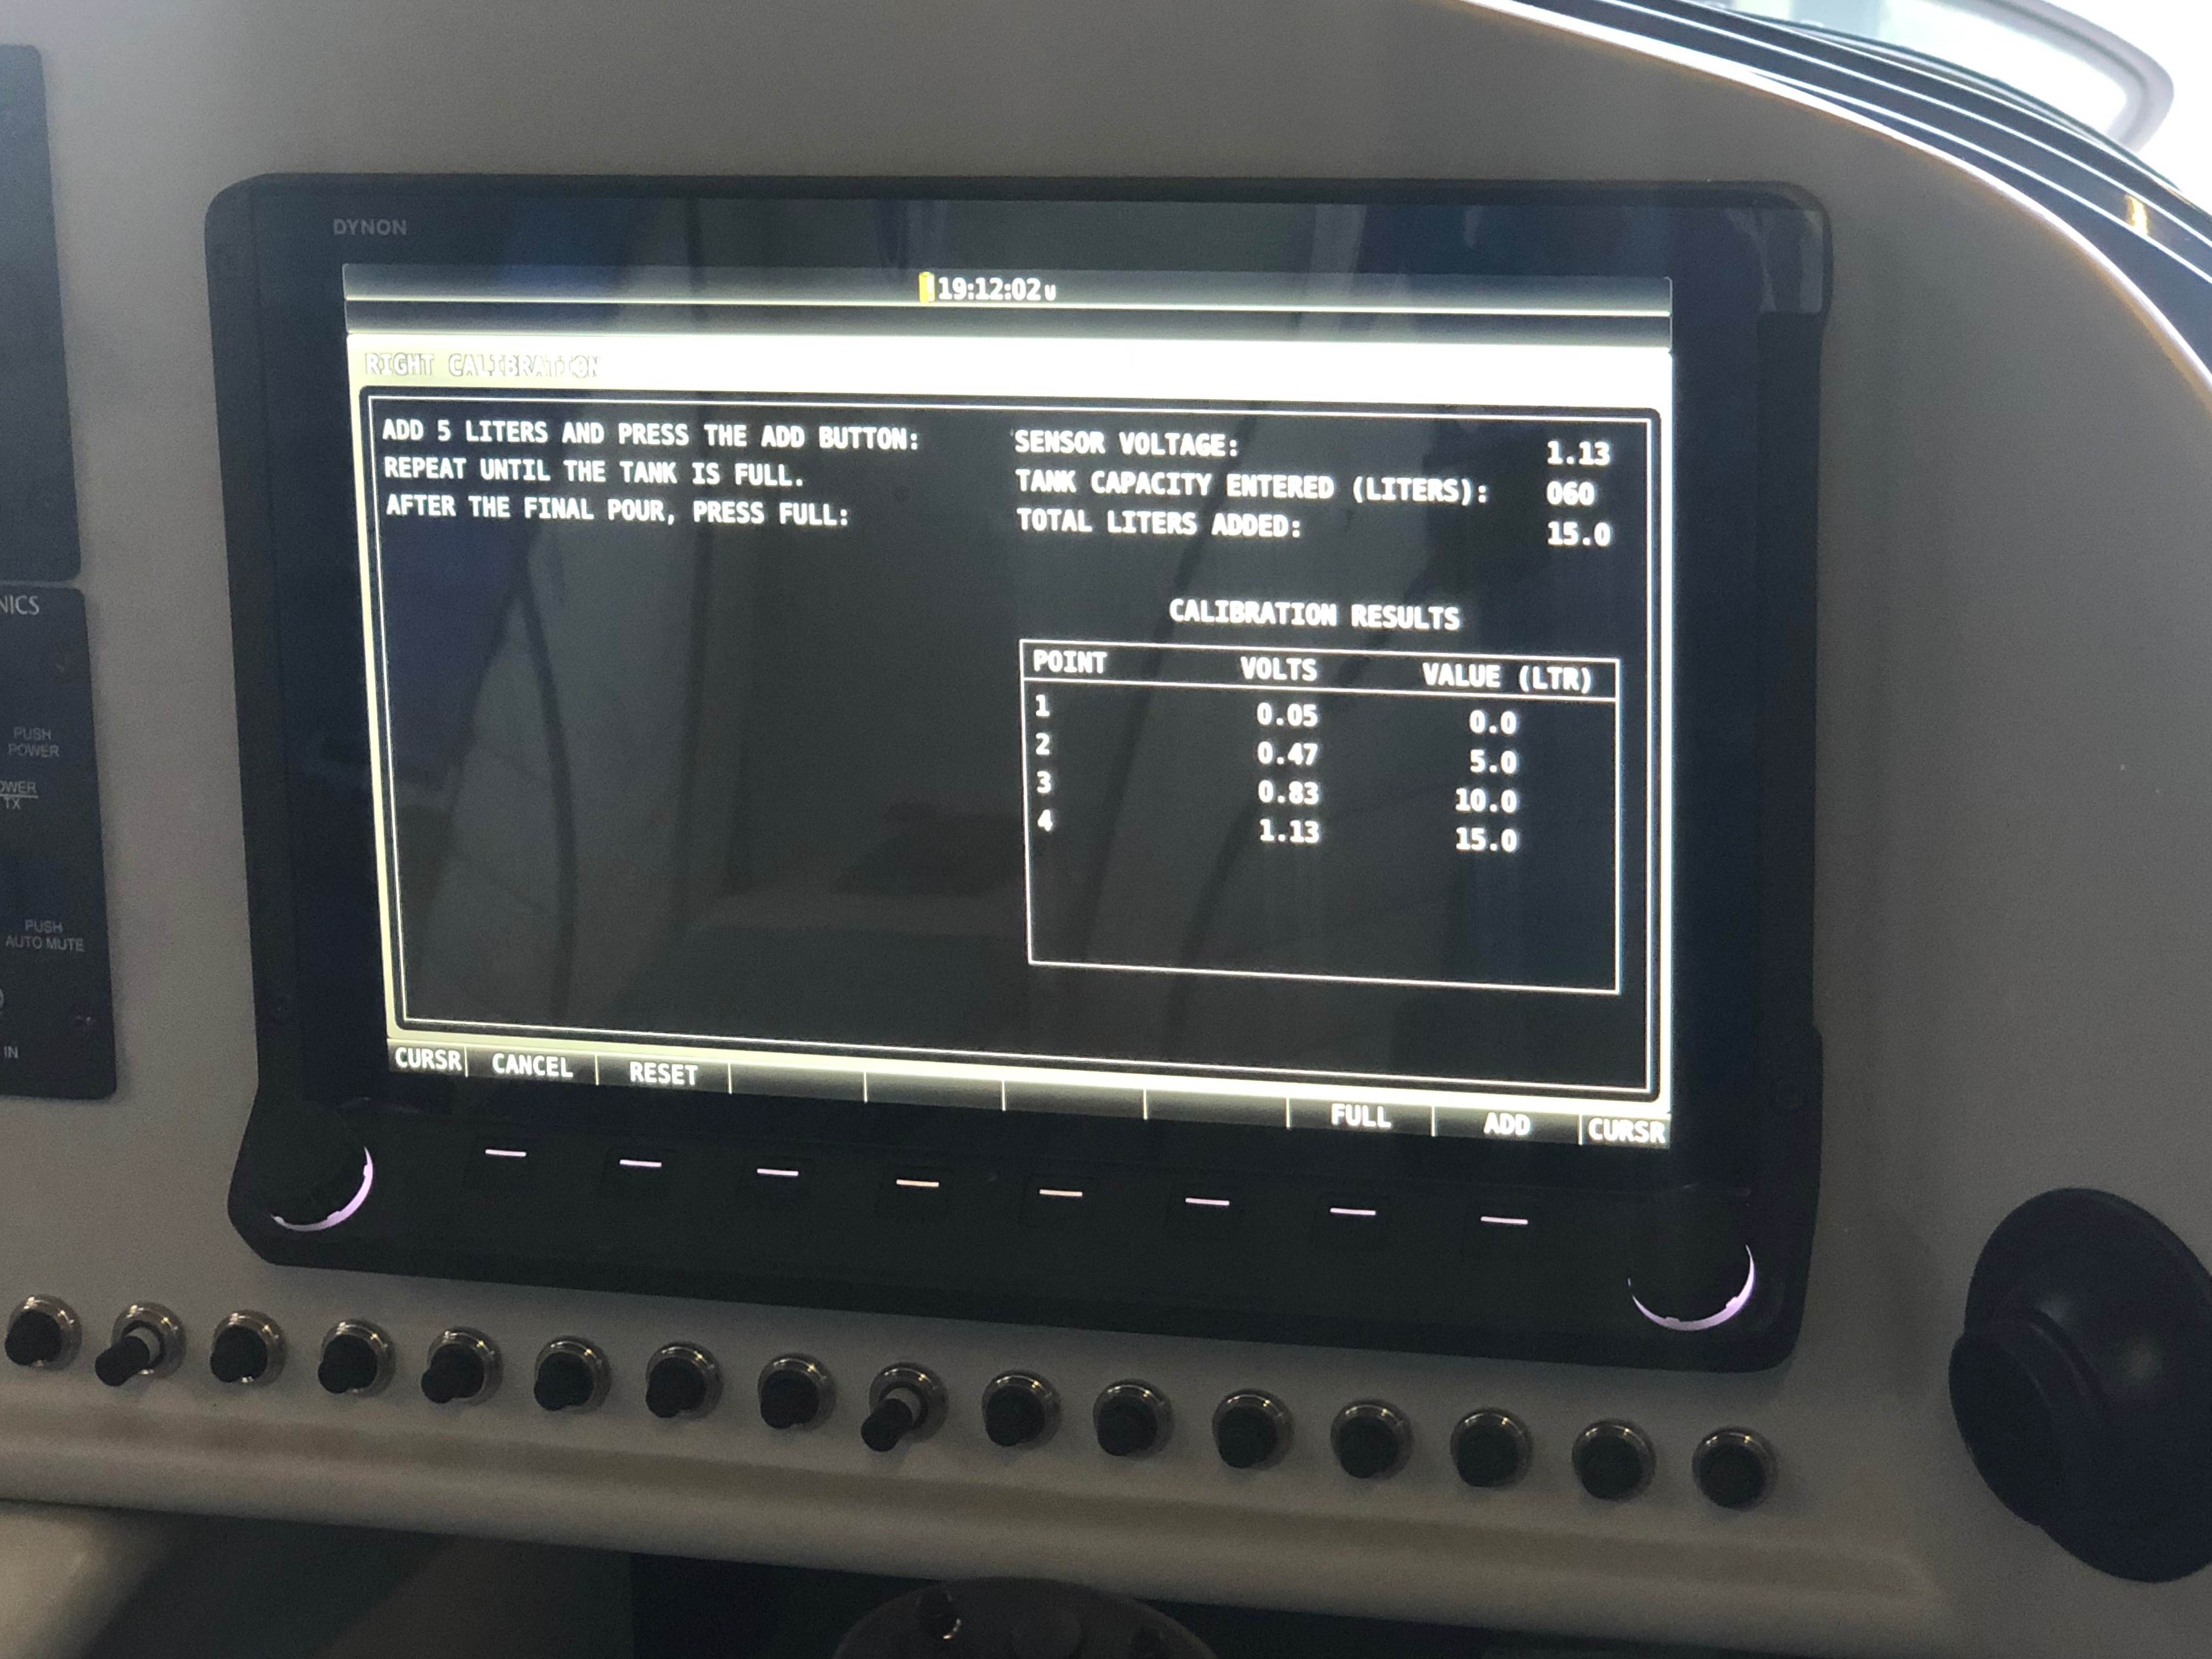
Today I finished off the fuel tank calibrations and Ian did some inspections and sign offs so I could add some trim and send some paperwork to the LAA.
Starting again with the calibration screen,I repeated the method described yesterday but the battery went flat as it had been run the night before for quite some time but I’d forgotten to turn the batter charger on. So I lost the calibrations., which meant…I had to drain the tanks and start again but on the second run the third fuel add didn’t register so I had to drain the tank and start again. I’m not sure if by this time the heat was getting to me as it was up in the 30s by this time with the sun blazing into the workshop. Luckily the third attempt went well and the I managed to finish off the calibration – thank god…I’ve added a couple of trims to the rear of the plane. First the top……and then the bottom. The trim motor cover will be added after we’ve done all the control surface checked.Last on the agenda today is to fit the glare shield as I won’t need to take that off again as all the electric have been checked and signed off.
Well the best laid plans as they say… however with the weight and balance carried out yesterday meant my downfall today. Everything needed to be on the aircraft for it to be weighed however I forgot to ask Ian and Pete to help me take the canopy off. So I arrived to realise that I couldn’t do any of the things I had planned for today as I couldn’t get into the cockpit 😦 Usually people come and go during the day but no one turned up until around 3! So a very short day today.
Up first was the calibration of the fuel tank sensors. This took longer than it should have done as I didn’t finish the process quite right on the first pass so needed to drain the tank and start again.
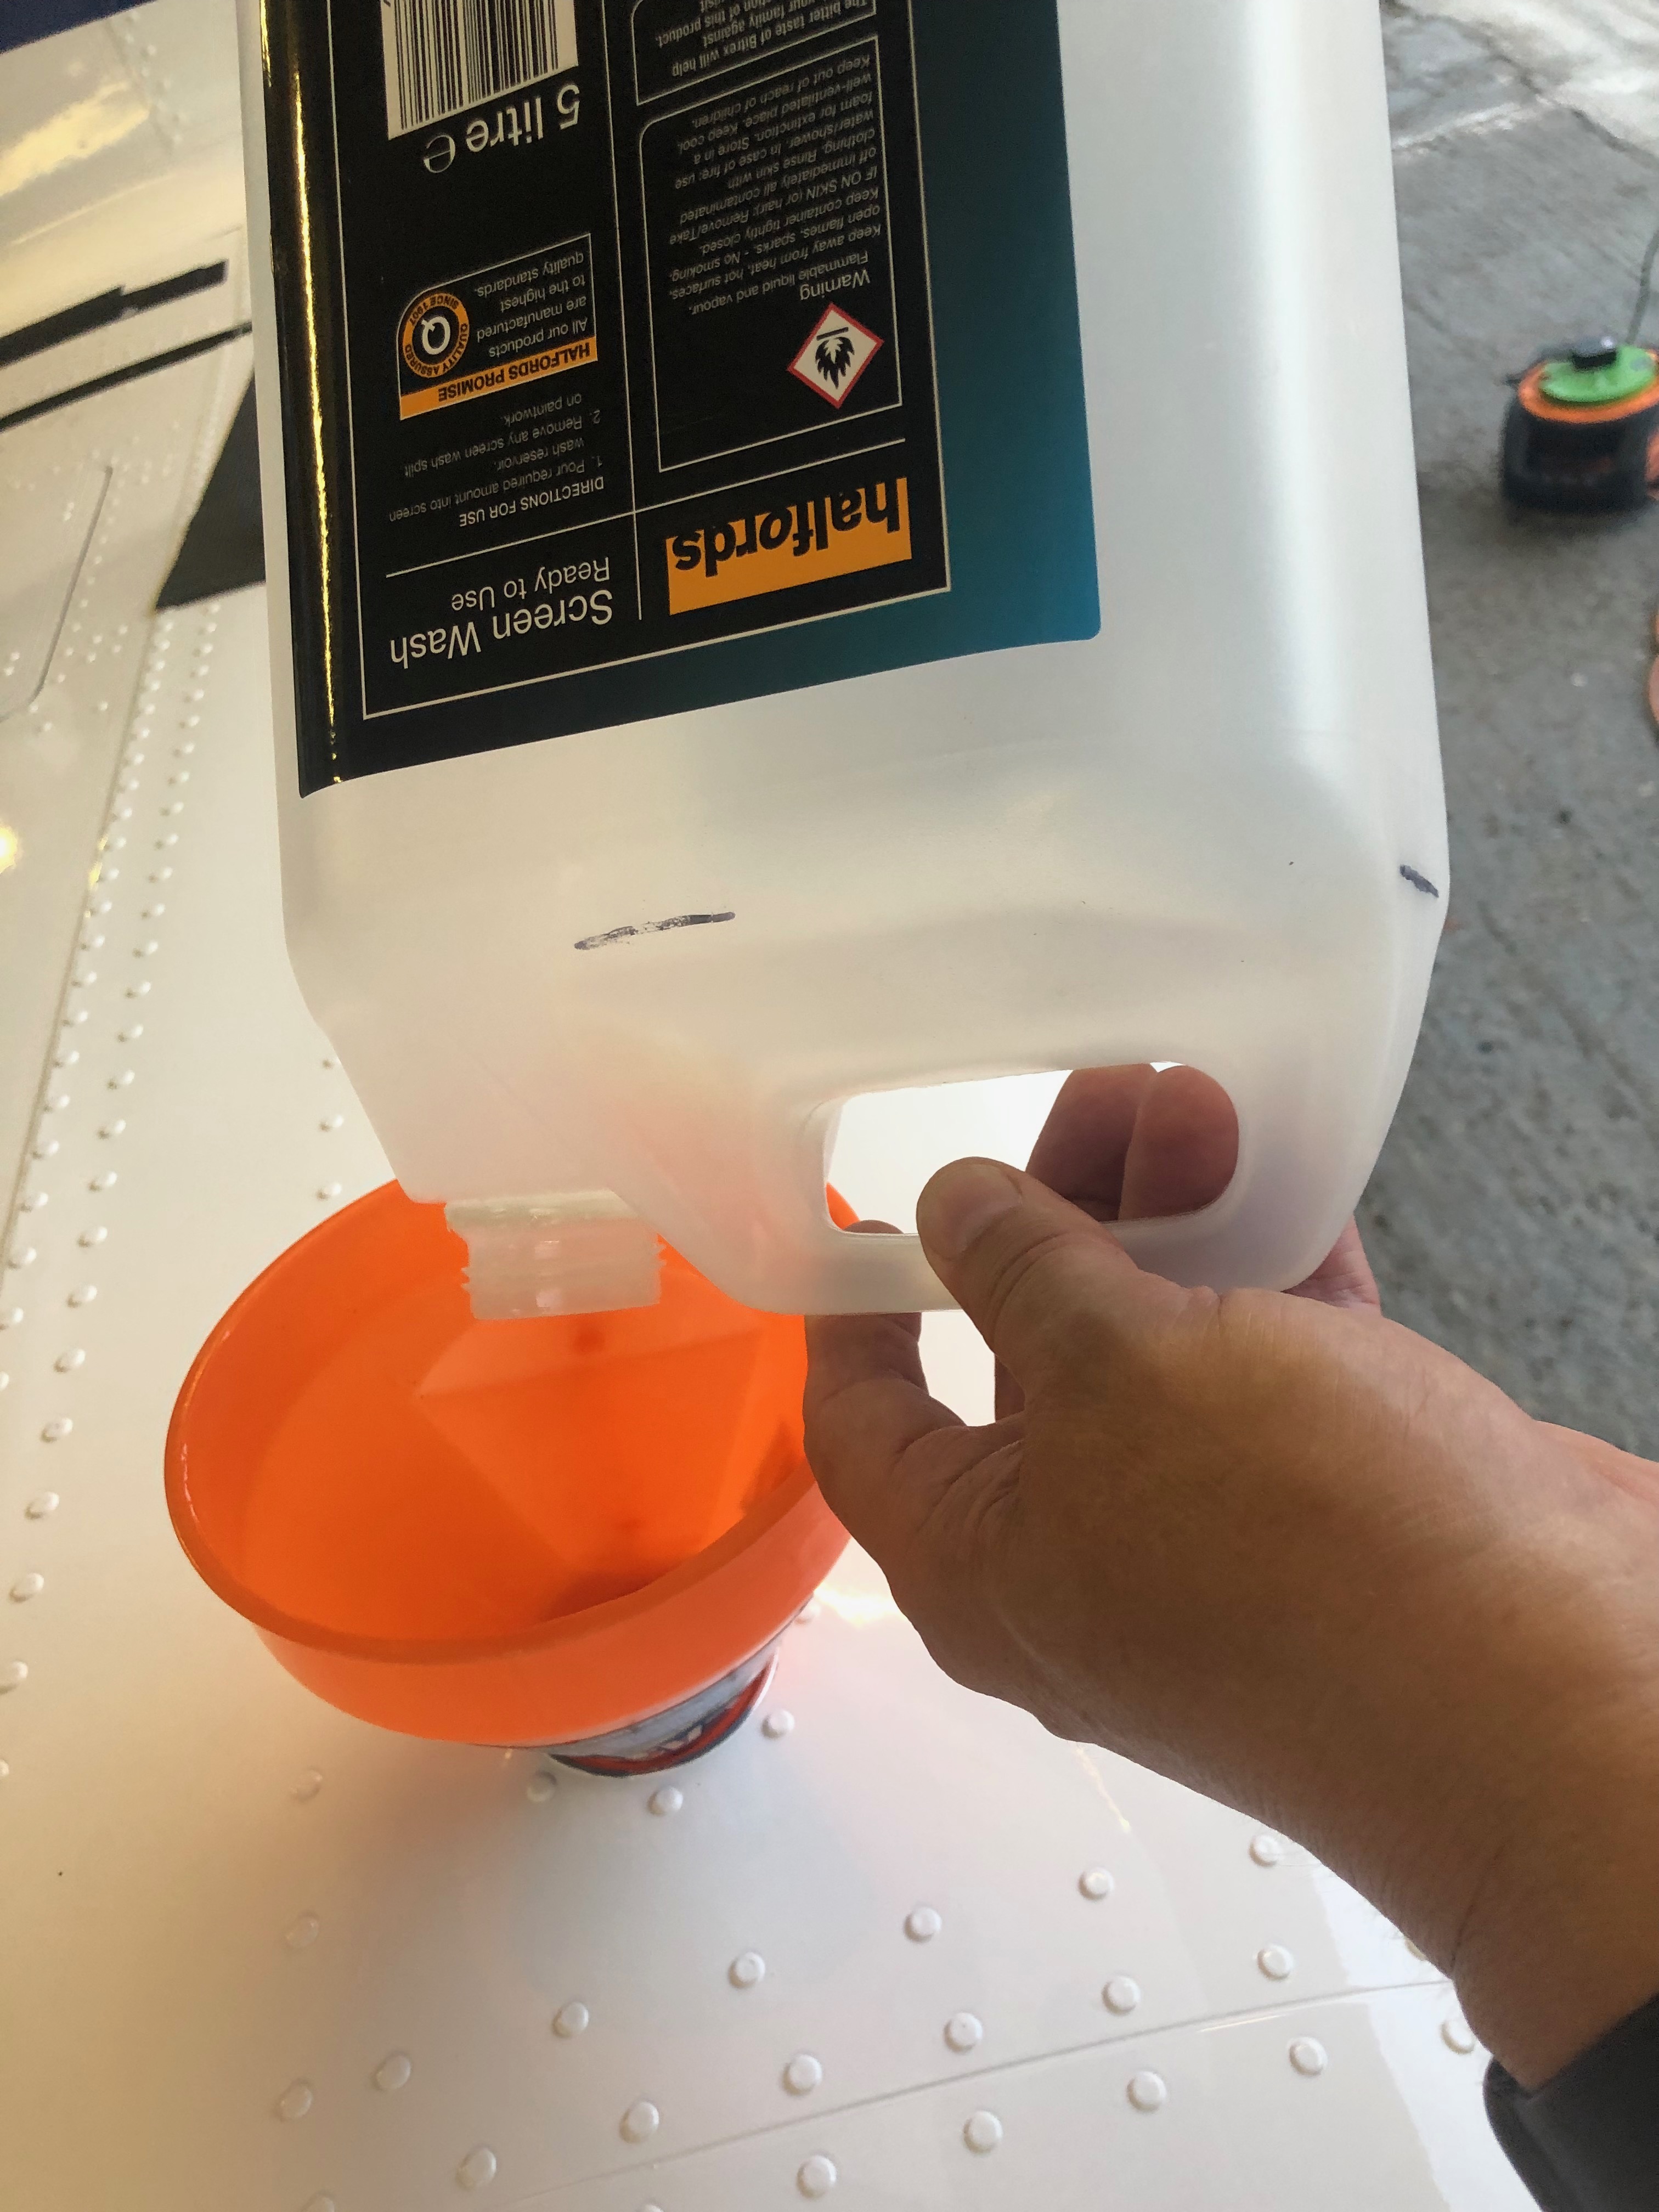
The calibration screen…I used a screen wash container that I had filled to the 5 litre mark and then filled that for each calibration point. The process was quite straightforward. Press start, pour in 5 litres of fuel, press ‘Add’ and repeat 12 times on the last fill press ‘Full’ except on the last fill you need to press ‘Add’ then press ‘Full’ Silly me got that wrong so…I had to drain out the tanks and start again! Eventually I finished it. The port wing will have to wait for tomorrow.
Weighing day today! Pete Thomas a good friend from the London Gliding Club offered to come down to weigh G-MLSY and today’s the day!
Everything needs to be fitted for the weighing. So the spinner is first and the canopy is lifted on but is won’t be secured yet.Ian as my LAA inspector is overseeing the process to make sure it’s down to the LAA standard.Pete starts the process of laying out the pressure pads.The aircraft has to be exactly level for this so a spirit level is placed across the cockpit and on the cockpit edge and adjustments are made as appropriate. With the aircraft sitting on the pads and levelled both lat and lon weighing can begin.The datum marks have to be calculated so a plumb line is dropped from the reference points and a position marked on the floor. These marks will be used later in the calculations.Pete in action marking the front datum.All done now but a quick pic with everything on before we start to take it off again for the final set of inspections.I’ve done the wing and starboard side registrations but didn’t get chance to go the port side. It’s amazing how quick I did this side compared with the other. At least twice as quick no I know what I’m doing!Now a pick from the left. Looks quite nice.The end of another day. Please with the process so far and not long now to the first engine runs and flight.
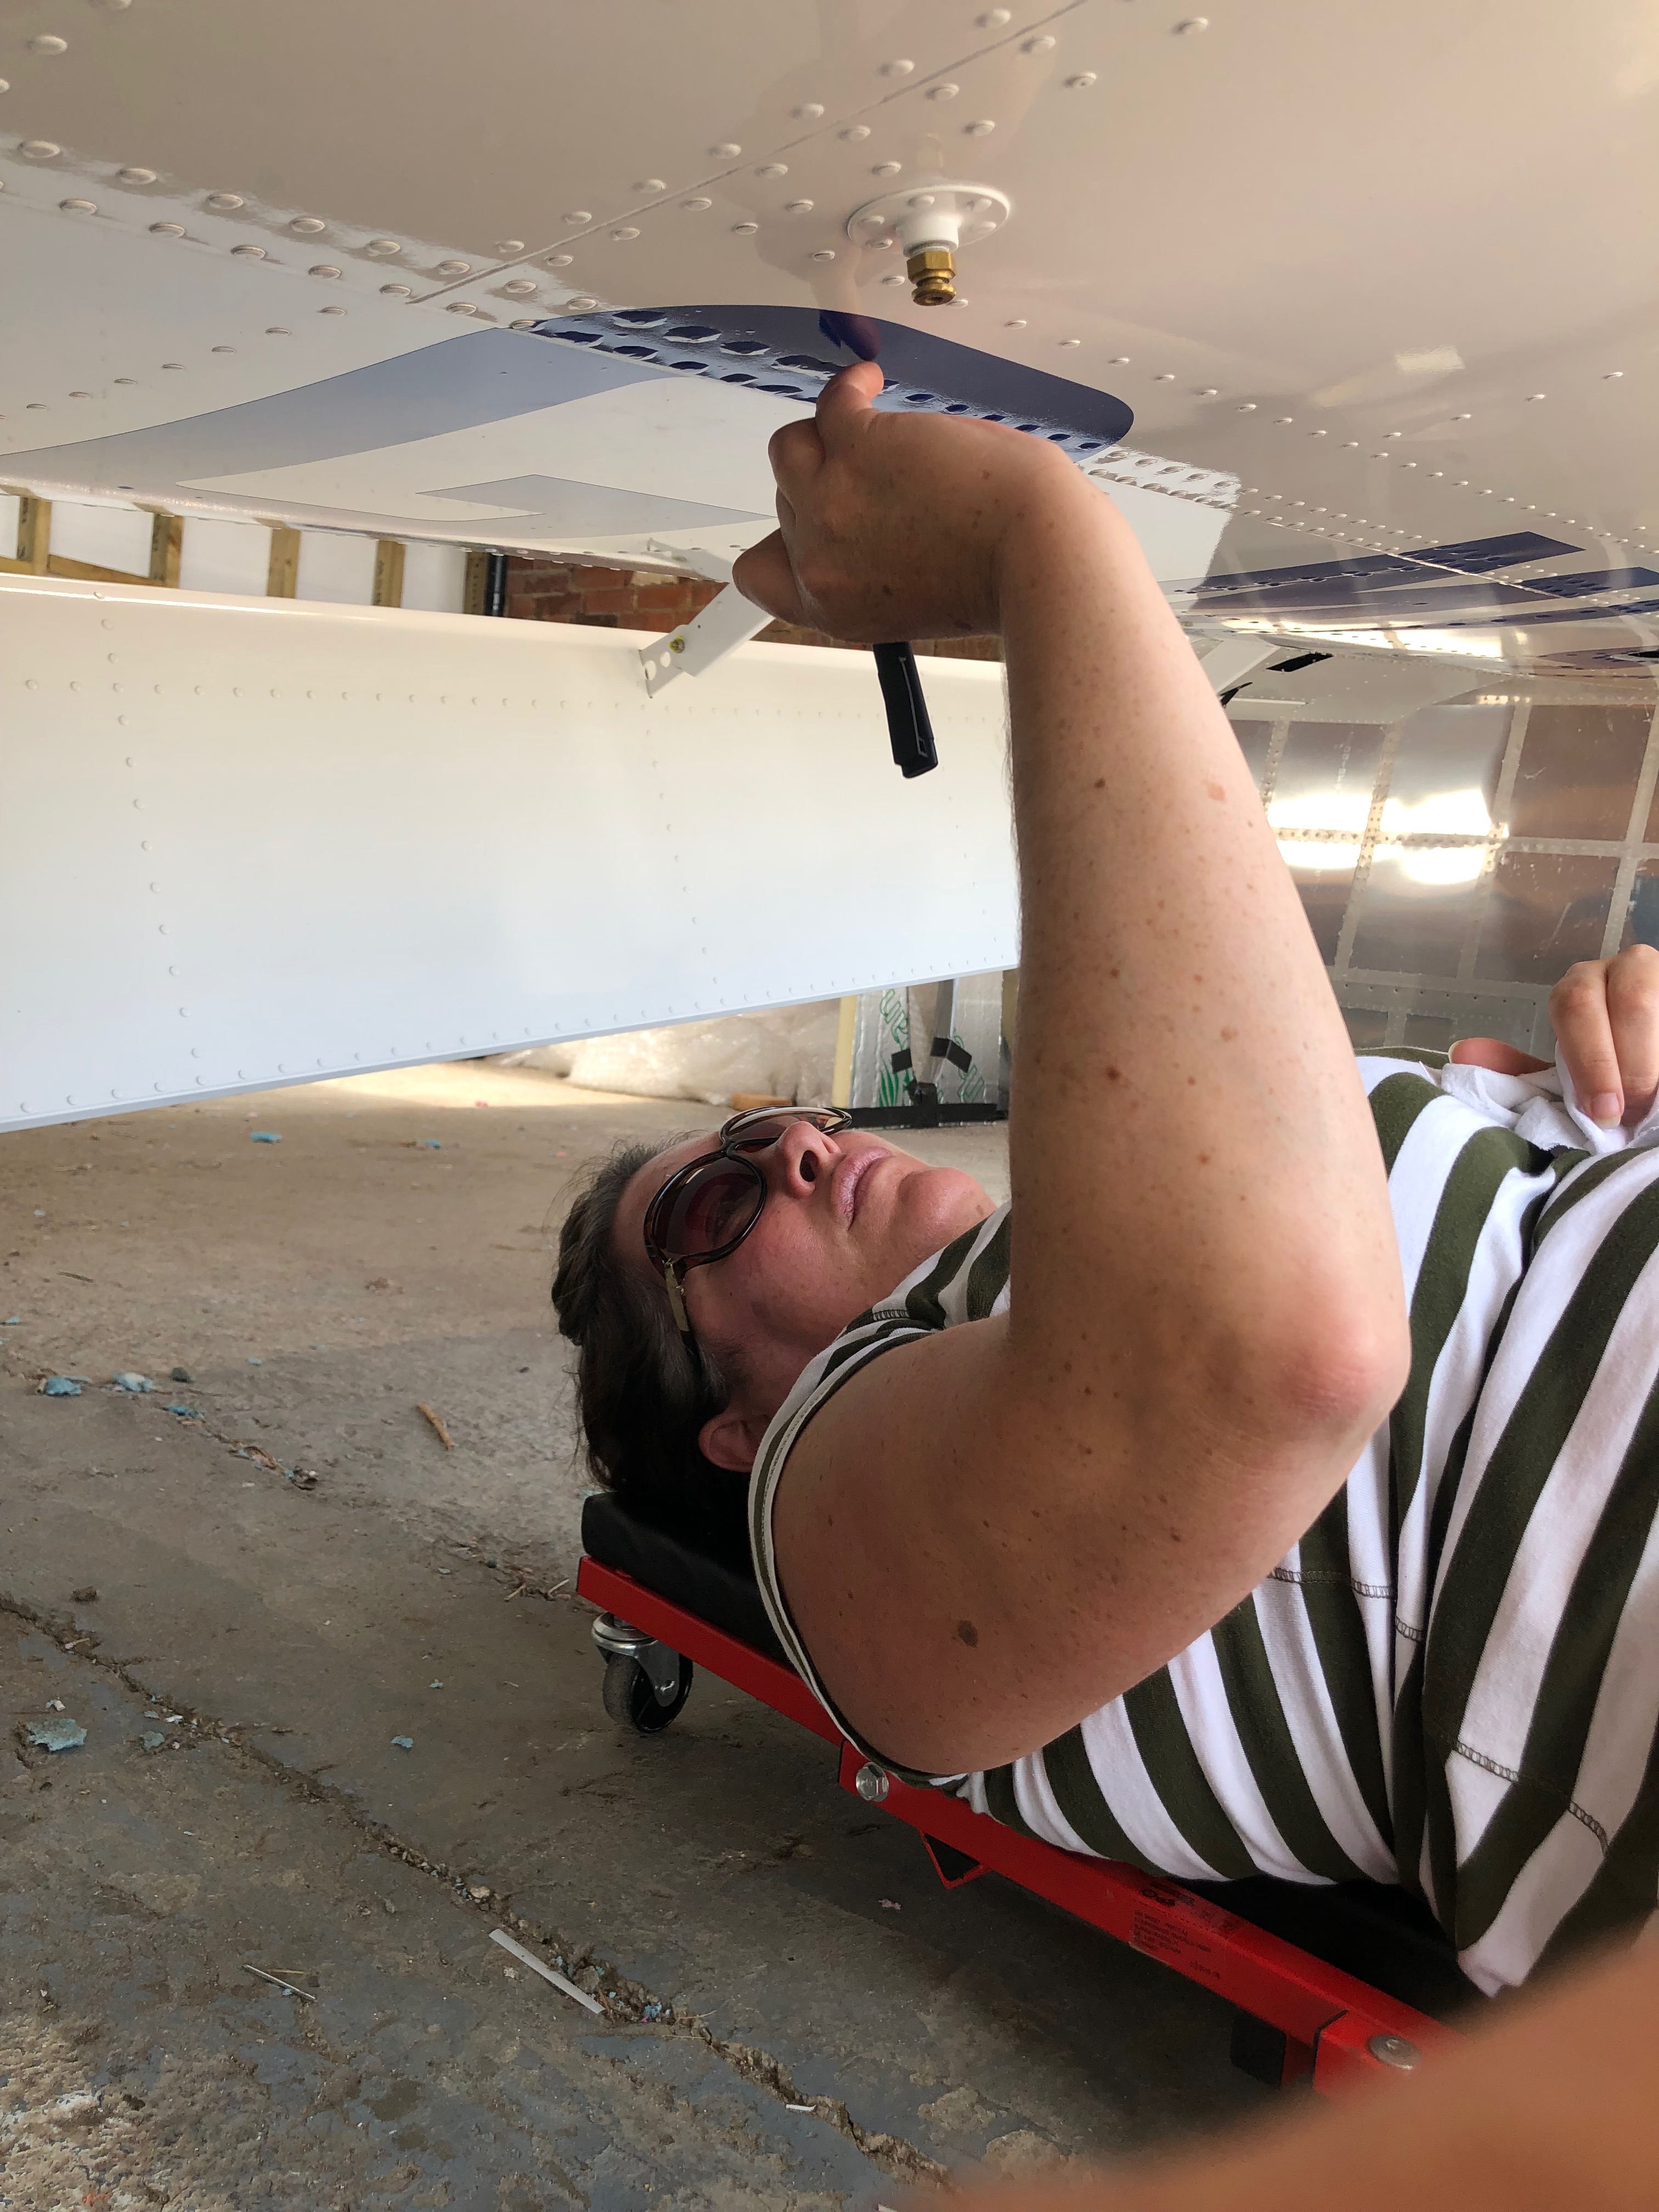
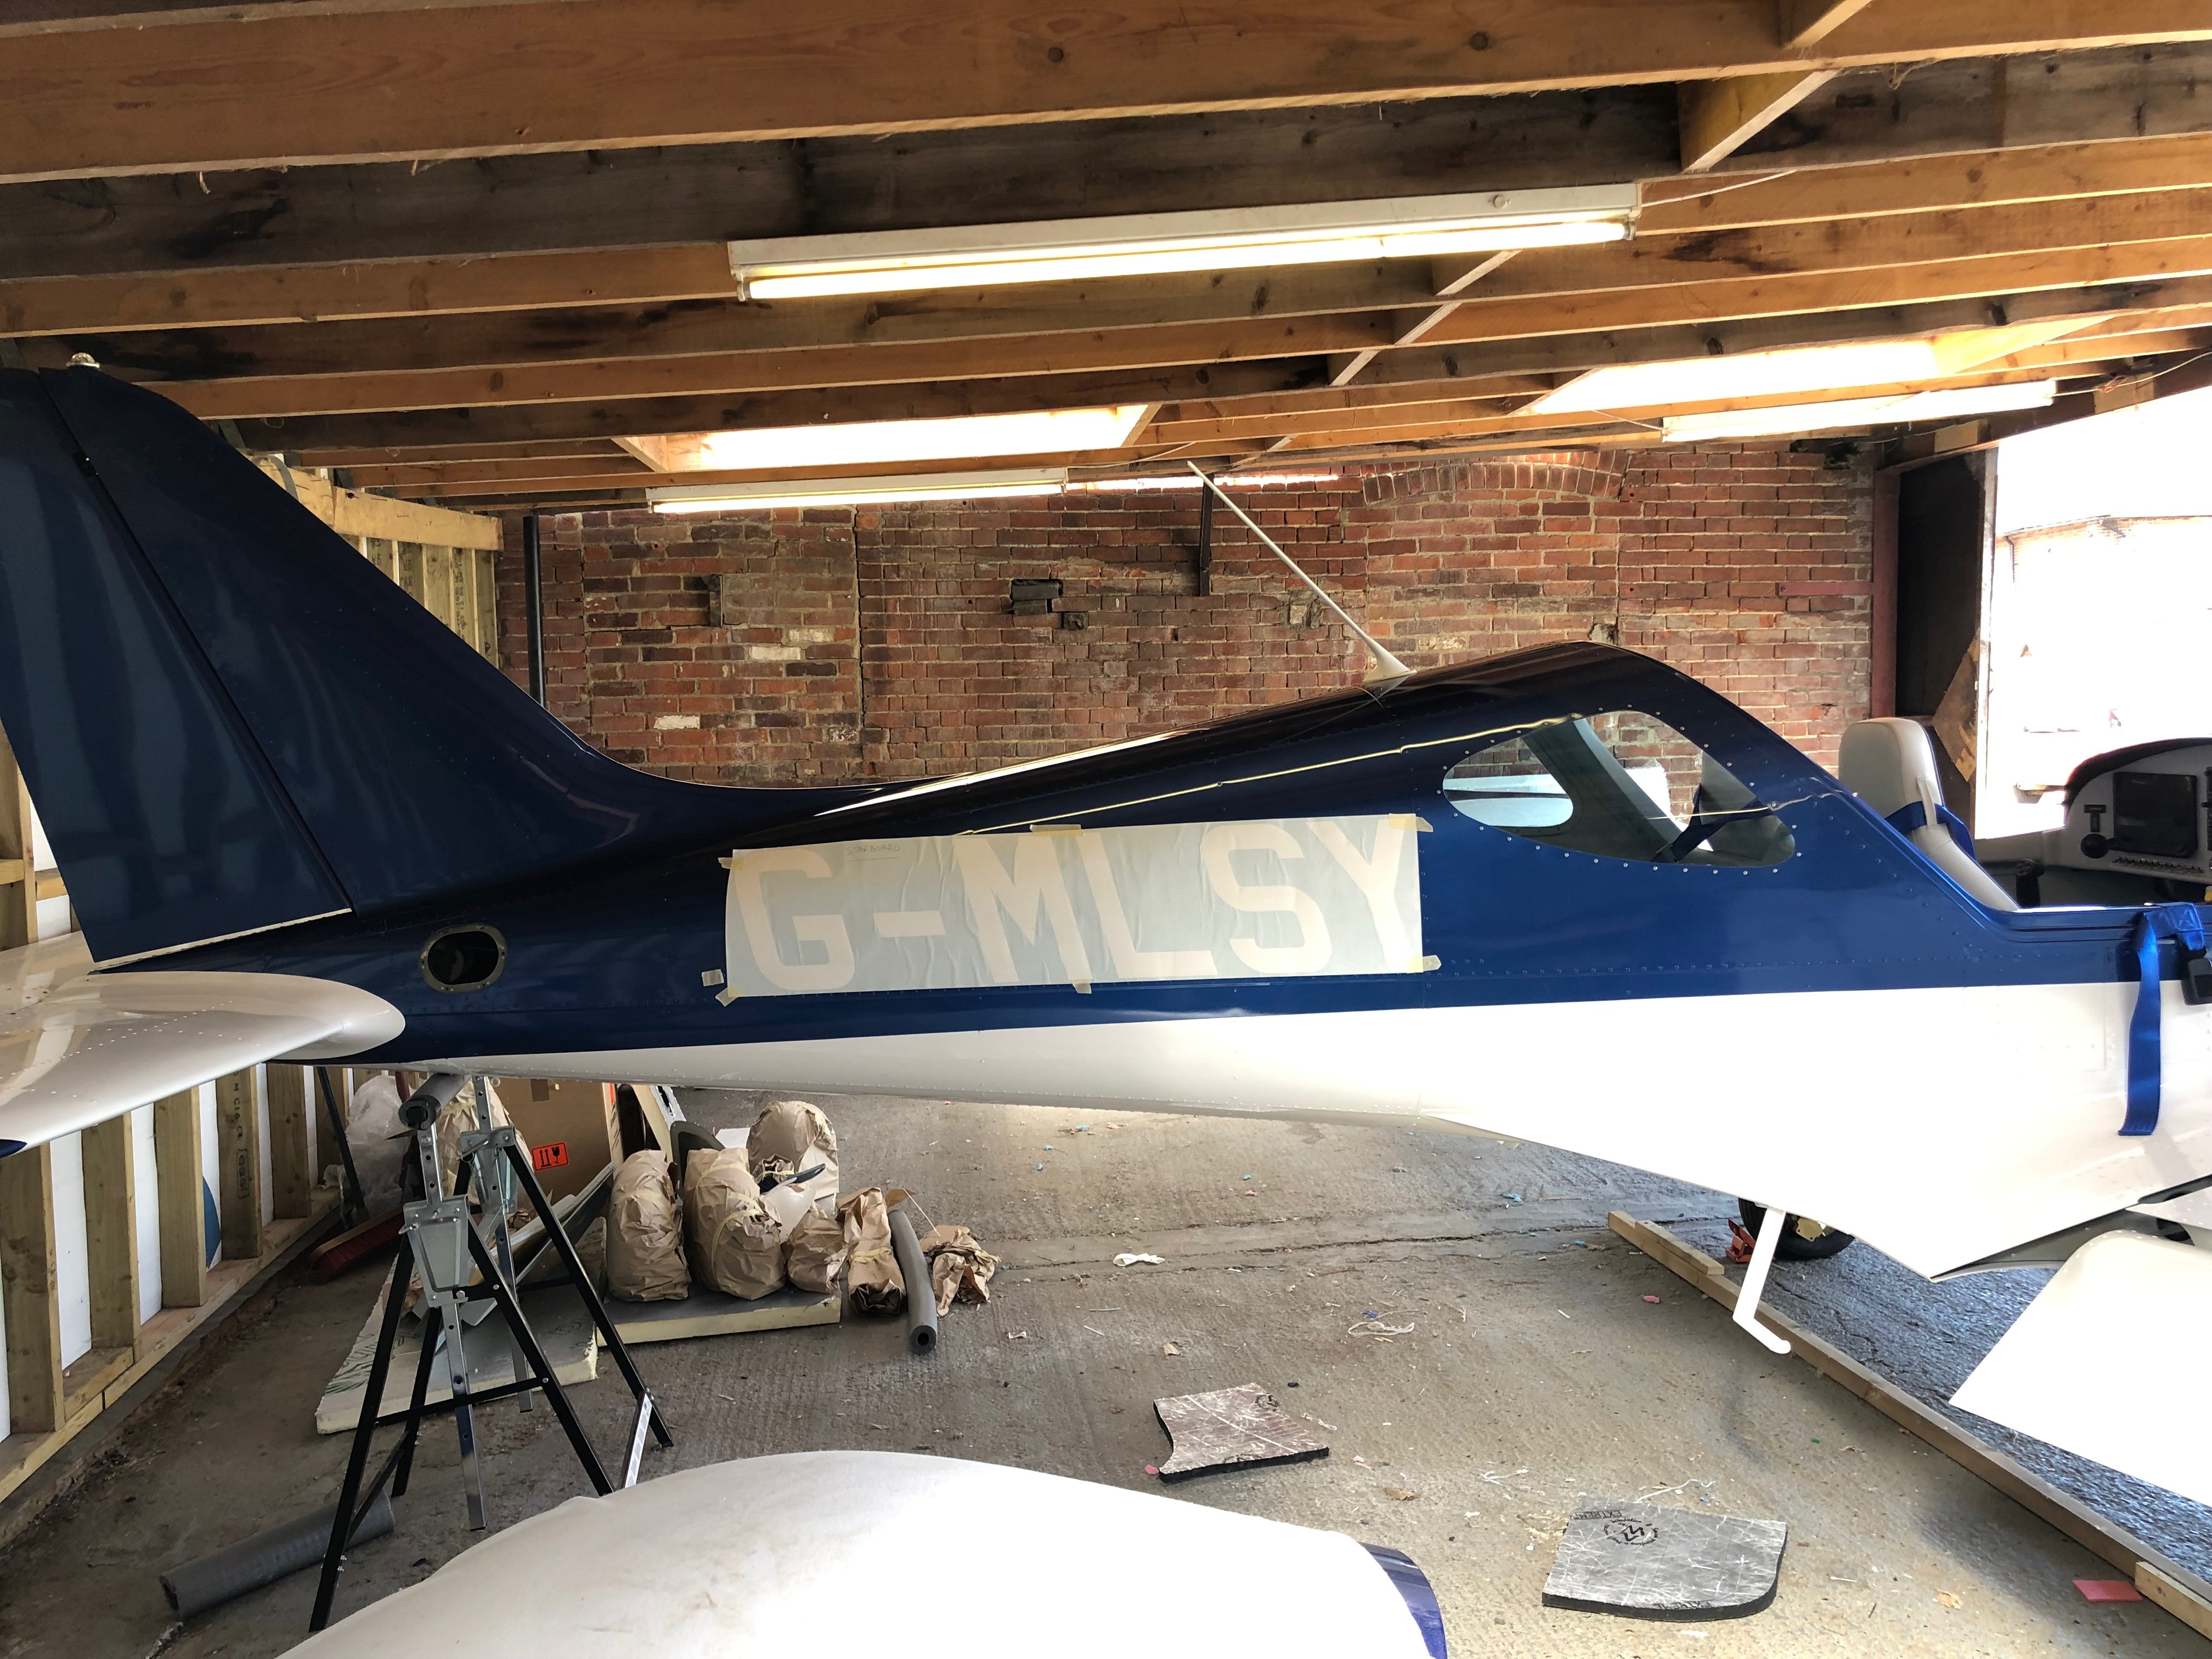
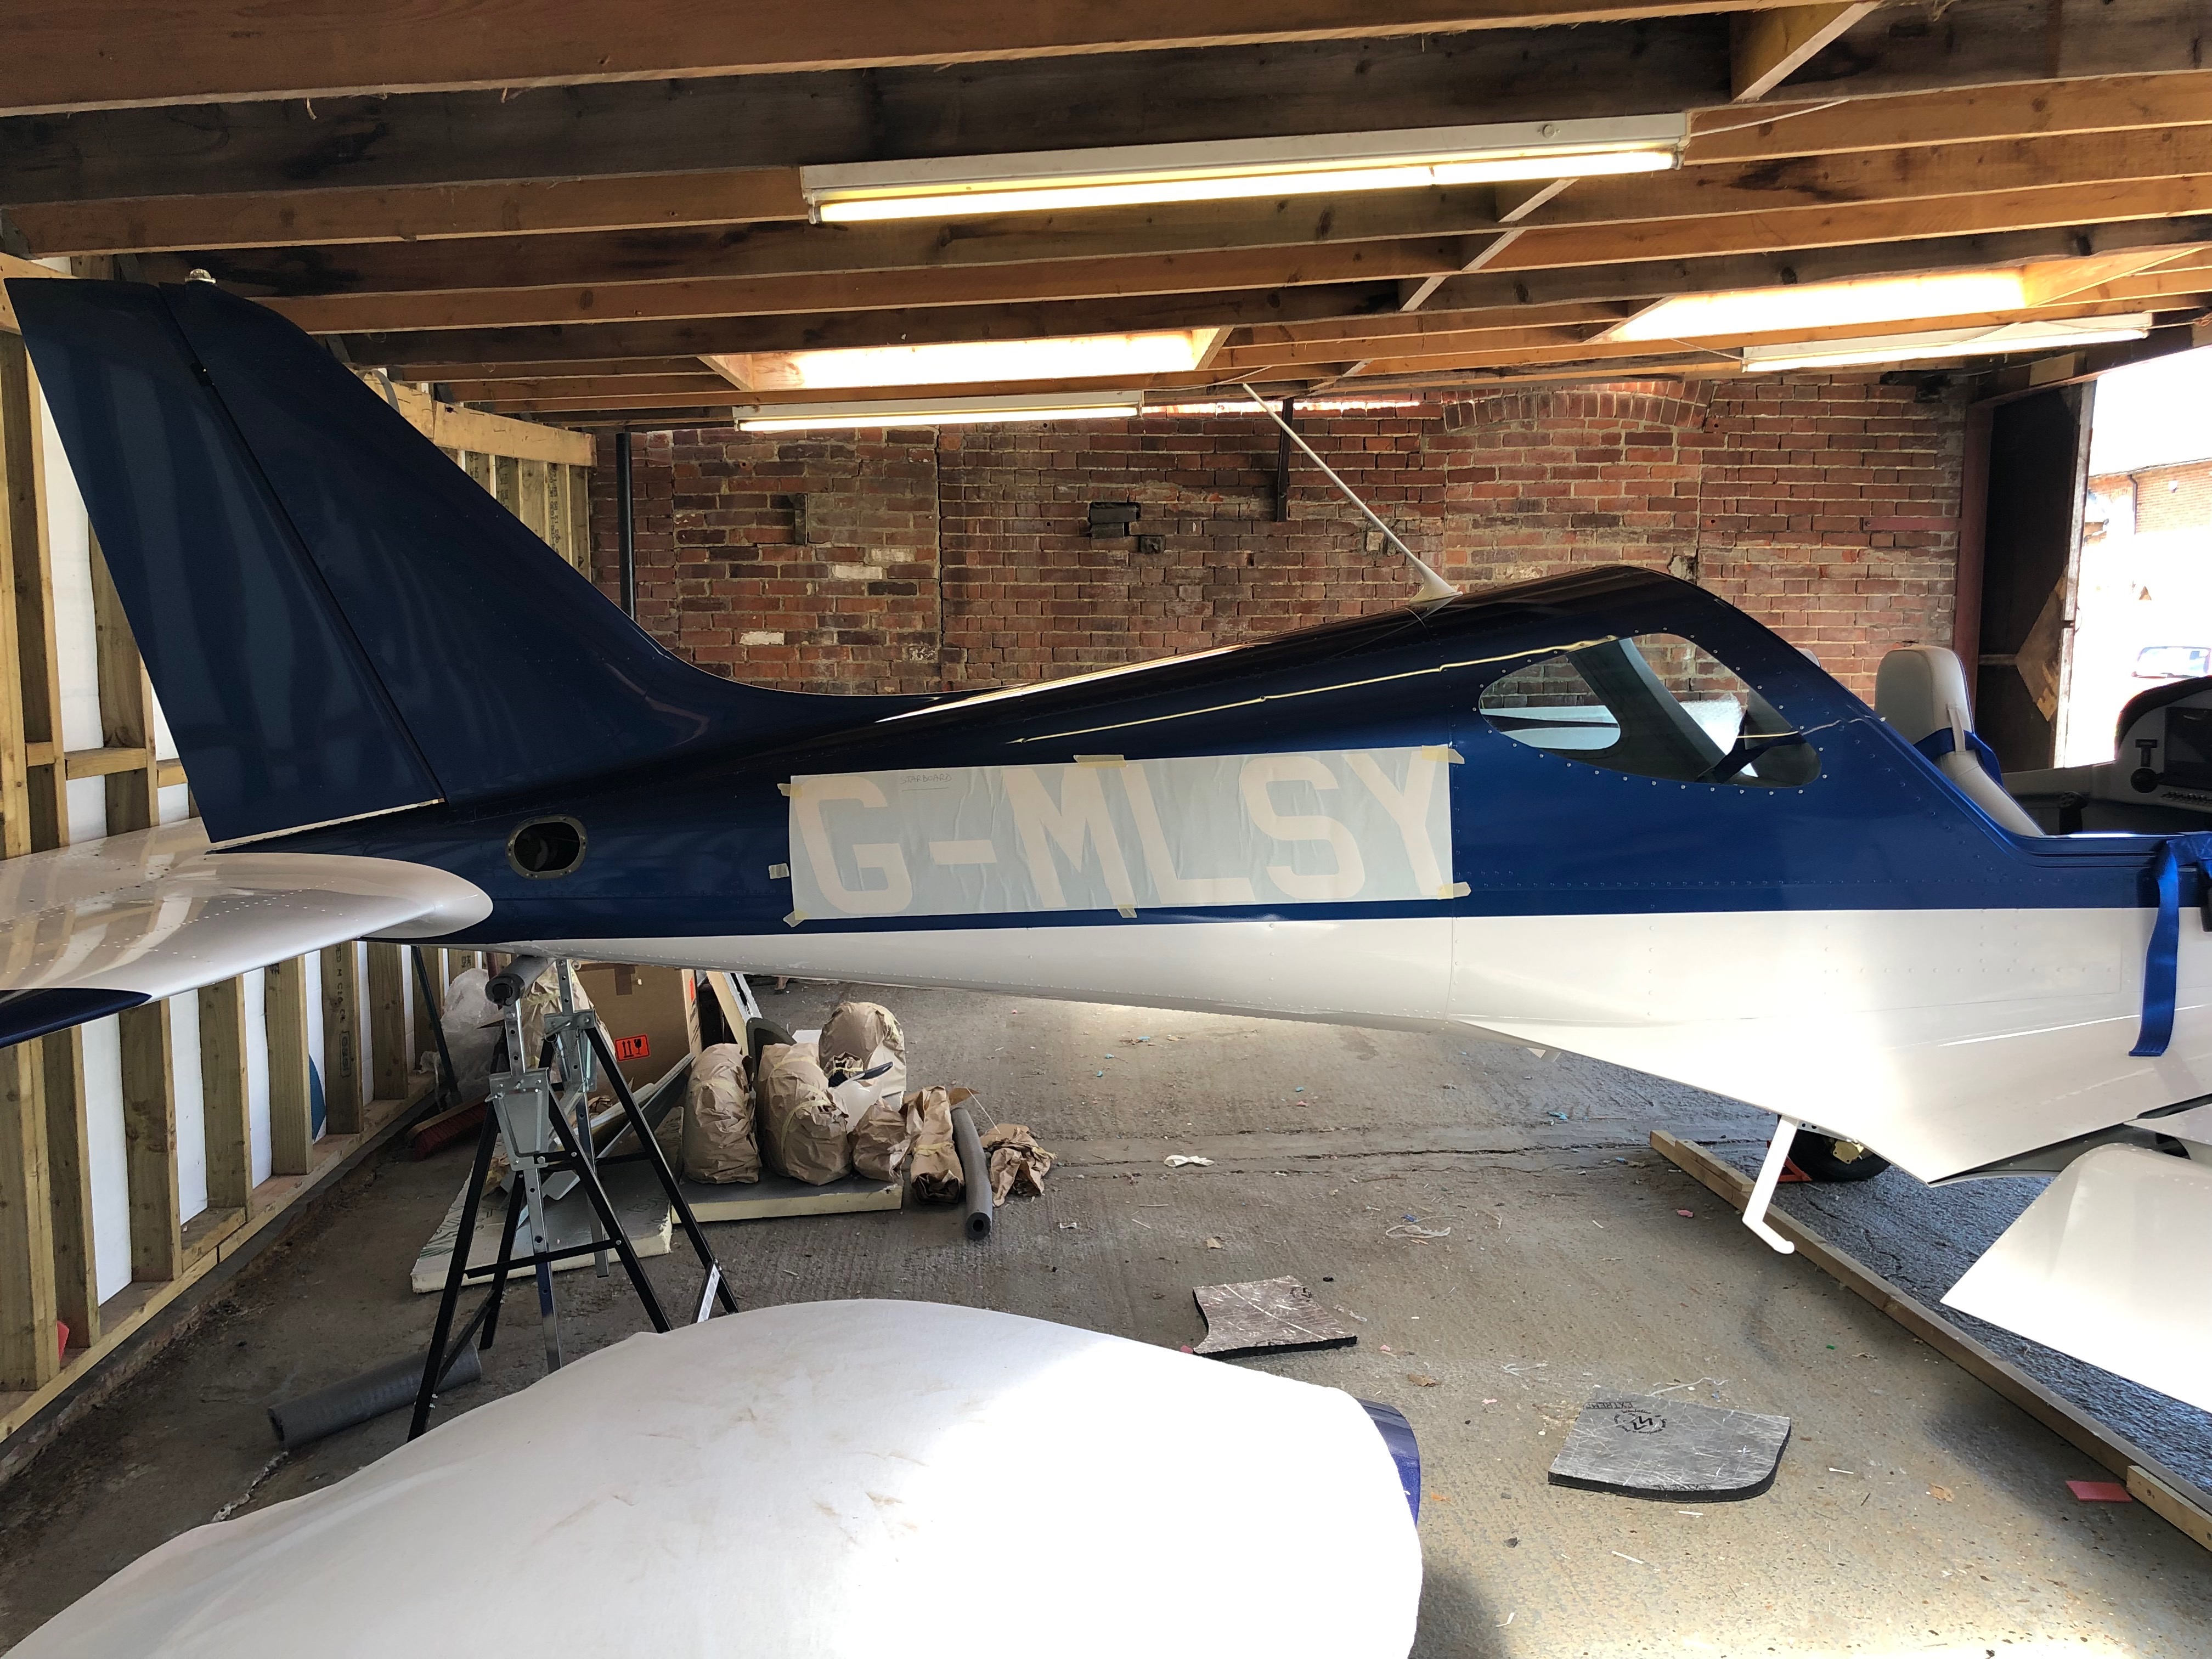
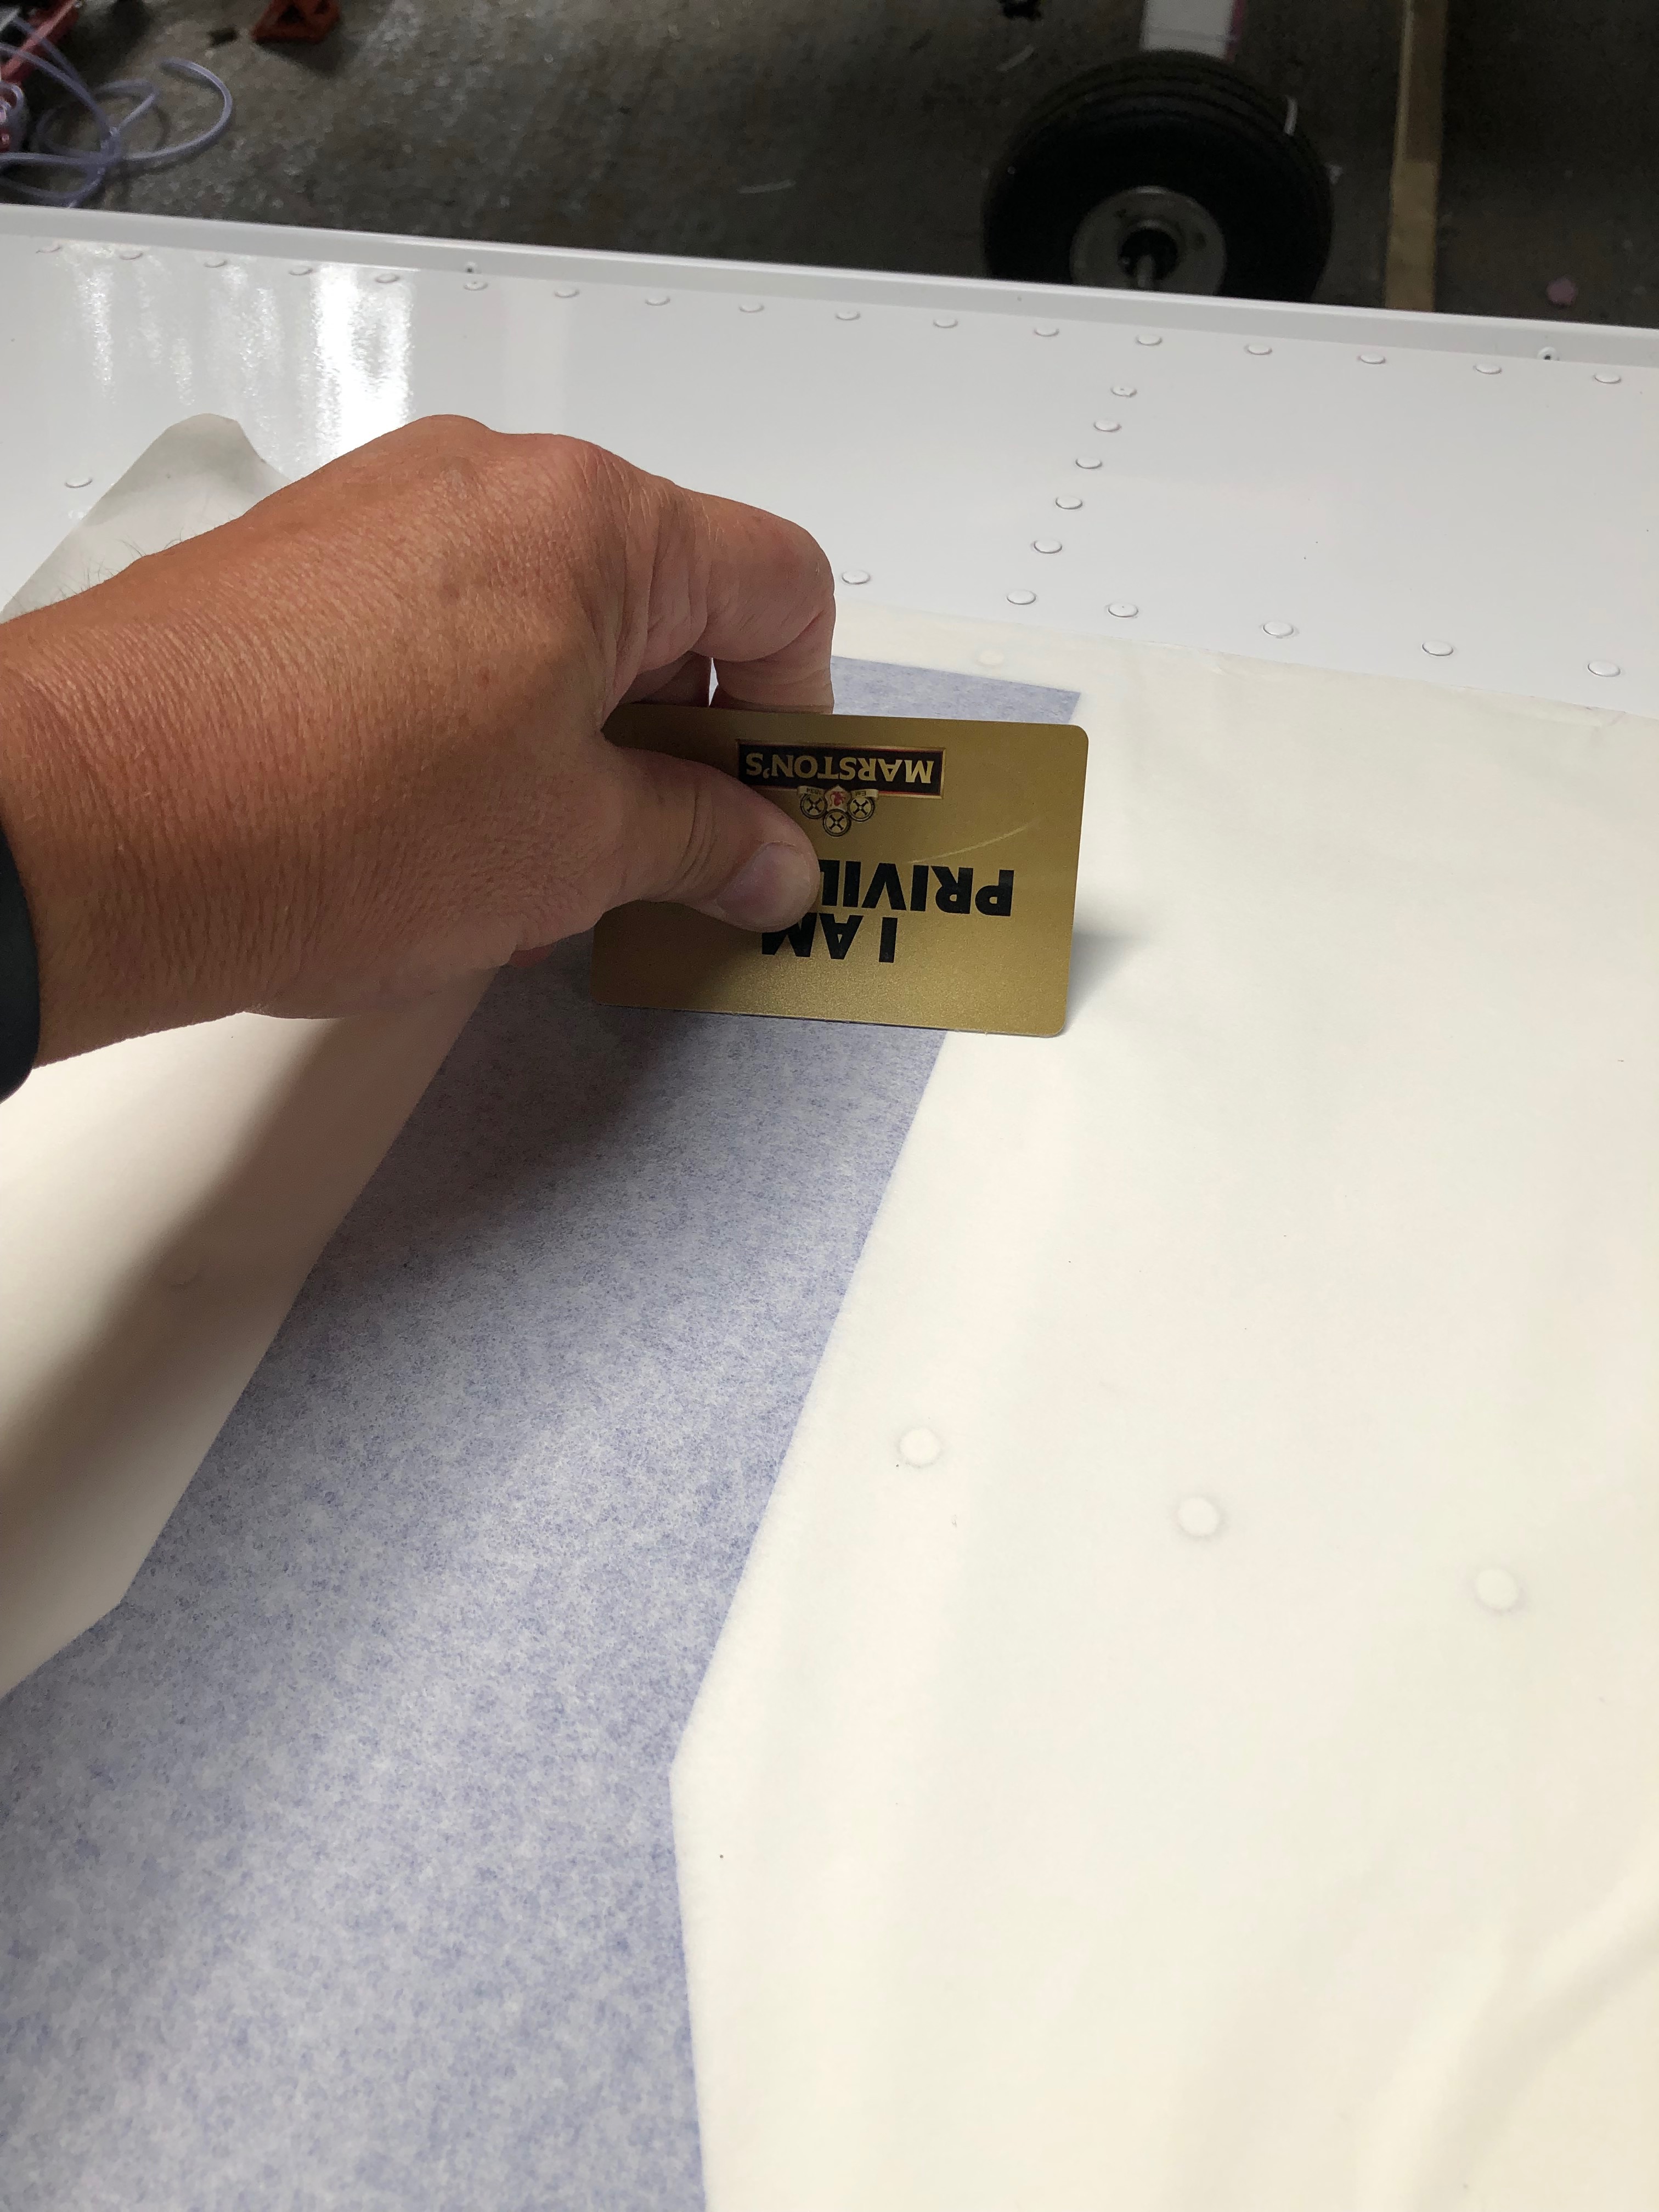
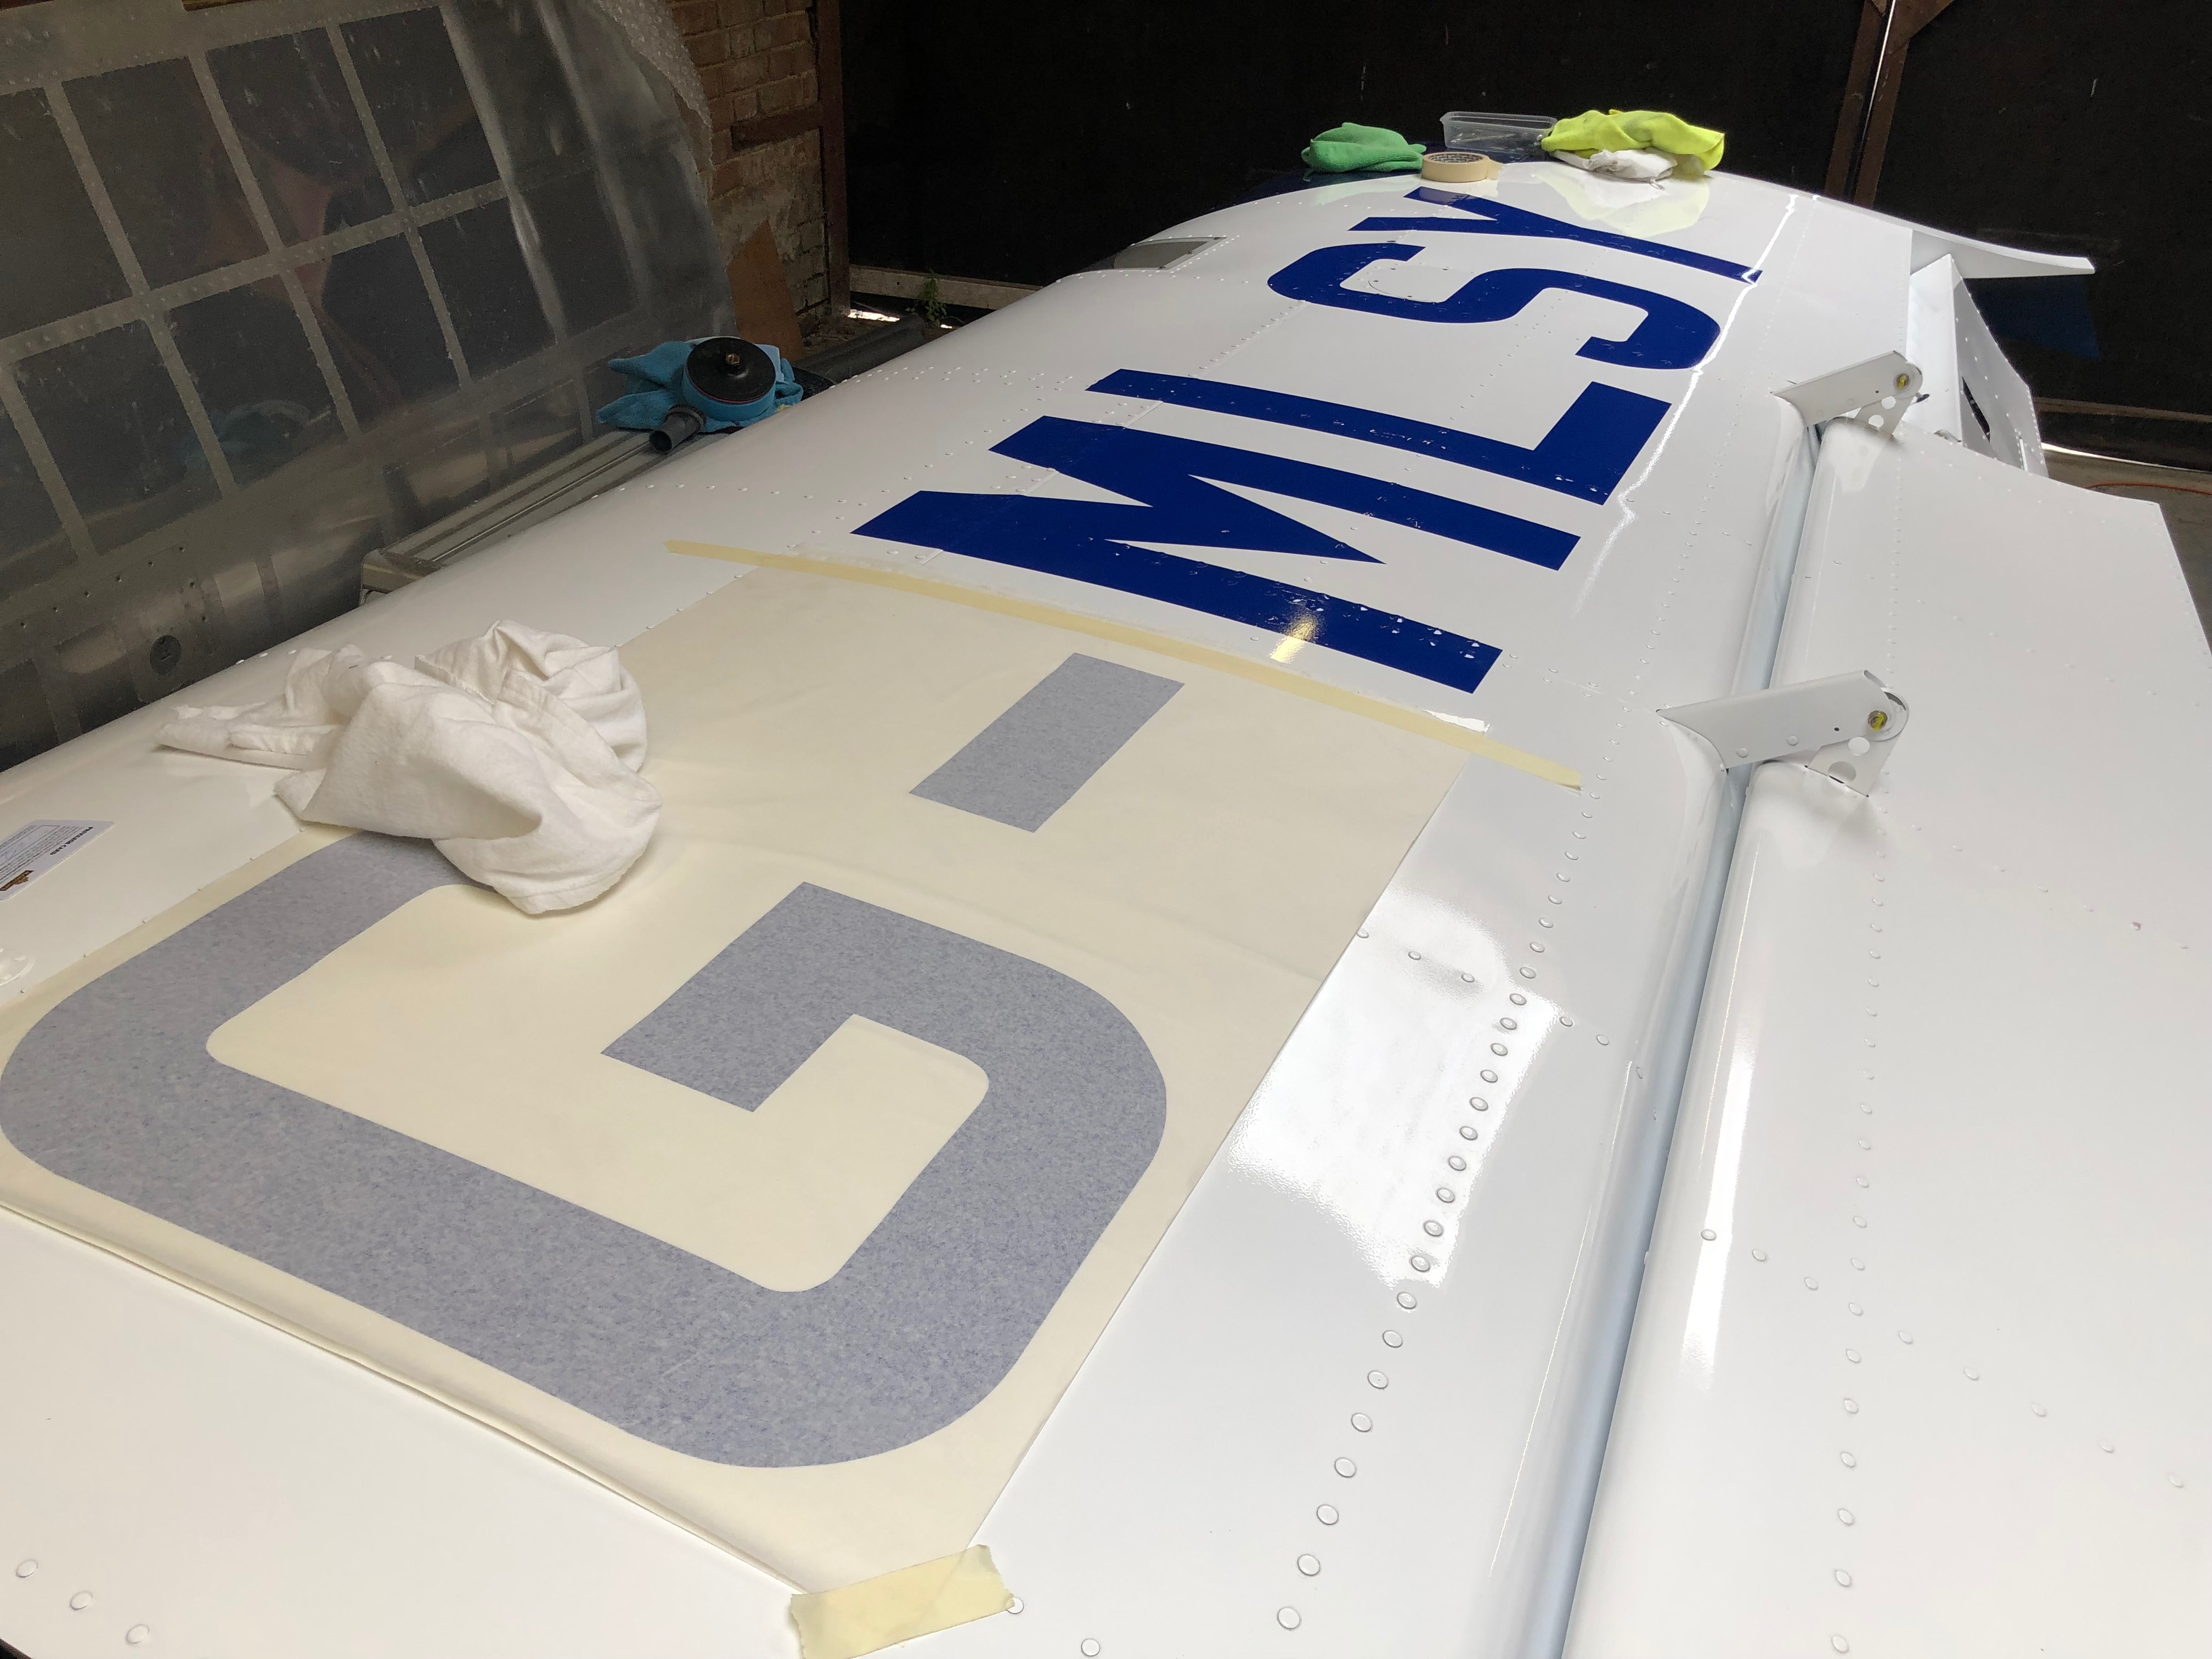
Karen came to the airfield today to help get rid of the little air bubbles around each of the rivets on the wing, did a sterling job as well. We tried several positions for the side registration to see which would look better. Pete Thomas, a friend from the London Gliding Club is coming down on Monday to do the weight and balance so I started to add all the bits and pieces that need to be on the aircraft from the weighing.
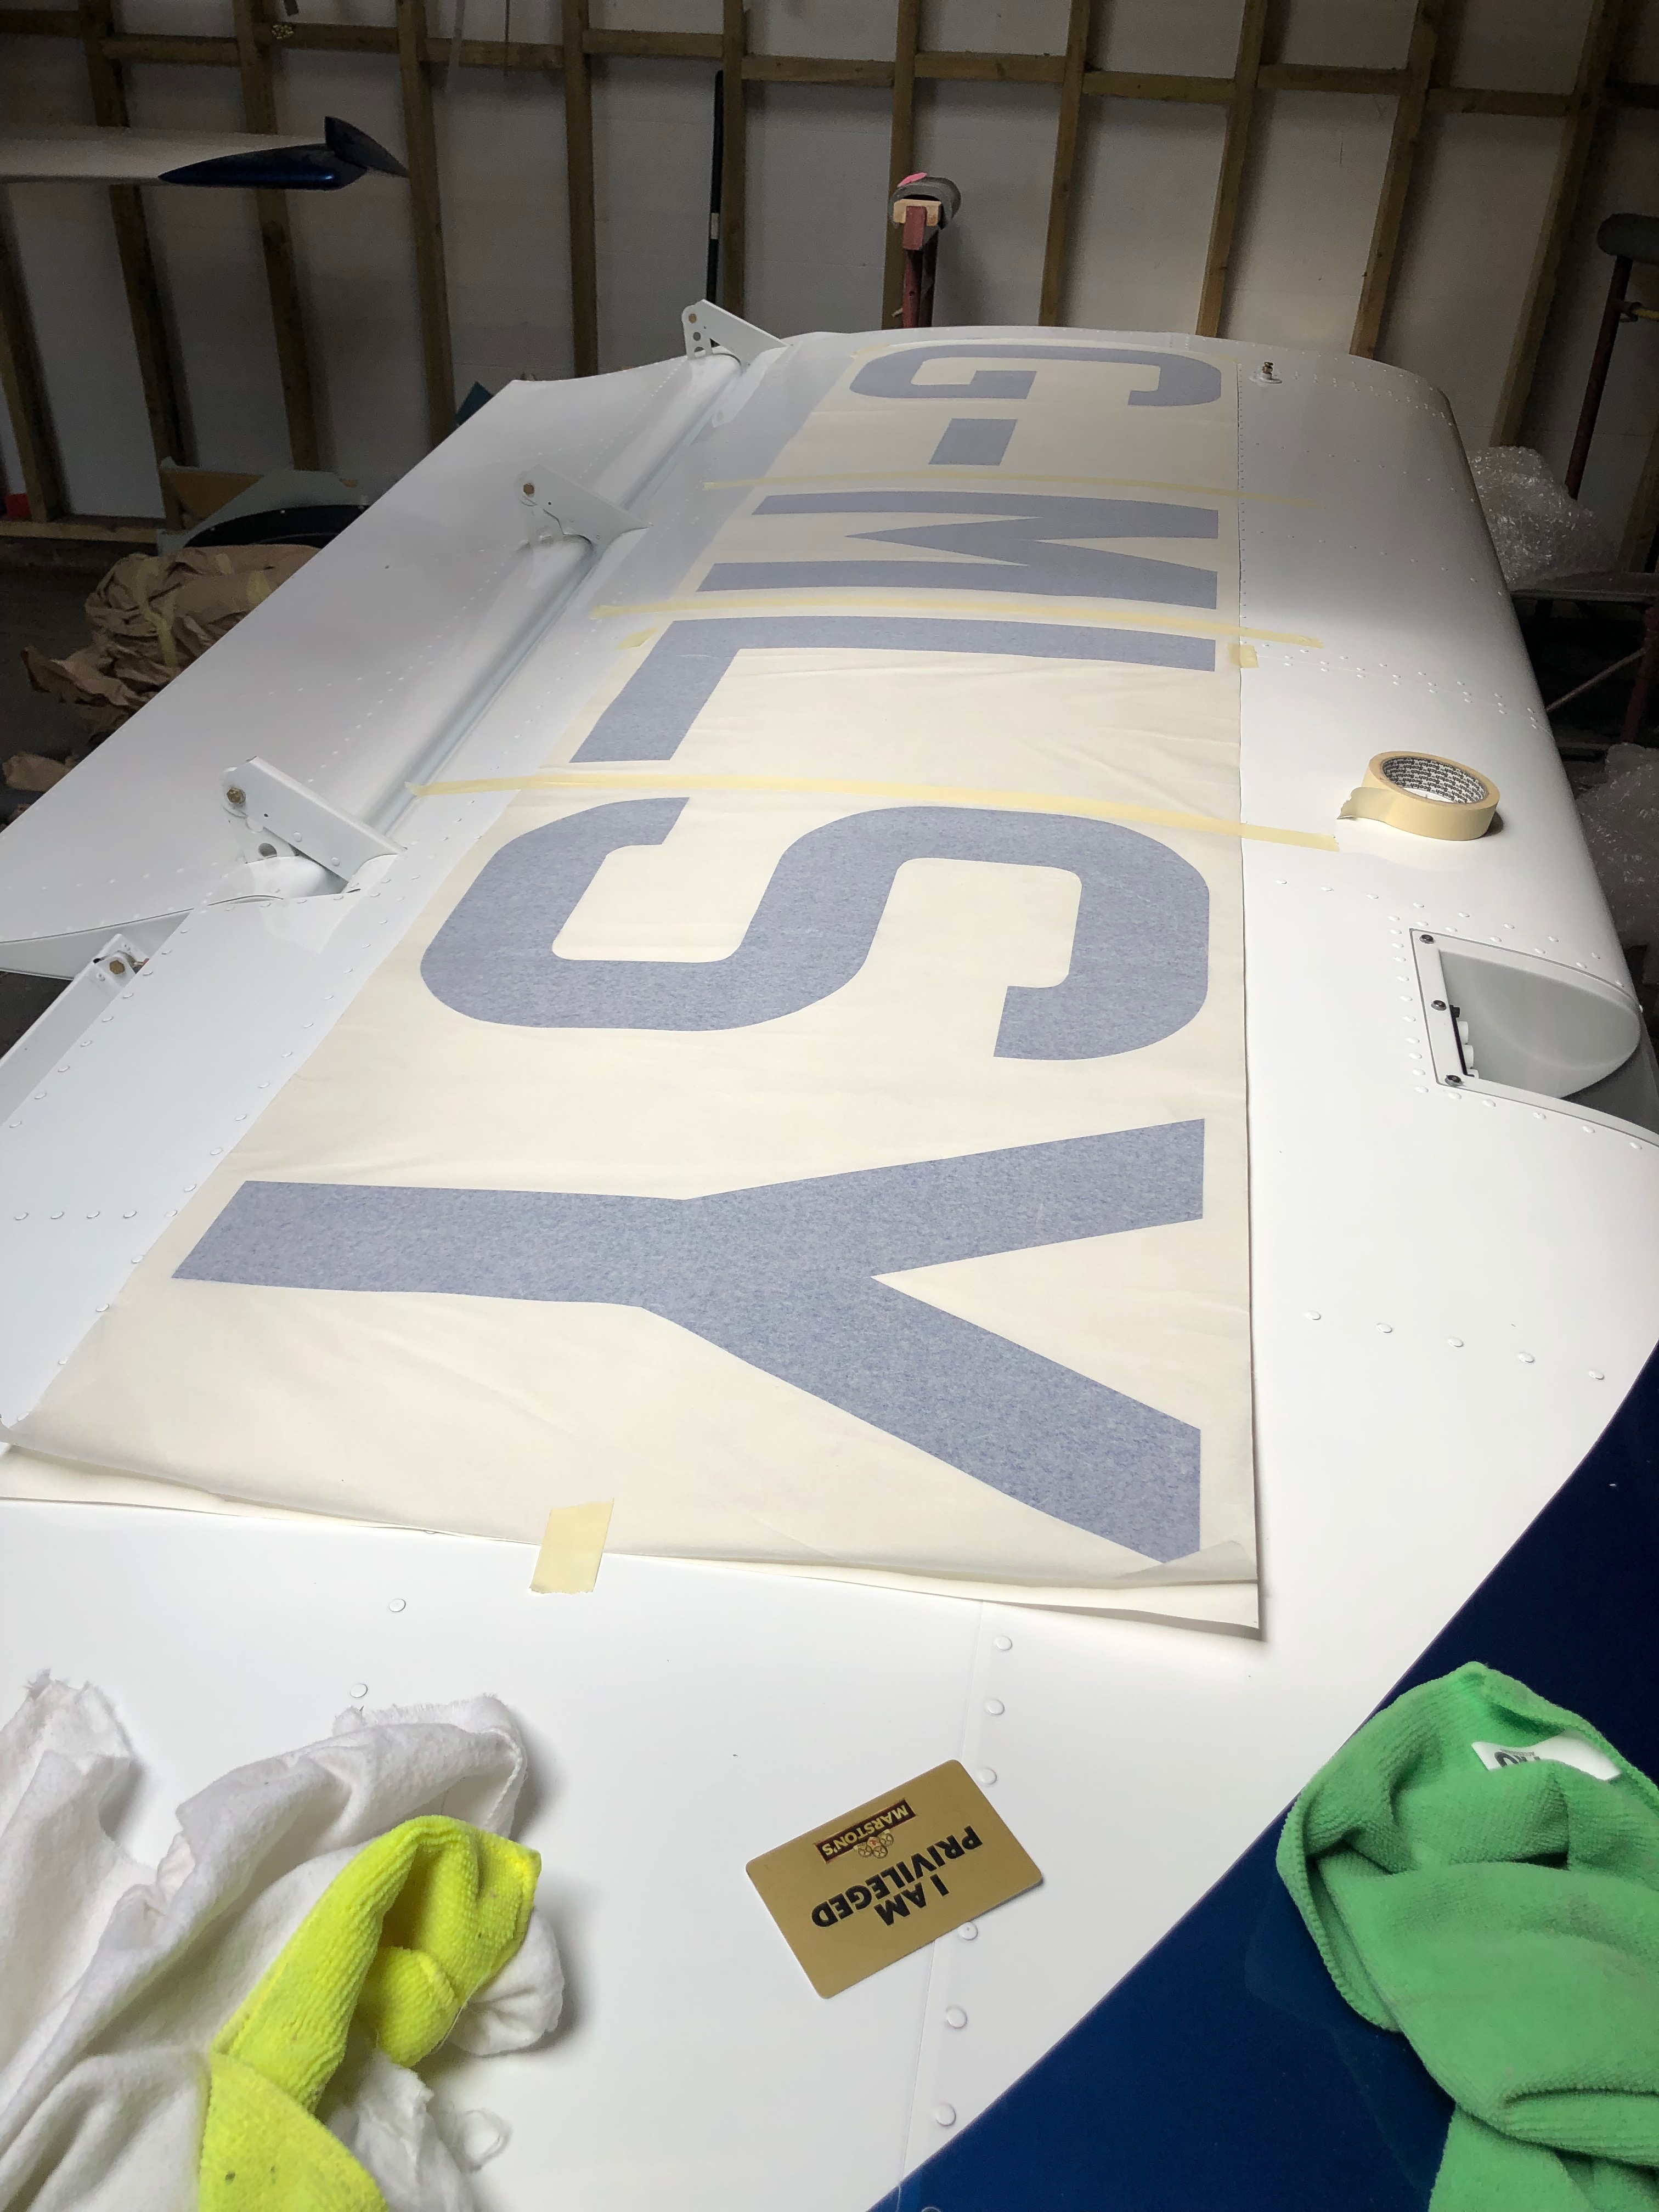
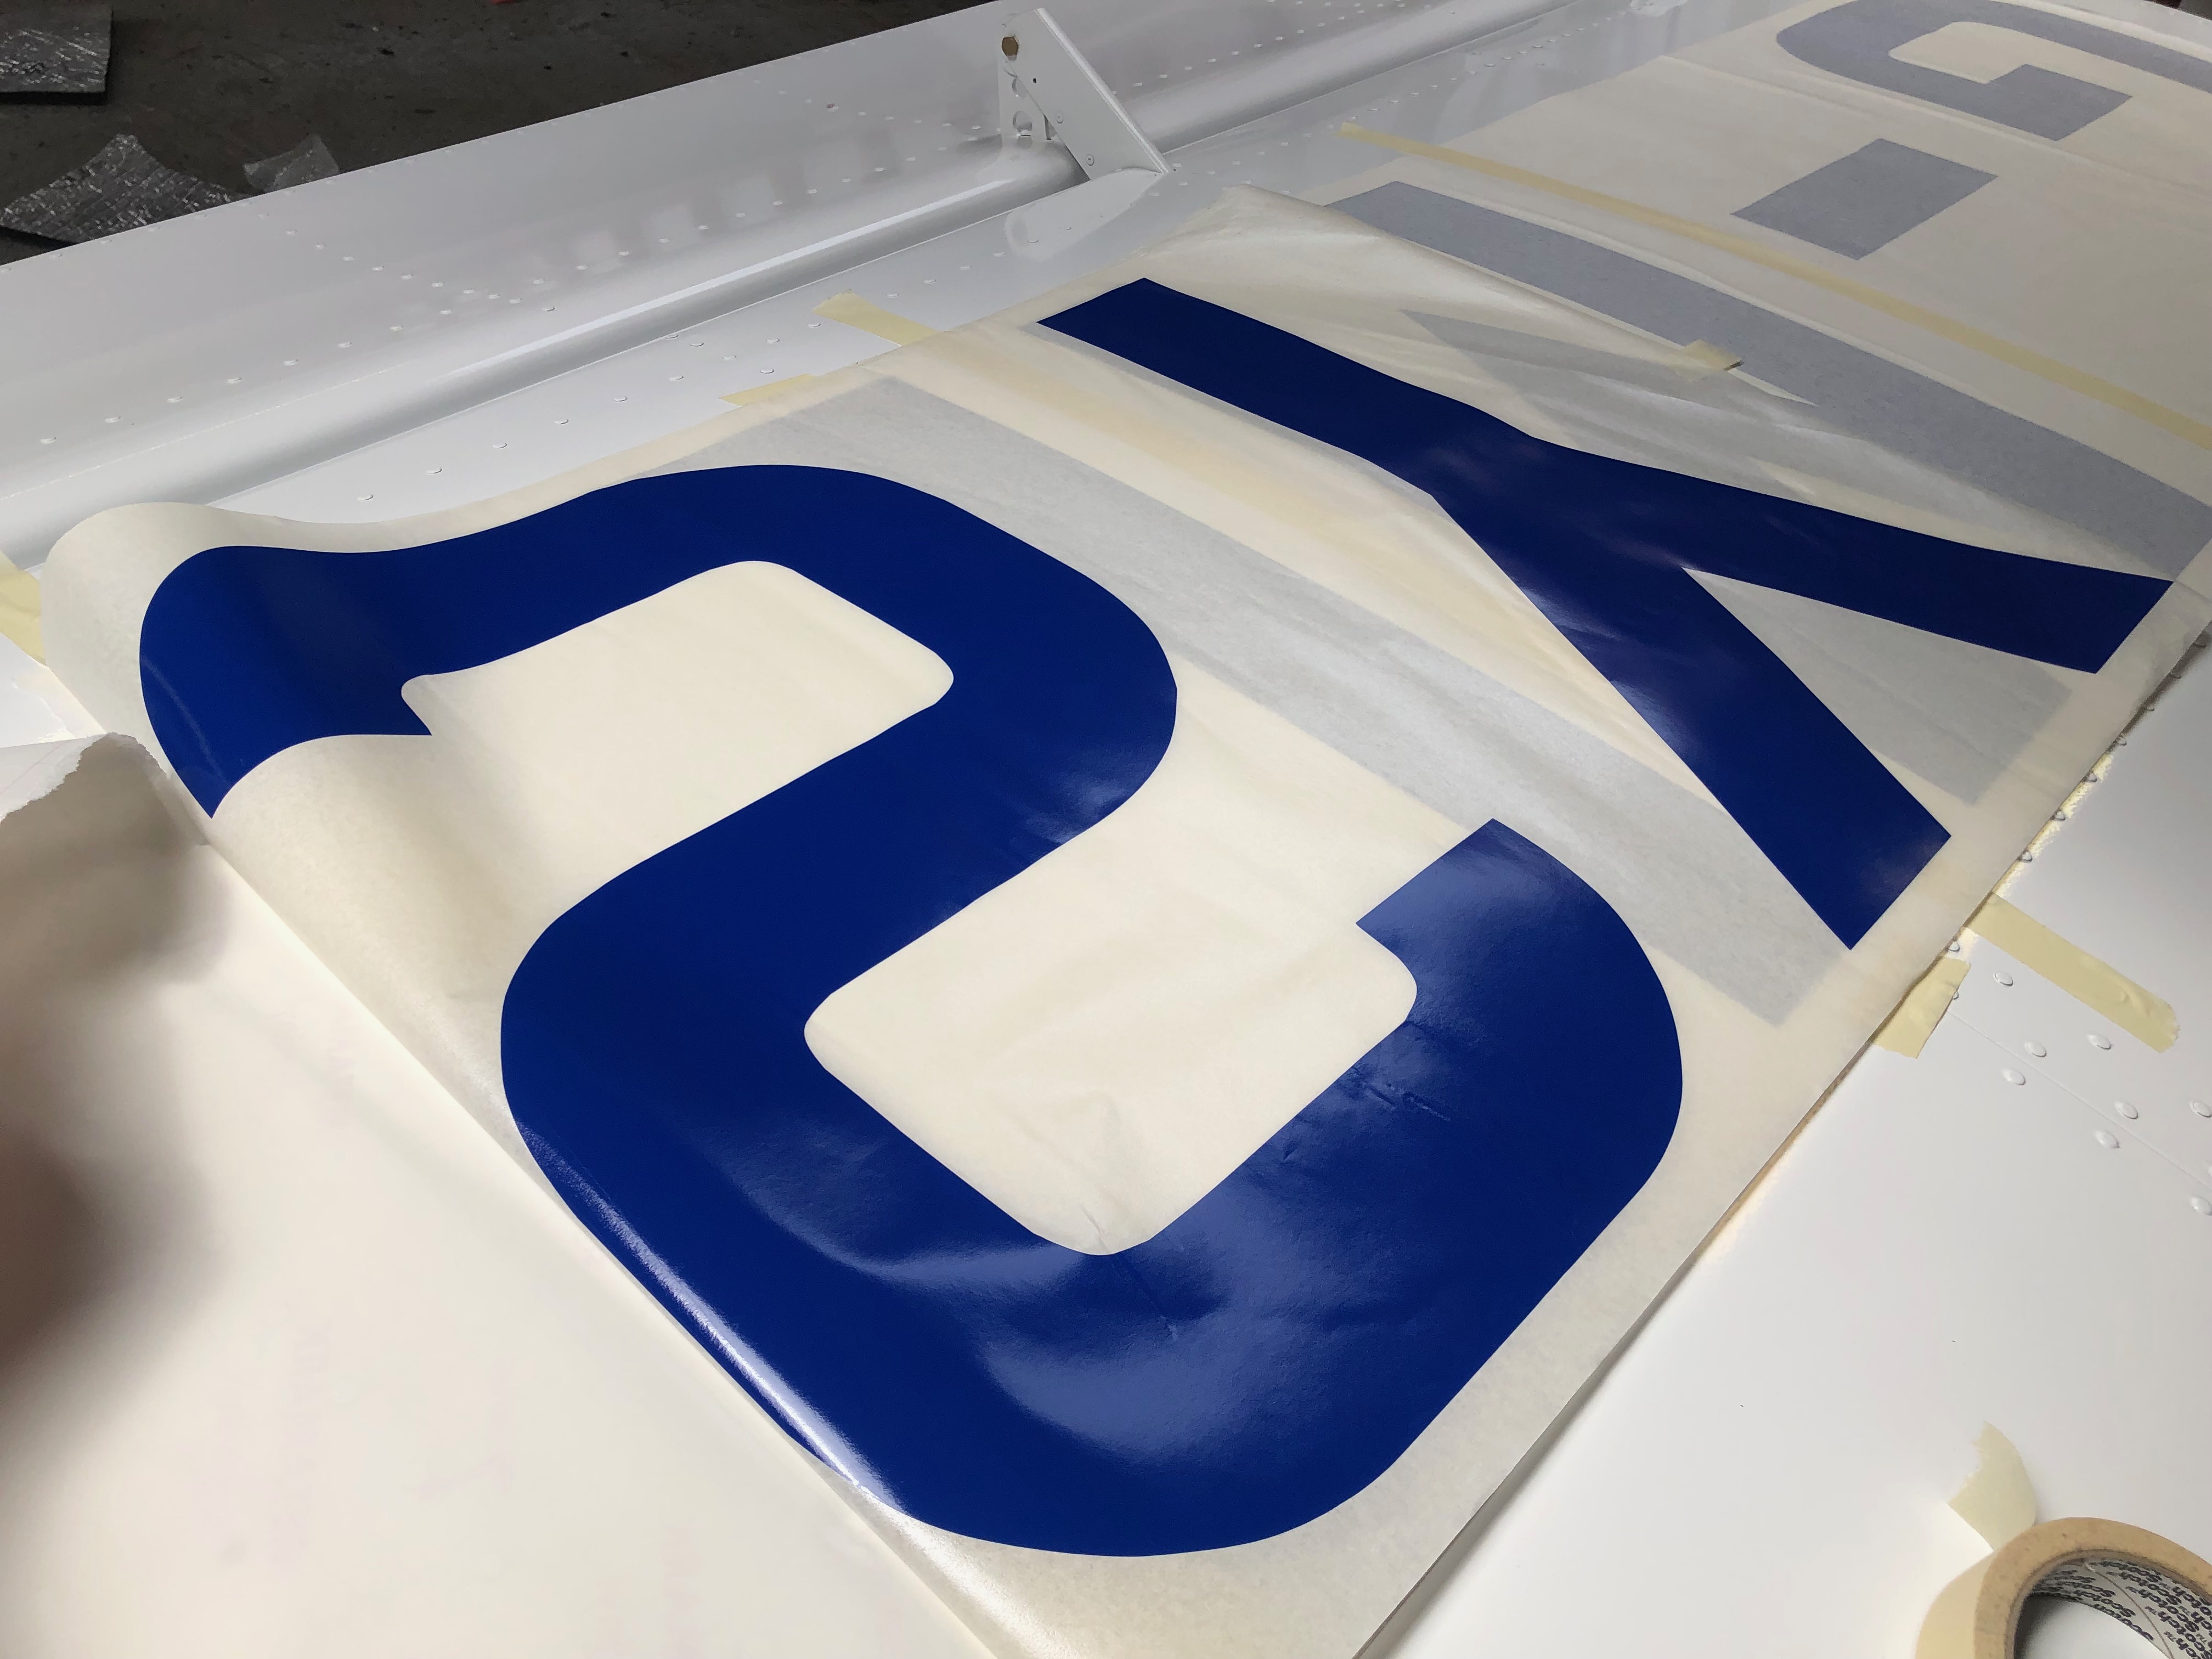
The vinyl registration doesn’t sit well around each rivet that it covers. A little air bubble is present on nearly every one of them. Karen used a fine point to pierce the vinyl and then gently pressed out the air. The result was fantastic and a big thanks to Karen giving up some her weekend to help me.Which looks better? aligning with the rivet line or ……the paint line. We both decided that the paint line was a better option so the decision is made.The spats need to go on as does the spinner and cowlings ready for weighing on Monday.Application of the registration starts. Not many pictures here on how to do it as I was worried about mucking it up.Part way though and it’s looking good. The next bit is to take a little of the spacing out between the ‘G’, ‘-‘ and the ‘M’ as it’ll look a bit better. I should have asked Pete from Mirage Signs to do that for me but I forgot!The final look. Very pleased with the result.A picture shows the inside of G-MLSY with all the seats and trim in place and a very happy me!
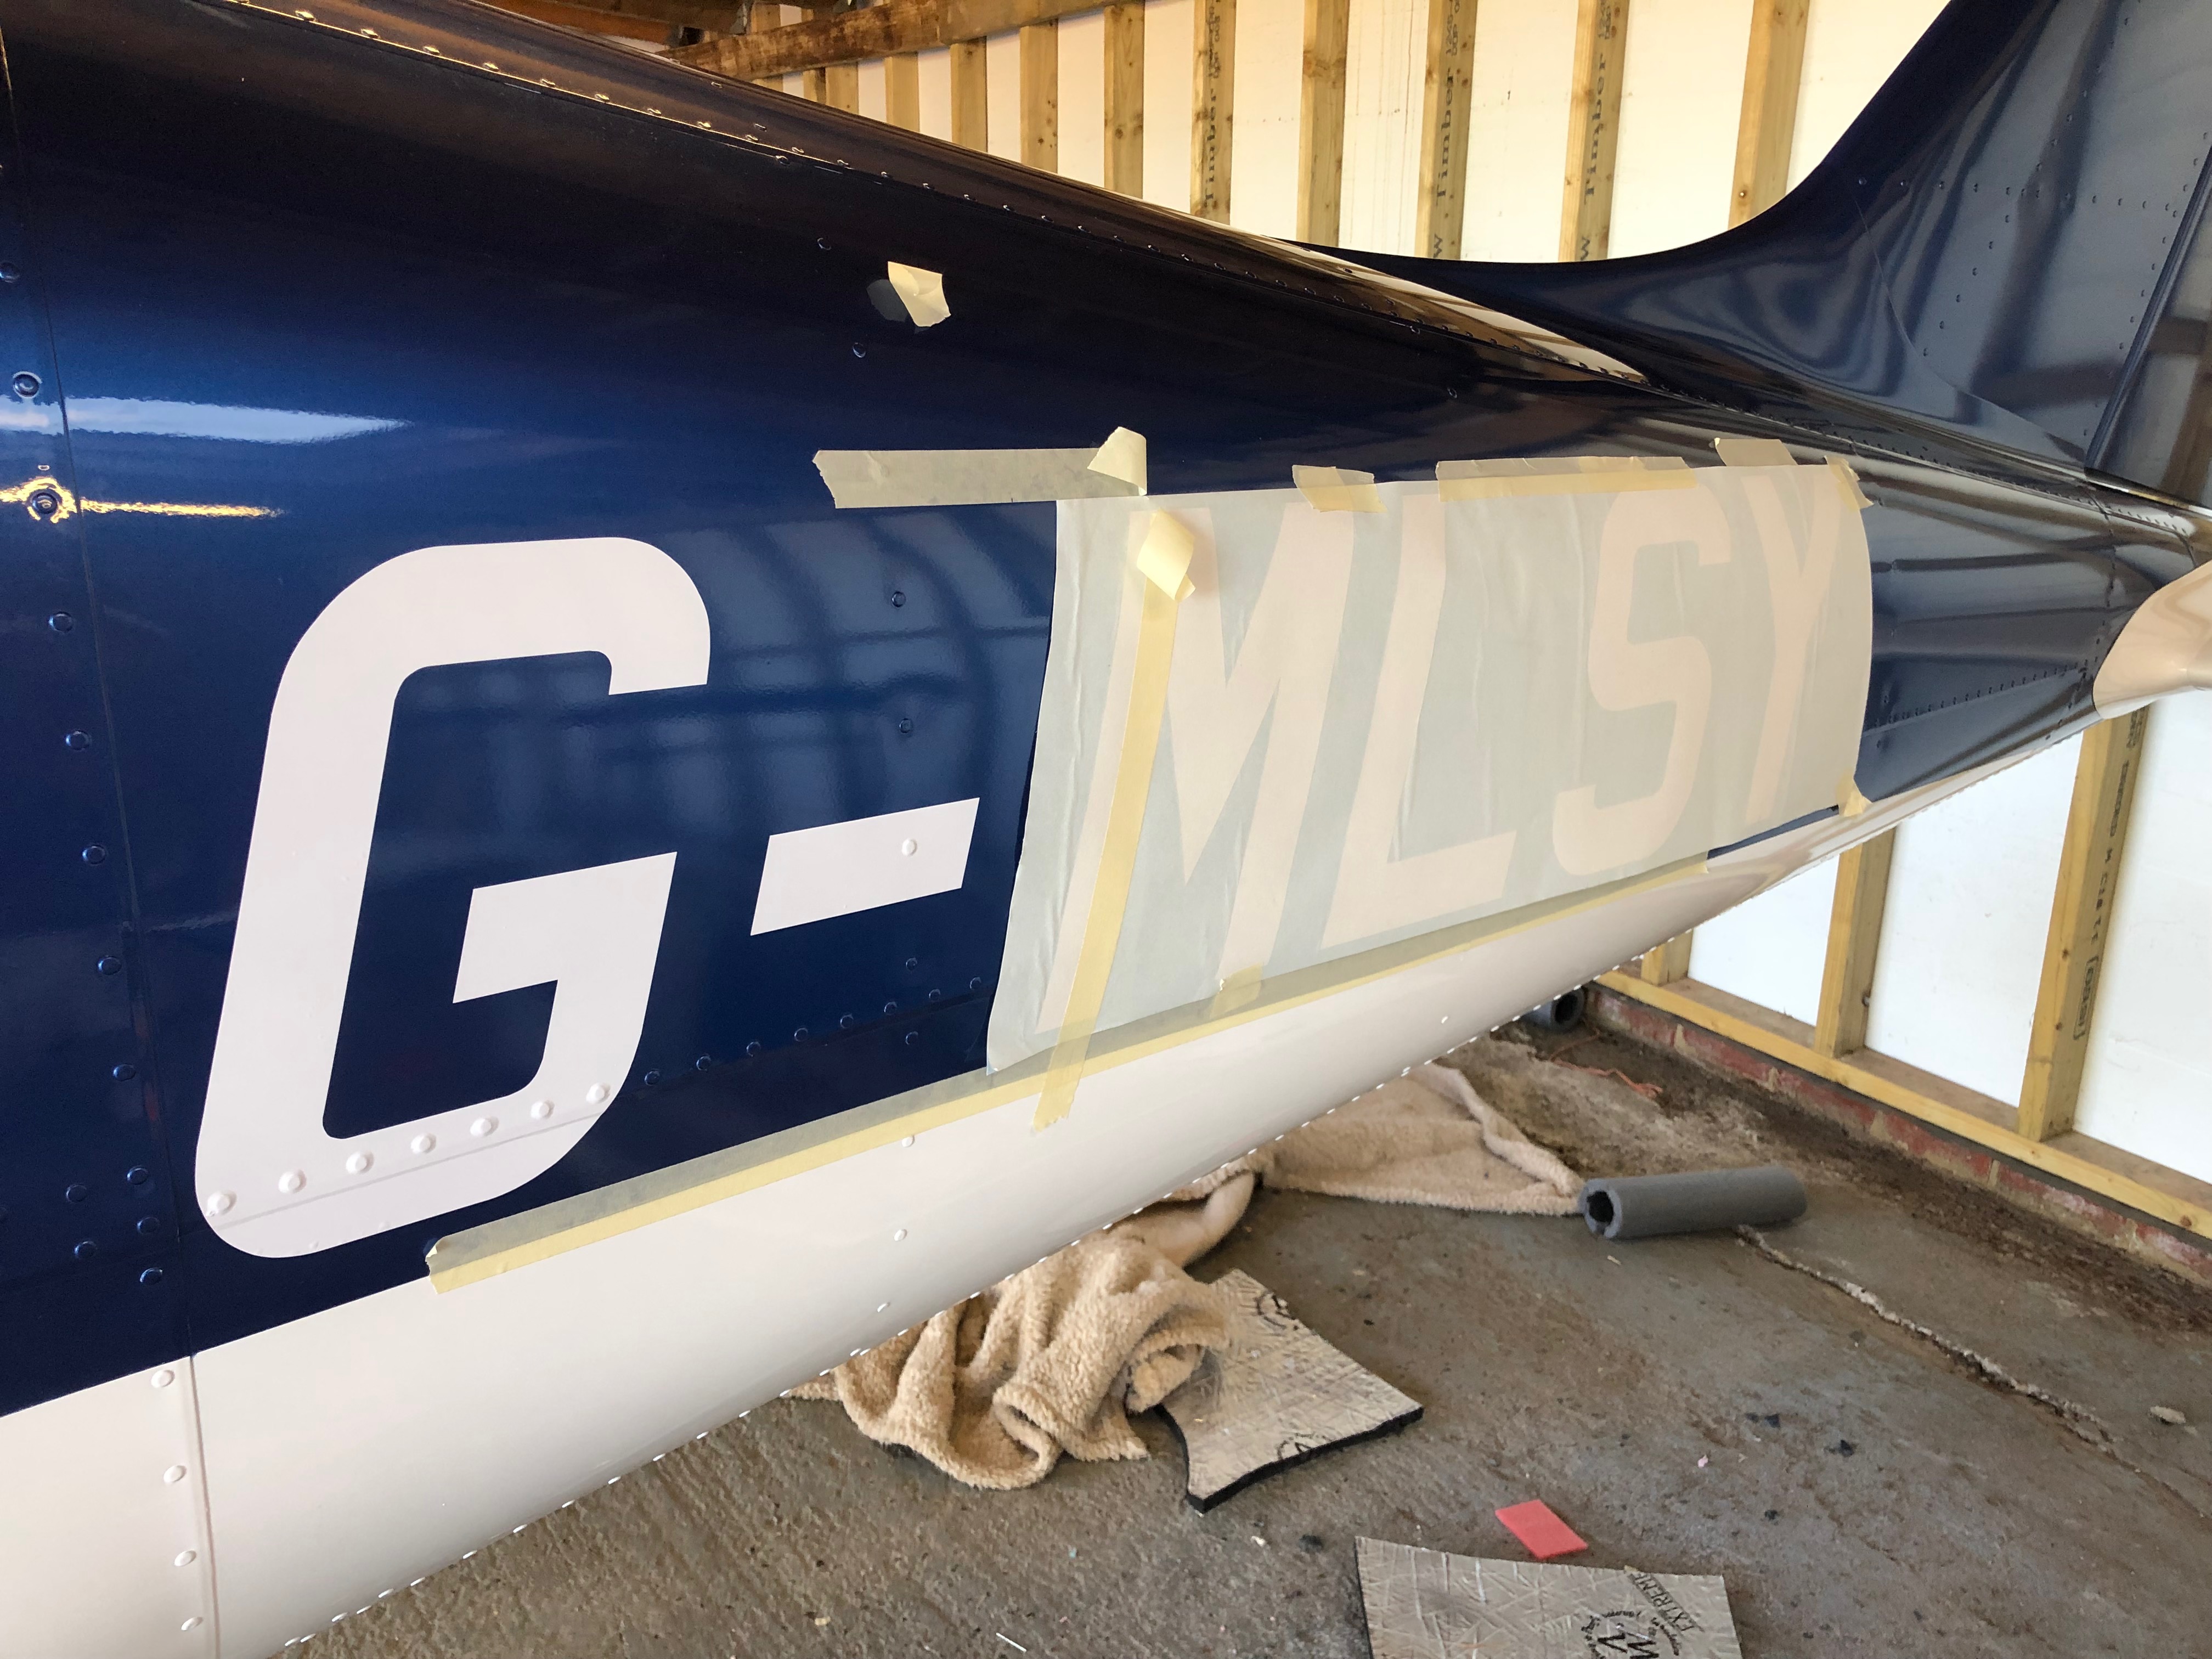
Applying the registration marks looks to be quite simple but like so many of the jobs I’ve done during this project it’s something I’ve not done before so it needs a bit of thinking about before I attempt it. I’ve watched a couple of Youtube videos that has helped.
The registration has been cut and is already spaced but Ian noticed that the hyphen spacing was much bigger than it needed to be so I needed to re-space the G, -, and M which will make it a little more difficult.
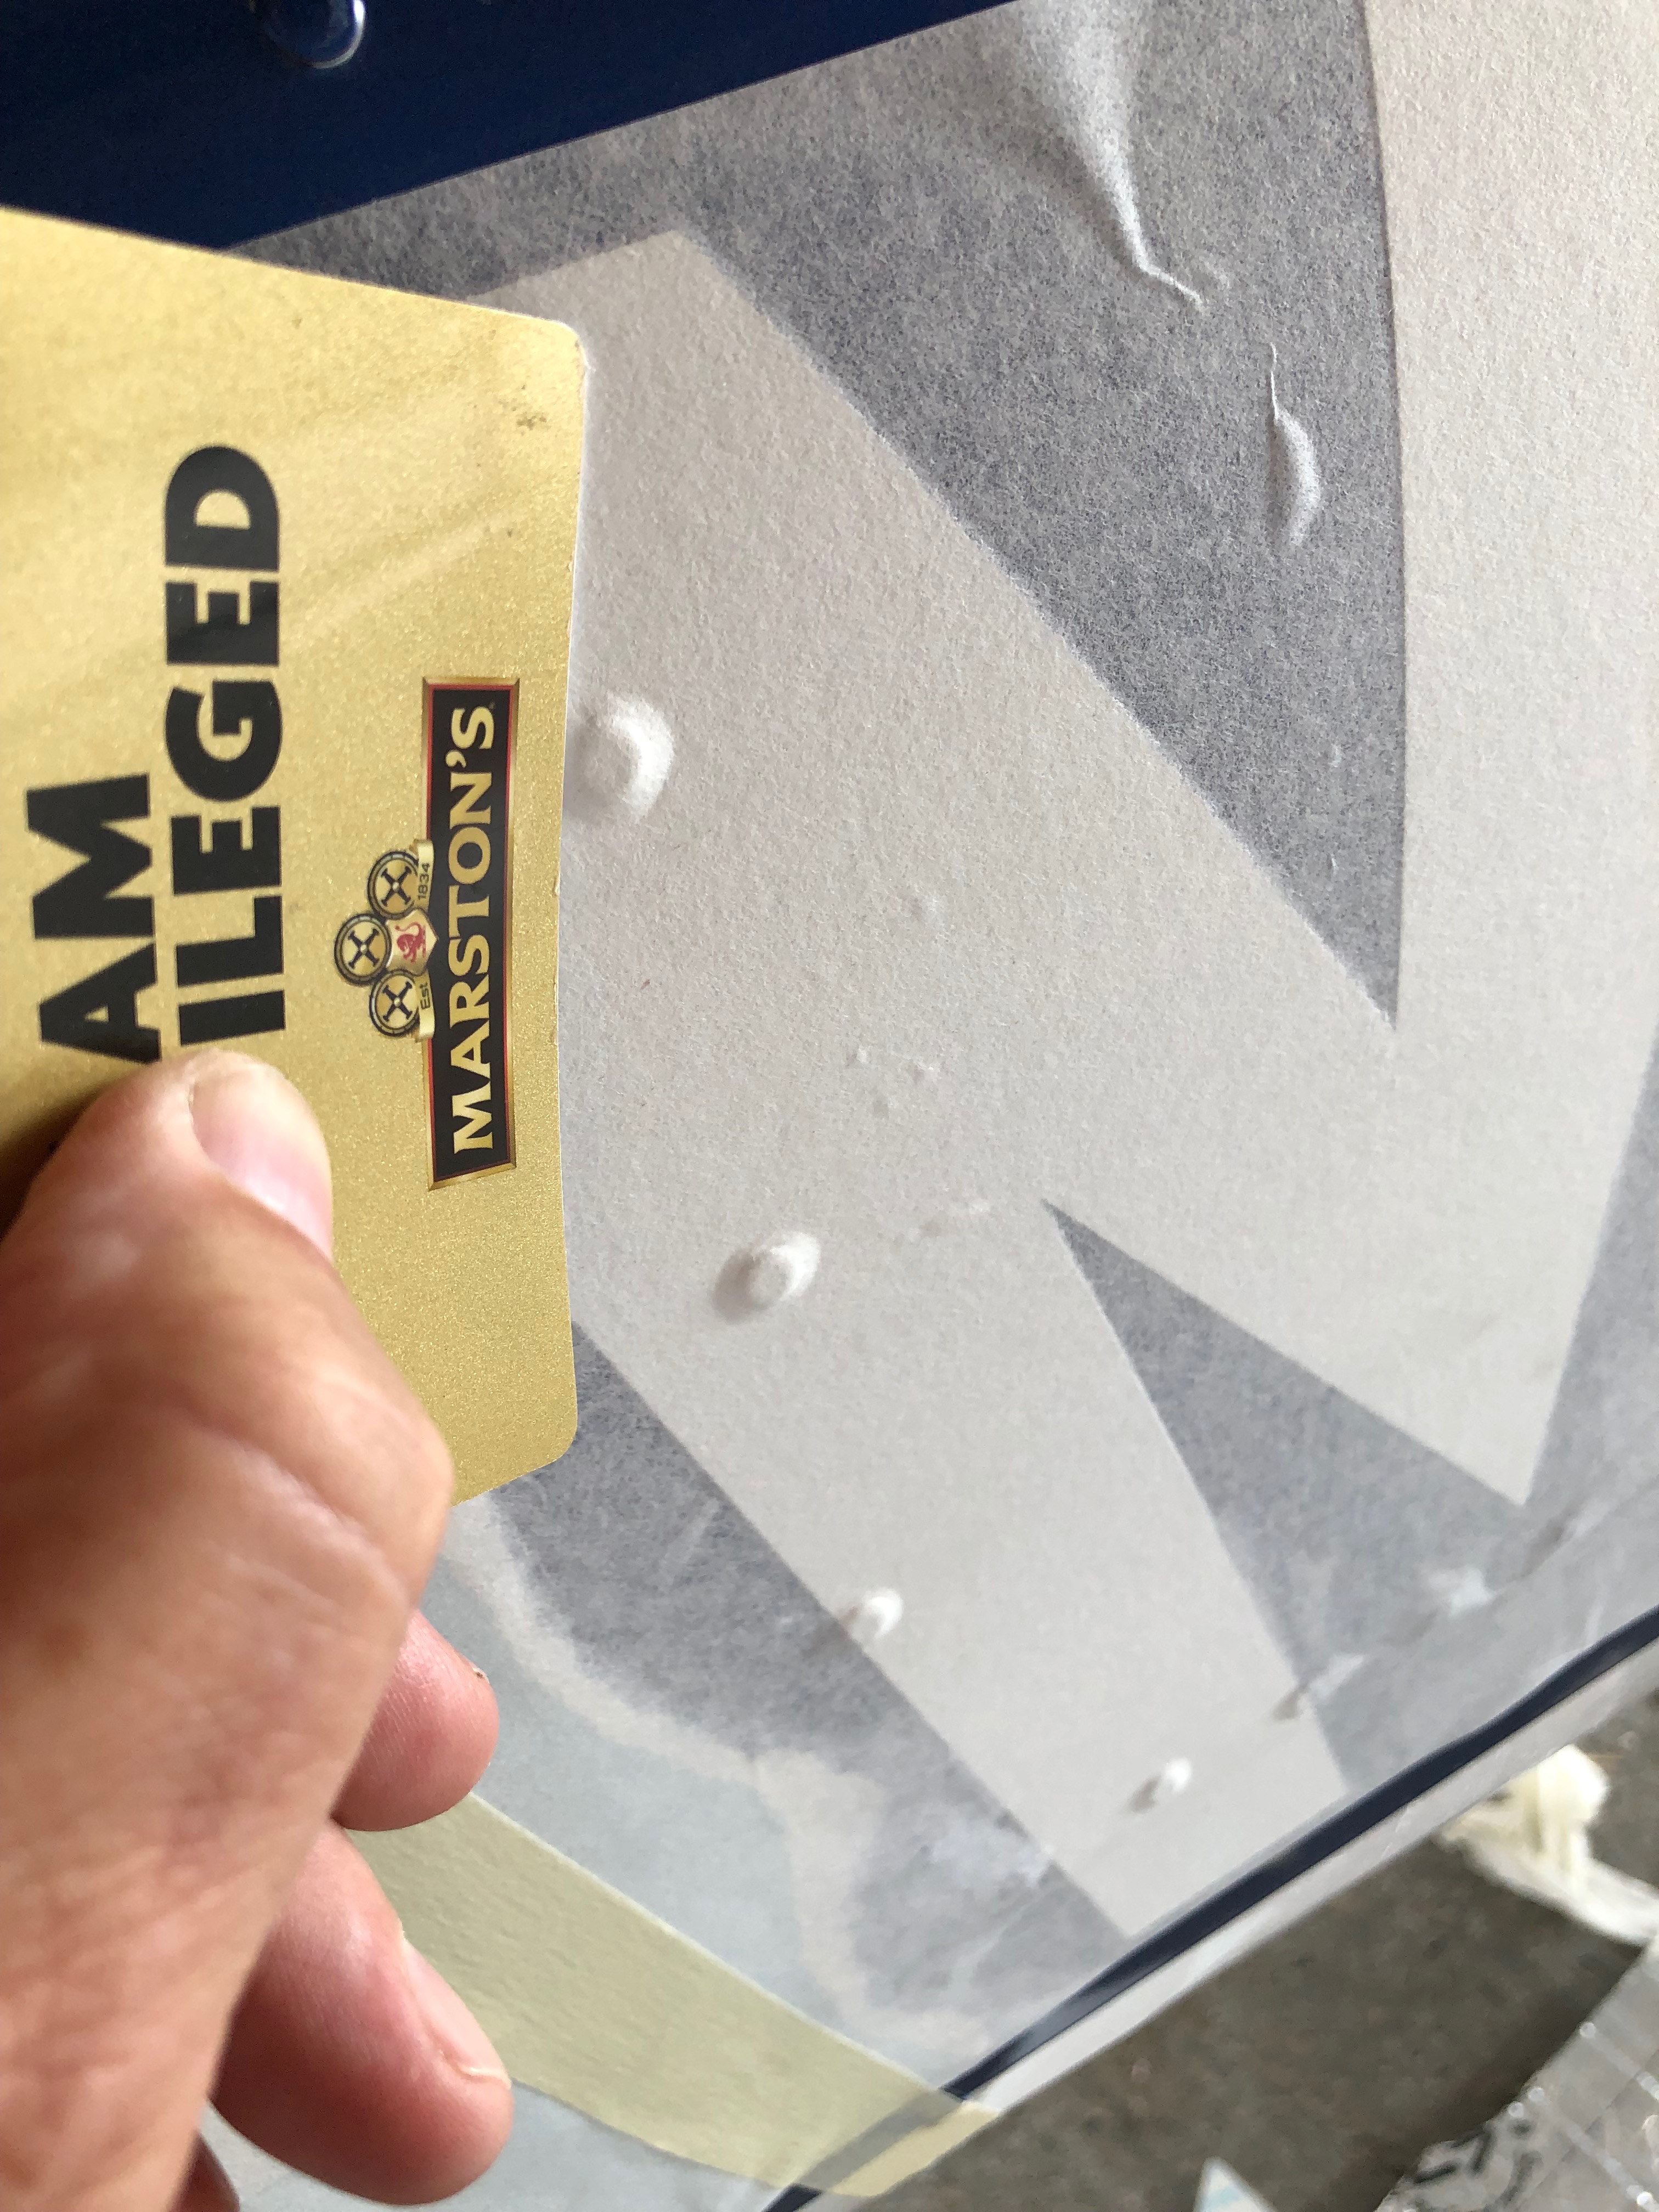
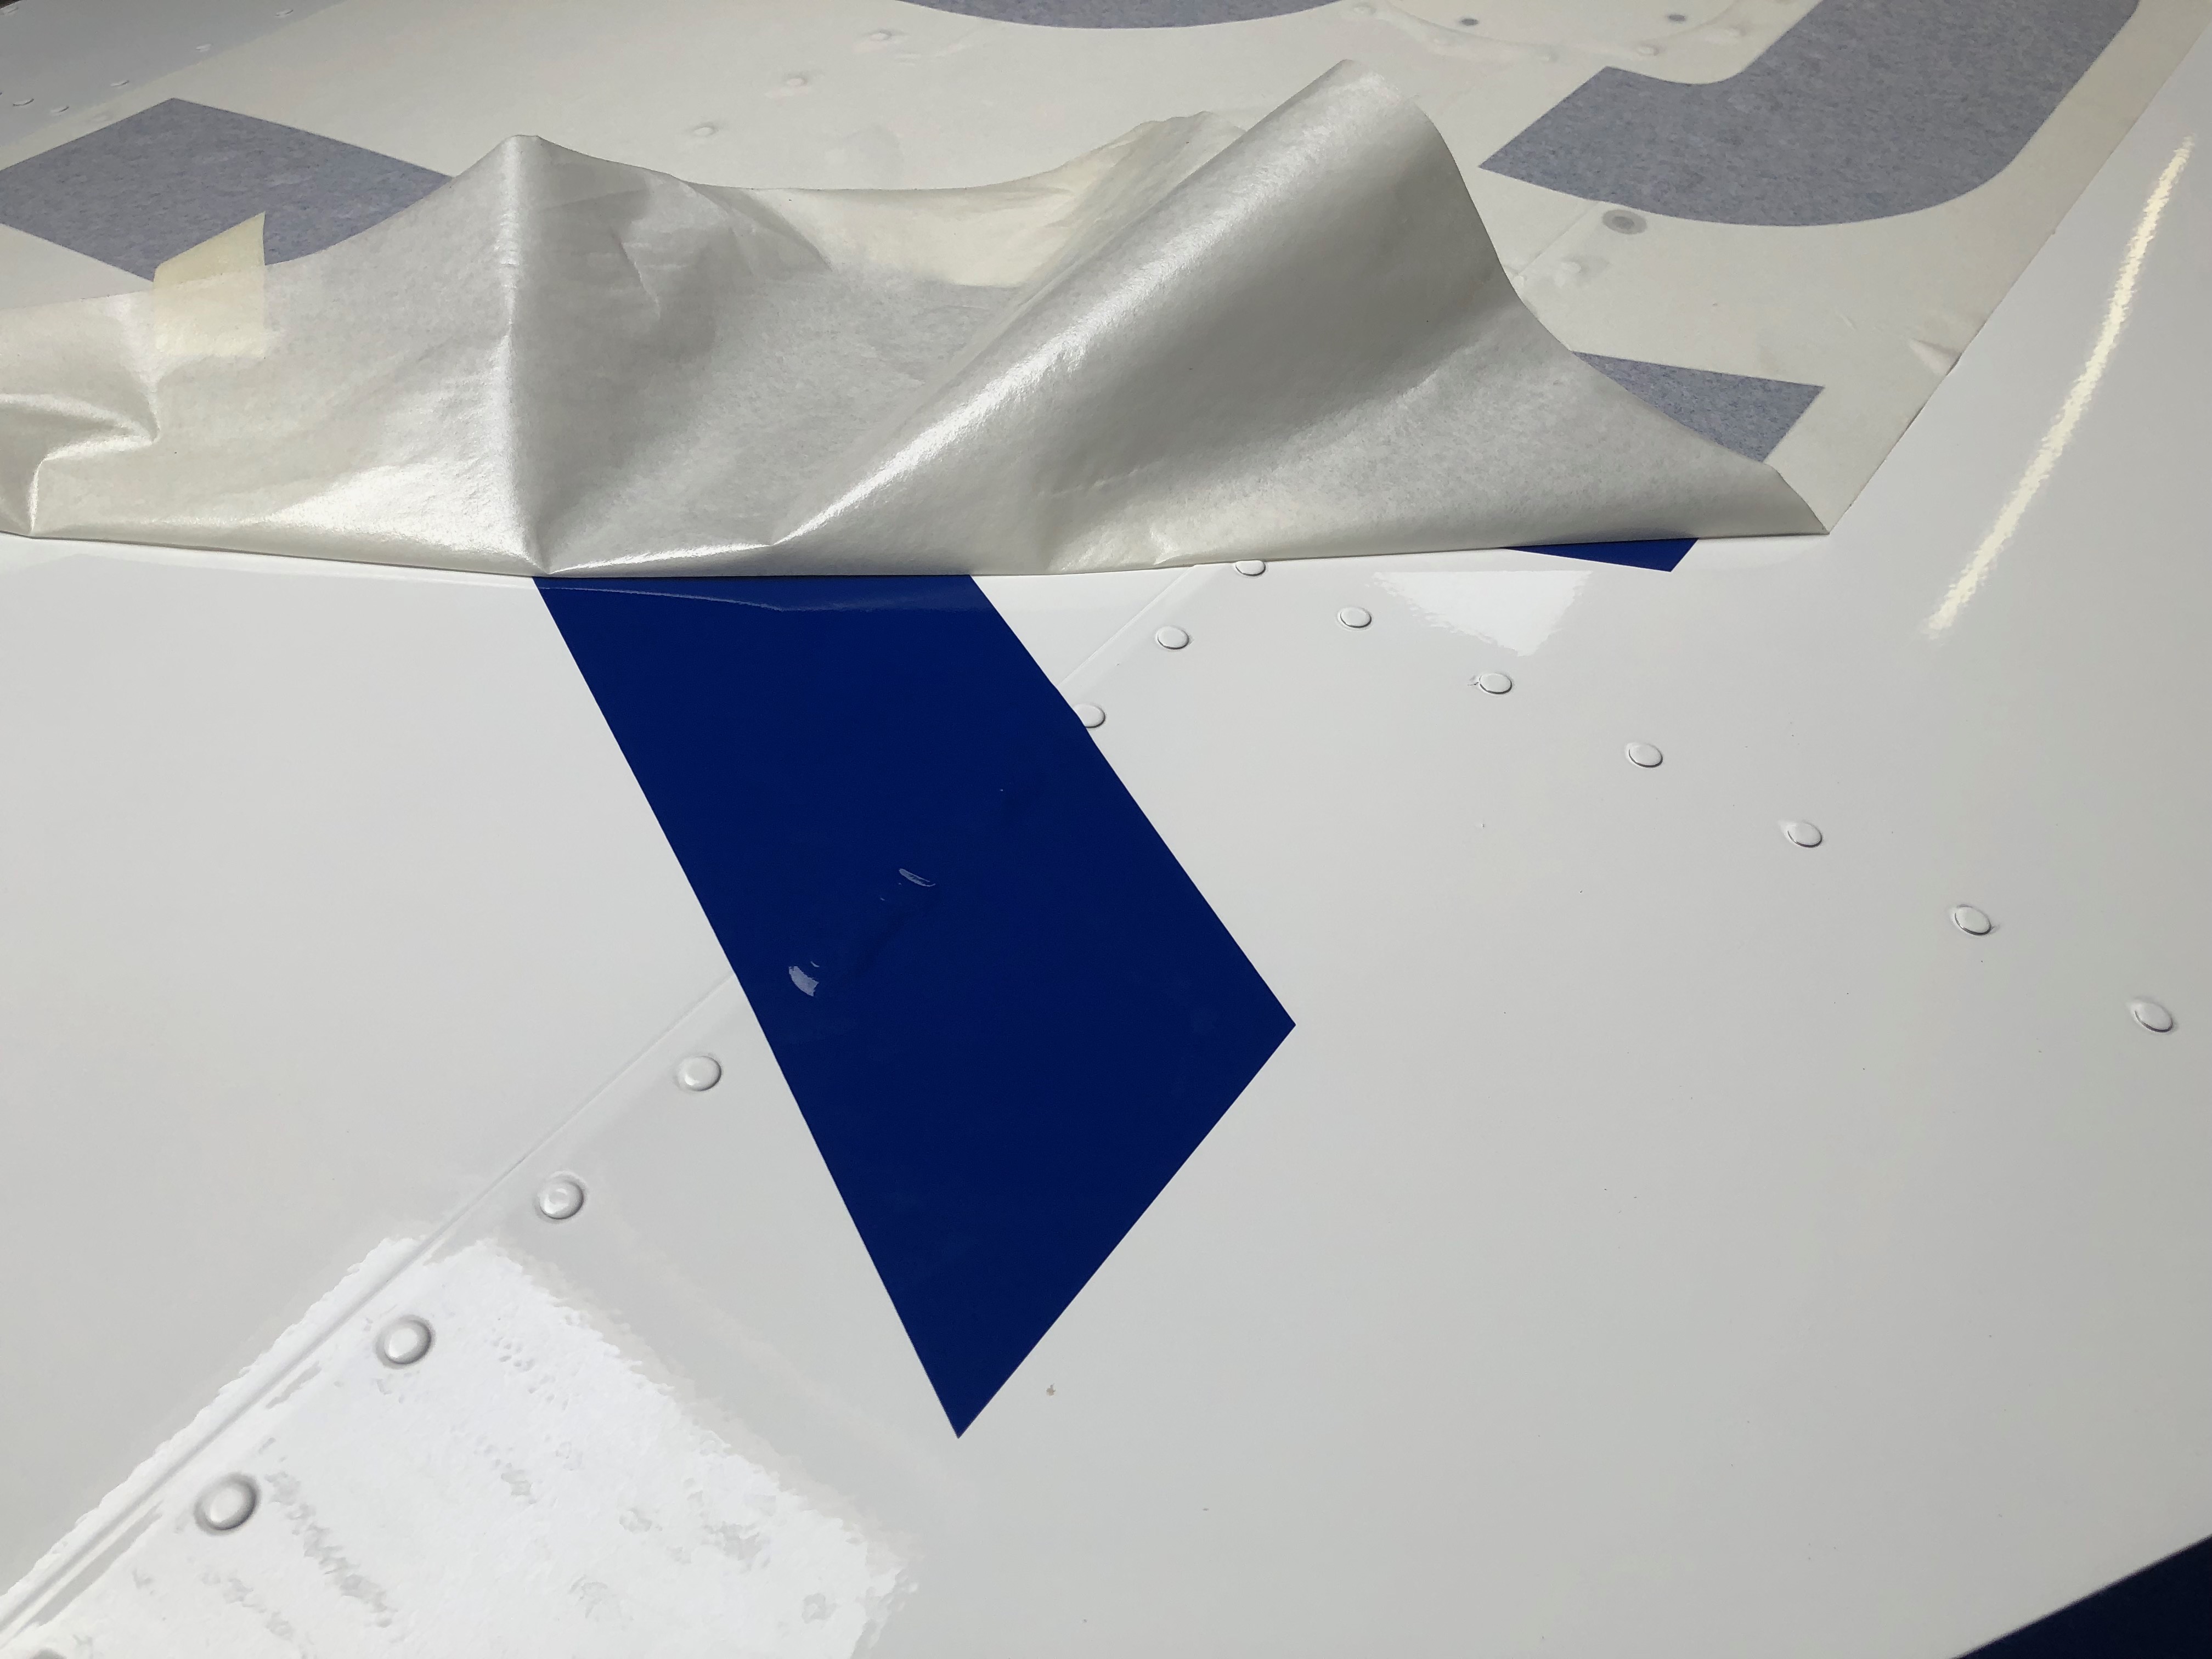
One of the first things that needs to be done is to polish the surface and degrease it will Panel wipe. During the polishing I found a number of flaws with the paint. Noticeably runs, areas where the paint is quite thin, a slight wobble in the paint line and some orange peeling. There’s not a lot of it but it’s a bit disappointing when you pay so much for a ‘professional’.After the polishing and degreasing the surface the registration is laid out on the wing, aligned and taped down. The paper is lifted to reveal the registration and the backing paper is cut away. It’s then laid back on the wing and…… pressed down. I used a plastic card to press the letters into place and remove any air bubbles.Once the adhesive has been given a bit of time to set the top backing paper is carefully removed.Now the MLSY part has been done I need to re-space the Hyphen and the G to eliminate the extra space.Job done. It looks quite good. What you can’t see from this picture is that there are air bubbles around each of the rivets so I’ll need to deal with them at a later date. Now I can refit the wings for the final time, I hope!
Music: Gerry Cinnamon, Stereophonics, The Libertines
6 months to the day since I took delivery of G-MLSY and it’s coming to the end of the build… but I say that every day to be fair. The next major stage is the testing and lots of paperwork to do and approvals to gain before it can fly.
A few people have dropped by to view how I’m doing and some have sent messages. All I can say is “Thanks”. It’s been a bit like a marathon and the support from those that have taken the time to visit or send messages is very much welcomed and keeps my motivation topped up.
I’ve decided to use the light function on the switches so each switch require an earth lead to be attached to the third contact to enable the function. It required a bit of back tracking but was fairly easy to do. The wings need to come off again so Ian is called to action again helped by Pete Sharpe I need to run the fuel level sensor wiring in, polish the wings and apply the registration before refitting for the final time. When I arrived home the stainless steel ID plate and Radio licence had arrived ticking off another couple of items from the list of Admin that accompanies the build.
Following the build of my Bristell NG5 Kit No. 382 Registration G-MLSY