Category Archives: Admin

Wednesday 11th March 2020 – Transducer Testing

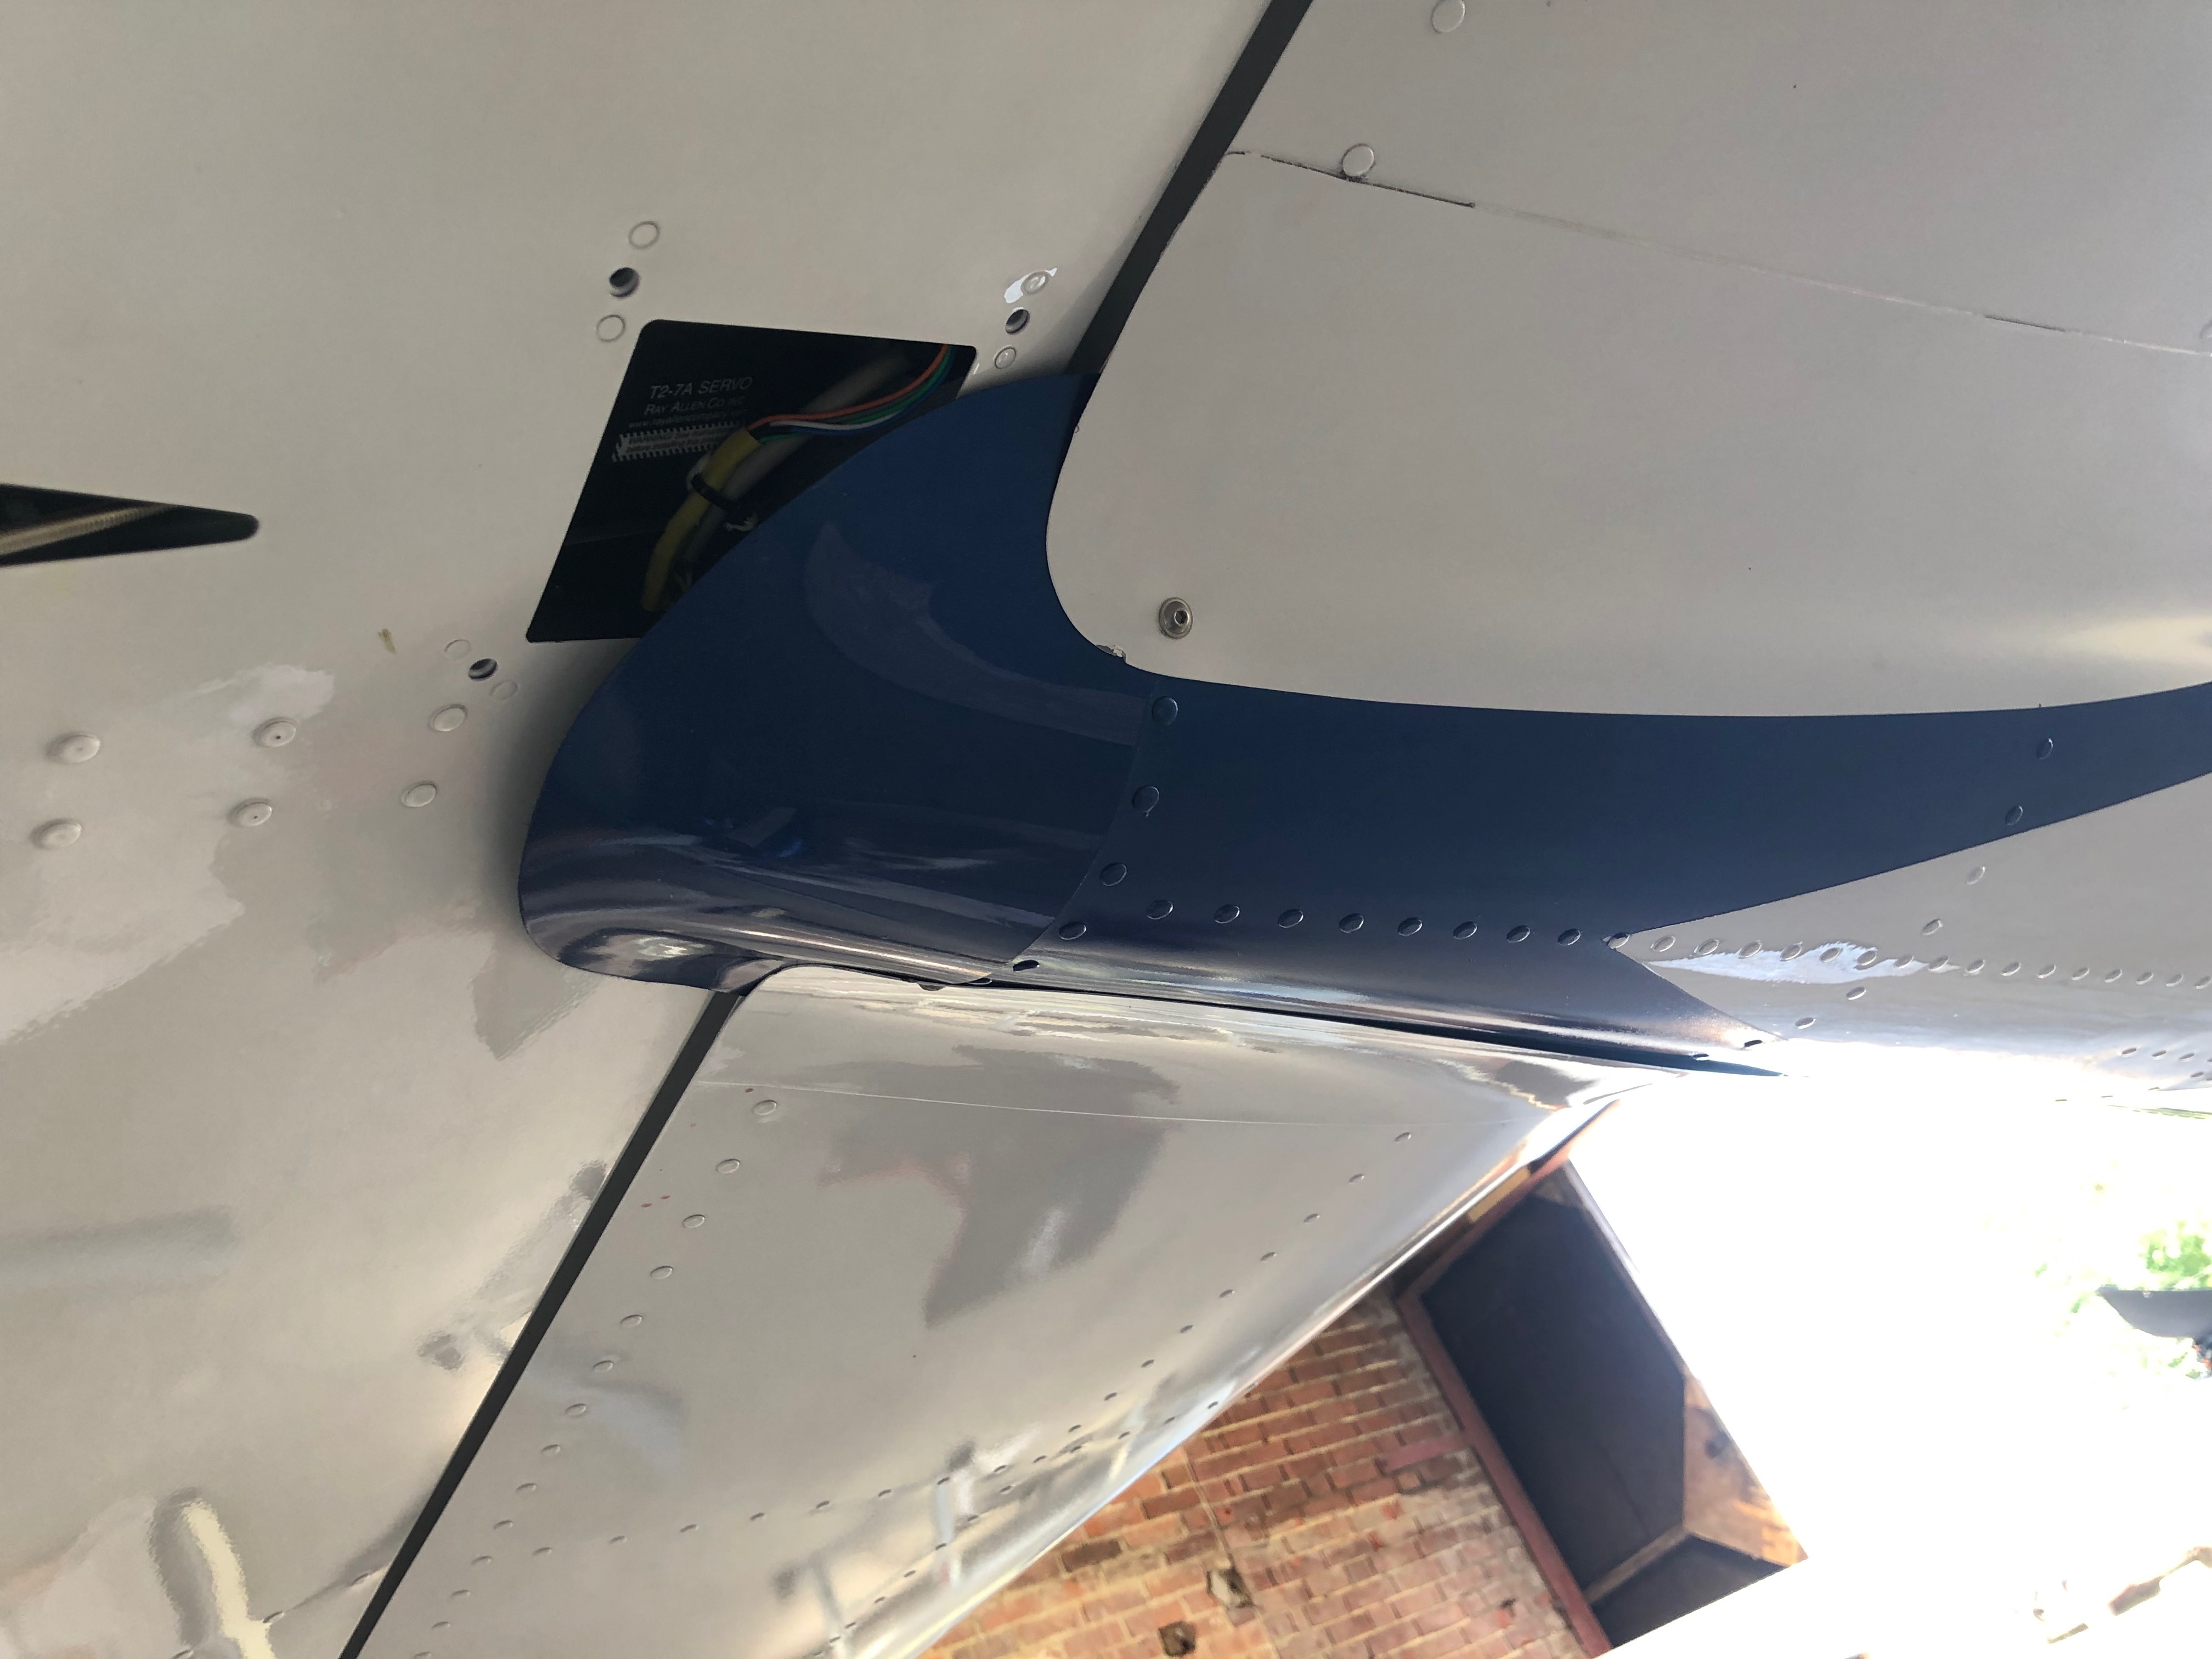
Back from Vienna just before Corona Virus closed all borders! With the transducer installed before I went away I rechecked the installation and carried out pressure testing to ensure there’s no leaks and all seems to be secure.

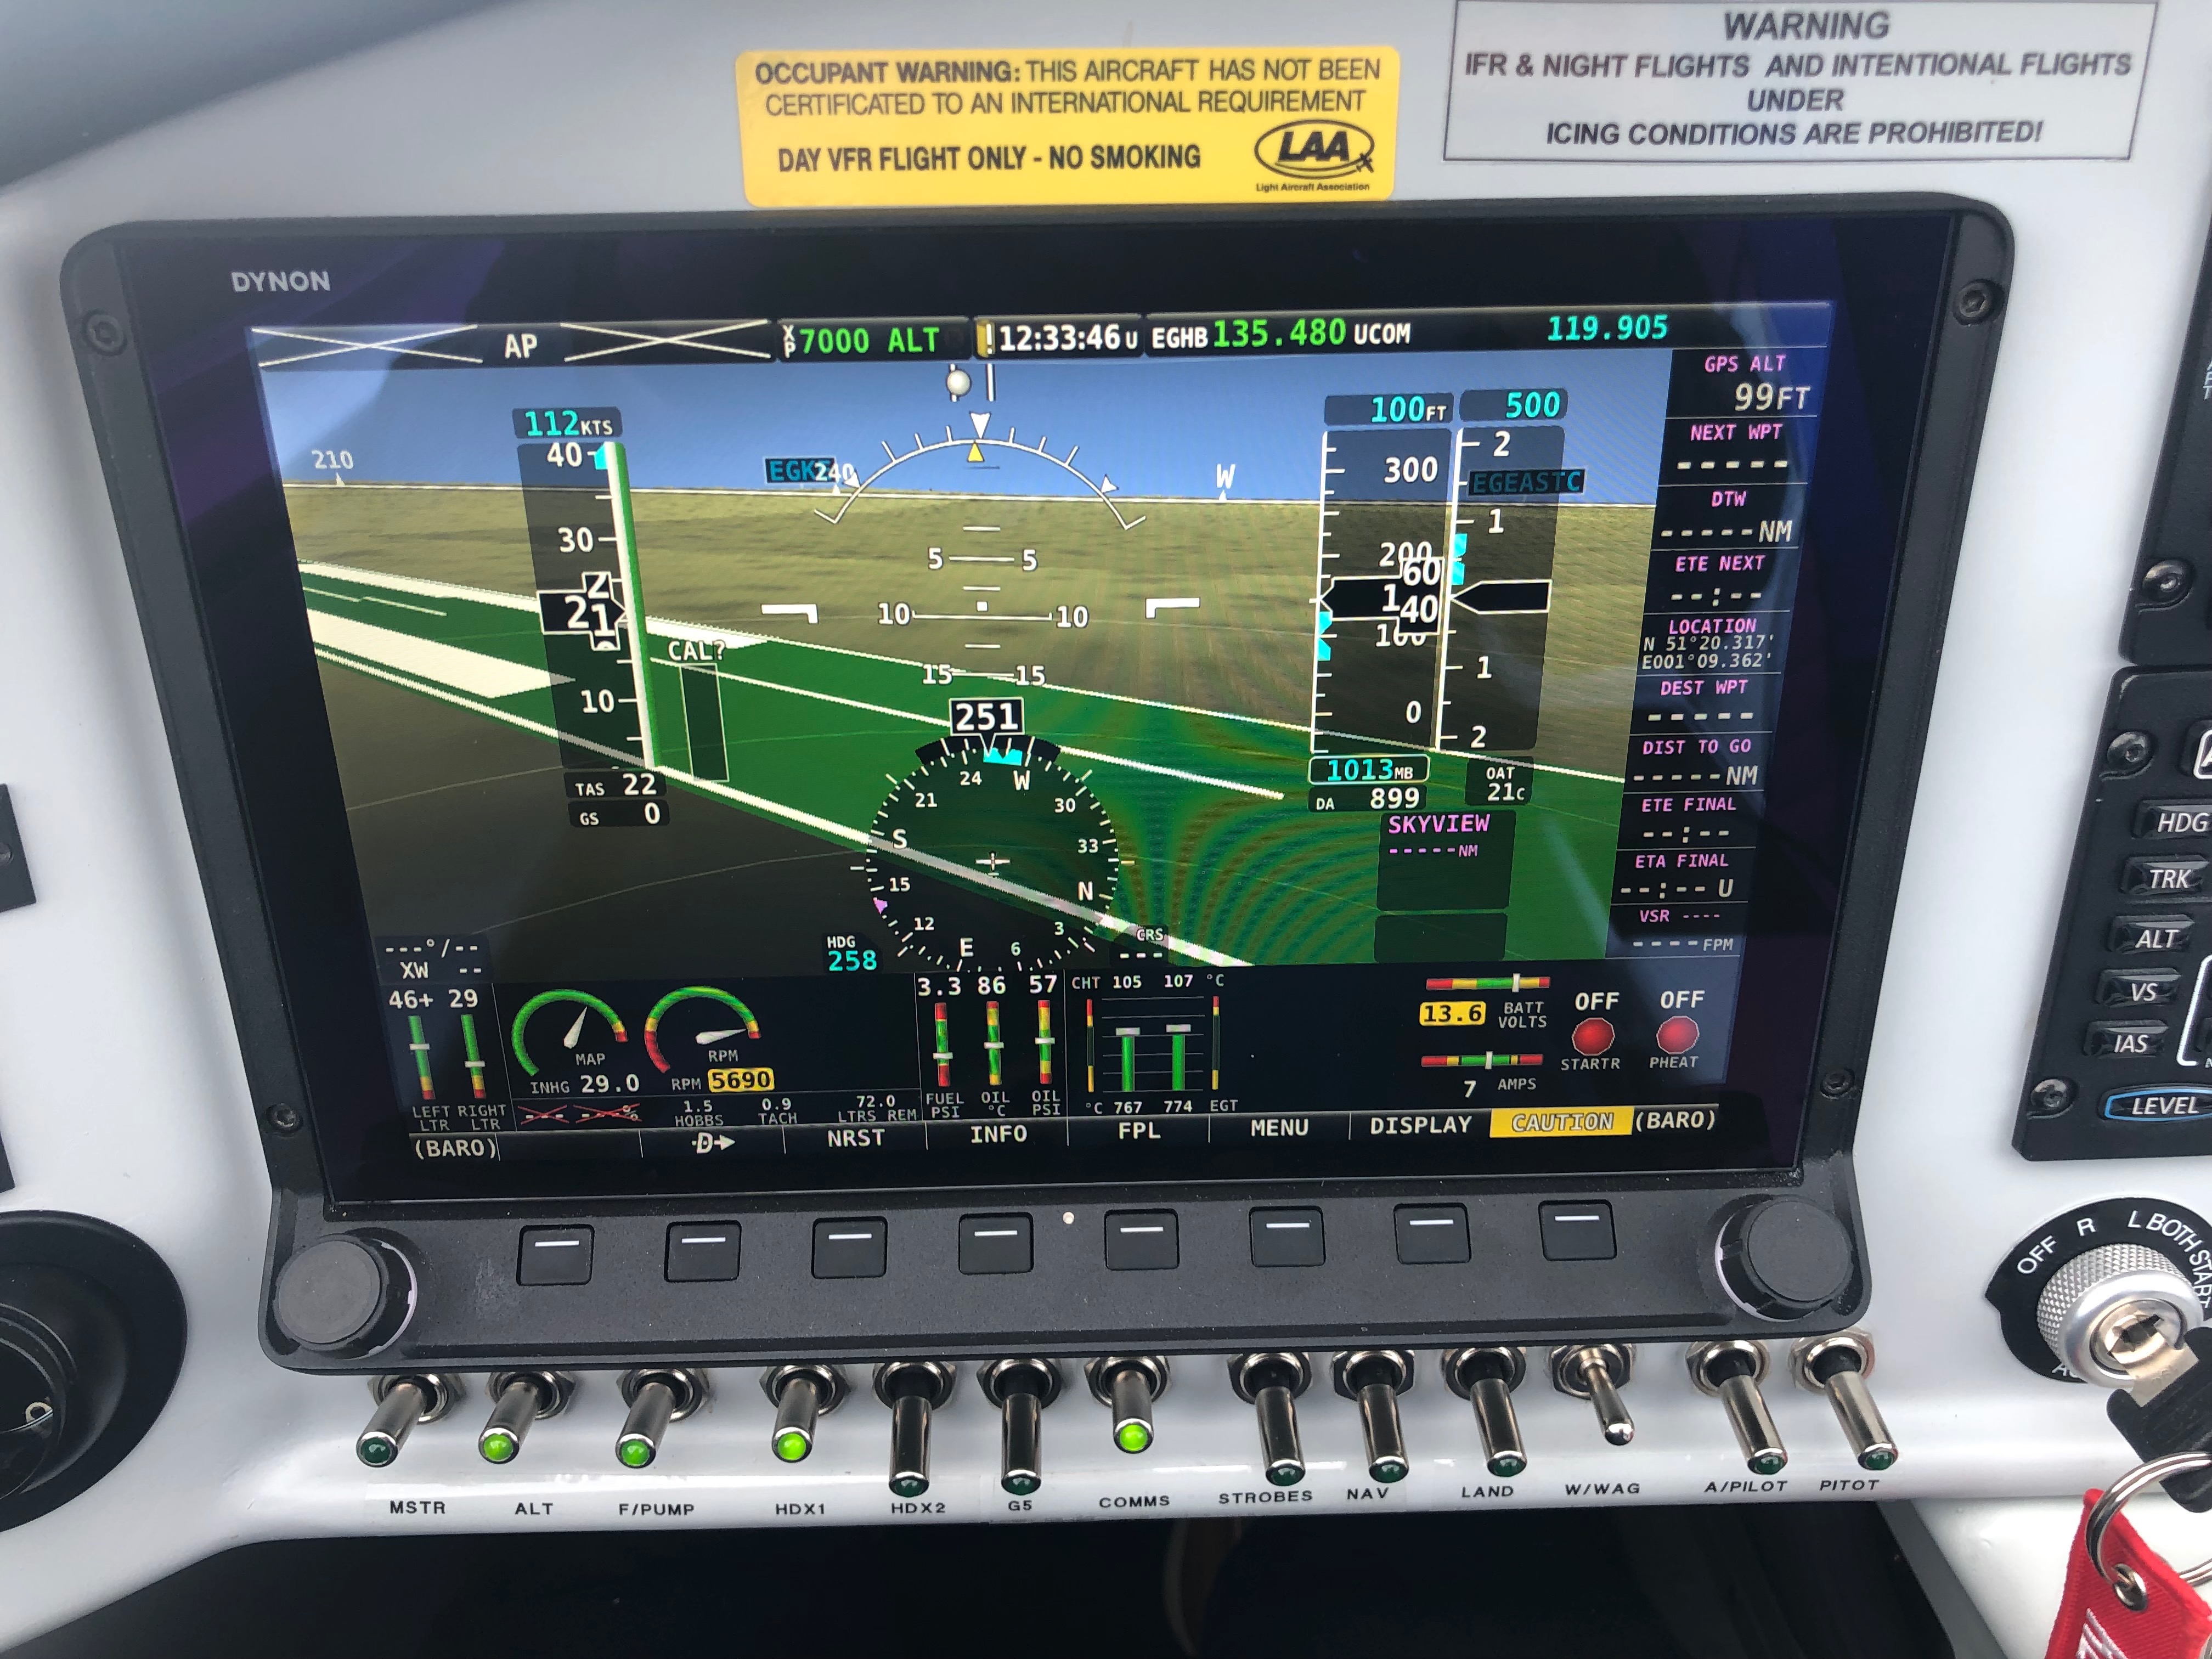
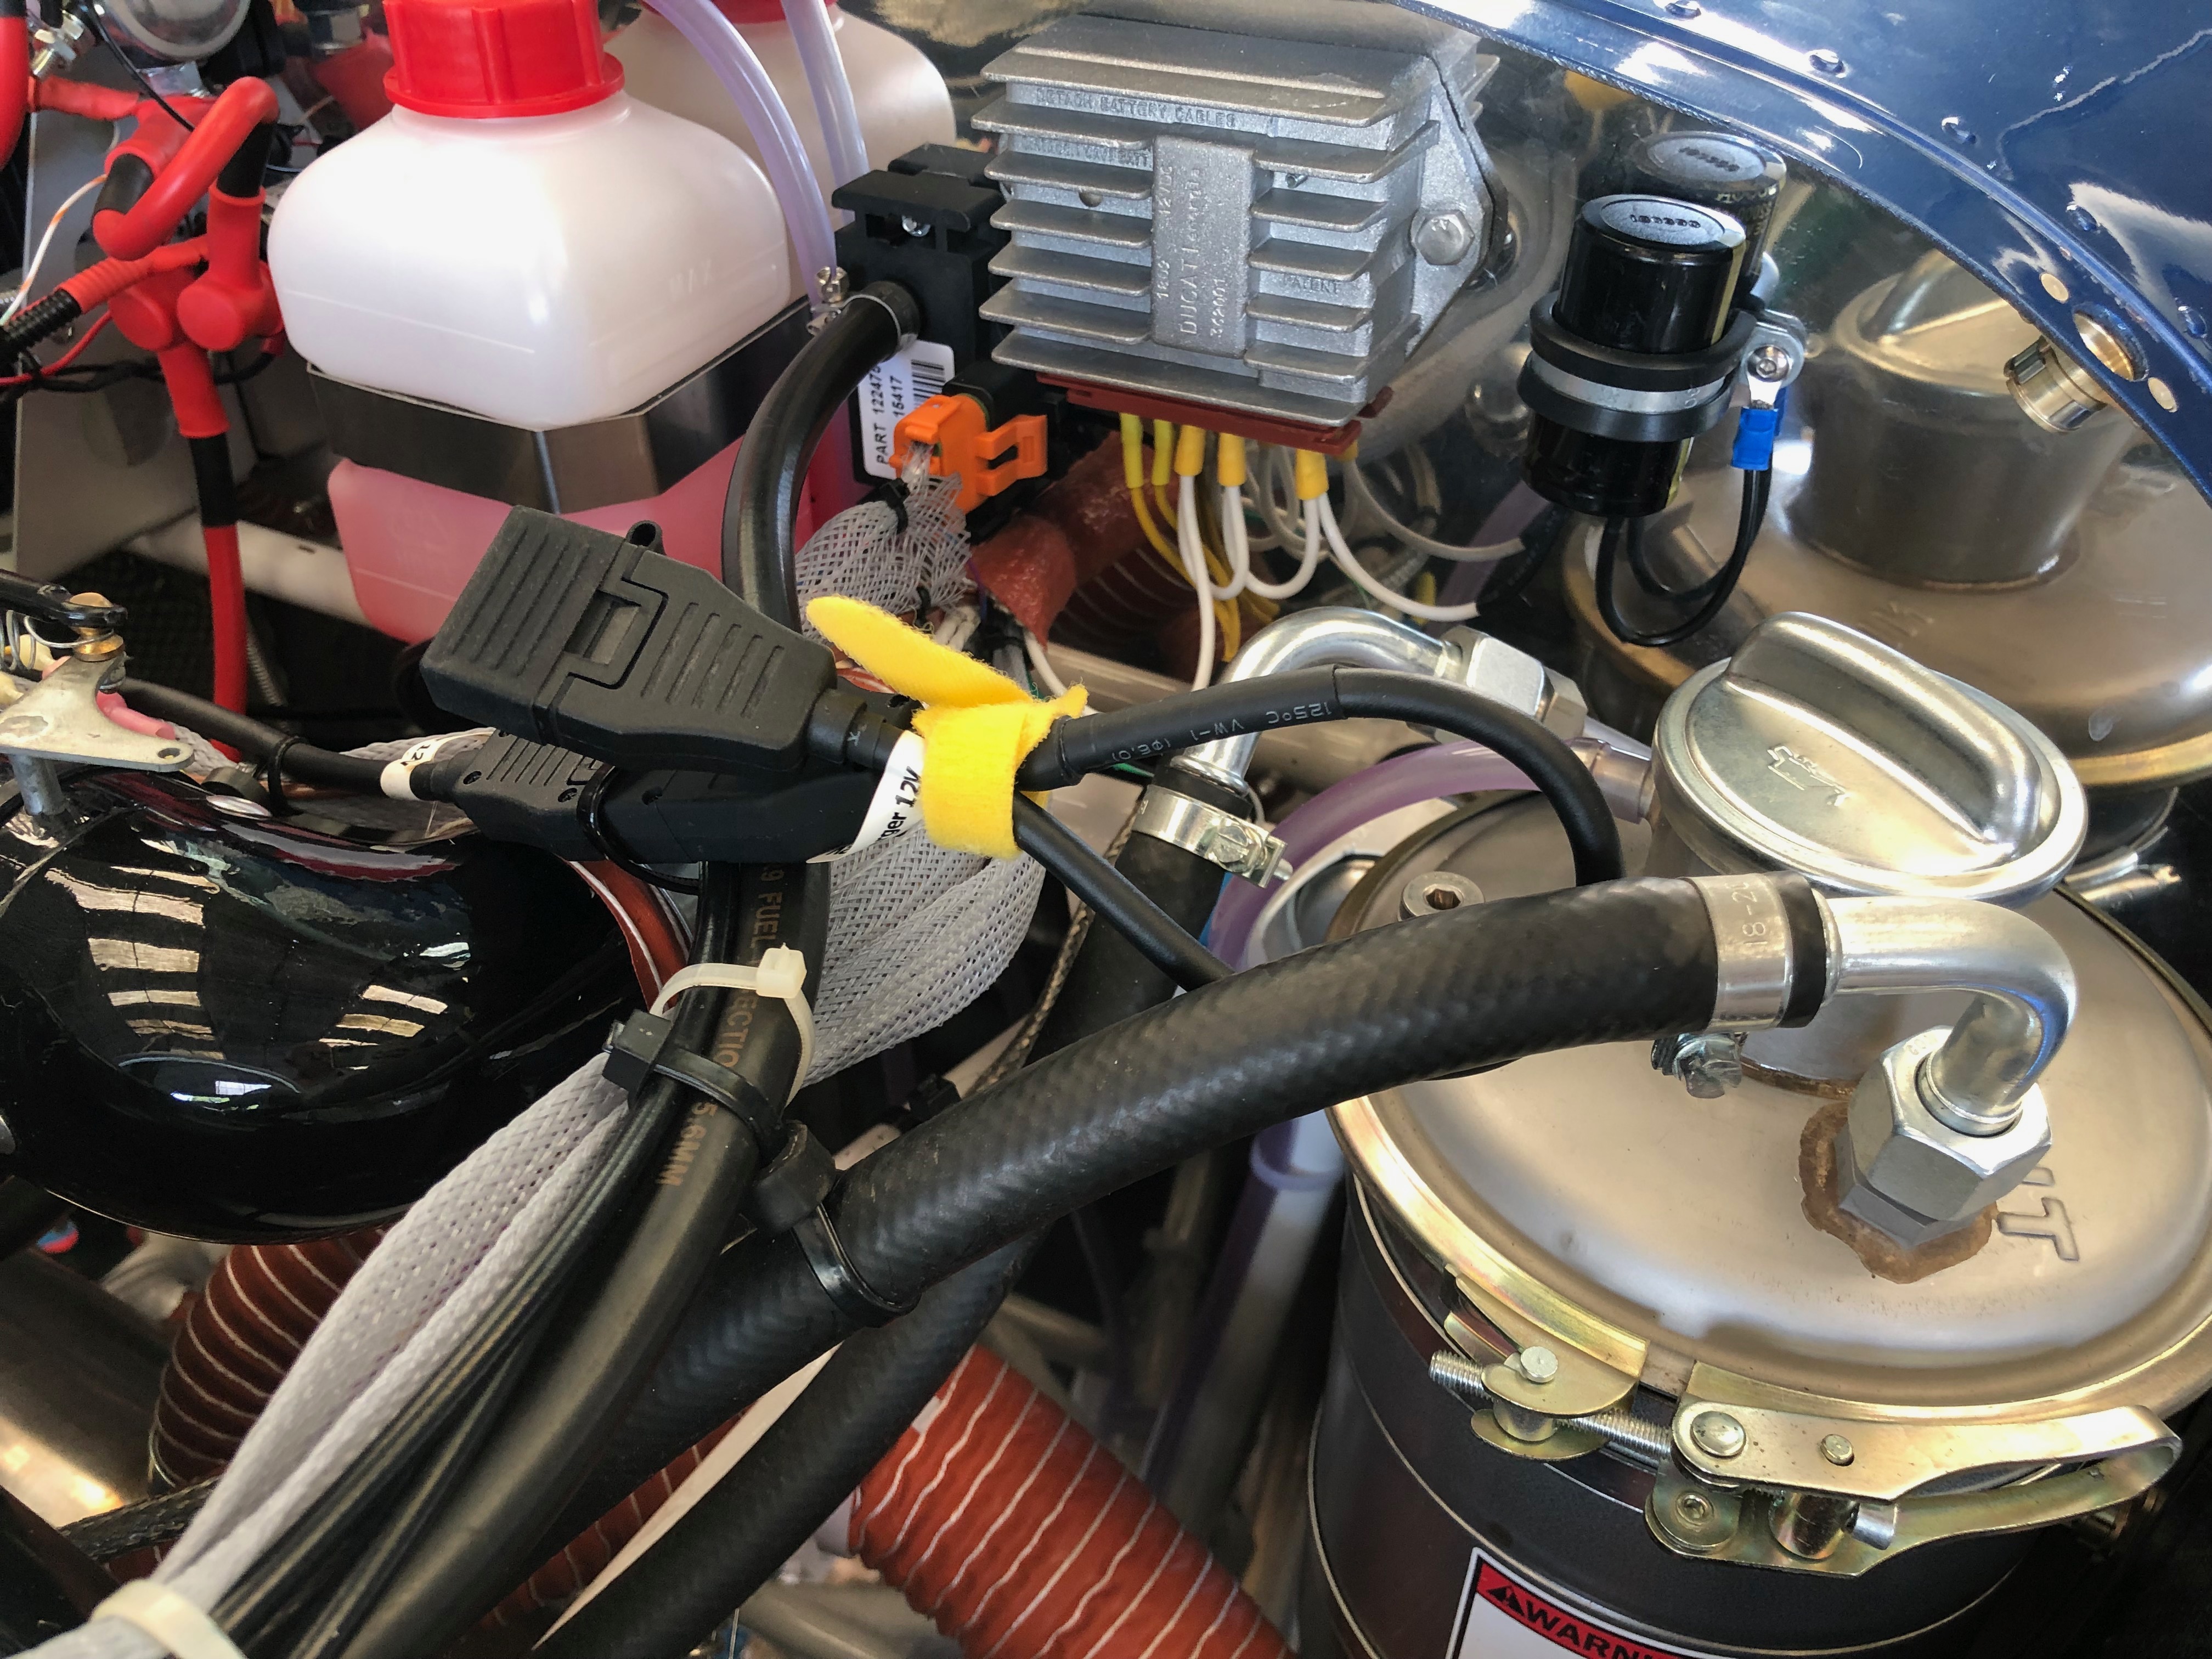
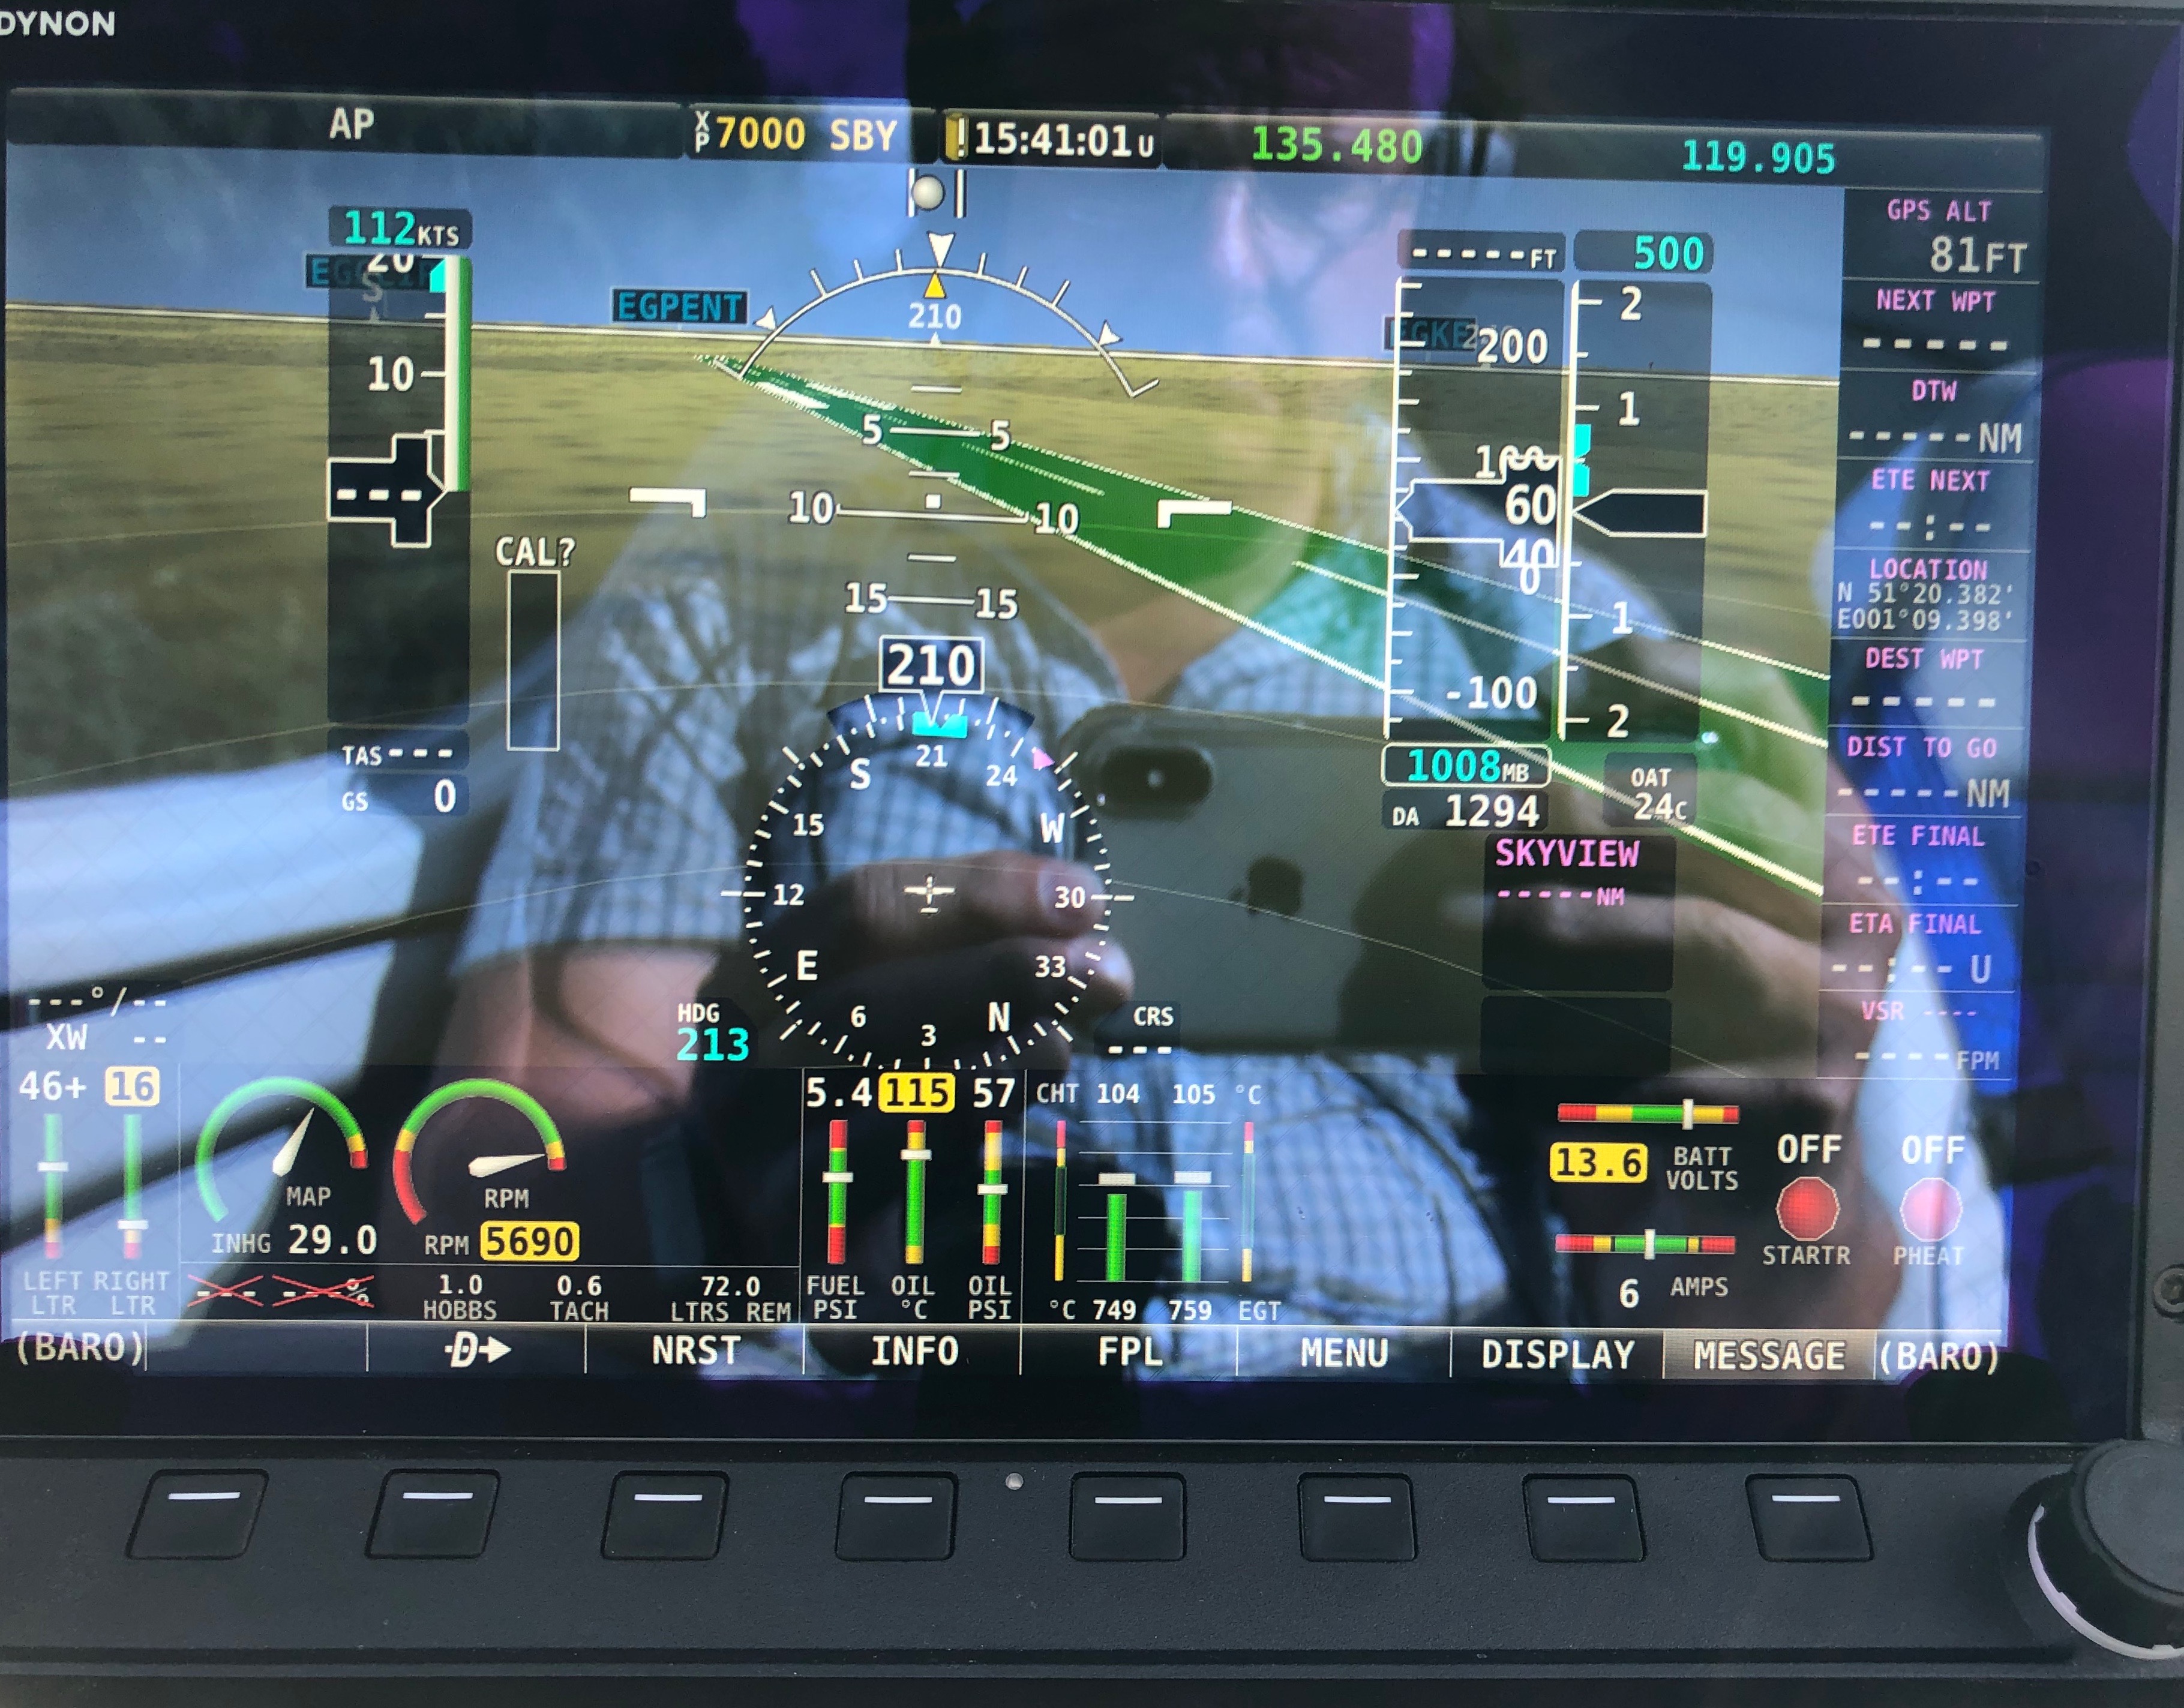
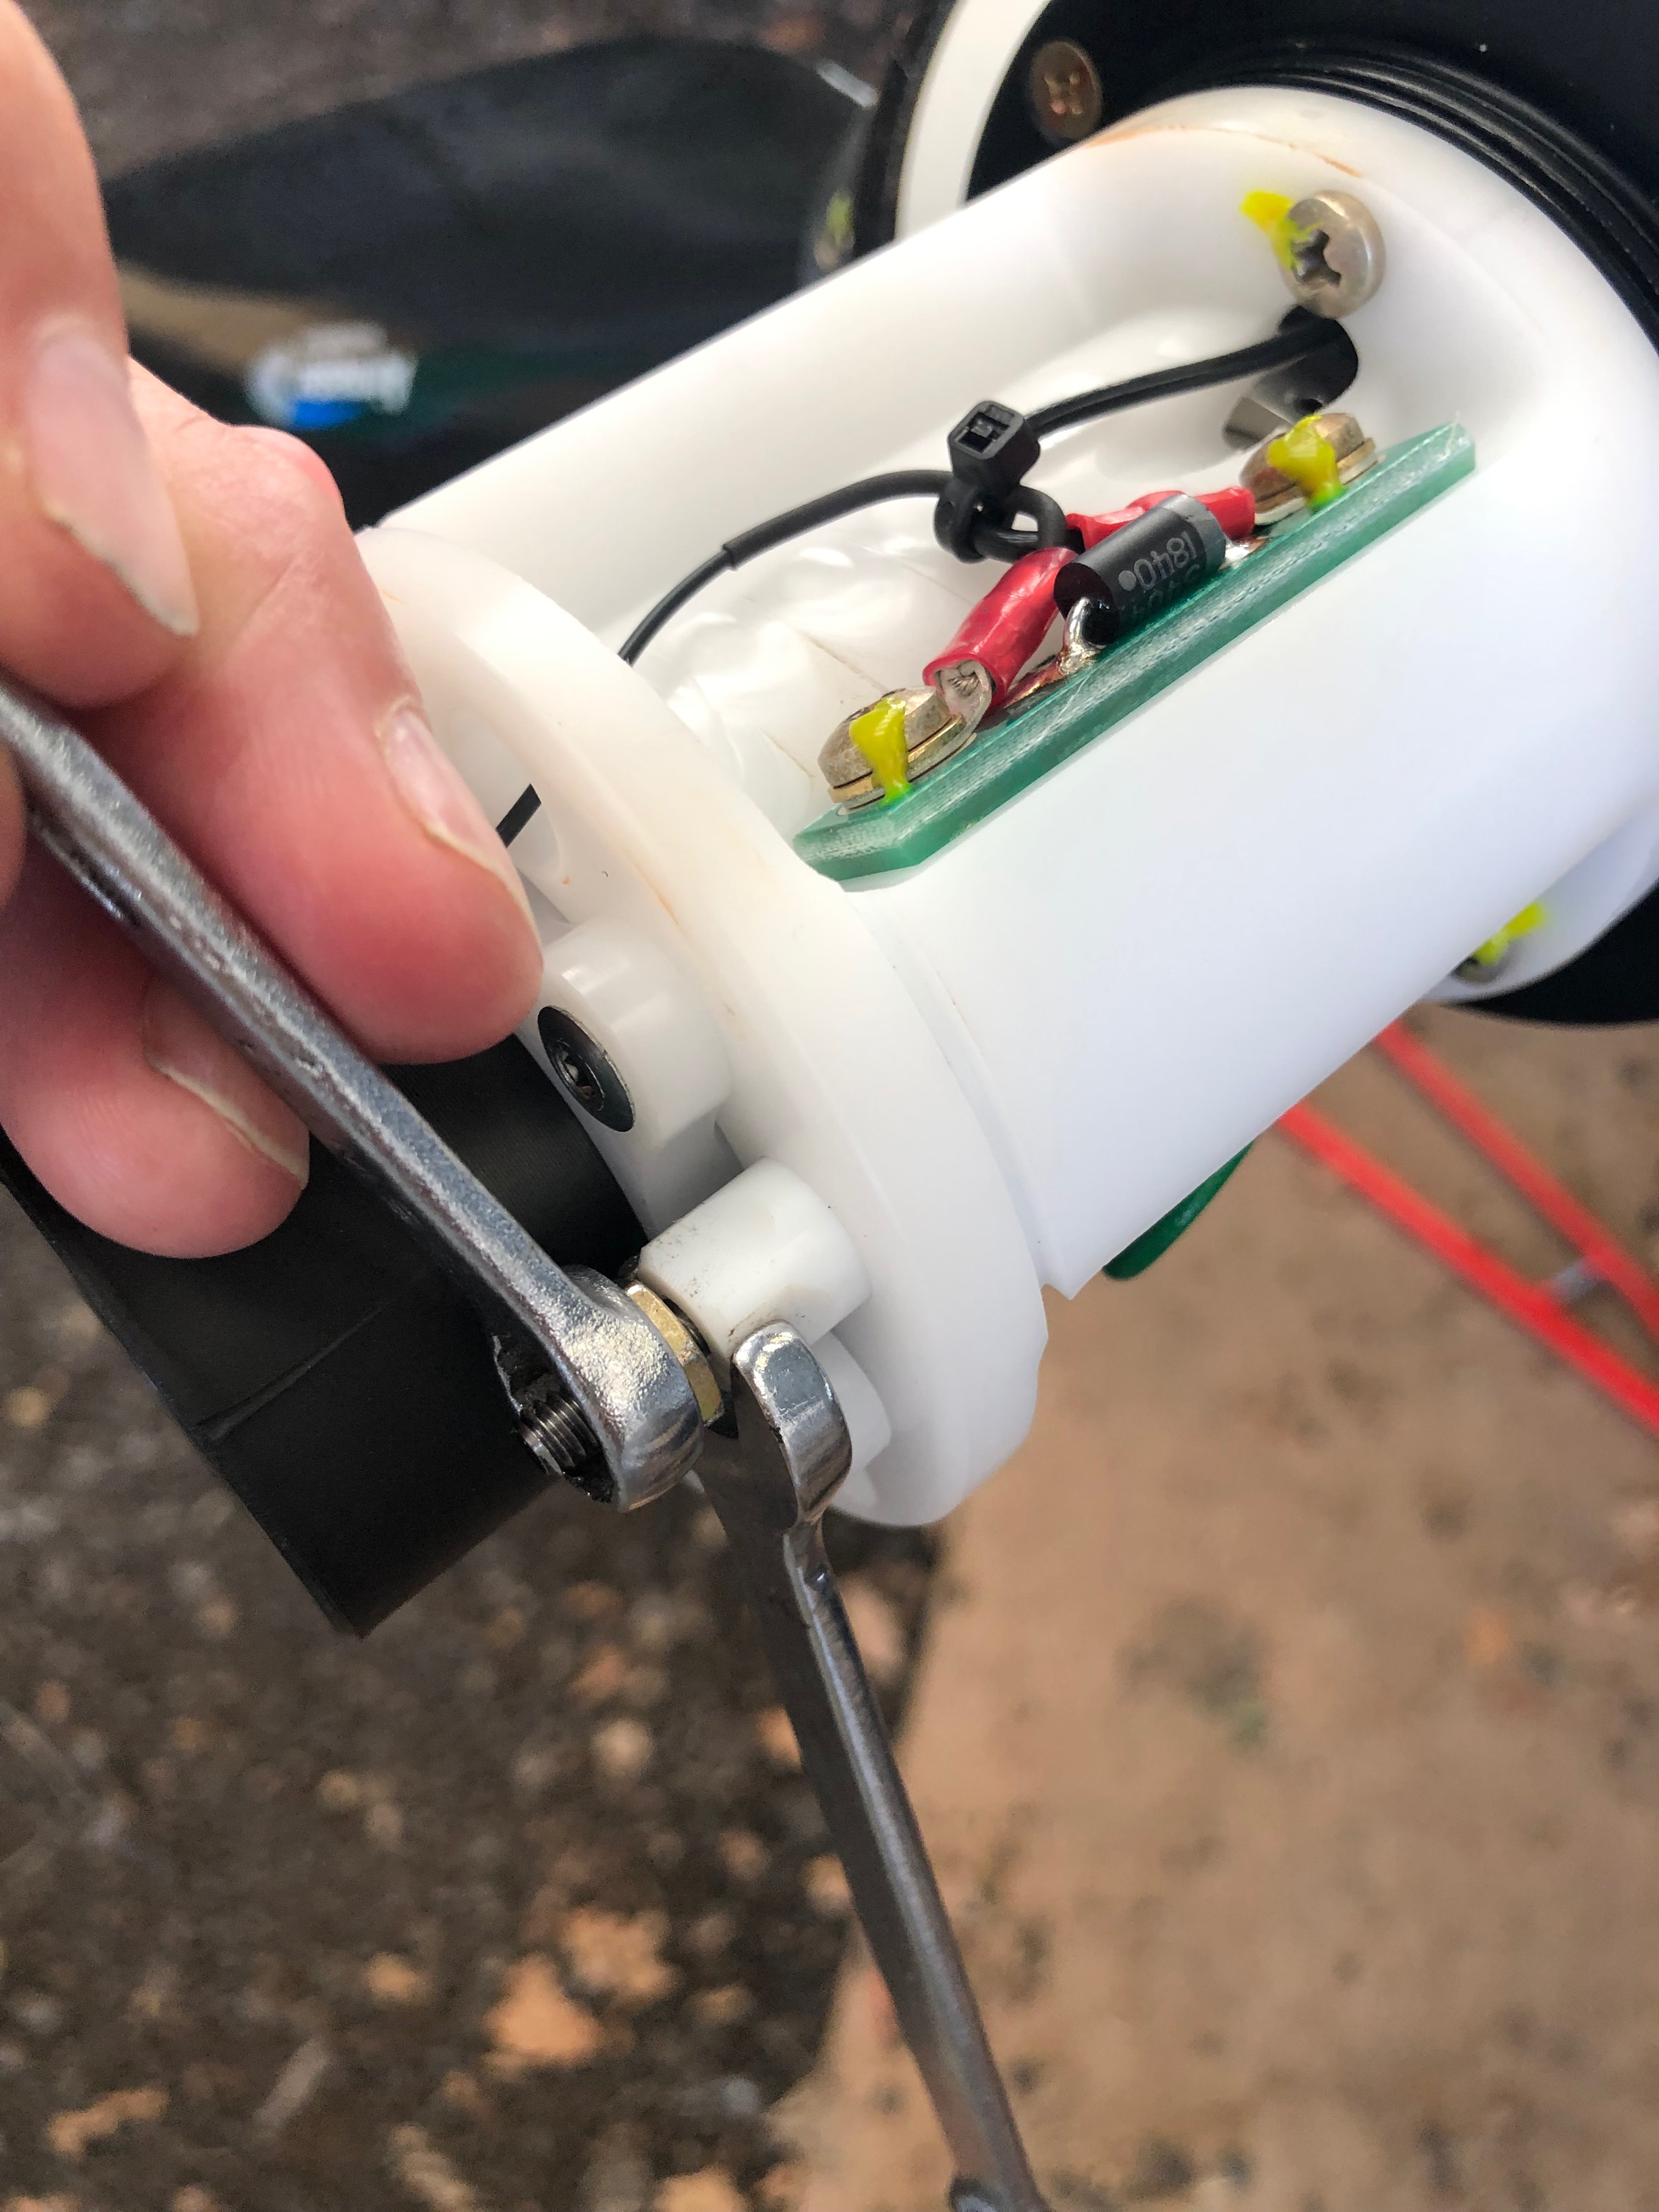
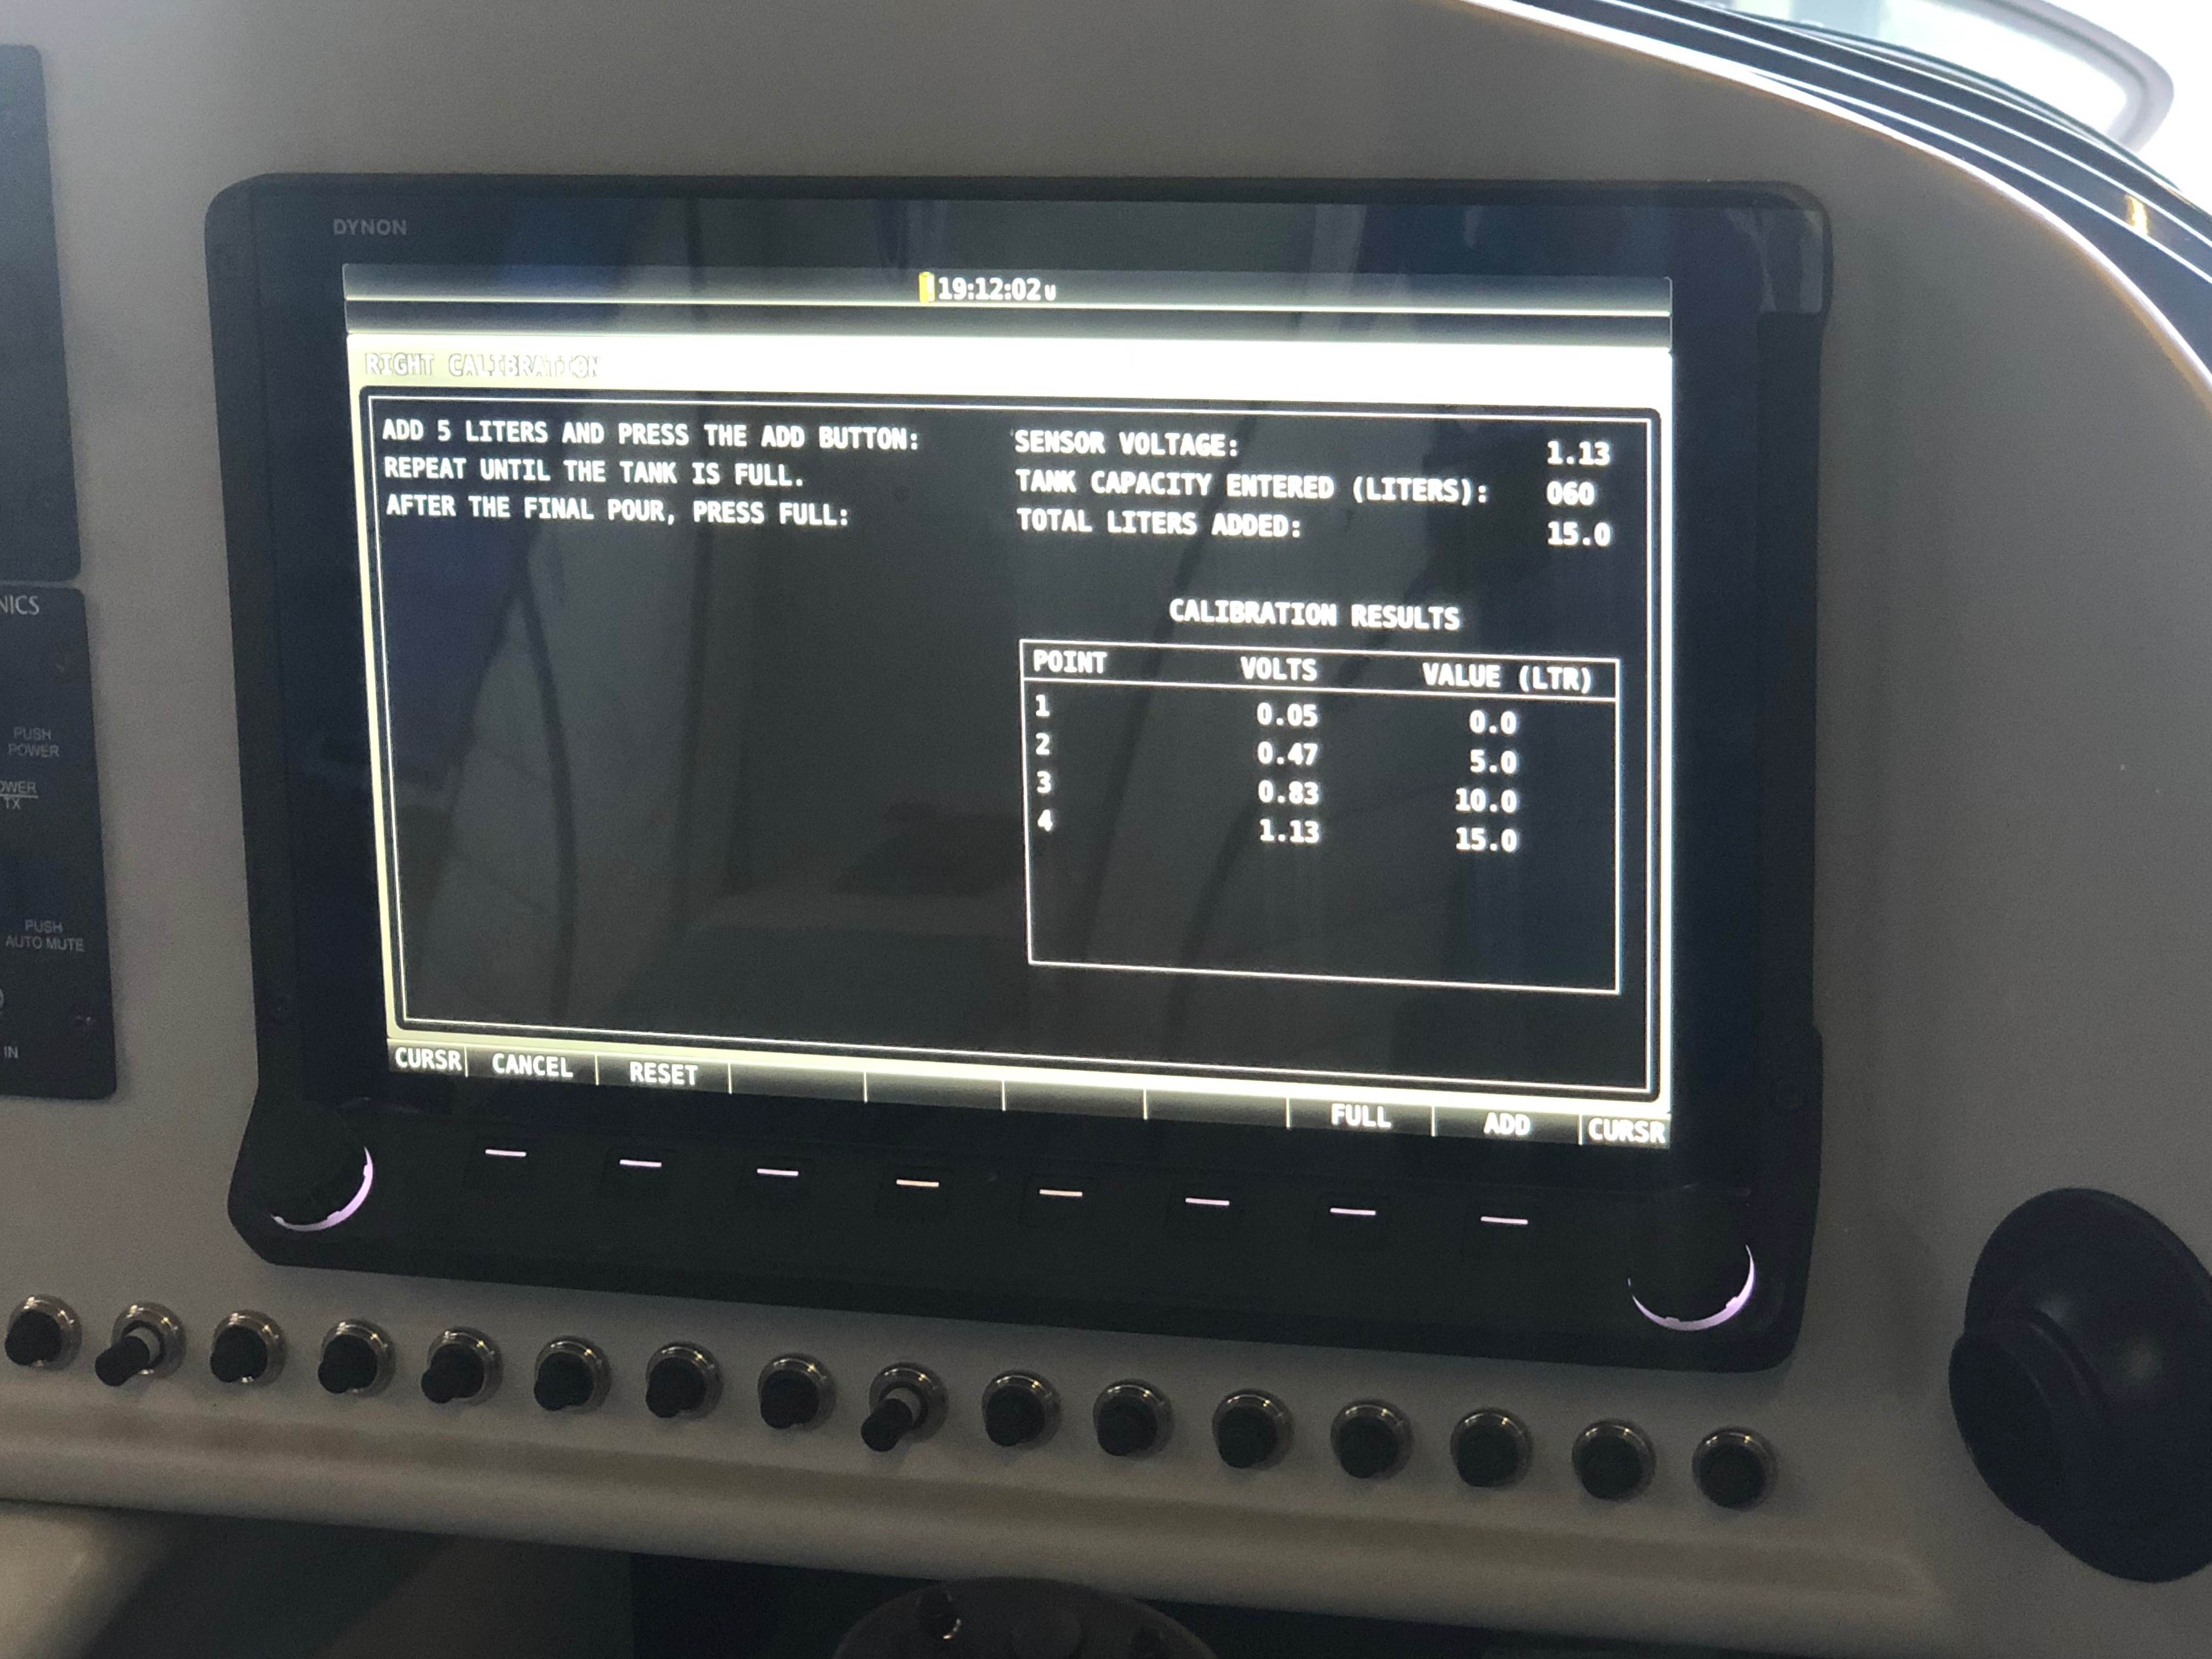
Wiring up the transducer into the EMS220 is straightforward using 3 wires, a 12v supply, signal and ground. The SkyView panels need to be configured with the ‘K’ factor of the FT60 unit. This is the number of rotations per US Gallon. Entering the config screen I found that the SkyView had already detected the unit and configured itself which was handy.

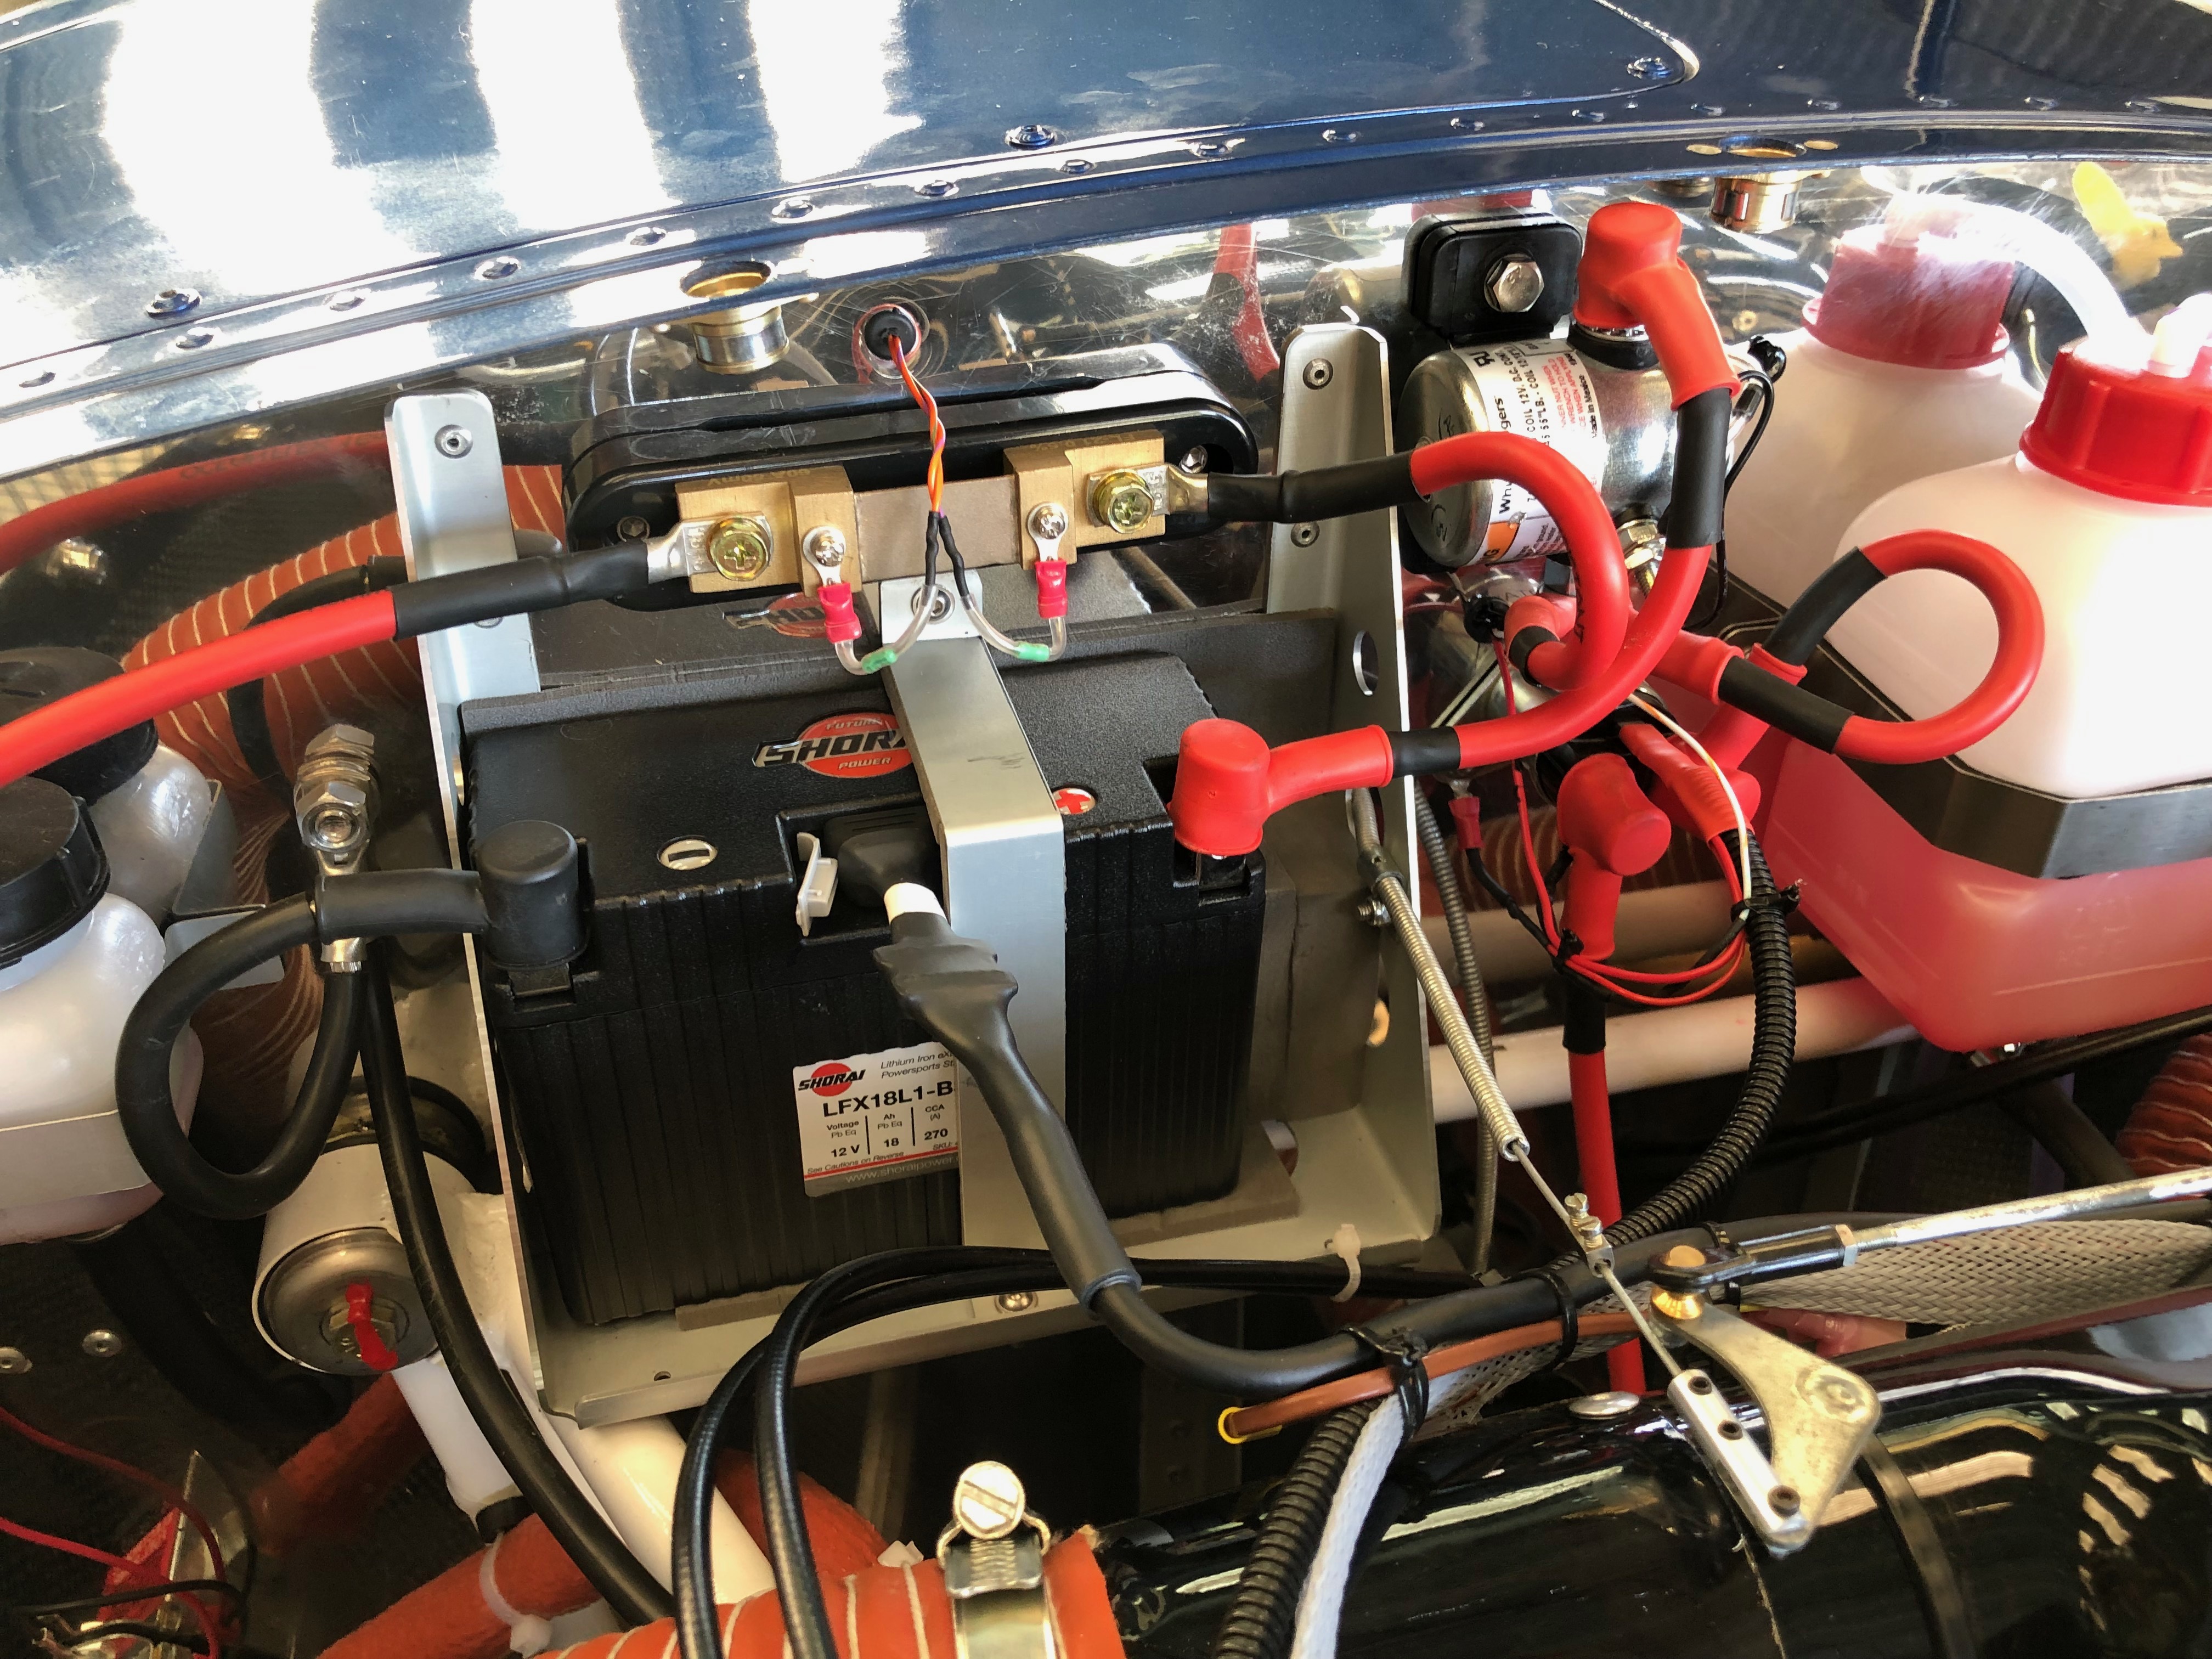
Once configured a check needs to be carried out between measured and actual fuel flow. I removed one of the banjos from the carb and captured the flow in a measuring jug to carry this out. With no restriction the electric fuel pump delivered 66 litres per minute and when restricted to give 3 psi within the fuel system the flow rate was 44 litres per minute. This is significantly more than the 27 rpm that the engine needs at full throttle.

Testing throughout the RPM range was carried out switching between left and right tanks and using the engine pump and engine and electric pumps options to ensure there were no issues with fuel supply.
After the engine runs a thorough check of the installation was made to ensure there were no leaks or issues.
All’s fine so now for the paperwork for the LAA.
Worksheets covering the work carried out and a fuel flow check form needs to be completed. A suitable entry needs to be entered in the Airframe logbook signed by myself and a permit maintenance release needs to be signed off by and LAA inspector with the appropriate authority, in this case Ian Daniels.

Monday 28th and Tuesday 29th October 2019 – Flight Testing

It’s been a month since we carried out the first part of the flight test. A couple of holidays and continued bad weather has prevented further testing but Monday and Tuesday both looked good so Rob made the trip down on Monday morning so we could finish it off.

After a cuppa we planned what we were going to do. Avionics testing on the first flight, the Airmaster and feathering on the second flight and during the third flight which would be for 2 hours we would test the autopilot and complete any outstanding general flight tests.

To ensure that we achieved the 15 landings required by the LAA to validate the flight test Rob suggested that we carry out some Touch and Go’s at Lydd EGMD. A quick call to them and we were set up for that on Tuesday.

All the flights were completed at the end of Tuesday at 16:03. We logged 15 landings with a total flight time of 7:31. During the flights all aspects of the the aircraft worked faultlessly.

  1. The Airmaster was a dream to use and produced some very impressive results with maximum rpm for very sprightly acceleration and a very short take off run. Once Climb is selected we noticed a very good climb rate even at MTOW. The transition between different settings on the prop was very smooth and predicable. With the engine off and the prop feathered it reduced the drag to negligible rates which was reflected in the reduced descent rate achieved.
  2. The engine ran faultlessly and never missed a beat. It was very responsive to throttle changes throughout the range.
  3. The autopilot performed faultlessly too. It did everything that was asked of it. Tracking a flight plan, climbing or descending at a specific VS or to intercept an altitude. It even protected the aircraft by ensuring it didn’t fly outside the flight envelope.
  4. The Dynon screens are clear and easy to read. They take a bit to get used to as they are not quite as intuitive as an iPad, but they worked very well with good aural warning annunciations coupled with the display of appropriate alerts.
  5. The Bristell was lovely to fly. It was stable and had a good solid feel but very responsive when you need it. It settled on the ground during landings very nicely even in moderate turbulence. The cabin is very spacious and the seating is very comfortable. It felt that you could fly for hours and not get fatigued.

Overall I’m very happy with my decision to buy a Bristell. The options I’ve included have enhanced the end result and my decision to fit the Airmaster have resulted in an aircraft that’s a delight to fly.

So the flight tests are done and the paperwork is with the LAA. Now it’s a waiting game before I receive the permit to fly but hopefully it won’t be too long before I’ll be able to take G-MLSY for a flight myself and then take Karen for a few flights including a little tour around the Kent coast.

G-MLSY is a joy to fly and it was great to get back in the air.
One of the tests to carry out if you have a feathering prop is to switch the engine off, feather the prop and restart with a dive and then repeat with a starter restart. Both work faultlessly. Once feathered and trimmed for best glide we achieved and impressive descent rate as can be seen in the photo..
It never ceases to amaze me what you see from the air. Here a staggered river or drain reveals itself at height.
Dungeness Power station off the right wing tip. The landscape around here is quite barren.
Set up for a very turbulent final to ’03’ The Bristell handled very well and was very responsive even in these conditions. Touch & Go’s were really very easy. Land, dial up 10 degrees of flap, full throttle and away you go. On climb out with positive rate of climb, flaps away and switch the Airmaster to ‘Climb’. The rpm reduces to 5500 with no stress or fuss.
One of the things that we had noticed is the EGTs tended to be a little on the high side. During construction I made a decision to add exhaust wrap to the exhaust downpipes. This was to protect surrounding pipes and lines from excessive heat. However it seems to have an adverse effect and produce higher than expected EGT. This shows the EGTs with the exhaust wrap fitted.
I decided to remove the exhaust wrap and run the engine again. The EGTs are running up to 80 degrees cooler now so I’ve decided to leave them off now.
G-MLSY looking good after a thorough clean and ready for the next flight…

Monday 9th September 2019 – Flight Test Application

I’d planned for the flight test permit application to be processed whilst I was away in Llanbedr on a gliding trip for a couple of weeks. I’d been checking the LAA website to see if there was any change in the status of my test flight application. On Friday 6th I saw that the application had started to be reviewed so was surprised that today I received a note from the LAA that they had reviewed my application and had a few queries that needed clarification.

More specifically these were the points raised:

1. I had not listed the Manufacturer’s options like landing lights, wing lockers etc so I needed to supply a list.

2. I needed to supply some photos of the servo installation to prove that I had installed them as per the Mod that I was repeating.

3. I needed to confirm that I had fitted the harnesses as supplied with the kit?

4. I had transposed the aft and forward figures on the W&B report so that needed to be corrected and resubmitted.

5. There was a query on the W&B report but that turned out to be a mistake by the LAA.

6. I needed to confirm the full designation/part number of the Airmaster propeller that I had fitted. I thought I had but apparently there was another designation that I needed to get from Airmaster themselves. I rang Airmaster in New Zealand and confirmed the full designation.

7. I had set SIL=1 on my ADSB transponder as the GPS250 was now capable of using that level of integrity but I was told that I needed to downgrade to SIL=0.

8. The last thing was to supply details of the Radio aerials I had used for my VHF Comm and Transponder so I sent photos and part number information.

These were all very straightforward to deal with Jon Viner of the LAA. The engineers there take calls from LAA member between 1400-1600 each day so the first thing I did was to call Jon and discuss the issues in detail. Jon was very good and allowed me to use email to give my answers to the queries.

After a few emails and phone calls during the week Jon presented the paperwork to Francis Donaldson and I received the test flight certificate for when I returned home on Saturday with a hope of a first flight on Tuesday 17th September.

Friday 16th August 2019 – Build Is Complete

G-MLSY is finished!

Today is the anniversary of gaining my PPL 17 years ago, so it was quite fitting that today G-MLSY is officially finished.

Ian inspected every single millimetre of the aircraft on Tuesday and Graham Smith spent the whole morning doing a very similar inspection and also reviewed all the paperwork that has been completed over the past few weeks before signing it off.

The result was a solid pass with Graham complimenting me on an immaculately built and presented aircraft. Quite pleased with that!

So now it’s time to gather up all the paperwork and check it thoroughly again the then send to the LAA for the “Application for Issue of a permit to Fly’ to allow it to be test flown.

First off today was to get a printout from a PilotAware system to prove that my Aircraft is transmitting the correct codes. This has to be done as a part of the Avionics approvals.
Ian starting the inspection. He has already seen every stage of the build as he regularly visited my workshop but this super inspection still needs to be done and all the paperwork associated, done!
All the inspection panels are off and the seats are removed to ensure he can get to the autopilot and controls. This inspection took all day.
Graham and I had to carry out a joint inspection before he could sign it off the final, final inspection sheets but it’s all good The only thing I forgot to do was take a picture of him doing it!

Thursday 15th August 2019 – The Fuel Flow Test

One of the jobs that I’ve not looked forward to is the fuel flow test. Not because it’s difficult or complicated but more that it seems dangerous. It involves taking a feed off of the carb line and running a long pipe away from the engine and prop. Several timed measurements take place using the electric pump on it’s own with the engine stopped, one with the engine running at full bore using just the mechanical pump and one with the mechanical and electric pumps working together. The aircraft has to be choked and Ian offered to do the work outside the cockpit. We used radios to signal the start and stop of each engine run.

The run off from the carb fuel line using a ‘Tee’
Ian hiding under the wing carrying out the fuel & time measurements. For the electric pump only run the amount that needs to flow is 125% of the maximum litres per hour for the Rotax. For the measurements where the engine is running at full bore, 27 litres will be used by the engine before any excess is collected so the excess should be 25% of the maximum per hour fuel amount so were expecting 6.75 litres as a minimum.
The T&Ps at full chat look ok and the fuel flow results are far in excess of what’s required. Poor Ian need a new set of ears now though!

Friday 9th August 2019 – Adjusting the Prop

With the aircraft substantially complete and awaiting Ian to return to carry out some sign-offs I’m finishing off some smaller jobs that I can do whilst I wait. This includes adding a few more placards and labels, some more taxiing to check nose wheel alignment and brake operation, a couple of engine runs to check its operation and allow me to run to maximum RPM so I can set the fine pitch stop on the Airmaster prop. I’ve also purchased a battery charger for for the Shorai Lithium Iron Phosphate battery that I’ve fitted that balances the cells and ensures a better operation. The upside to this is that it comes with a special lead that fits to the centre port of the battery and not the usual batter terminal. This allows it to be permanently fitted.

The Bristell kit comes with G405 stick grips but I wanted to put the autopilot disconnect and autopilot level buttons on the grip. so I have installed G407 grips instead. It comes with a variety of labels to identify the button function.
The Rotax 912 ULS can run on a variety of fuels but unless you placard them a refuelled may not fill with the option you request. I got the MOGAS sticker from the LAA and Chris Knight from Maypole had a few of the AVGAS UL91 and 100LL stickers.
As the special battery charge lead plugs into the centre port I had to move the battery slightly off centre by moving the packing but was an easier option than re-siting the battery retaining strap.
I’ve run the charge lead to the oil inspection hatch which will allow me to charge the battery or keep it in maintenance mode without taking the top engine cowl off. Quite a neat solution.
One of the things I needed to do was set the Airmaster fine pitch. This involves putting the prop in manual mode and throttling up to just under maximum RPM at 5700. Once this is done then the engine can be shut down and the adjustment made.
Took this just to record some sensor readings at max RPM. Oil temp is a little high which may be because I’ve been stationary whilst running the engine at high RPM. I will be checking that…
Now I’ve set the prop pitch so the engine peaks at 5700 I can set the fine pitch cam. The pitch motor cover is removed to reveal the microswitches and cam adjusters…
The locking nut is undone and the cam adjuster is turned until you hear the microswitch operate and that’s it – very simple.
All that’s required is to reassemble the pitch motor cover and now the fine pitch has been set I can wire lock the screws to make sure that it doesn’t loosen whilst in operation.

I must admit the more I work with the Airmaster prop the more I’m impressed with the quality and engineering. It’s brilliantly simple and well worth the extra I paid. It will be good to see what the performance when it finally flies but from what I’ve seen so far has impressed me. I can virtually guarantee maximum RPM for takeoff and tune the prop for climb and cruise. The fact that it has a 2000 hour TBO to match the Rotax and it’s user maintainable at 100 hours intervals means it will be very cost effective over the coming years.

Tuesday 6th August 2019 – It’s Complicated

It was a long weekend which ended with a complicated Monday.

On Saturday I flew into Palmers Farm for a Bristell Fly In organised by Tony Palmer one of the owners of Bristell UK. It wasn’t planned but luckily Chris Knight who owns G-CILL had some free time so asked if I’d like to go with him.

Sunday was a tugging duty in tricky ESE winds which was quite demanding and takes a lot of concentration.

And on Monday I was supposed to fly some family in my other Aircraft which is a Grob 109b, Unfortunately it went ‘Tech’ and despite speaking to the aircraft maintainer to try fo fix it it was quite obvious by 1300 that it needed major surgery. I managed to fly everyone but had to use one of London Gliding Clubs DR400s instead. This proved a better option in the end as there were 12 people to fly.

Tuesday was a ‘rest day’ but I decided to use it to complete some of the paperwork that needs to be done including the Weight & Balance calculations which I’m pleased to say worked out ok. All of these forms need a sign-off so will have to be done when Ian returns.

Thursday 25th July 2019

Music: None

Today was Hot, Hot, Hot. In fact too hot. I had planned to flush the fuel lines before the first engine run but it didn’t quite work like that. I wanted Ian to be around to check for issues as I started the engine just in case. However Ian was delayed so I got on and did the placards and labels.

When Ian arrived we started to carry out the control surface deflection adjustments but it was just too hot so we will re-engage tomorrow.

I’ve used an Inkjet printer to print on an inkjet transparent sticky backed labels. This was suggested by Alan Radford after I saw his Bristell panel and label. They have worked much better than I expected. As they are transparent they’re not so unsightly as some I’ve seen. The yellow one in the middle was supplied by the LAA.
The centre console with the labels applied for the throttle quadrant and various controls.
The switches and circuit breaker labels were printed using a electronic Demo LableMaker 200 with Black on Transparent tape. It works very well but there is a limit on how long it can print at one time so I had to do it in two passes. Also it’s quite tricky getting the spacing right so I needed to adjust the spacing after printing the first time and then print again. A little wasteful but it worked out ok,
These are supplied by the LAA FOC so it would be silly not to use them.

Wednesday 24th July 2019

Music: Turin Brakes

Today I finished off the fuel tank calibrations and Ian did some inspections and sign offs so I could add some trim and send some paperwork to the LAA.

Starting again with the calibration screen,
I repeated the method described yesterday but the battery went flat as it had been run the night before for quite some time but I’d forgotten to turn the batter charger on. So I lost the calibrations., which meant…
I had to drain the tanks and start again but on the second run the third fuel add didn’t register so I had to drain the tank and start again. I’m not sure if by this time the heat was getting to me as it was up in the 30s by this time with the sun blazing into the workshop. Luckily the third attempt went well and the I managed to finish off the calibration – thank god…
I’ve added a couple of trims to the rear of the plane. First the top…
…and then the bottom. The trim motor cover will be added after we’ve done all the control surface checked.
Last on the agenda today is to fit the glare shield as I won’t need to take that off again as all the electric have been checked and signed off.

Tuesday 23rd July 2019

Music: Easy 90’s

Well the best laid plans as they say… however with the weight and balance carried out yesterday meant my downfall today. Everything needed to be on the aircraft for it to be weighed however I forgot to ask Ian and Pete to help me take the canopy off. So I arrived to realise that I couldn’t do any of the things I had planned for today as I couldn’t get into the cockpit 😦 Usually people come and go during the day but no one turned up until around 3! So a very short day today.

Up first was the calibration of the fuel tank sensors. This took longer than it should have done as I didn’t finish the process quite right on the first pass so needed to drain the tank and start again.

The calibration screen…
I used a screen wash container that I had filled to the 5 litre mark and then filled that for each calibration point. The process was quite straightforward. Press start, pour in 5 litres of fuel, press ‘Add’ and repeat 12 times on the last fill press ‘Full’ except on the last fill you need to press ‘Add’ then press ‘Full’ Silly me got that wrong so…
I had to drain out the tanks and start again! Eventually I finished it. The port wing will have to wait for tomorrow.