Category Archives: Admin

Monday 22nd July 2019

Music: None today – Concentrating!!

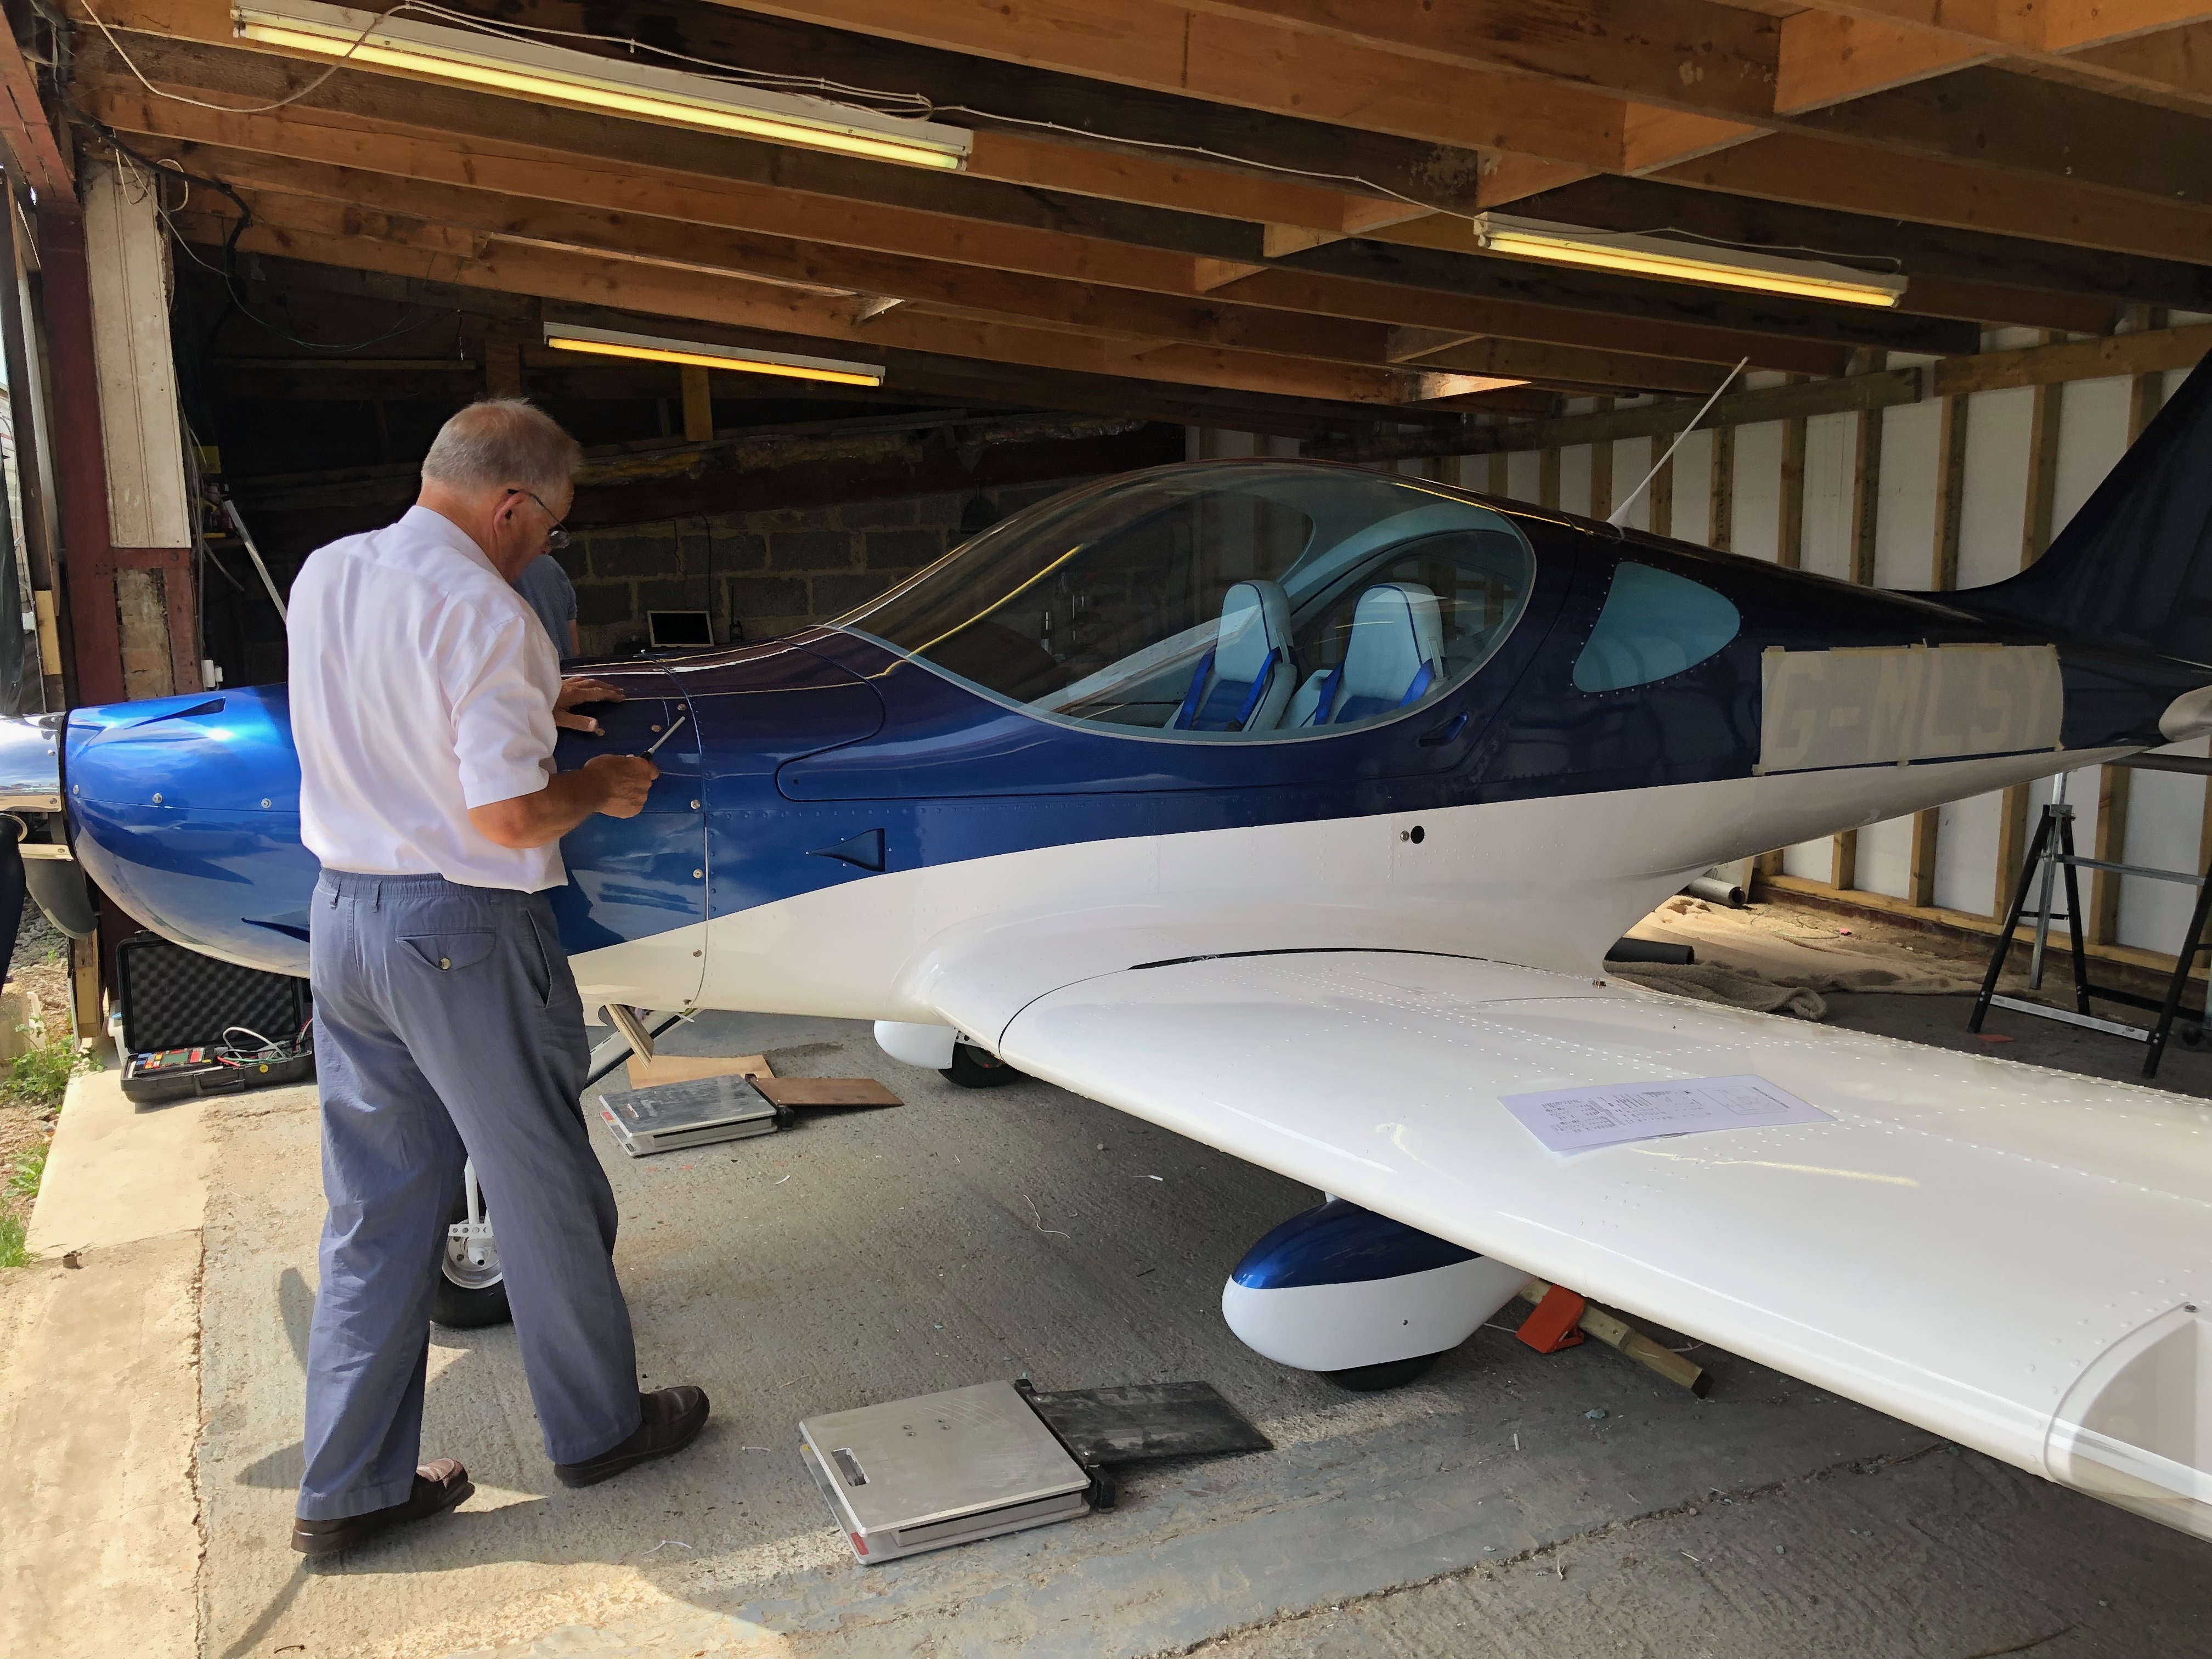
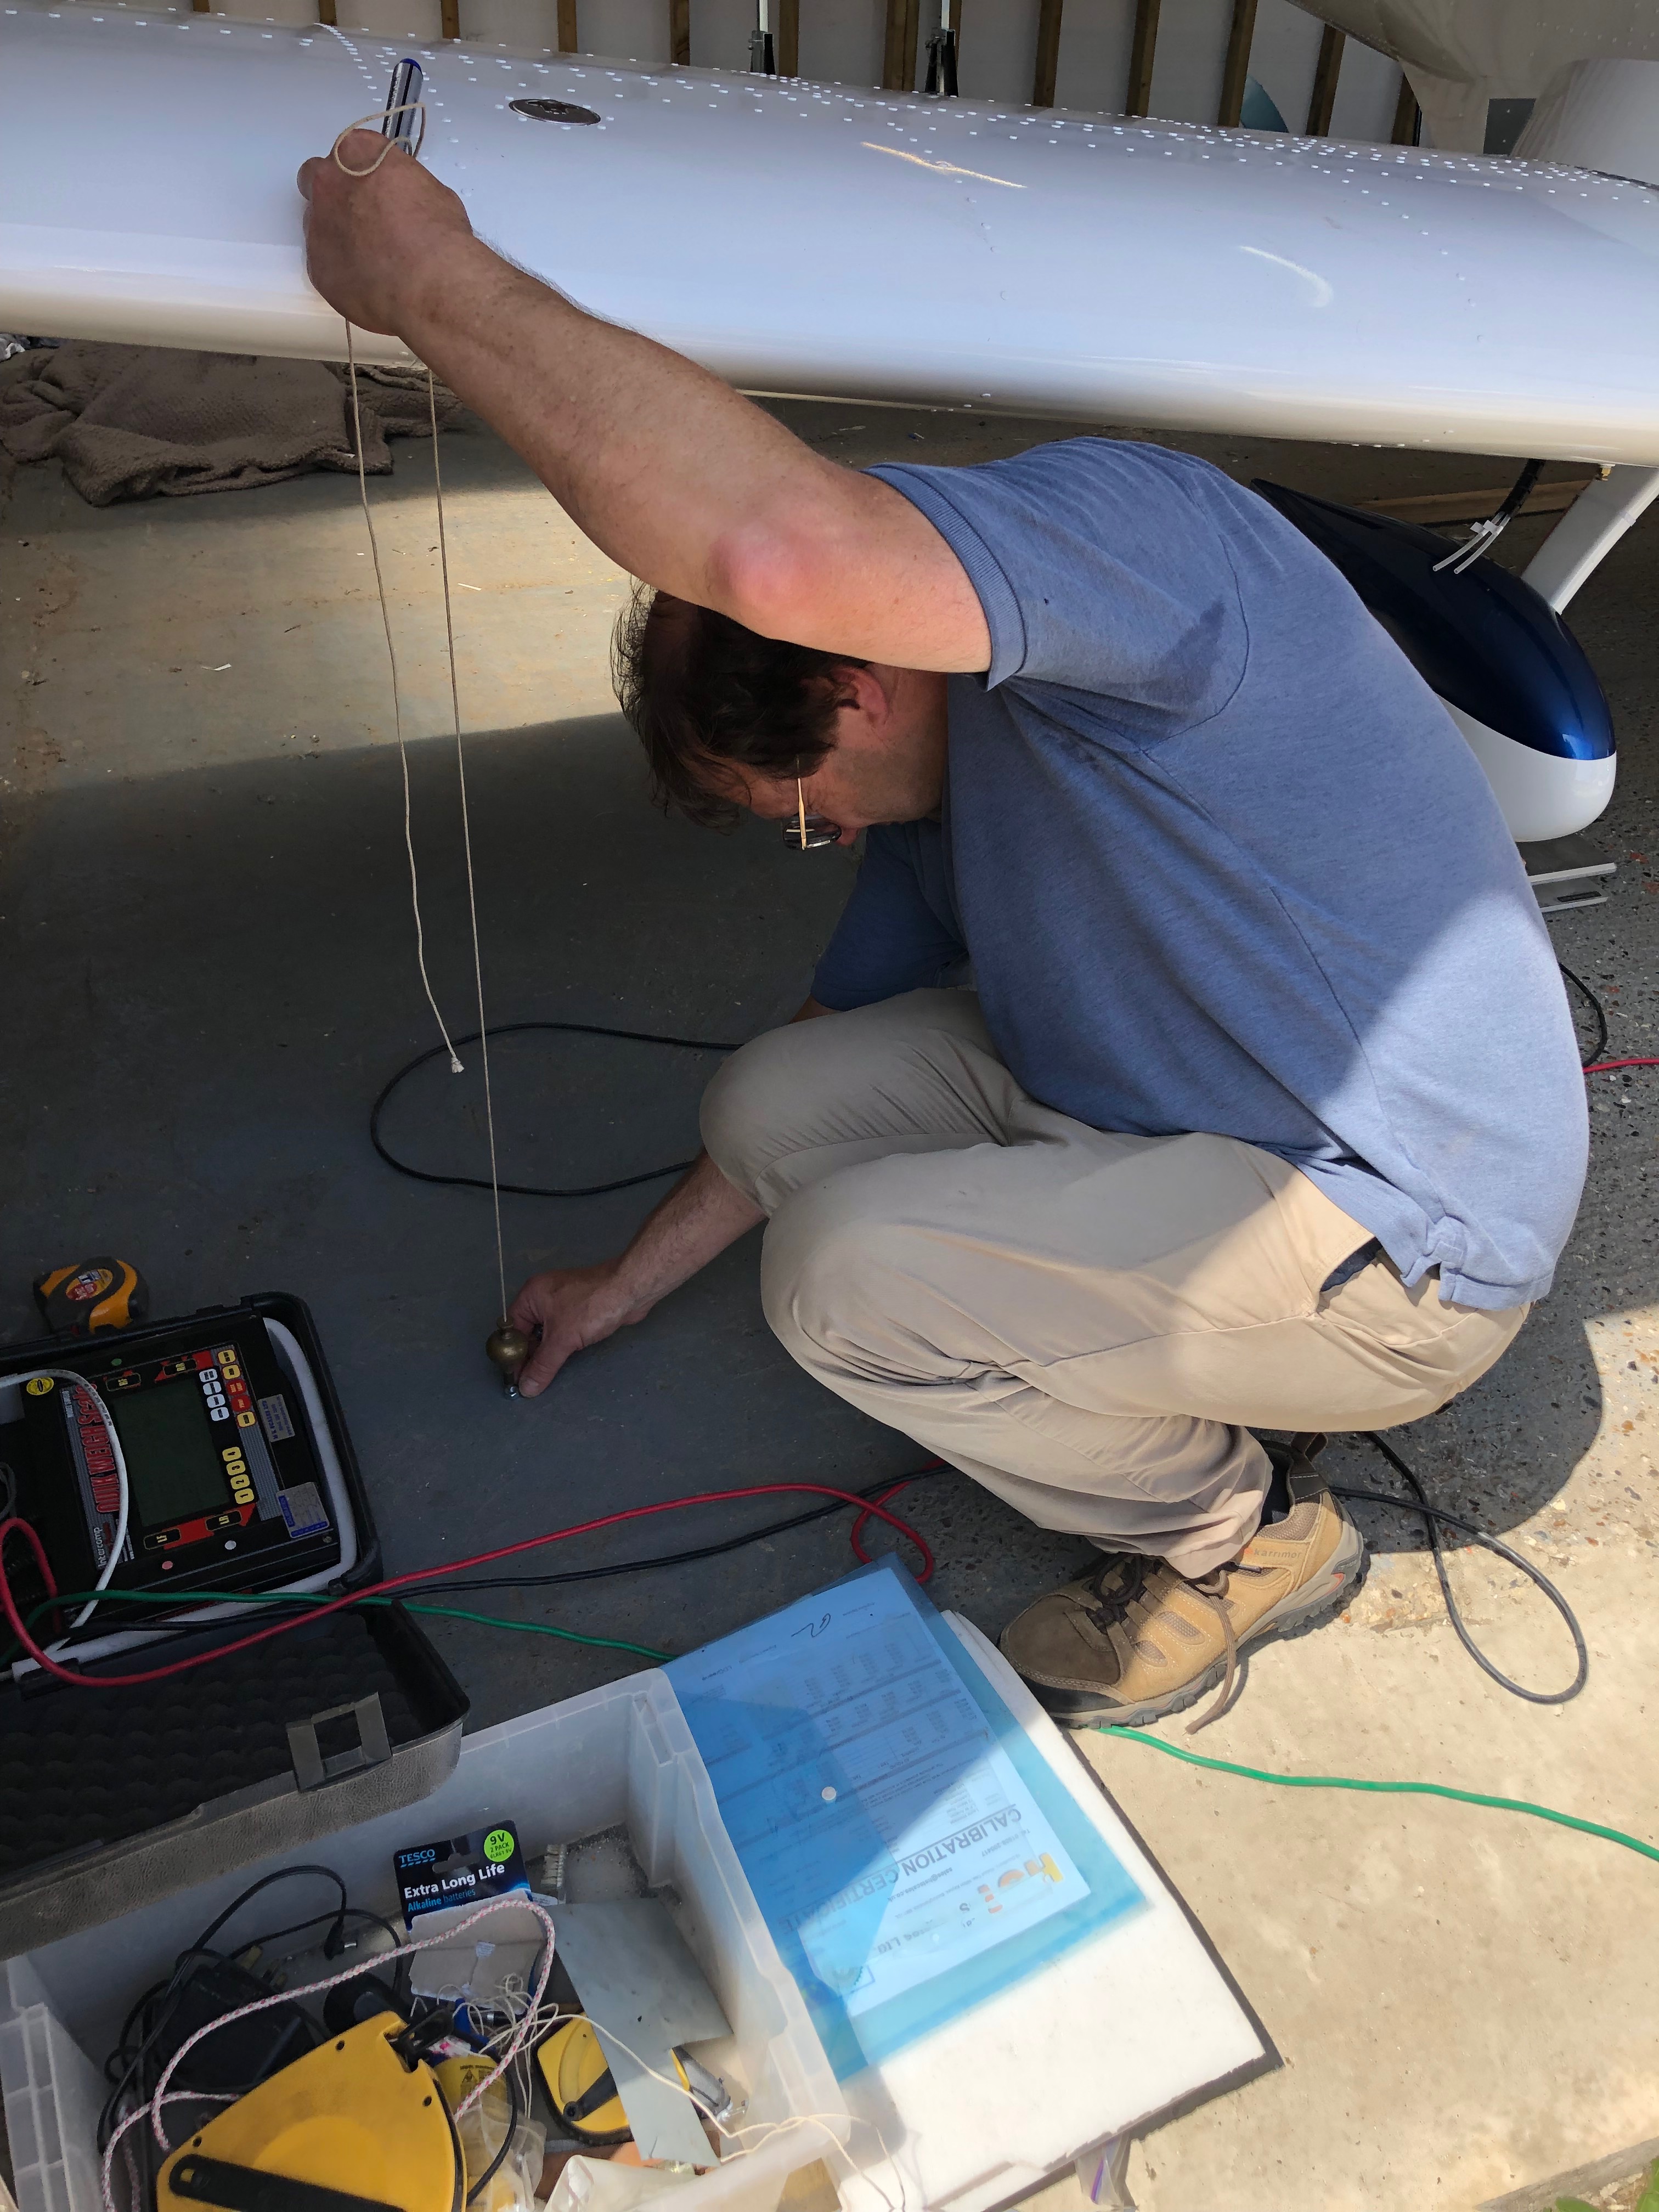
Weighing day today! Pete Thomas a good friend from the London Gliding Club offered to come down to weigh G-MLSY and today’s the day!

Everything needs to be fitted for the weighing. So the spinner is first and the canopy is lifted on but is won’t be secured yet.
Ian as my LAA inspector is overseeing the process to make sure it’s down to the LAA standard.
Pete starts the process of laying out the pressure pads.
The aircraft has to be exactly level for this so a spirit level is placed across the cockpit and on the cockpit edge and adjustments are made as appropriate.
With the aircraft sitting on the pads and levelled both lat and lon weighing can begin.
The datum marks have to be calculated so a plumb line is dropped from the reference points and a position marked on the floor. These marks will be used later in the calculations.
Pete in action marking the front datum.
All done now but a quick pic with everything on before we start to take it off again for the final set of inspections.
I’ve done the wing and starboard side registrations but didn’t get chance to go the port side. It’s amazing how quick I did this side compared with the other. At least twice as quick no I know what I’m doing!
Now a pick from the left. Looks quite nice.
The end of another day. Please with the process so far and not long now to the first engine runs and flight.

Wednesday 17th July 2019

Music: Gerry Cinnamon, Stereophonics, The Libertines

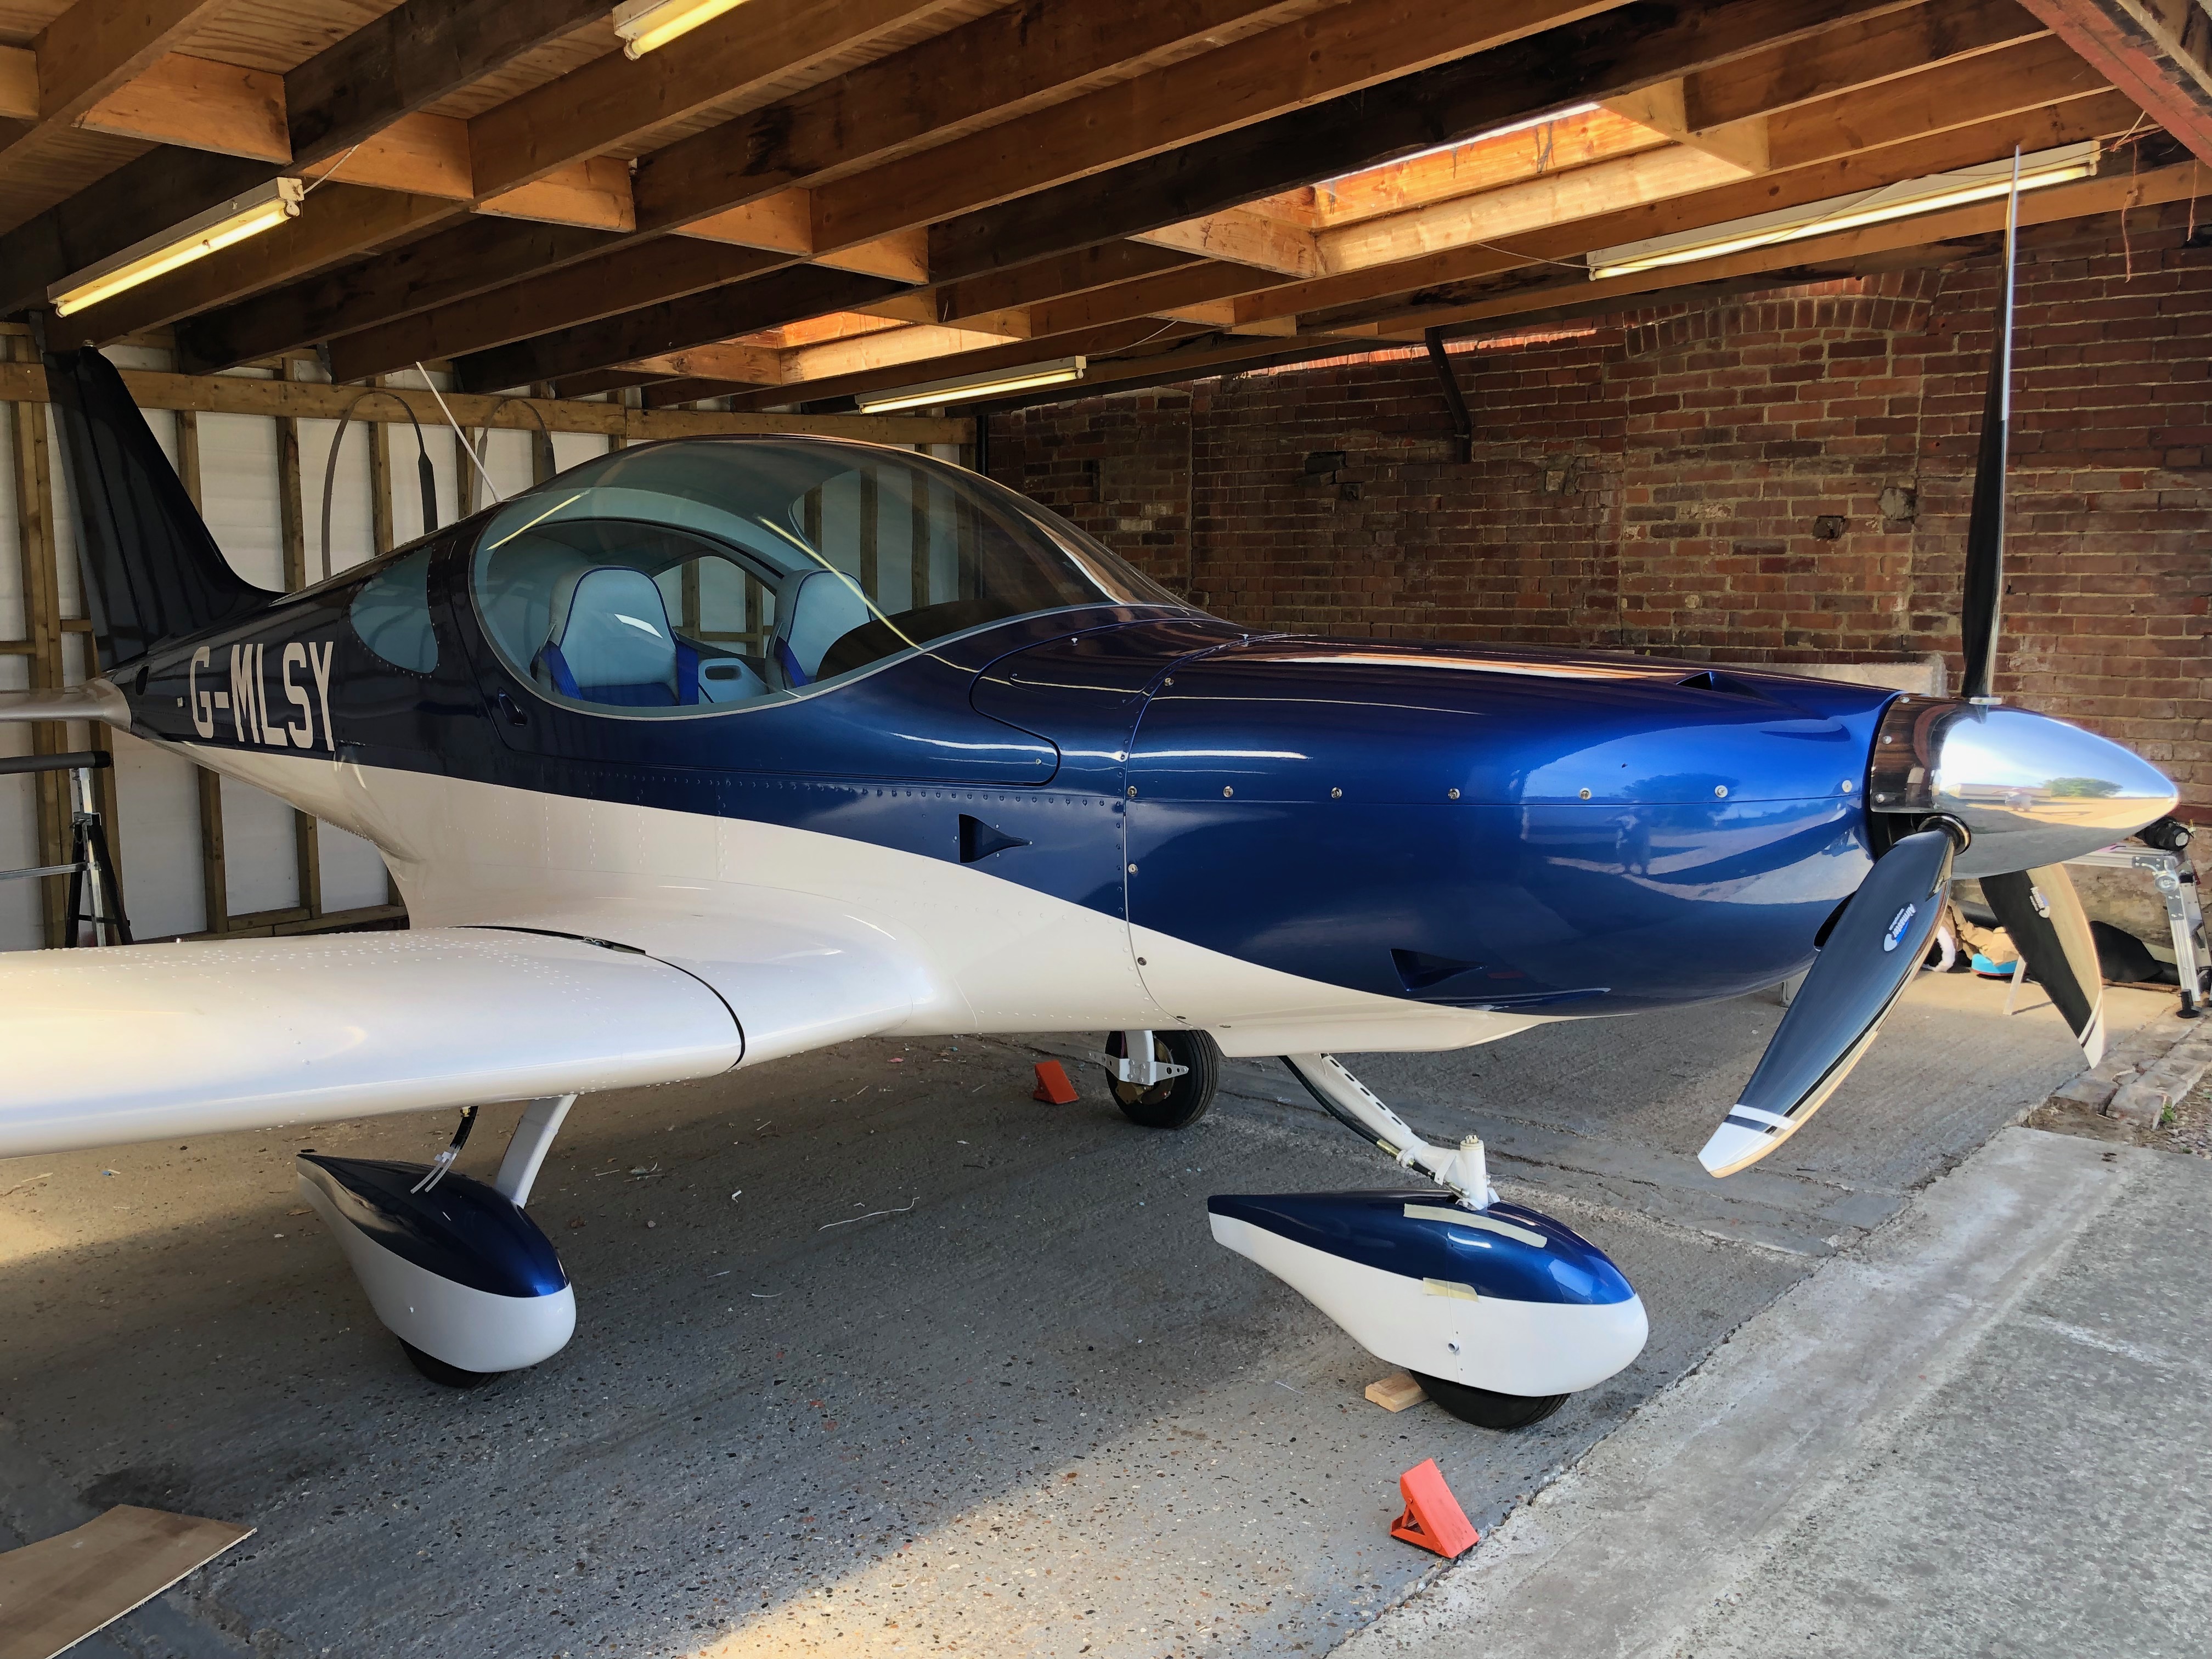
6 months to the day since I took delivery of G-MLSY and it’s coming to the end of the build… but I say that every day to be fair. The next major stage is the testing and lots of paperwork to do and approvals to gain before it can fly.

A few people have dropped by to view how I’m doing and some have sent messages. All I can say is “Thanks”. It’s been a bit like a marathon and the support from those that have taken the time to visit or send messages is very much welcomed and keeps my motivation topped up.

I’ve decided to use the light function on the switches so each switch require an earth lead to be attached to the third contact to enable the function. It required a bit of back tracking but was fairly easy to do.
The wings need to come off again so Ian is called to action again helped by Pete Sharpe I need to run the fuel level sensor wiring in, polish the wings and apply the registration before refitting for the final time.
When I arrived home the stainless steel ID plate and Radio licence had arrived ticking off another couple of items from the list of Admin that accompanies the build.

Wednesday 10th July 2019

Music: Lightening Seeds, The Beautiful South, Gerry Rafferty

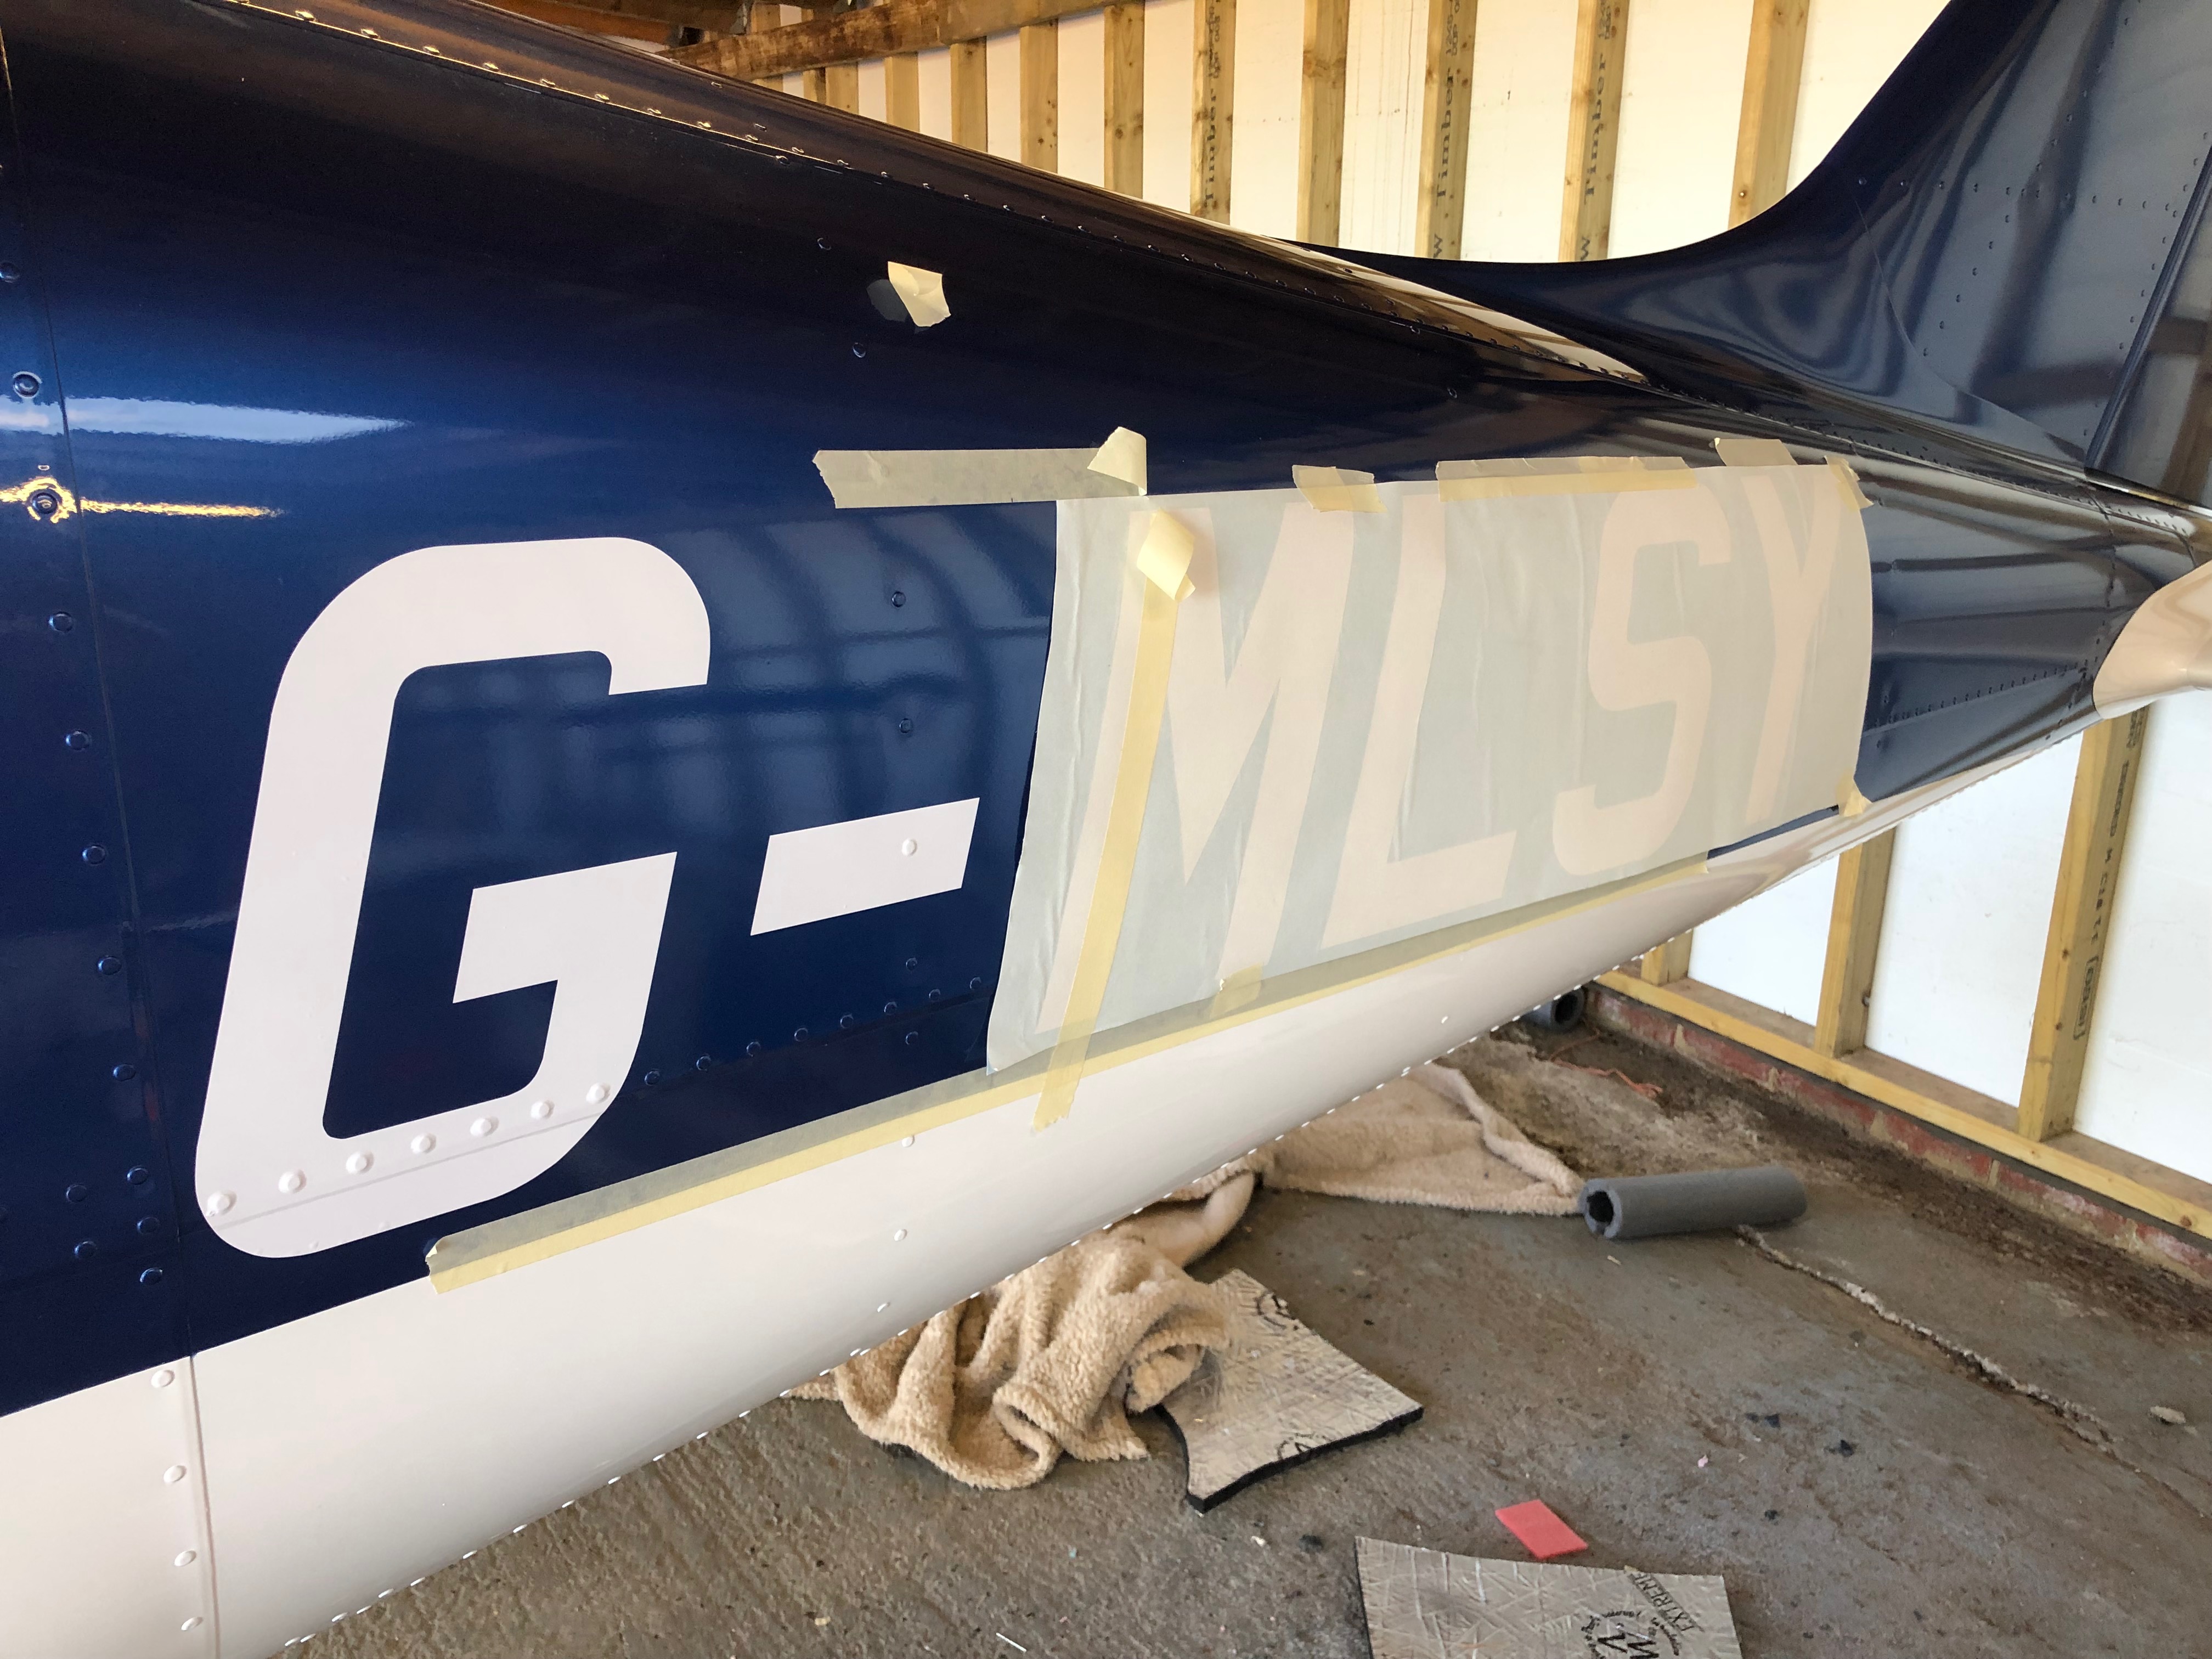
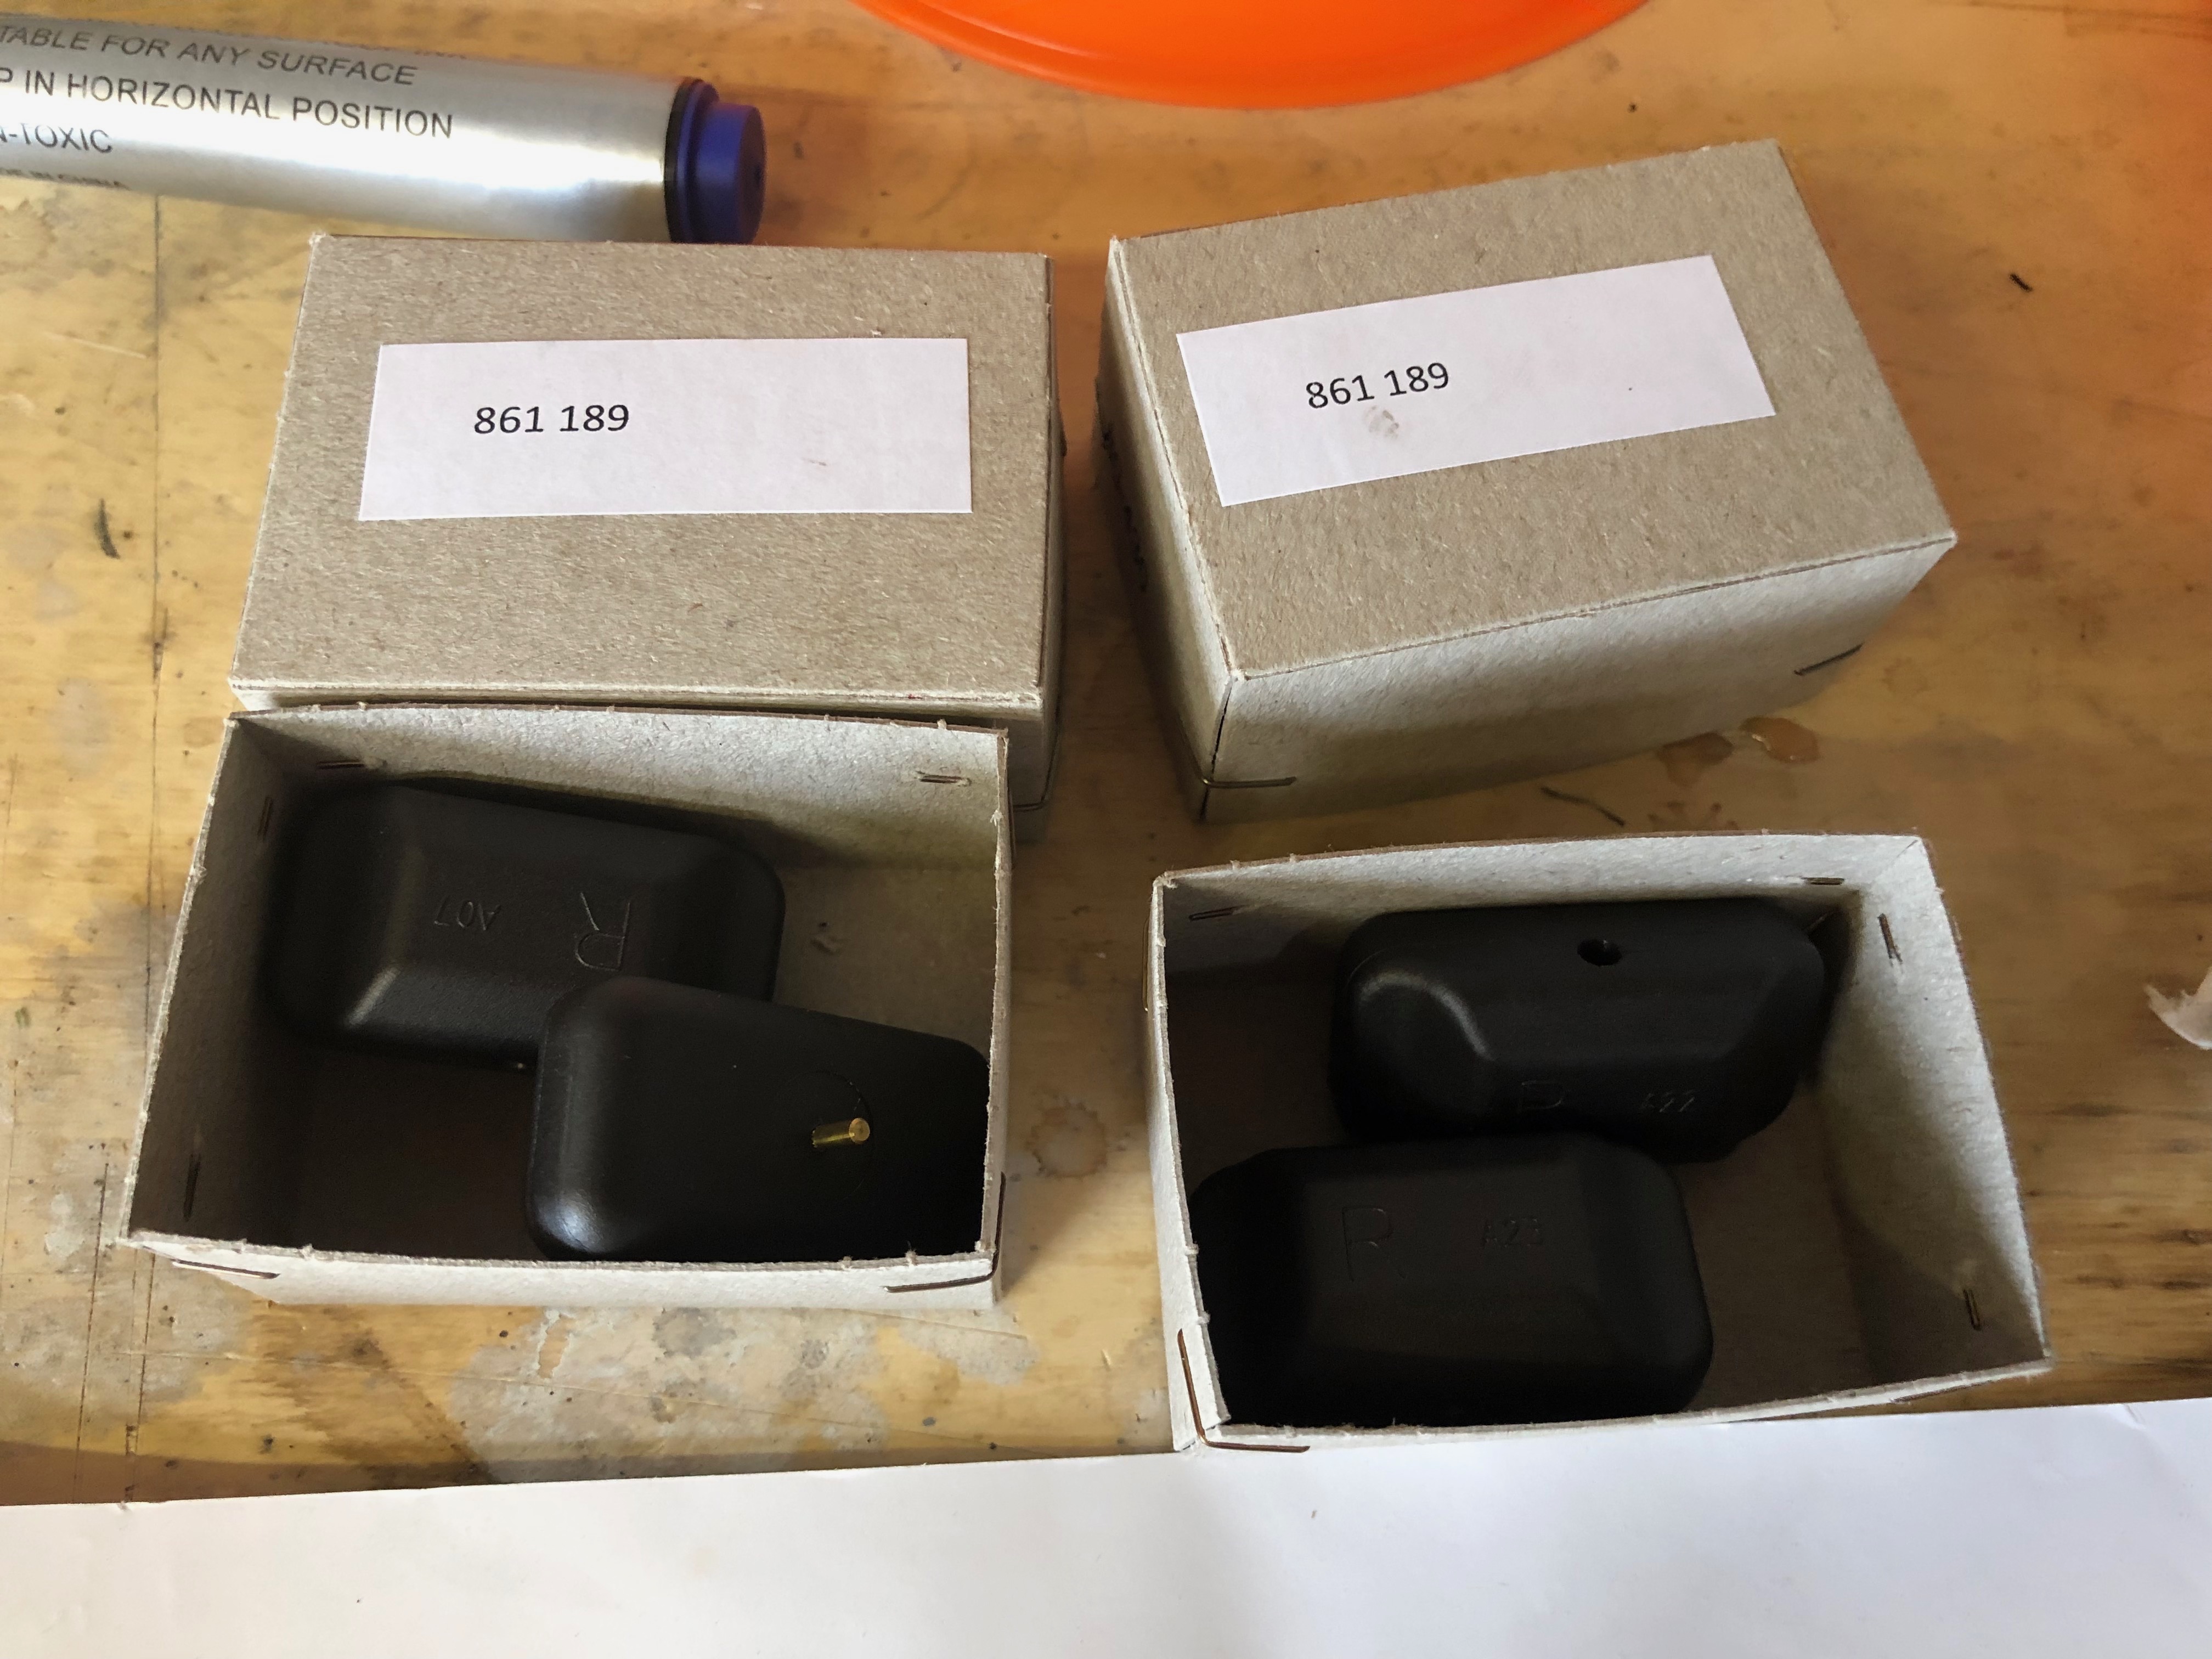
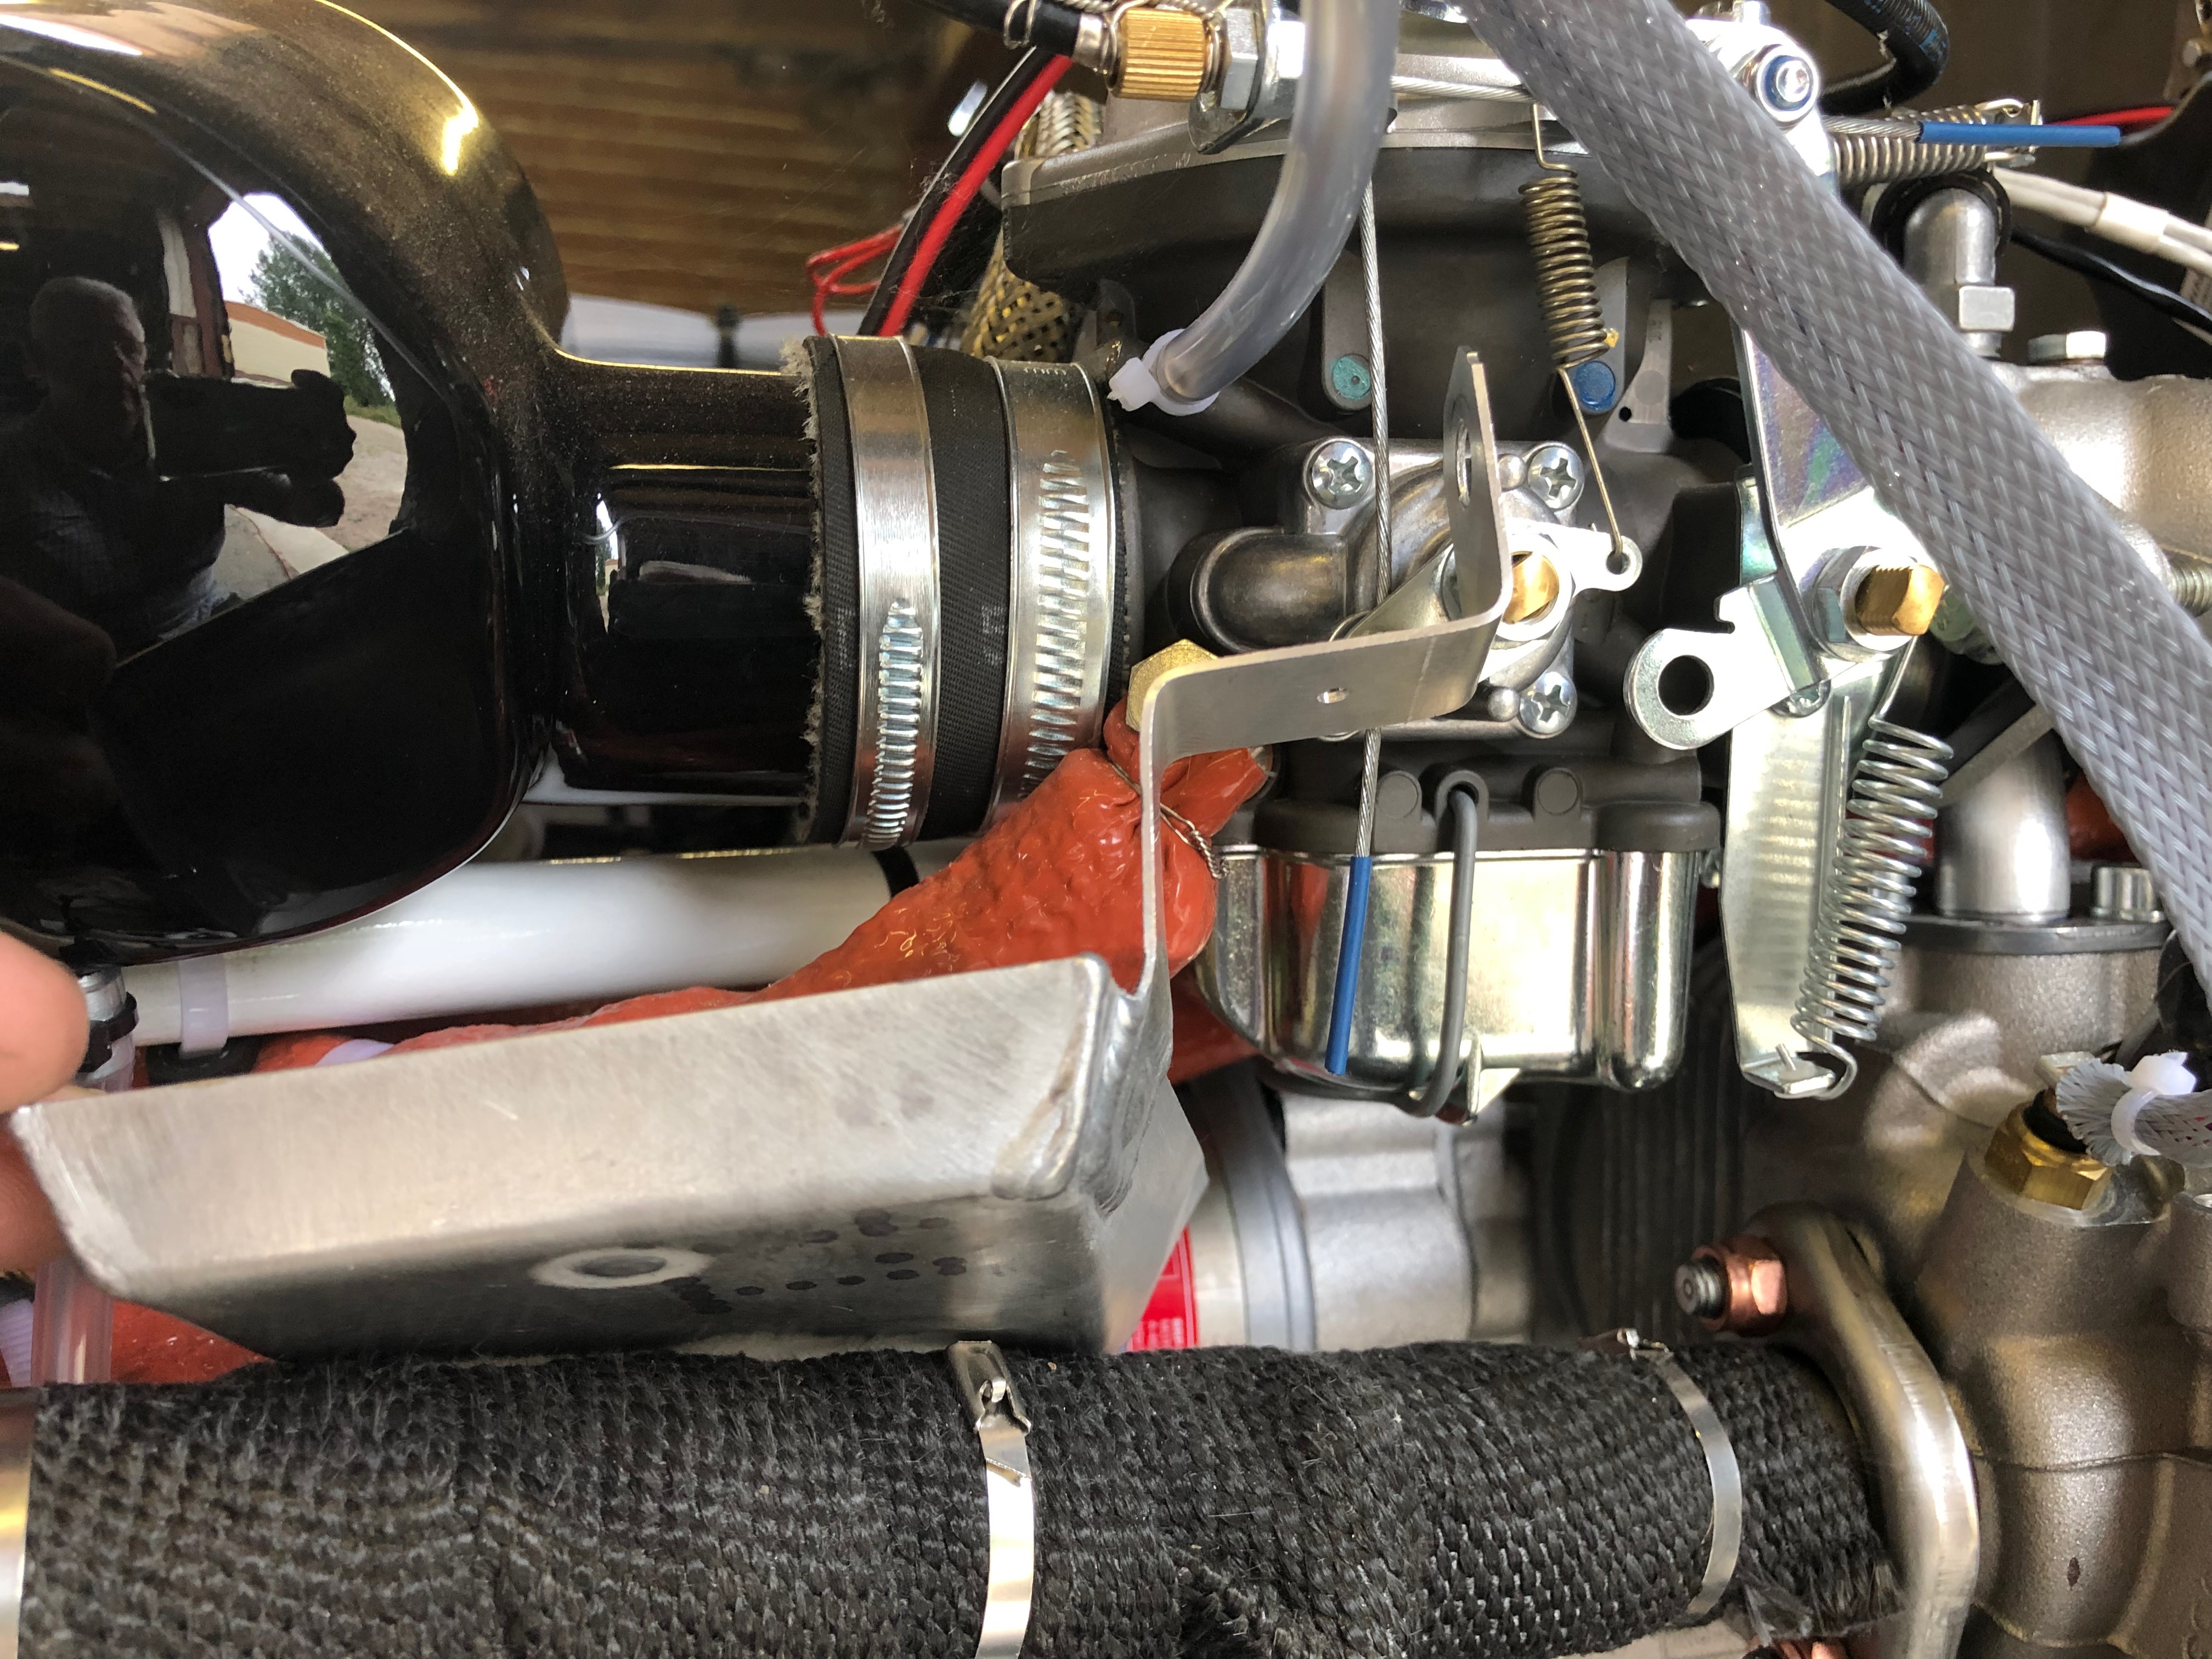
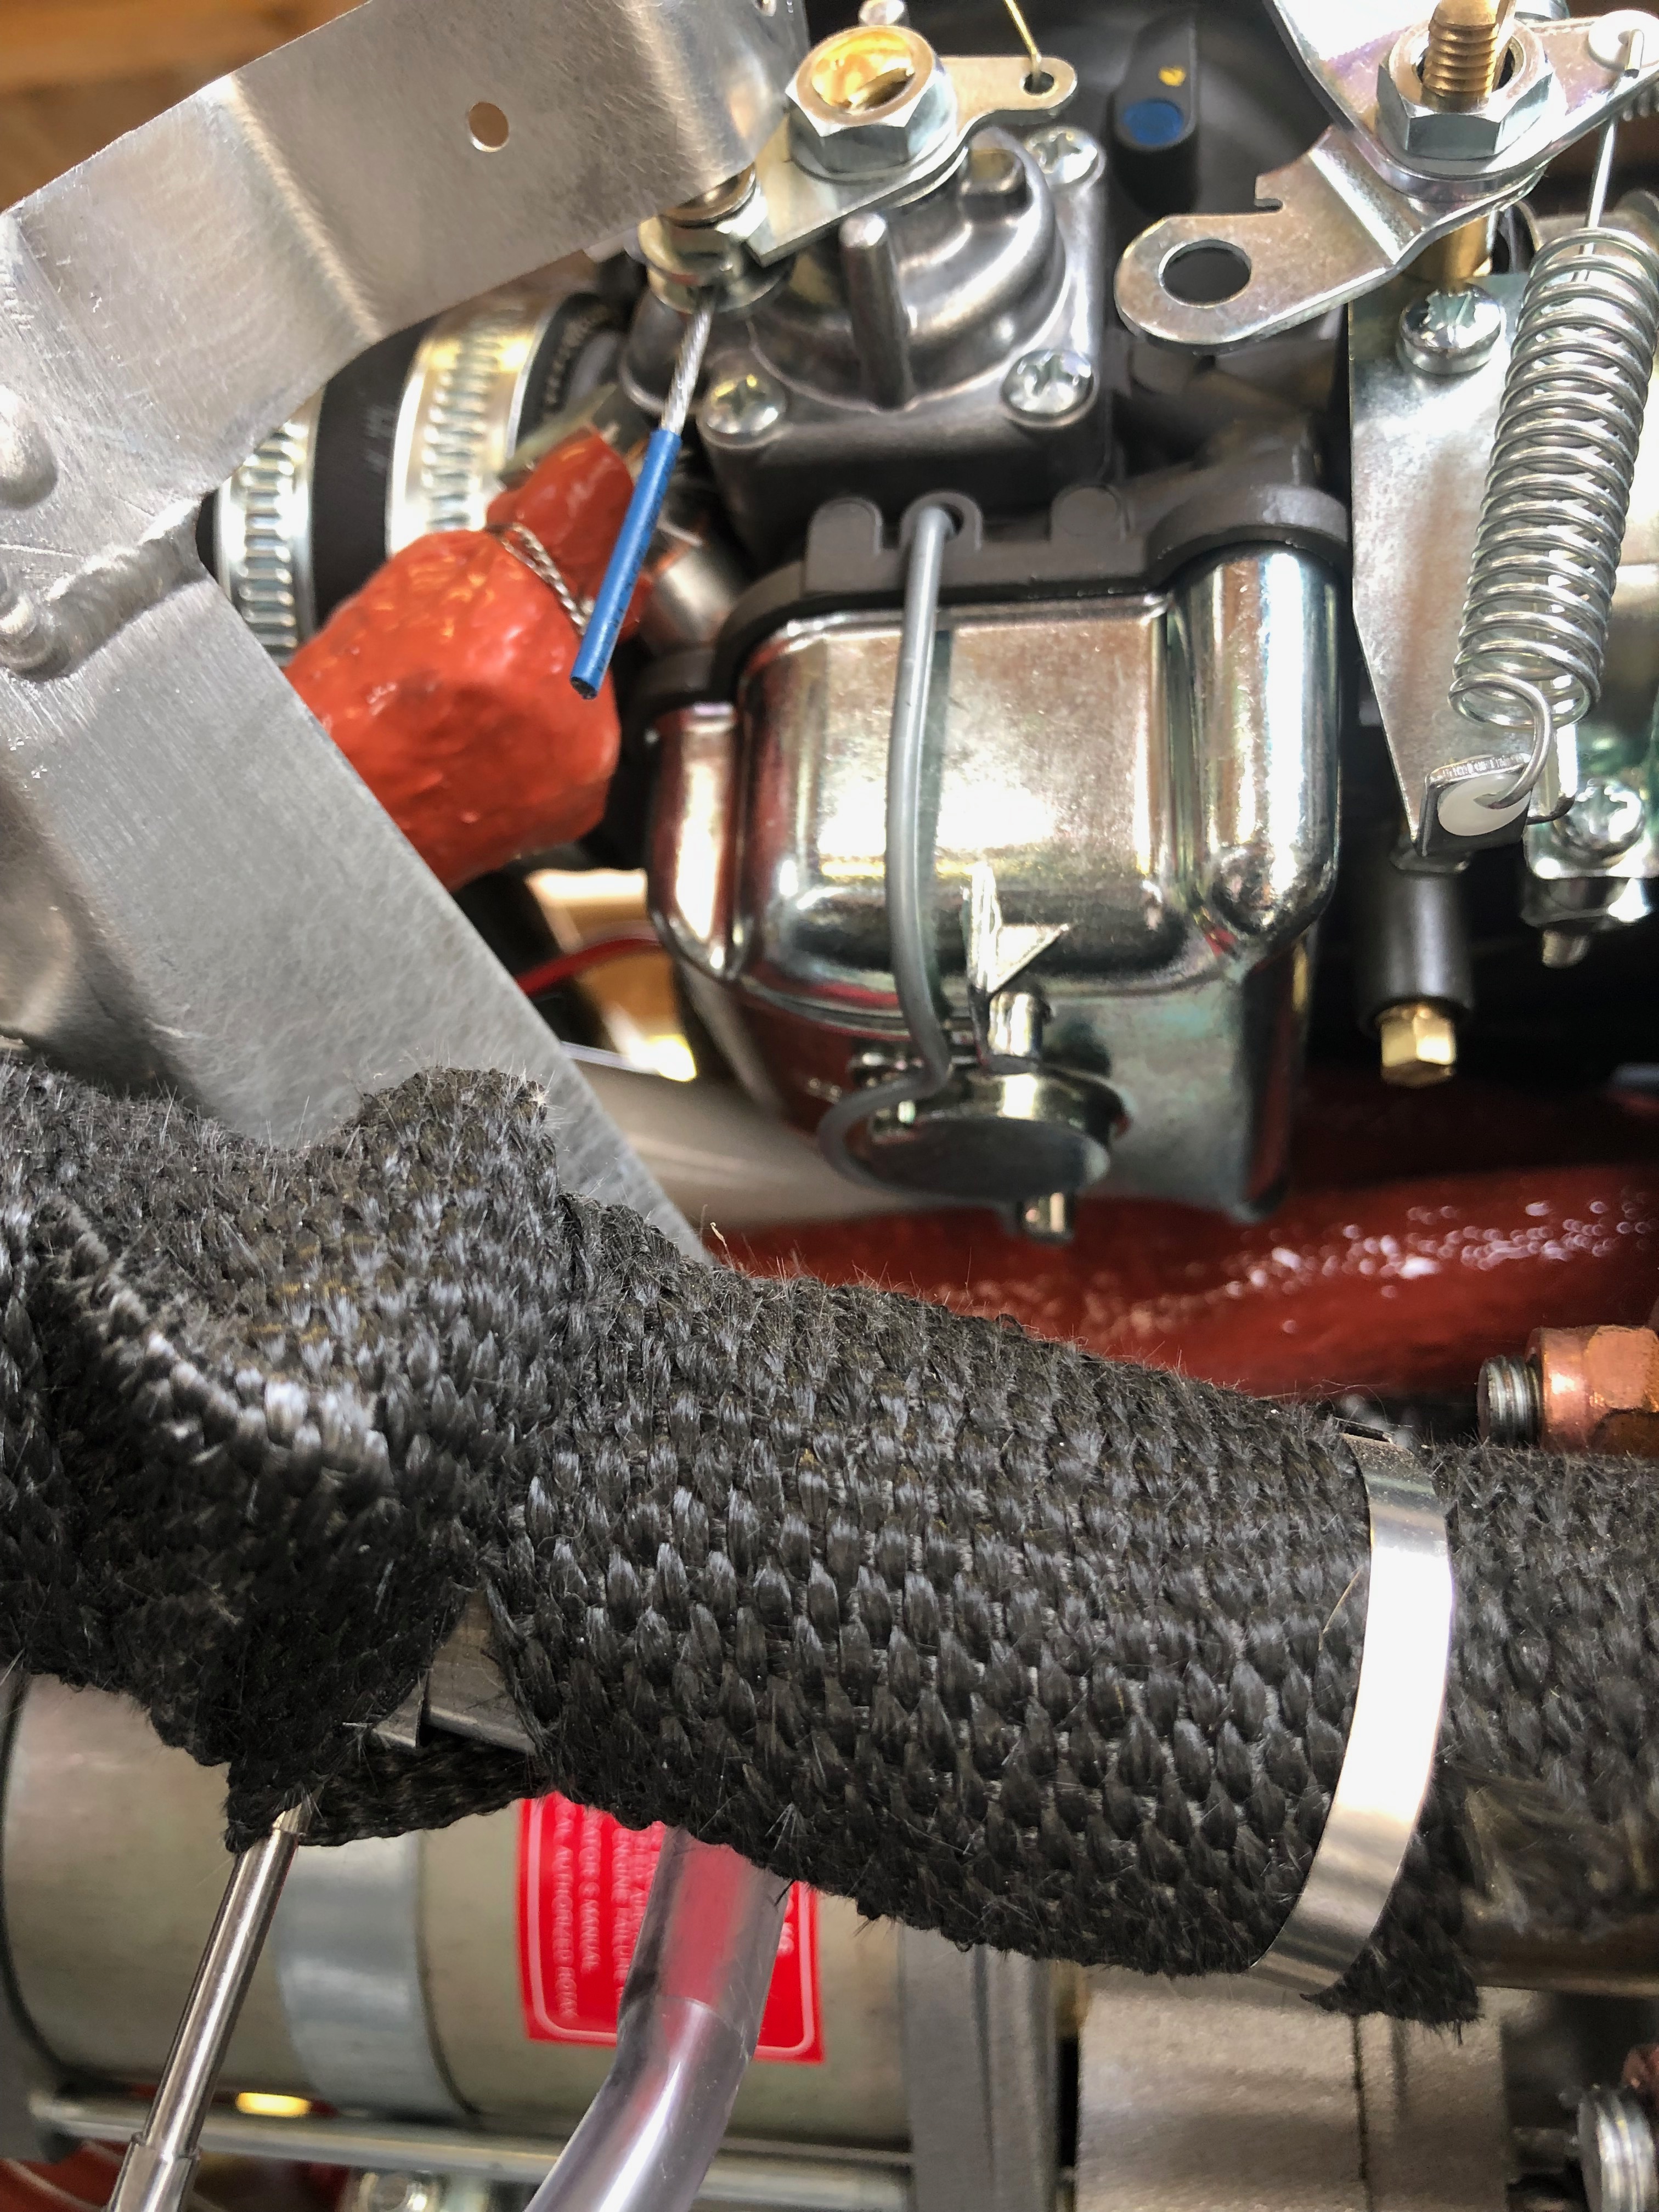
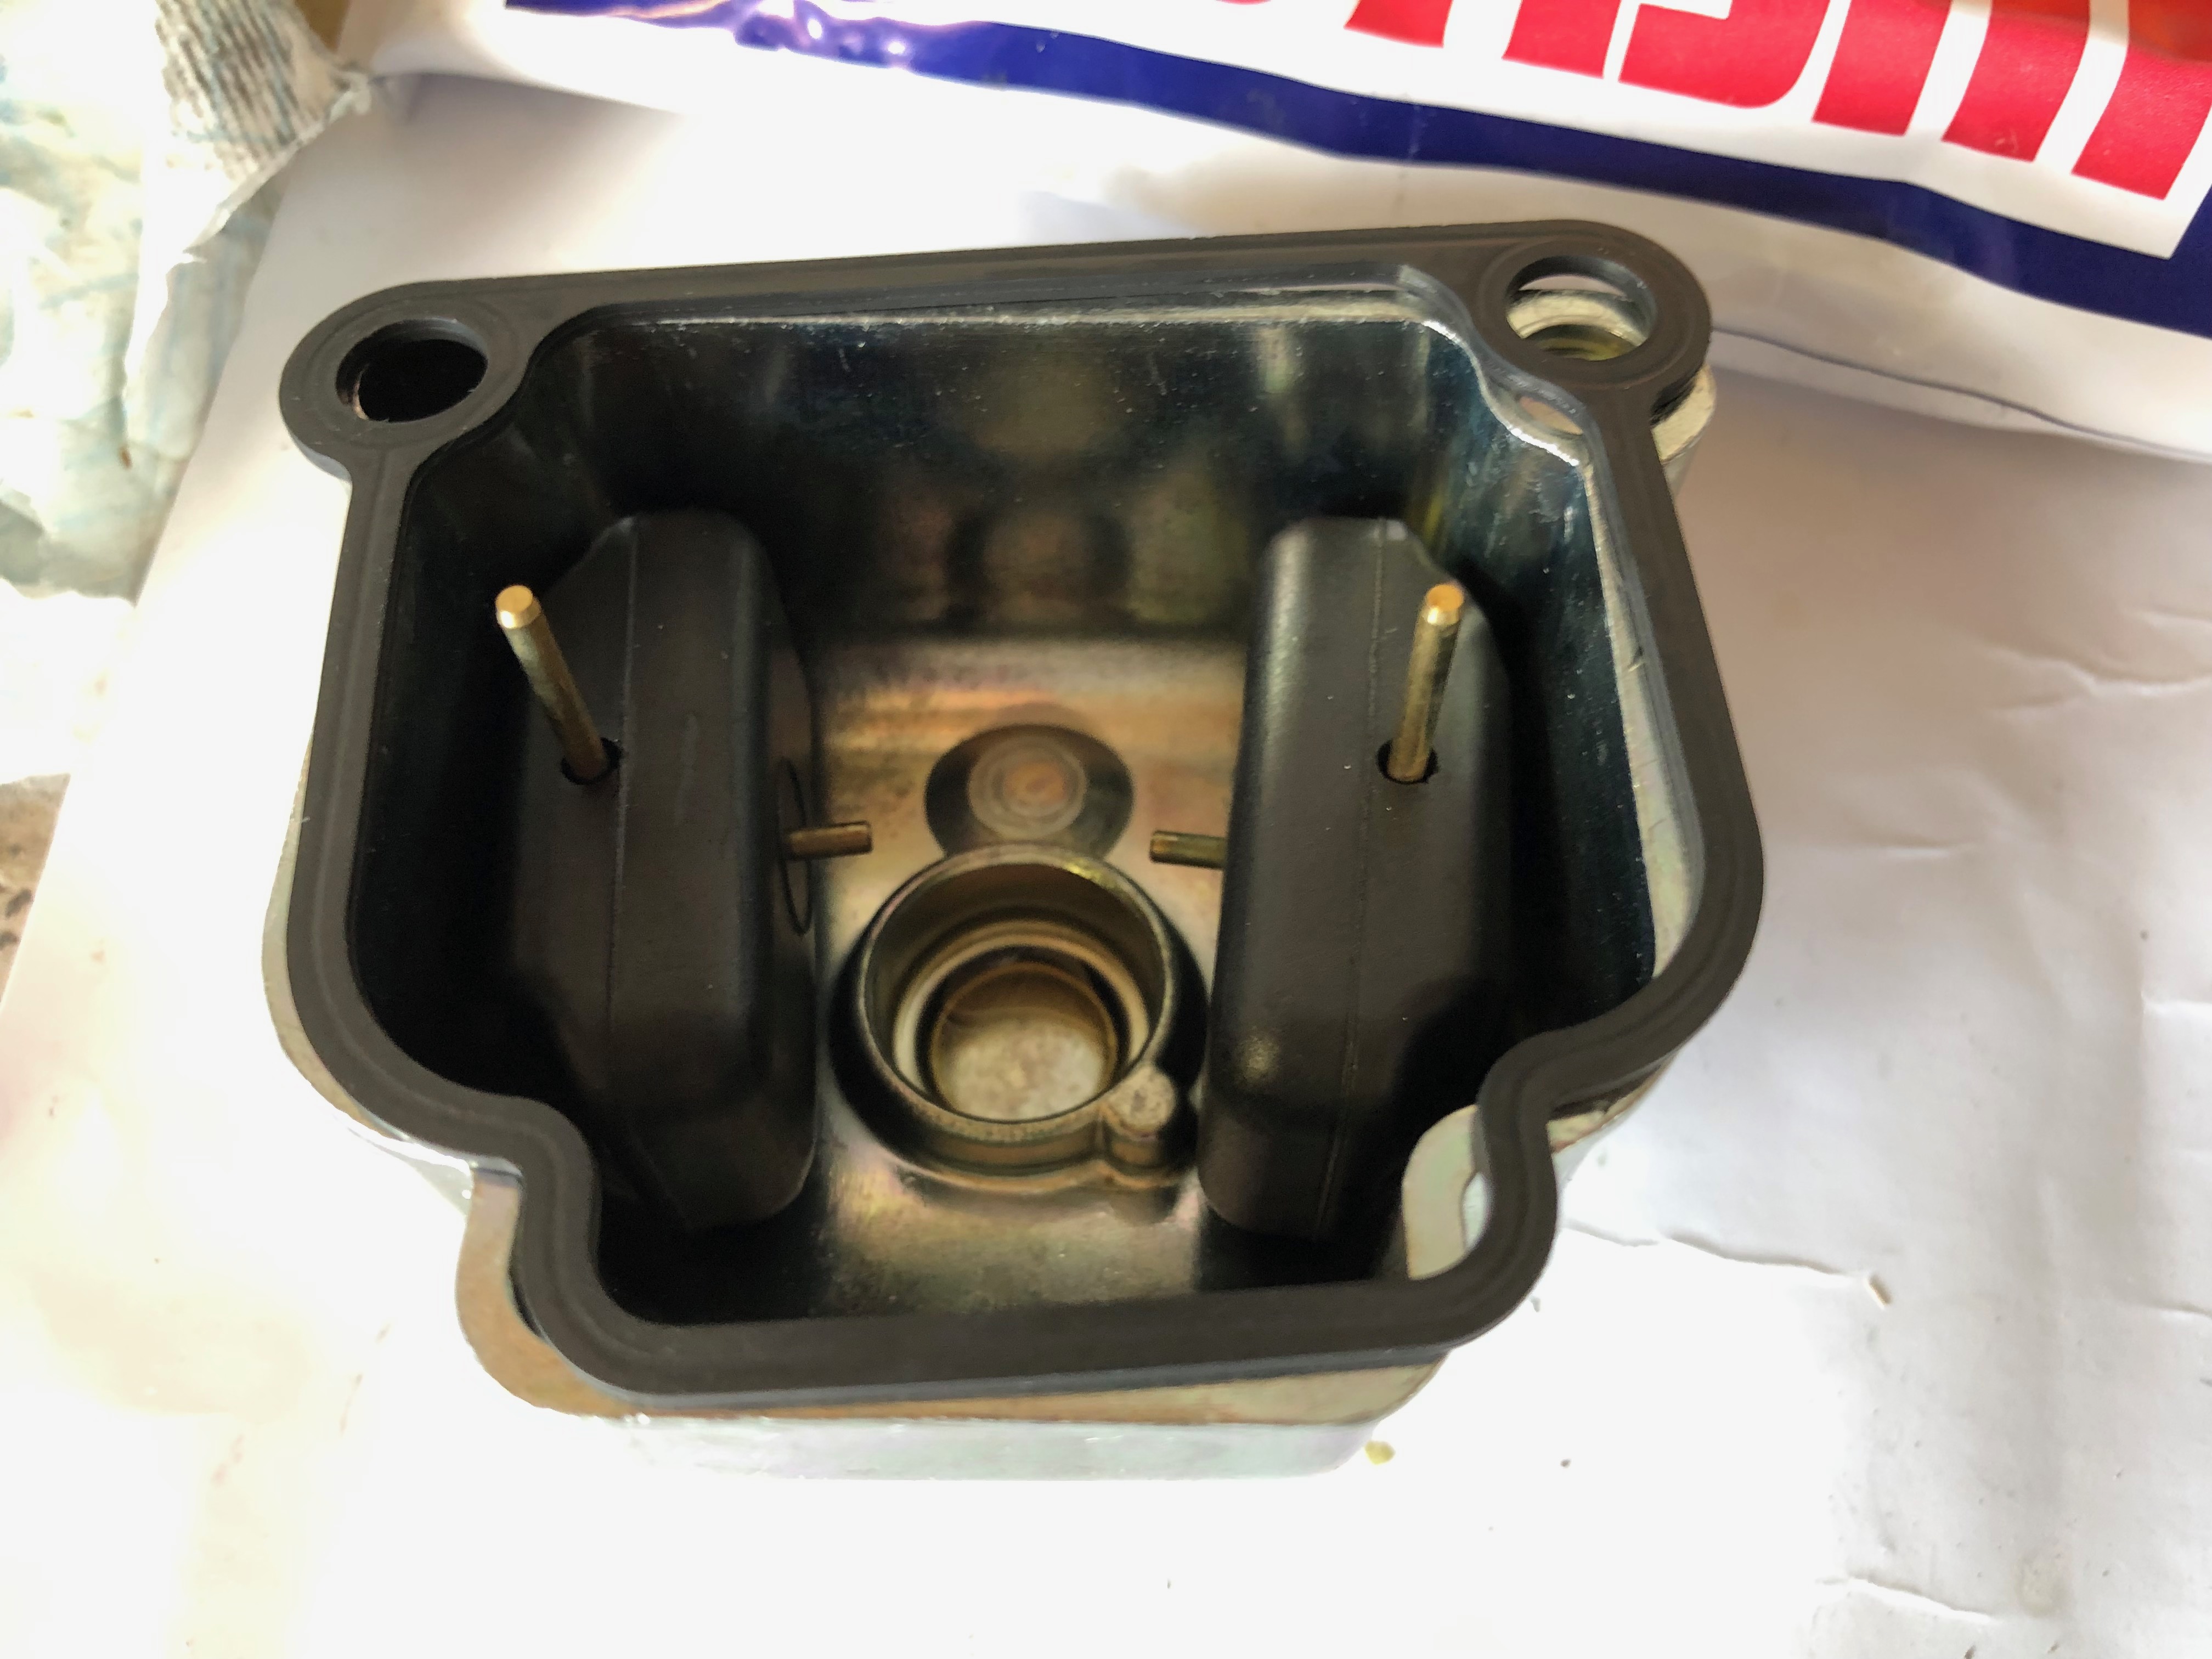
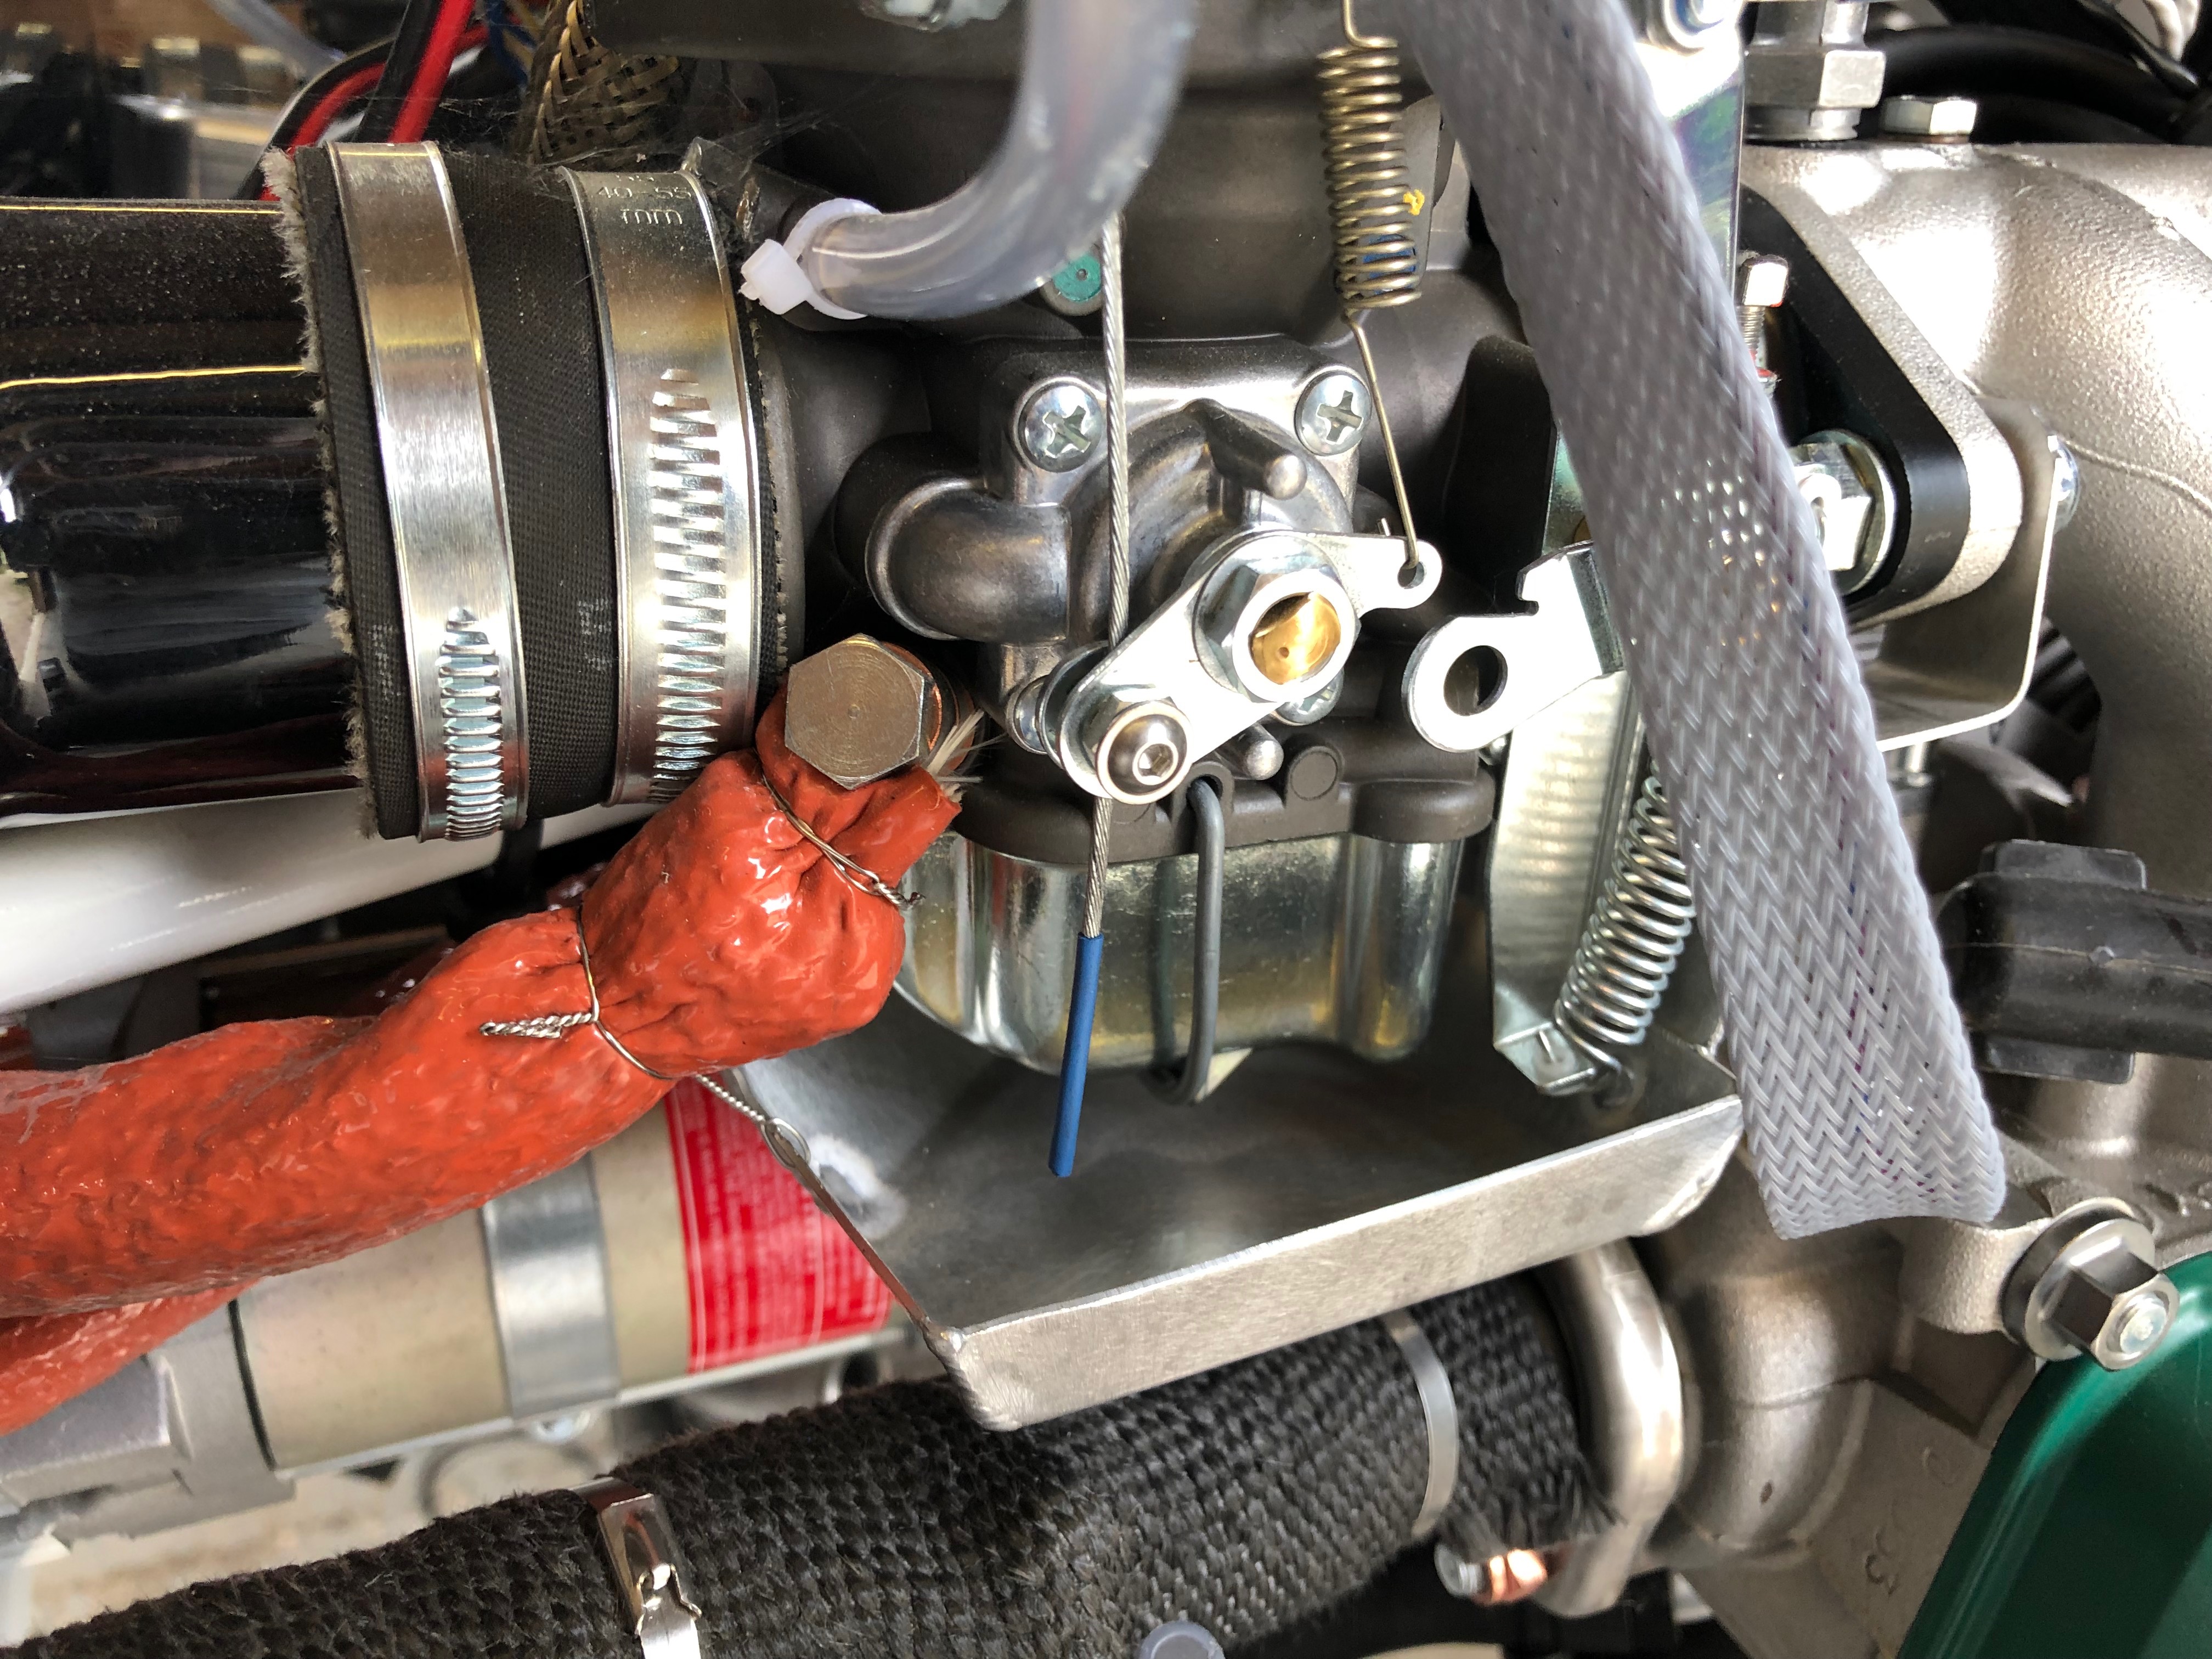
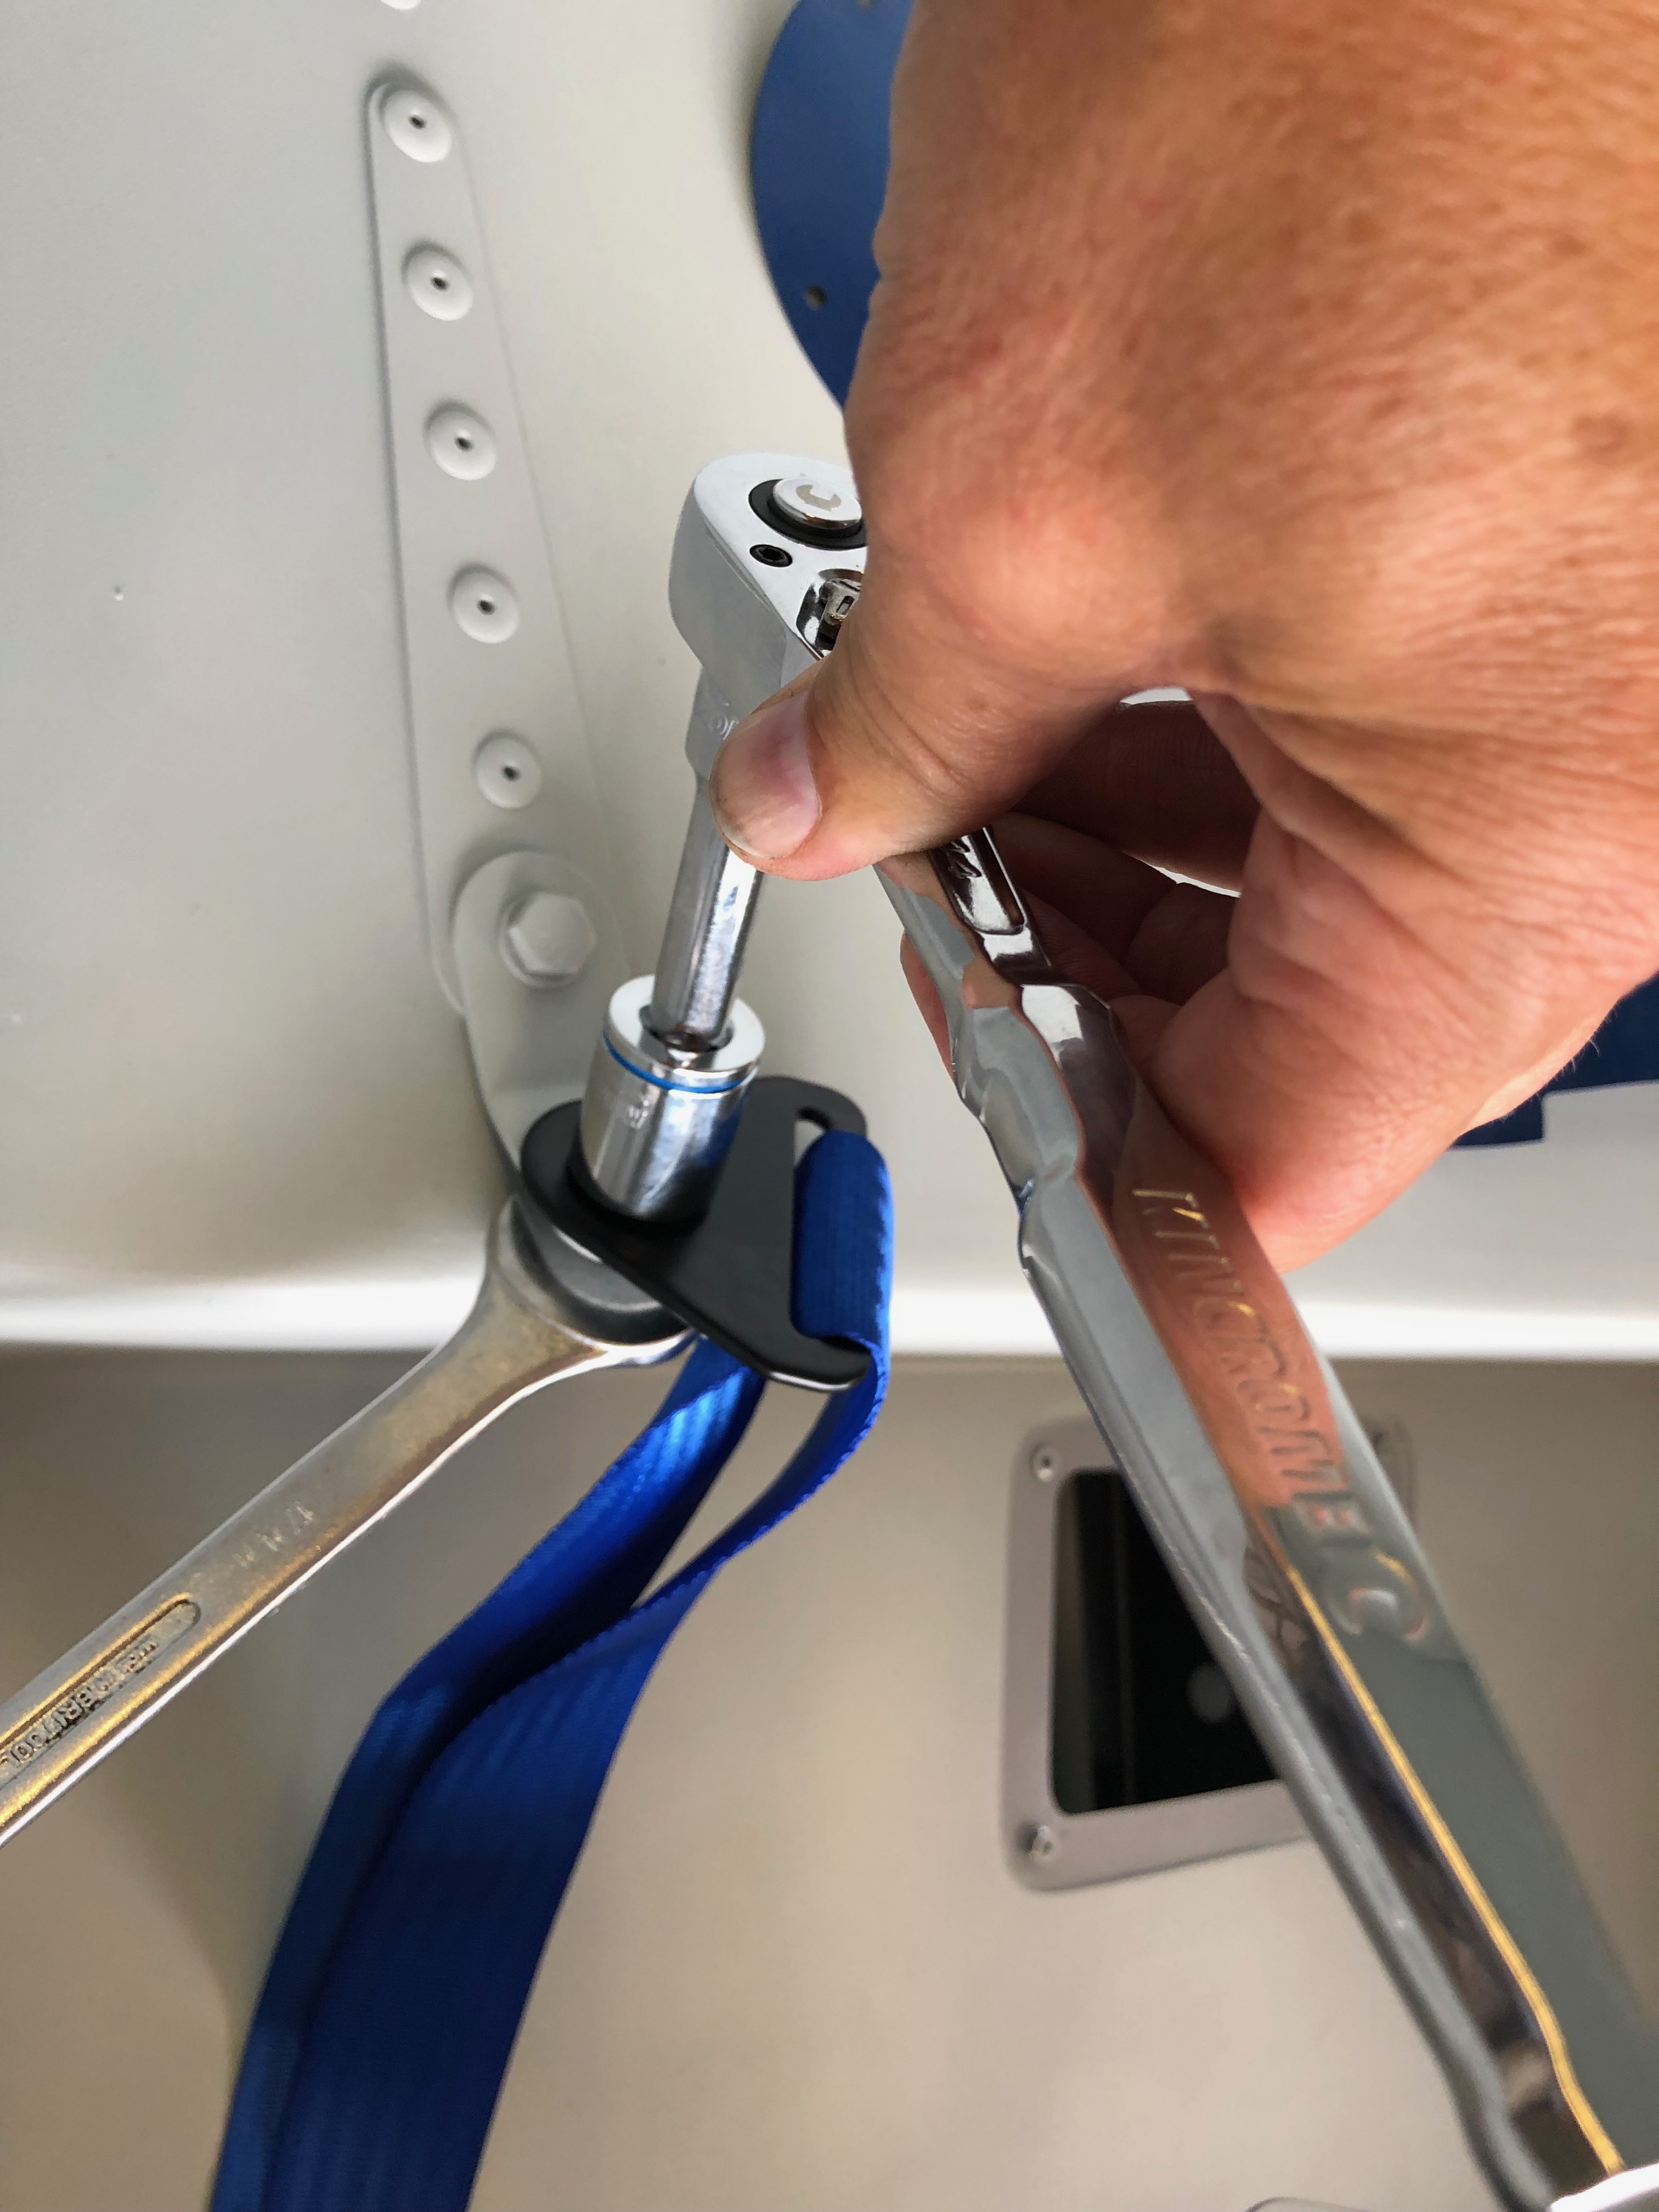
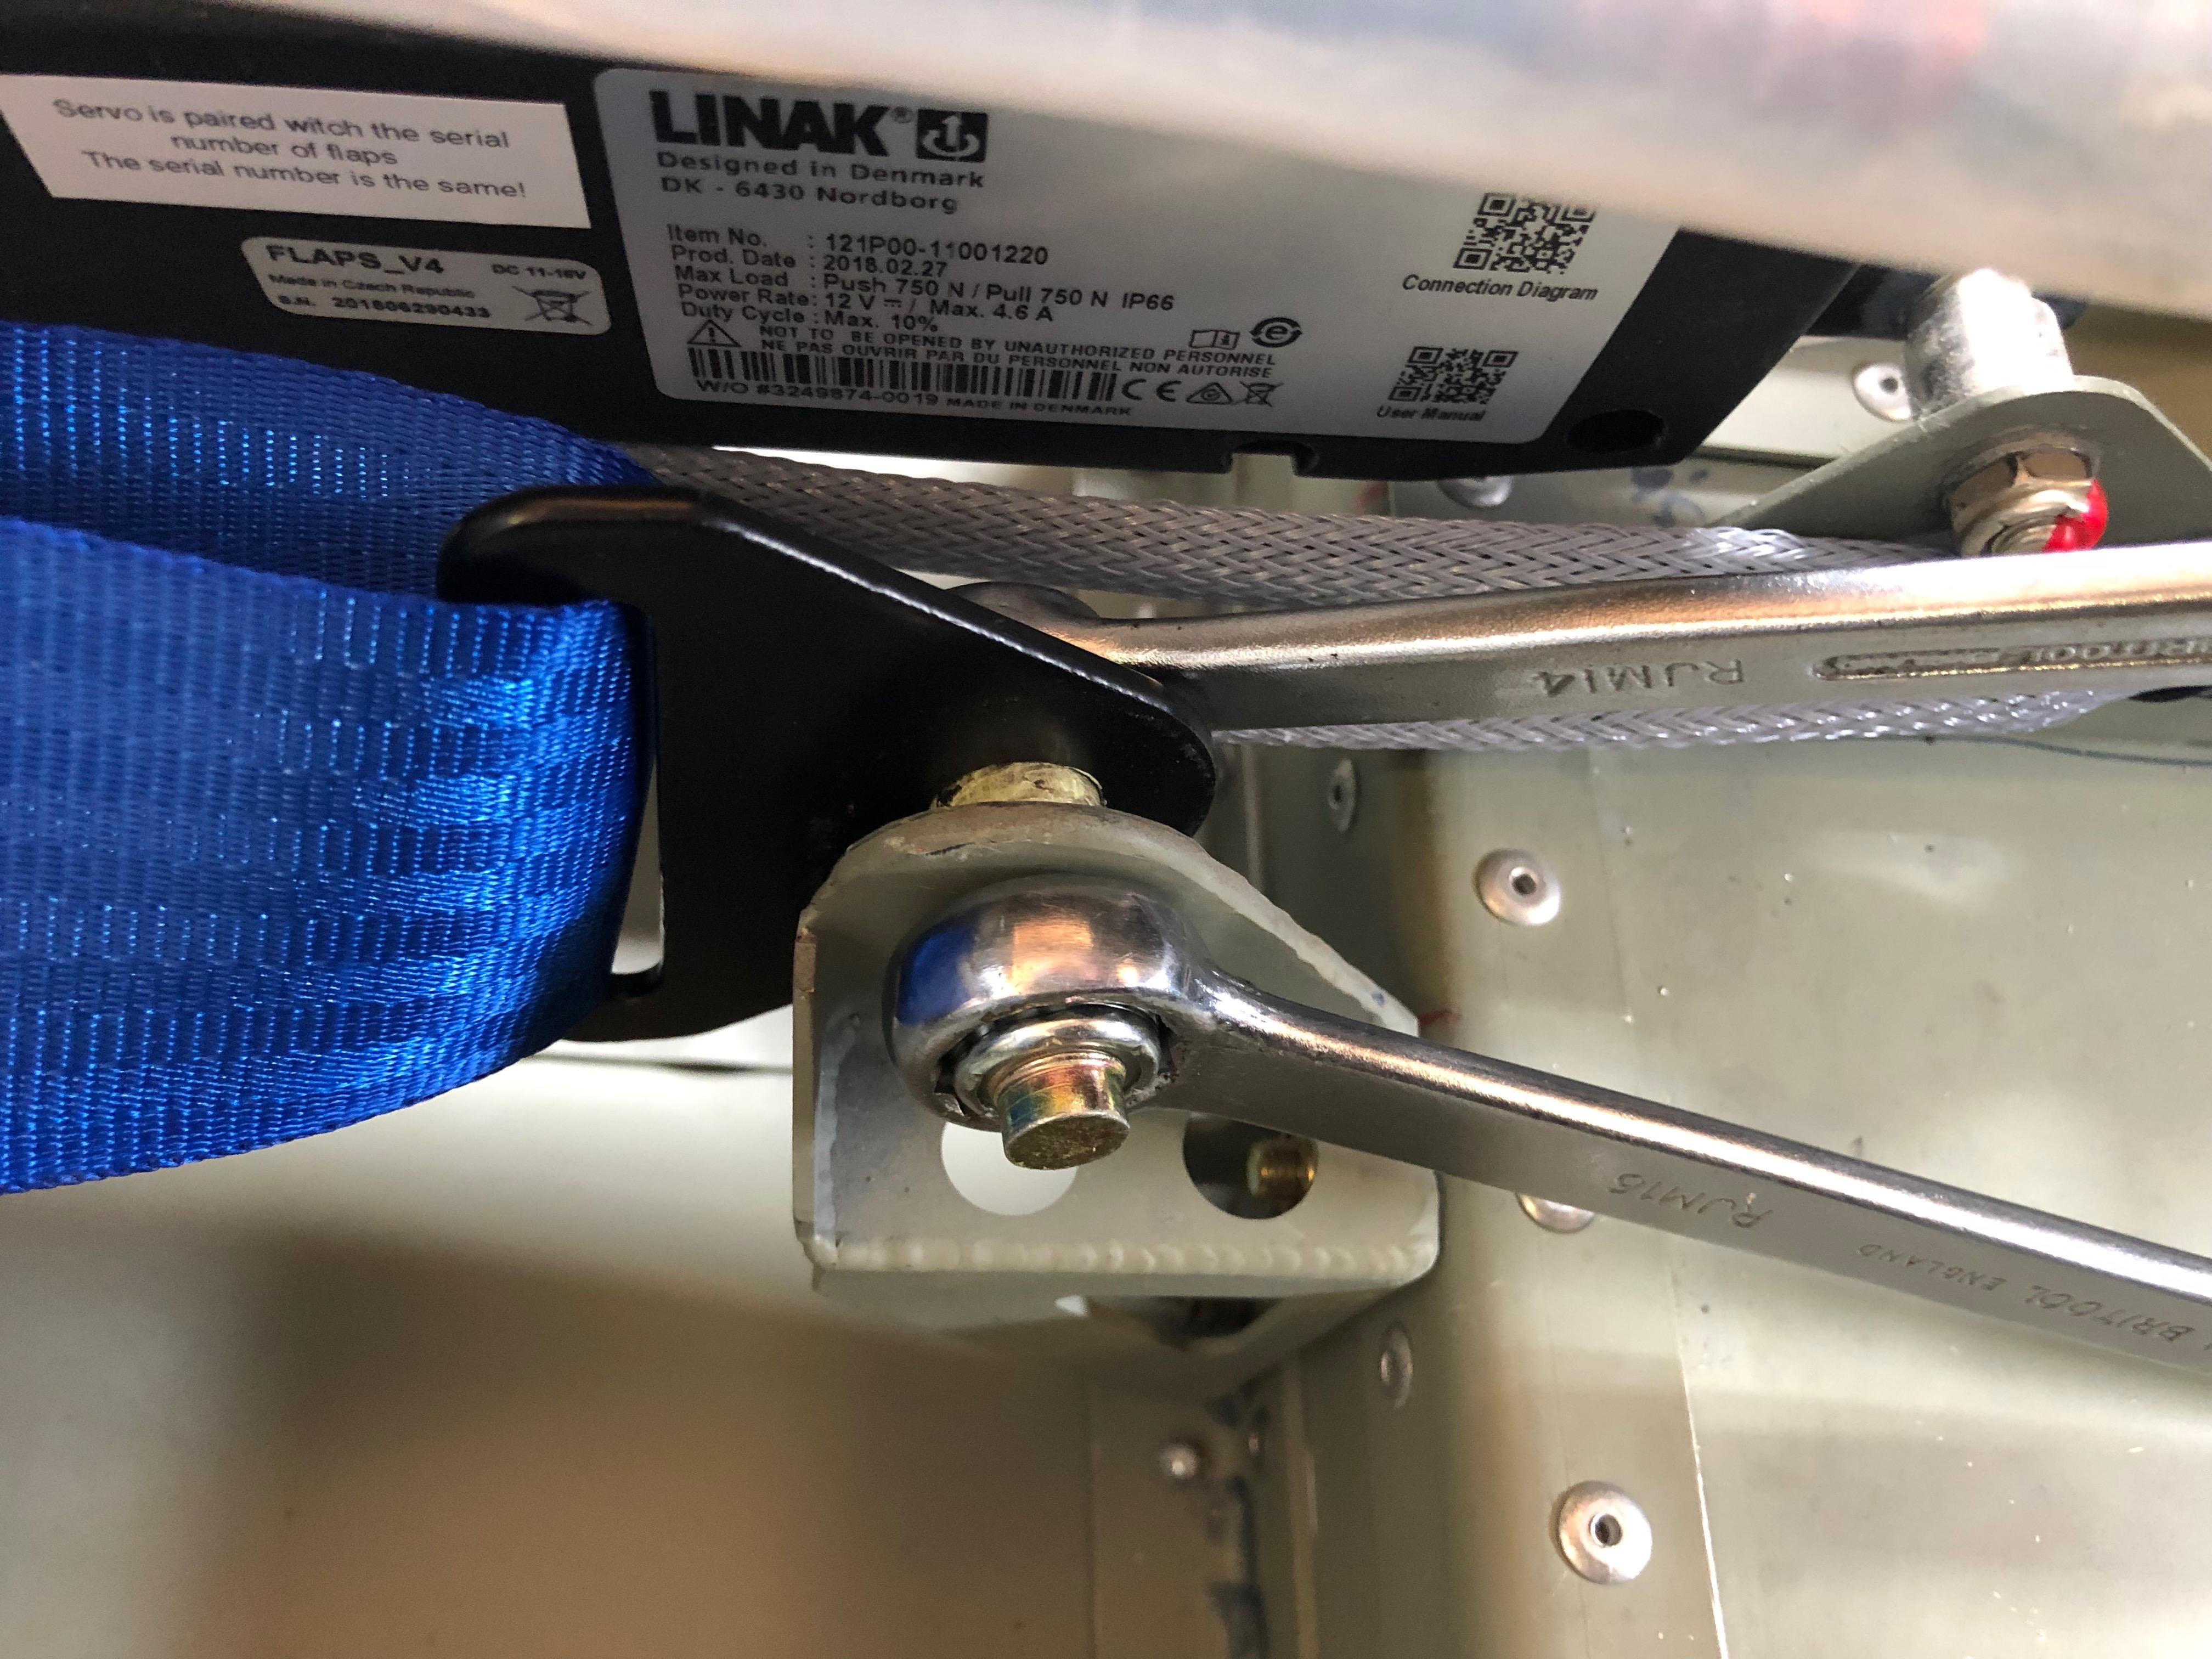
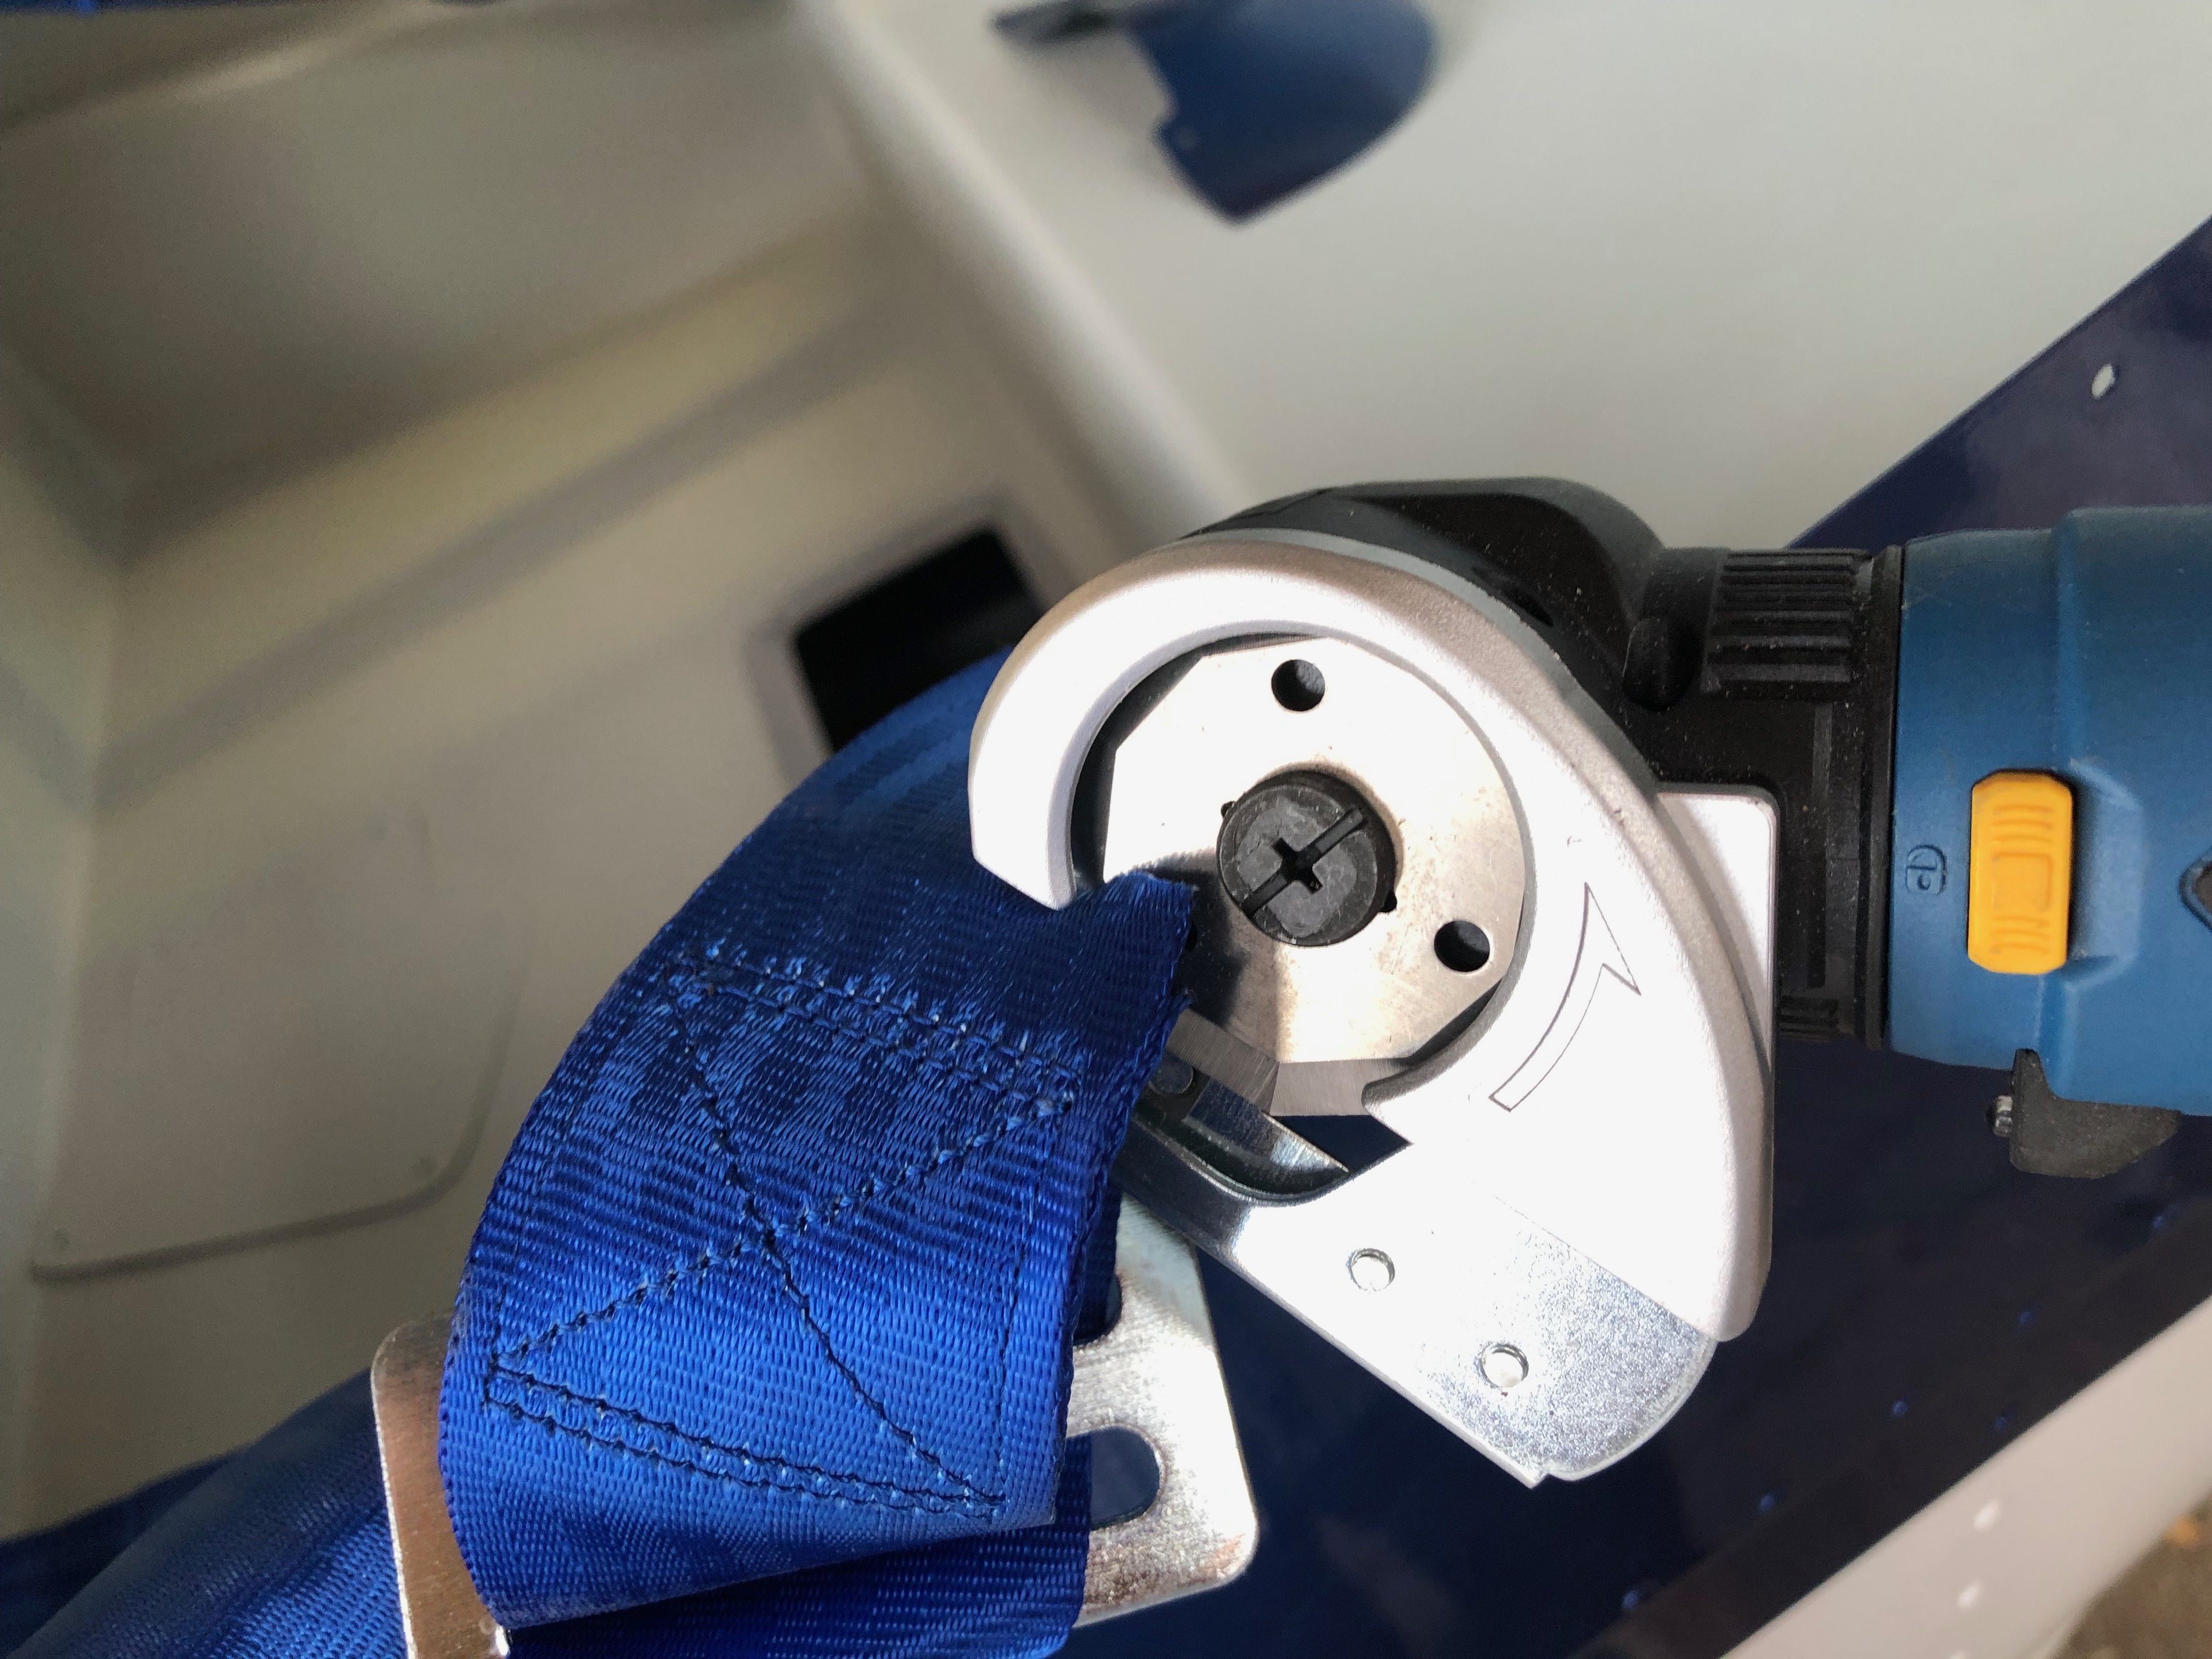
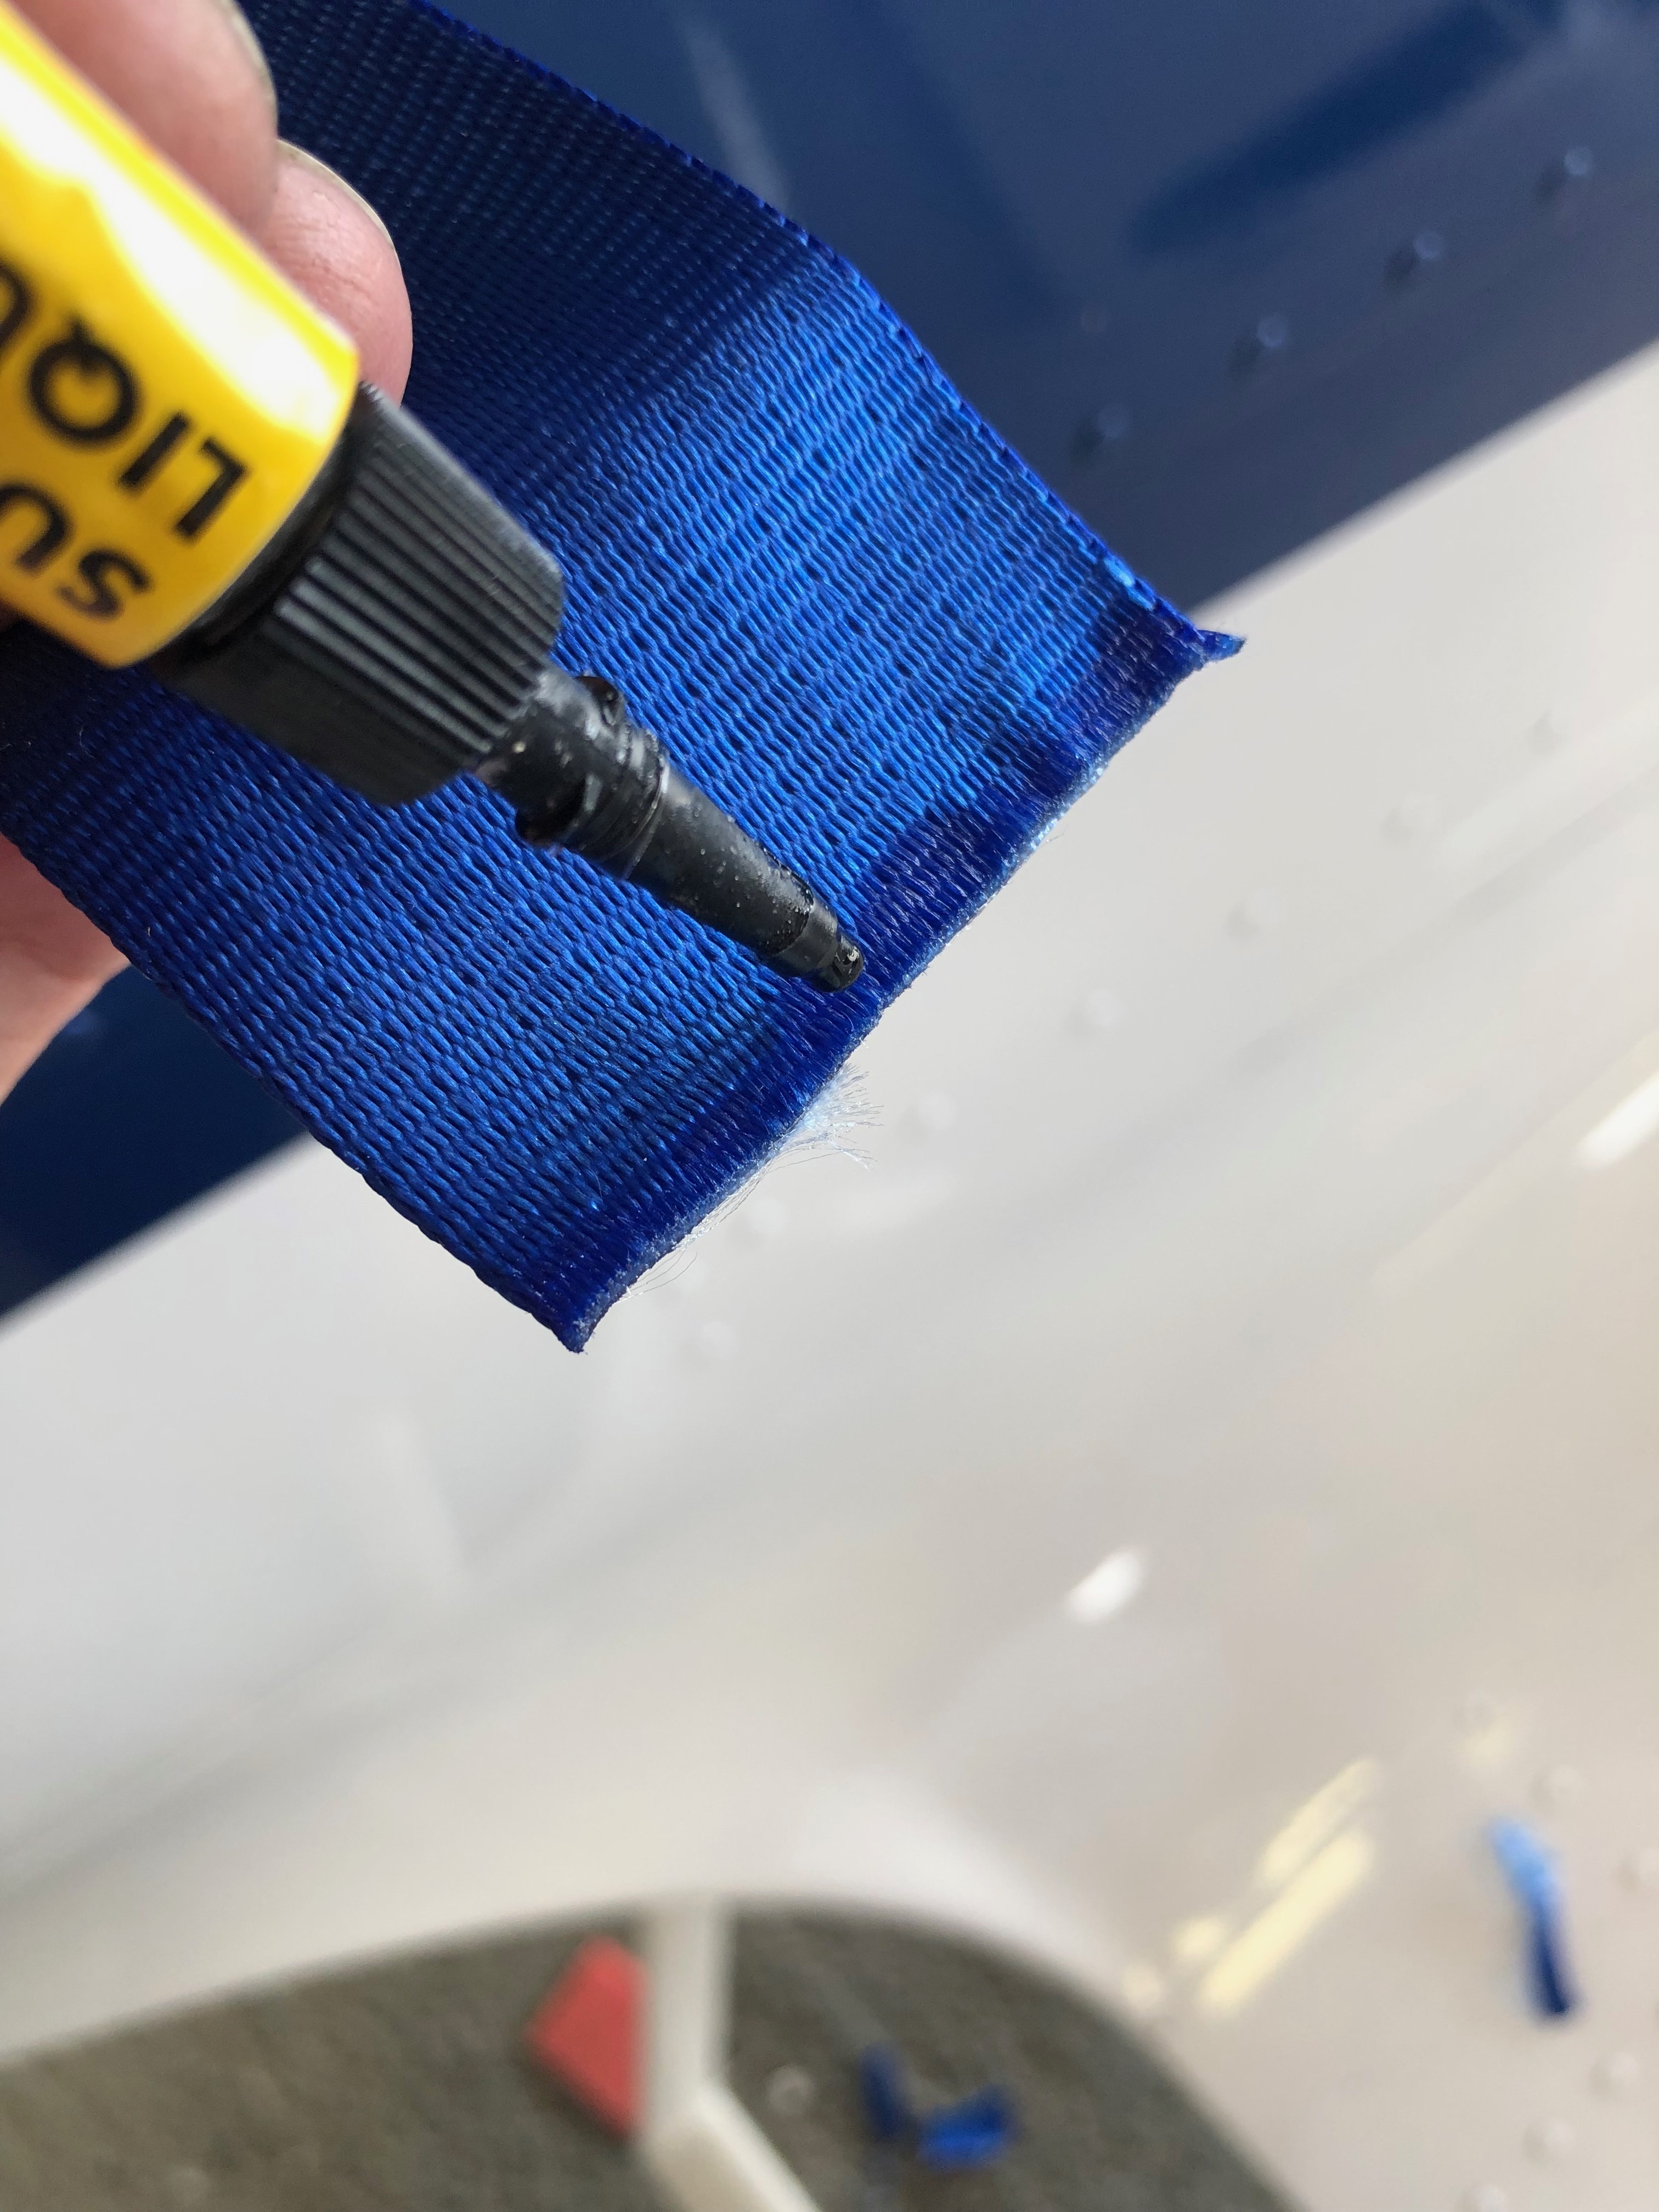
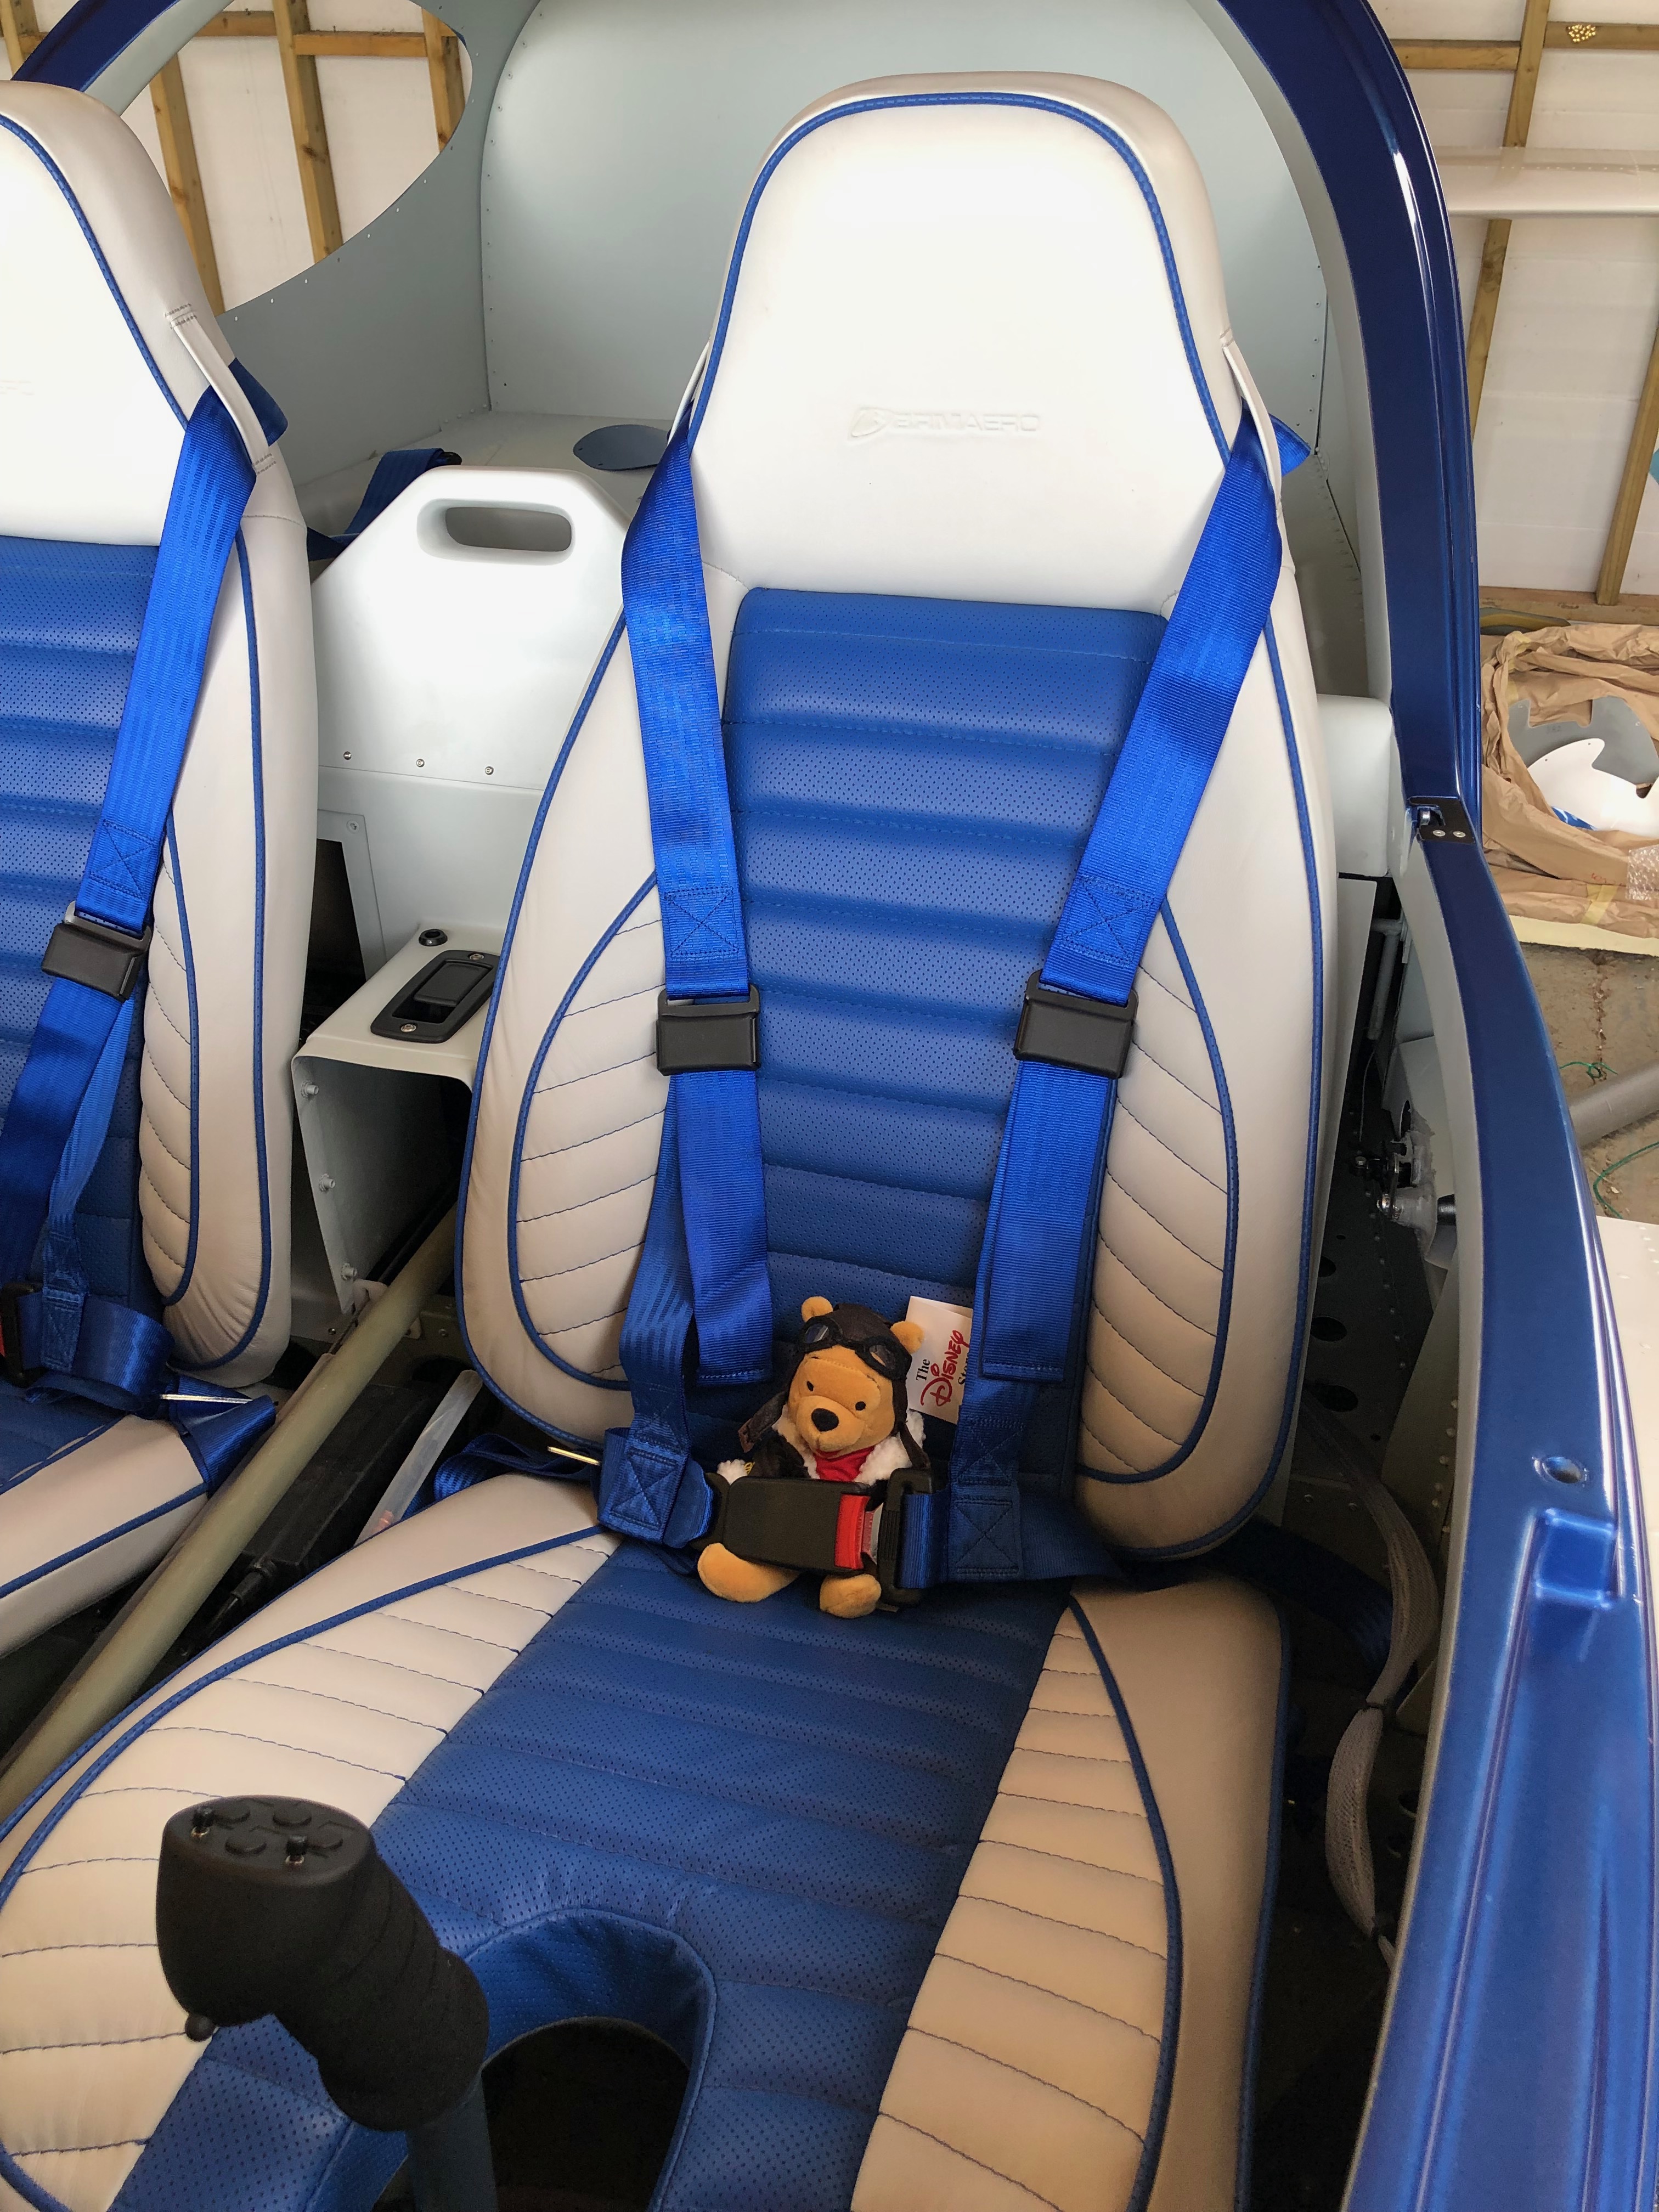
Feel like I’m going backward as I need to do some remedial work to the water pump and replace the carburettor floats. But I have a few other things that I’ll do today which will get me back on track. I will o order the registration vinyls (that I have left far too late) and I’ll also be fitting the seatbelts.

The order that I’ve been waiting for was an 18mm x 1 fine pitch die to cut a little more thread on each water pump pipe. Fairly easy to do but I make to make sure that the die went on perfectly straight otherwise it might start cutting a new thread!
All done and sealed with Loctite. I’m going to leave it in position for a couple of days to fully cure before touching the pipes. Hopefully this will ensure I won’t have a repeat of the leak.
Now onto the floats. I spoke to CFS aero who are the importers for Rotax engines and they sent me a full set of new floats to replace those that were in my carbs. This is really a precautionary measure as I don’t know if the floats fitted are defective or not but I didn’t want to find out on the first flight!
To get to the float chambers I have to undo some of the work that I’ve done previously. First off are the carb drip trays…
…revealing the float bowl retaining clip. This is prised off to allow the bowl to be removed.
The flaots sit in the bowl and rise and fall on pins to retain them. Brings back memories when I used to play about with motorcycles when I was younger.
When refitting must make sure that I don’t damage this mechanism and ensure that the seal is seated correctly.
Then a refit of the carb drip trays before repeating the procedure on the other carb.
All done and back to home it was before my intervention.
Next on the agenda is to fit the seatbelts. Three bolts and nyloc nuts are used to secure them.
The top hole in the retaining mount is opened up to 11mm before the bolts can be fitted.
The top retaining strap is fitted first and tightened to pinch the fitting and then just eased off slightly to allow for some movement in operation.
The bolts with a ‘shoulder’ are then fitted to to the left and right seatbelt retaining brackets.
The top strap is too long to use as is so the seatbelt webbing needs to be modified by cutting and running through the retaining adjusters.
To stop the webbing flying in service I’ve sealed the ends with superglue. This may work ok but if it fails after some use I’ll seal with heat instead but this seemed a good solution.
With both side now done is was time to try out on a ‘real’ pilot so Pilot Pooh was given first go…

Monday 8th July 2019

Music: Palio Nutini

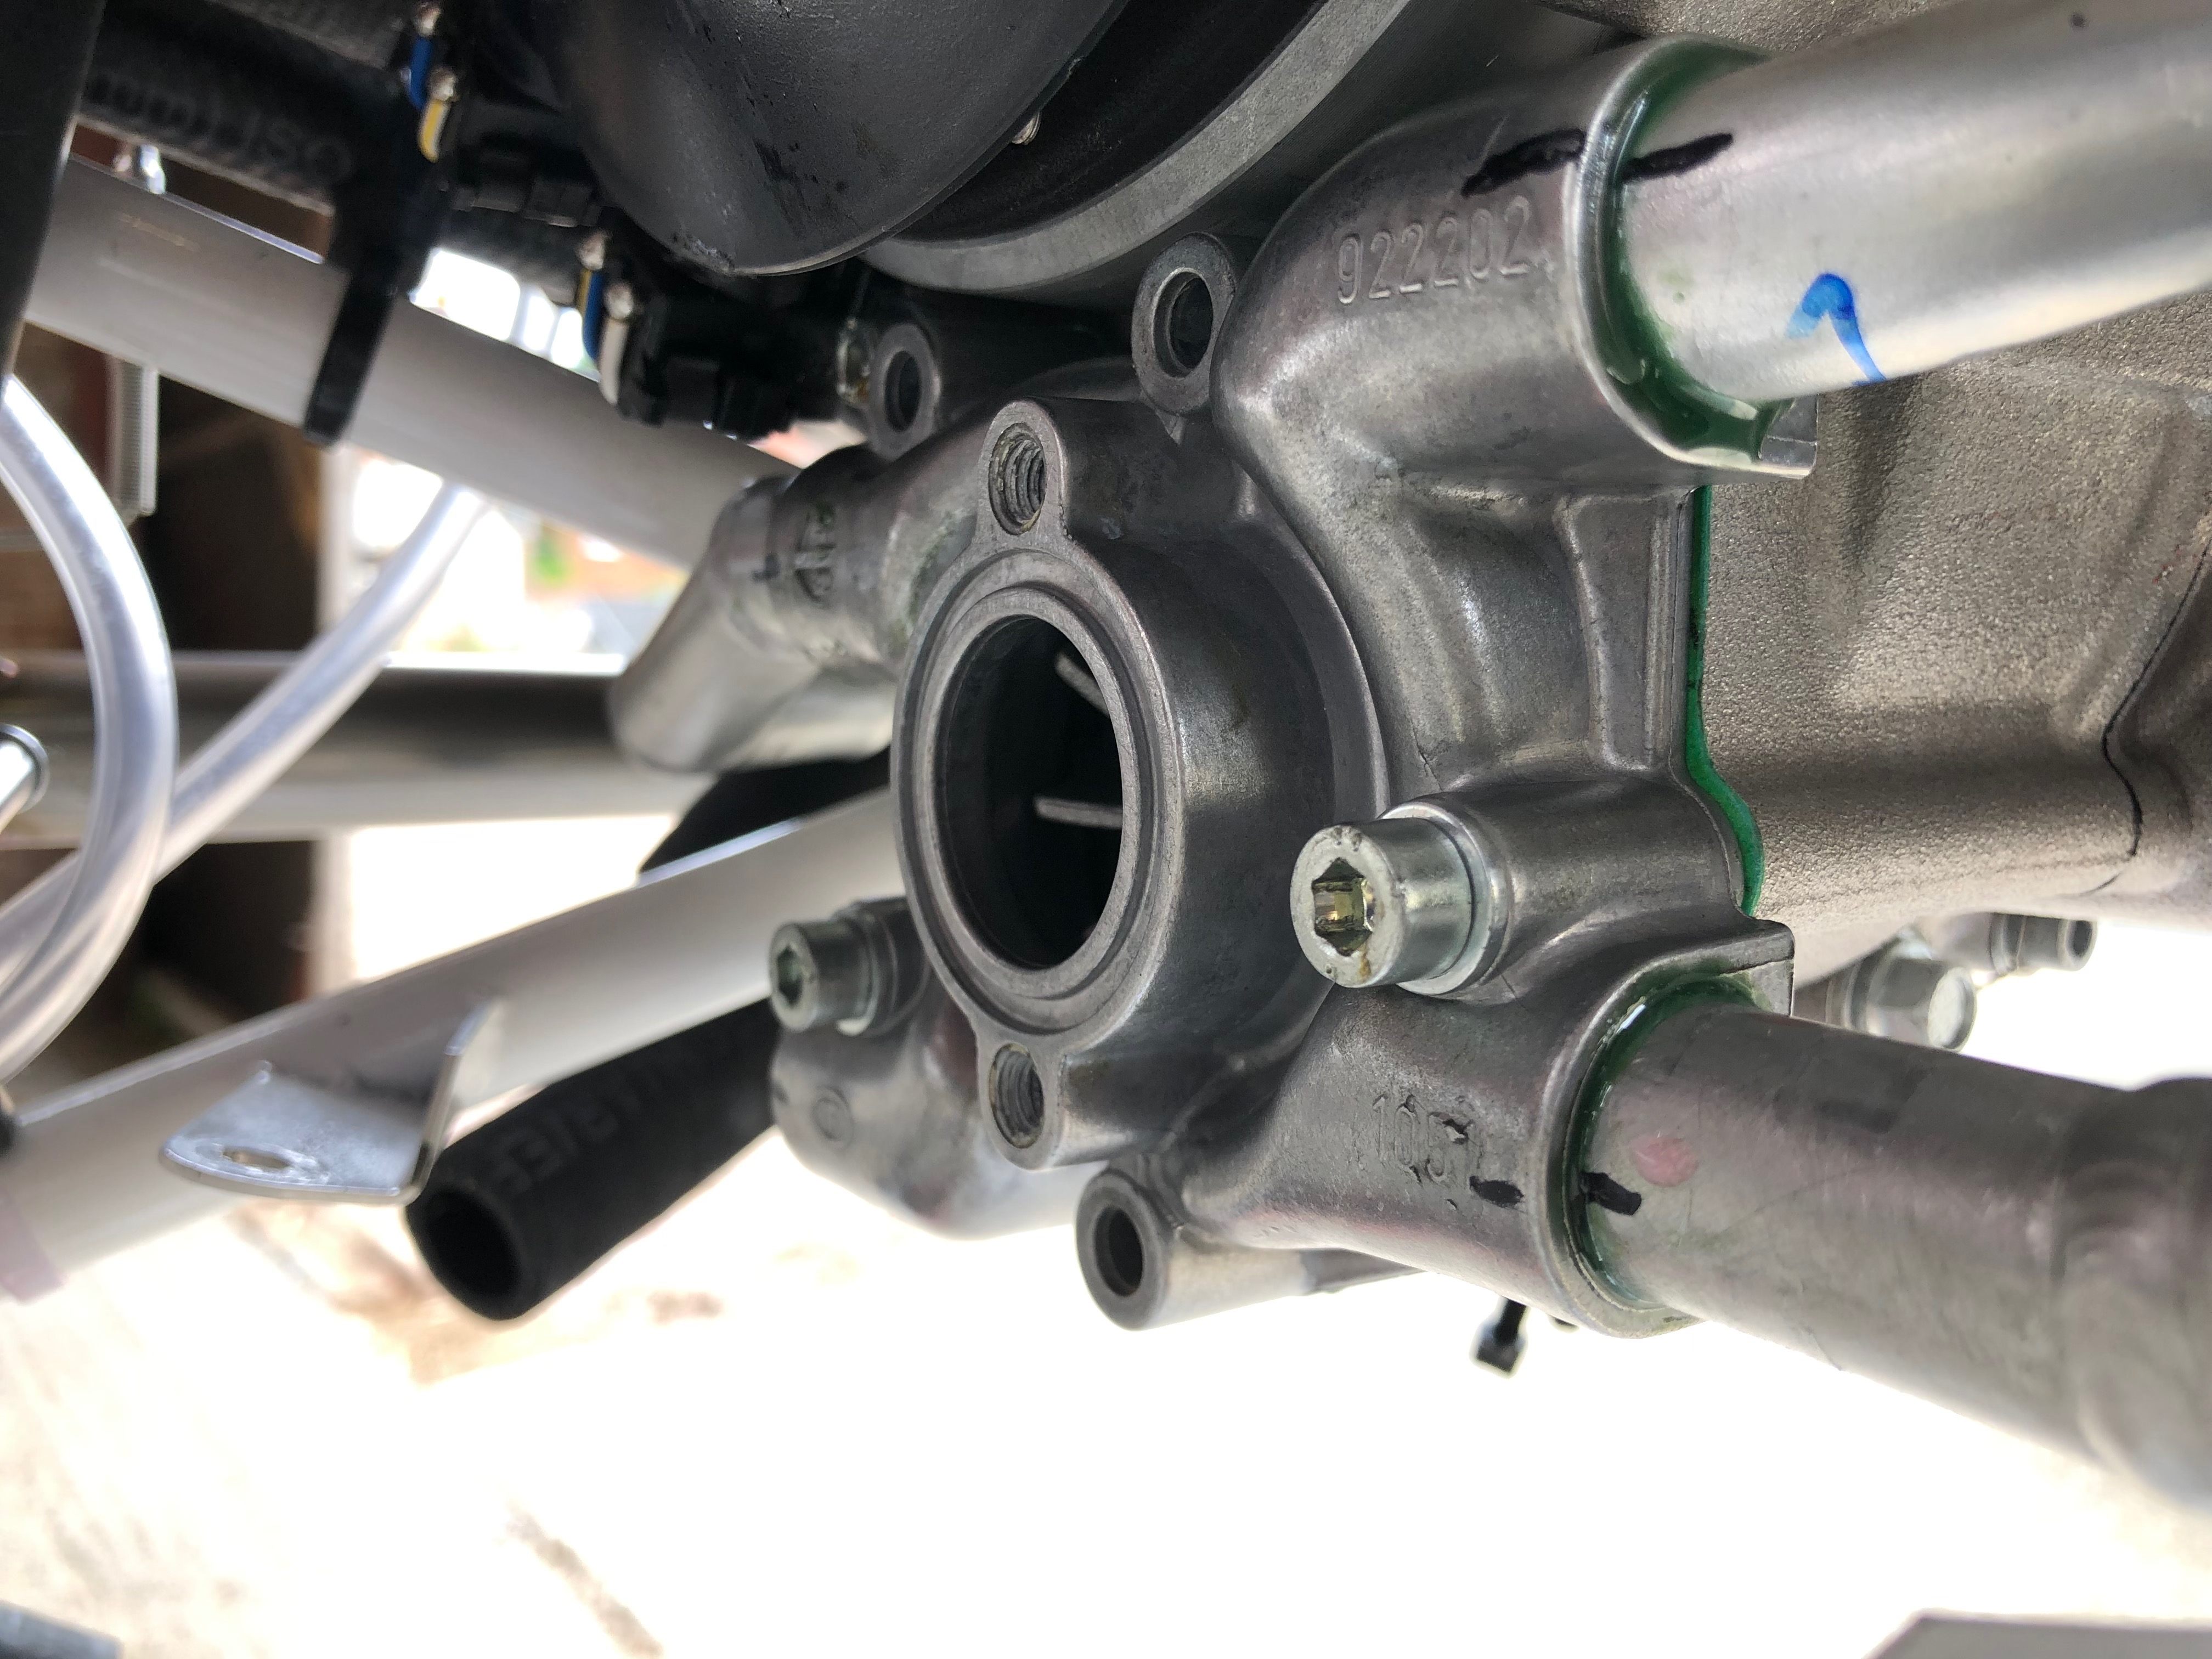
A short day today as I was hoping that the M18 x 1 die would be delivered today so I could do the work in the afternoon. Unfortunately for some reason it was delayed so will have to wait in for it tomorrow now. The leak has caused me a couple of days delay so far which is a little frustrating.

With the water pump dismantled I need to use a M18 x 1 die to cut further down the pipe to provide a better seal than achieved on the first fit. This is a revised method that has worked for others that have had this problem according to Bristell.
The wires connecting the lights, strobes, trim motor and pitot in the wings need to be protected so a piece of flexible conduit is used.
The elevator trim and lights connectors are secured to prevent them from moving in service.
The artwork for the registration has been prepared and I’m obtaining a couple of quotes before ordering.

Thursday 2nd May 2019

Music: Snow Patrol and Celine Dion

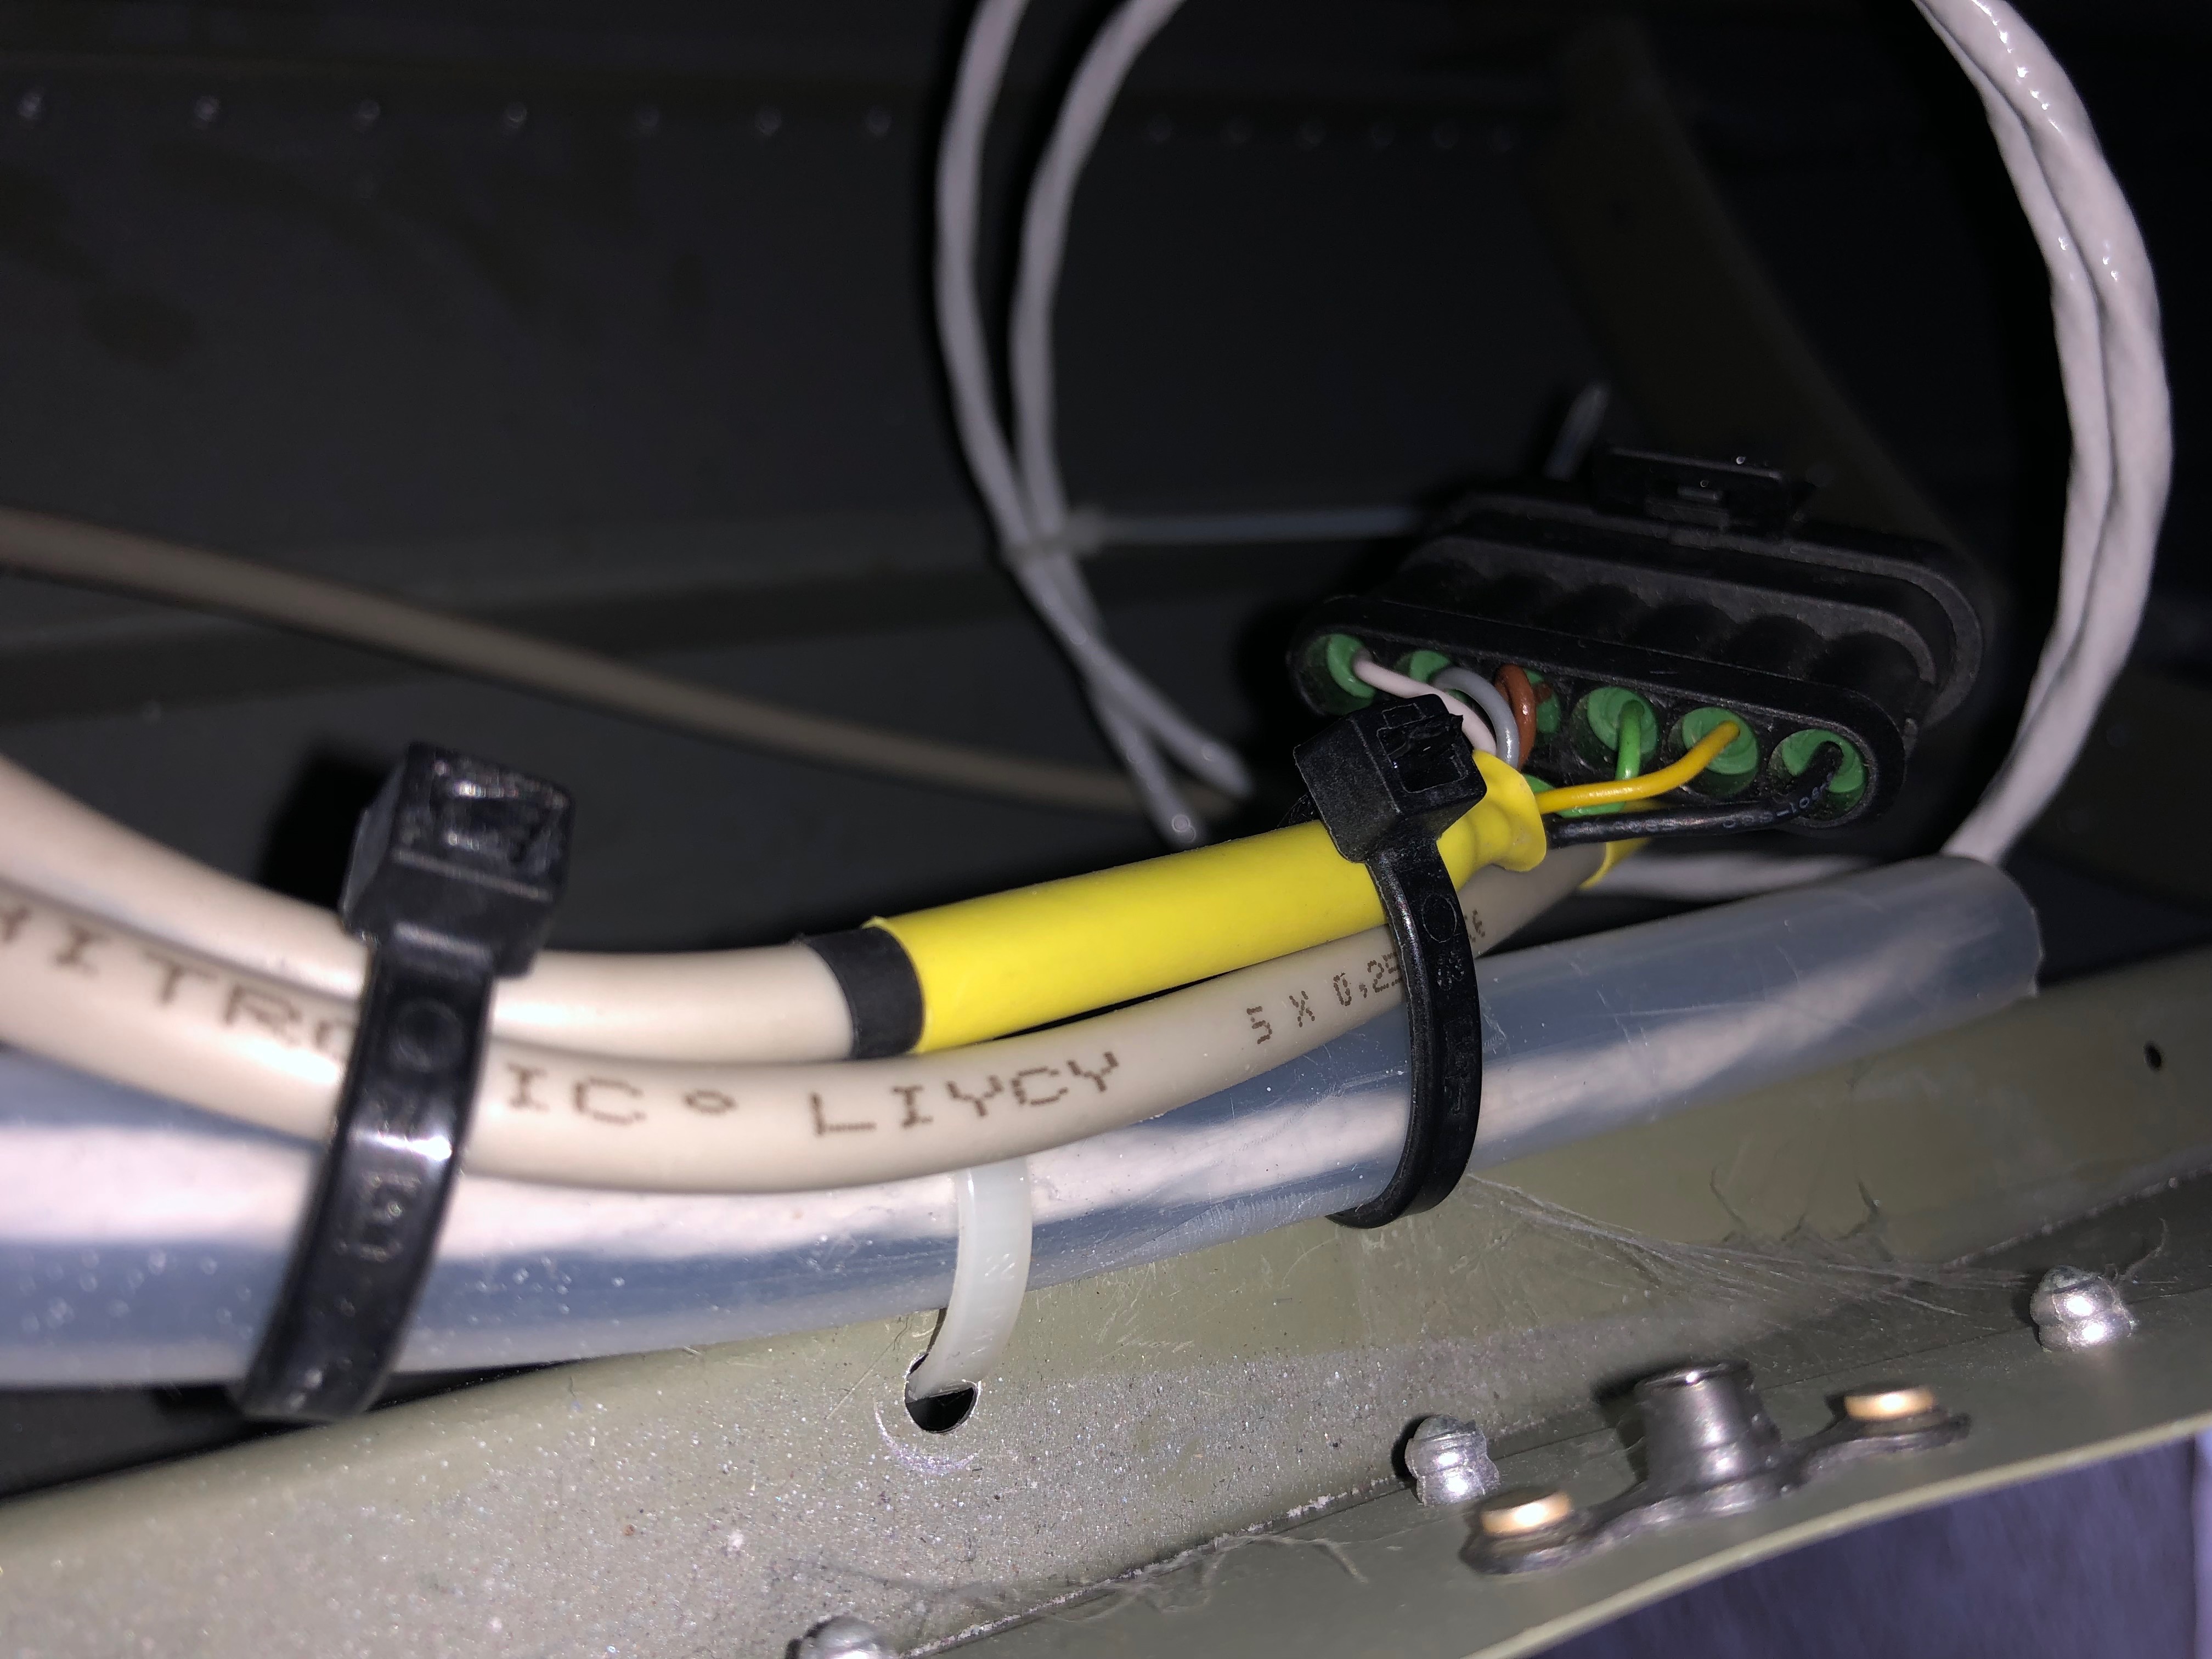
Finished off the installation of the tail strobe and pitot unit before starting work on the primary power system. Also 10 stages of the build were signed off by Ian.
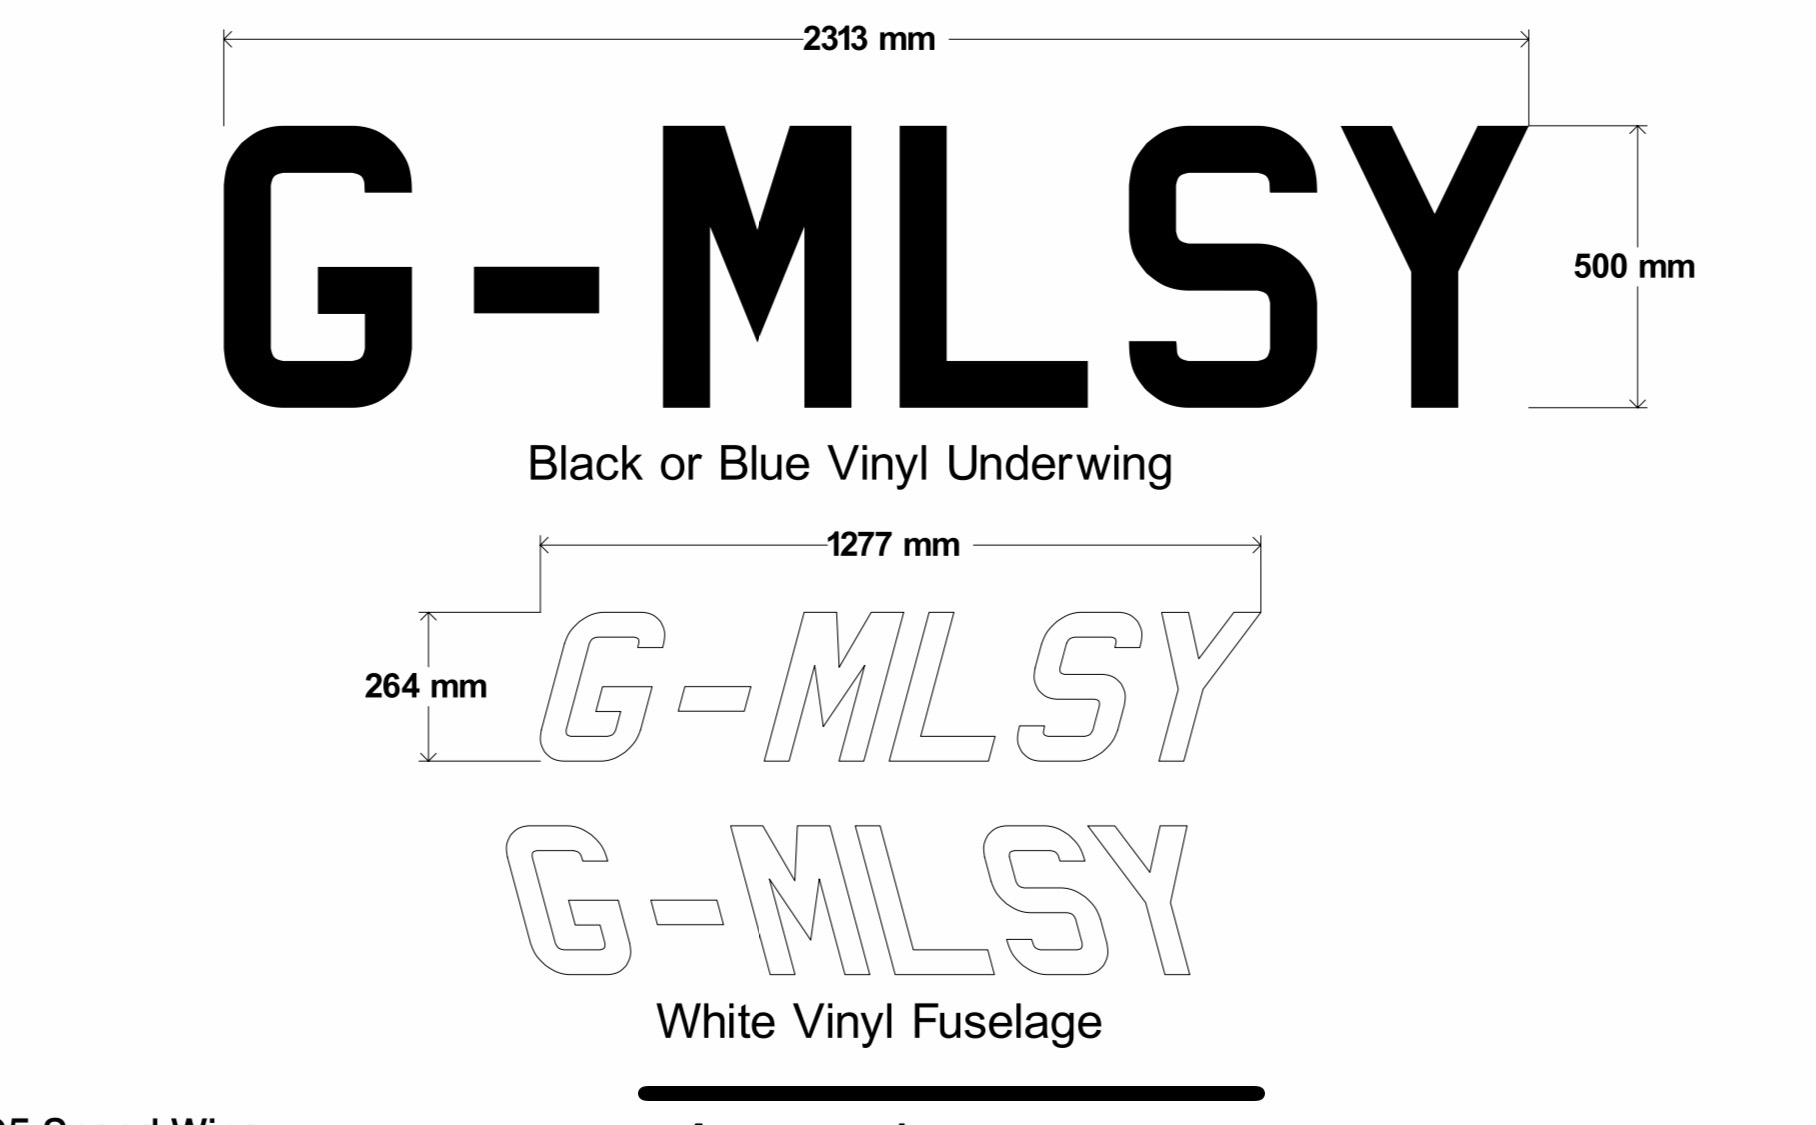
First job today is to finish off the installation of the tail strobe.

The strobe and wire have different colours but can be matched up logically, following the same scheme as the wing strobes.

The purple and orange structure in the background is a multi arm clamp that can be used to hold wires whilst I solder them.
The tail strobe wire is fed into the fin but there is no room for any slack so I put a loop in the wire by the rear inspection access hole so I can get to the strobe and solder connections if necessary.
The pitot has two aluminium tube, one for airspeed and one for angle of attack. The can be connected to the nylon pipes by warming the pipe and pushing oner the pipes but a better solution is to use connectors supplied in the pitot installation kit. These need installed using a ‘Flaring tool’ to ensure the connection is air tight.
I didn’t want to buy a flaring tool for just two pipes but luckily Ian Daniels came to the rescue and the result is two very nice flared pipes.
The final assembly ready for fixing to the underside of the starboard wing.
Some silicon seal is used to provide so weather proofing prior to riveting on.
The unit is held in place with clecos whilst riveting.
As shown before the power unit for the pitot heat is mounted on the access panel. The excess wires could be cut but I’ve tidied them up by coiling round the unit and using a cable tie to hold in place.
The first crimps of many!
The last thing to do is cut the pitot power wire to the correct length and connect them up before securing the panel in place. The only problem is I don’t have any male spade connectors so I’ll have to finish that job off when they arrive.
Moving on to the primary power system I’ve decided to add a master battery relay. This allows the switching high currents from the battery to the starter and the main bus by a normal 25amp switch.
Now the master relay is mounted the primary power system can be connected. I’ve decided to make my own cables up so I’ve purchased a sprung loaded crimper that uses a vice or hammer to make the crimp.

First of a few cable required to be fitted.

Ian Daniels agreed to keep an eye on my build and sign of the completed stages. So that’s it for today whilst Ian inspects the work I’ve done so far.
He’s a busy man with several projects on the go but came in today to inspect my work so far and sign off another 10 stages. The photo shows a build record sheet. I now have 17 out of the 27 stages signed off.