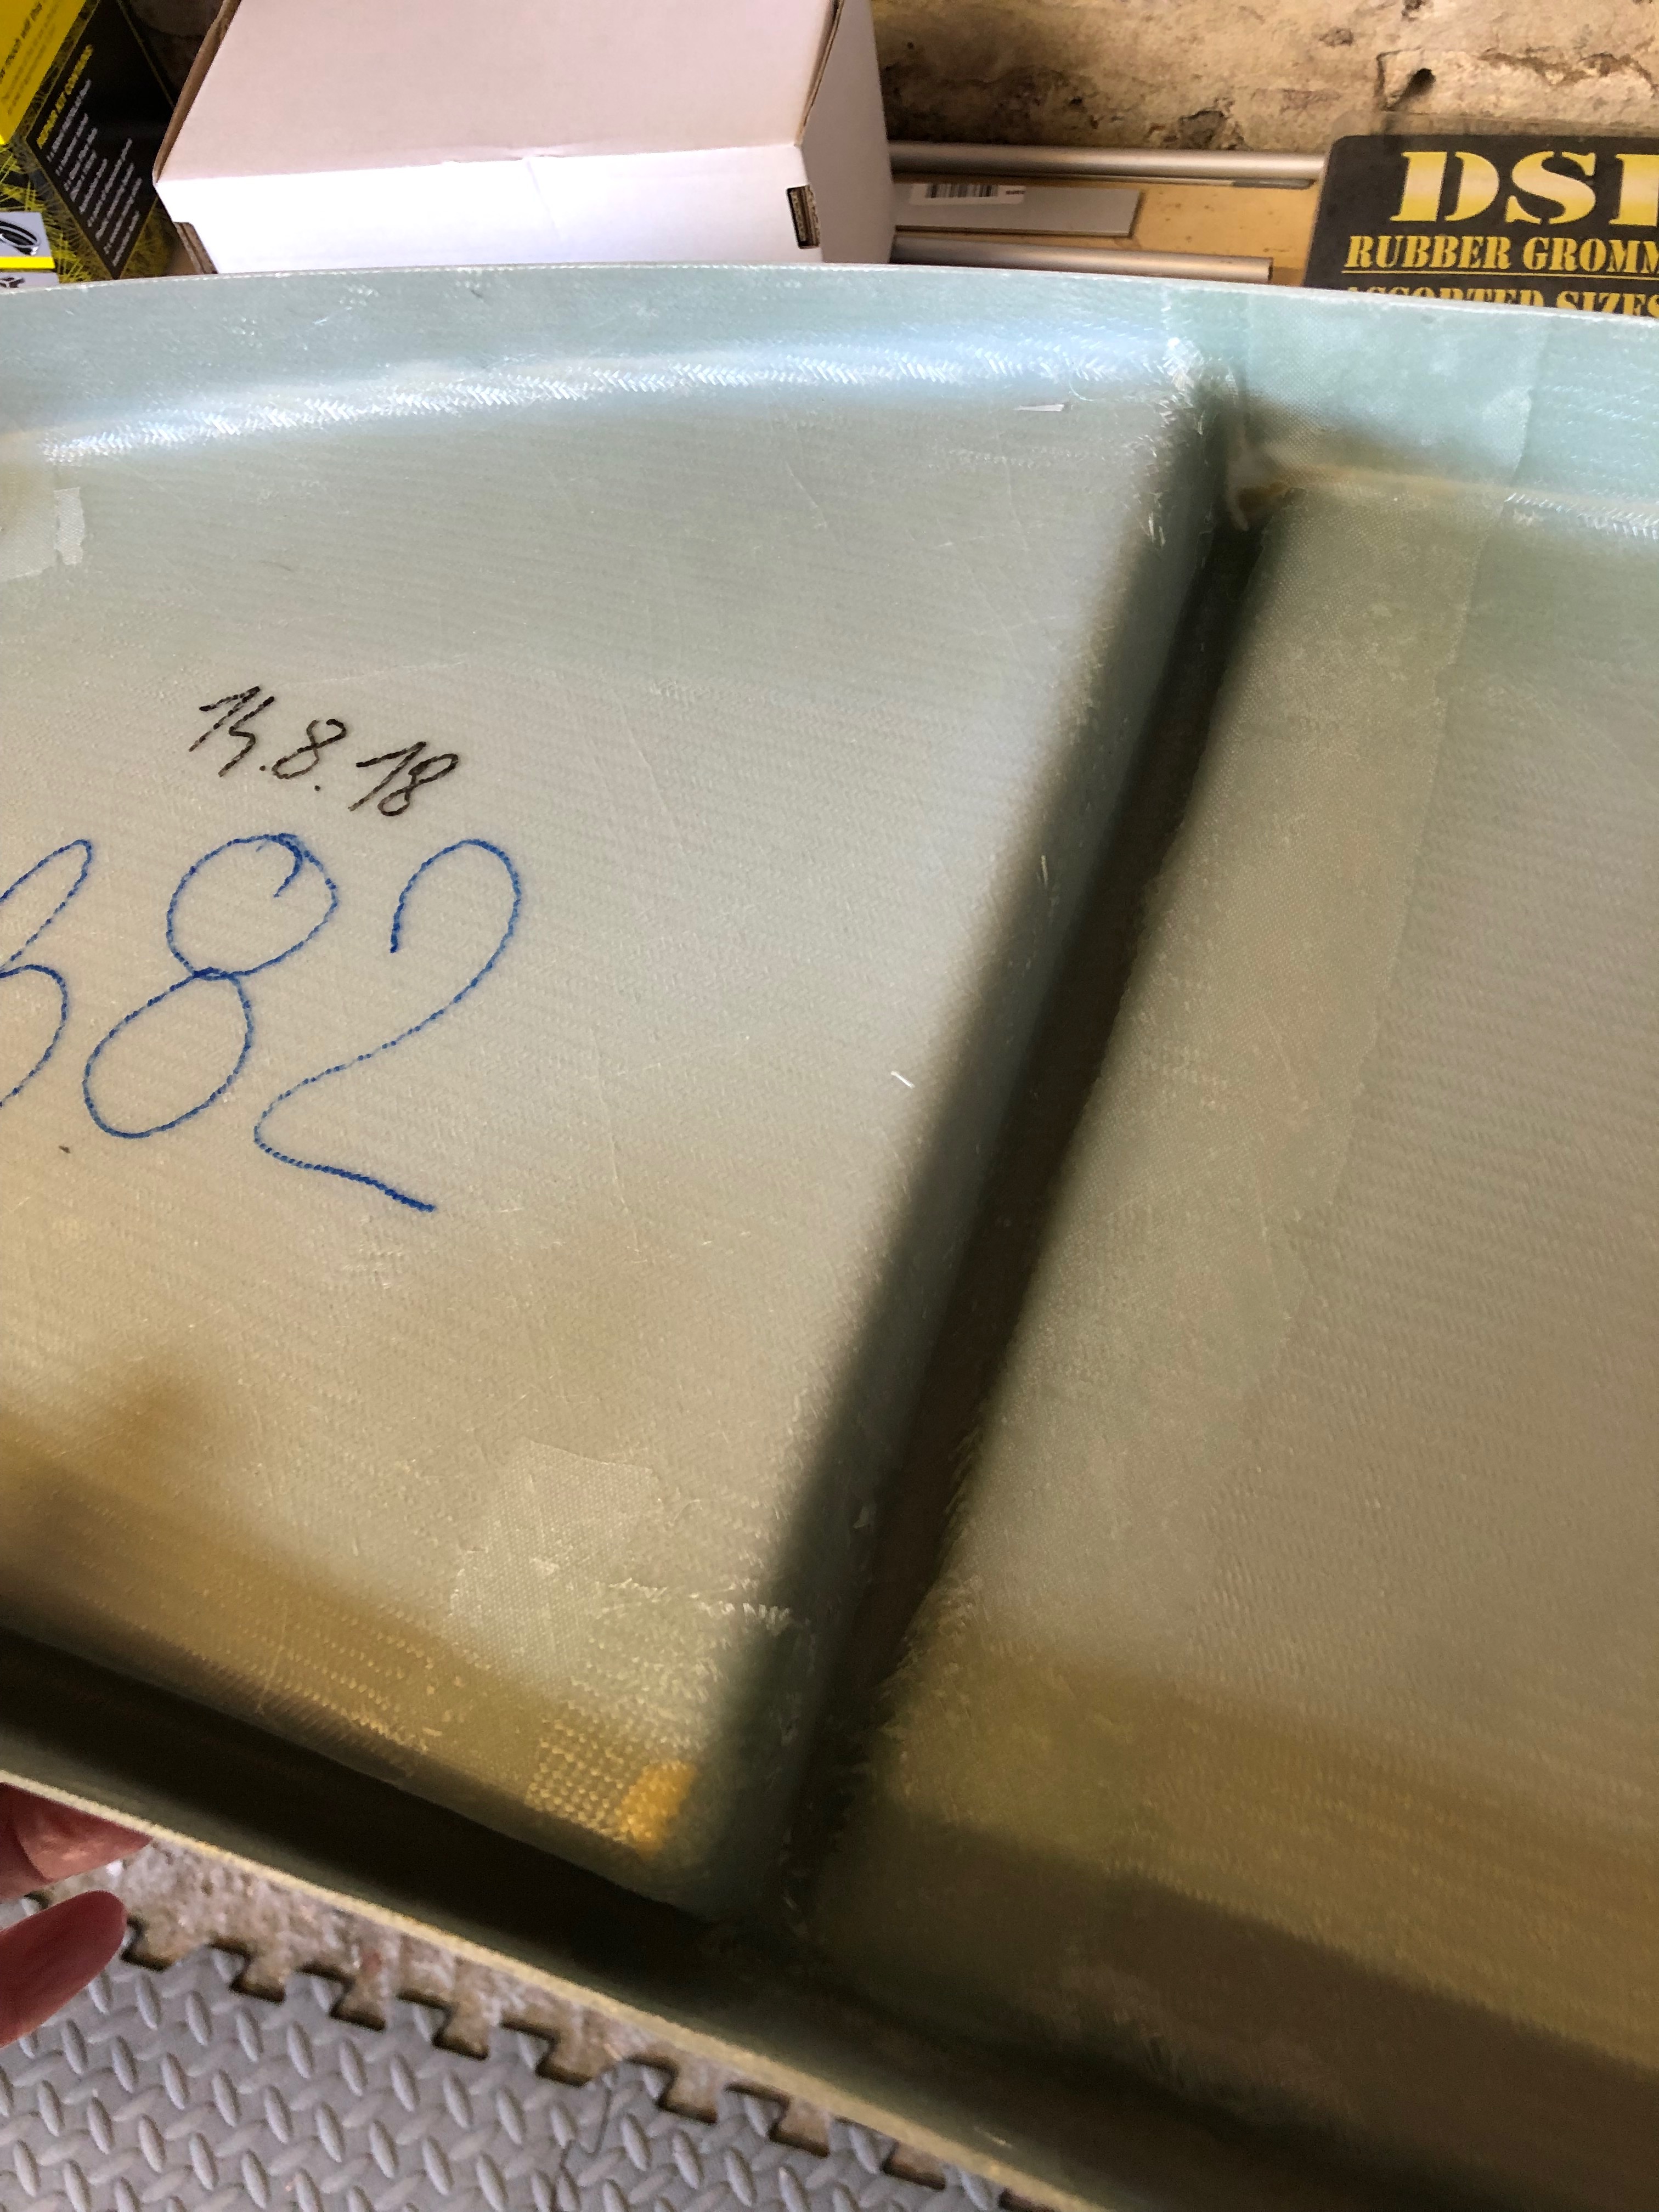
The panel supplied with the Bristell kit has a recess on the righthand side that is slightly angled towards the pilot. Although it could be useful it restricts the flexibility of the instrument layout. I decided very early on that I would cut the recess out and make the panel flat.
The rear of the panel showing the recess that will be removed.
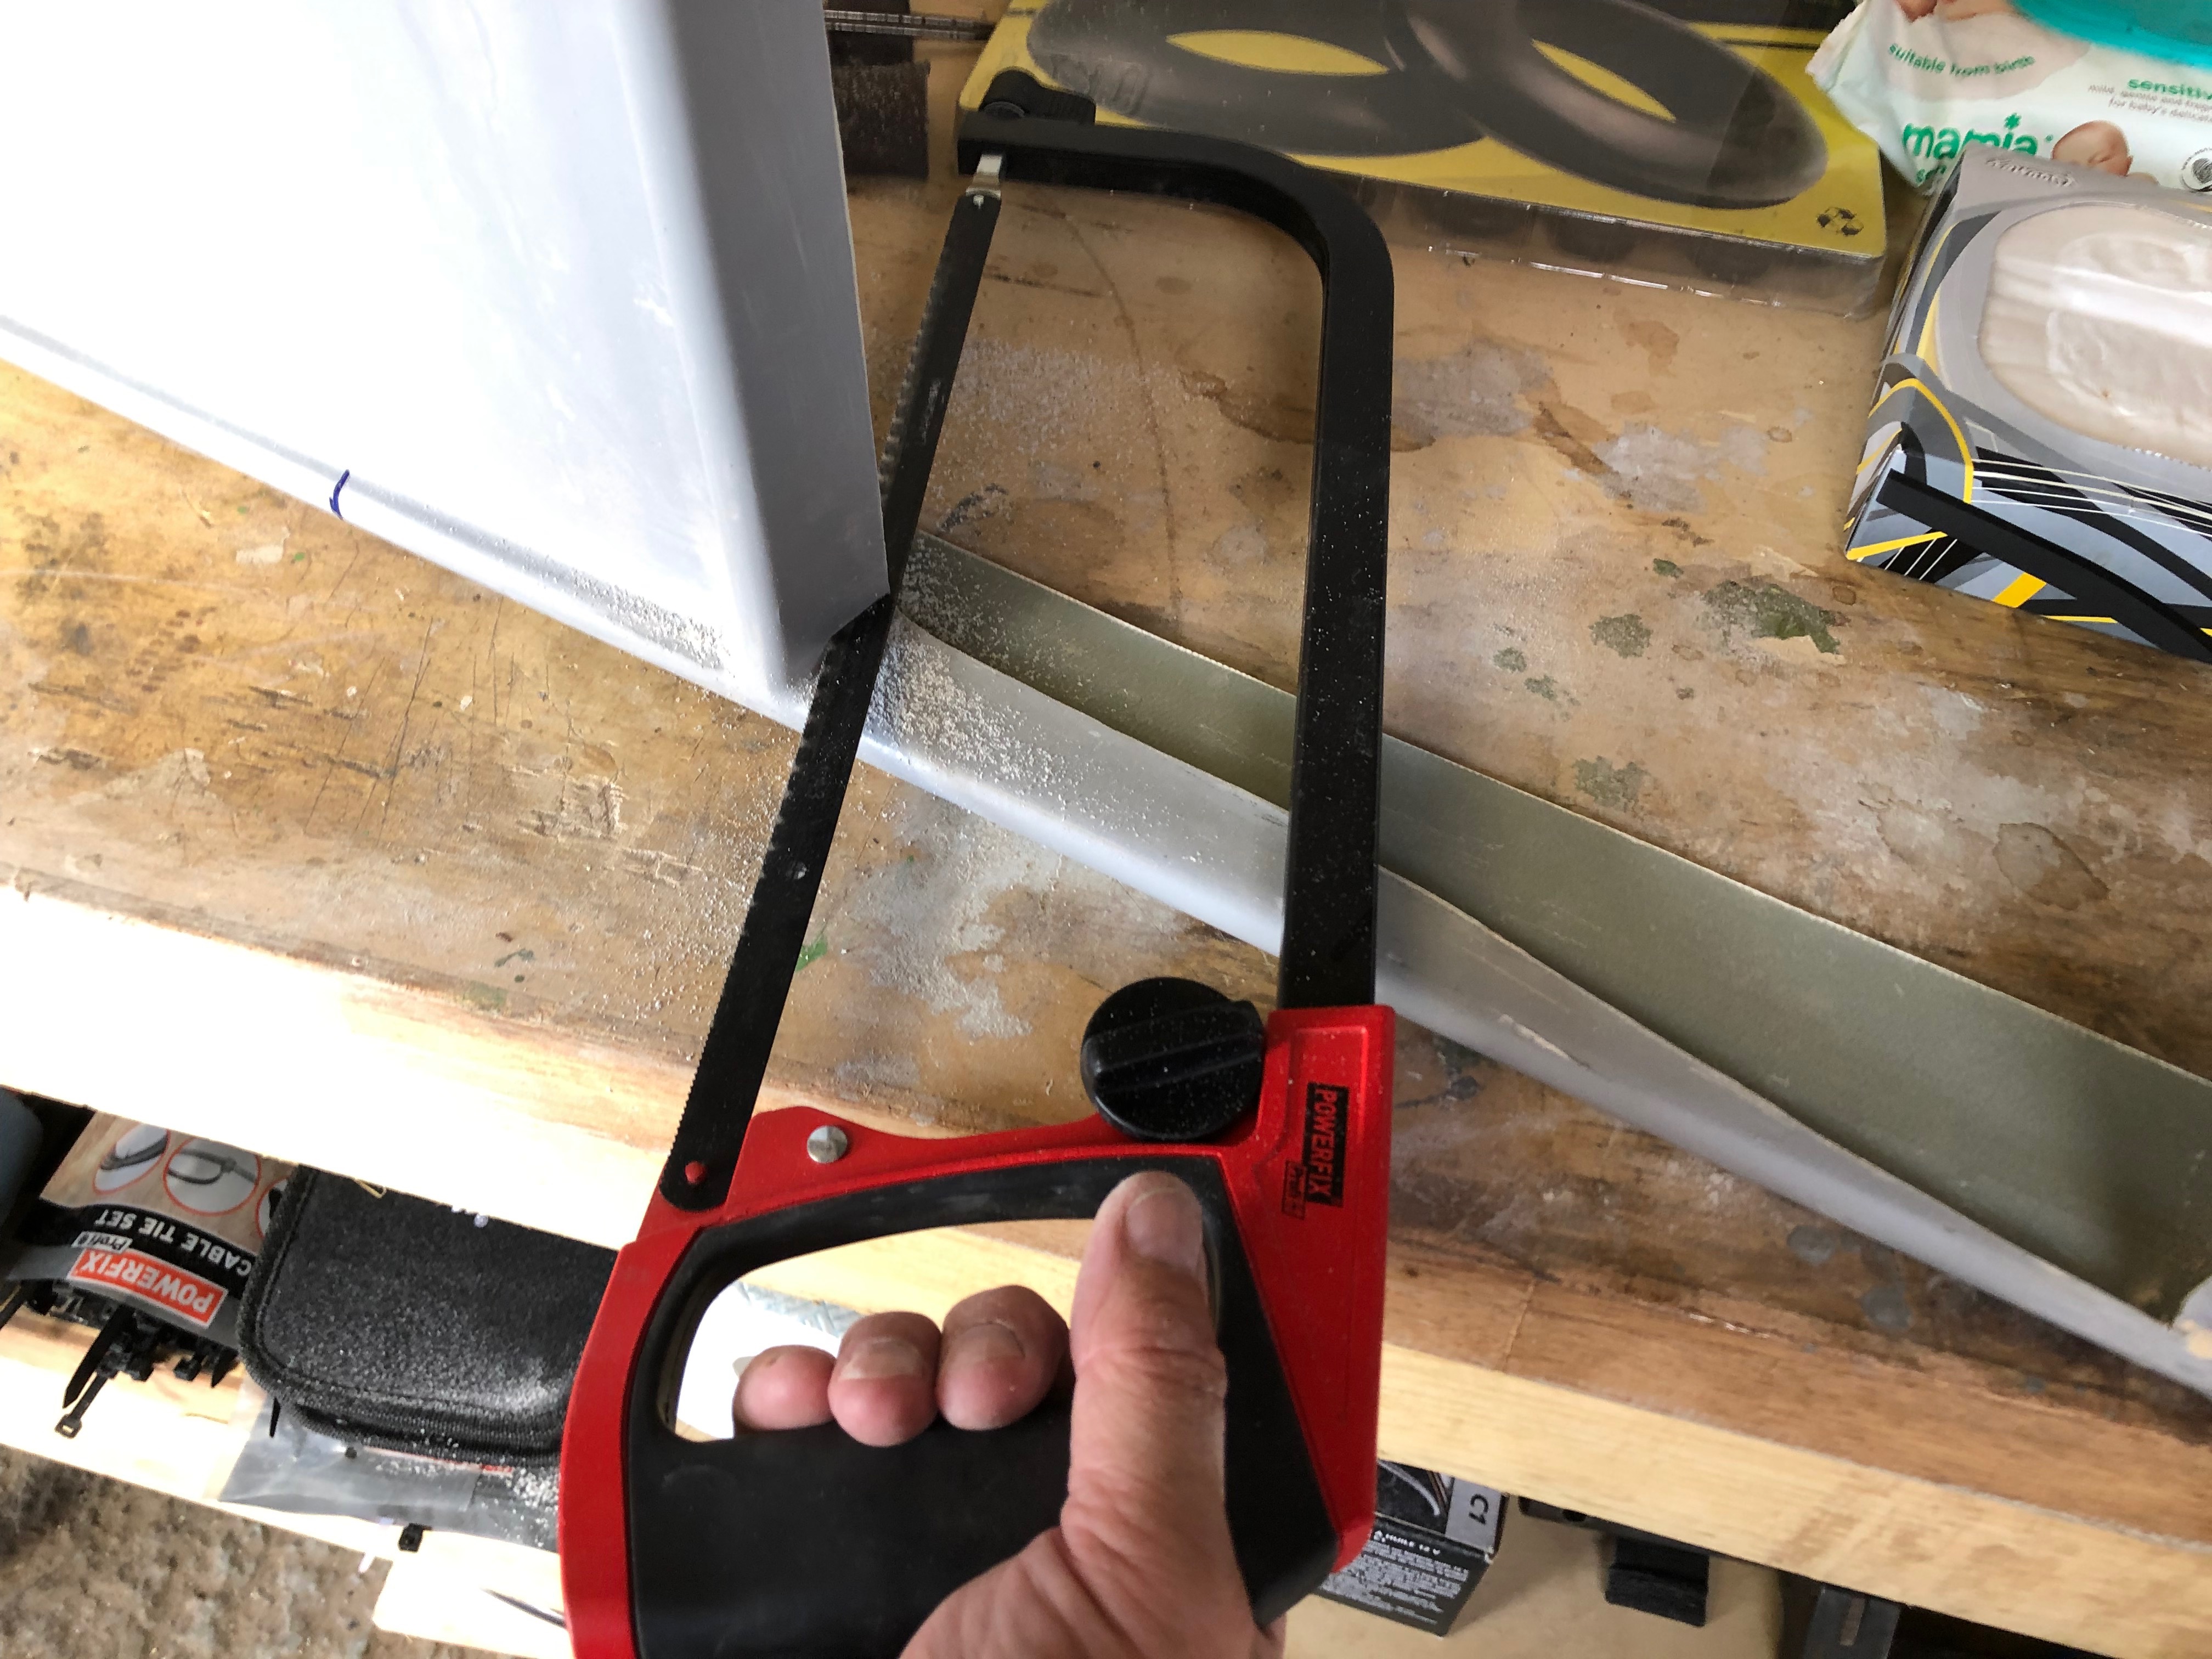
I bought a rotary cutting tool from Lidl that has proved to be very useful for this type of job as you can easily get a saw into the tight spaces.
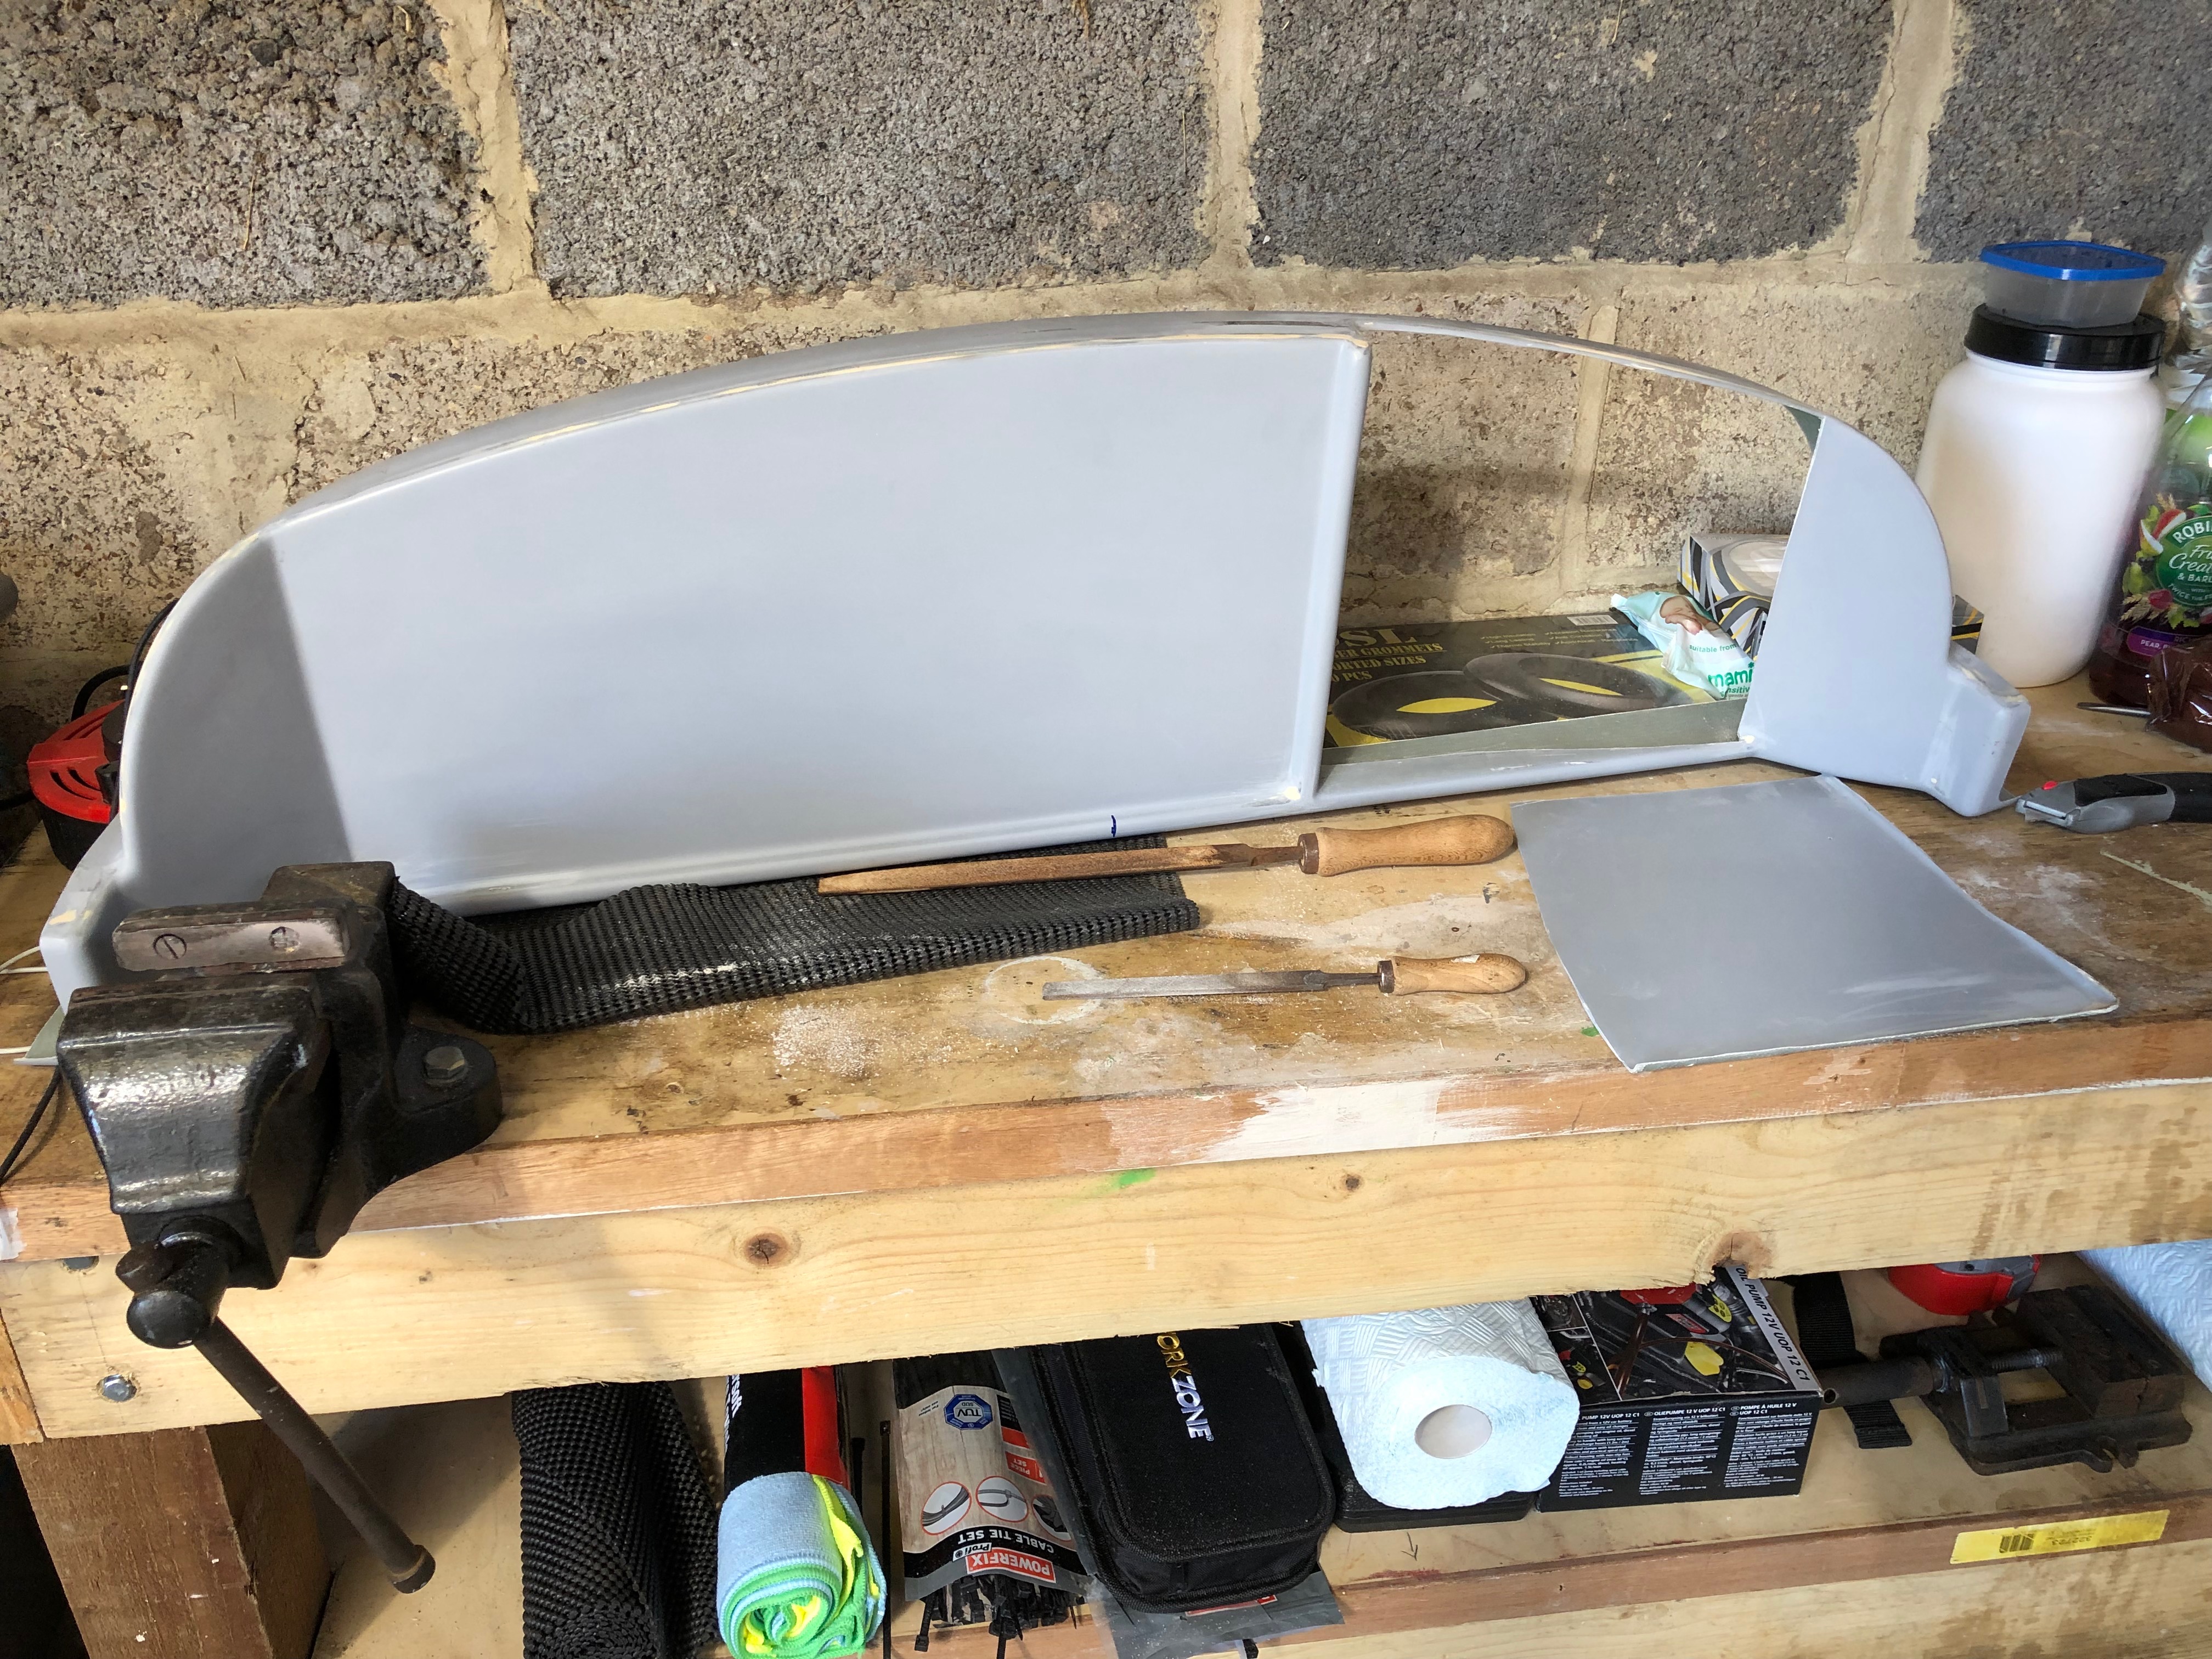
Once the recess is cut out the edges are cleaned up with a file.
The panel with the recess cut out…
Once the vertical bar is removed the panel can be readied for the fibreglass.
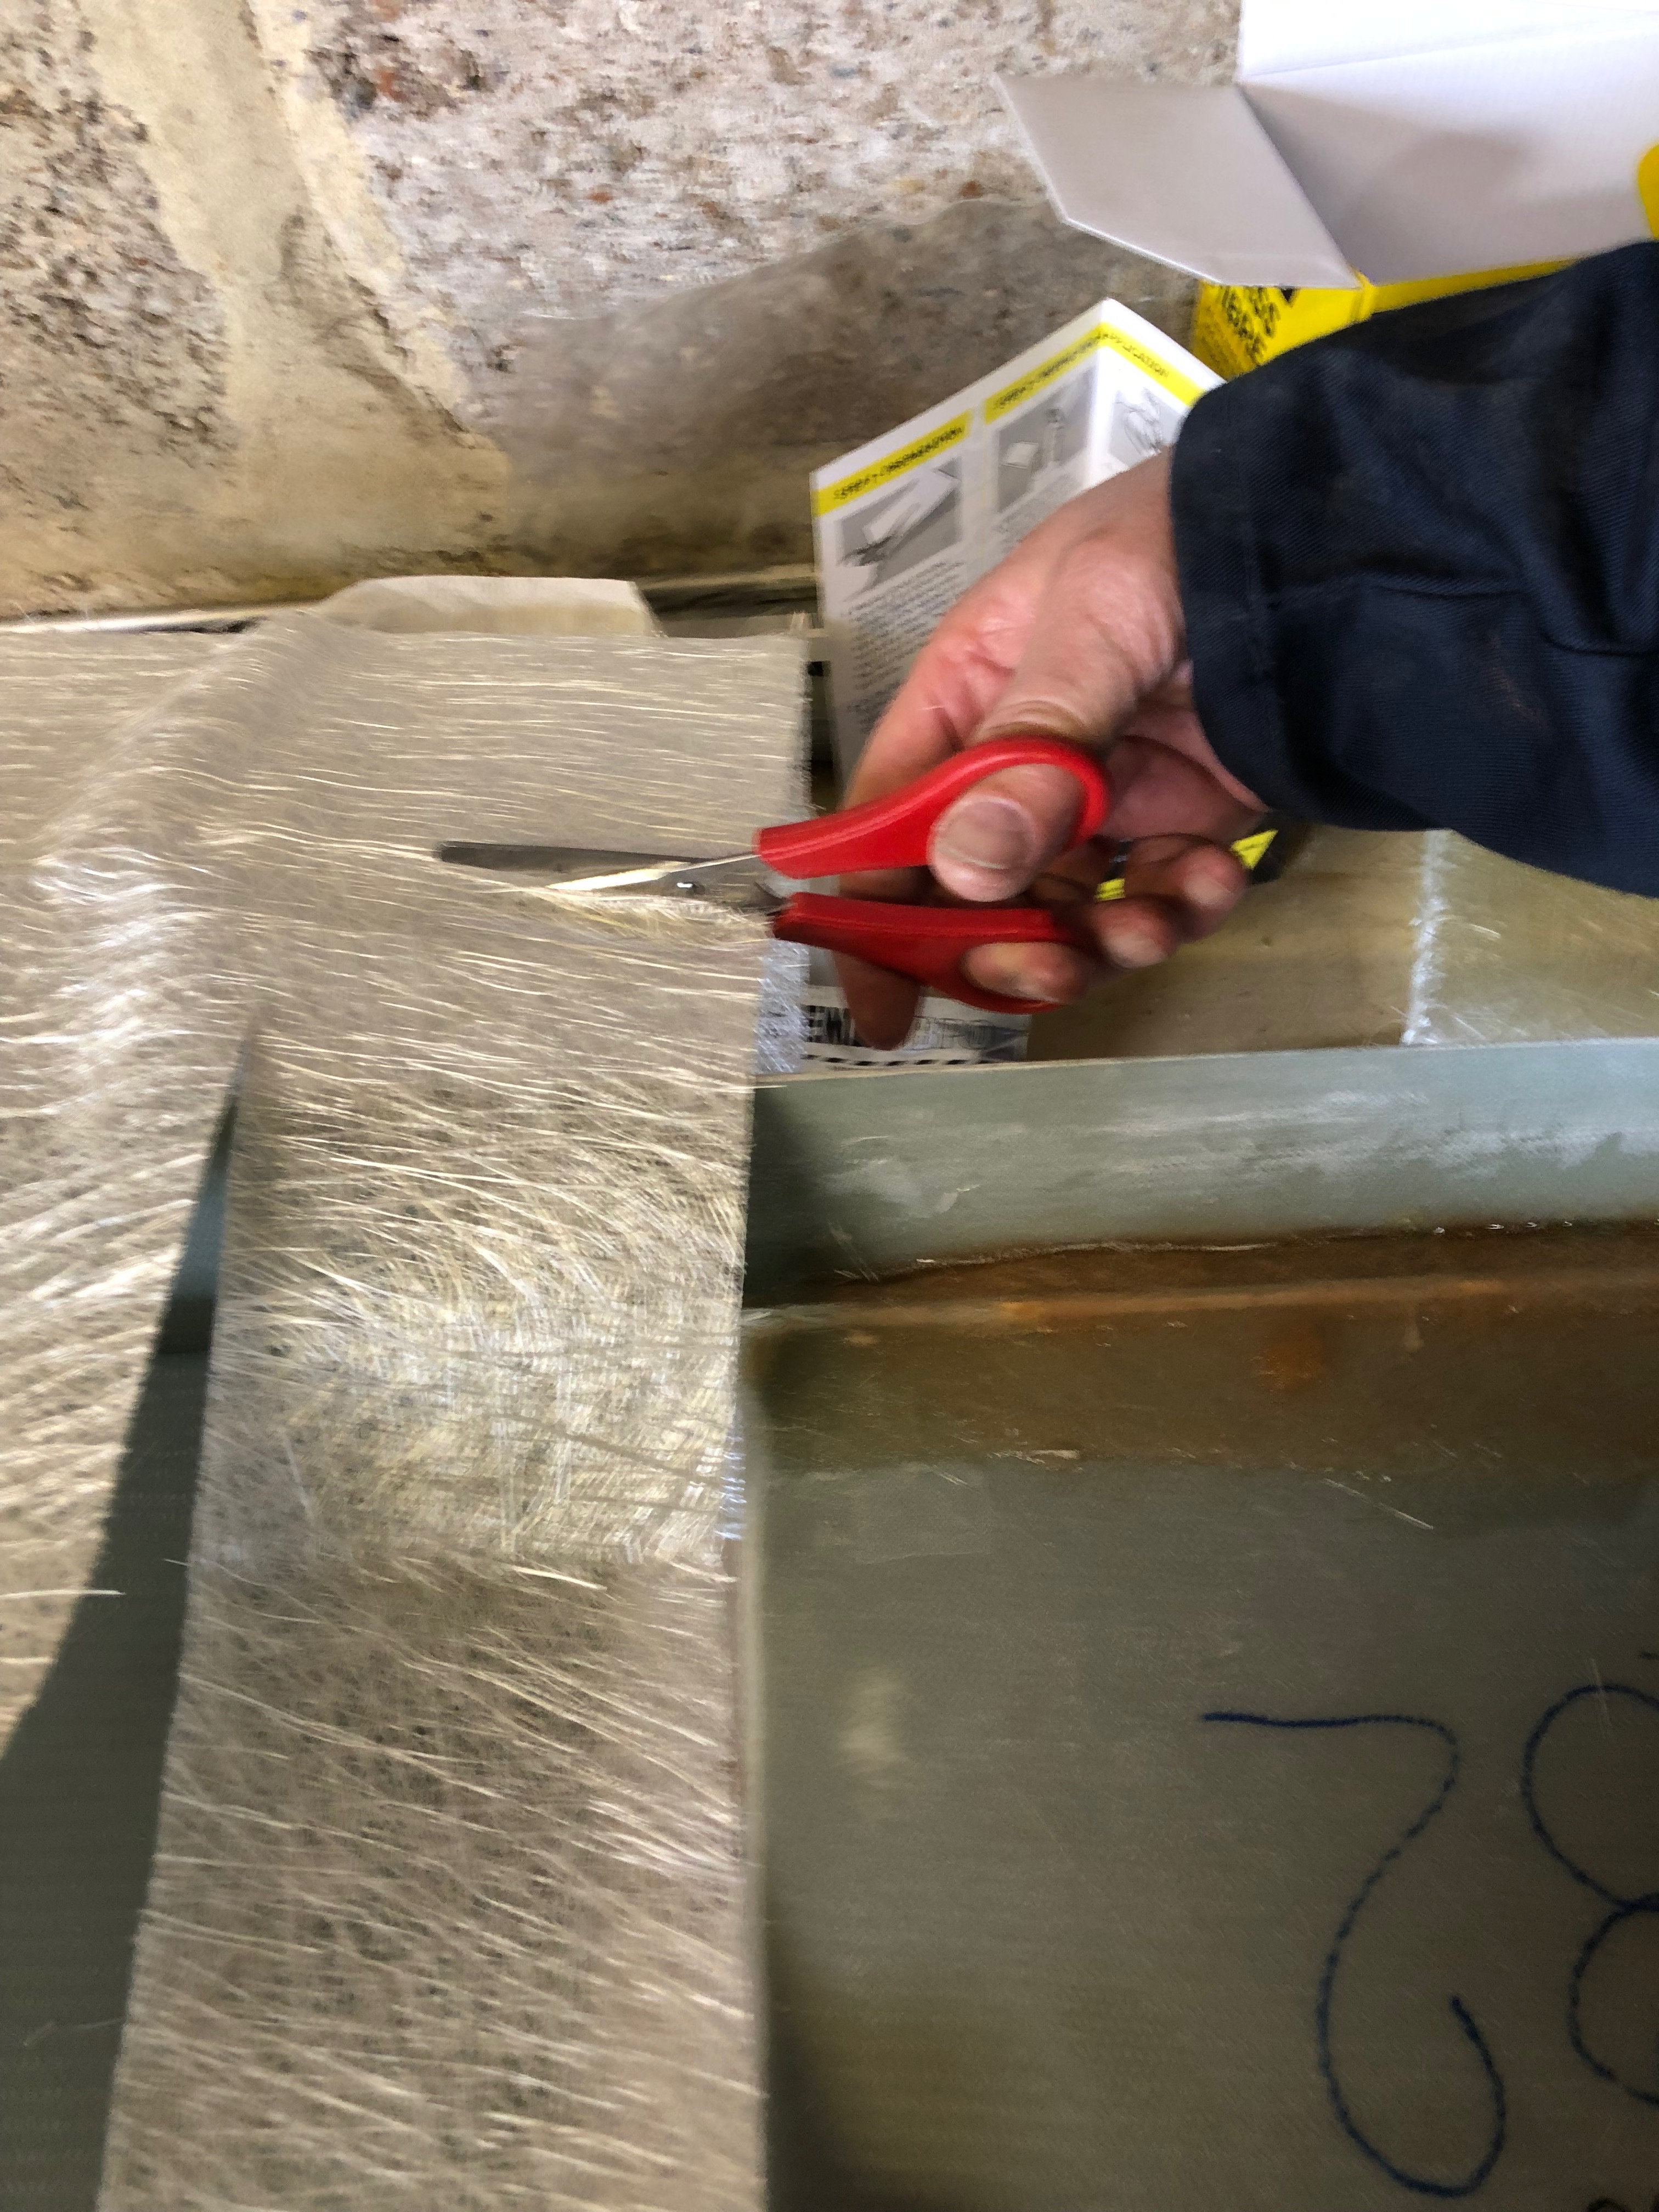
The panel that was cut out can be reused to fill the void but will need to be secure in place to make sure that it’s in line with the rest of the panel.
The fibreglass is cut to cover the sections that need to be filled.
The resin is made up from 10ml of resin to 1 pea sized portion of hardener.
The area that will be covered with fibreglass is ‘wetted’ with resin first to make sure that it will stick.
The fibreglass is laid on the area and the resin is dabbed on to fully wet it.
The fibreglass area after it’s been fully soaked with resin. It takes about 30 mins to set. Once fully set other layers can be laid up or the area can be sanded.
Some of the stiffness of the panel may have been lost by removing vertical bar so some strengthening may need to be introduced once the panel is cut to take the instruments.
As I’ve now ordered the avionics for the build I thought I’d make a mock up of the panel and see what it looks like in the plane.
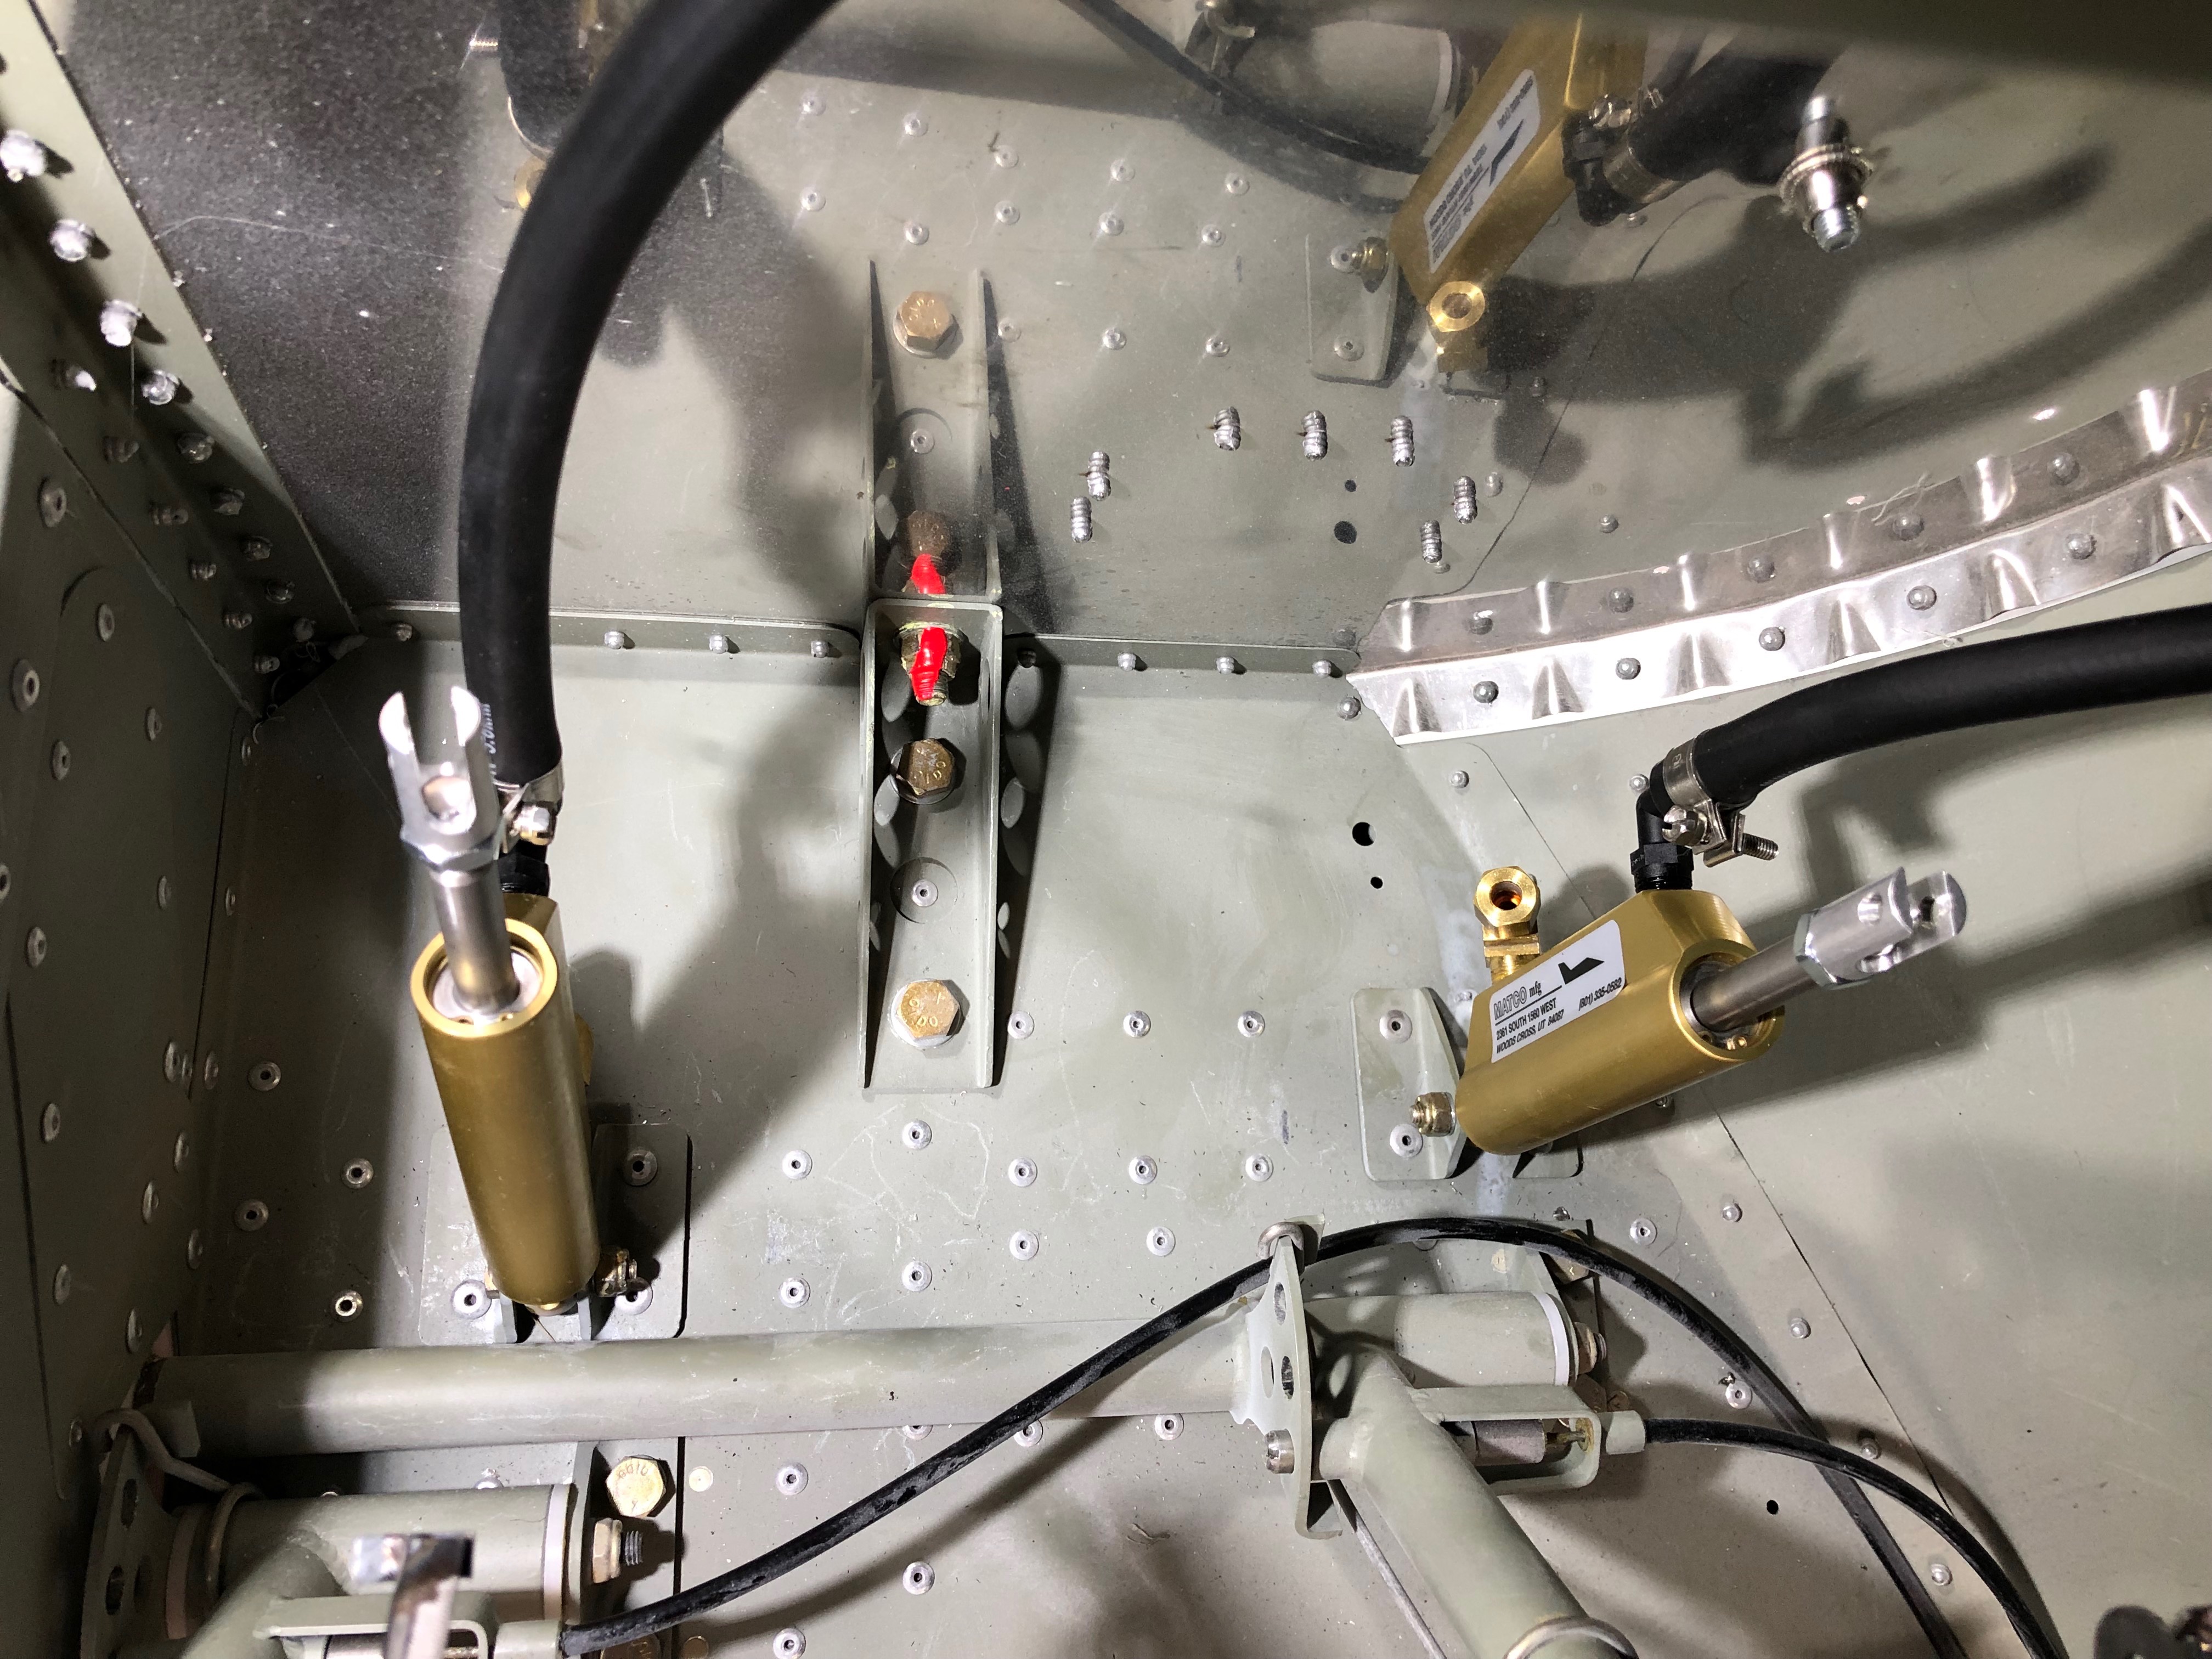
One of the jobs left over from the fuel system install was to fit a 1/8″ NPT blanking plug in the top of the gascolator. Luckily Ian Daniels had one spare. Loctite 577 was applied before tightening.
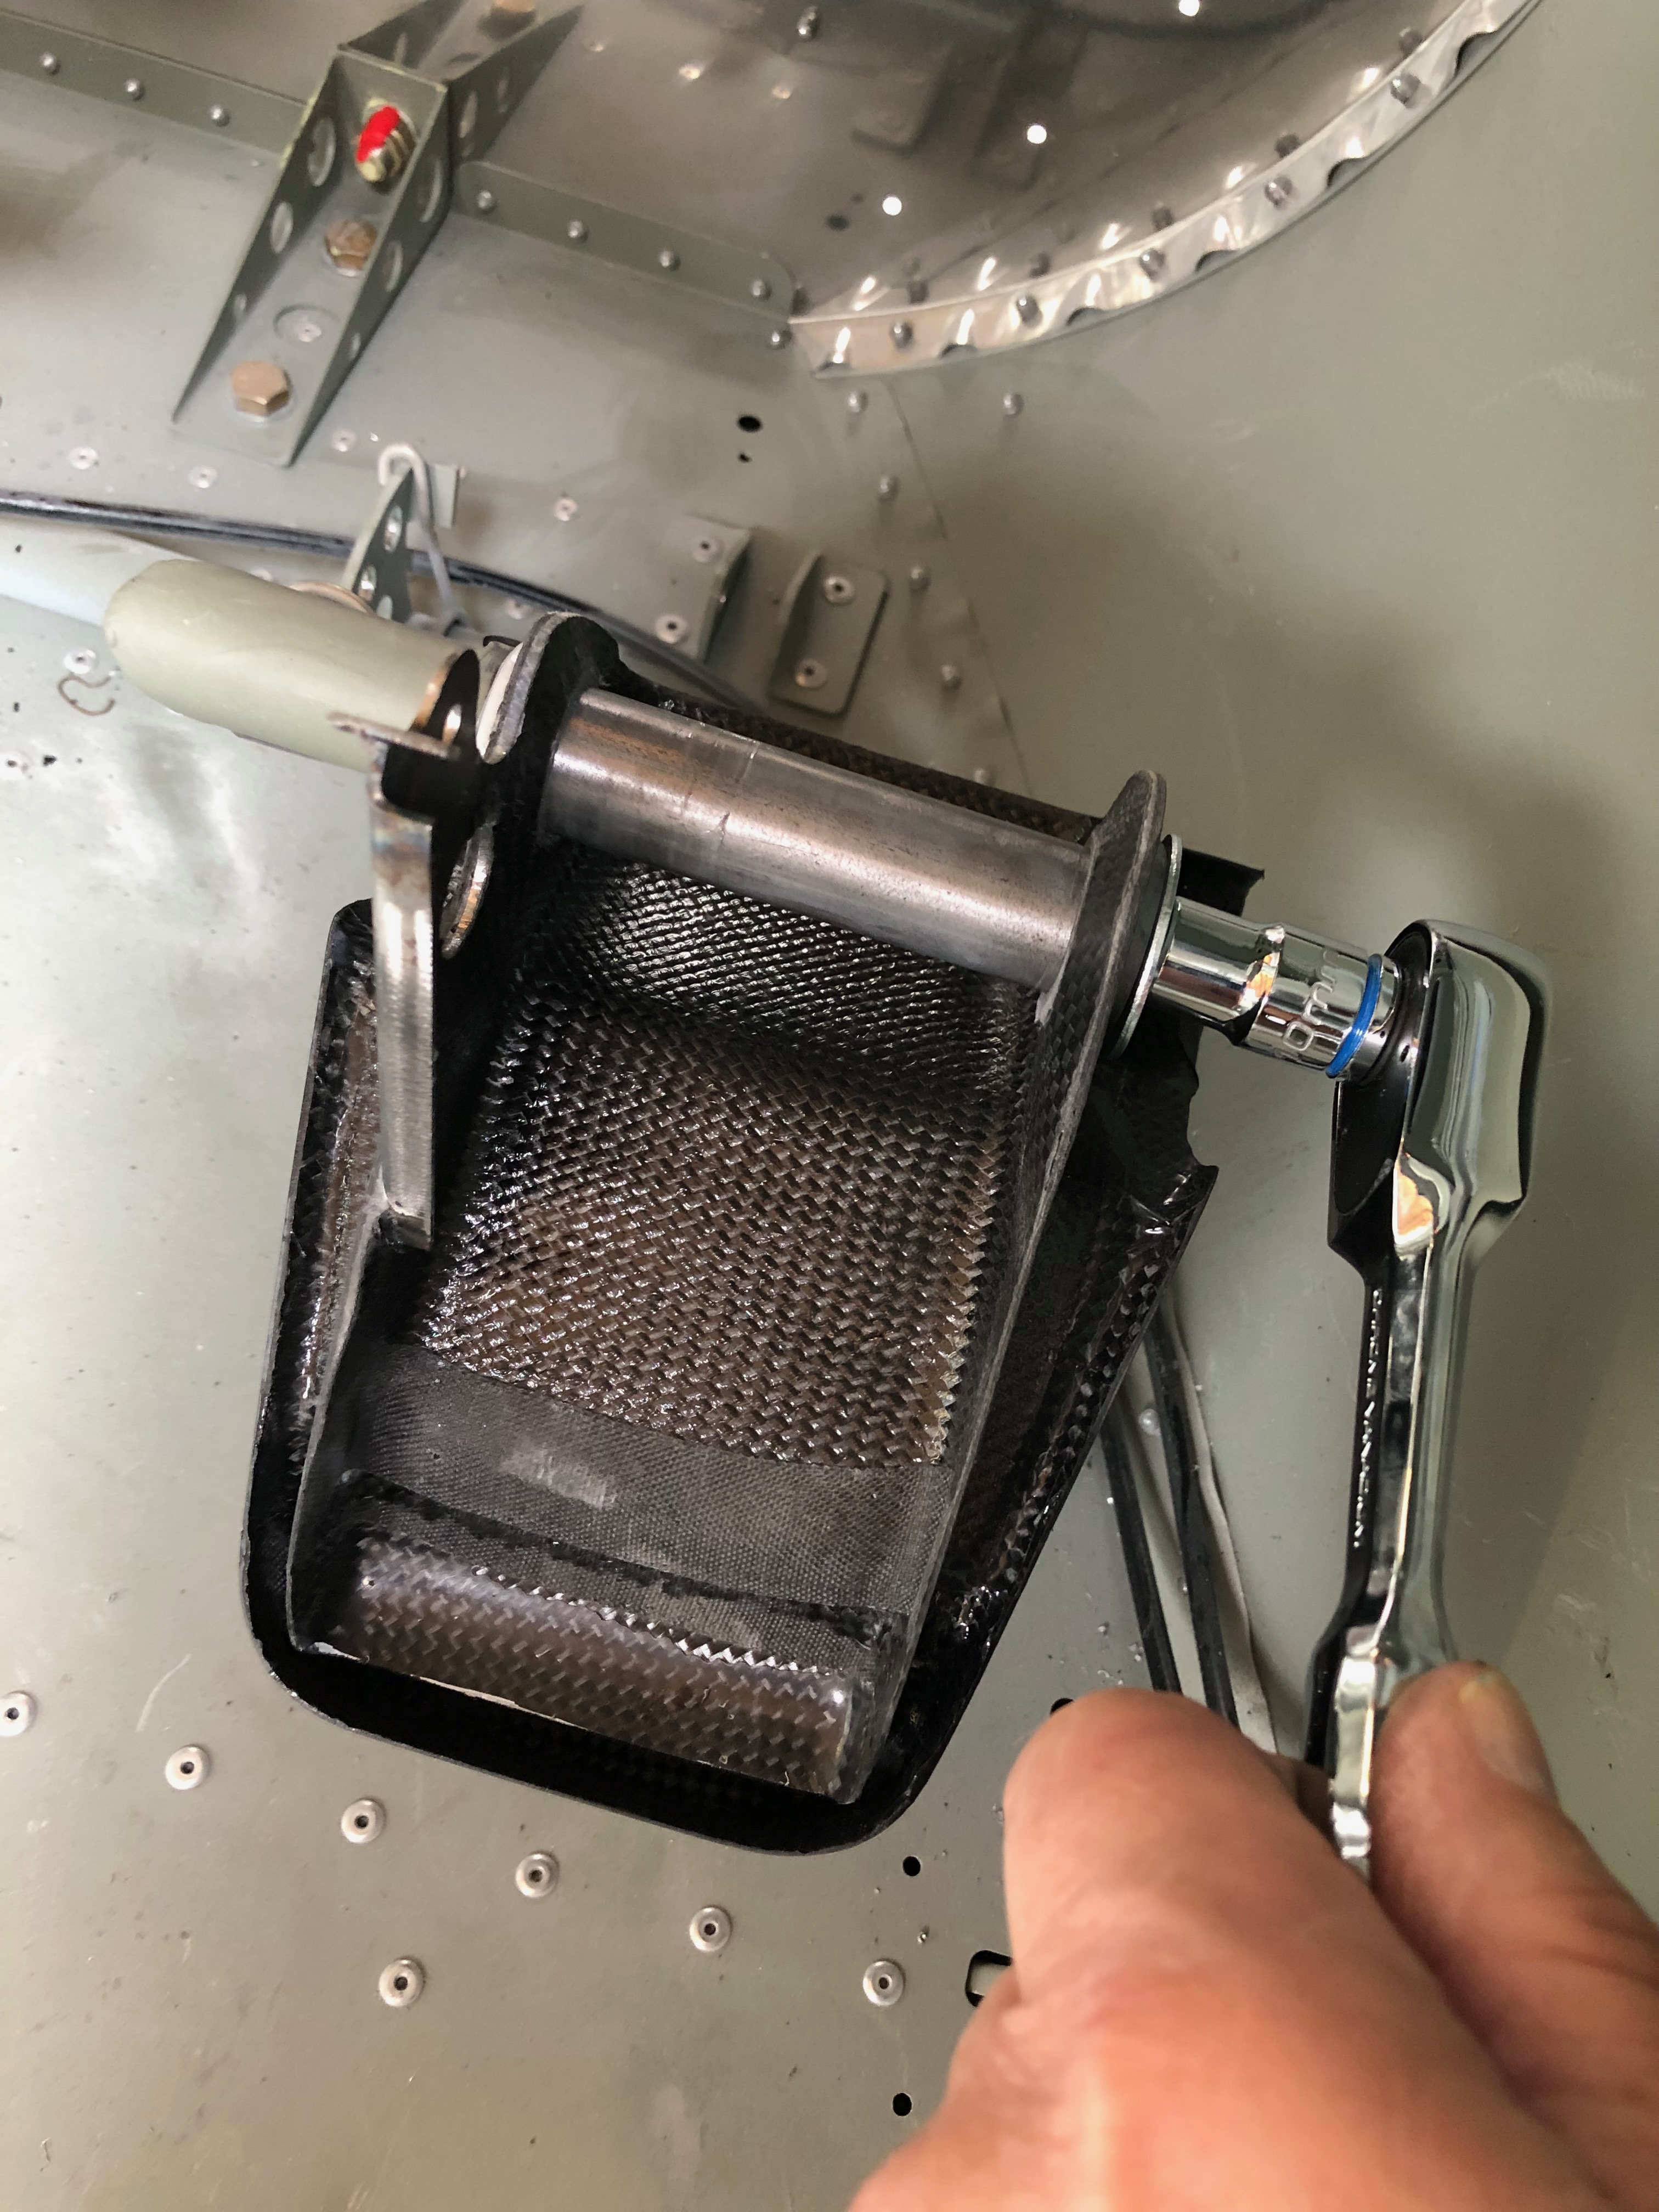
Next up was to start the install of the brake system. The picture shows the components that make up the system. I ordered hydraulic brakes with the parking brake option.
The brake sub assembly is made up outside the plane as it’s quite difficult to work in the front of the fuselage in the space behind the pedals.
The master cylinder fittings are added and threads sealed with Loctite 577.
The brake pipes are cut to size and added to the fittings to test the assembly looks right.
The brake pedals are added and secured with an M6 bolt and 30mm washer secured with Loctite 243.
All four rudder pedals in place.
The master cylinders are fitted next using a m3 bolt and nyloc.
The Bristell comes with a fibreglass panel that has a recessed section on the right hand side angled slightly towards the pilot. The problem I found is that with the recess it was impossible to install two Garmin G3X 10.6″ displays.
G-NGII showing the panel and recess on the right
My thought is to remove the recess by cutting it out and then re-glassing the panel to make it flat. To visualise the change I covered the panel in cardboard and white paper and printed life-sized instruments and placed them on the panel.
a) Garmin G3X layout Twin Garmin G3X with GTR225 8.33khz radio, GMC507 Autopilot and Airmaster CSU controller. This panel doesn’t need any backup instruments as the G5 would be adequate.b) Dynon layout Twin 10″ Dynon SkyView HDX screens with Intercom, Radio, Autopilot, common function sub panels and Airmaster CSU controller. Requires more instruments as a backup perhaps a Dynon D6(0)c) Dynon layout Twin 10″ SkyView HDX screens with Intercom, Autopilot, Common function sub panels centrally mounted and an Airmaster CSU controller. Requires backup instruments as above.
Very early stages of design but my preference is c). Both Garmin and Dynon have similar capabilities but the Dynon components look so much neater. Still to be added are the graphics for the switches, fuses, a starter switch and trim position indicators.
Following the build of my Bristell NG5 Kit No. 382 Registration G-MLSY