Category Archives: Heater

Monday 1st July 2019

Music: Reverend And The Makers, Ian Brown and Razorlight.

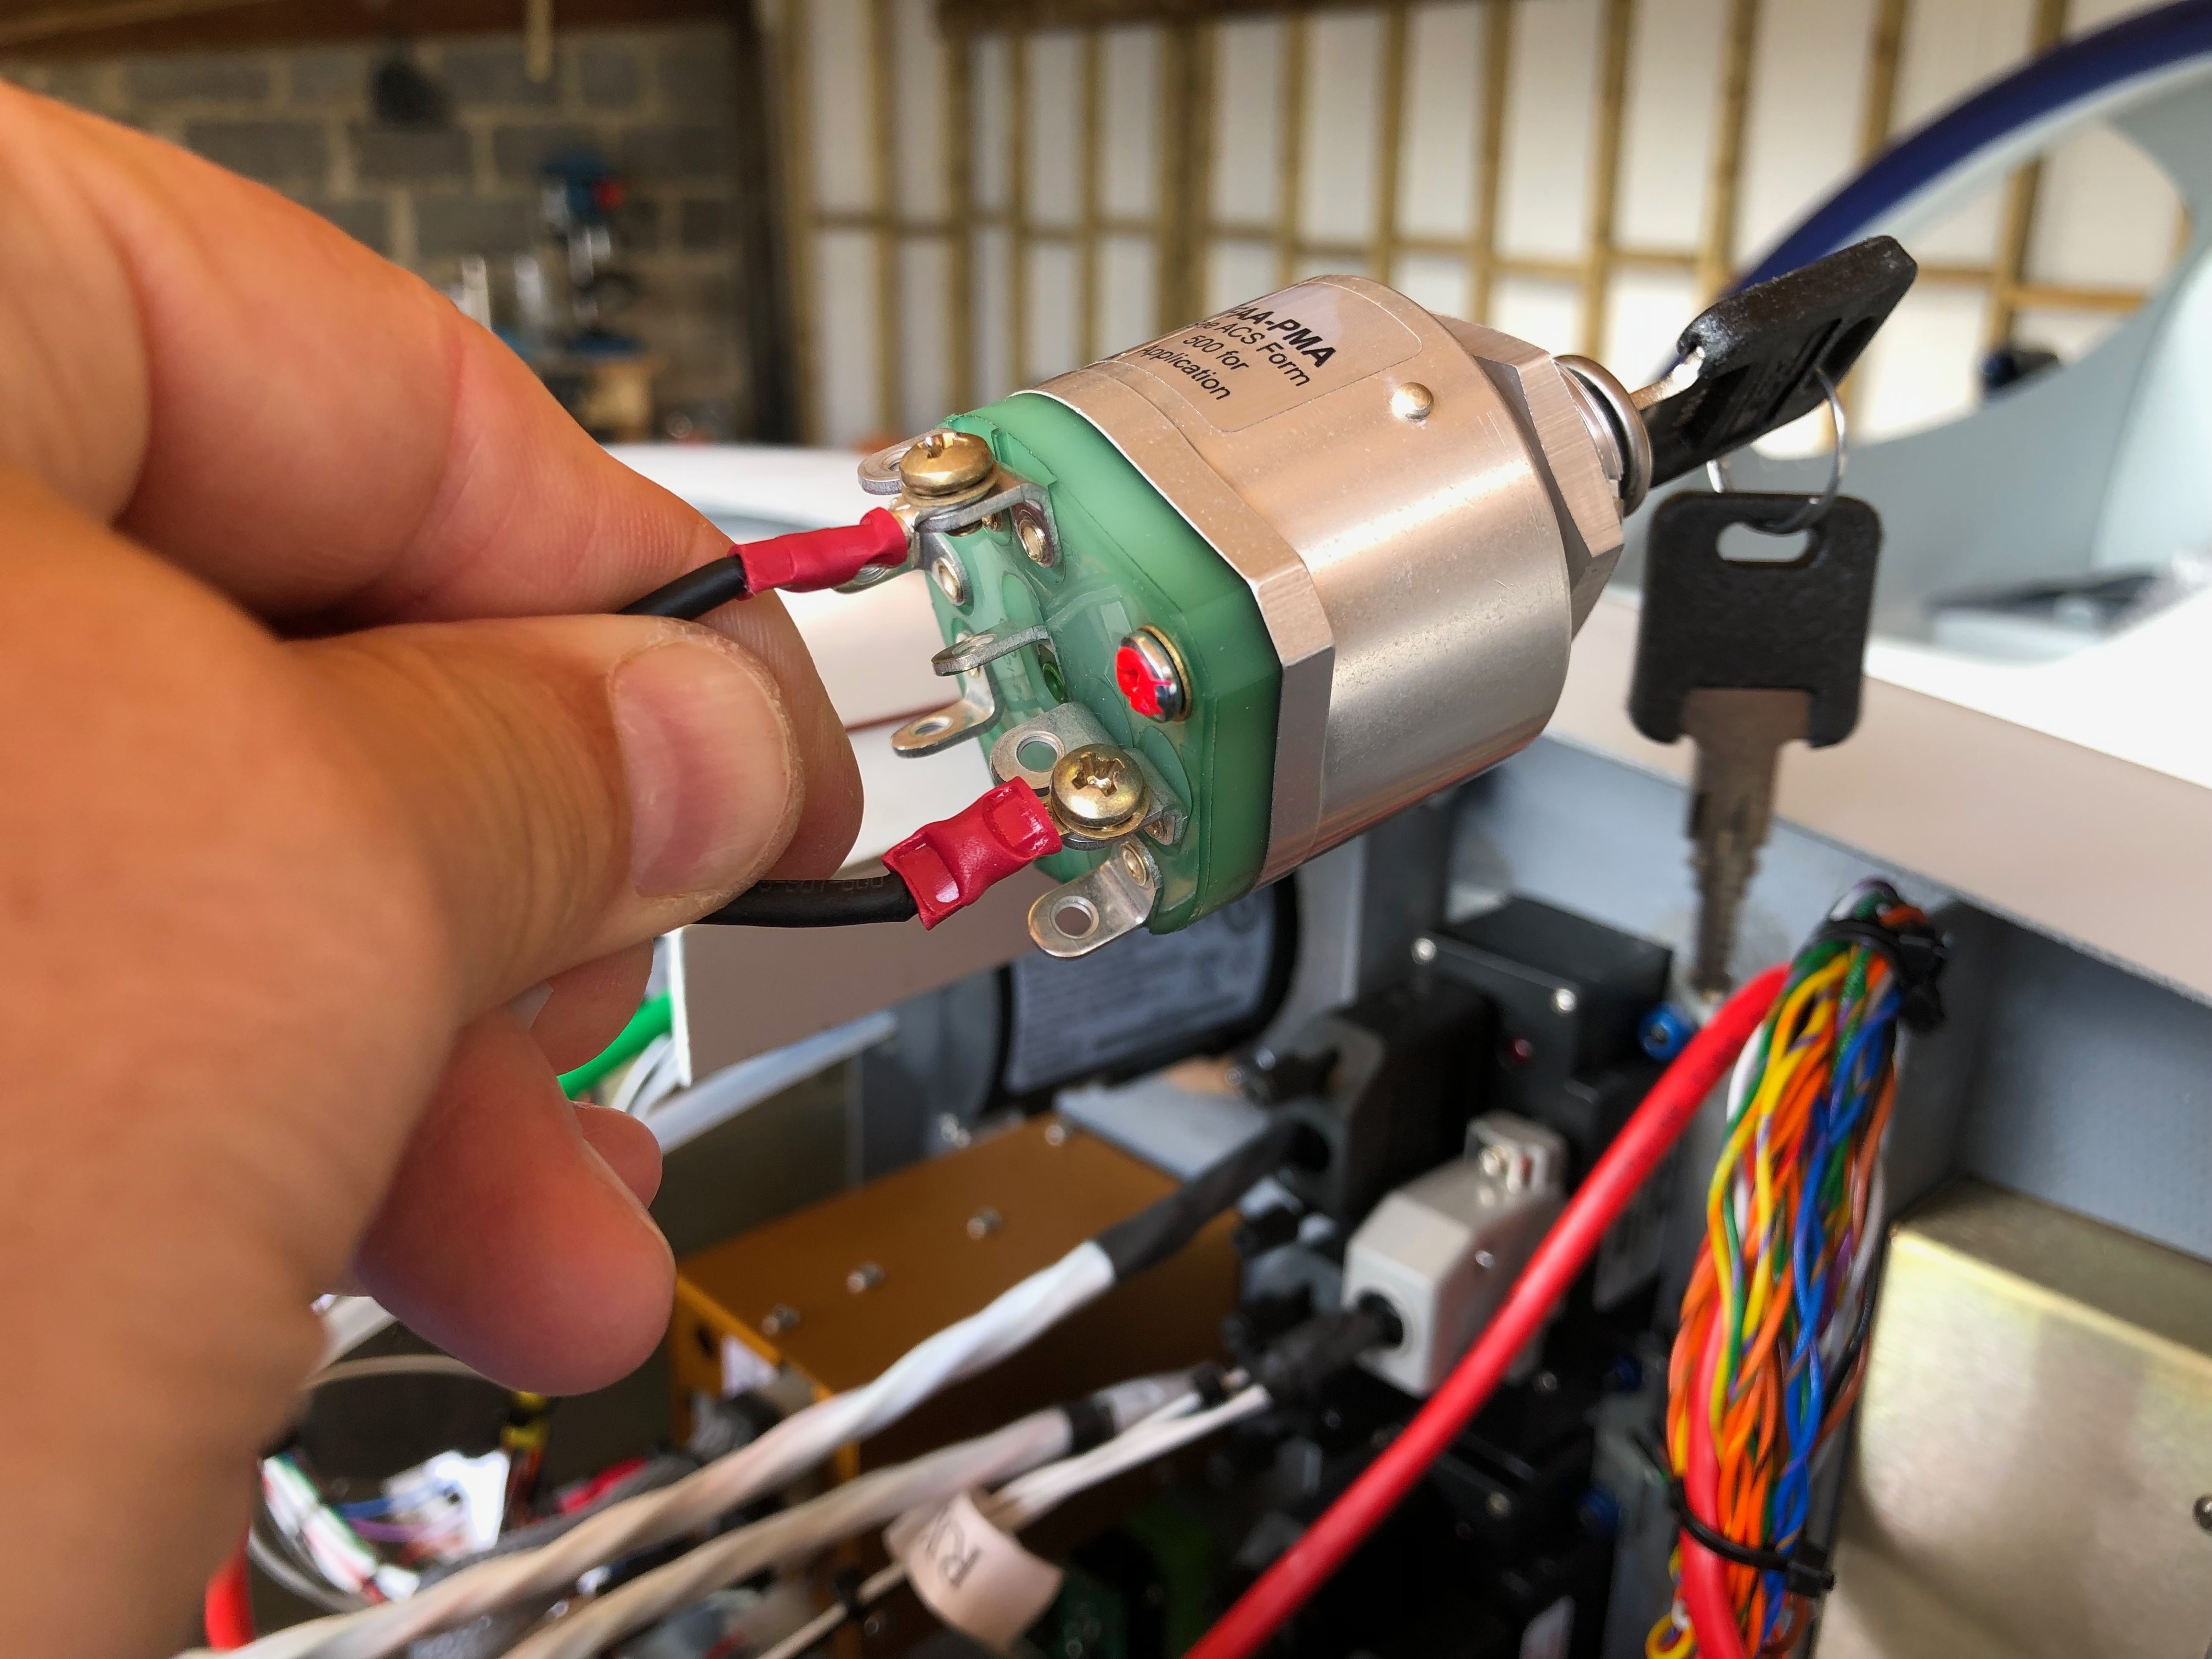
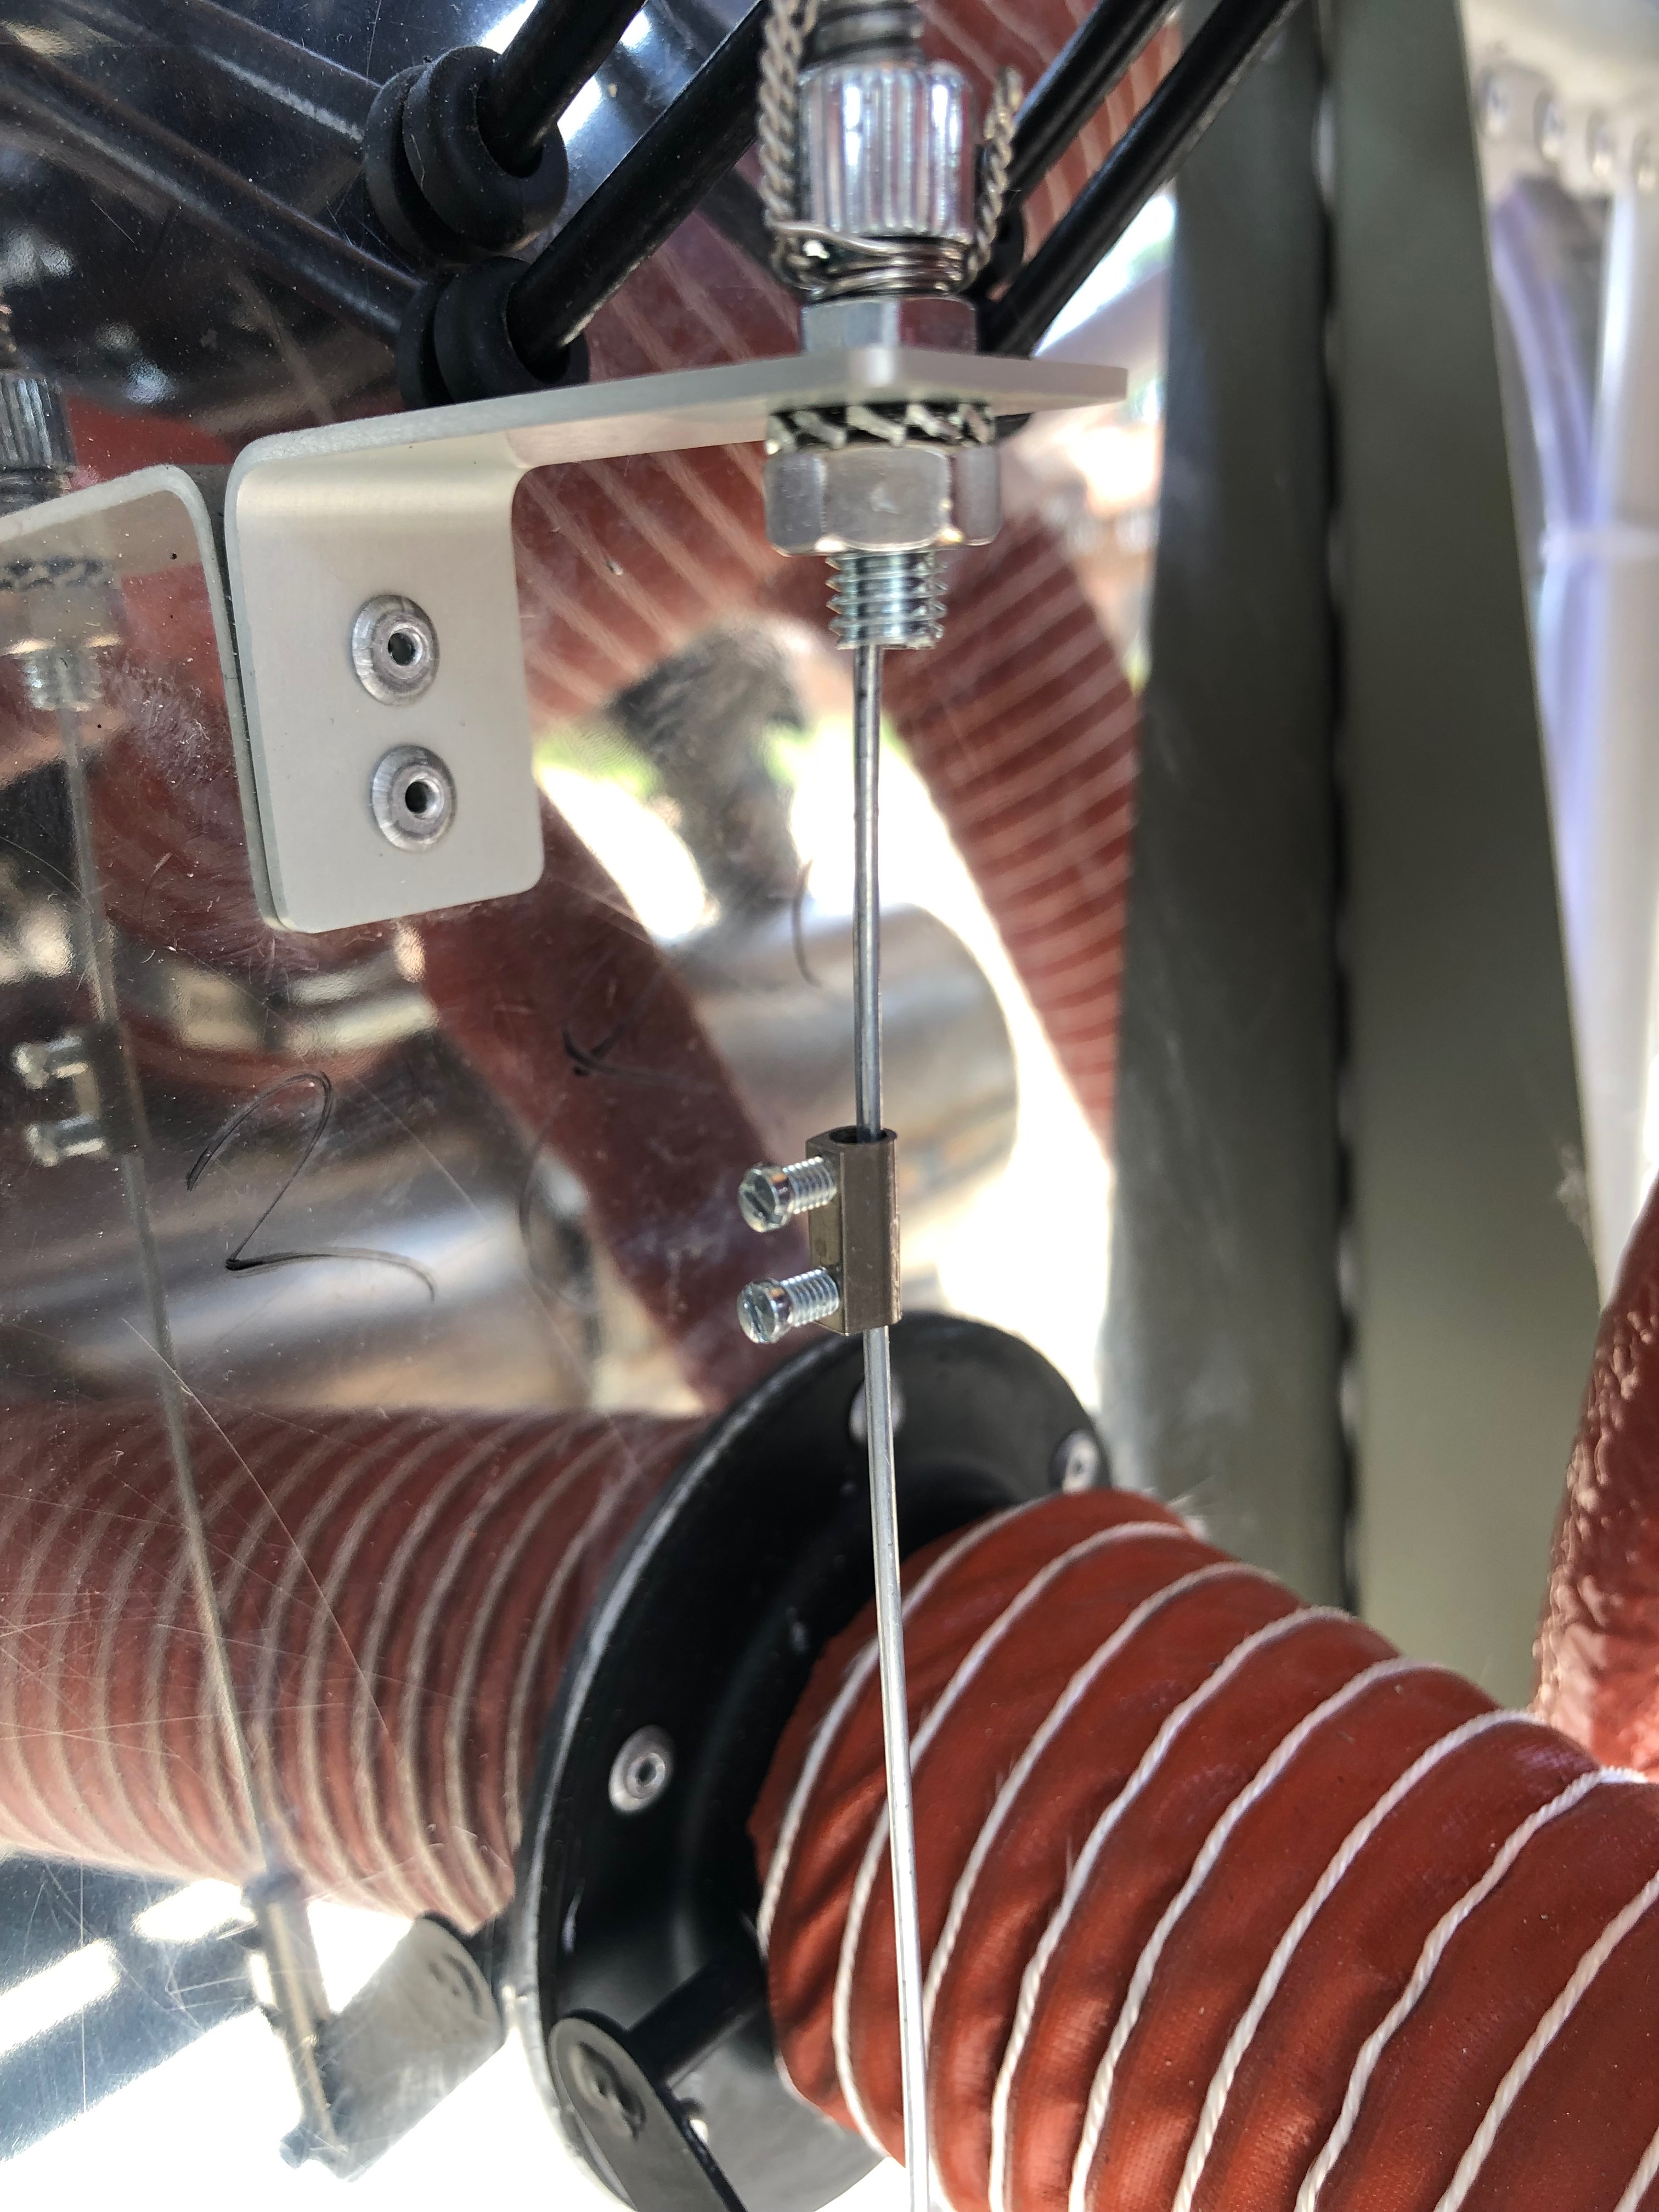
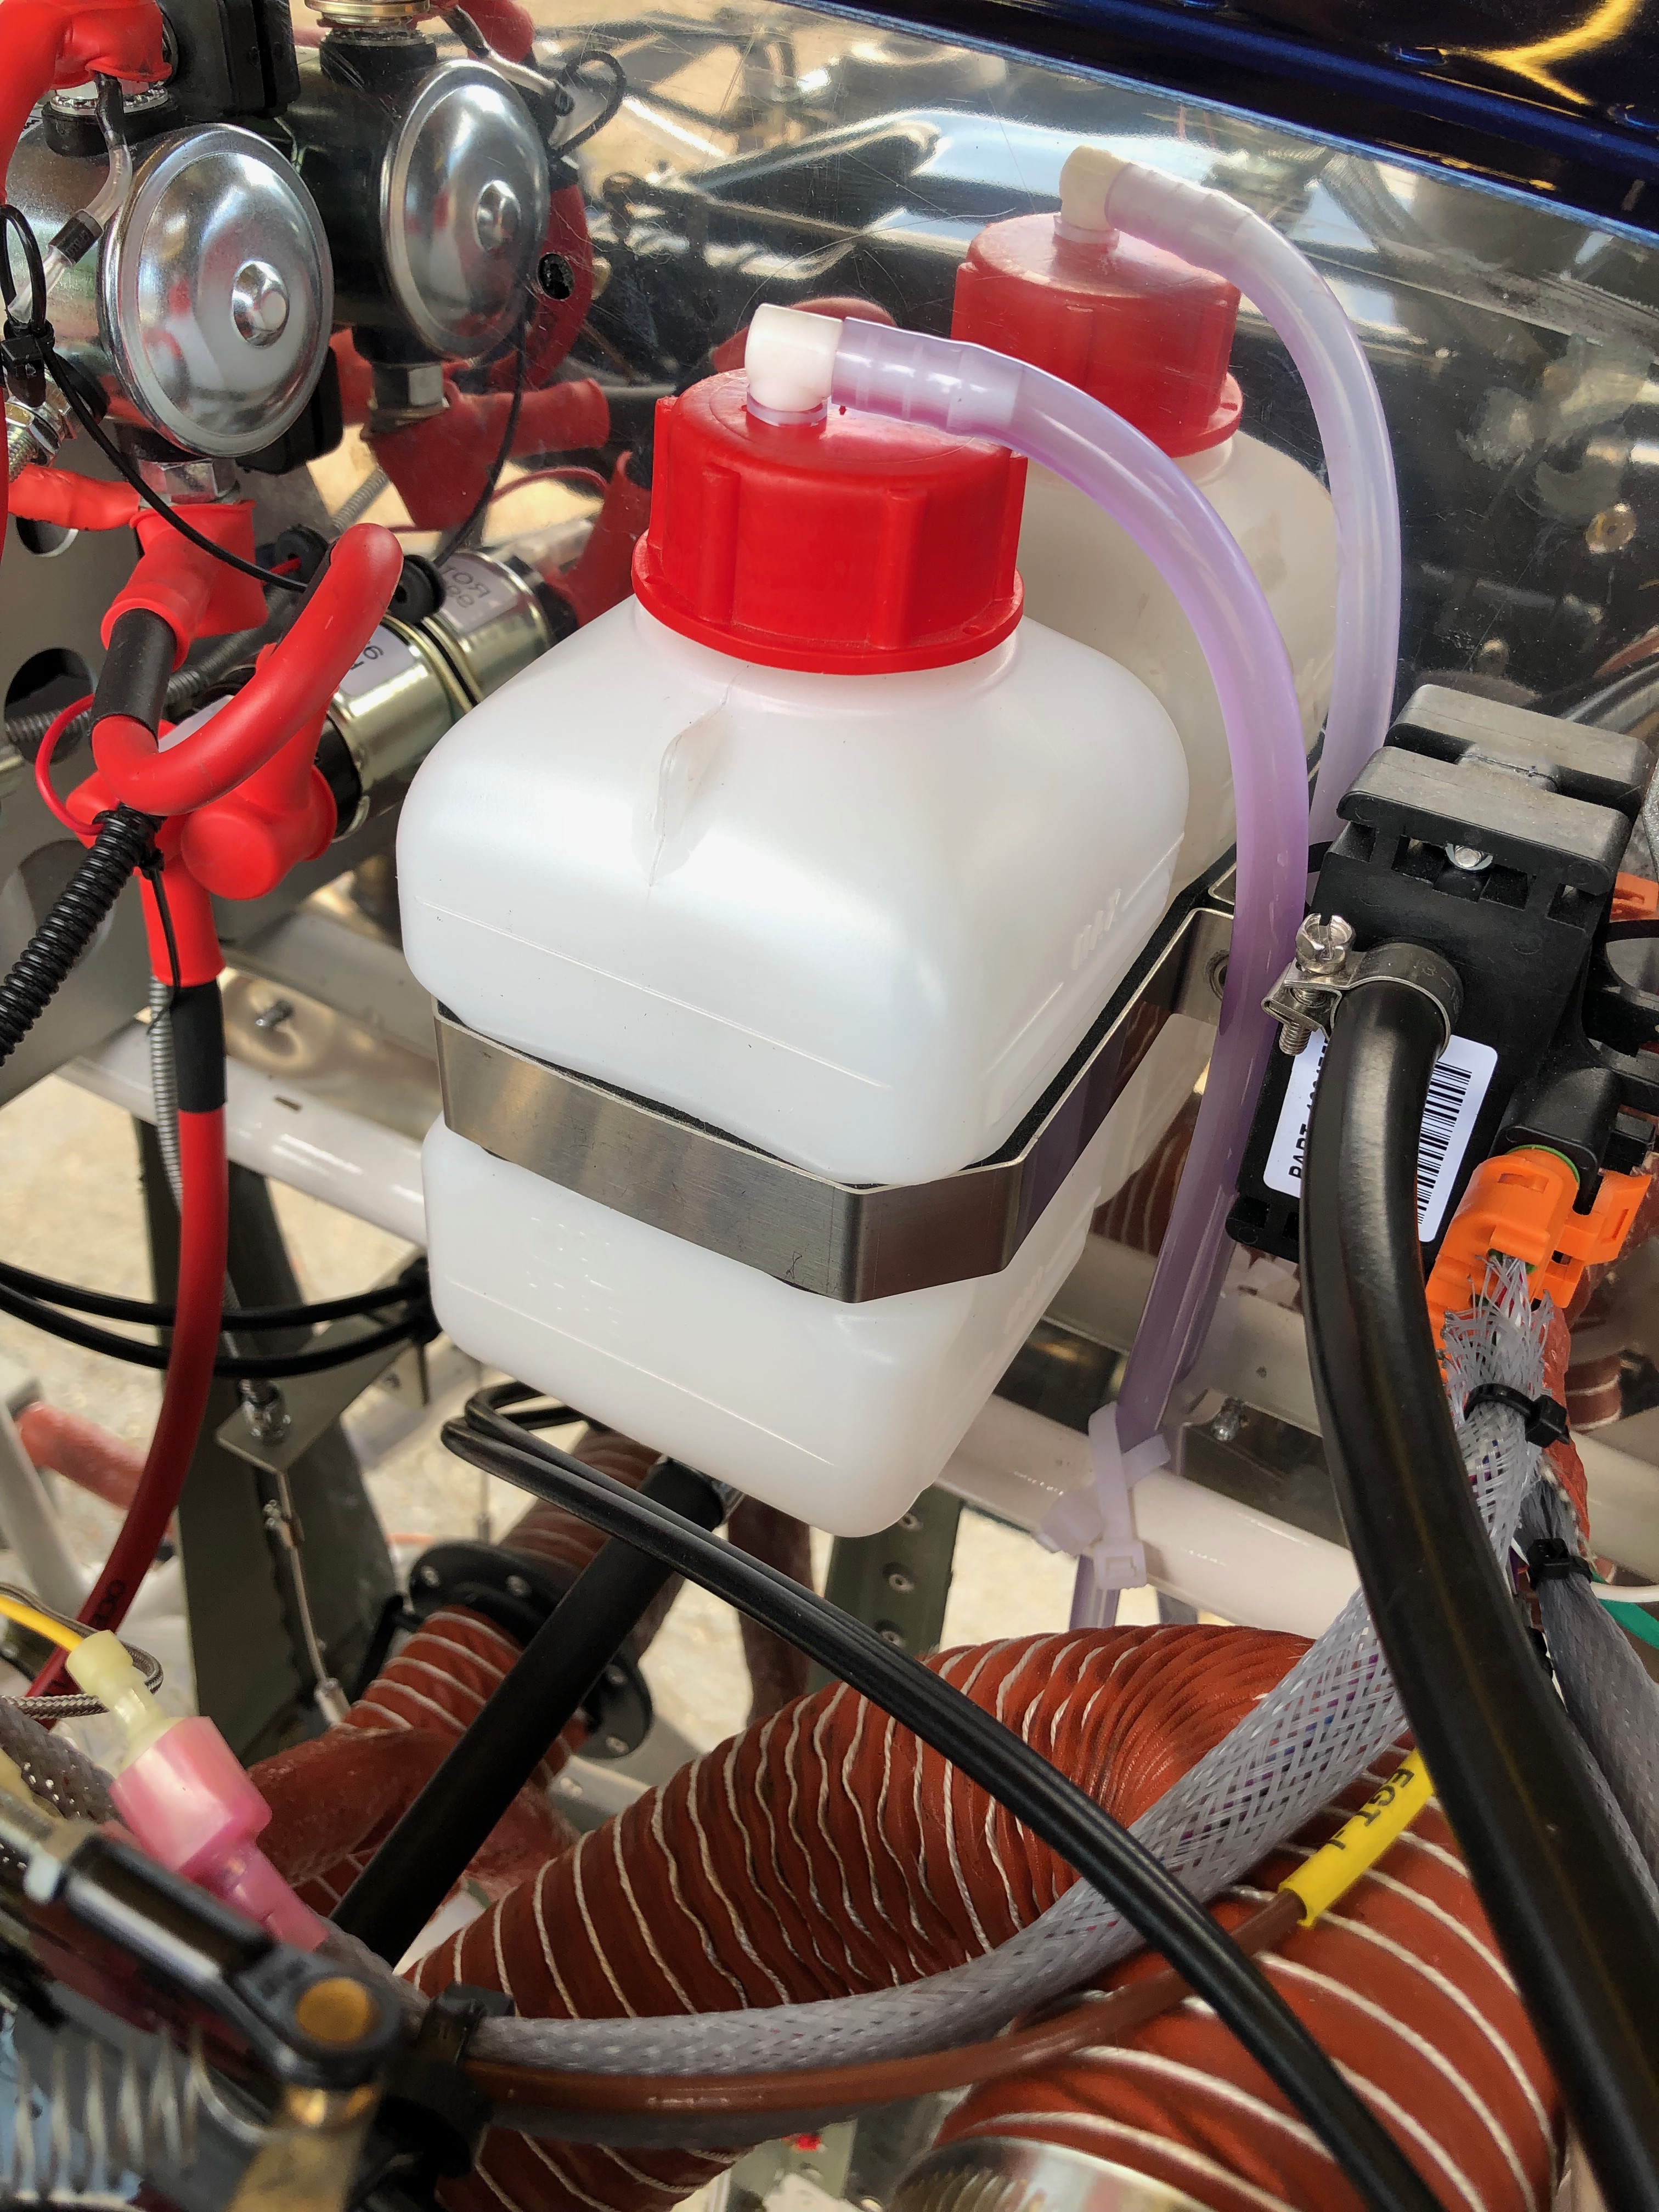
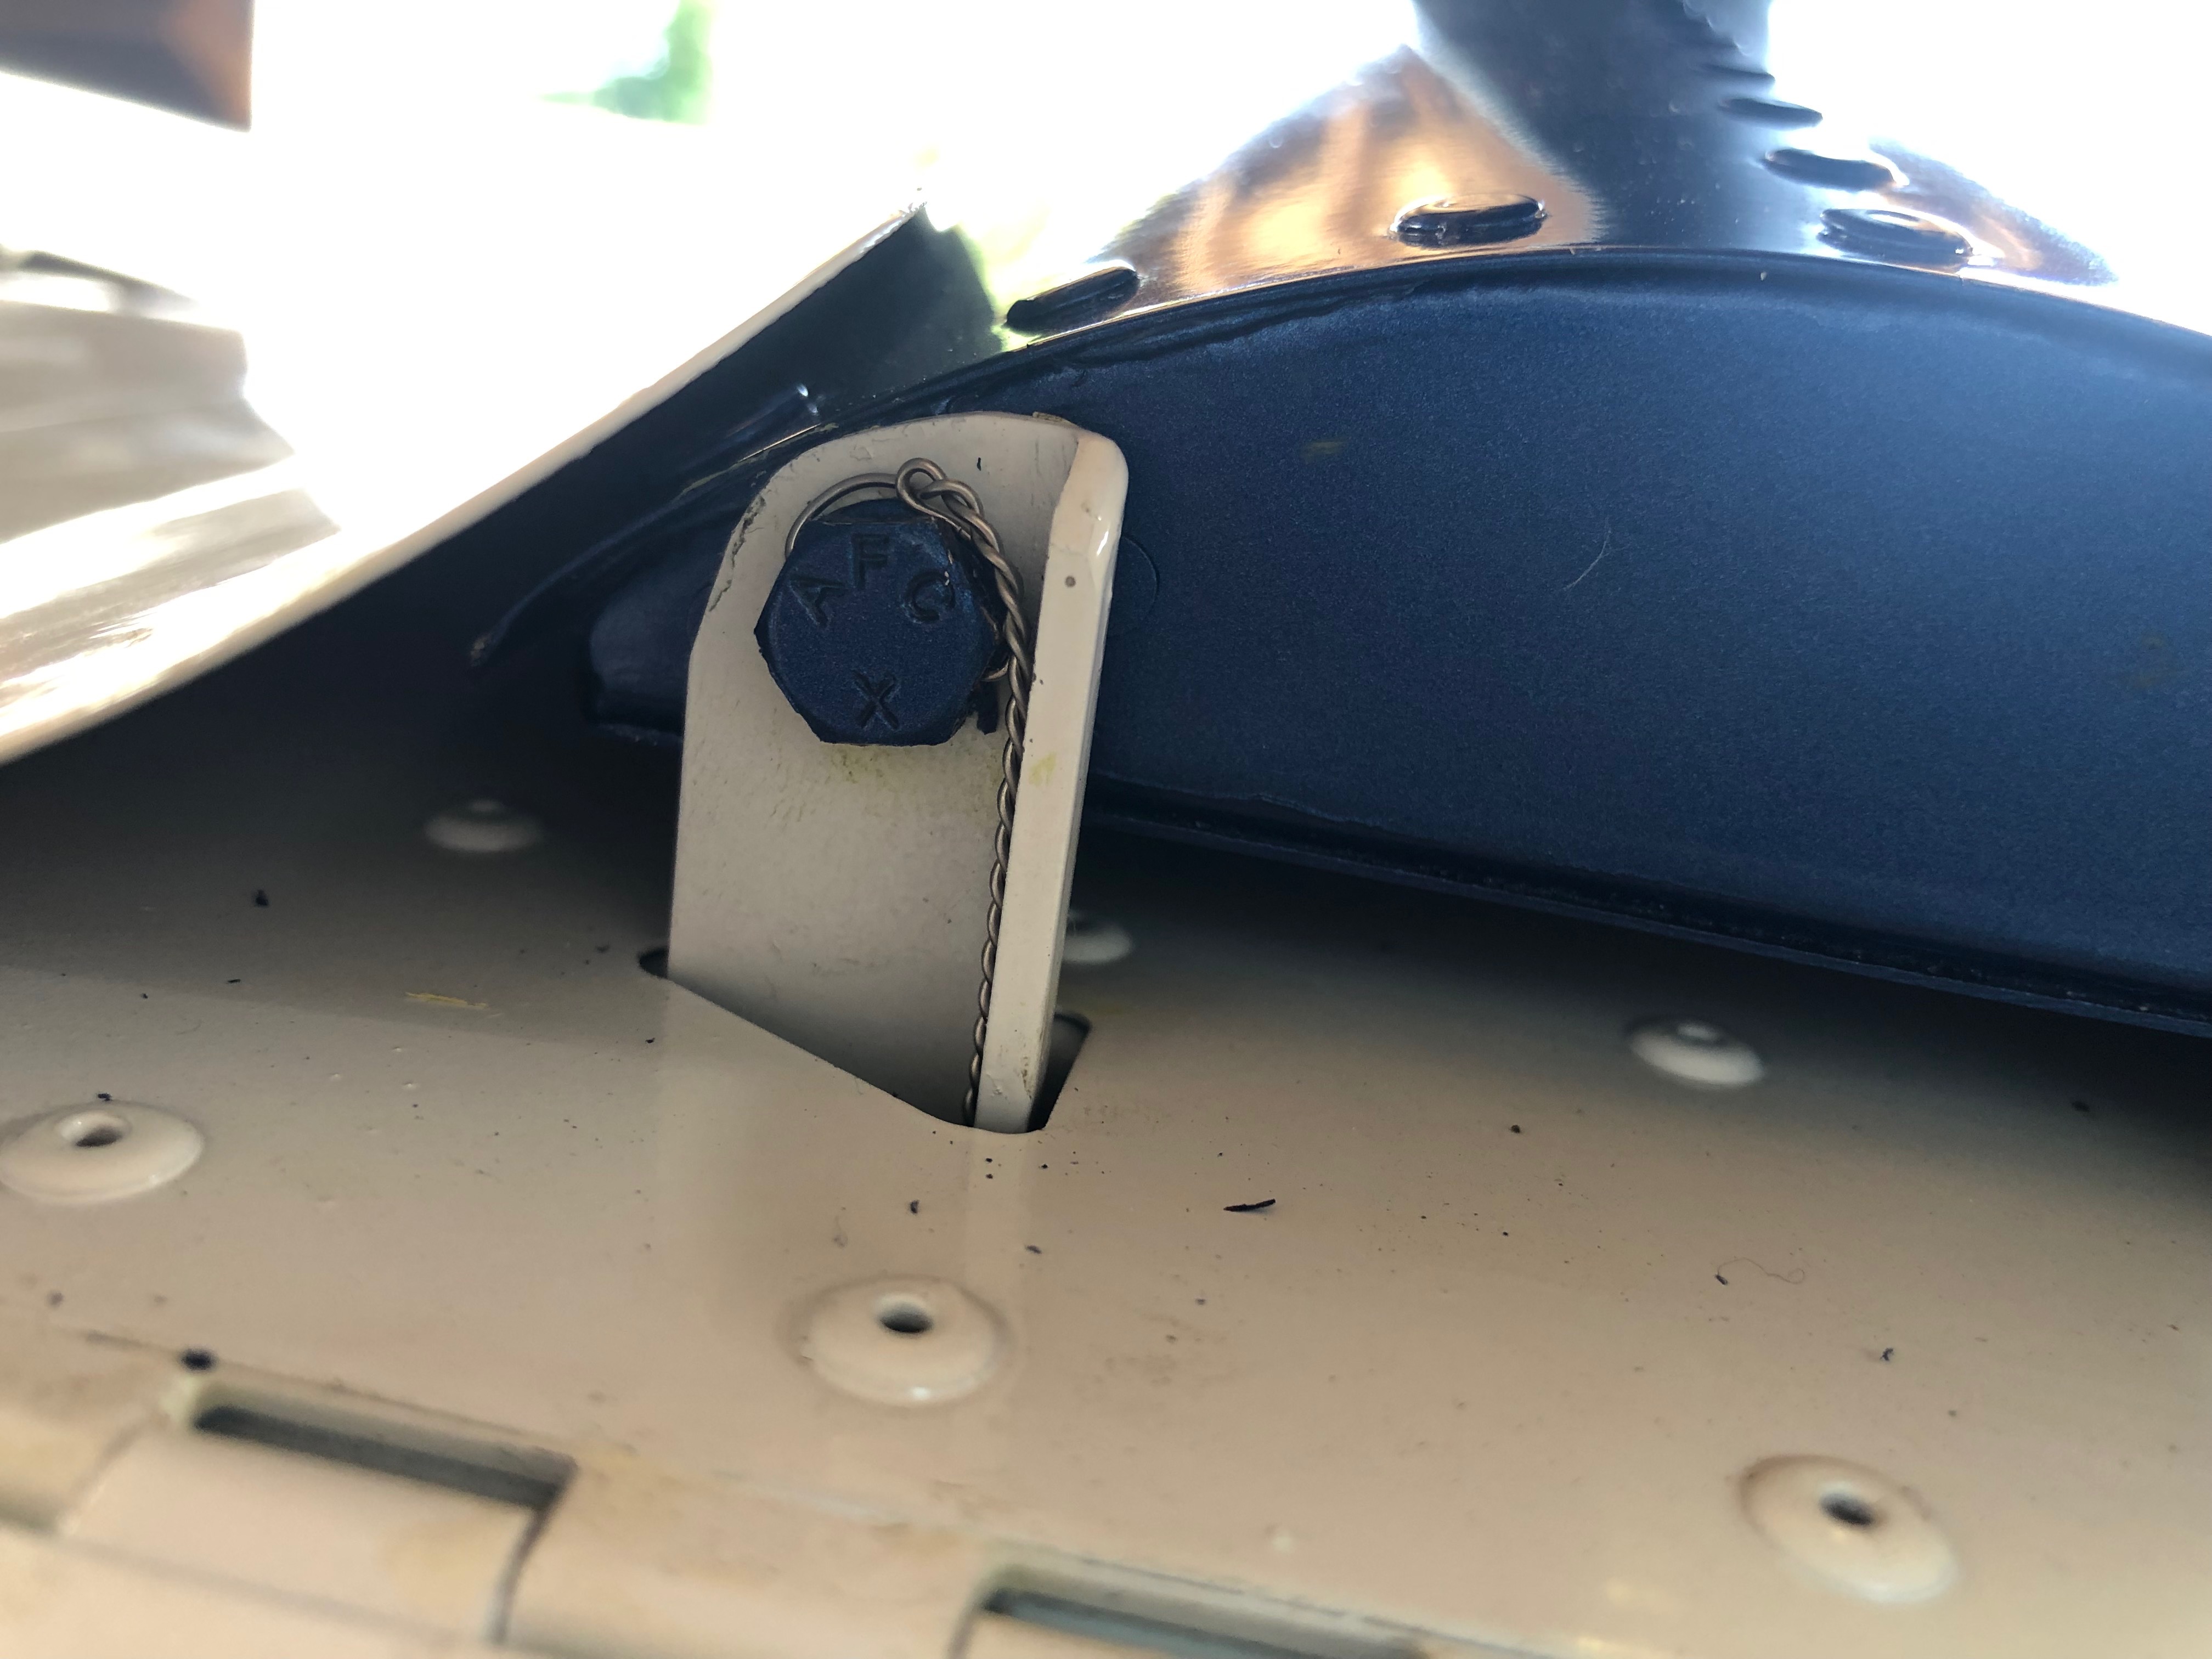
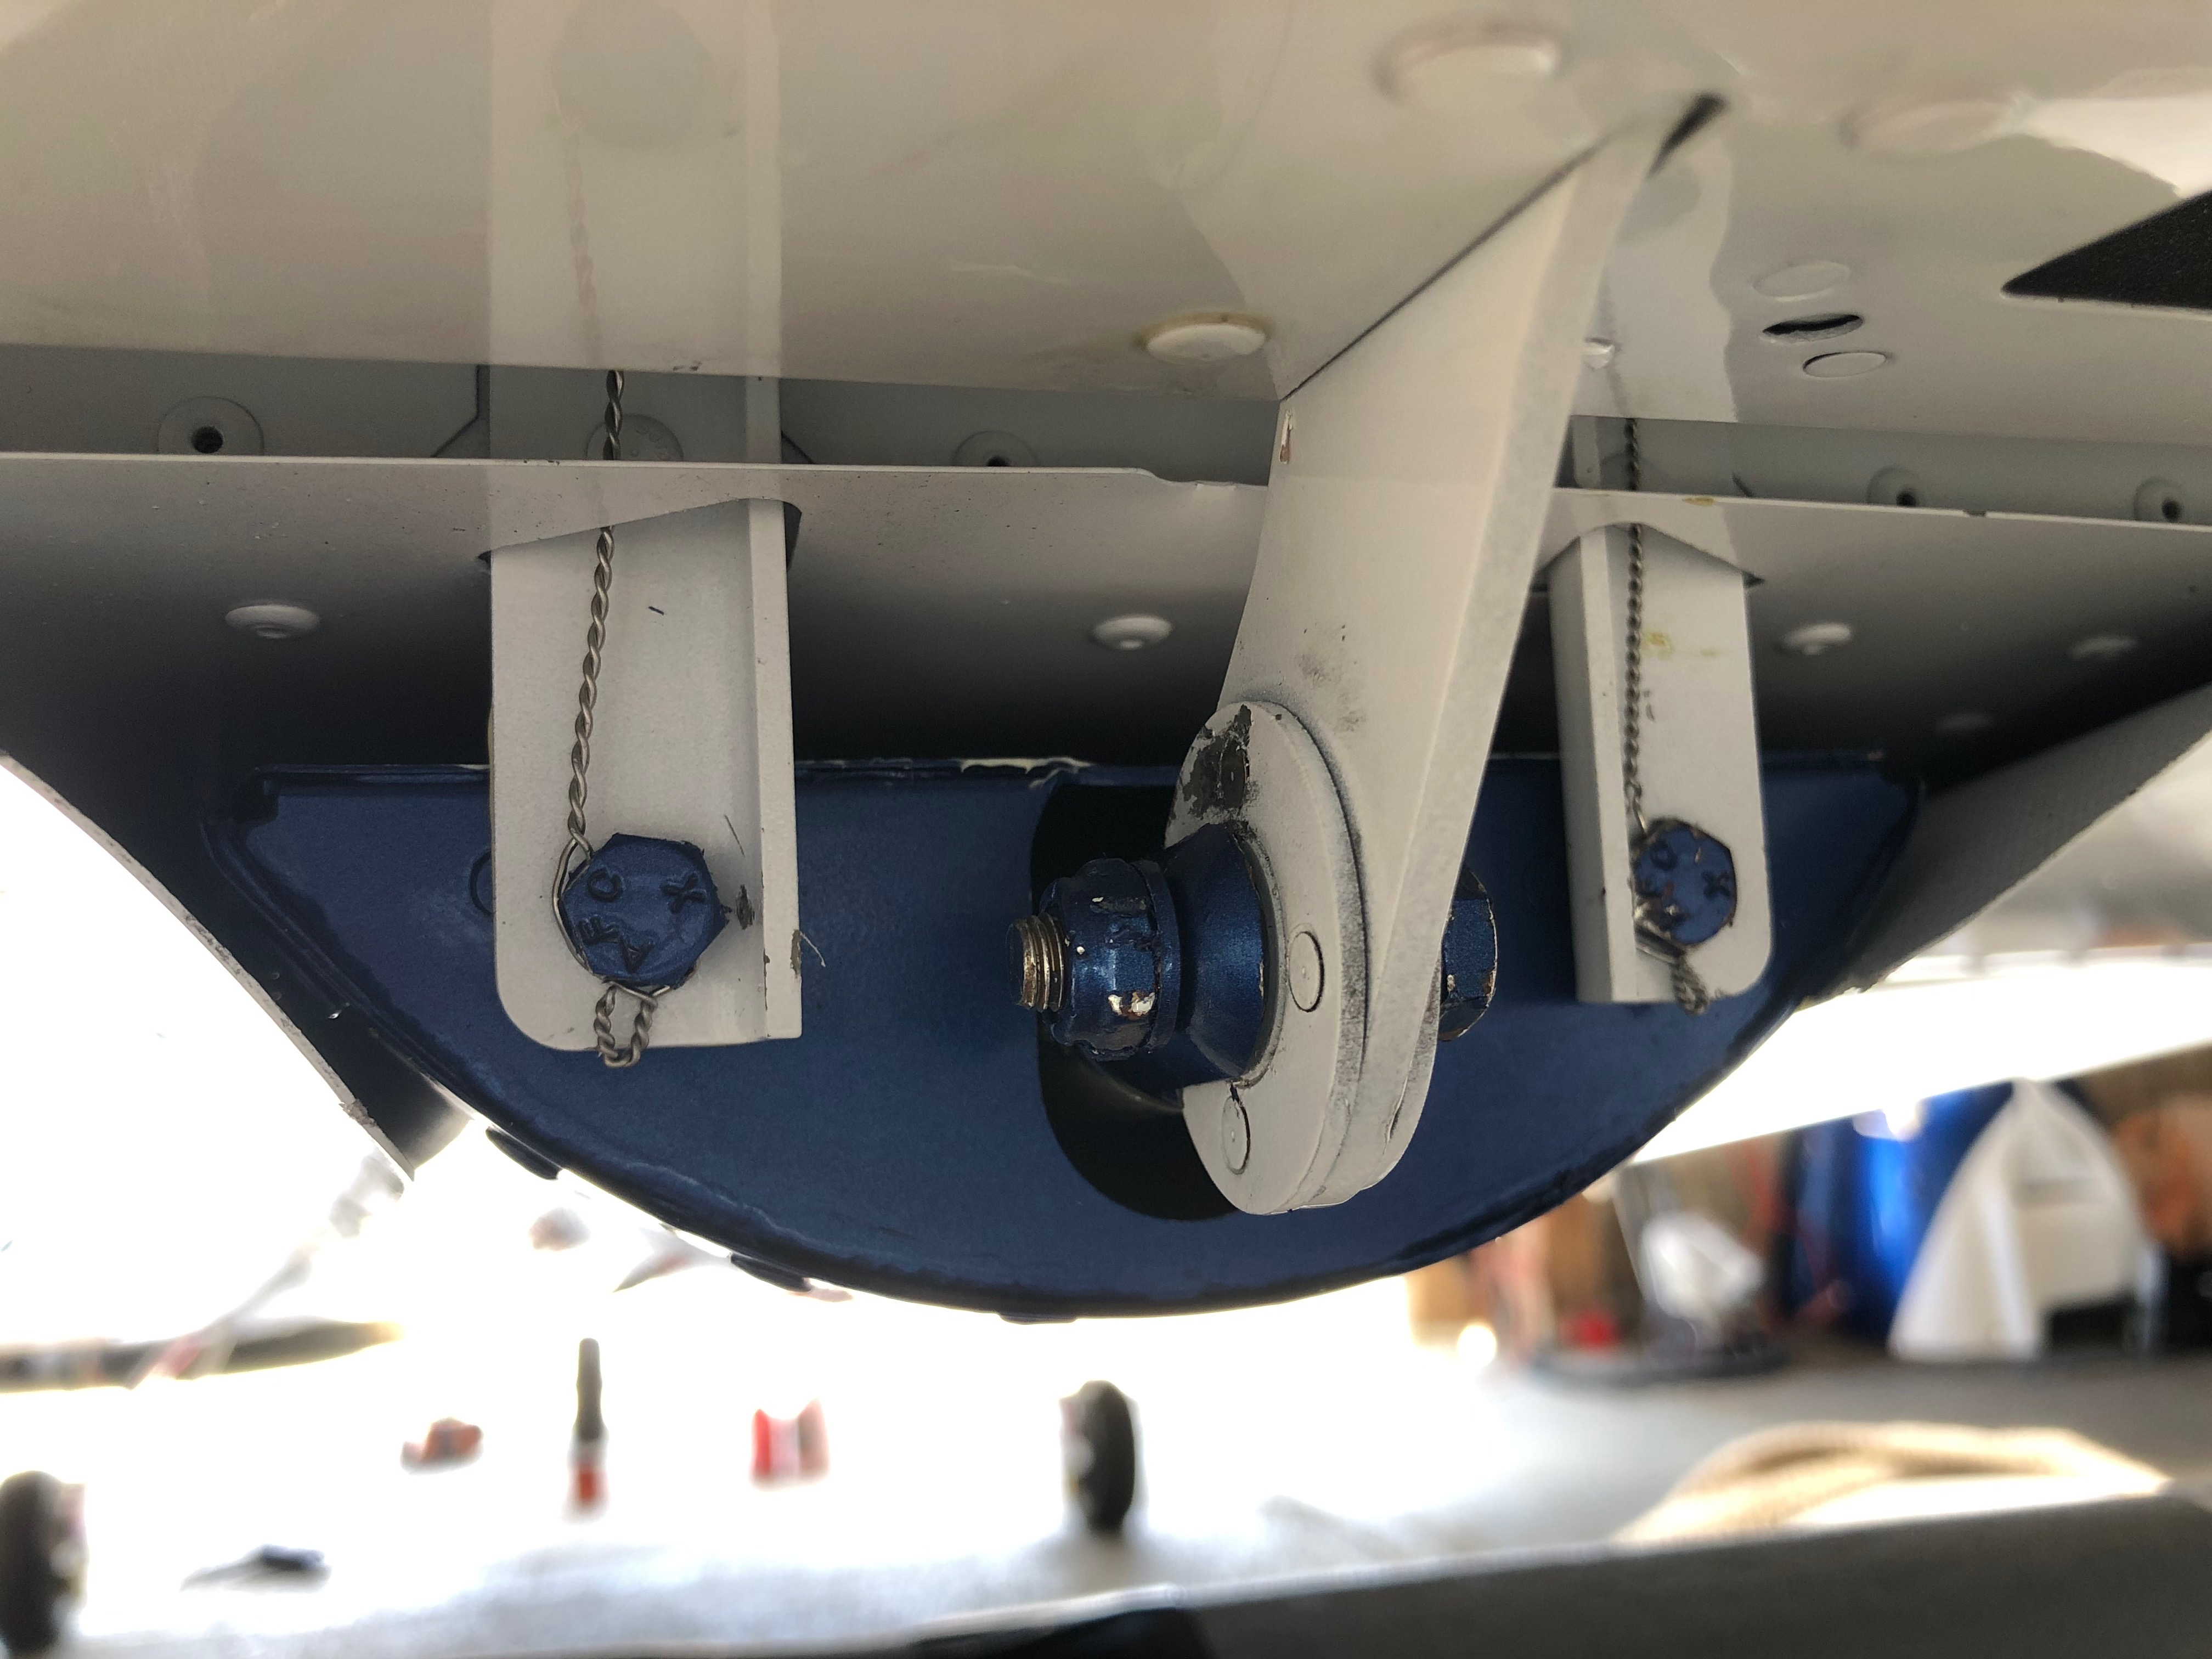
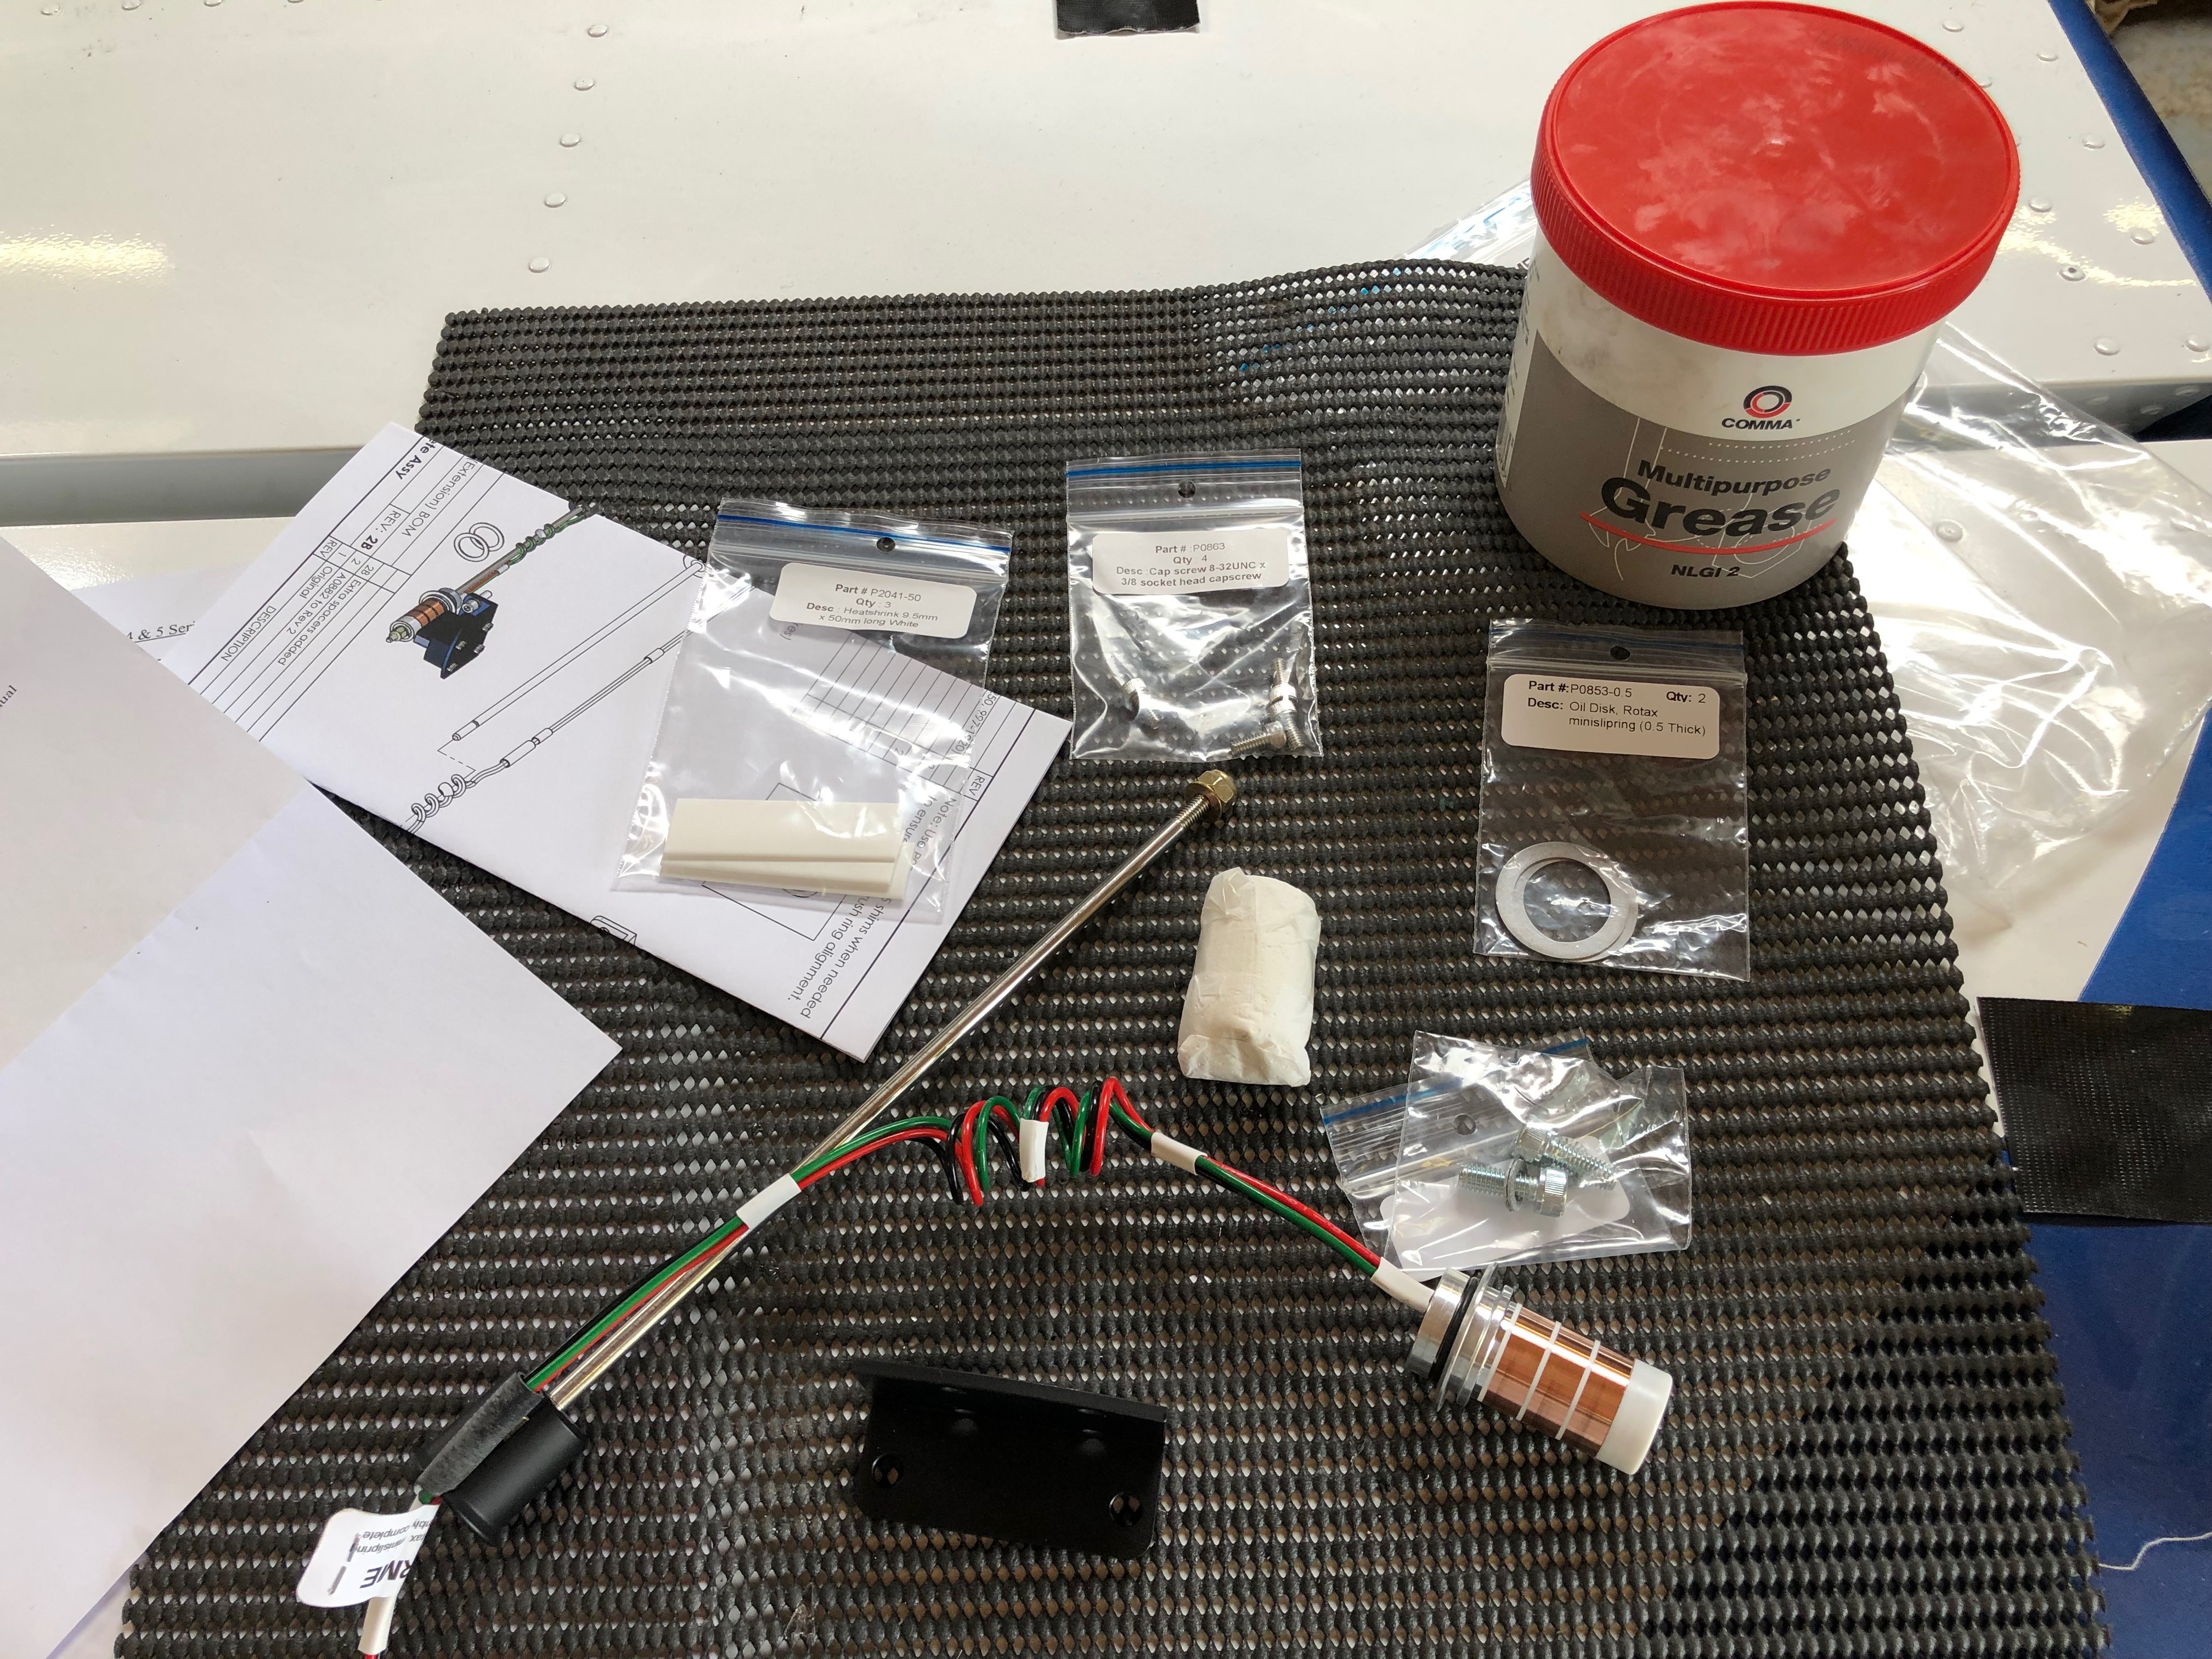
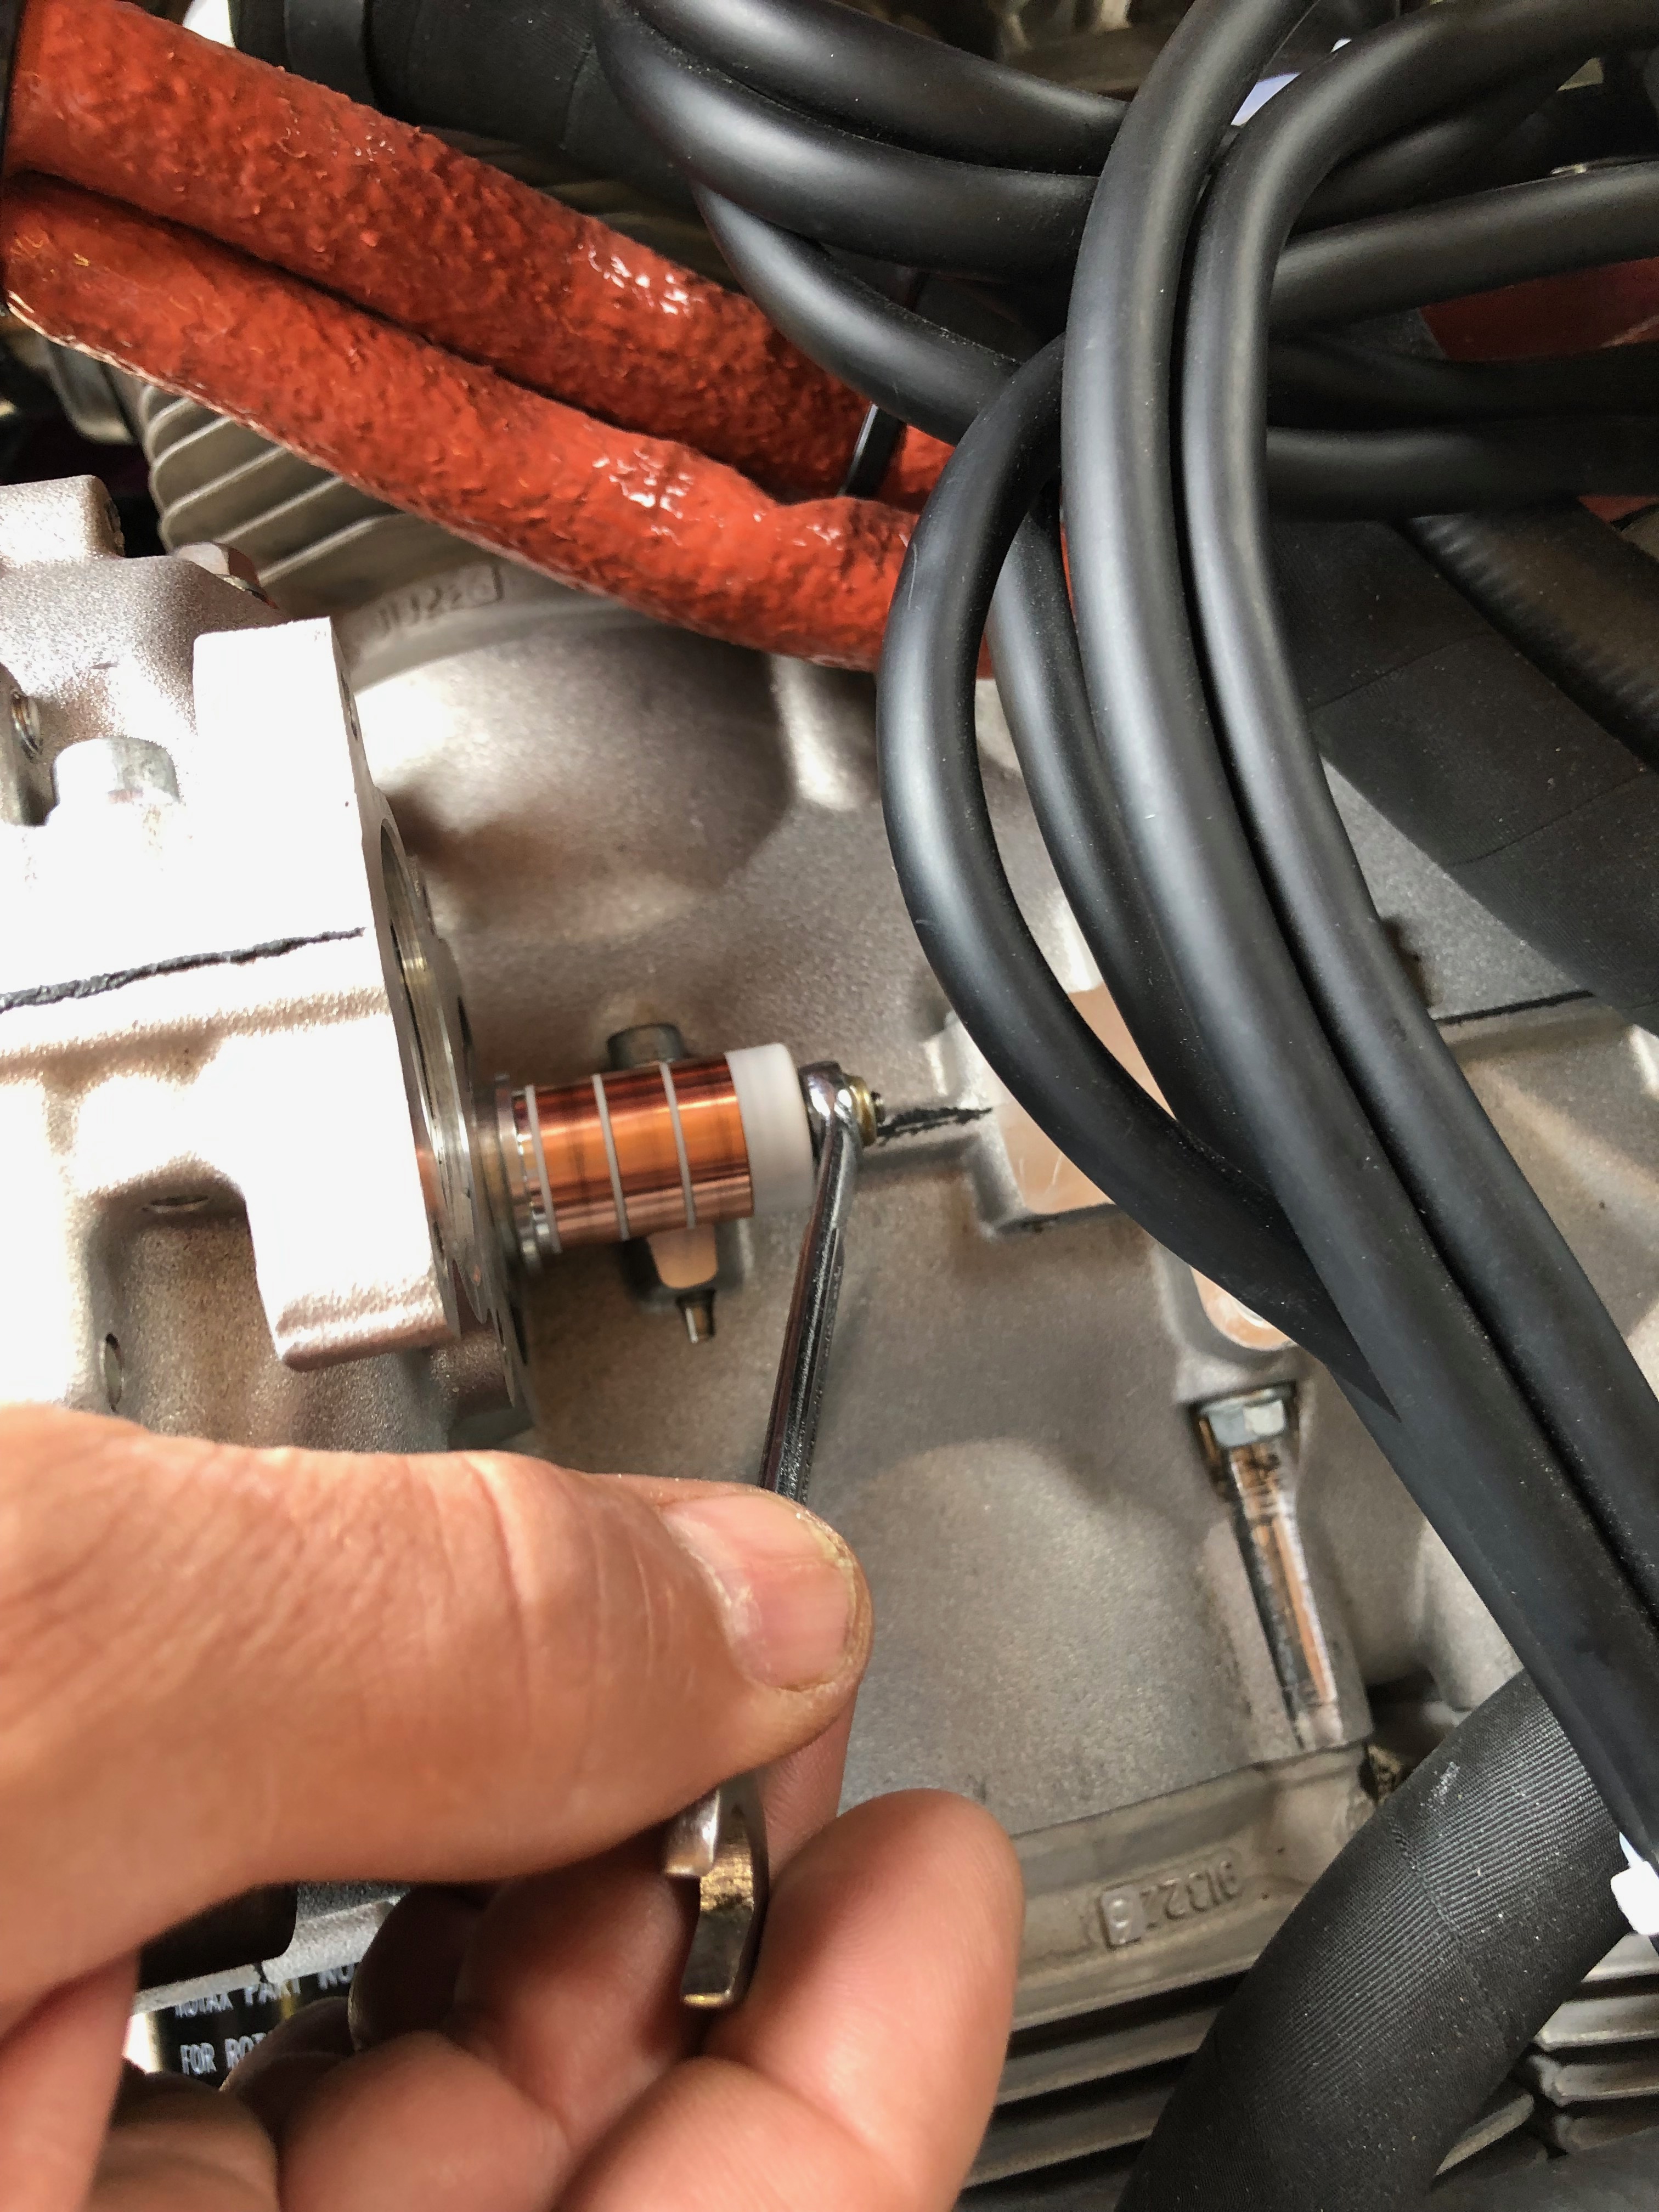
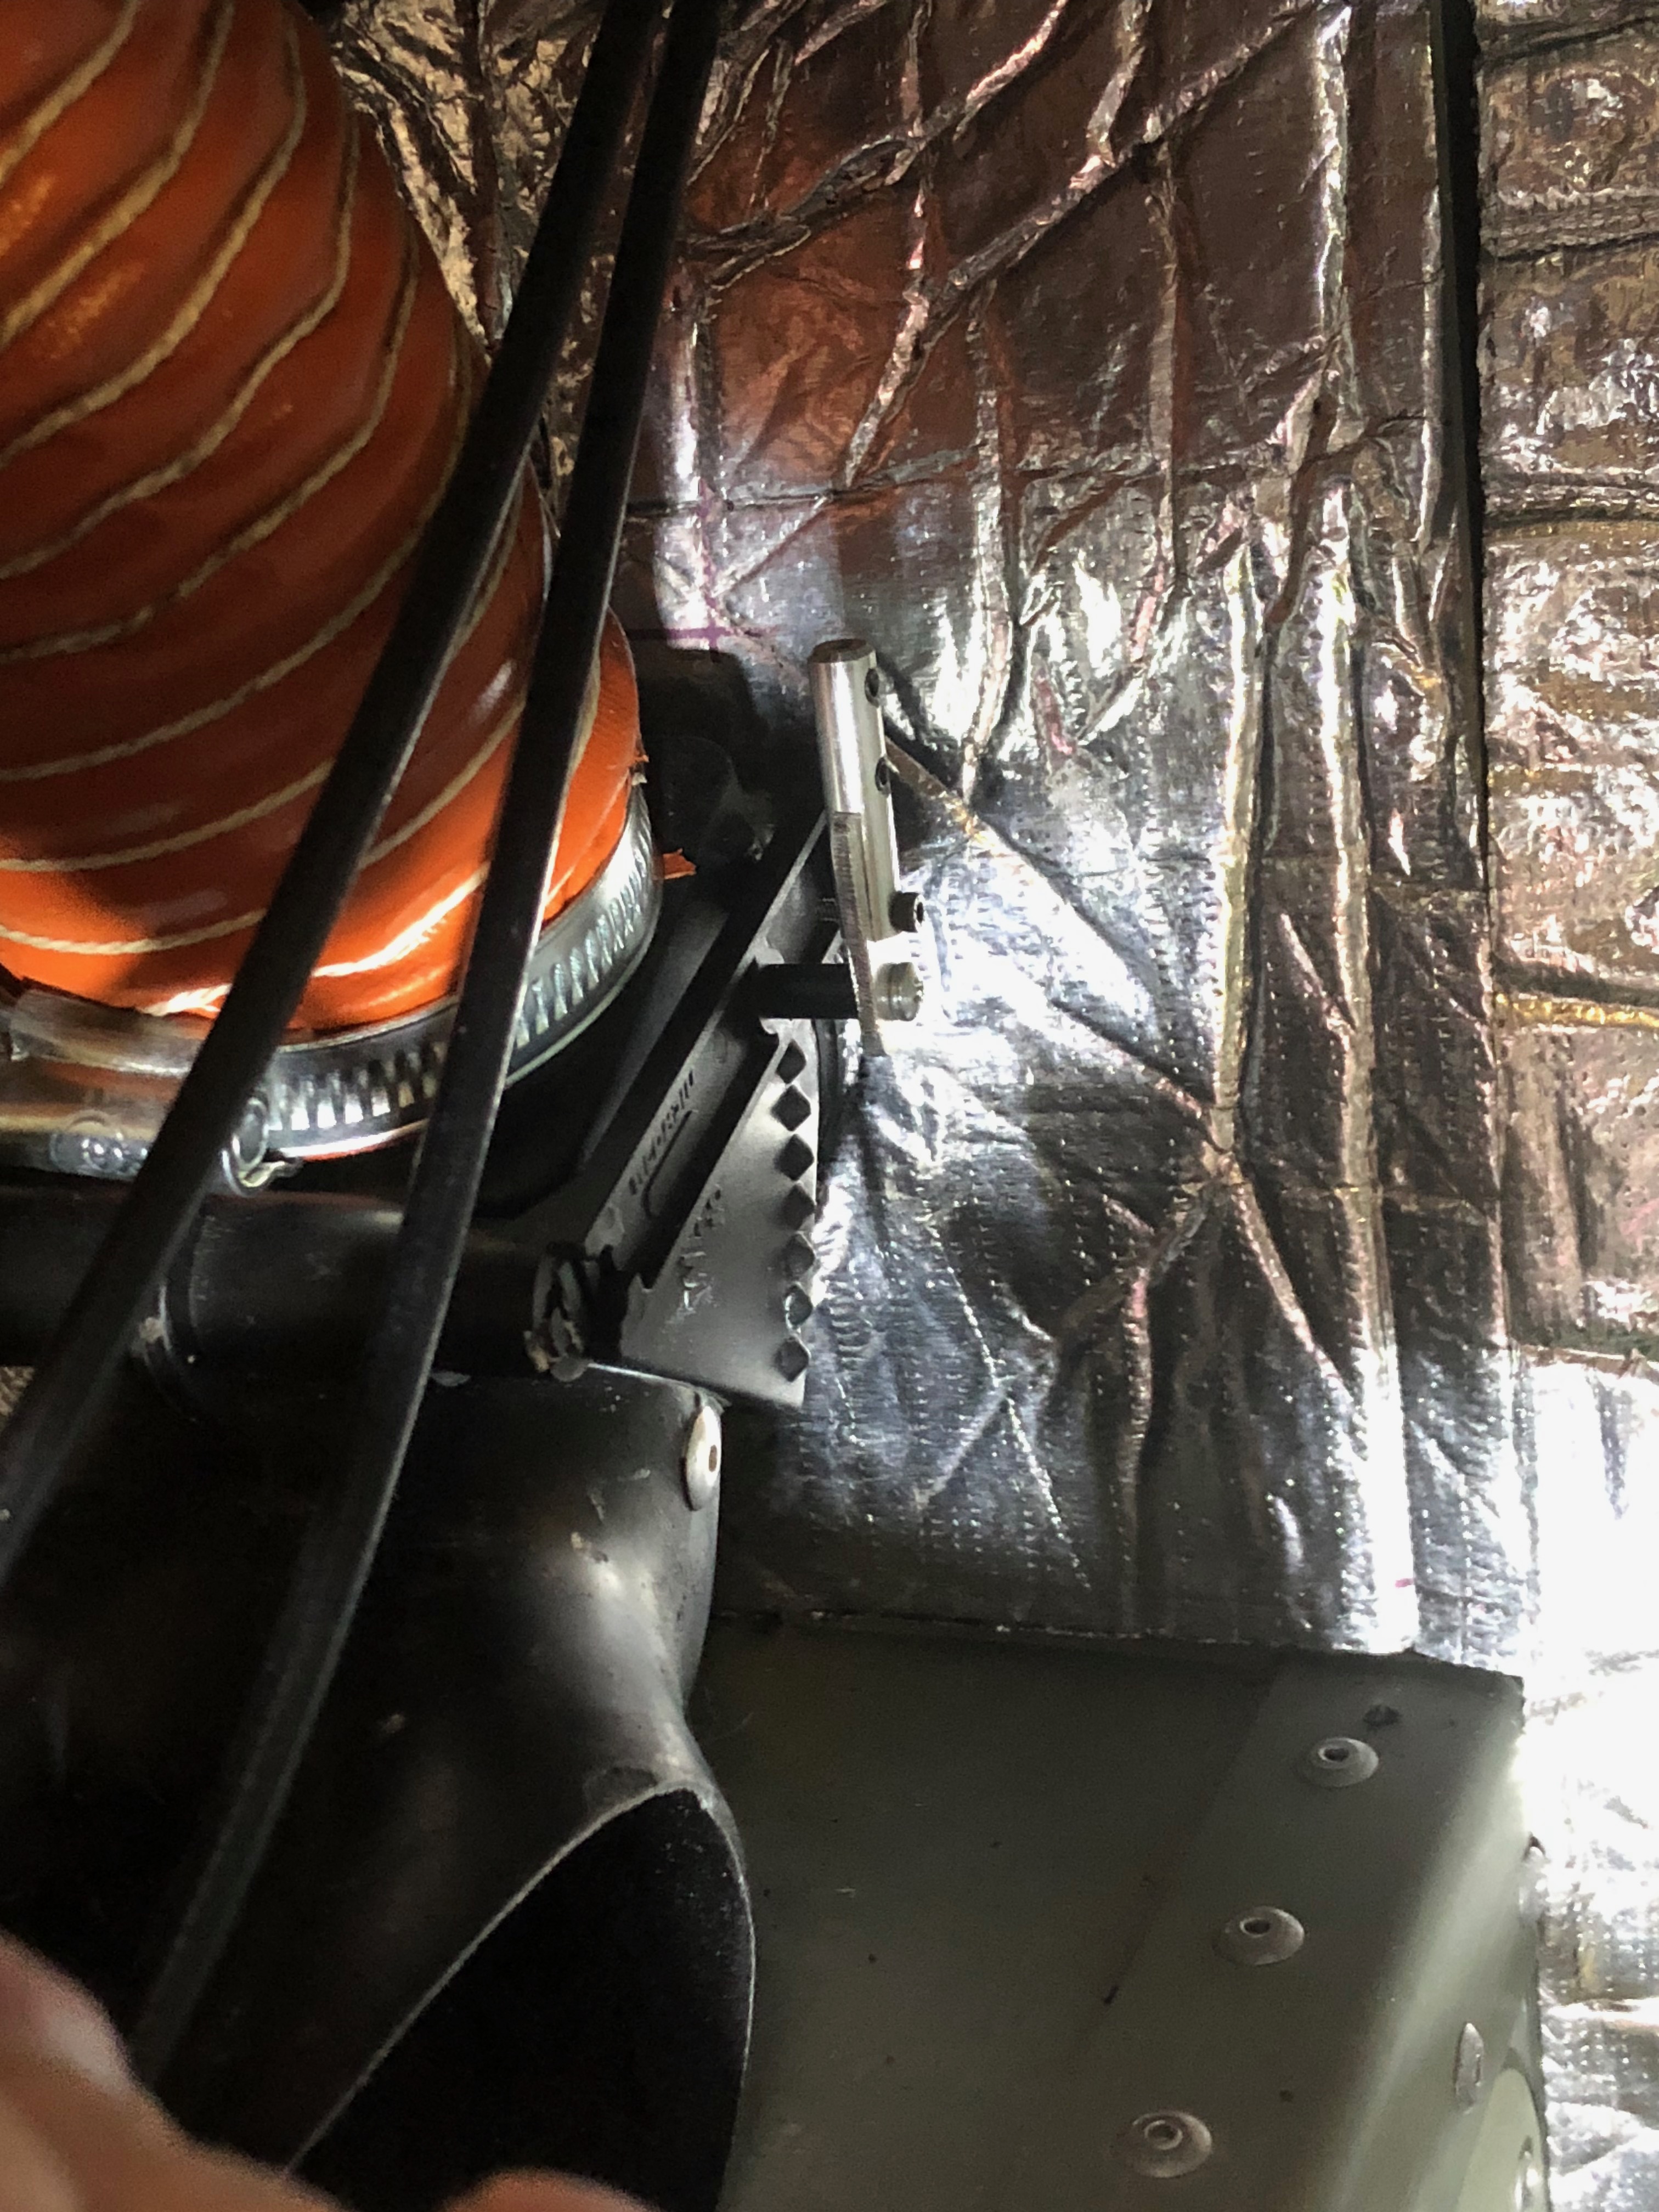
A few smaller jobs to do today including the last bit of wiring, wire locking the tailplane, adding a vent pipe to the coolant bottle and adjusting the flap operating arms.
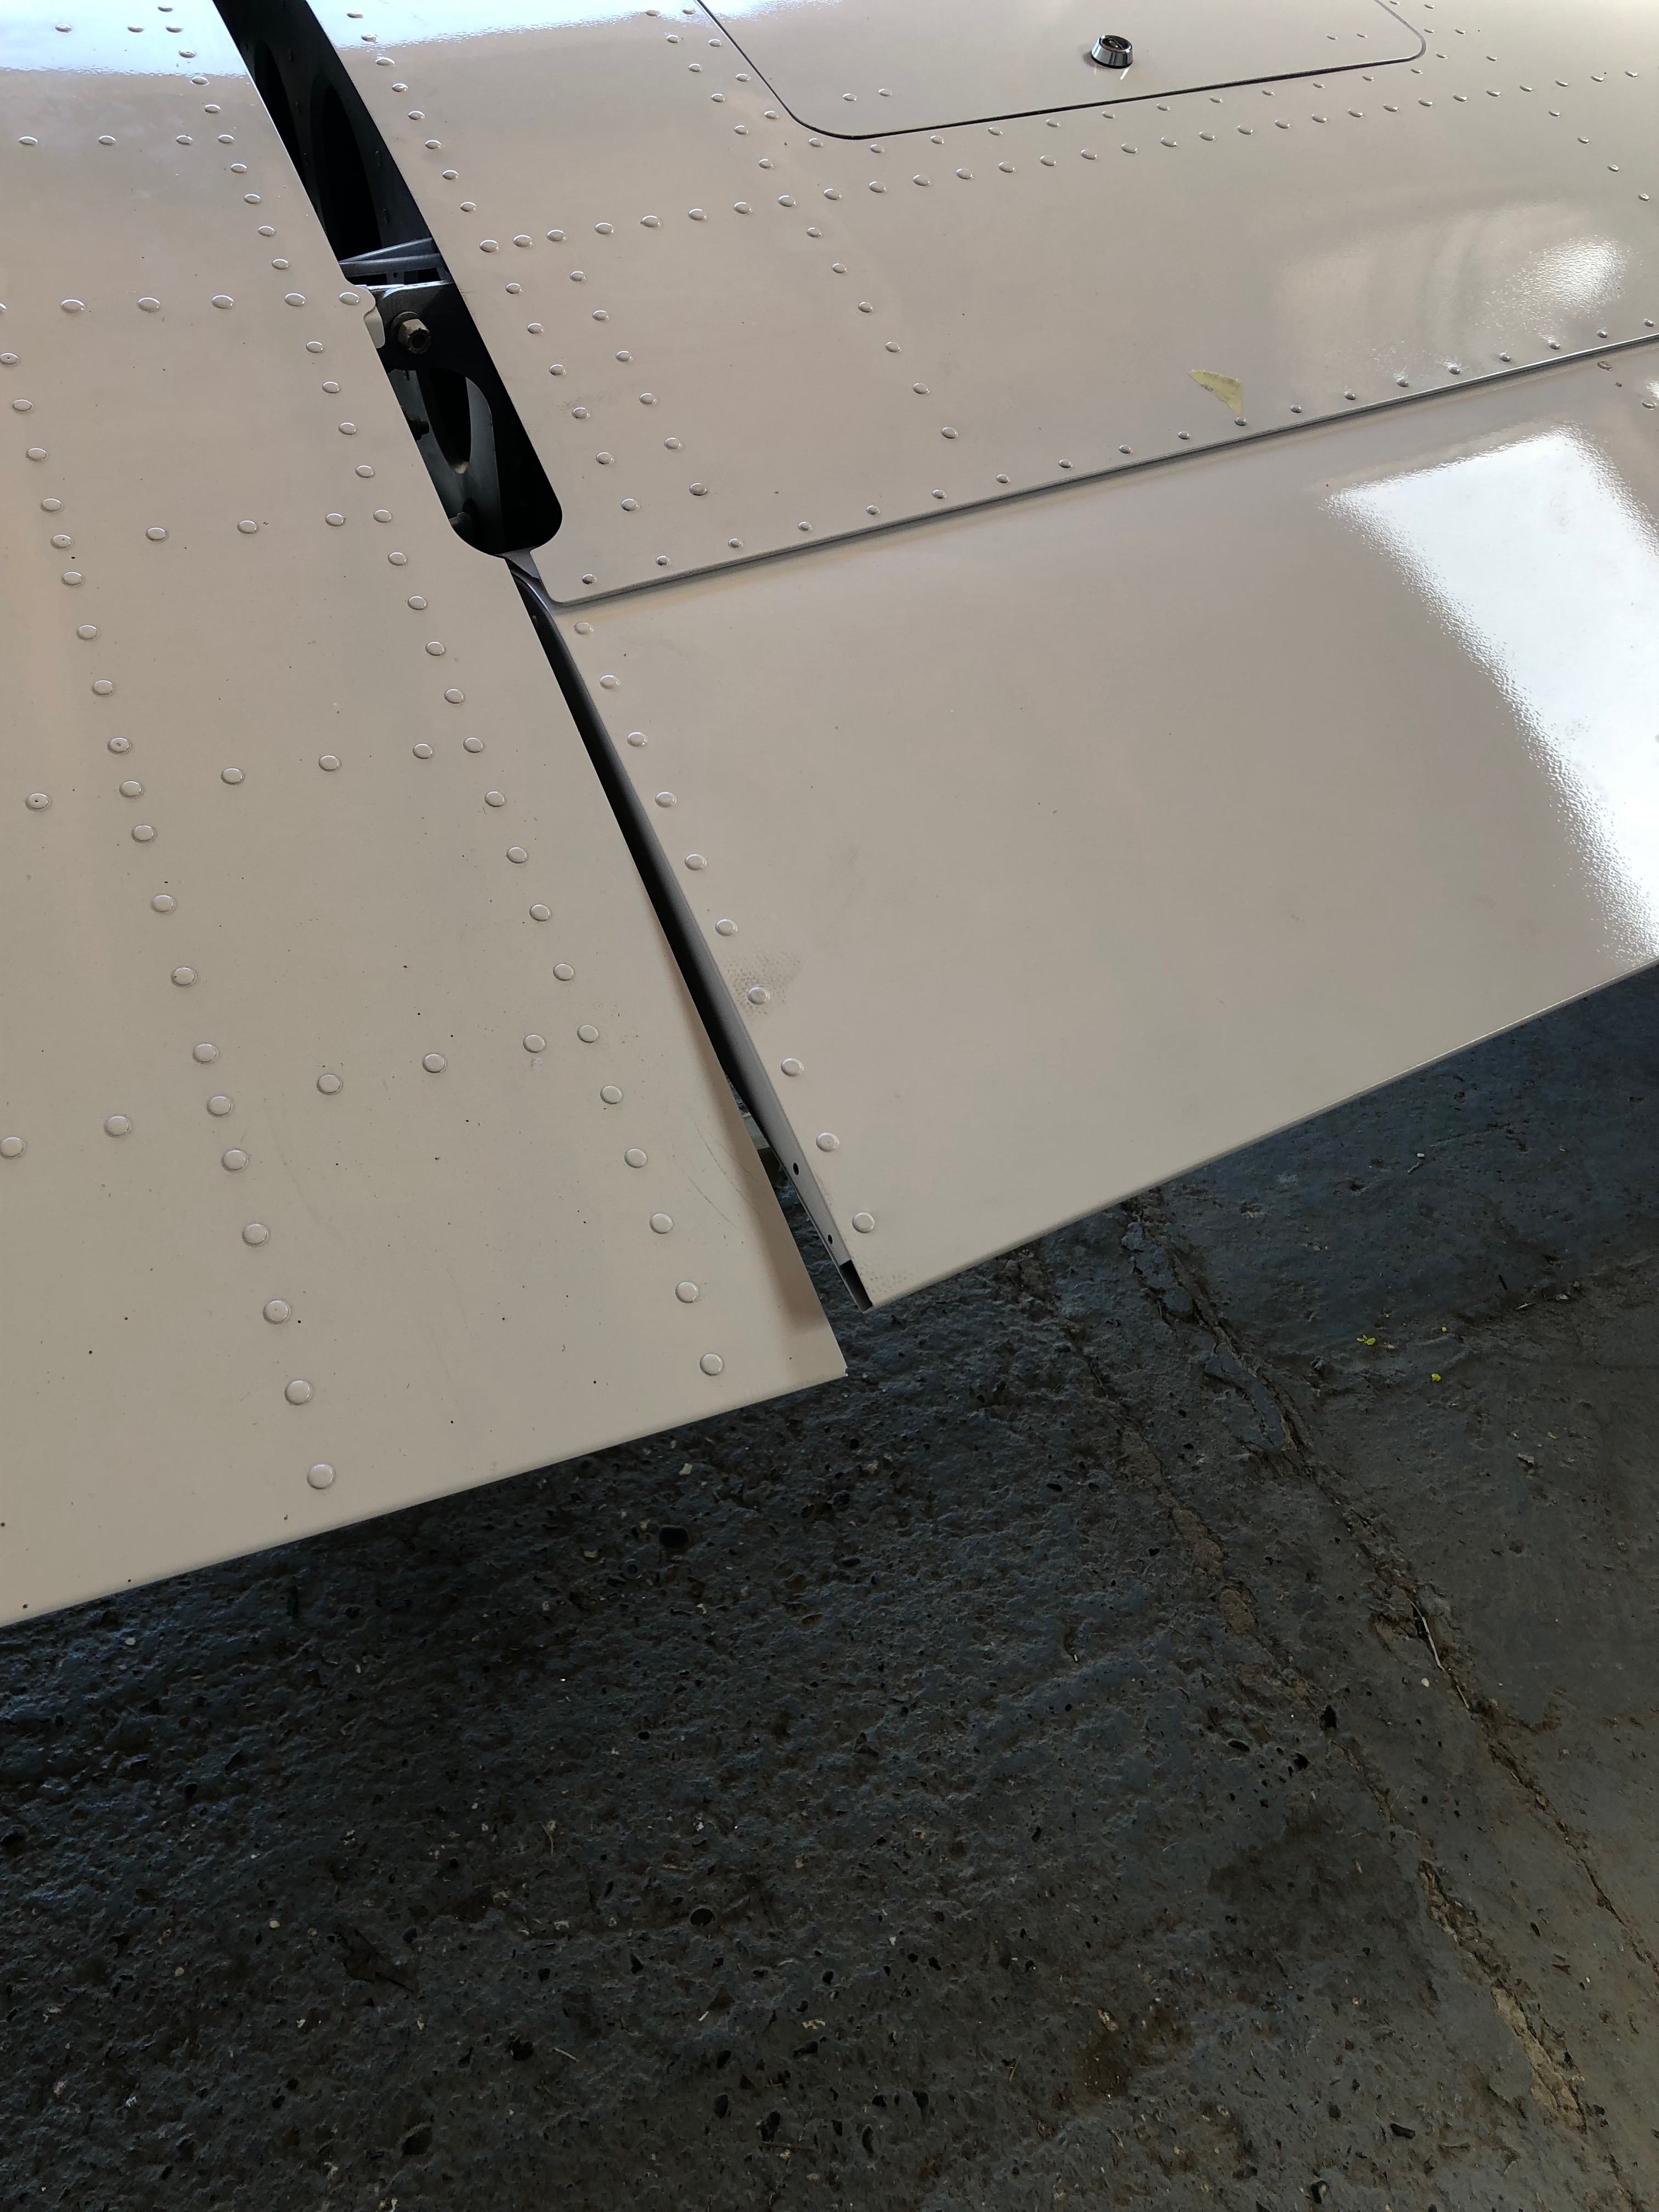
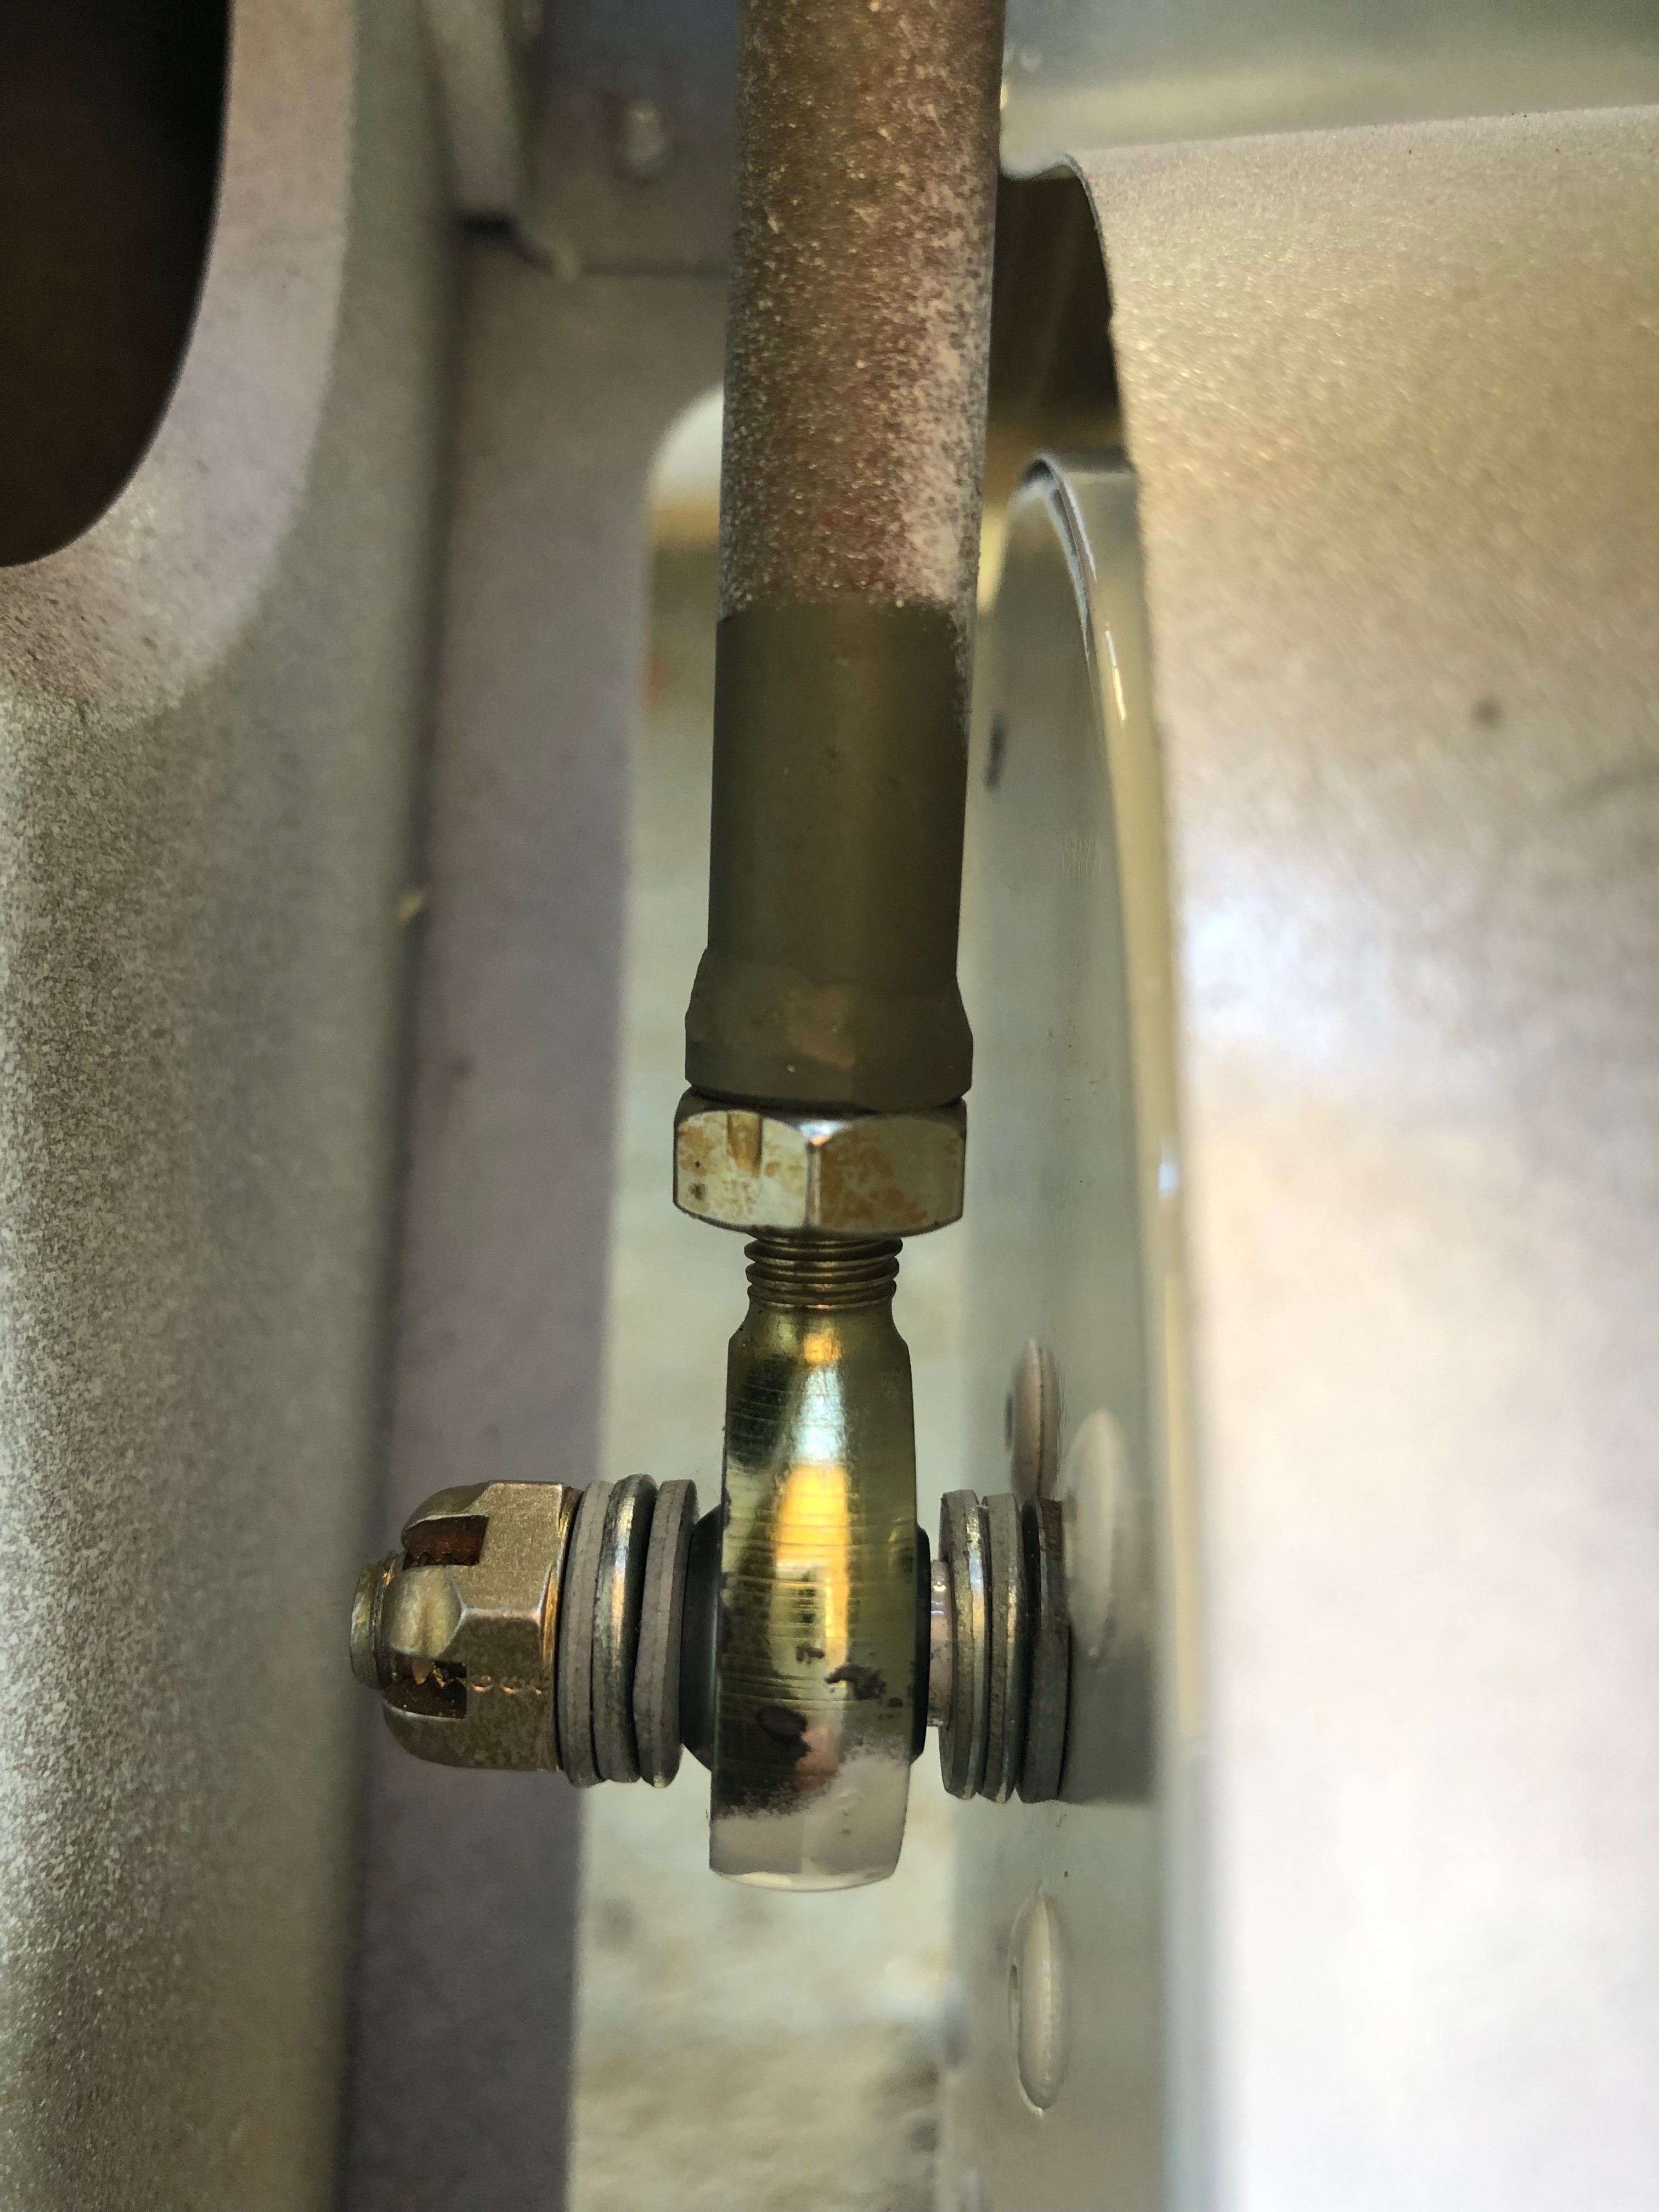
The ACS ignition switch requires 5 wires, Left and Right magnetos, battery, starter solenoid and ground. It uses 4mm ring connectors that are secured with screws and shake proof washers.
The carb heat and heater controls require a positive stop to make sure you don’t pull the cable too far. I’ve used a ‘chocolate block’ with the insulation cut off…
…slid it on the cable and secured it with the 2 screws.
The same was done for the heater control.
I’ve added a breather in the coolant bootle and run the pipe down the firewall and out under the fuselage.
Four bolts secure the tailplane and once torqued to the correct setting are wire locked to ensure they don’t undo.
The wire locking is carried through from the top bolt and finished off around the bottom bolt.
The flaps require adjusting to be flush with the trailing edge of the wing…
The control rod arms have adjusters at either end and are adjusted equally before locking up.

Wednesday 5th June 2019

Music: Roxy Music & Dire Straits

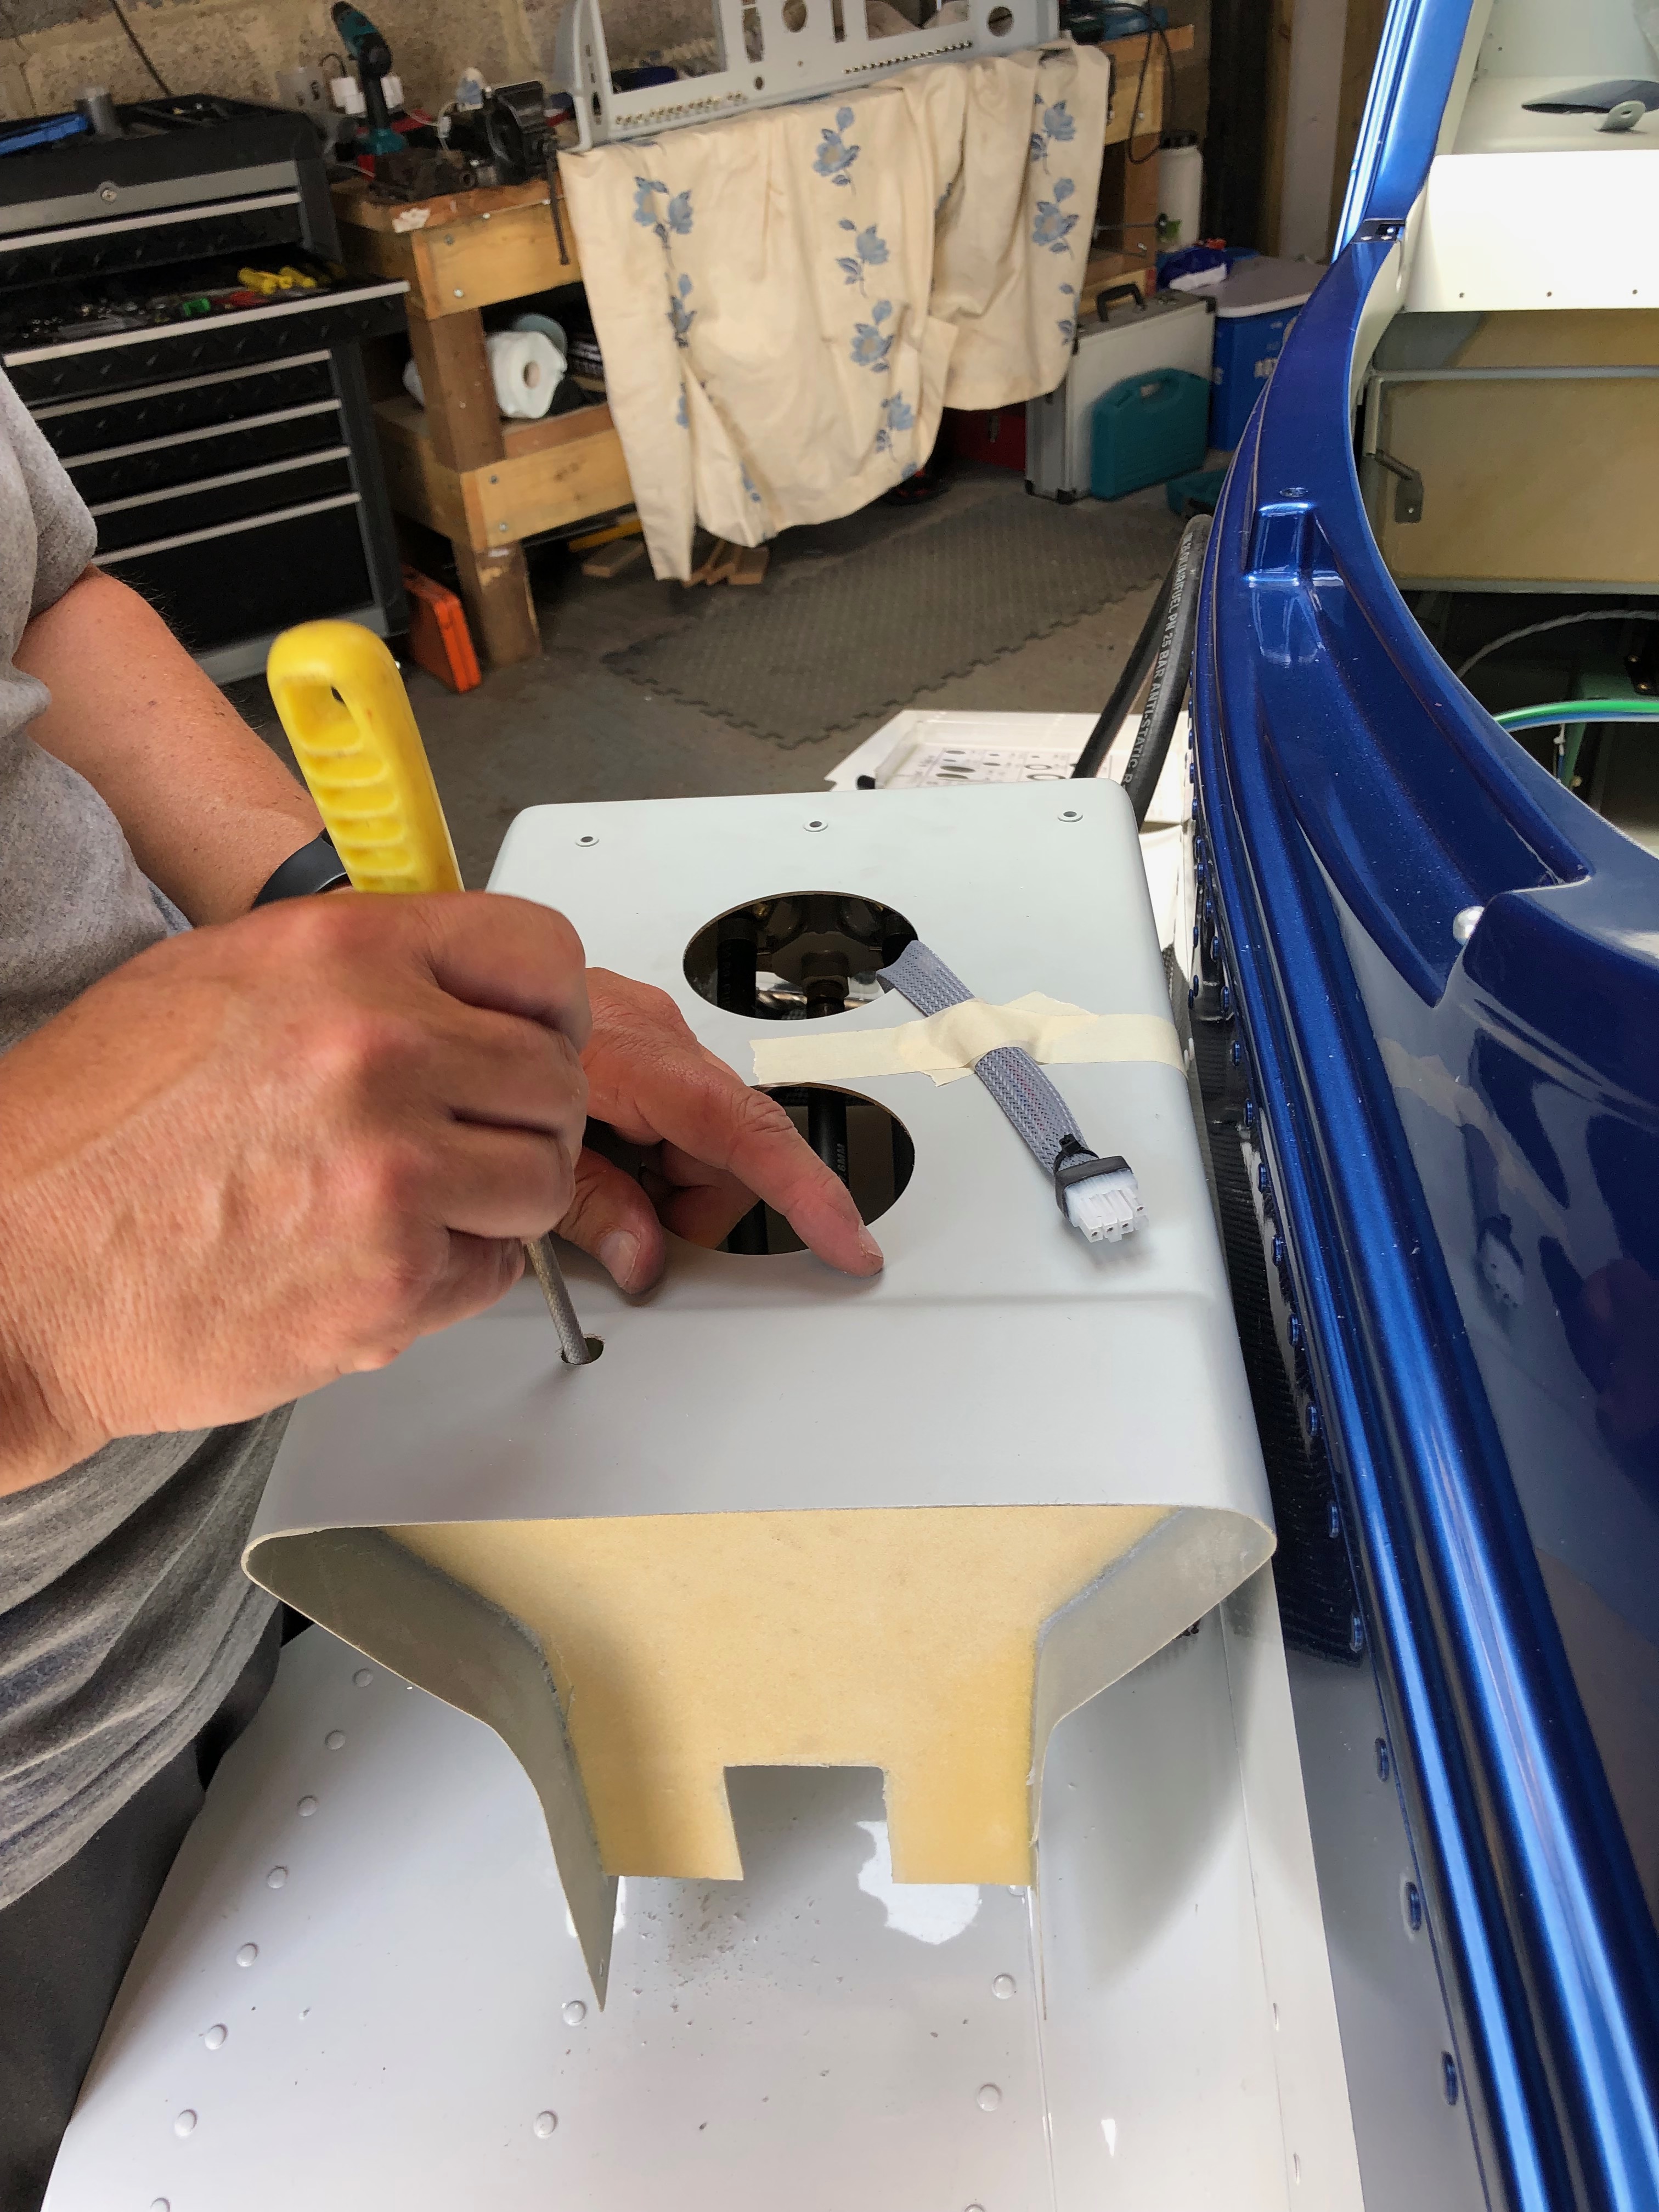
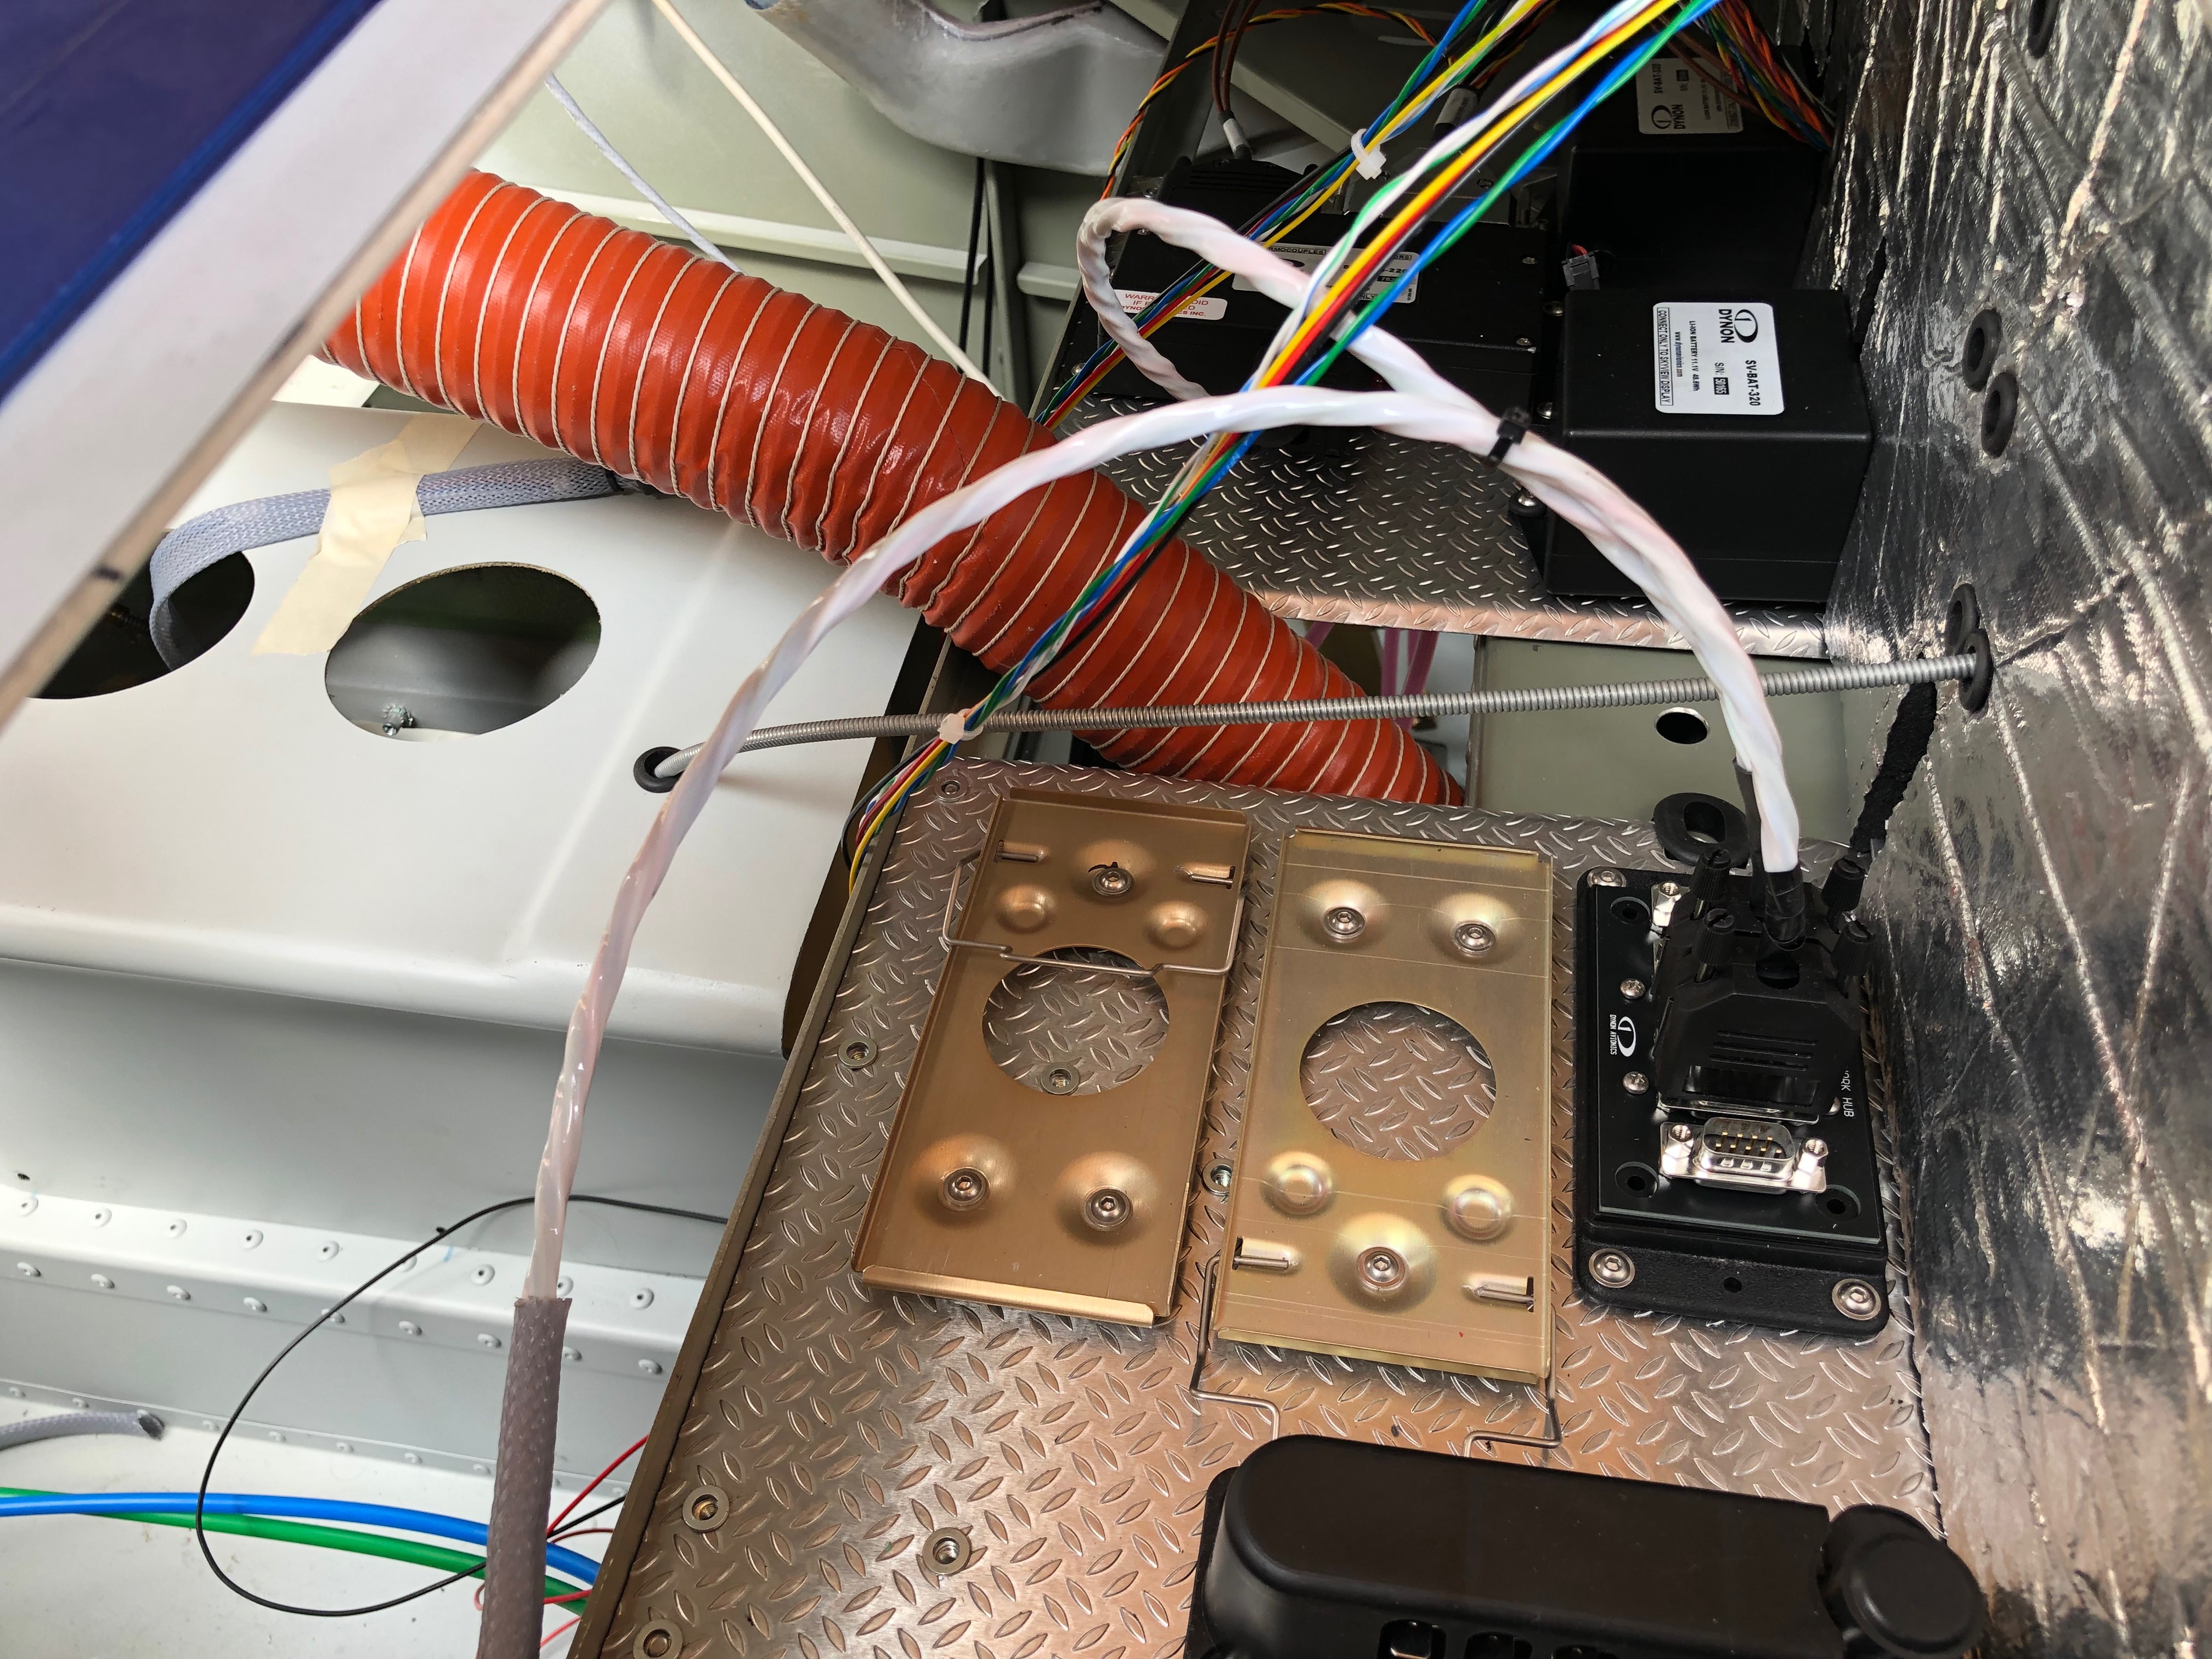
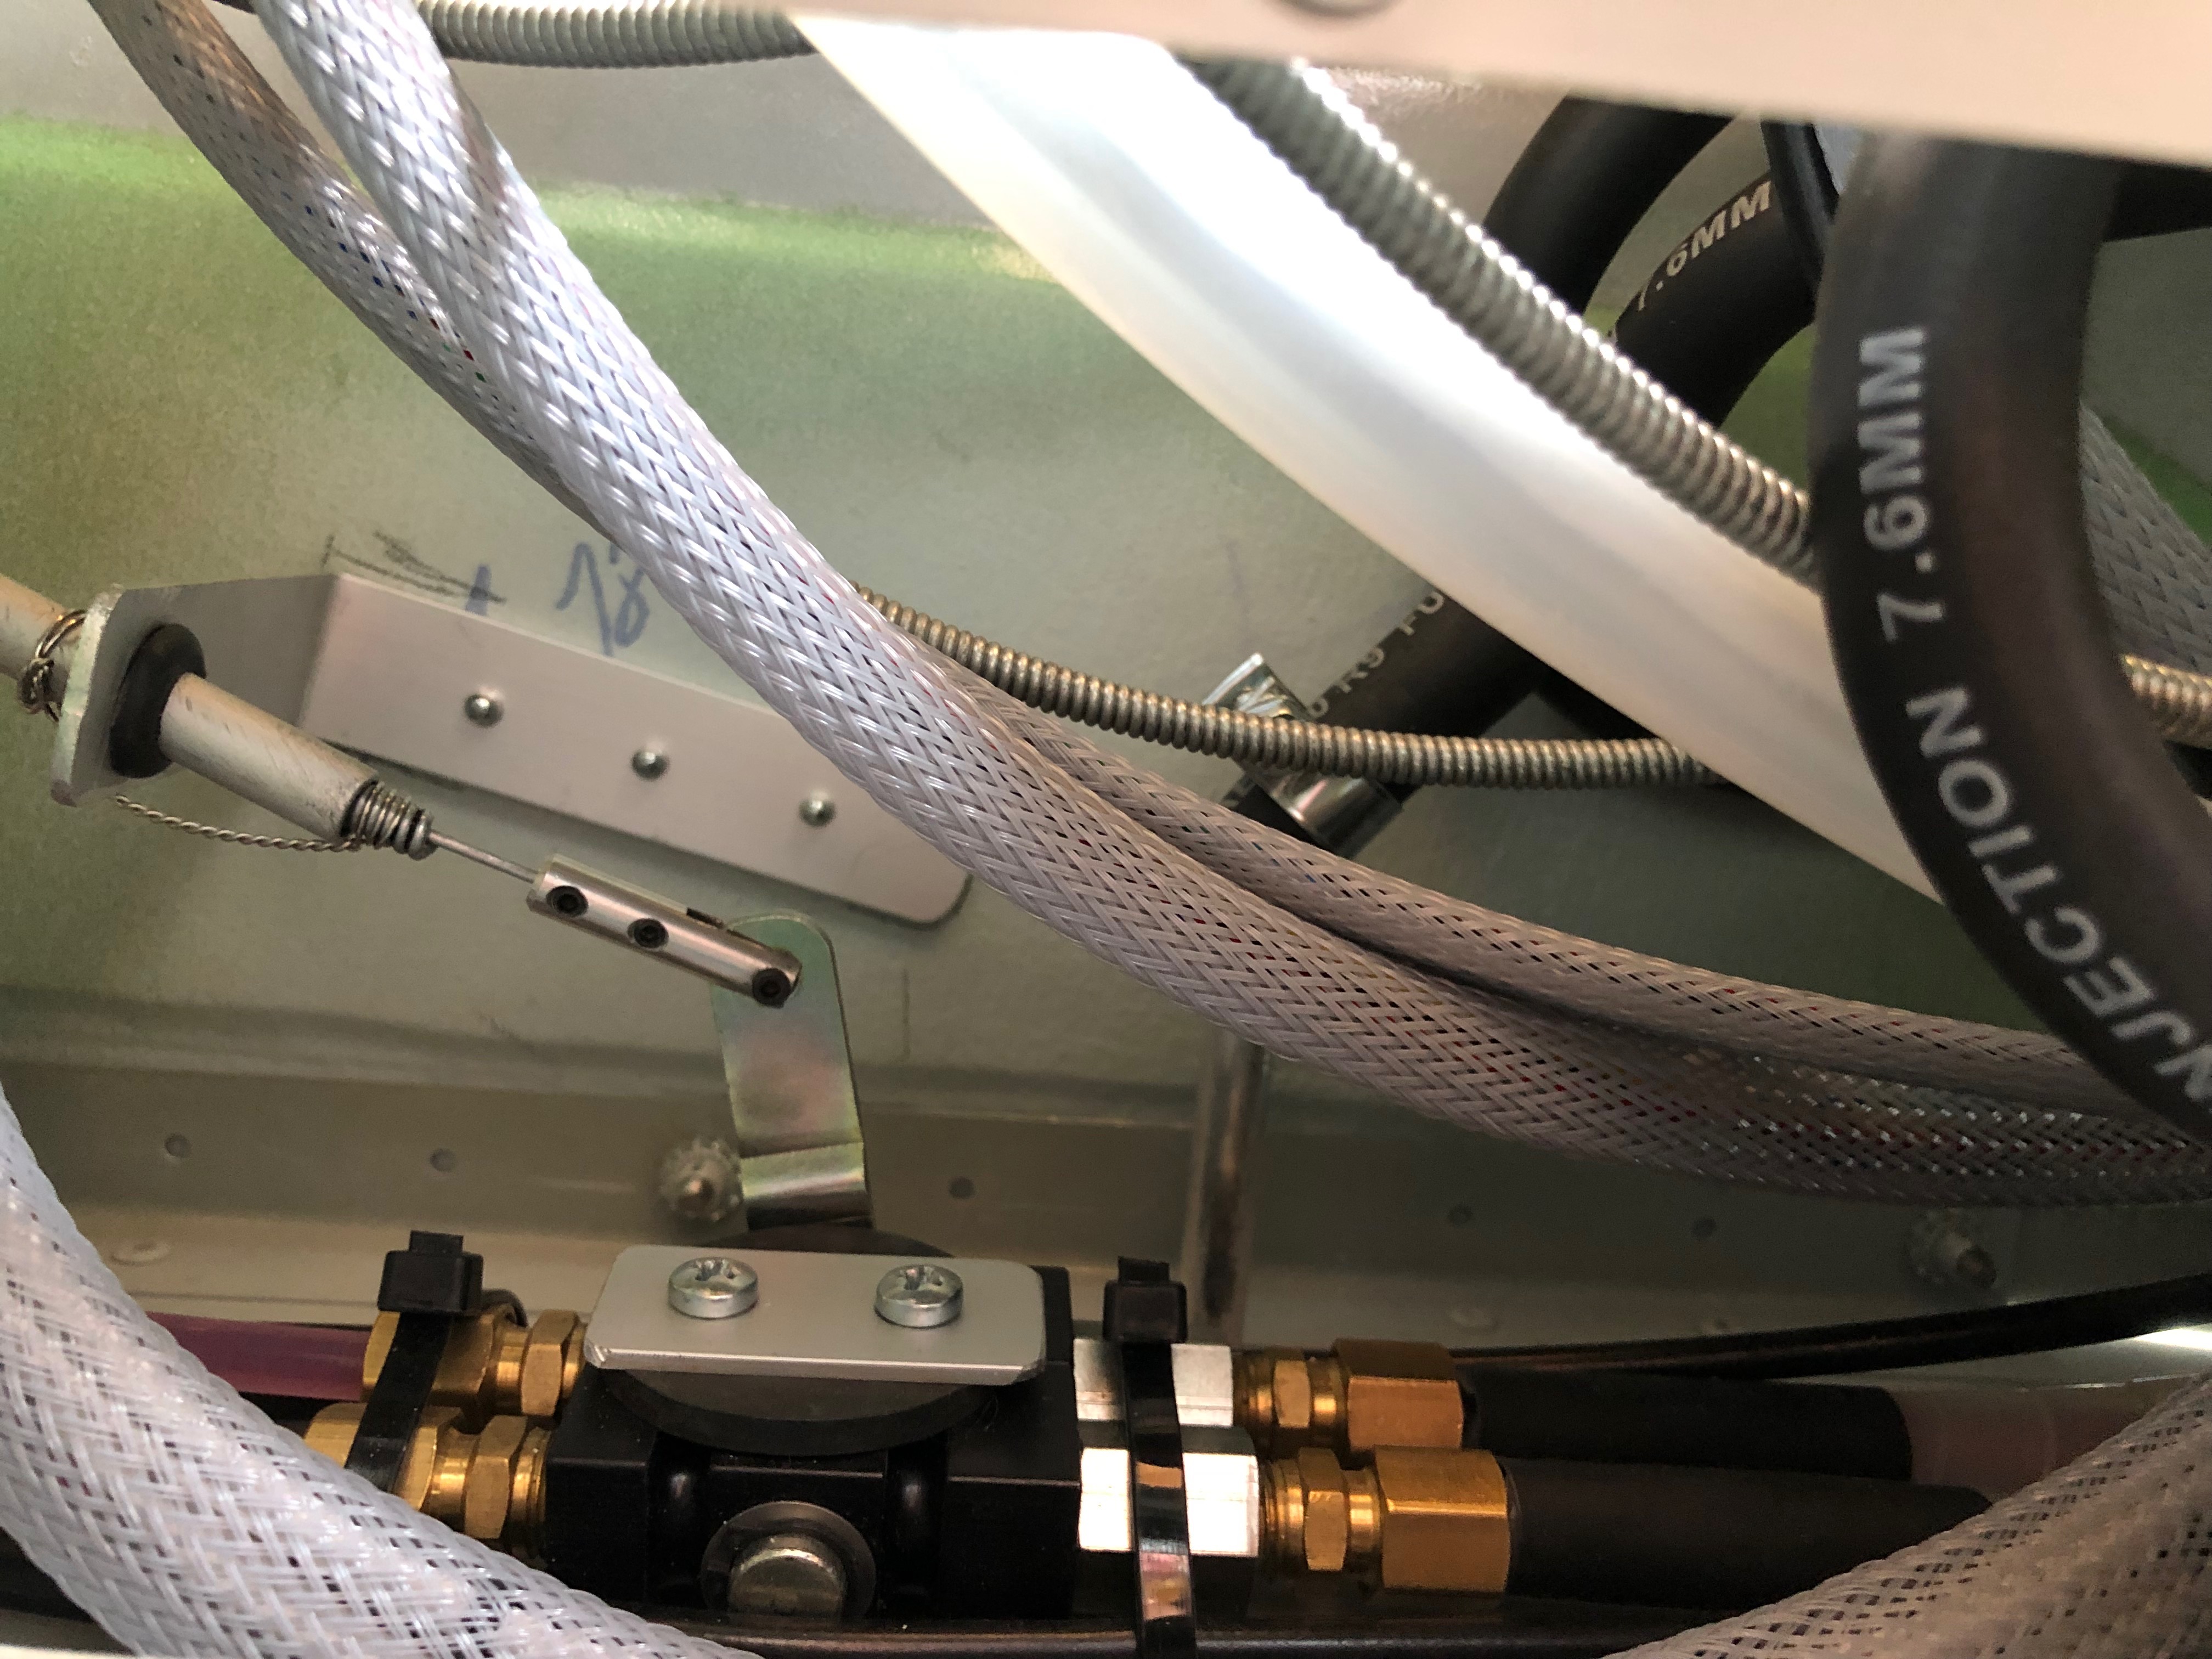
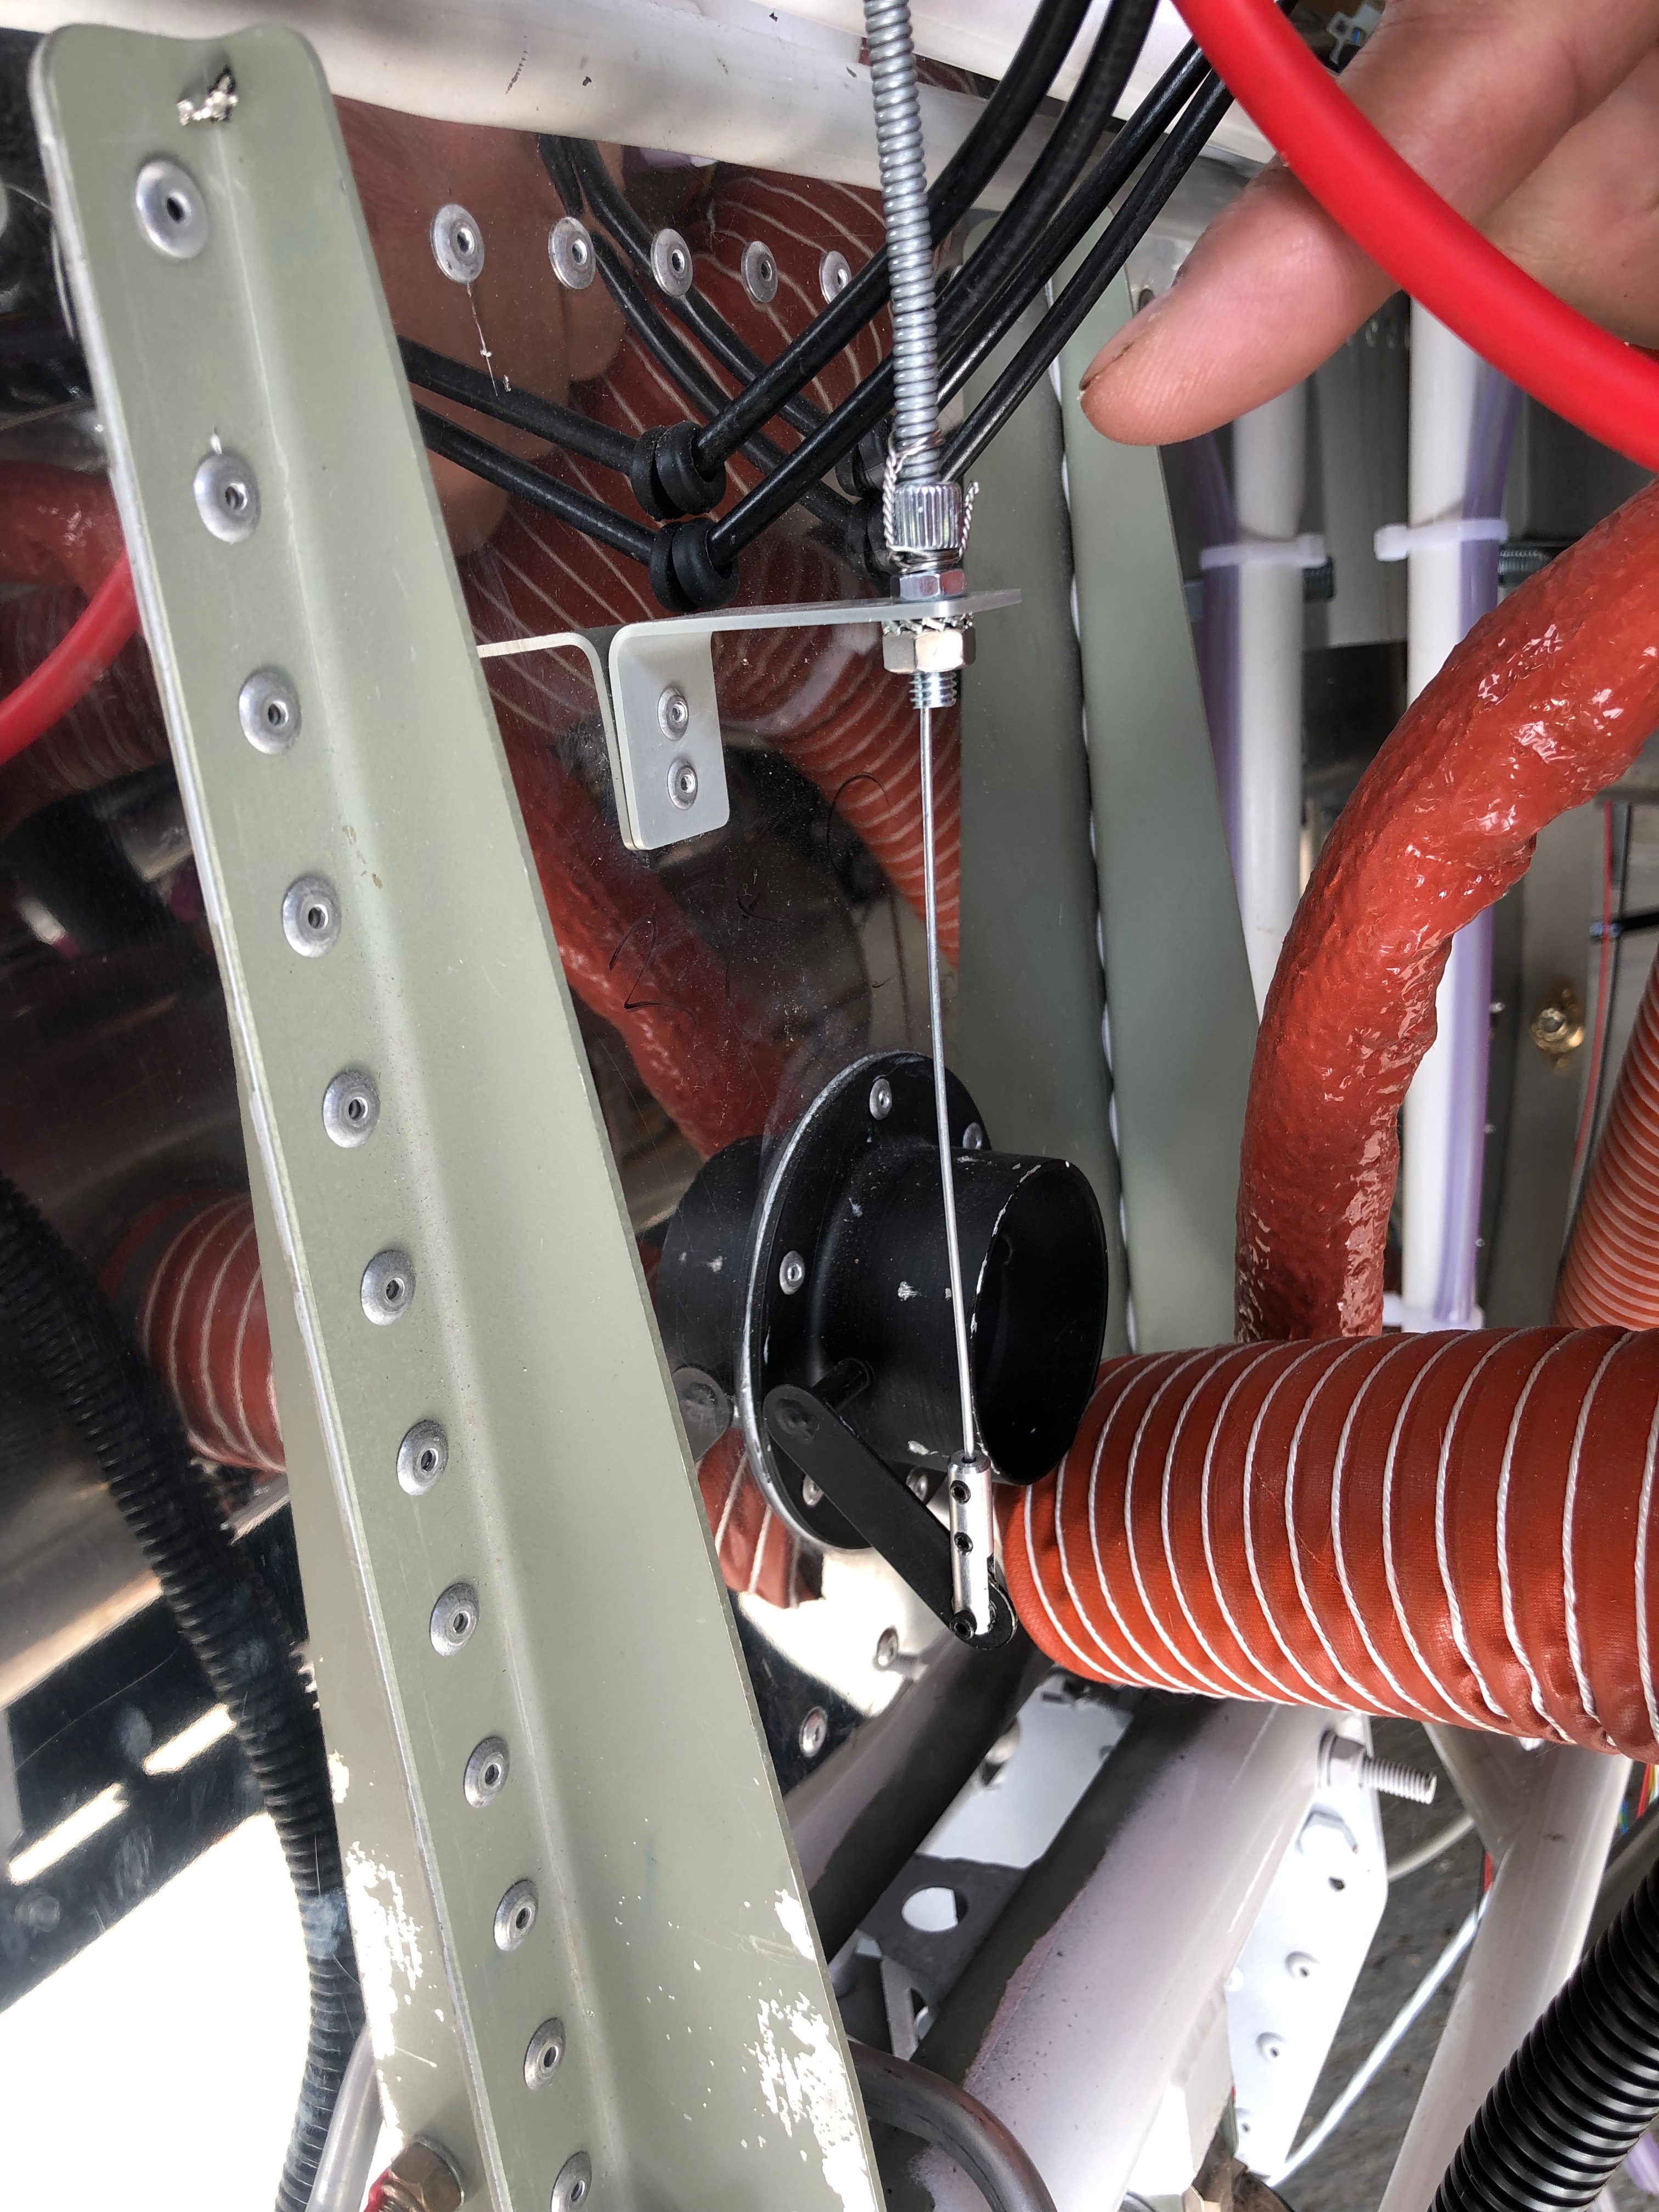
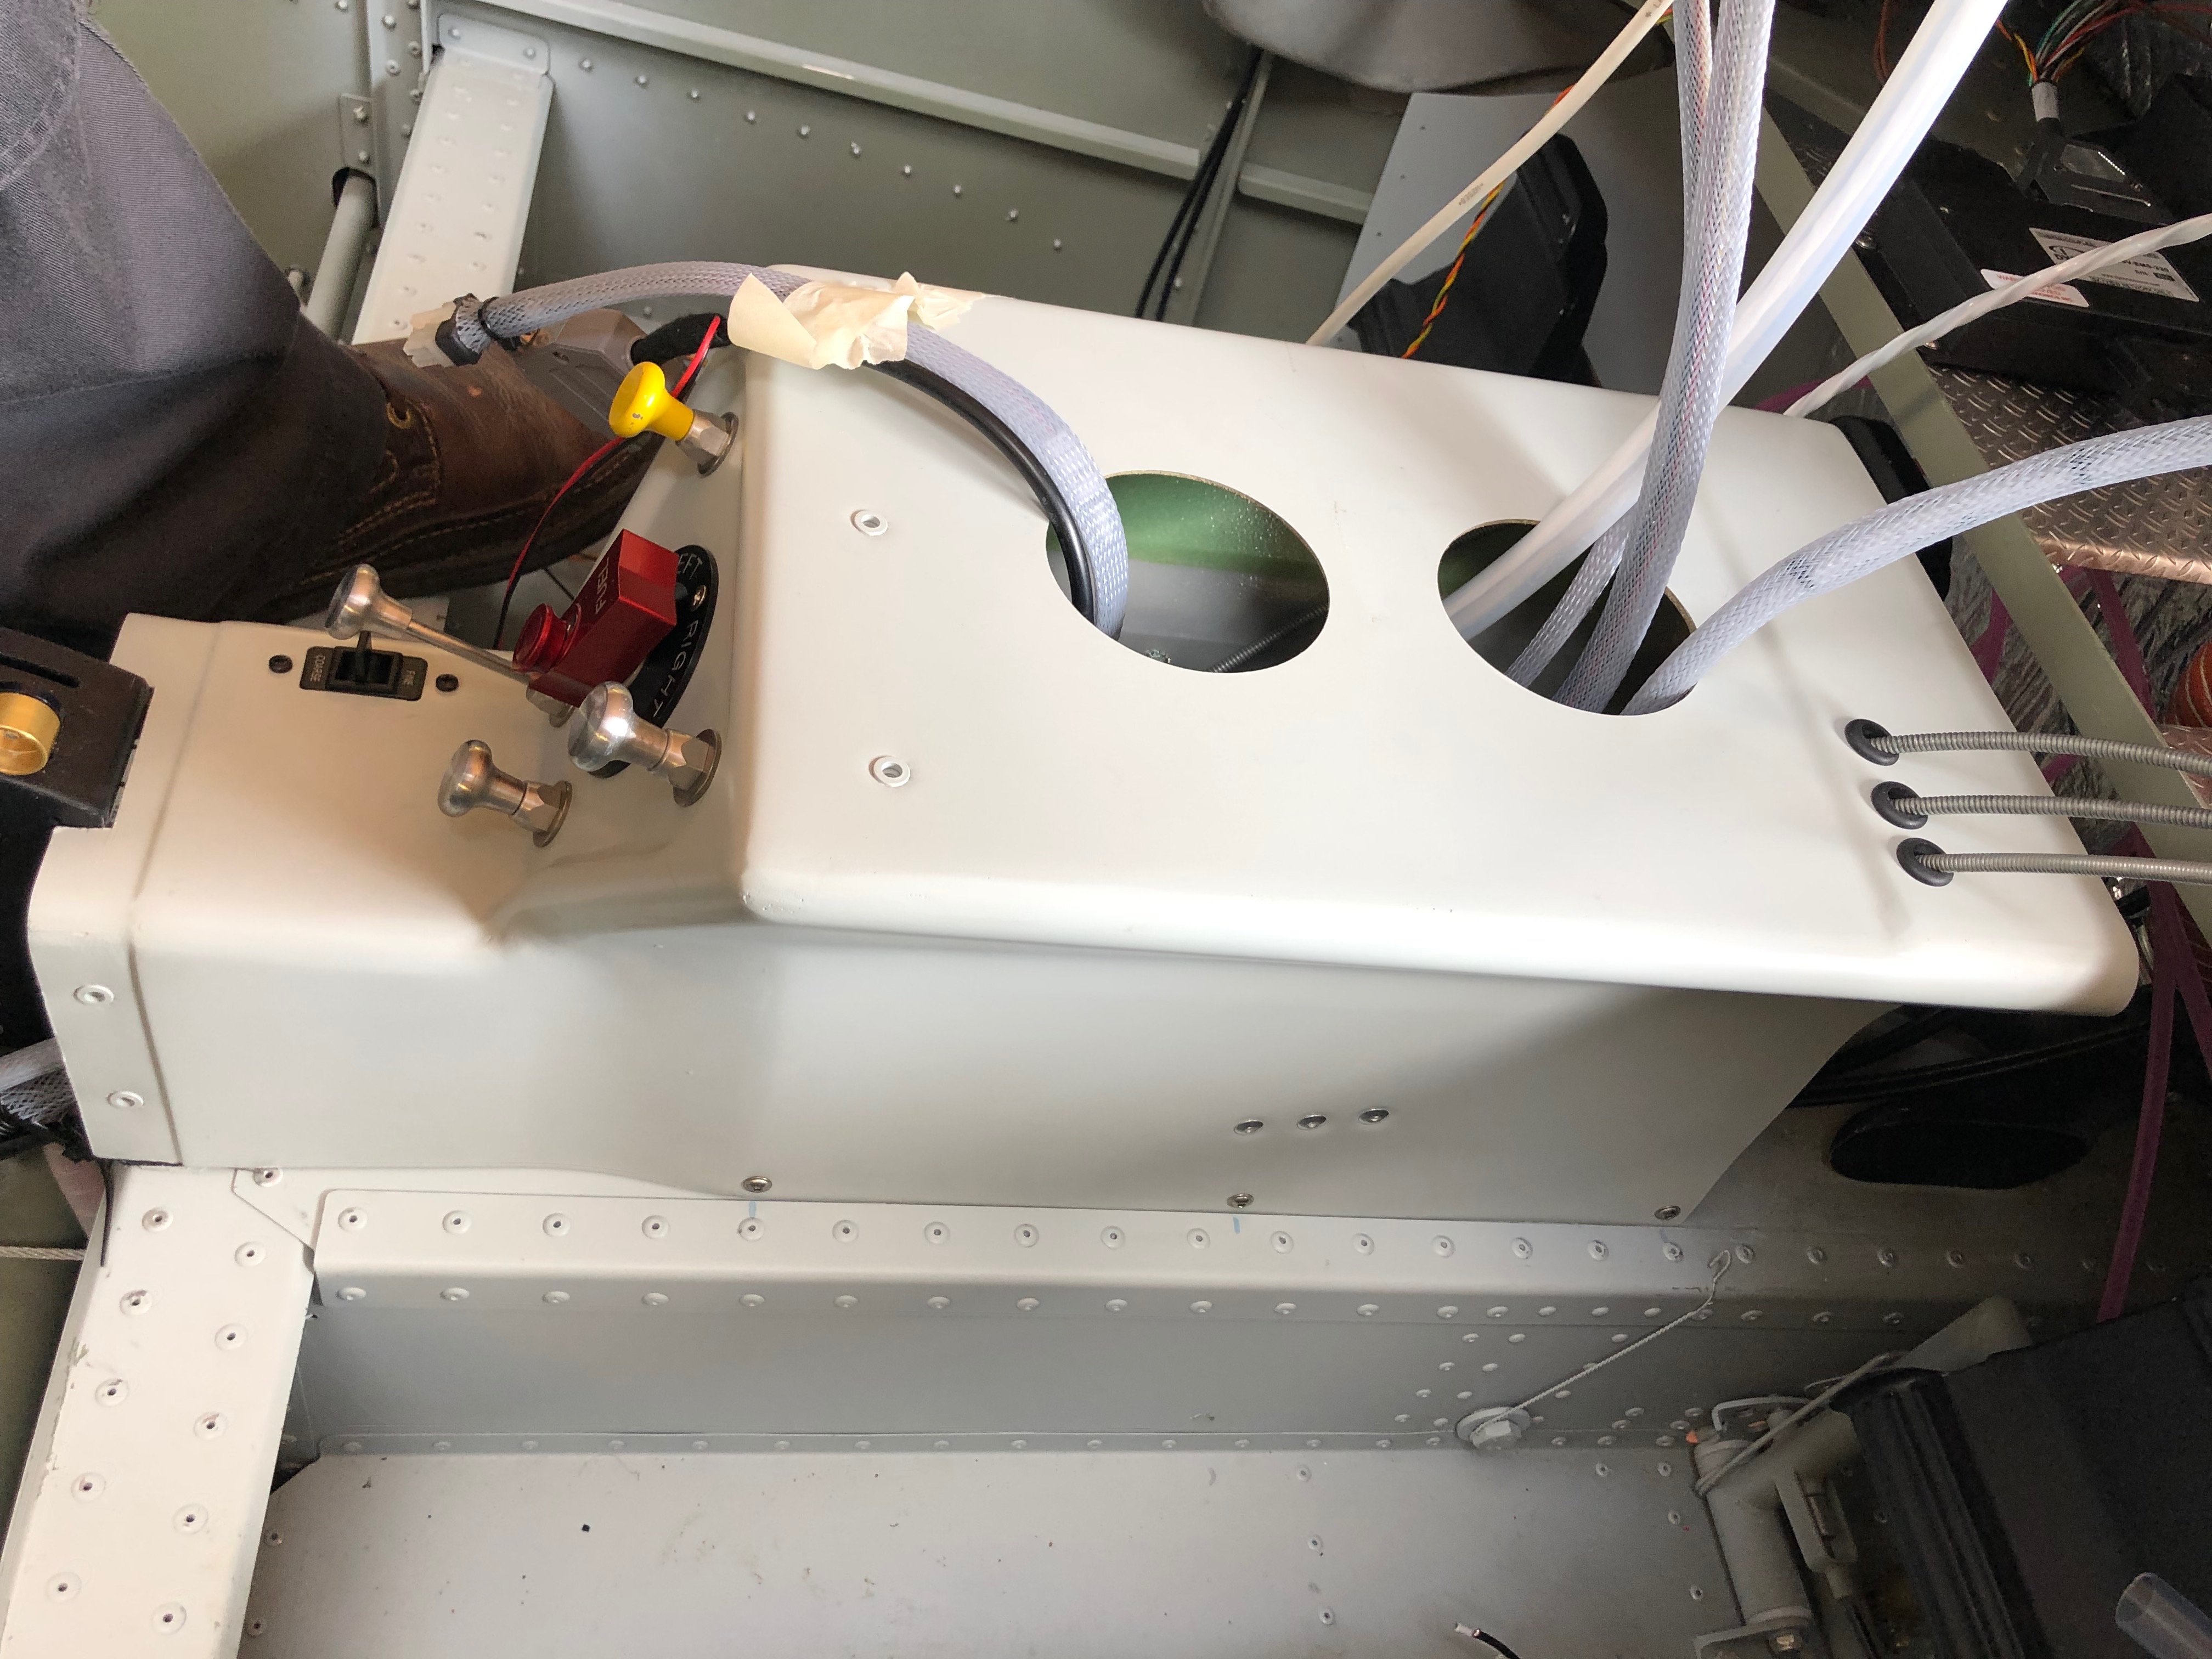
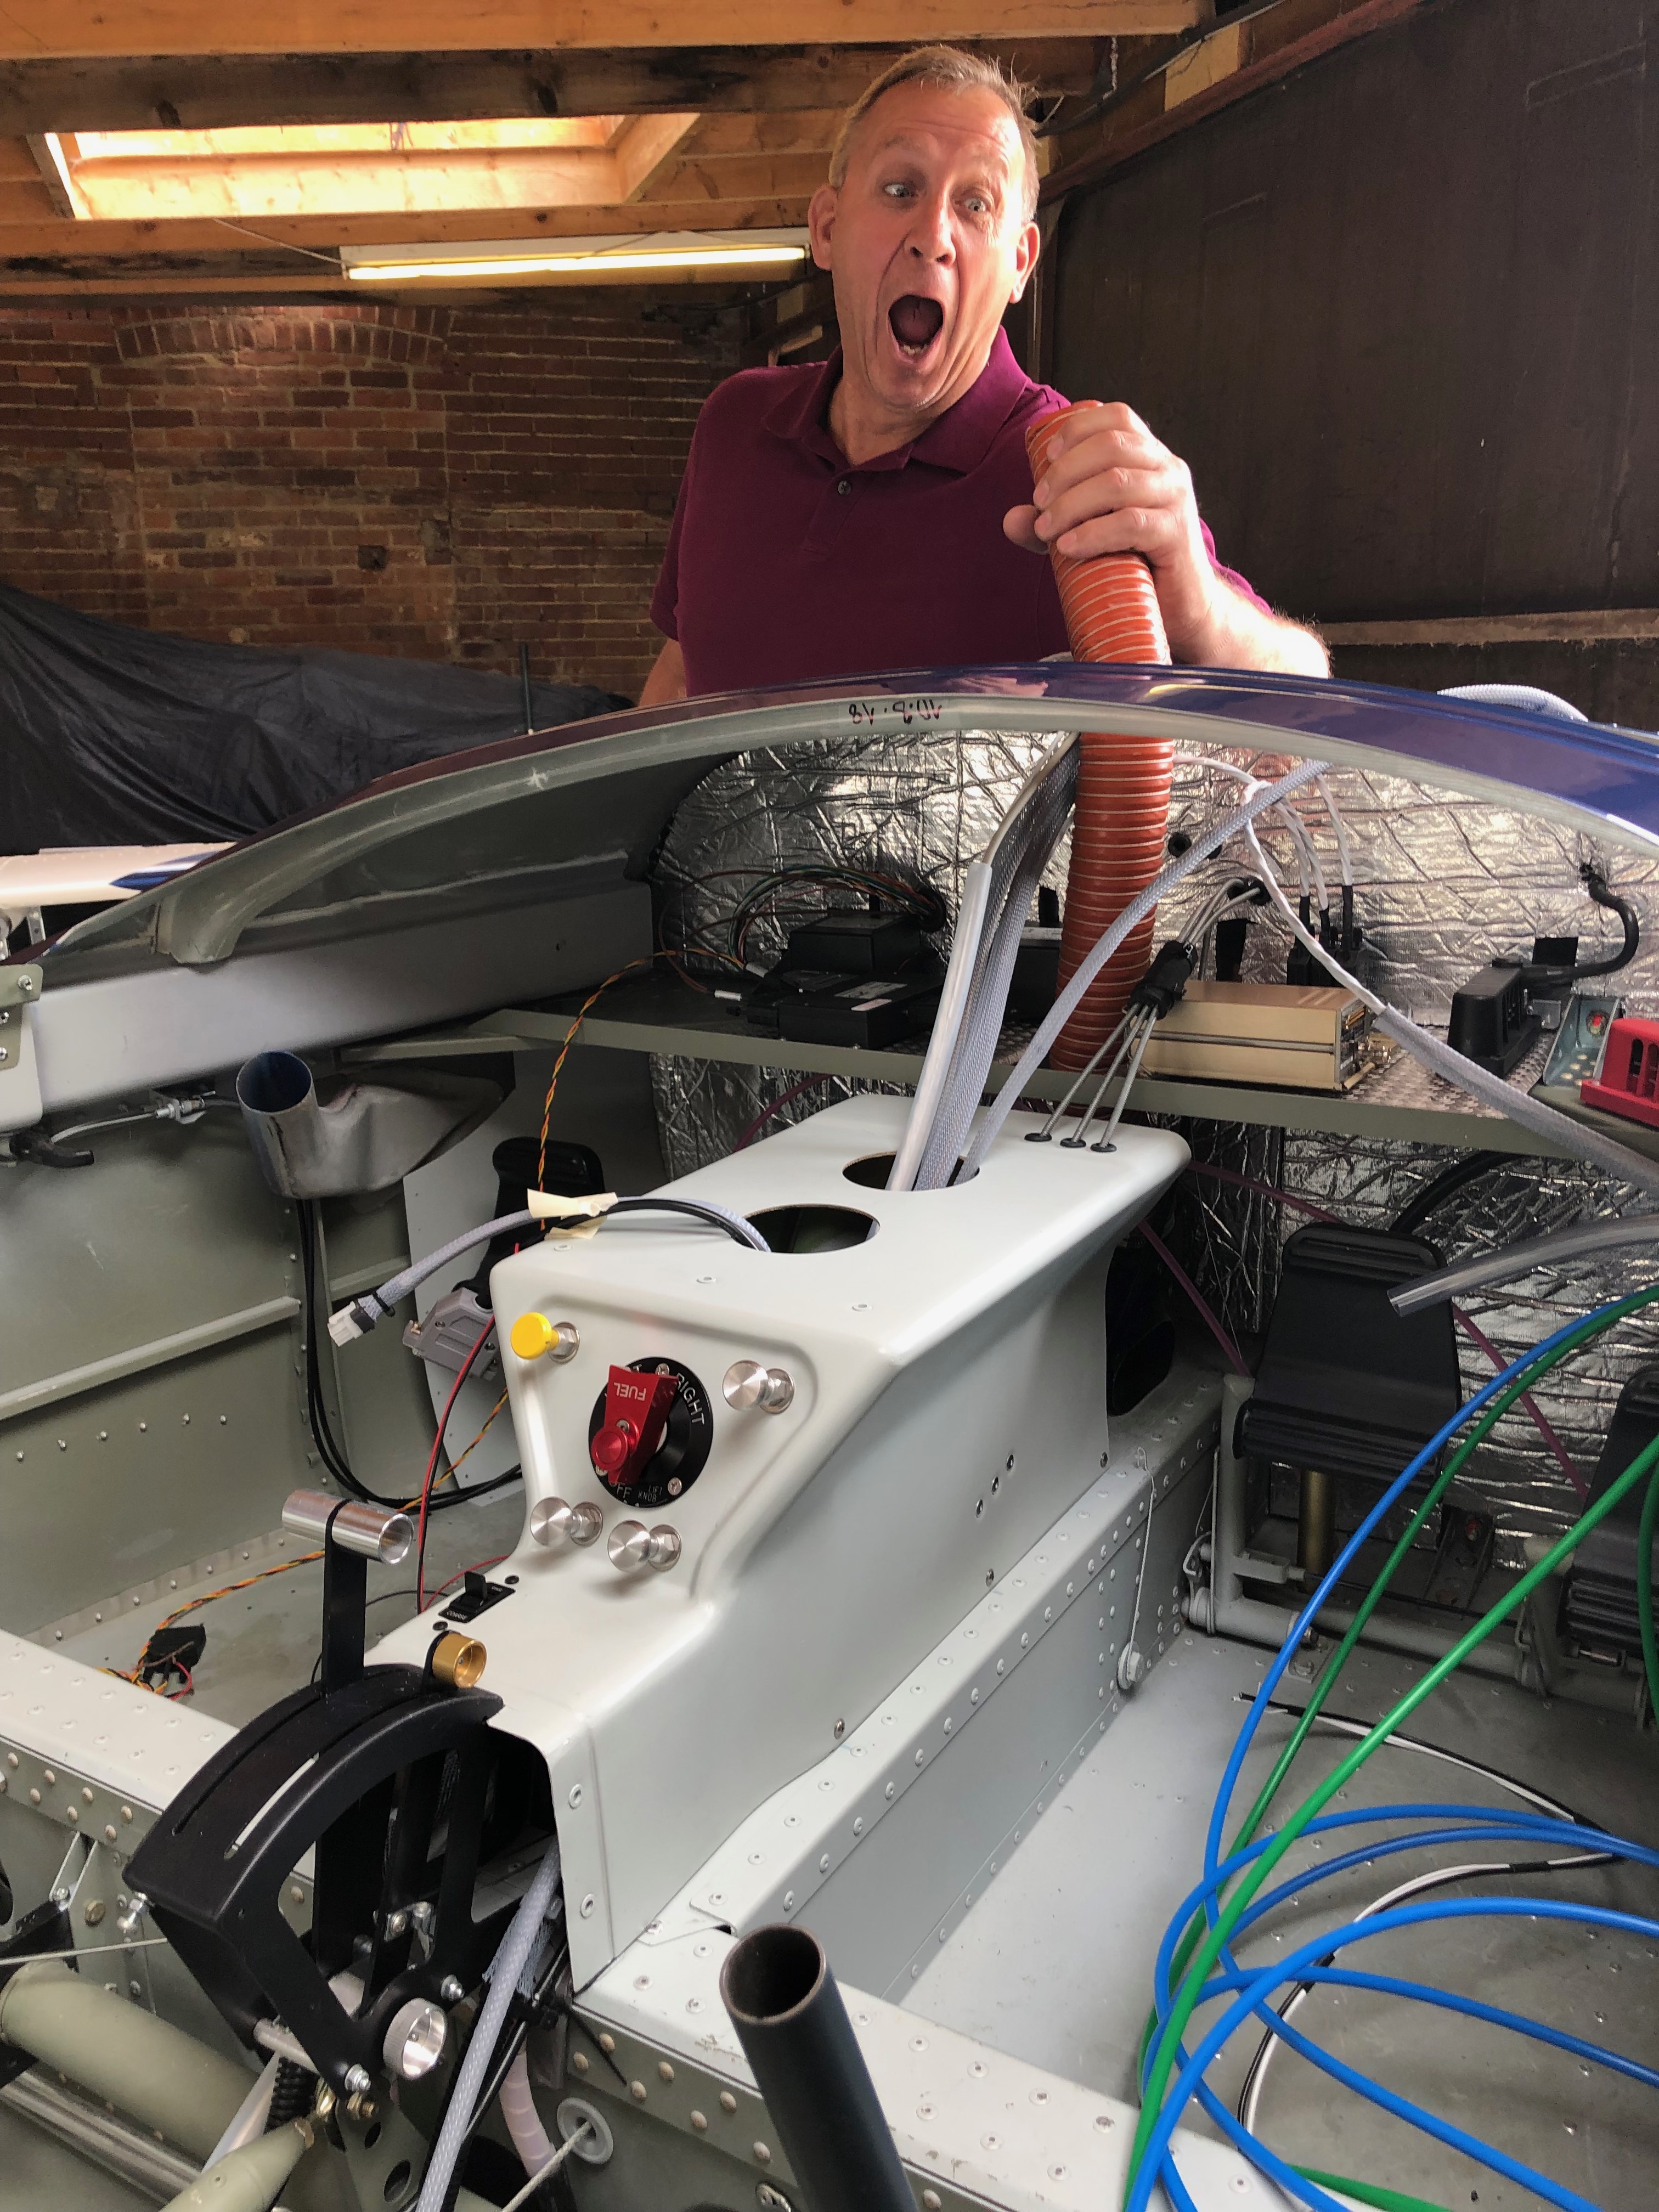
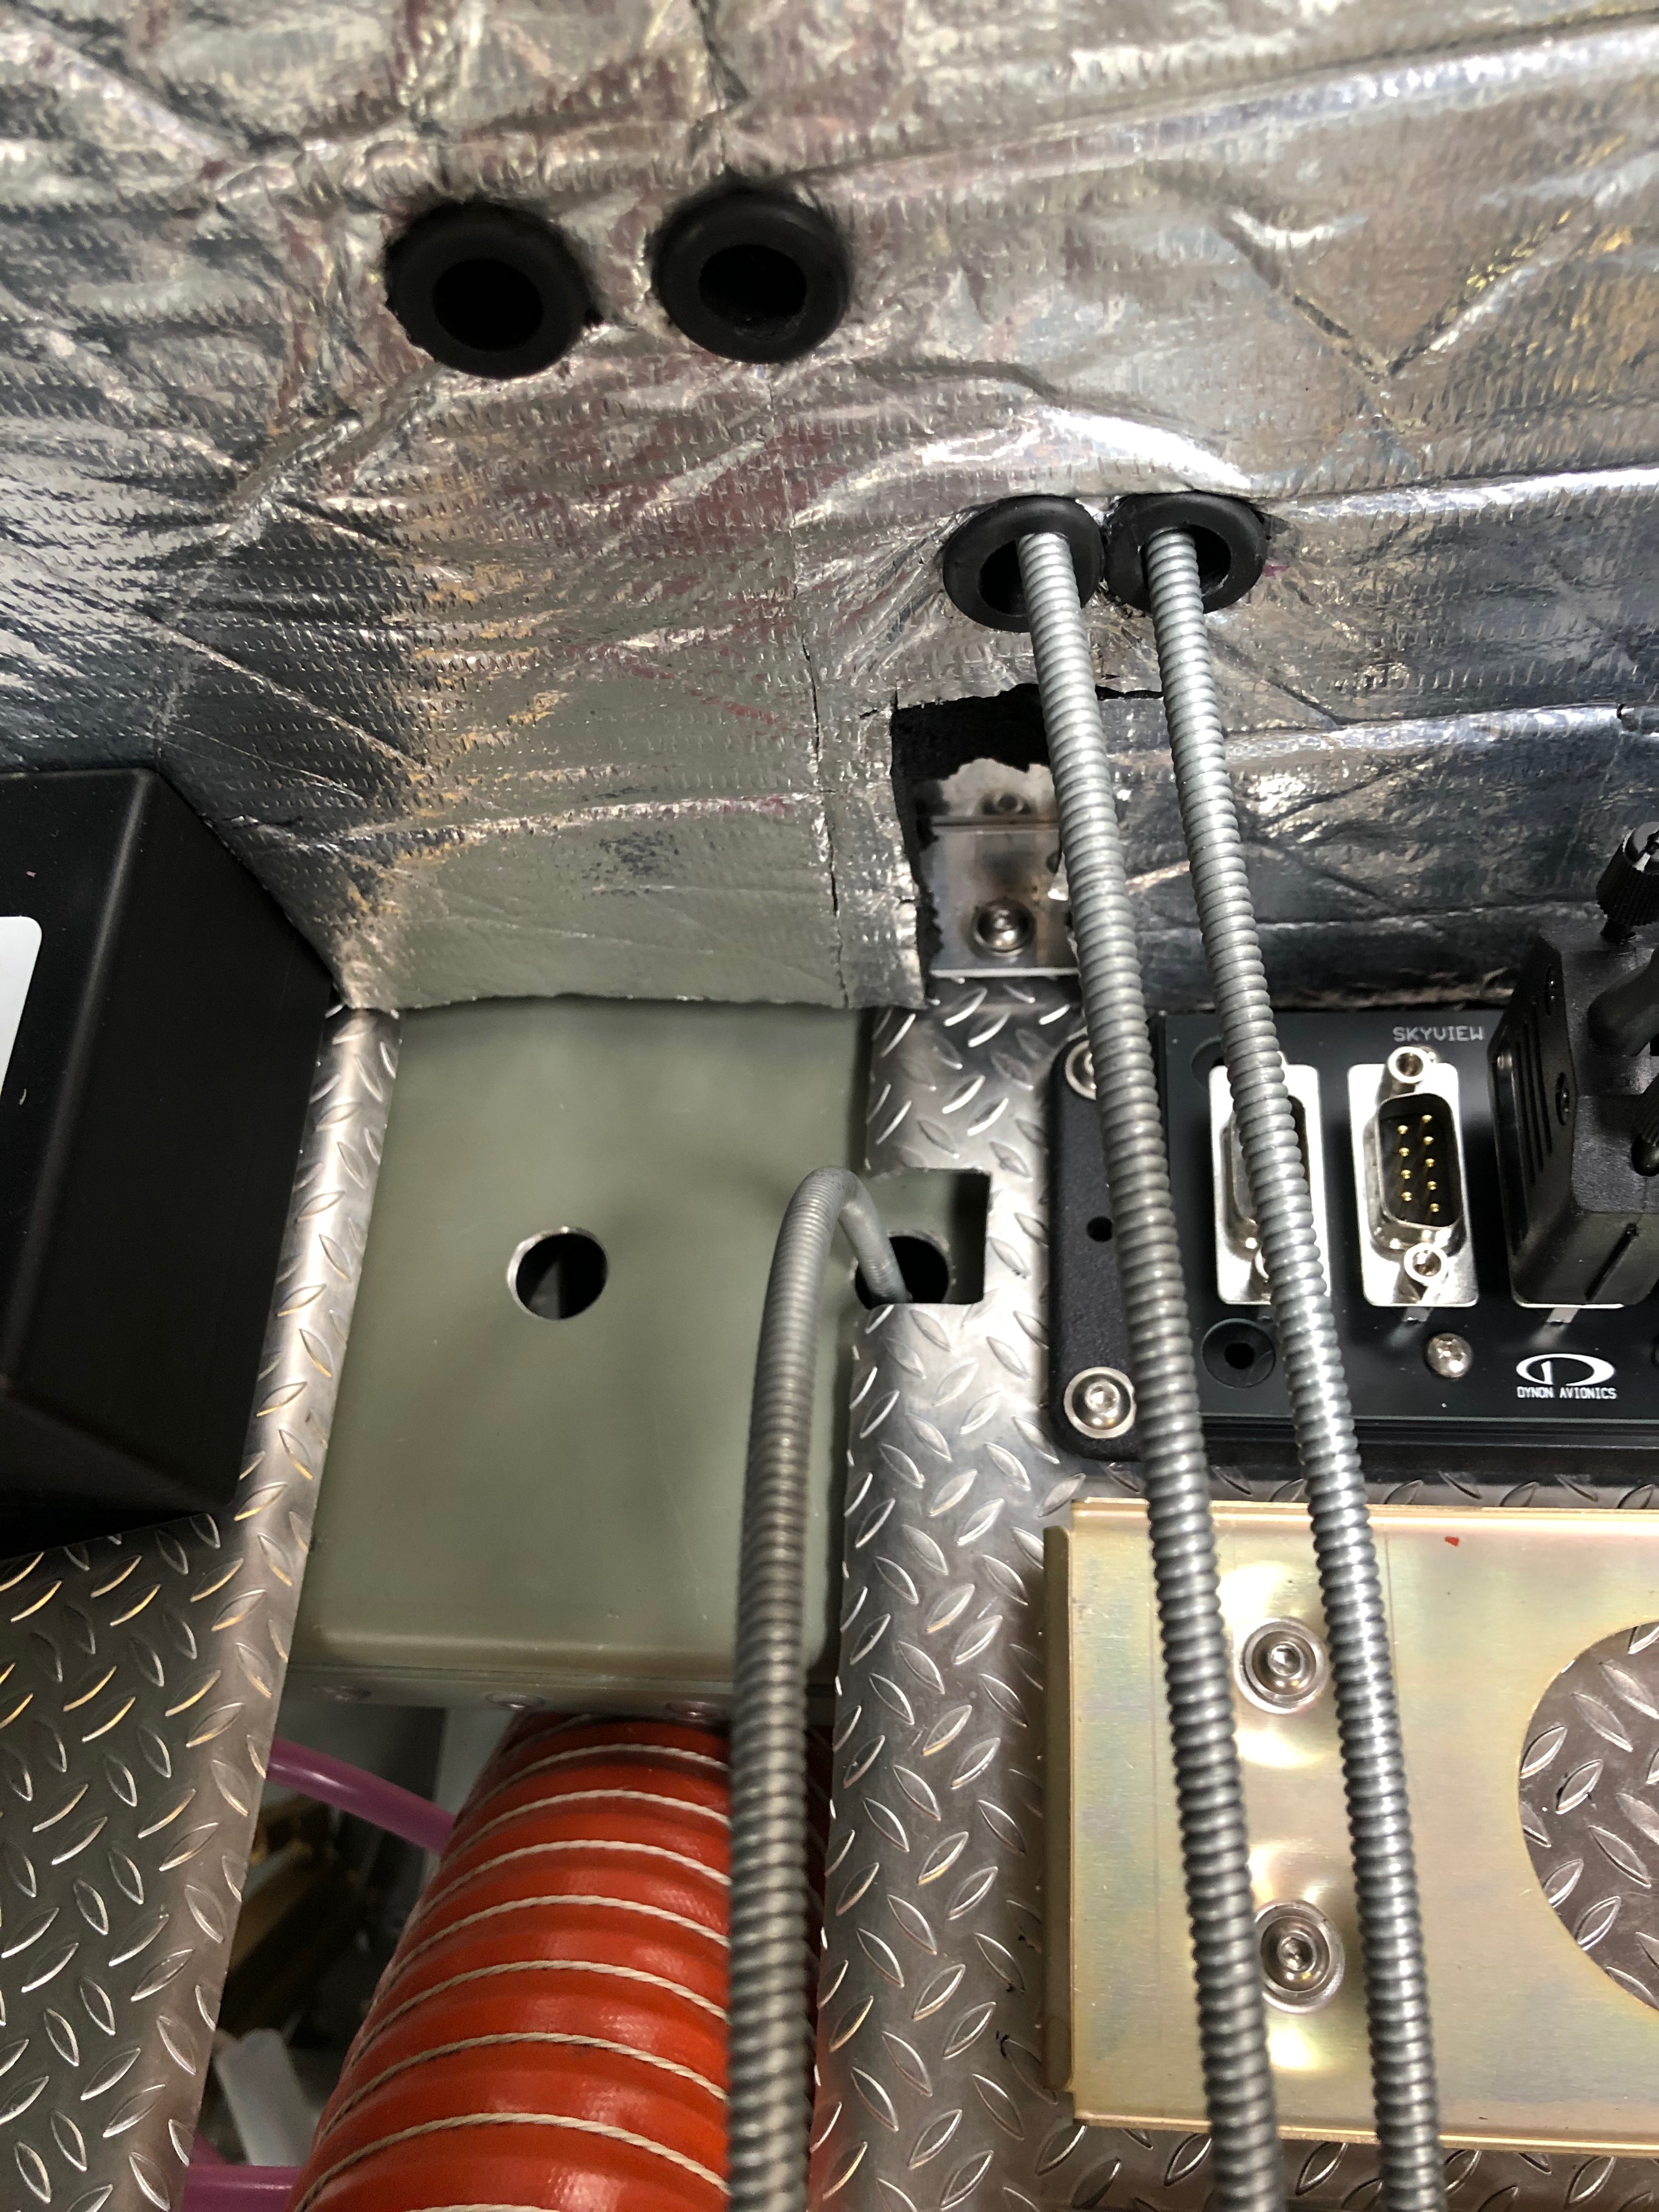
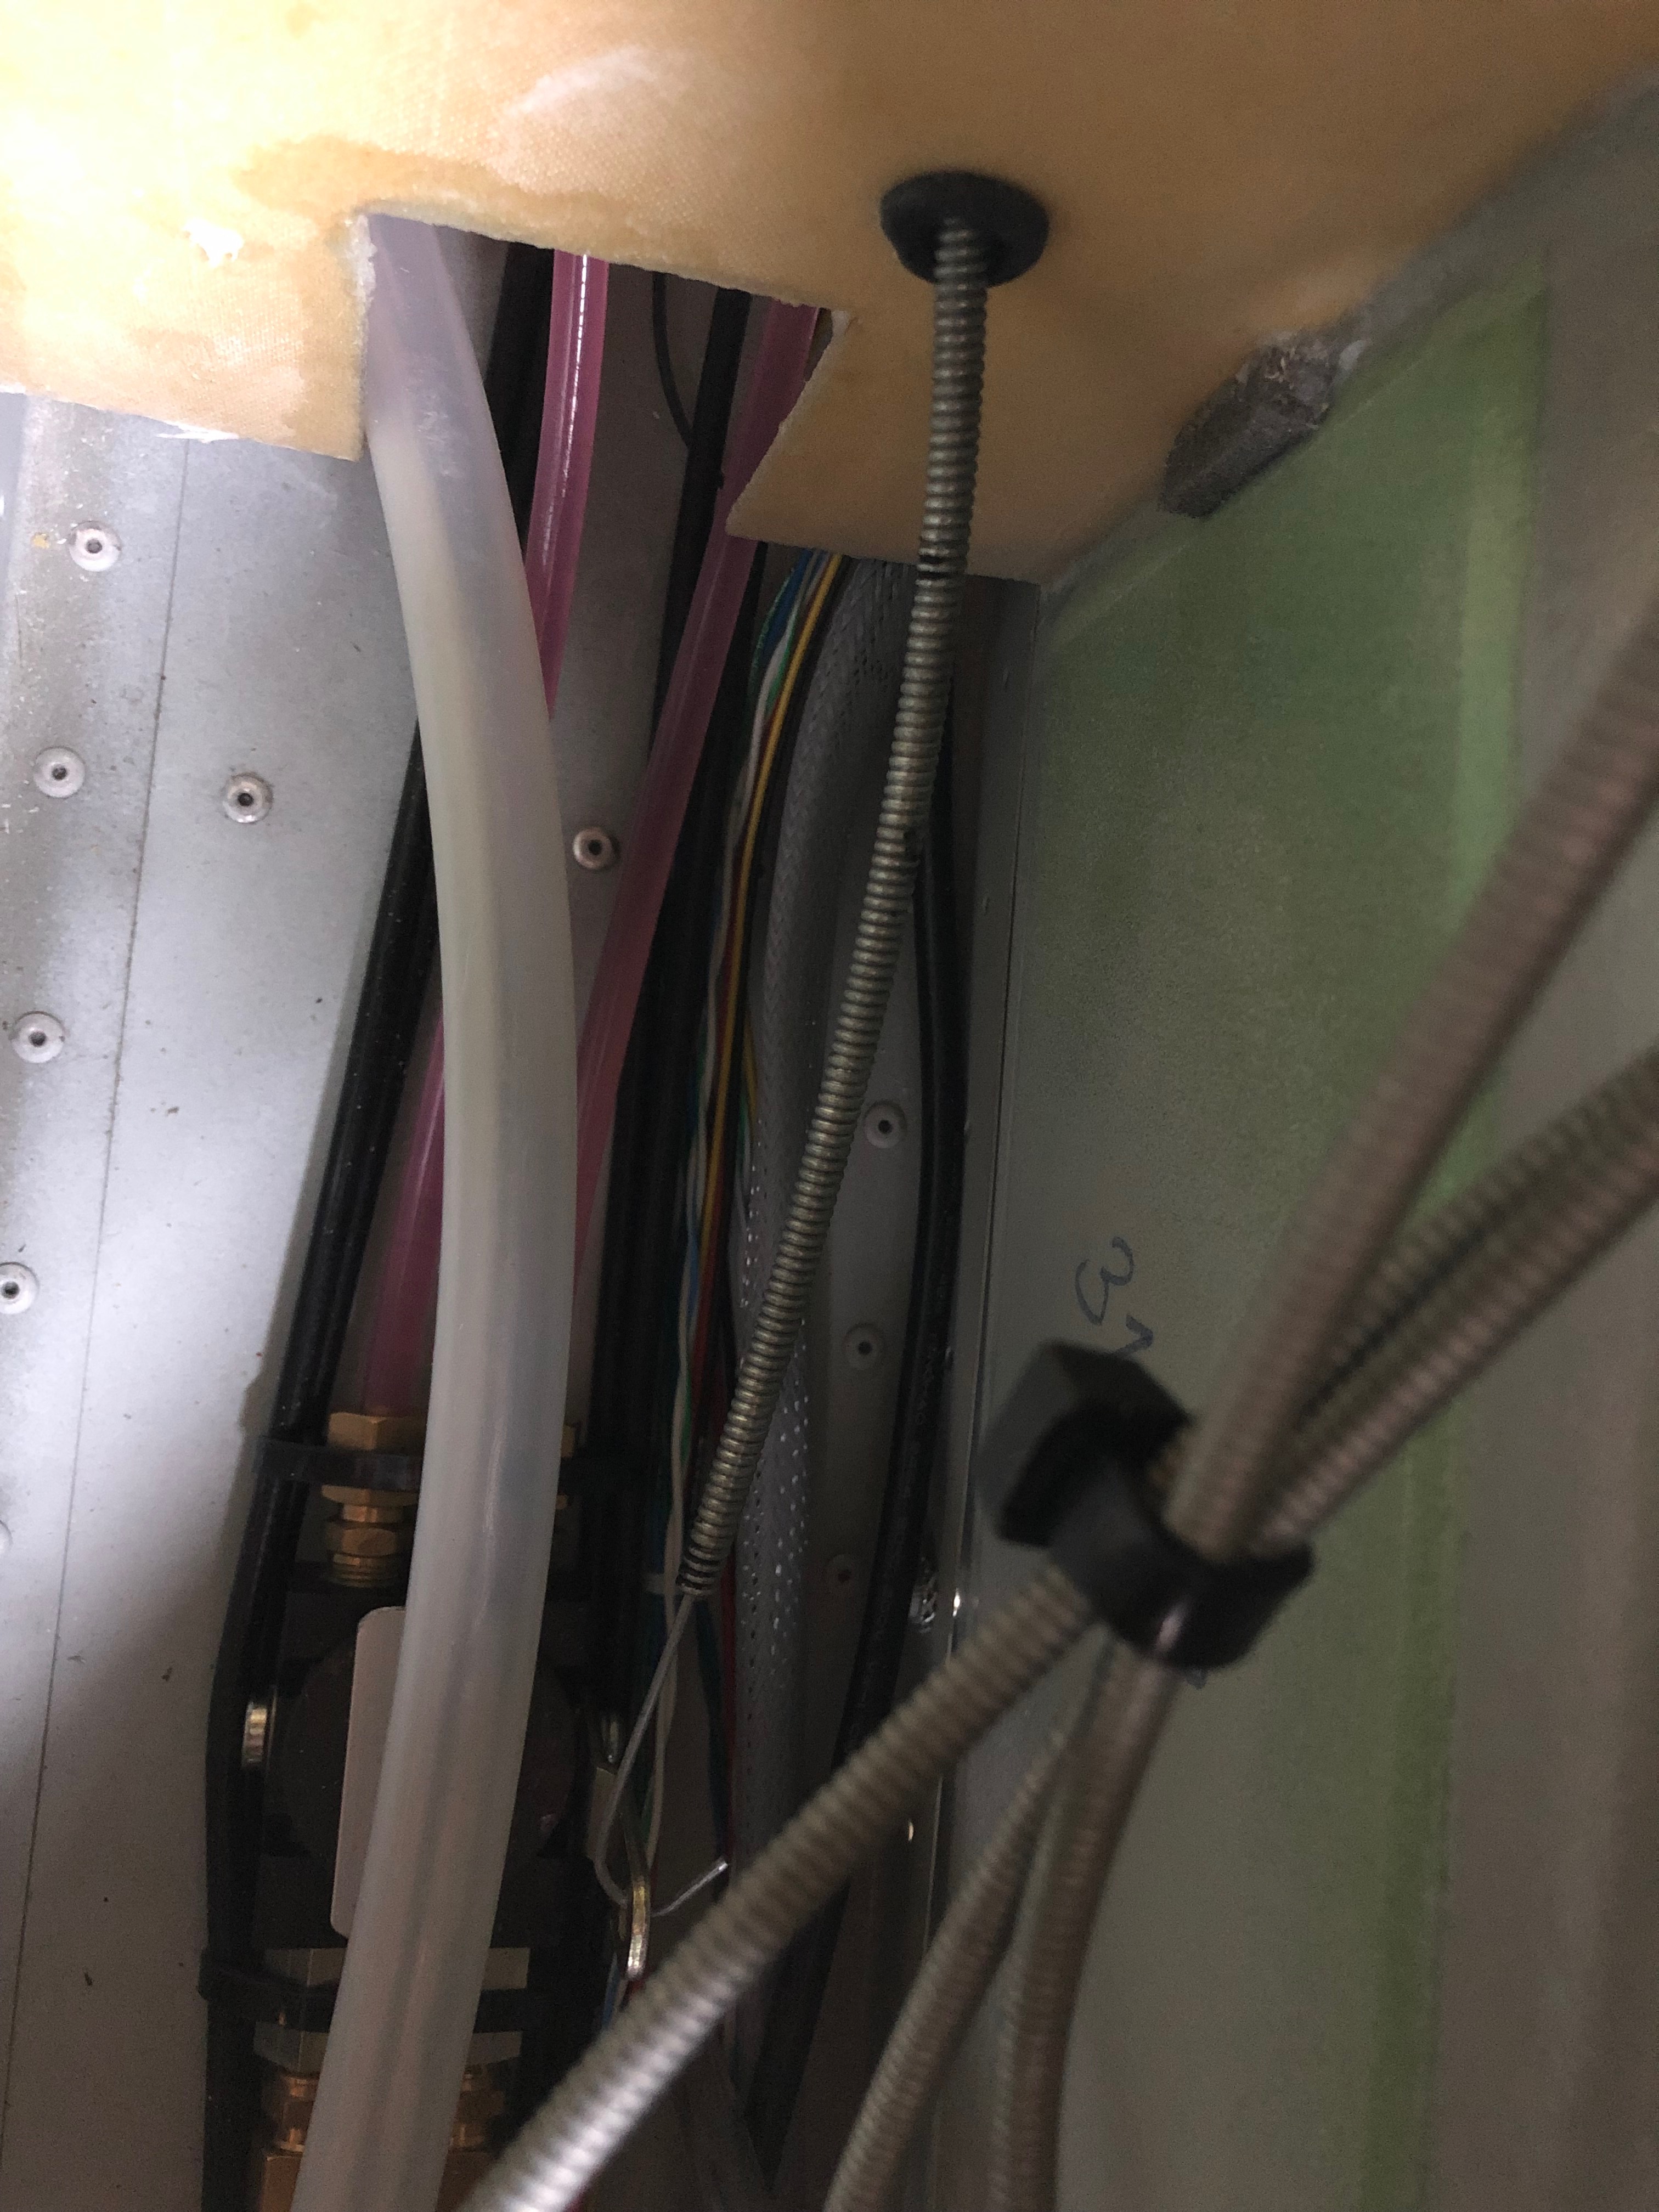
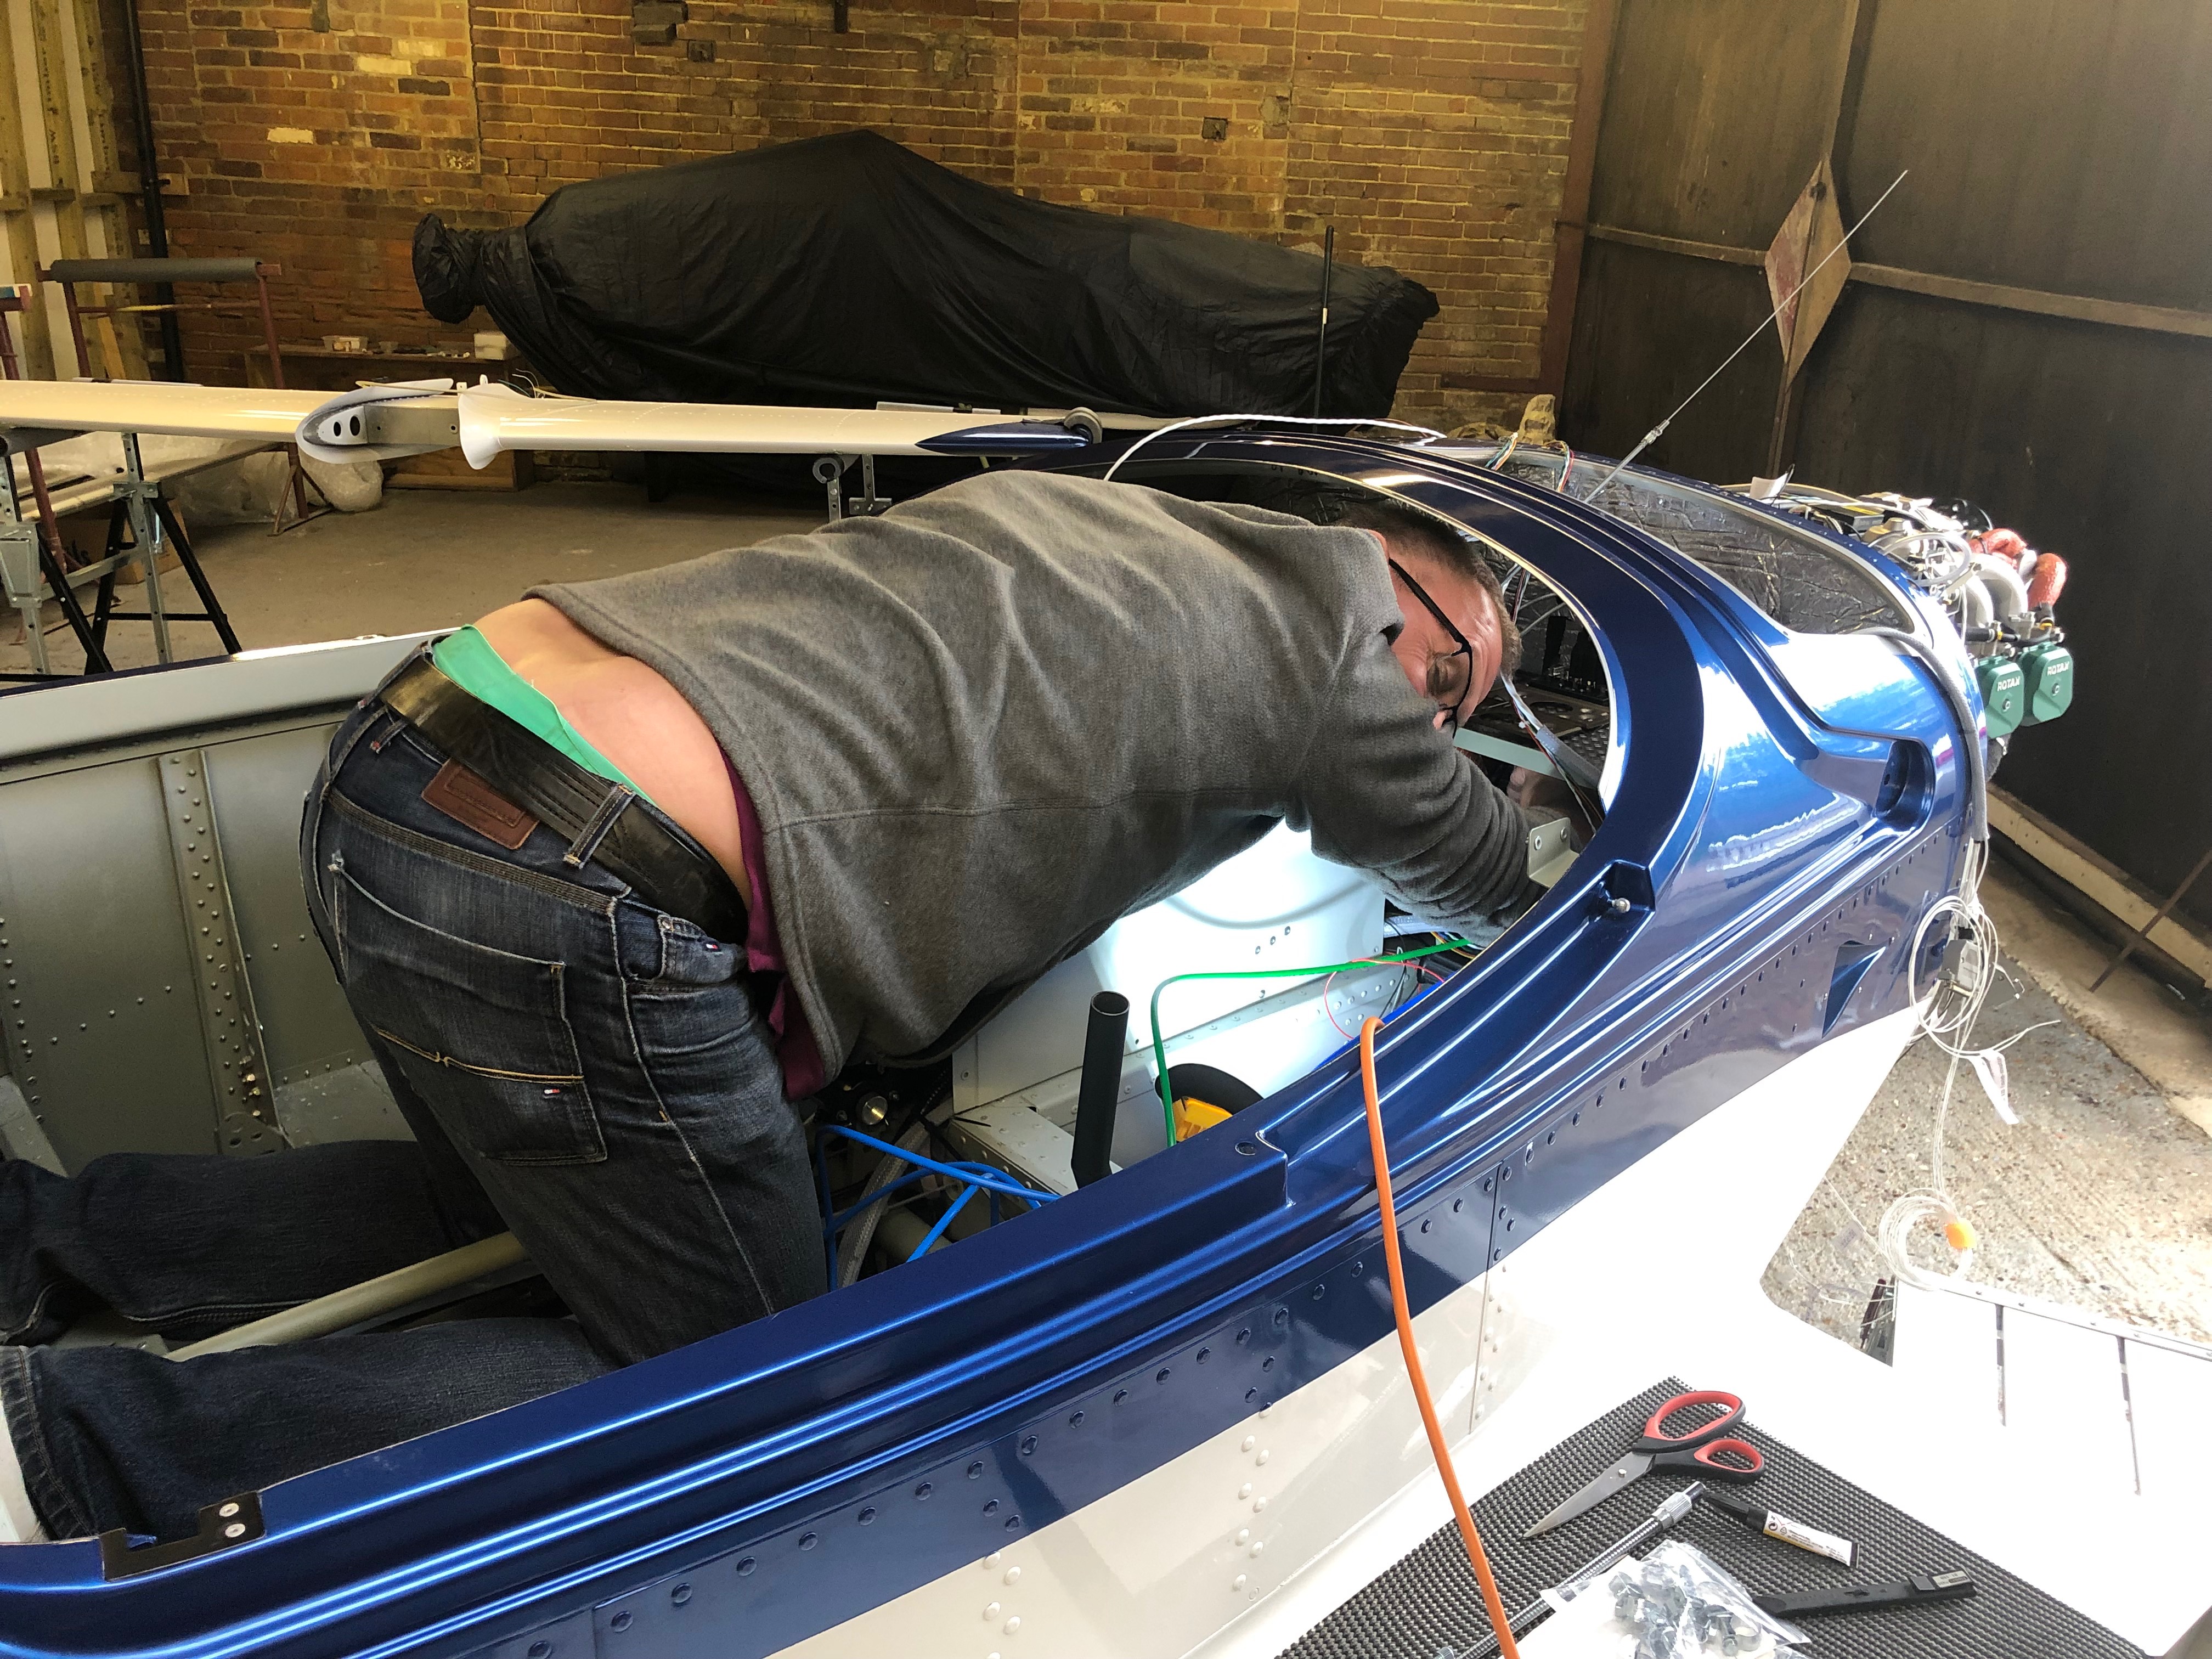
With all the prep to fit the centre console, today’s the day to fit it for the final time. All the control cable outers have been routed and cut, the connections worked out, the pipe runs decided on and checked. Now it’s just a case of carrying out the fit.

The fuel pipe from the selector to the tanks and engine need to be routed so they don’t kink and cut the supply whilst also being kept away from anything that may chaff them.
This shows the support bracket for the park brake cable. It works well.
The outer cables are wire locked to the adjusters so they can’t move once fitted.
The demist control with the connector we made up. It looks a very good solution.
At last the centre console’s complete with all the controls fitted, cables run and fuel pipes fitted.
Having received the prop on Monday I can start to install the various bits. This is the mini slip ring available for Rotax 912ULS type 2 engines. It’s fitted to the rear of the gearbox.
and then secured in place with a rod hat runs through the hollow gearbox shaft. The control wires spiral round the rod…
and exit the front of the engine ready for connection to the pitch motor wires in the spinner.
Once the slip ring is fitted the pick up bushes are installed. The bushes need run centrally on the slip ring. That’s all for the prop today, more tomorrow.
Moving on to the panel again. I will fit as much as possible before fitting to the aircraft as it’s a lot easier than fitting the components when the instrument panel has been fitted to the aircraft.
I’m not sure what Tom is doing here? Perhaps he’s going to start to sing? Captions please! He’s going home today so I’m solo again tomorrow!

Tuesday 4th June 2019

Music: Easy 80’s

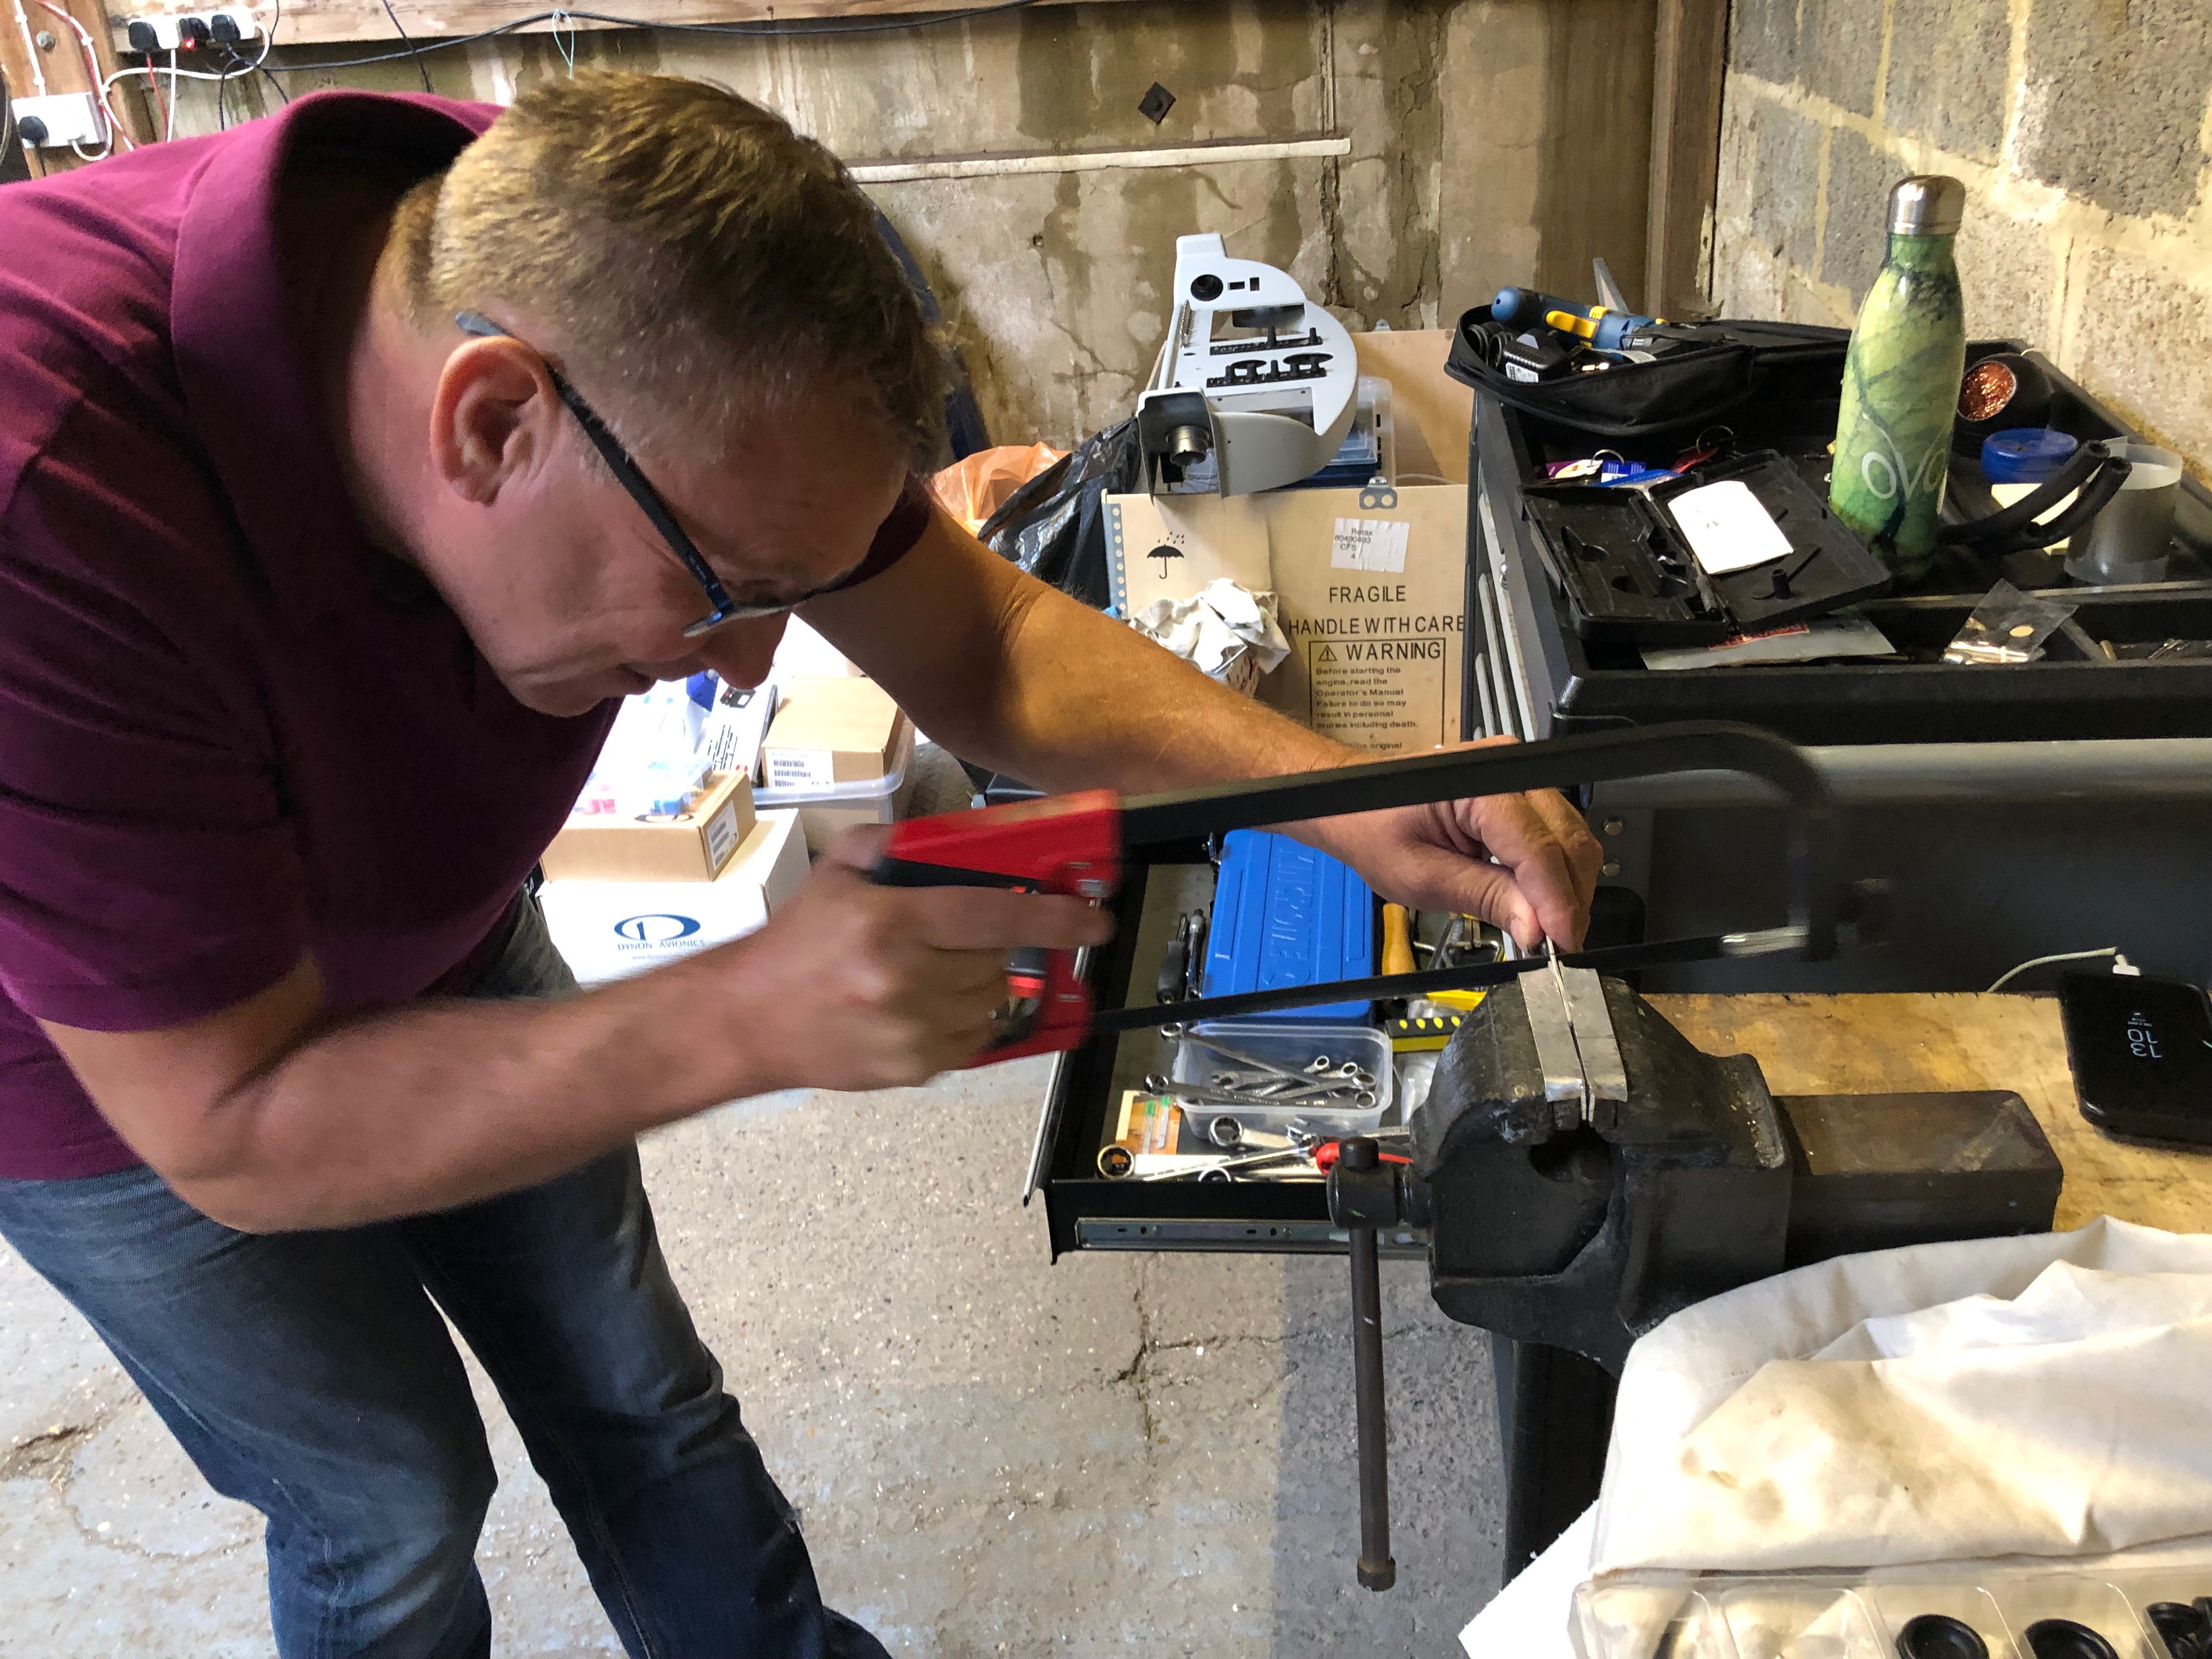
Tom came down to stay for a couple of days and give me a hand. Luckily he bought some tools with him from the land of the giants!

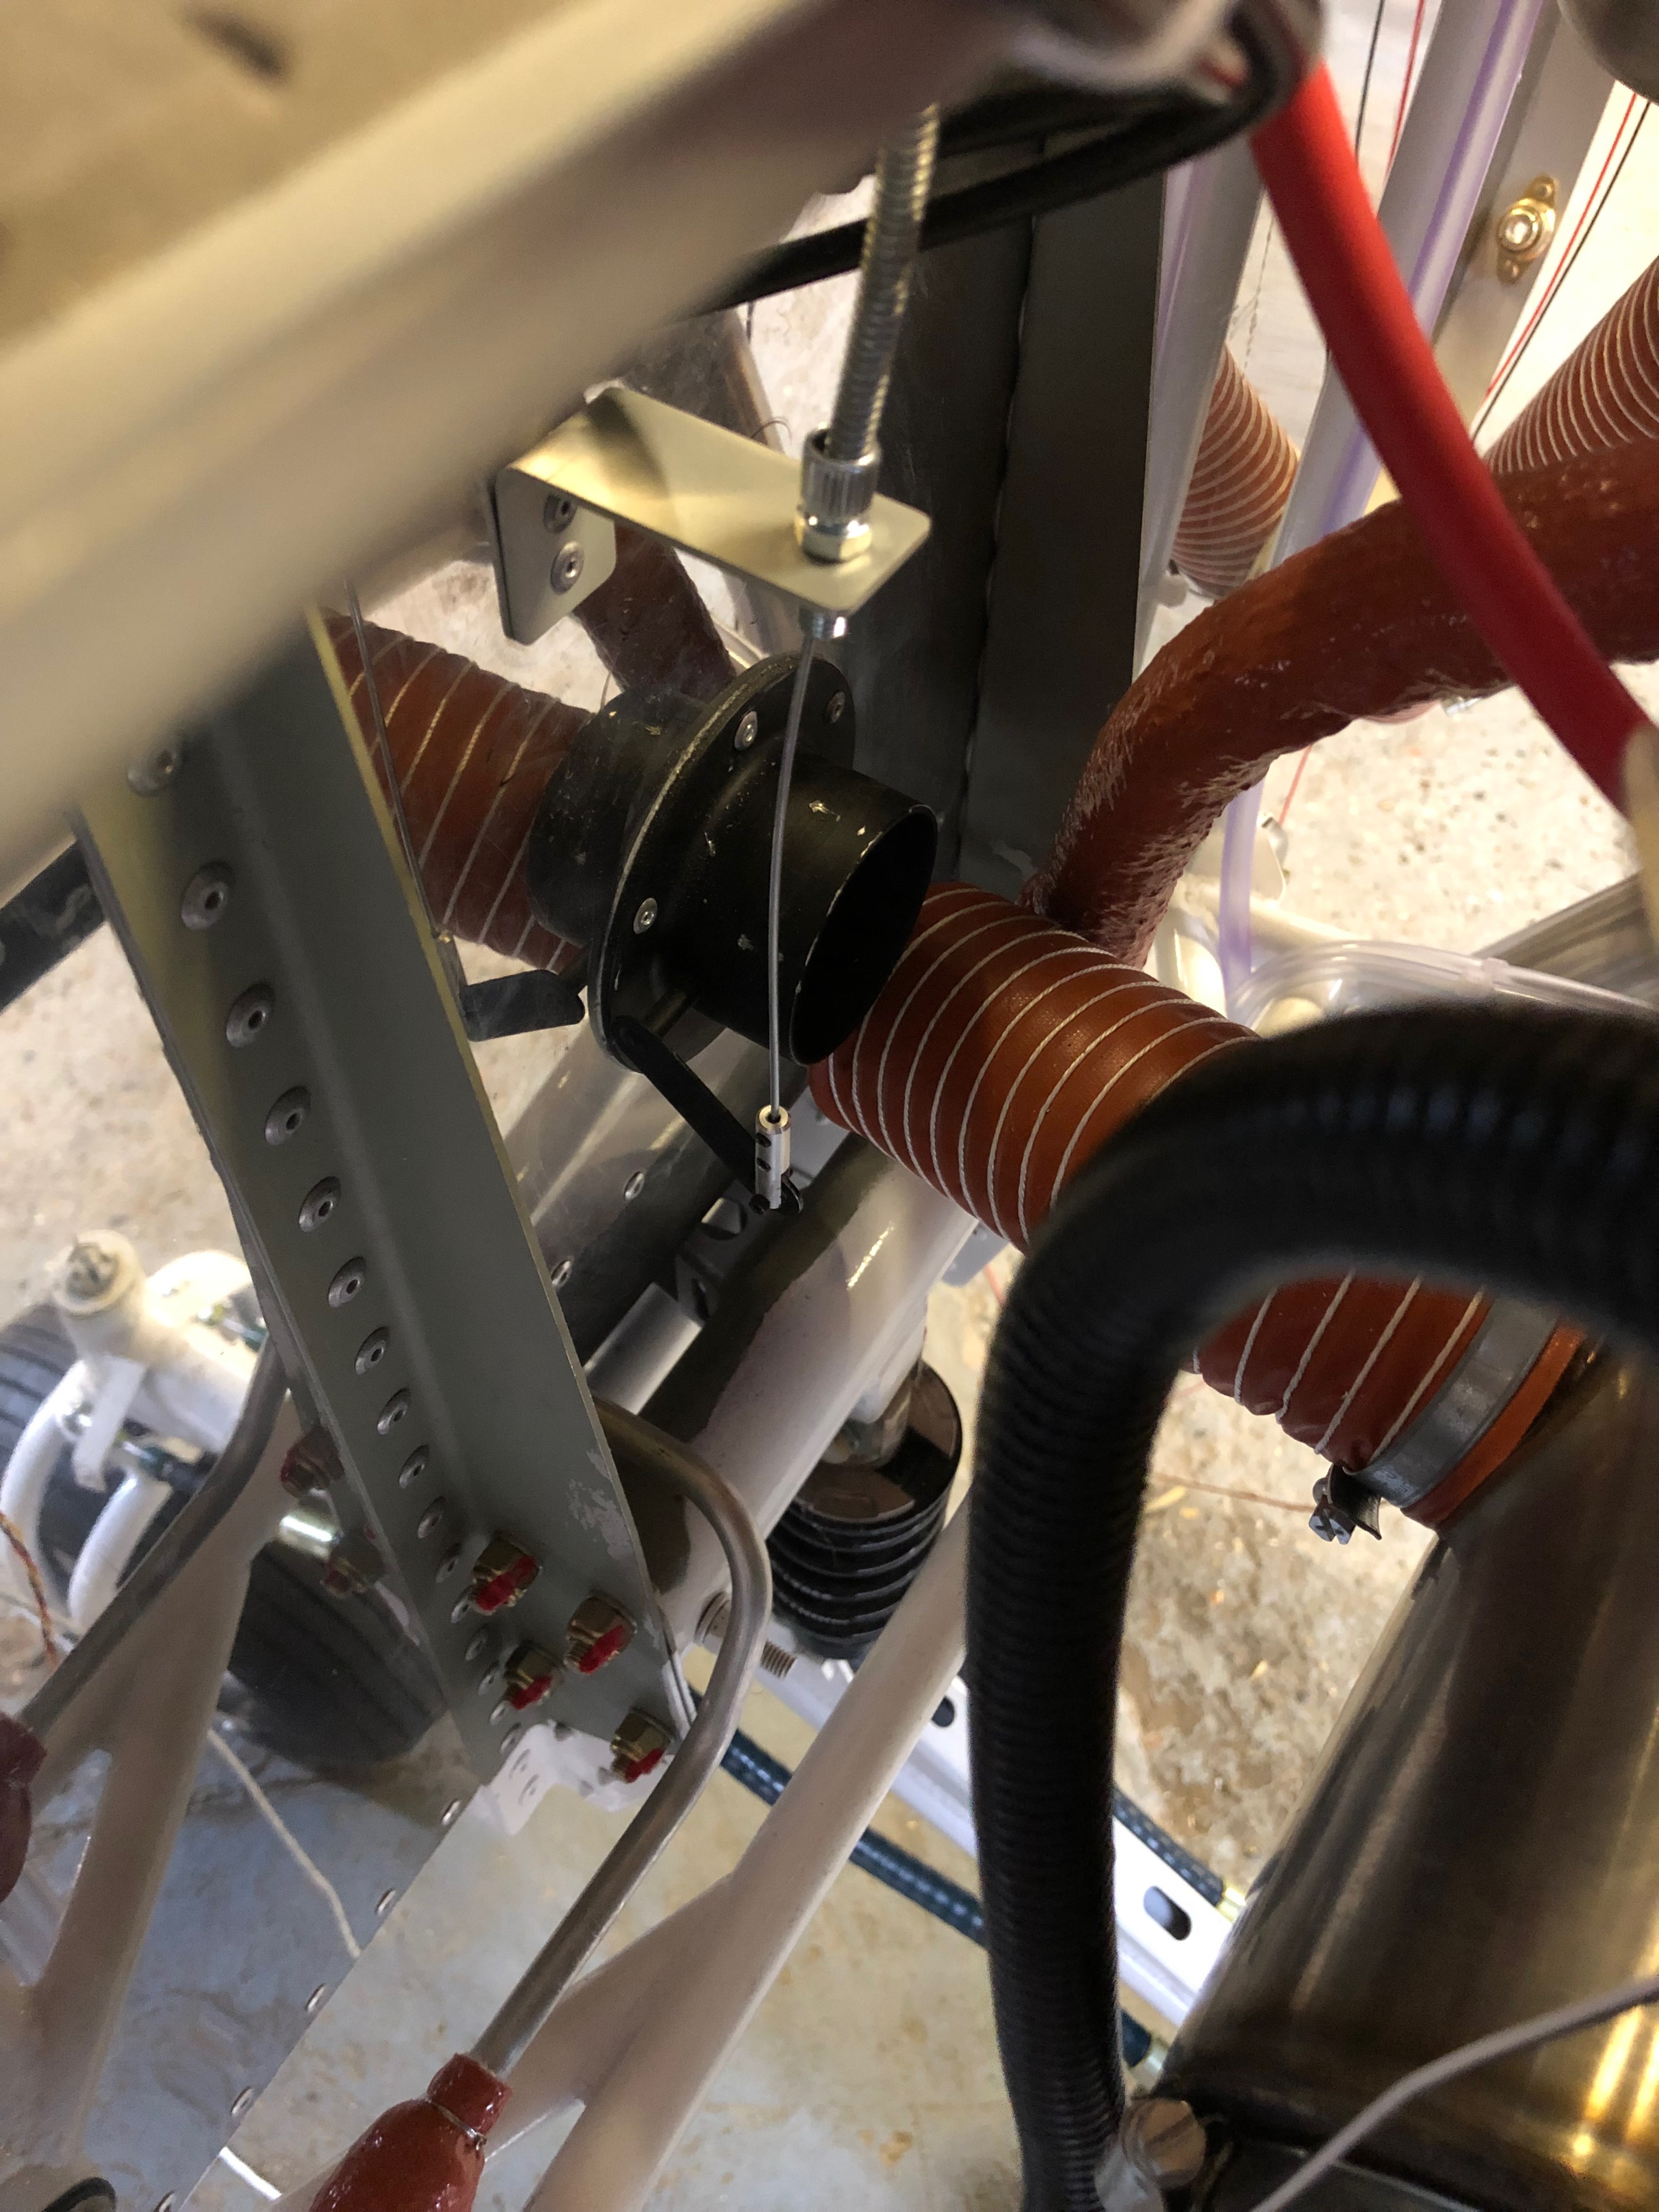
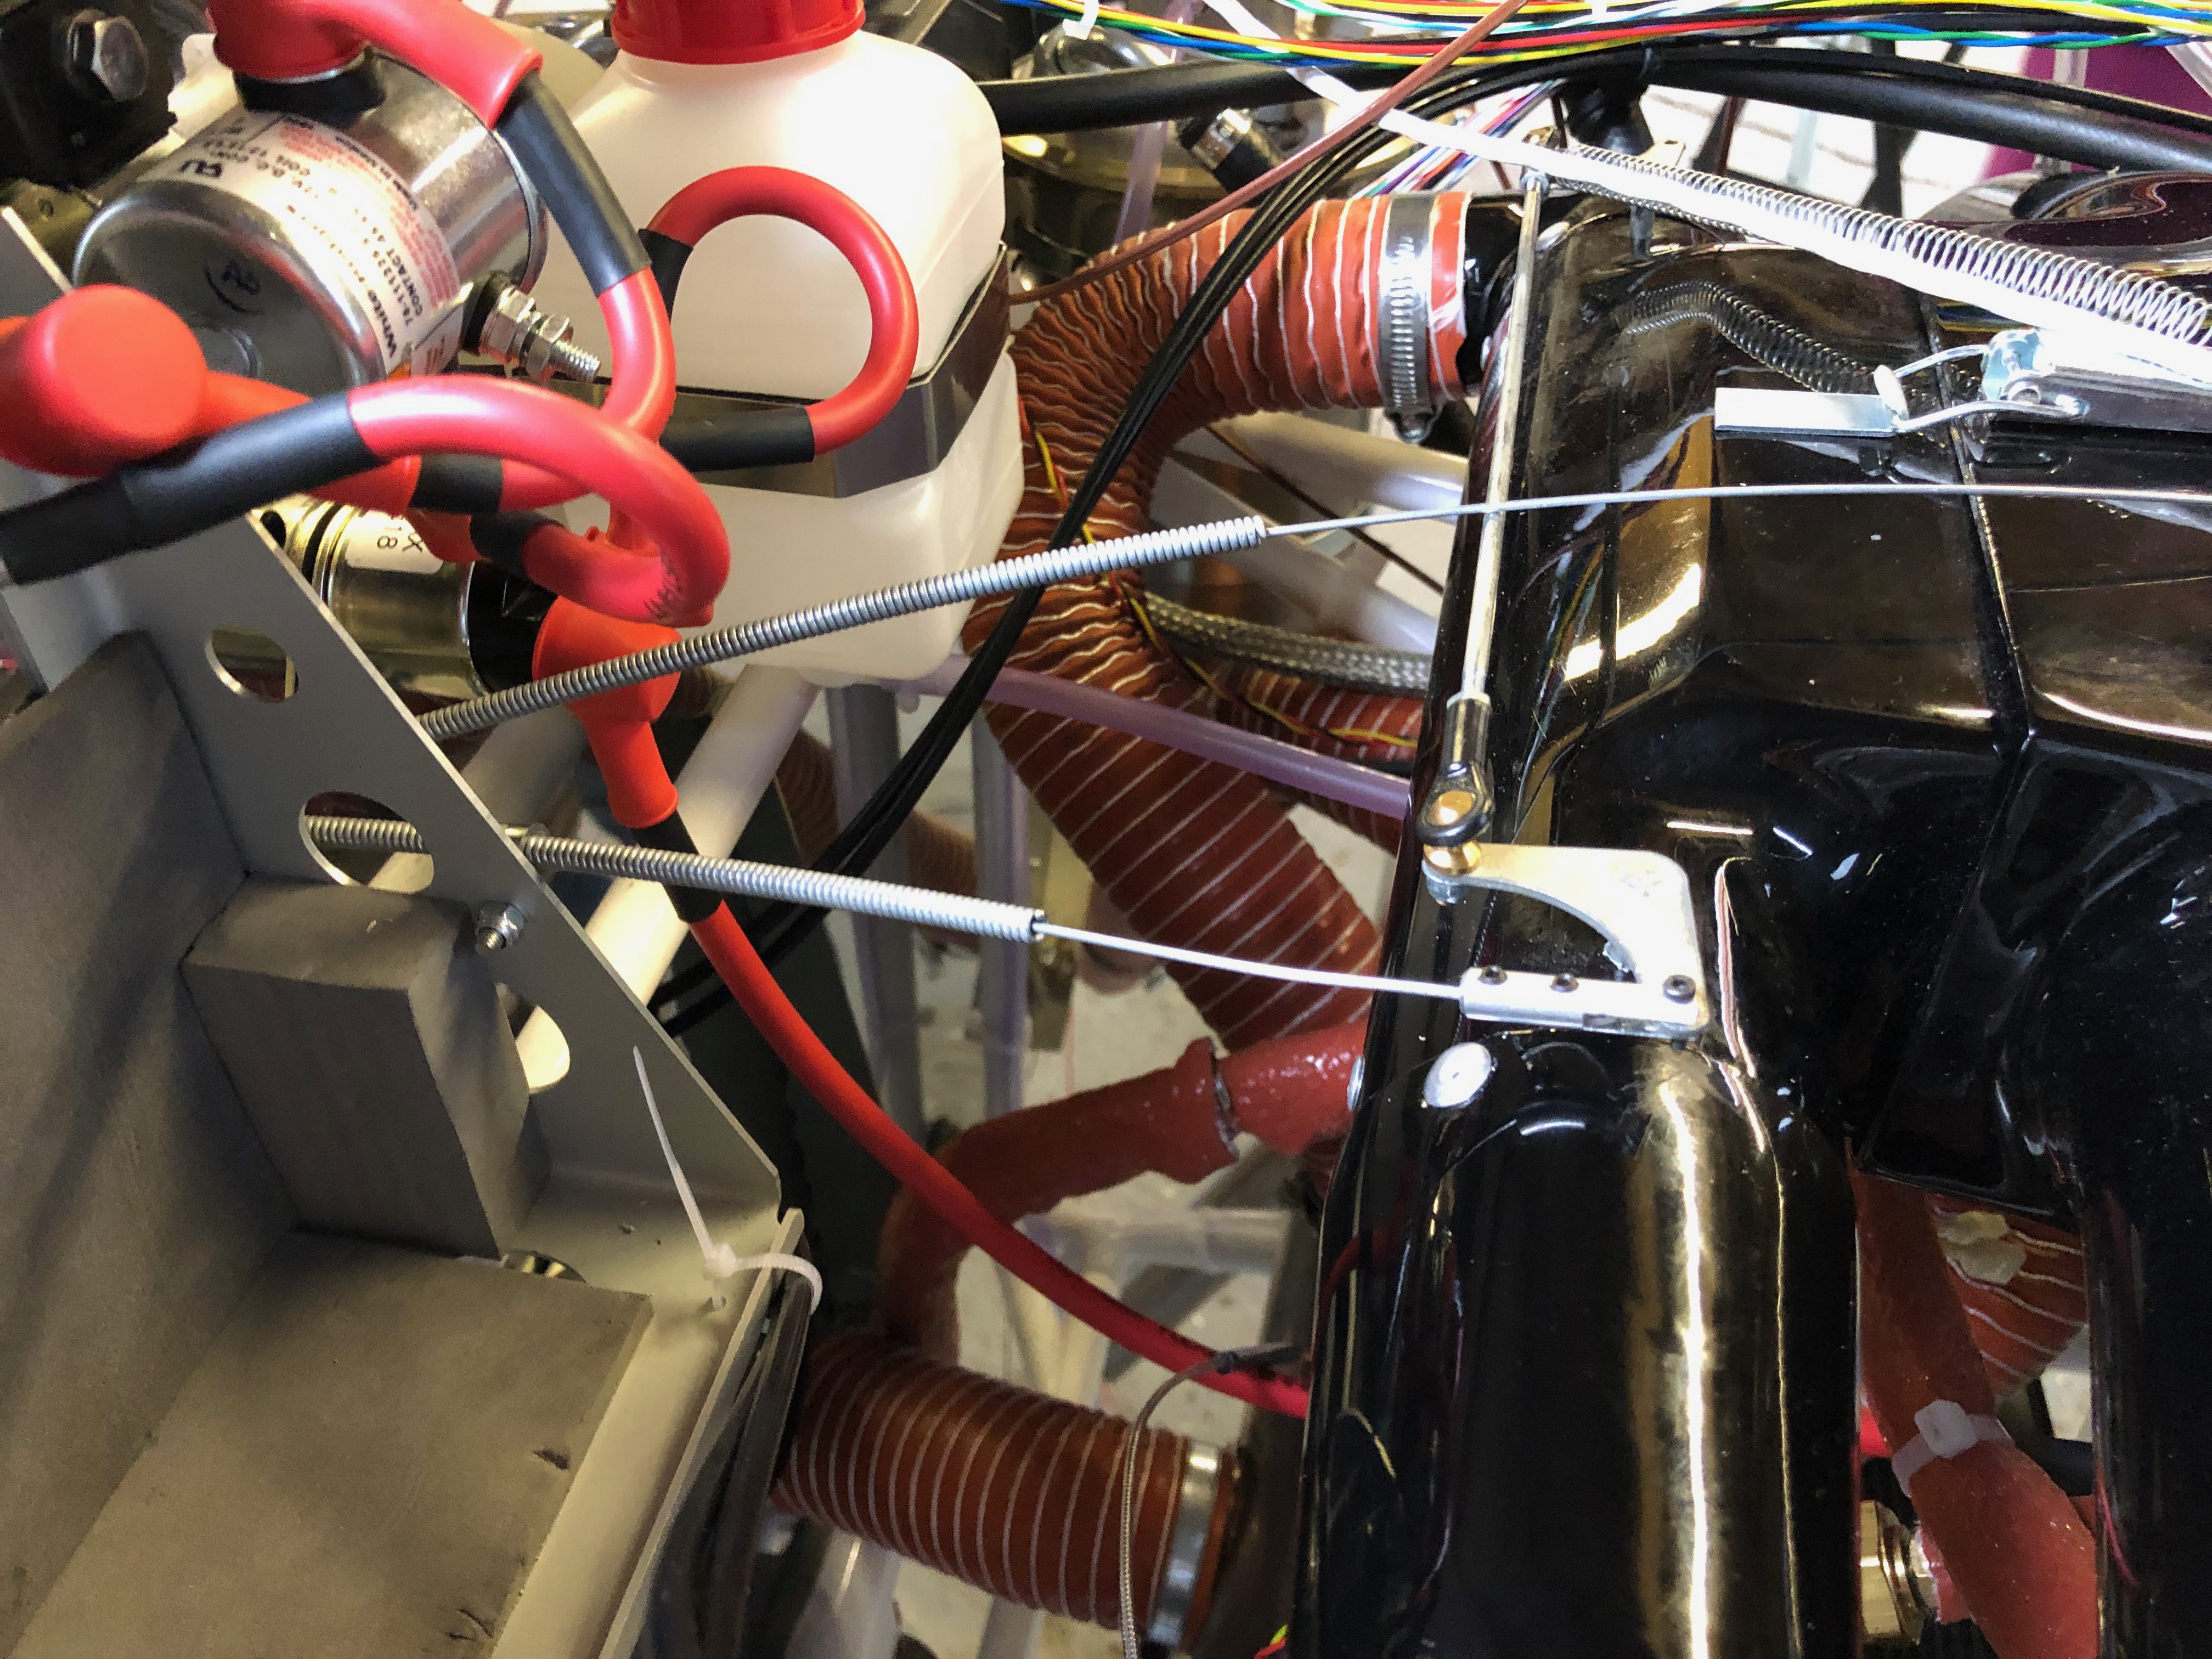
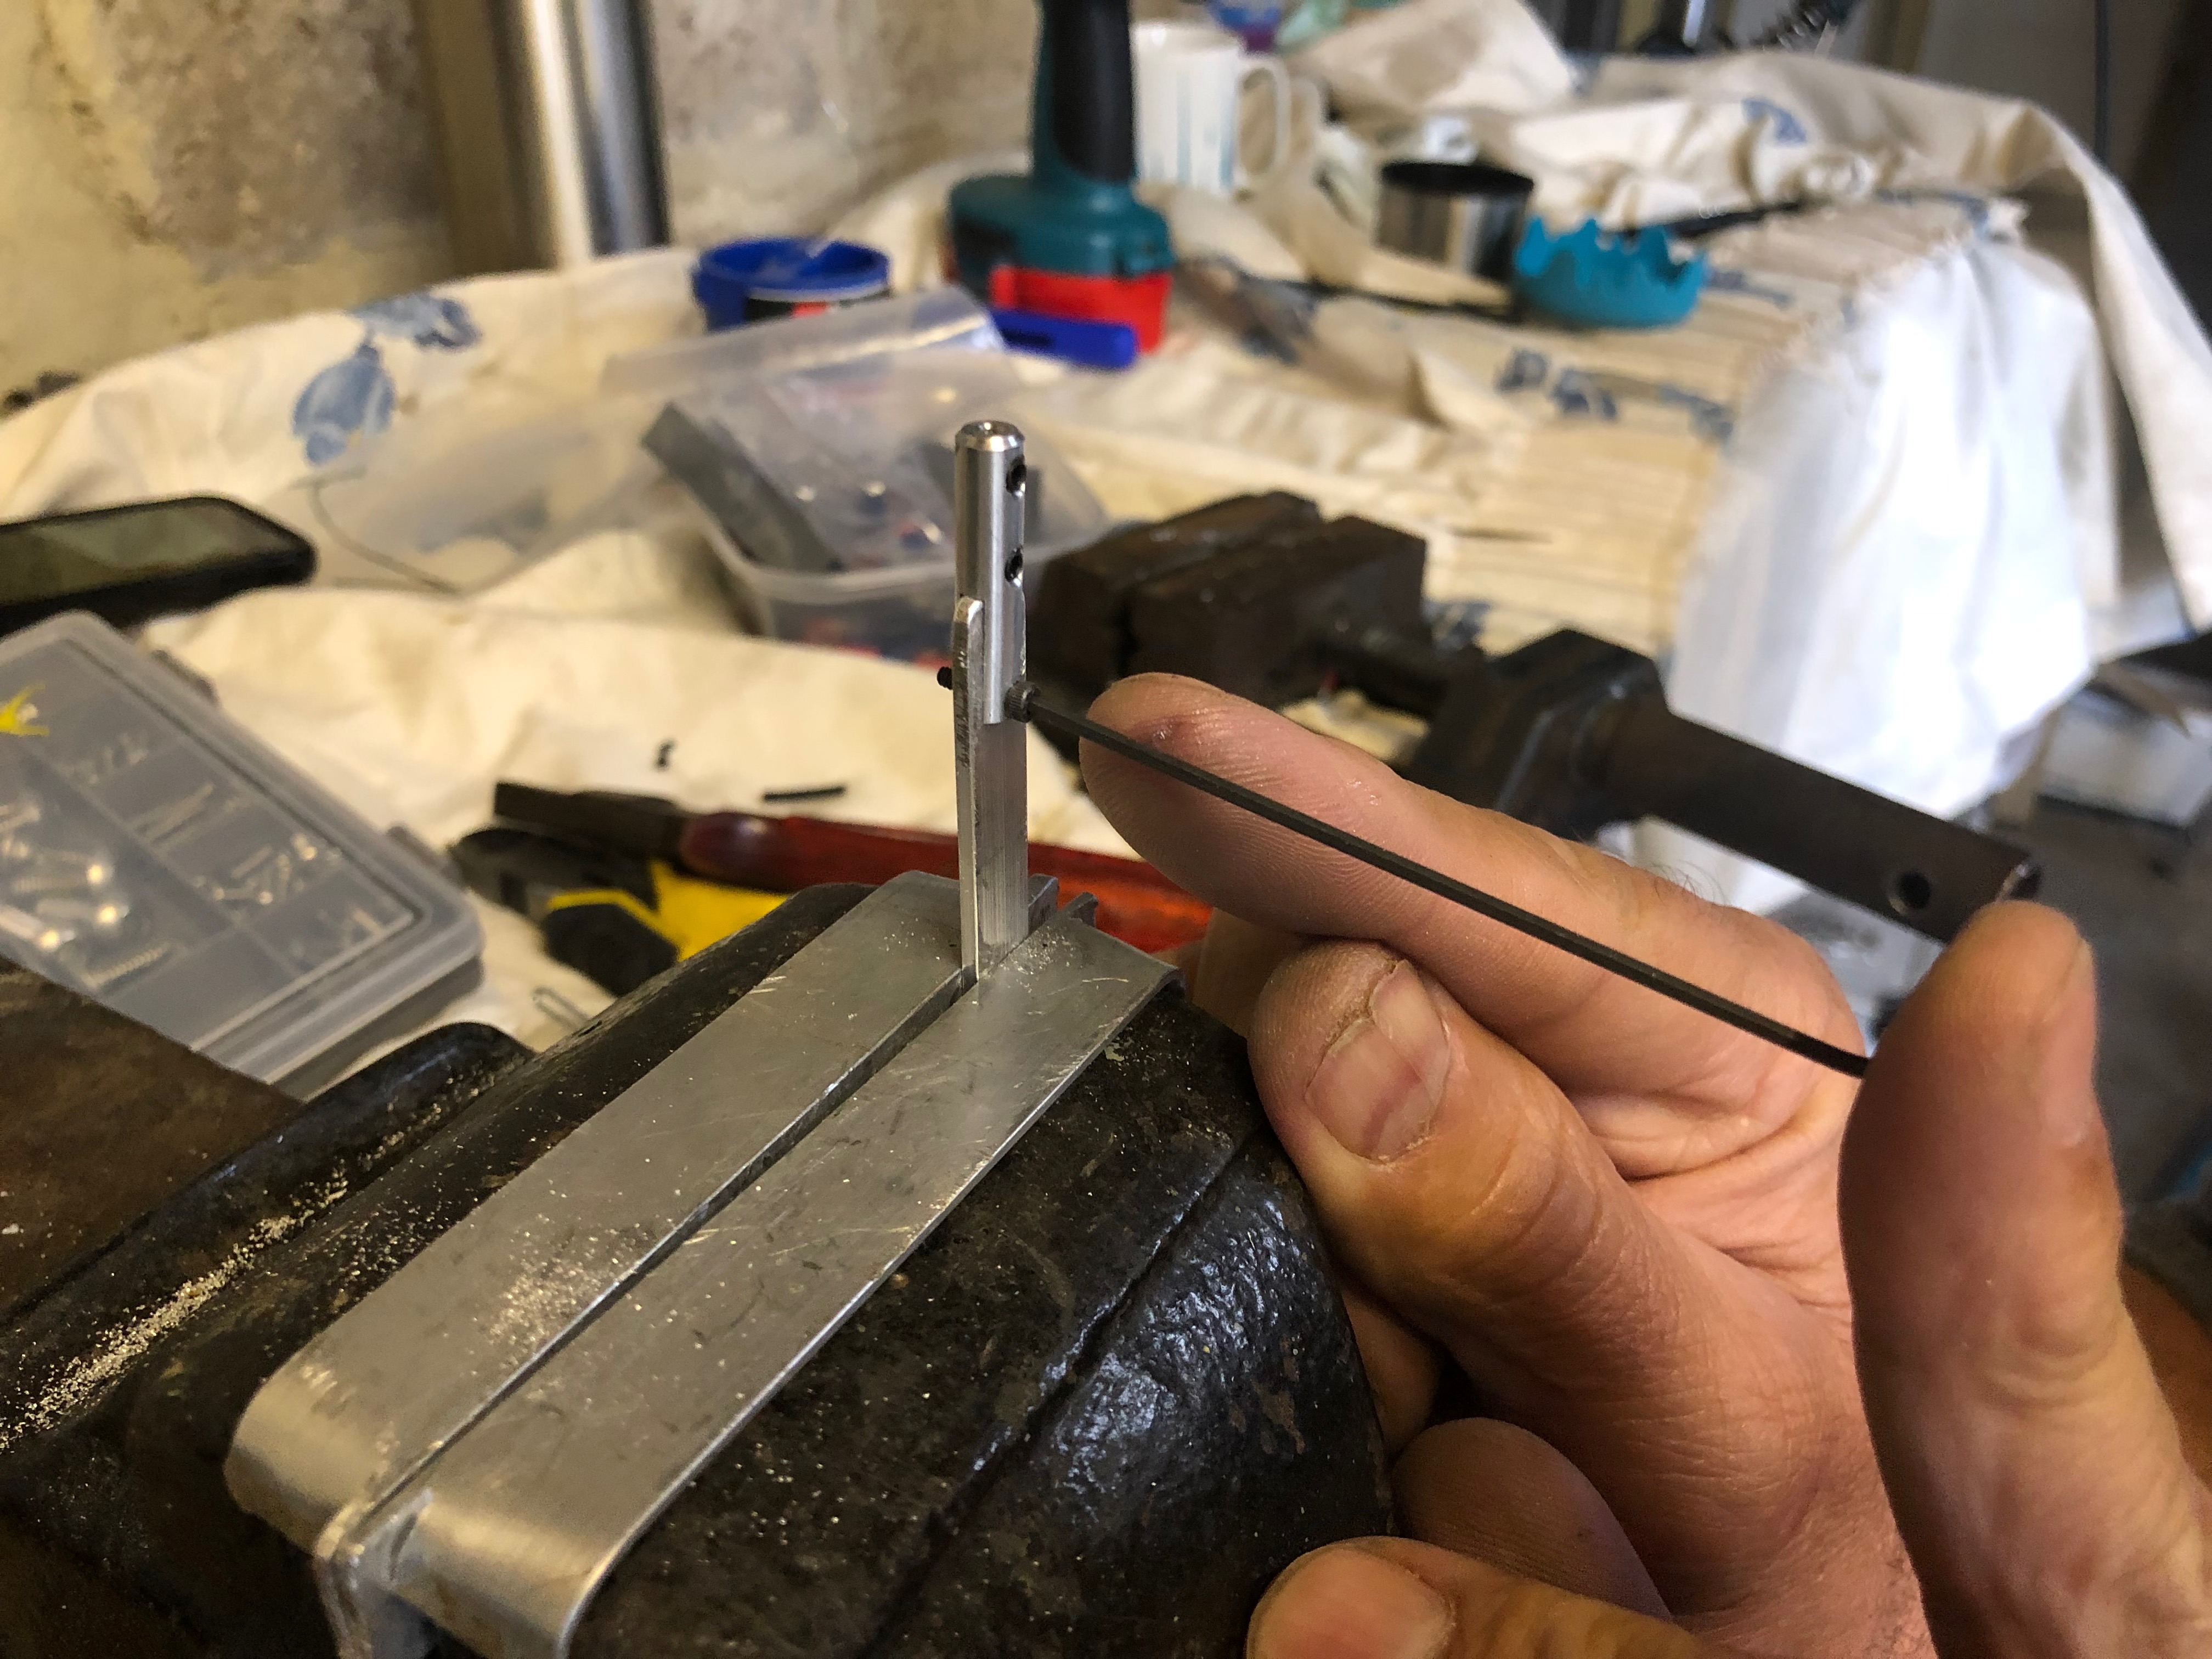
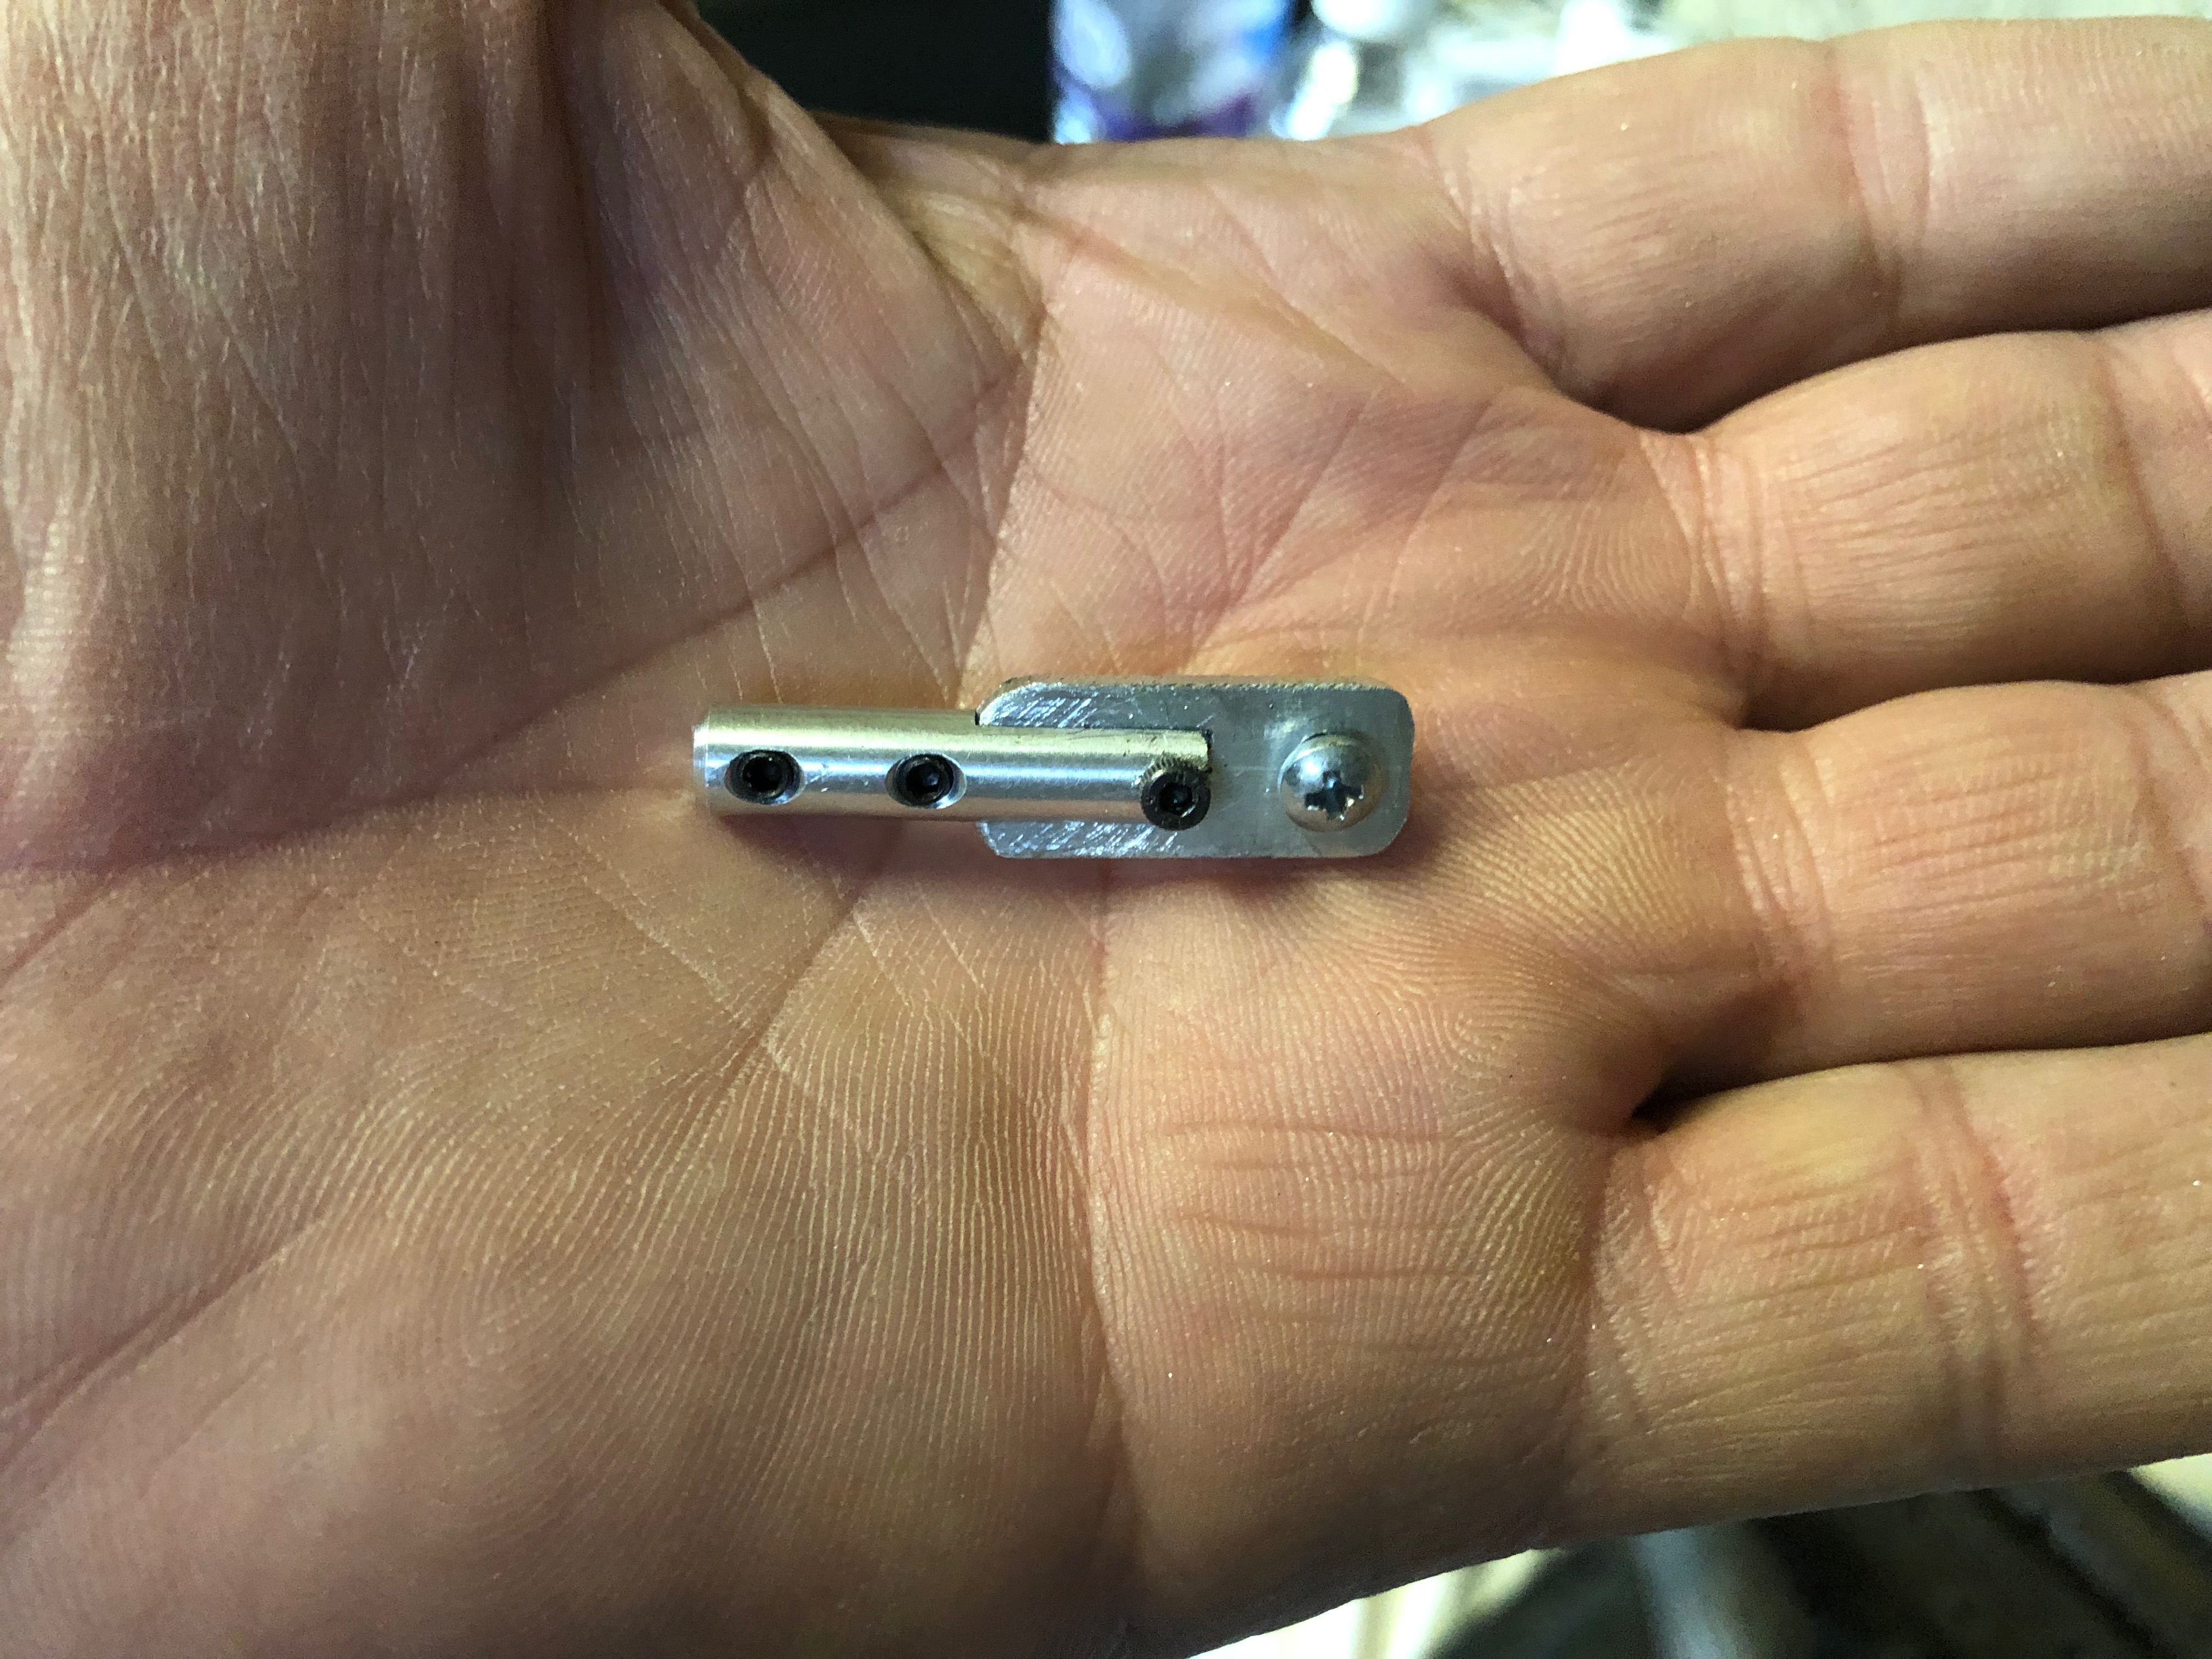
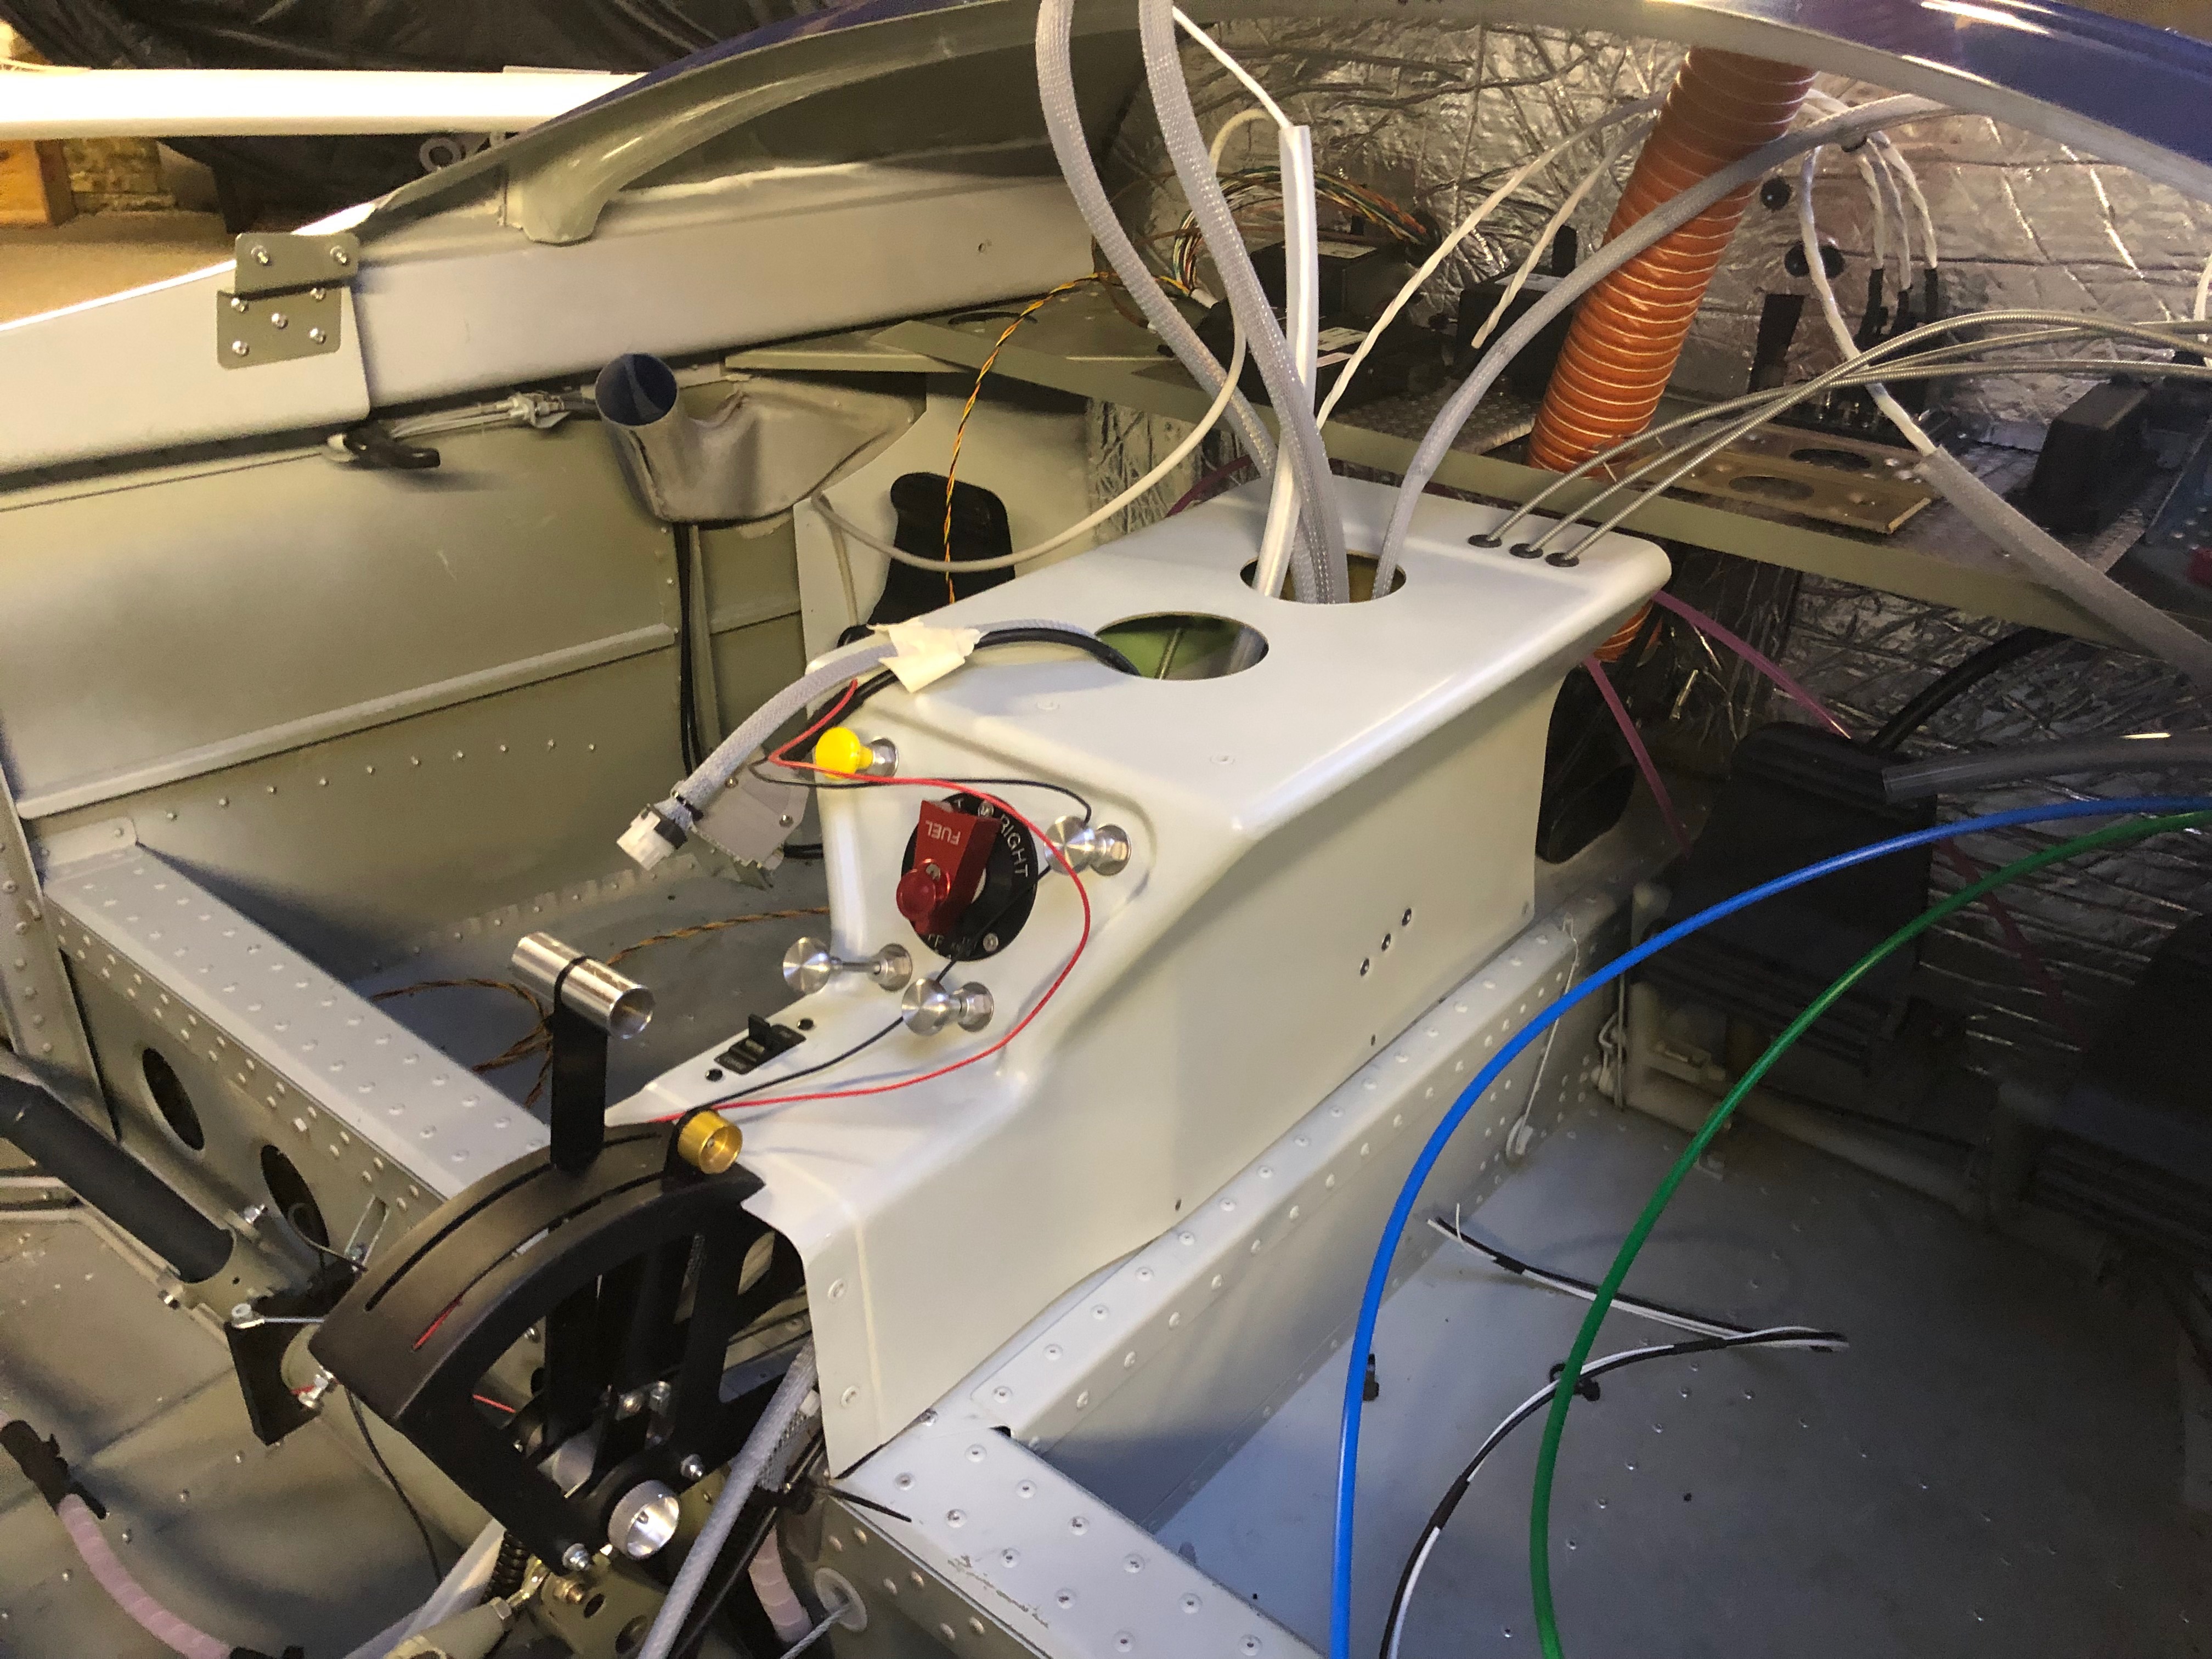
Today we were concentrating on fitting the centre console, ensuring that all the control operate smoothly for the carb heat, cabin heater and demister. The park brake needed some special attention as it needed to operate with push on and pull off. This required the cable to exit the front of the console and loop back in. This would make it operate in the correct source but there would be about 100mm of unsupported cable which would bend and it’s unlikely to operate correctly. The other connection that would need a bit of thought would be the connection to the demister as it had a protrusion to connect to and not a hole like the other controls.

Tom always comes equipped for the job. I think he was was going to work on a JCB not a Bristell!
The demist, heater and carb heat control cables routing over the equipment tray.
A test of the parking brake proves that the cable will bend and fail to operate without additional support. Inside the centre console there are quite a few other cables and they need to be positioned so they don’t interfere with each other. In addition to this the fuel pipes have to fitted to the fuel selector.
Our solution is to prevent the outer cable from bending piece of aluminium tube and then making a bracket to support it in the console.
This looks to be a good solution to the problem. A final wire lock ensures that the cable doesn’t move, so full movement is realised.
A radio control clevis is used to connect to the cable. Time will tell whether this is a reliable solution.
The connector to the heater and…
…carb heat controls are very straightforward but the outer cables still need to be fully secured otherwise the whole cable will move and fail to operate the attached item.
The demist attachment required a different solution and after some thought we came up with the idea of using a piece of 2mm aluminium to extend the RC clevis.
The final solution which will do the job. The only thing to do is fit it!
So Tom launched into action! It’s all a bit difficult to get to.
But the solution worked well.
With two out of the three fuel pipes connected and all the wires and cables routed as require we can call it a day. Tomorrow sees the final fit and we can move on to the prep for fitting the panel and prop.
Lovely sky as we exited the workshop. Need to get the build finished so we can go fly in skies like these!

Thursday 30th May 2019

Music: Fleetwood Mac

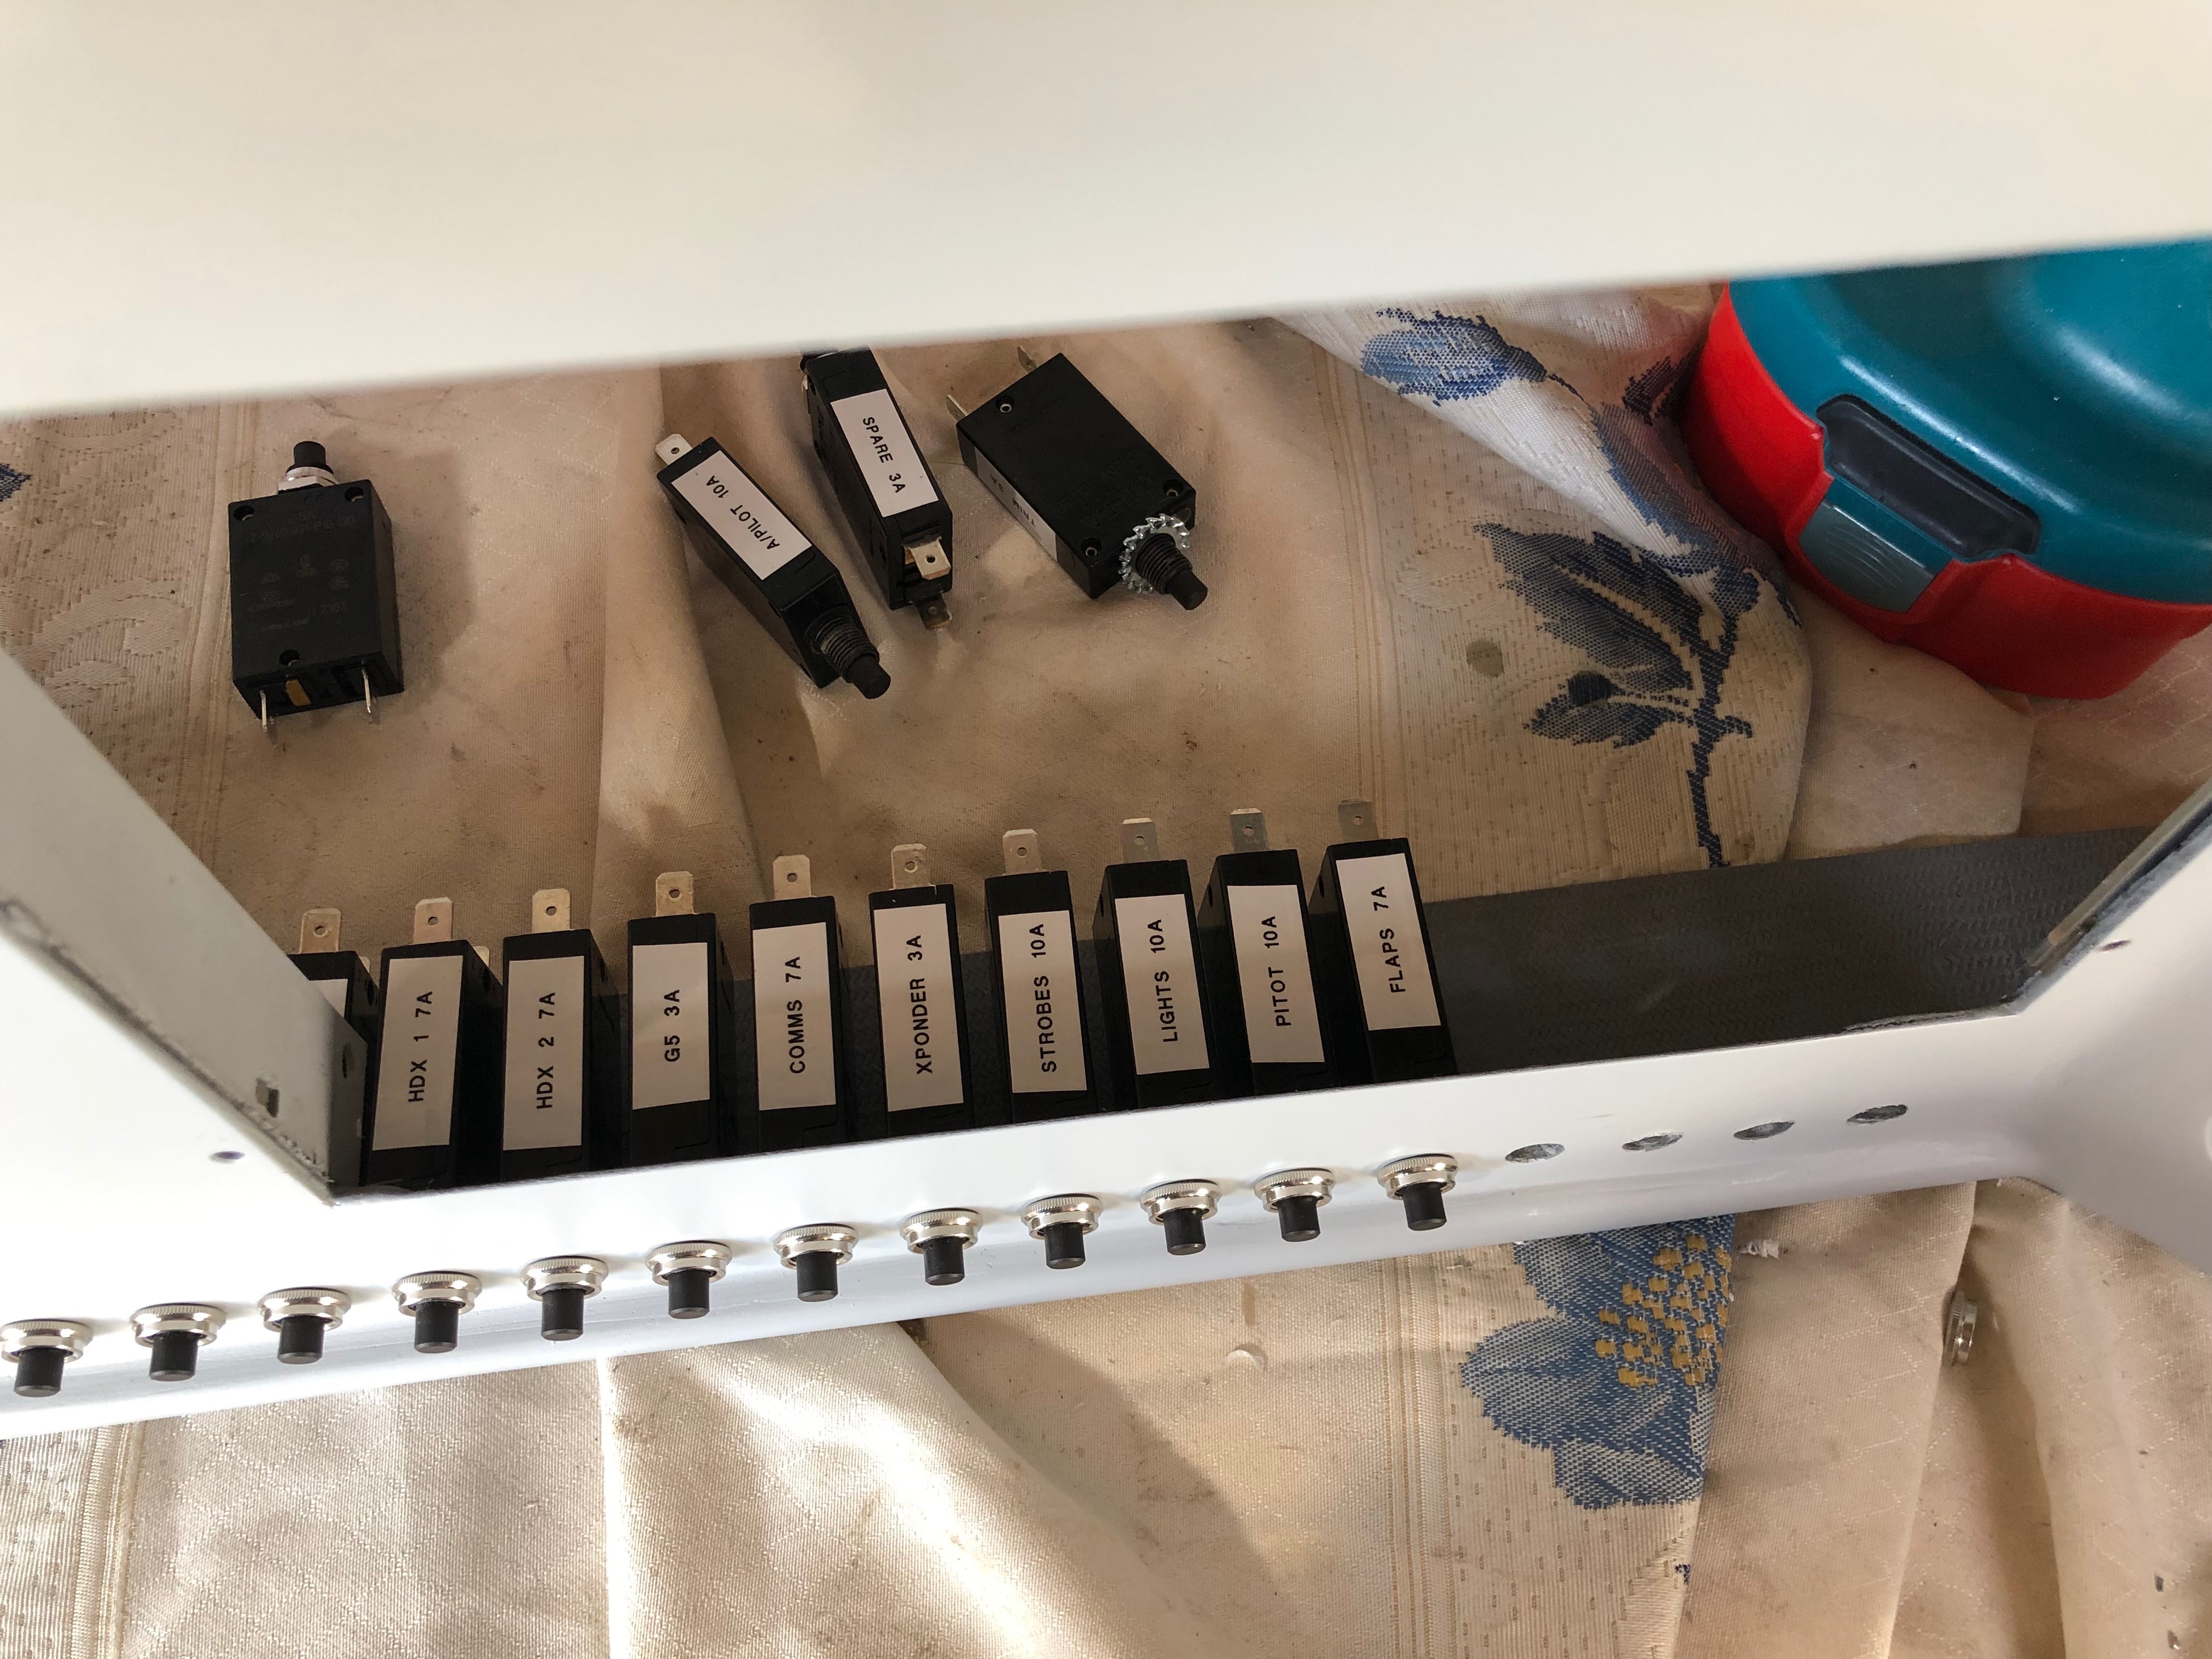
A couple of jobs to focus on today. The first is to fit the circuit breakers and second is to start the fitment of the centre console that includes the control cables for Carb Heat, Park Brake, Cabin Heater, Demist and fuel pipes to the selector and tank lines.

I’ve printed labels using an electronic printer so I can easily identify the circuit breakers and switches once fitted.
Unlike the switches that have a hex nut and can be tightened with a spanner the circuit breakers have a knurled ring that is difficult to grip. I found the best way was to adjust some mole grips so they gripped the ring firmly that allowed me to turn the the ring a quarter of a turn at a time. It took some time but got the job done.
All the switches and circuit breakers are in now. Very pleased with the result, looks quite tidy!
The cables used to control various items have to be routed so they don’t snag. After a couple of trial fits the best route from the front of the panel to the control is to exit the centre console via a hole at the rear. Three cables will exit this way and the fourth which operates the park brake will exit the end of the console and loop back in. This makes sure that the control operates in the correct sense i.e. push is off and pull is on.
With the console in place I can test the routing again and once checked I can drill the other holes.
The carb heat cable is connected to the carb heat control using a radio control model clevis.
The centre console ready to be installed showing the park brake cable that loops round and back in connect to the park brake. Without doing this the park brake would operate incorrectly.
Chris has been helping me over the last couple of days but before he left I thought I’d install a screen and power it up. With the ADAHRS unit installed and wired it’s the first time that I’ve seen it myself – looks quite impressive!