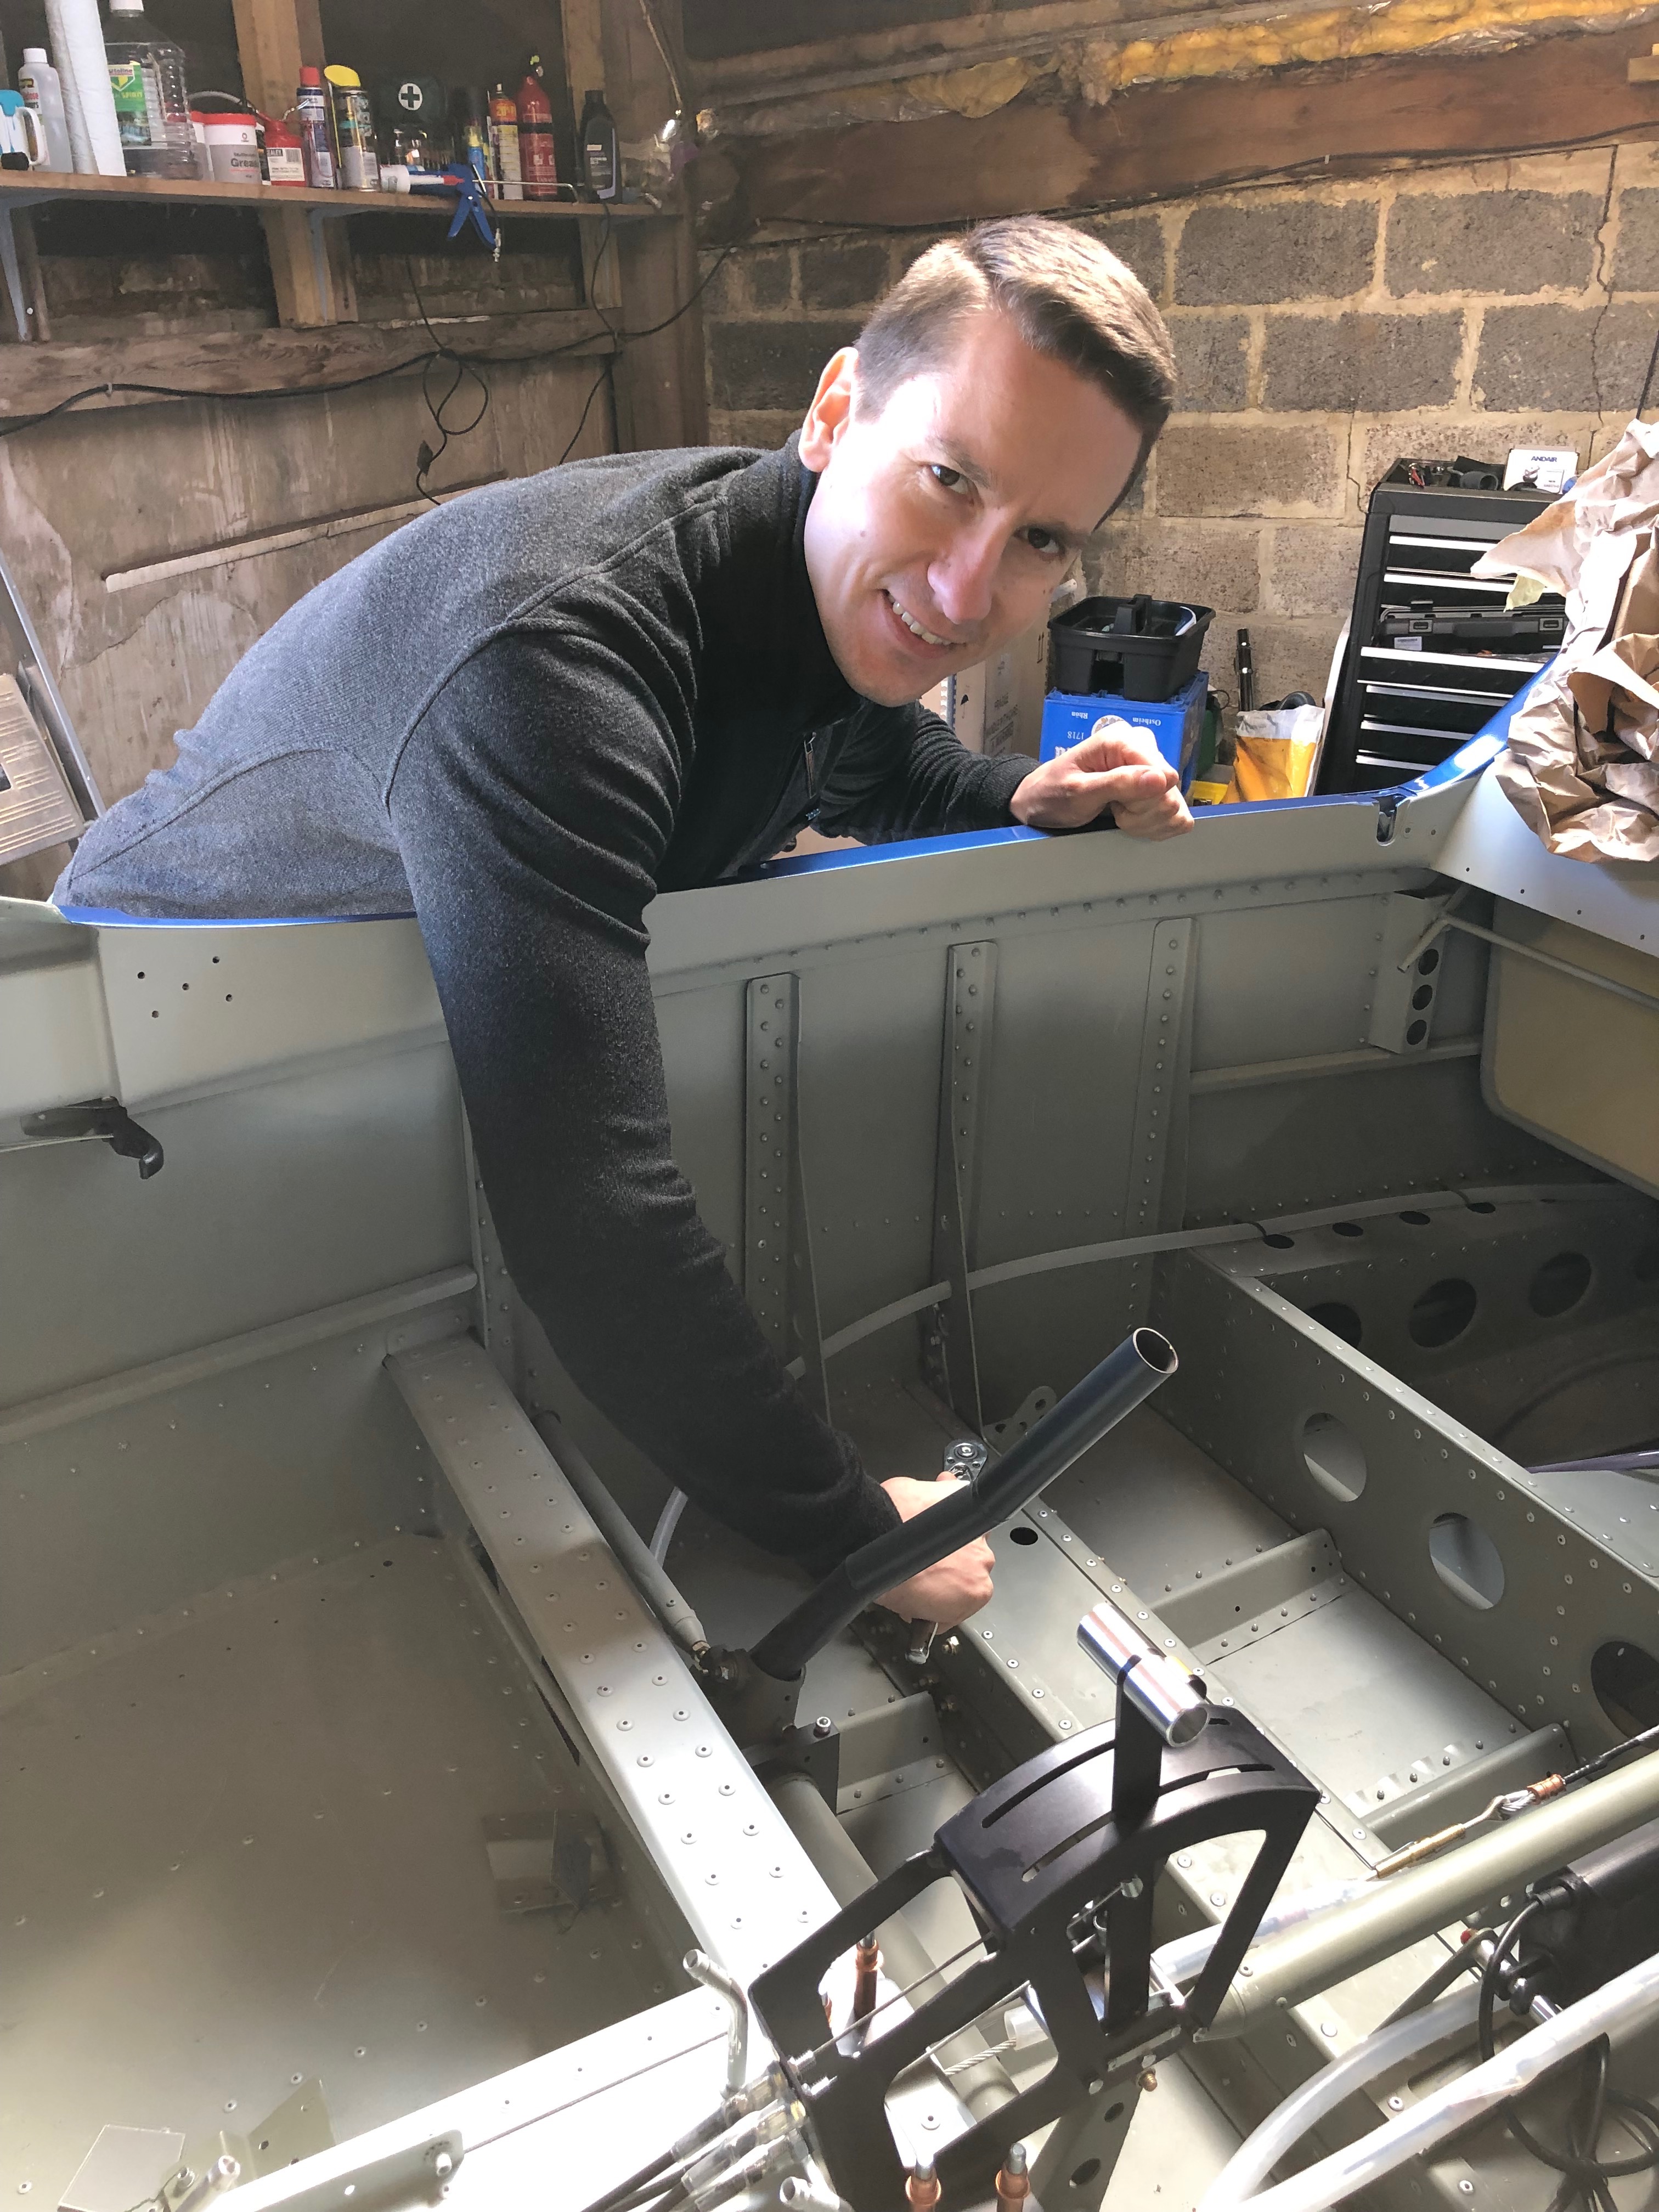
Chris came down today to visit, see the plane and help me do some of the jobs that require two people.
First job today was to check the undercarriage bolts for tightness. Unfortunately two of the four bolts did not tighten so were removed for inspection and were found to have damaged threads. These will need to be replaced.
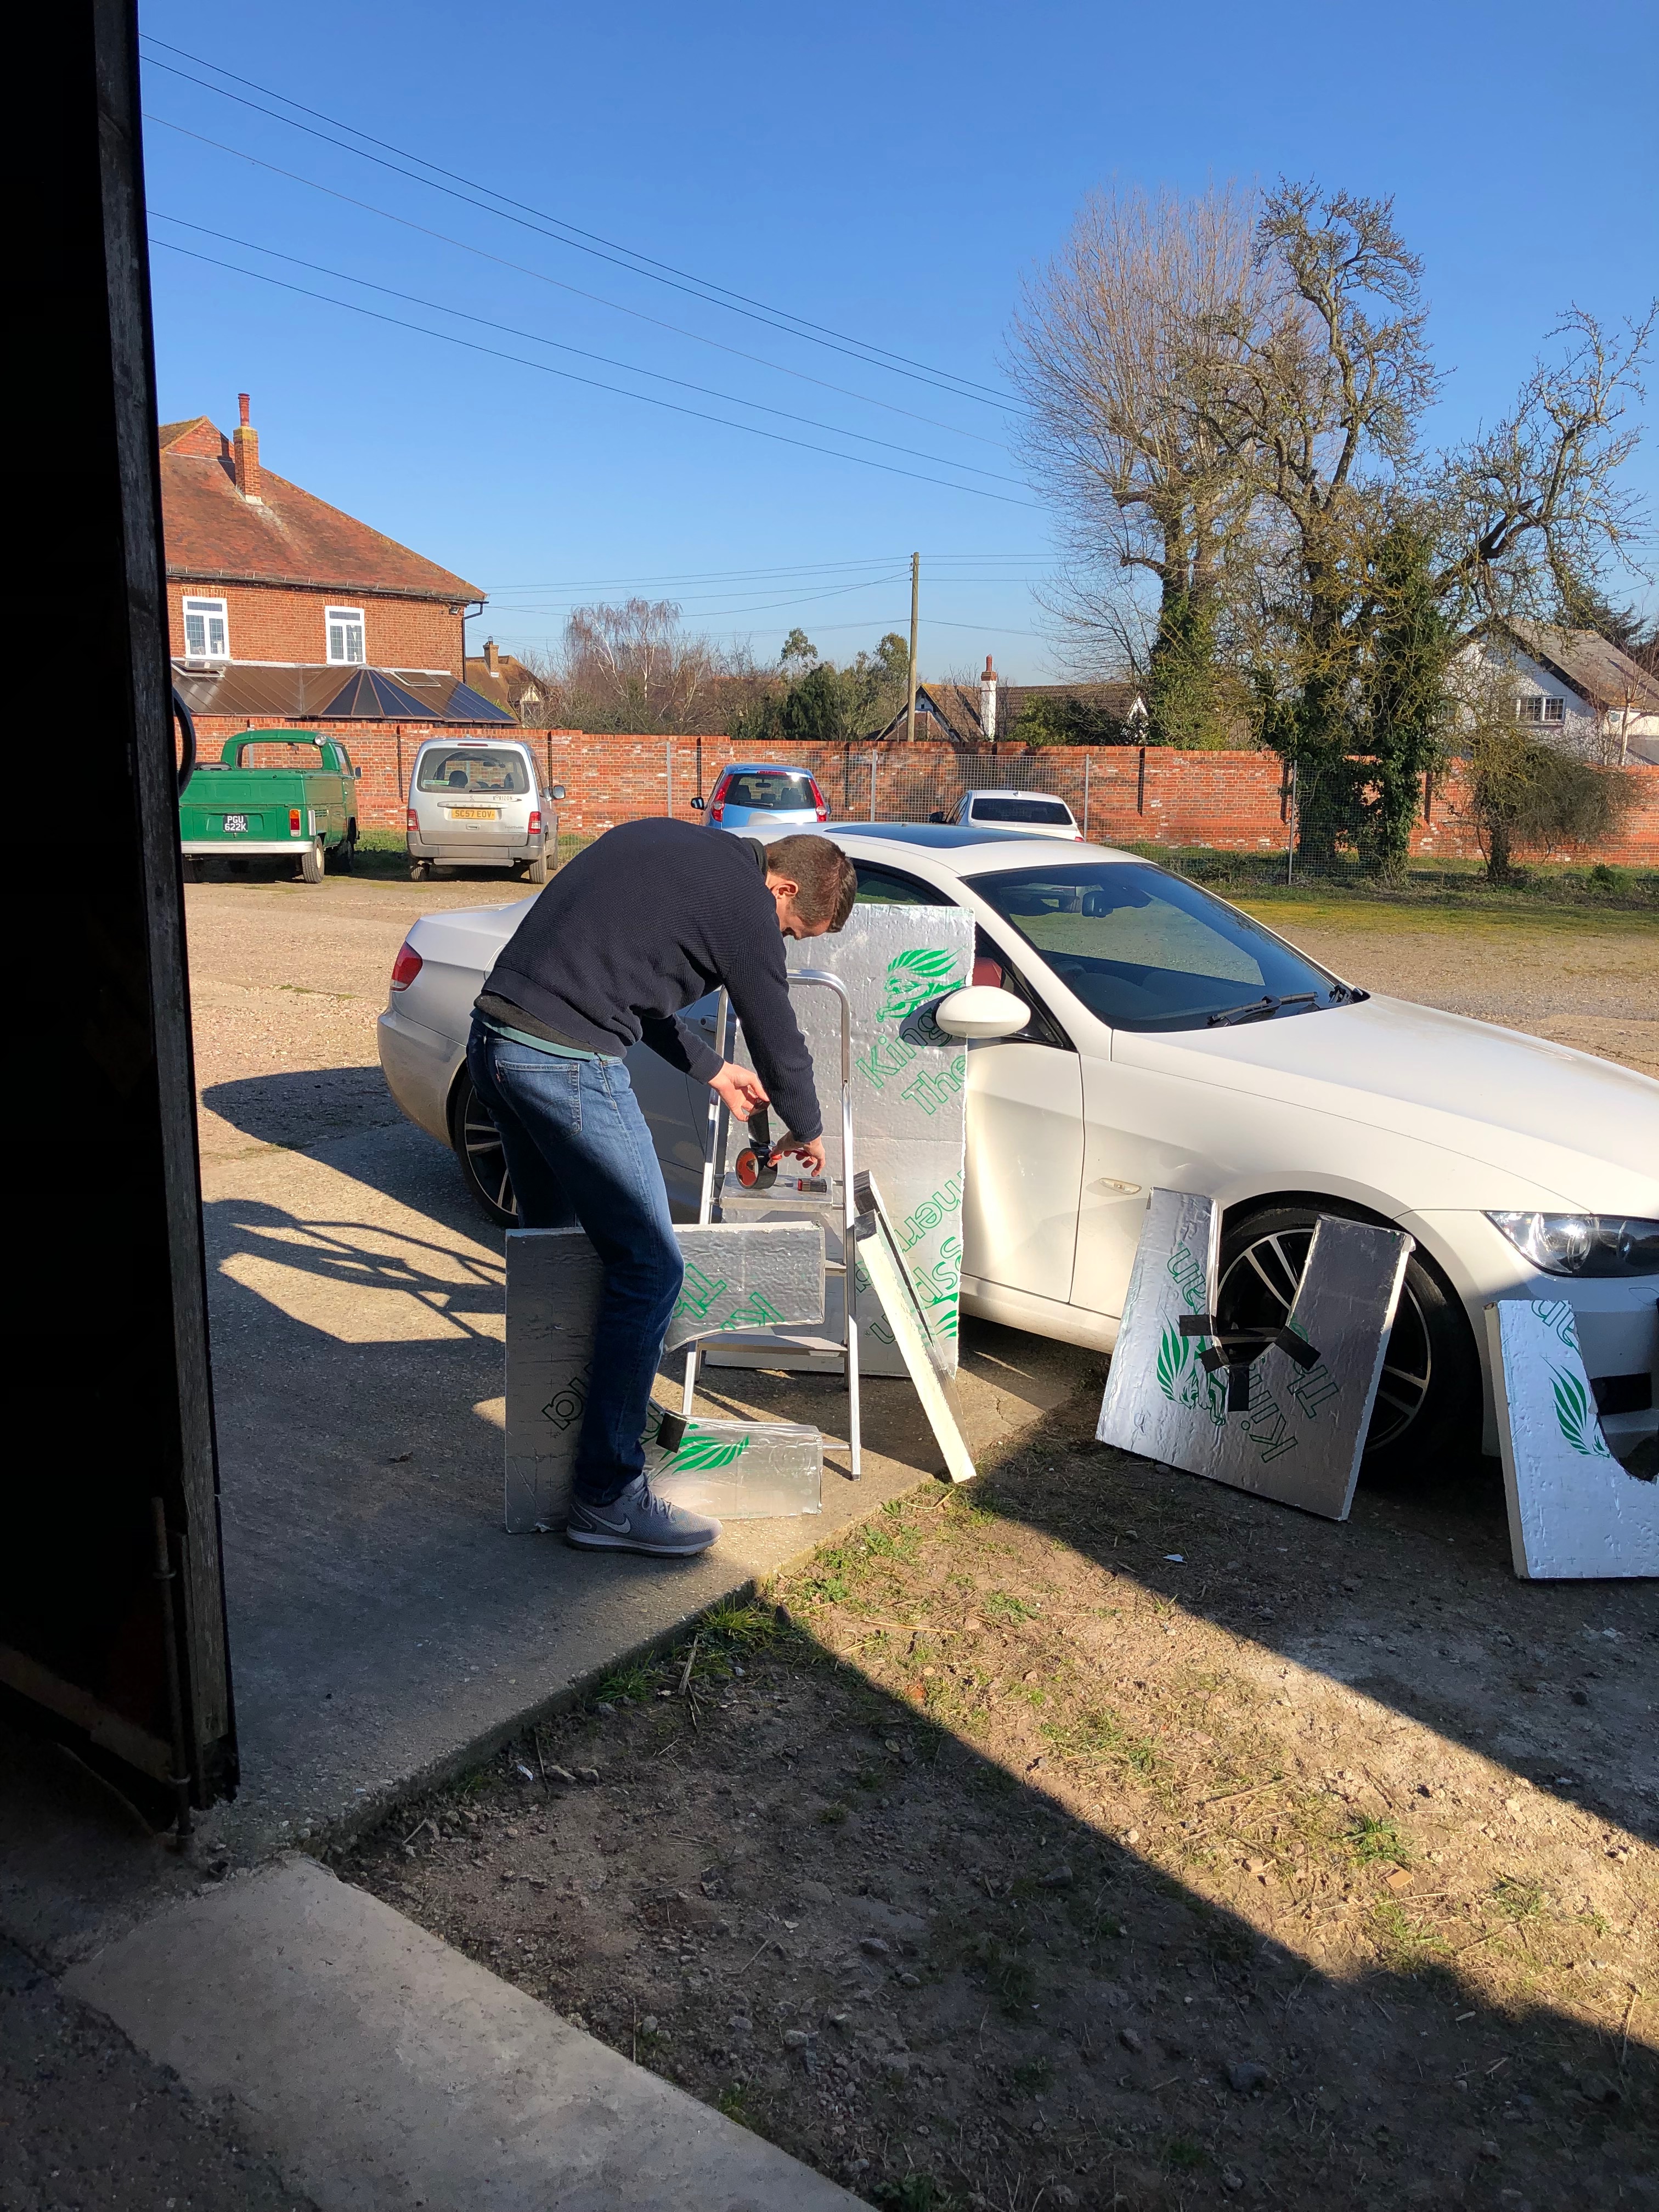
Chris making some wing stands .
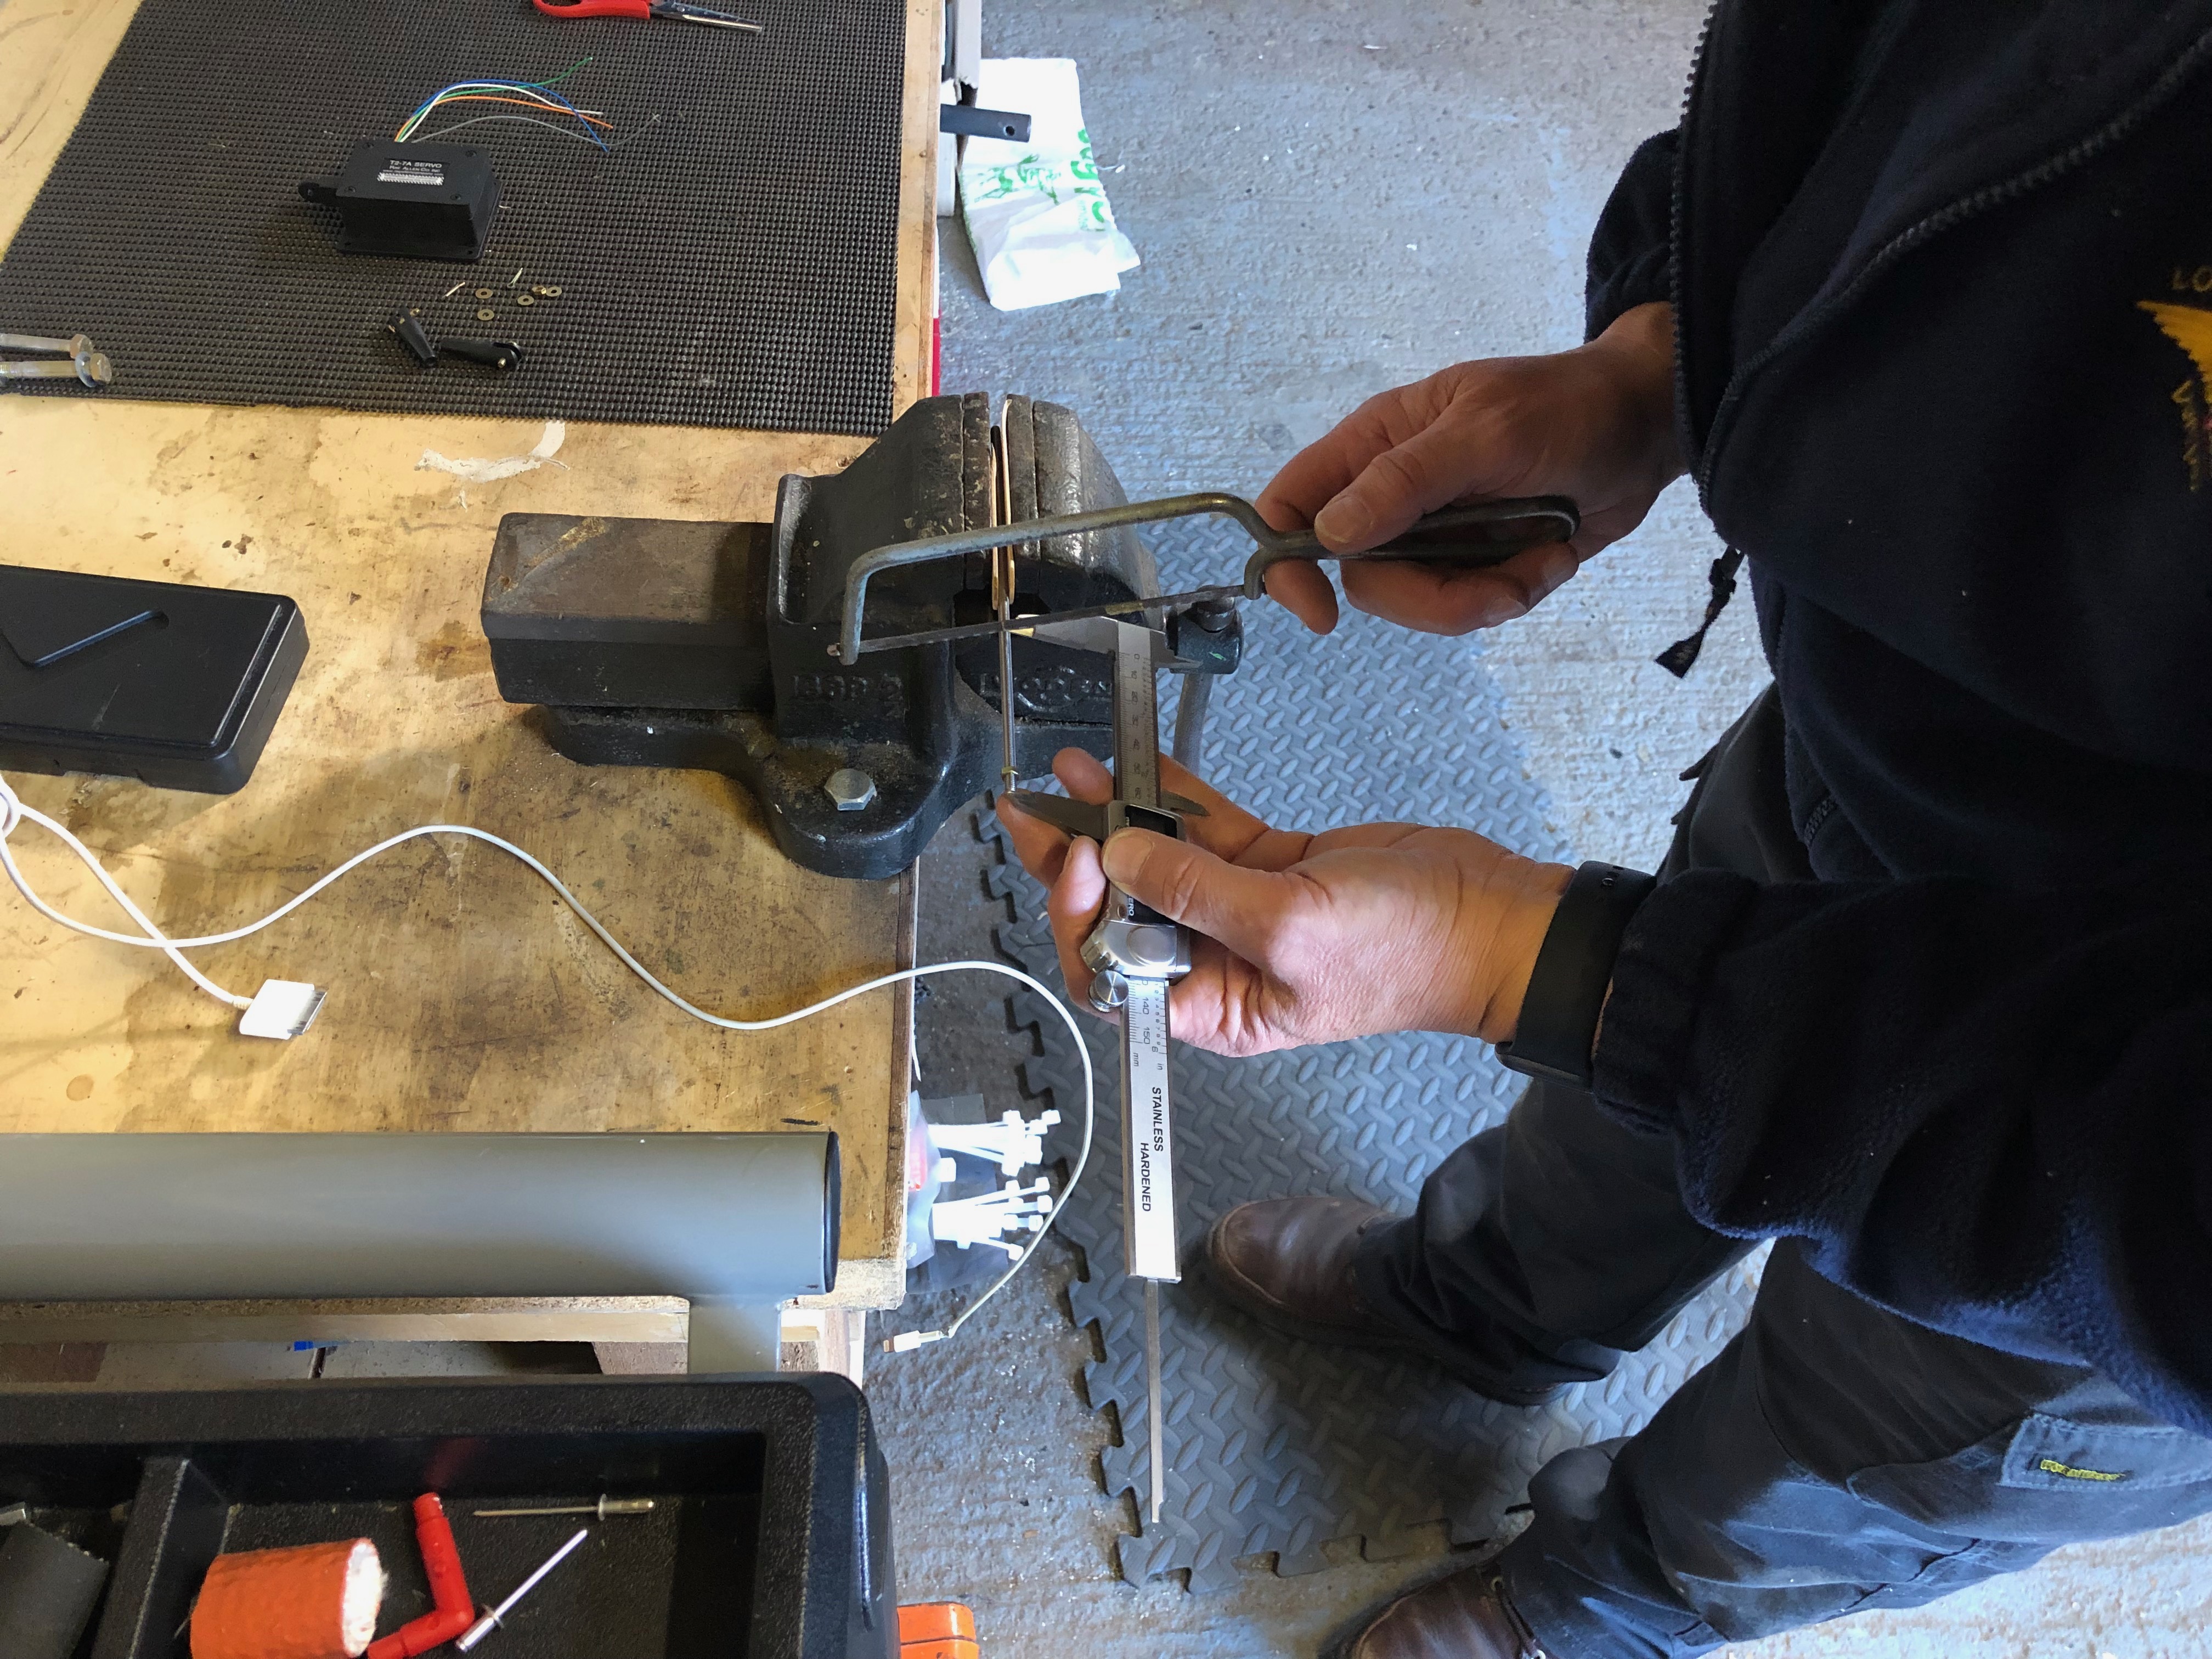
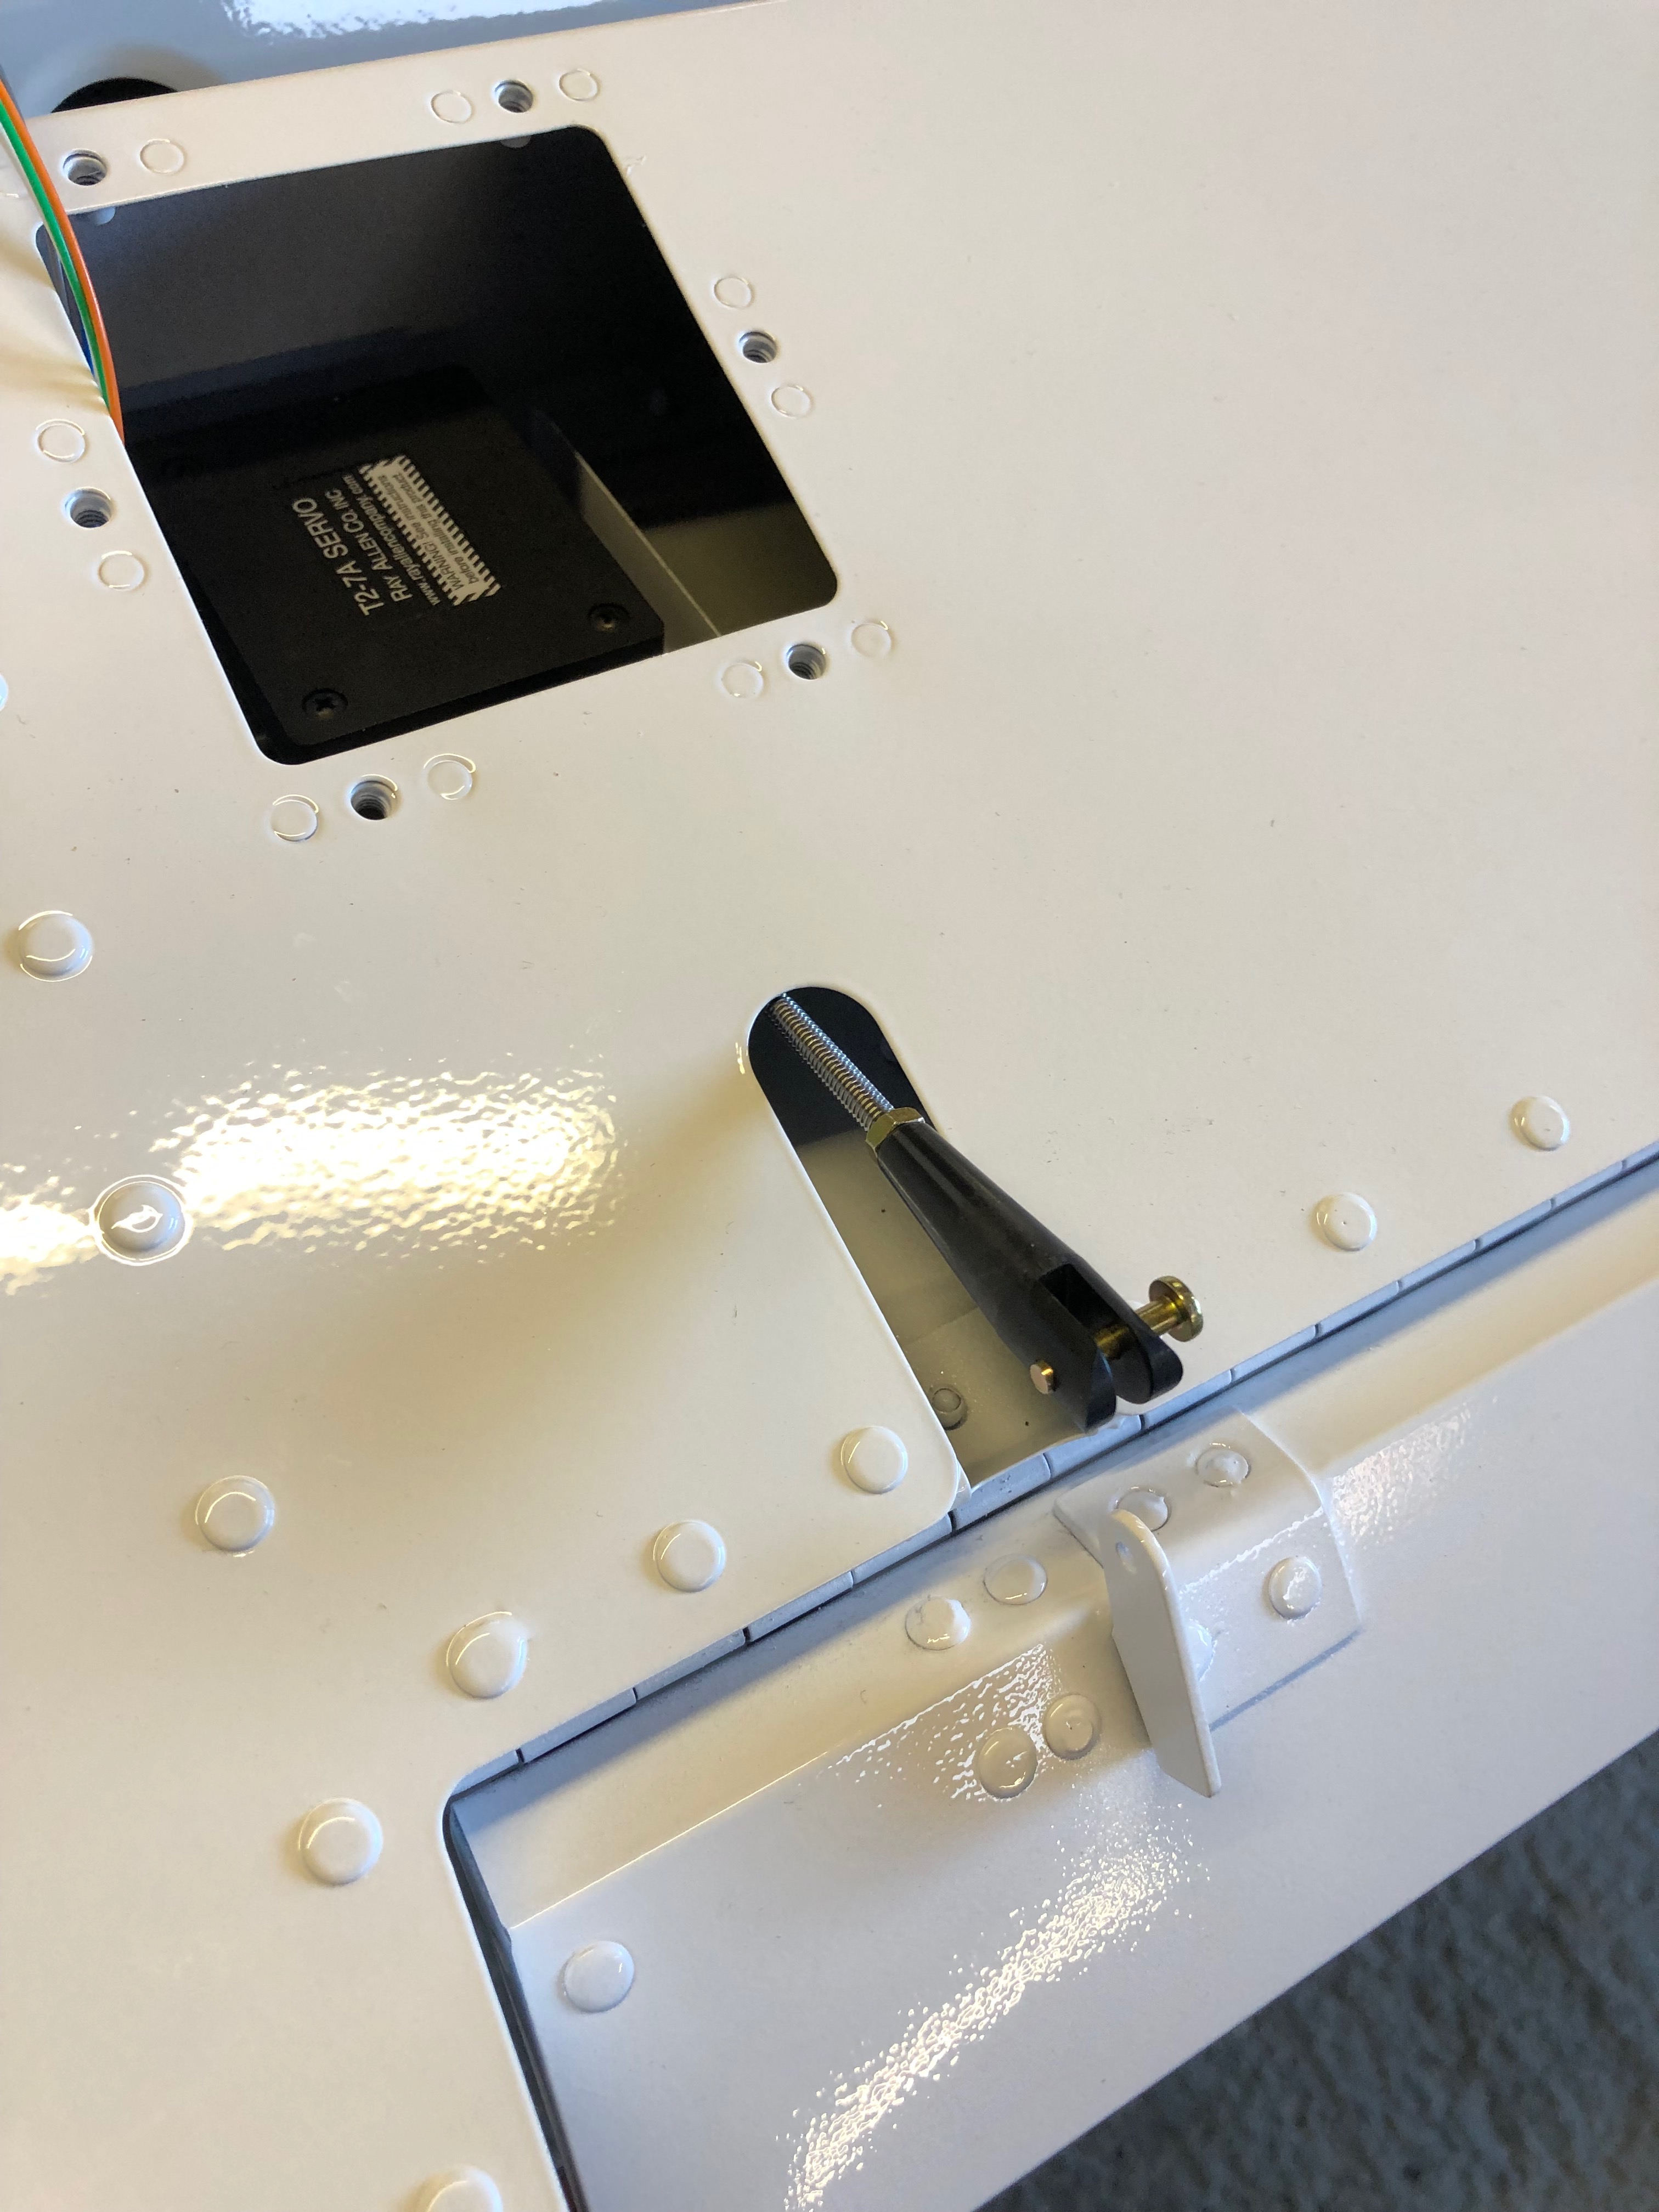
Our next job was to install the Aileron and Elevator trim servos.
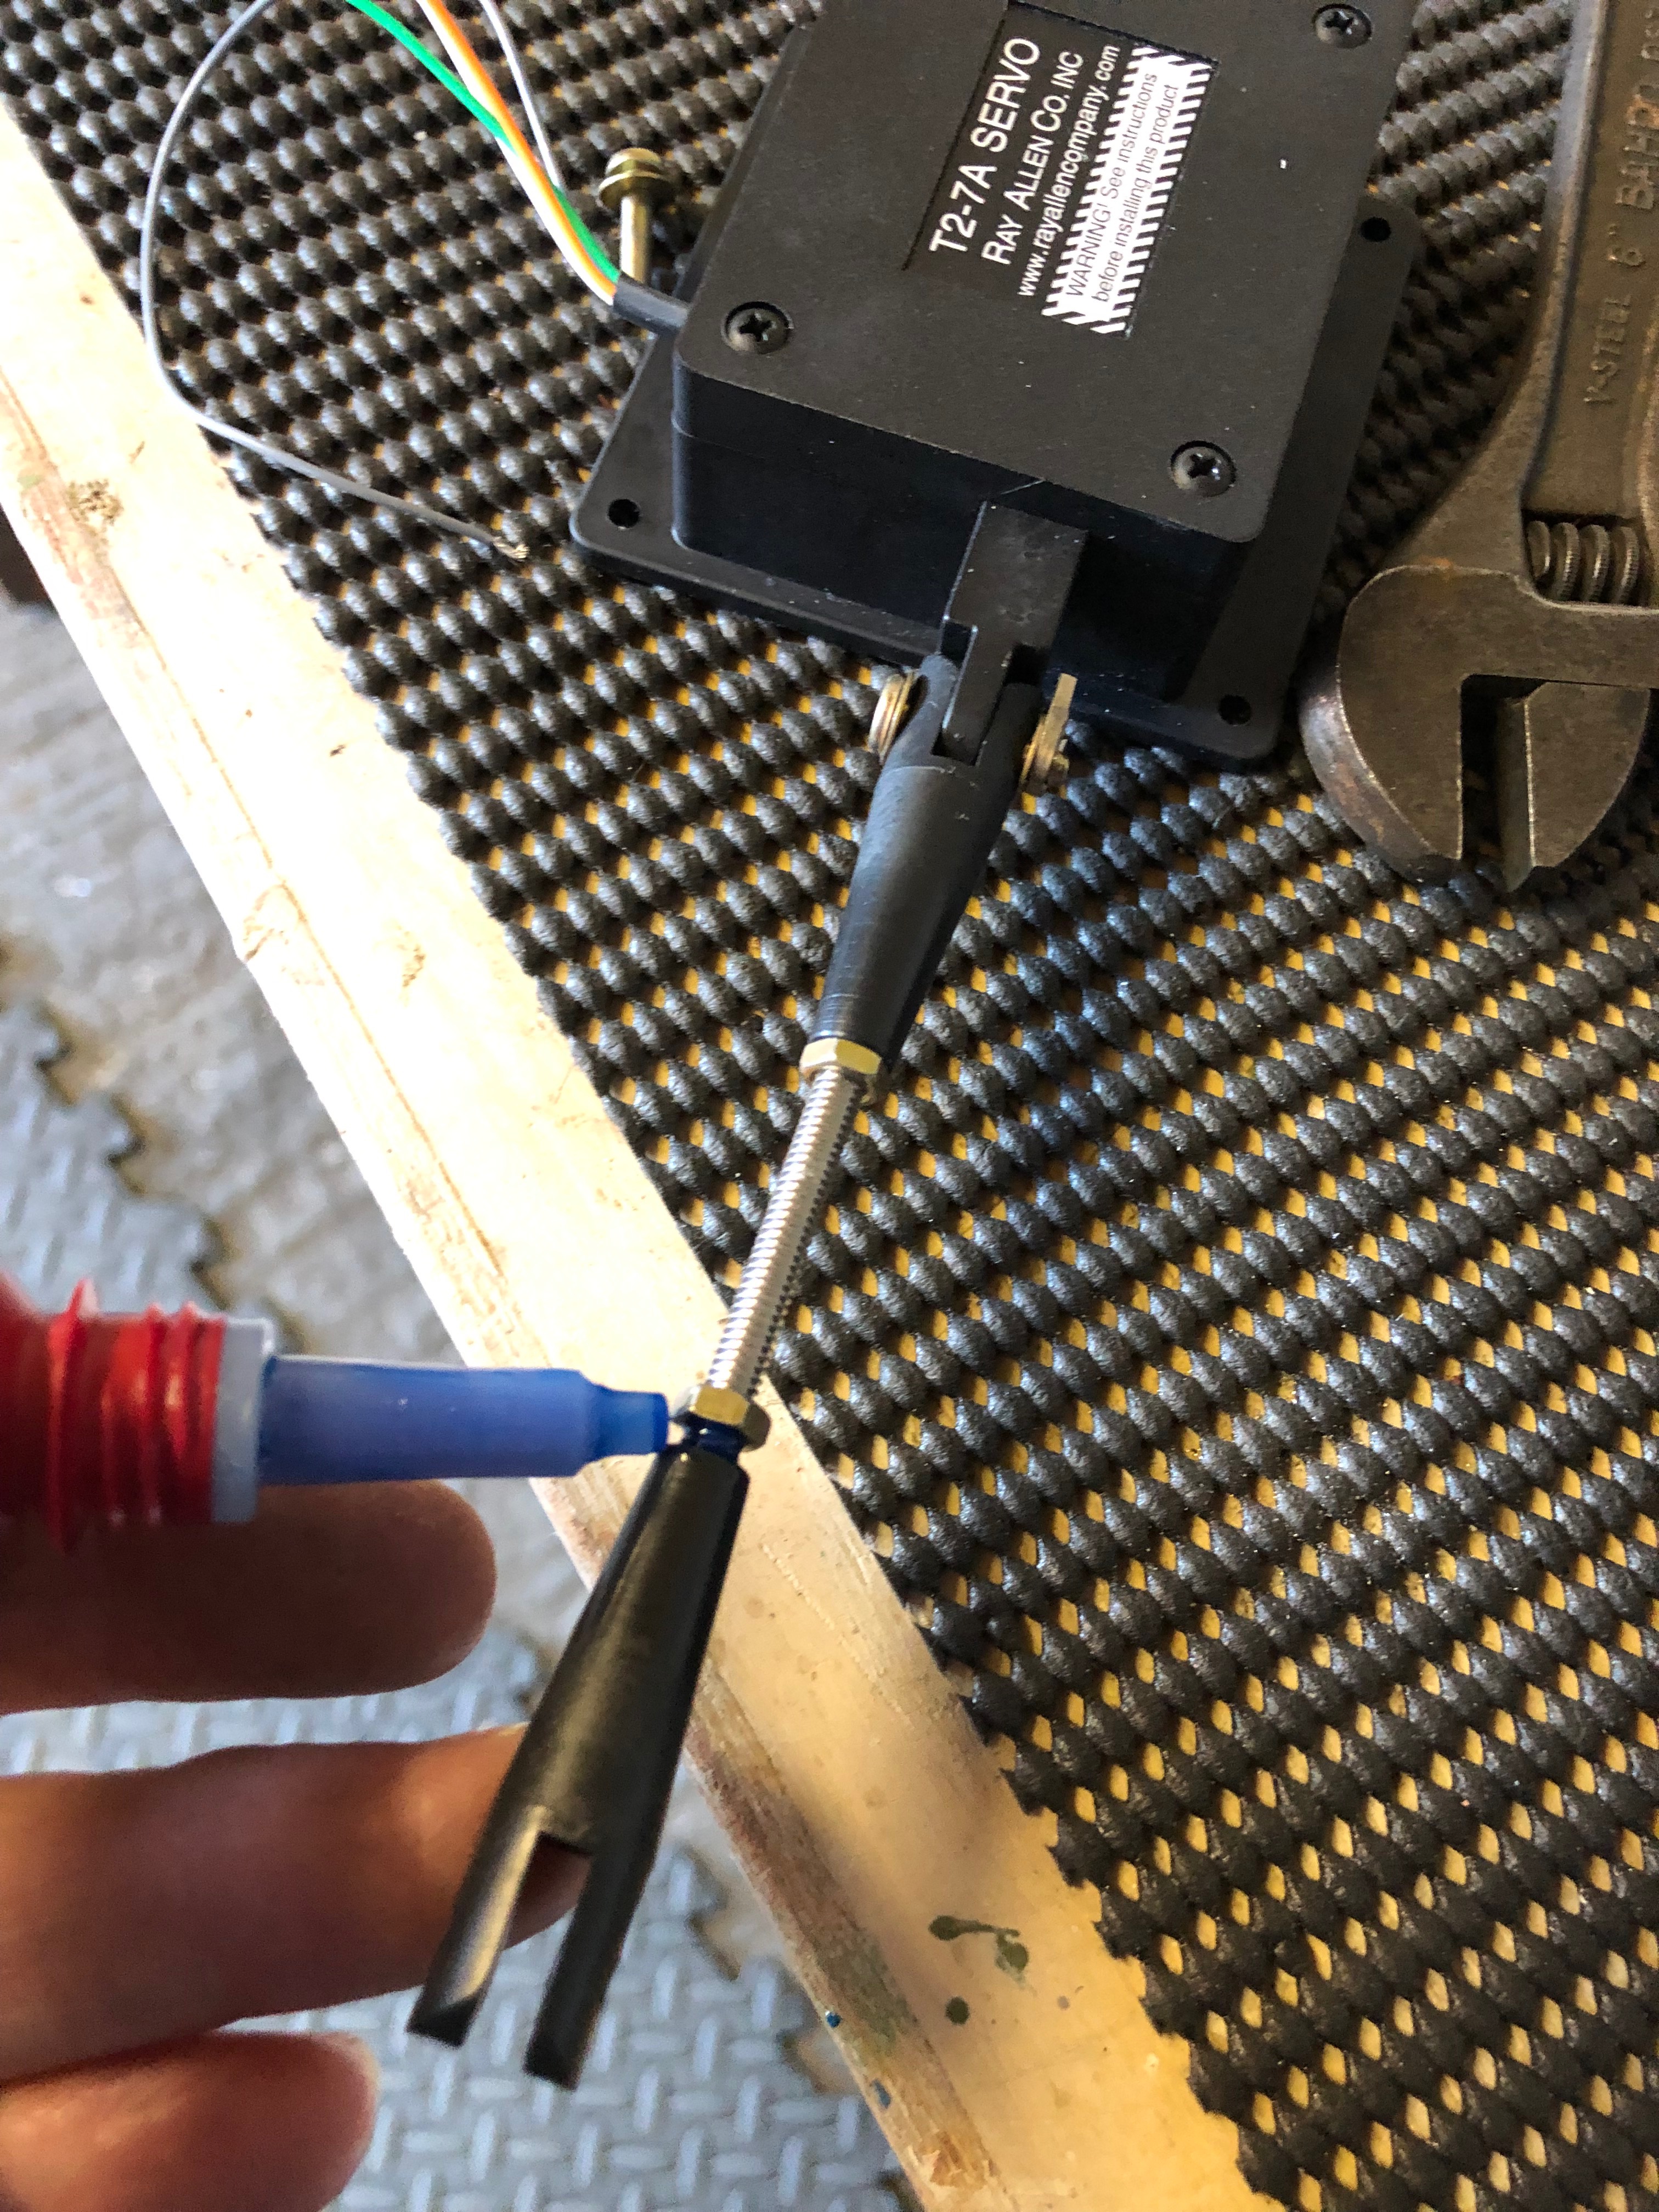
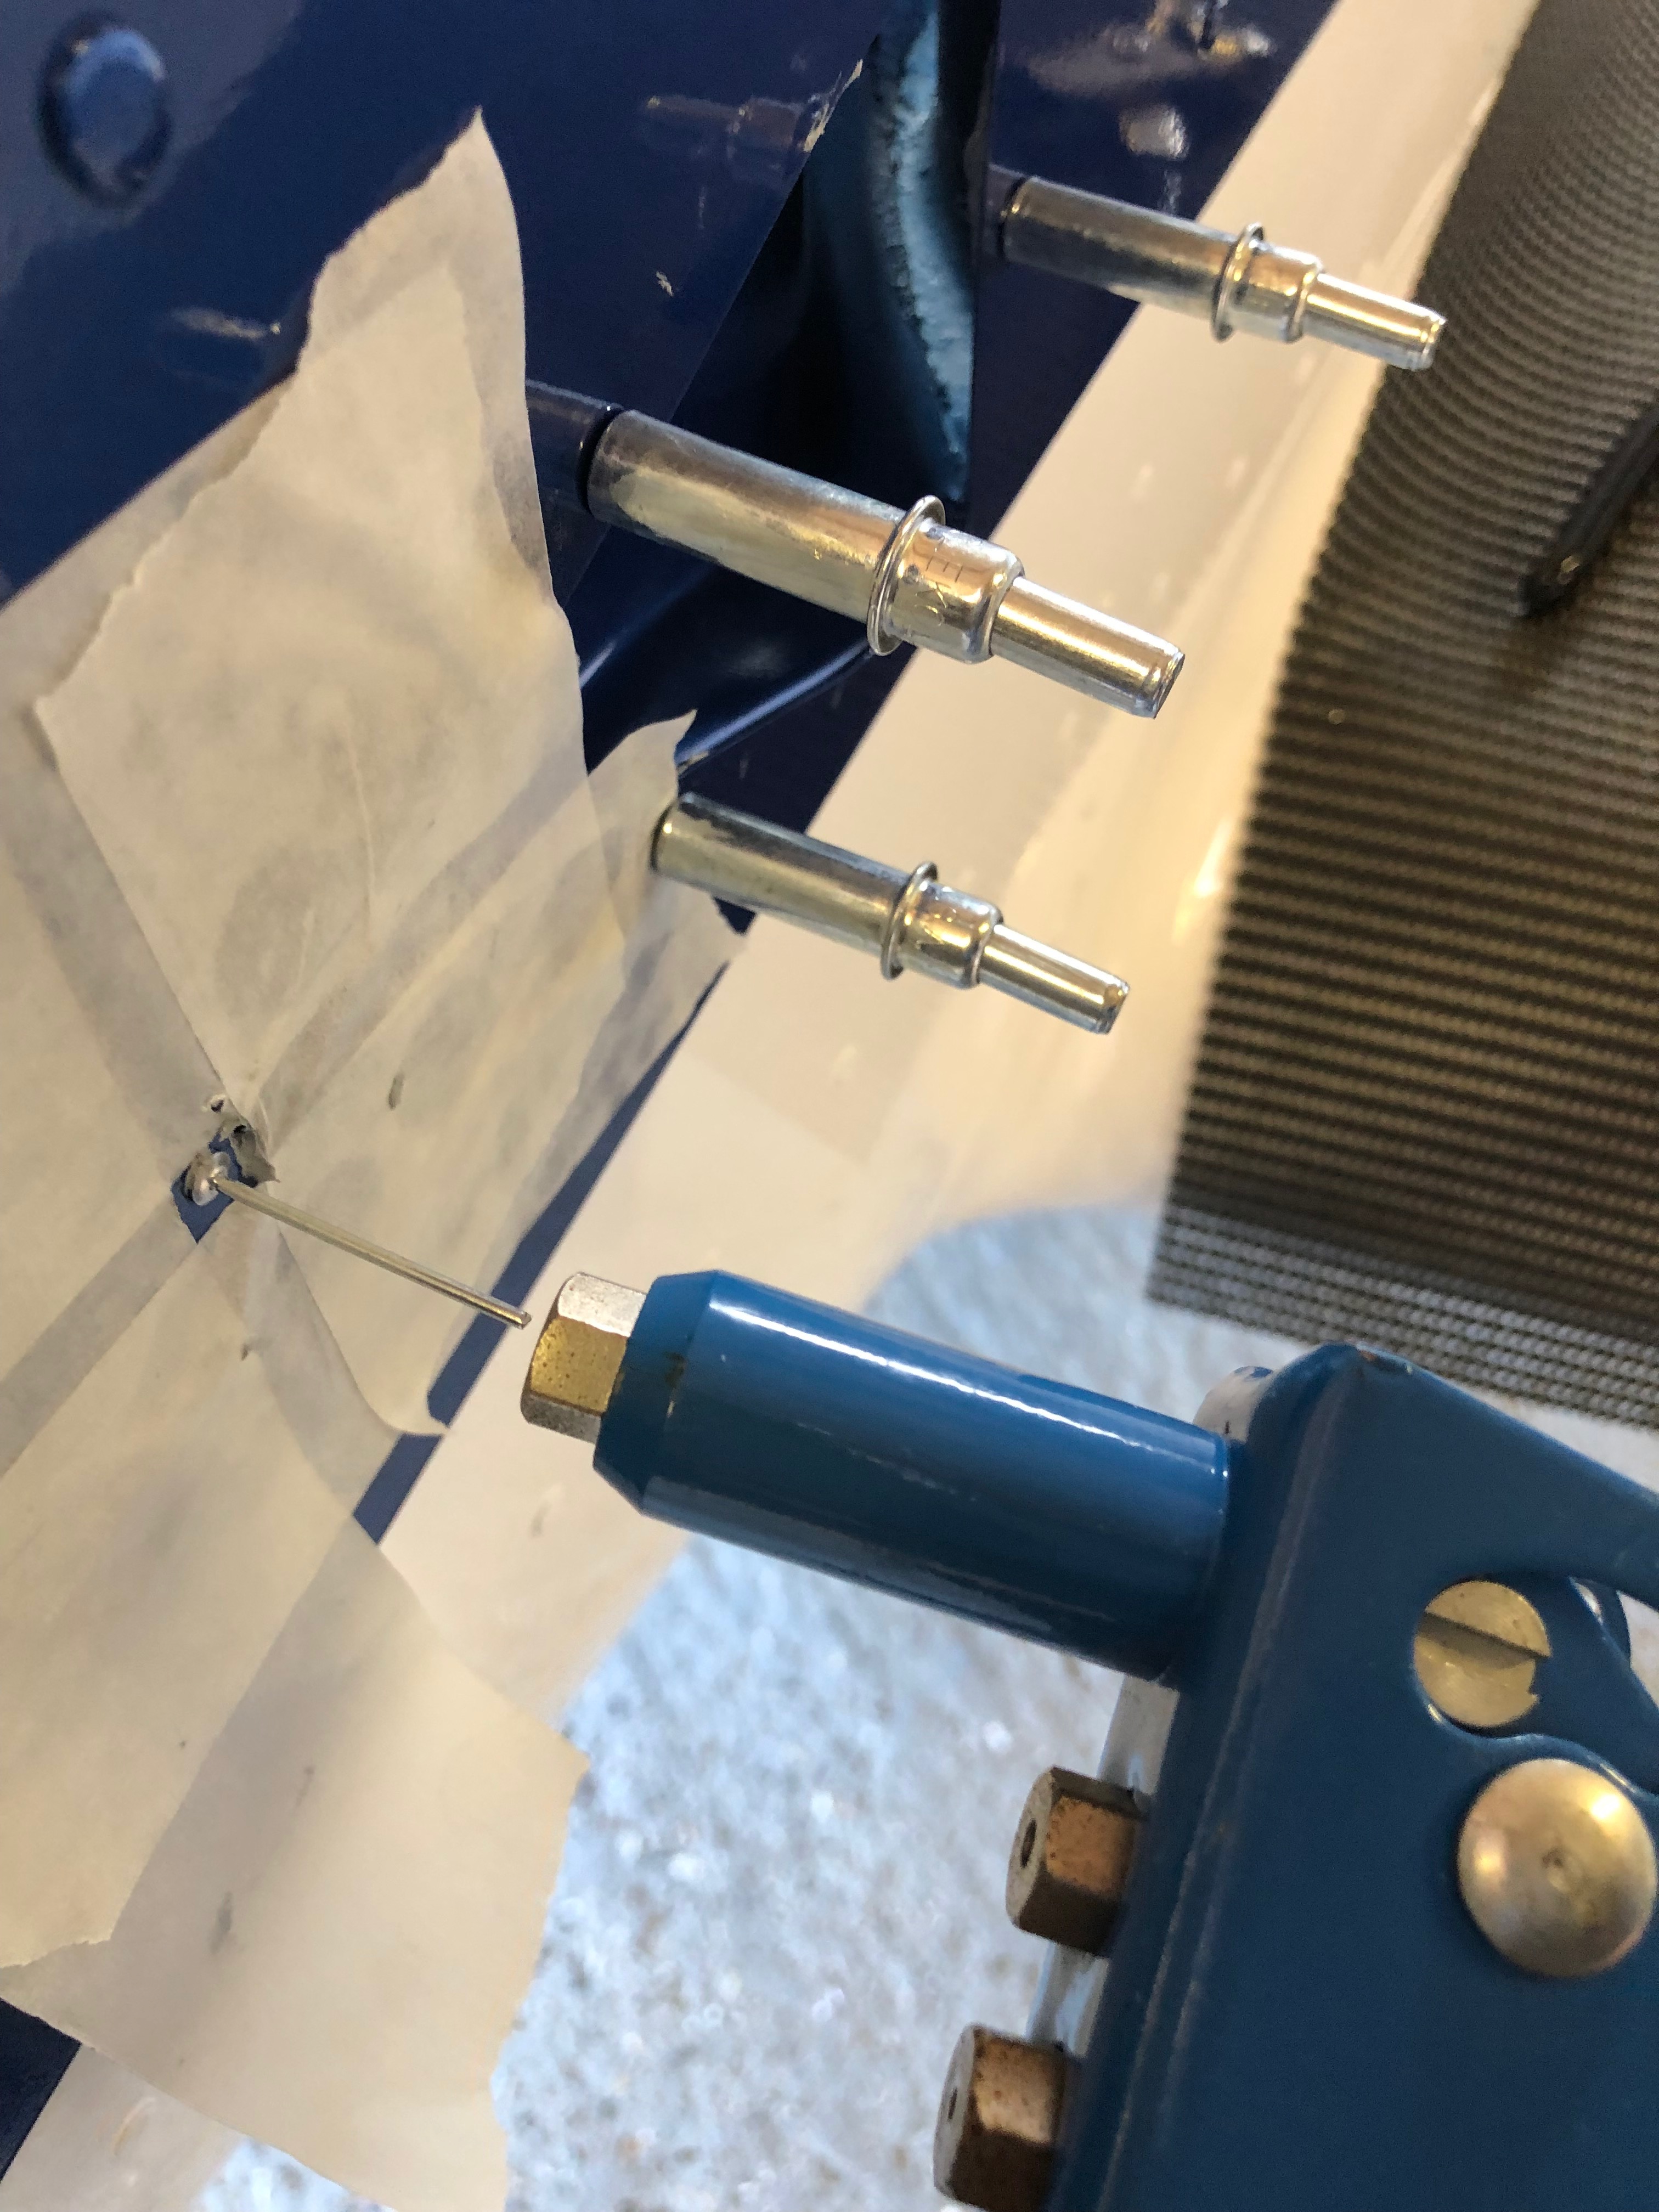
First job is to cut two threaded rods one 85mm for the elevator and one 65mm for the aileron.
The clevis is added and secured with a split pin.
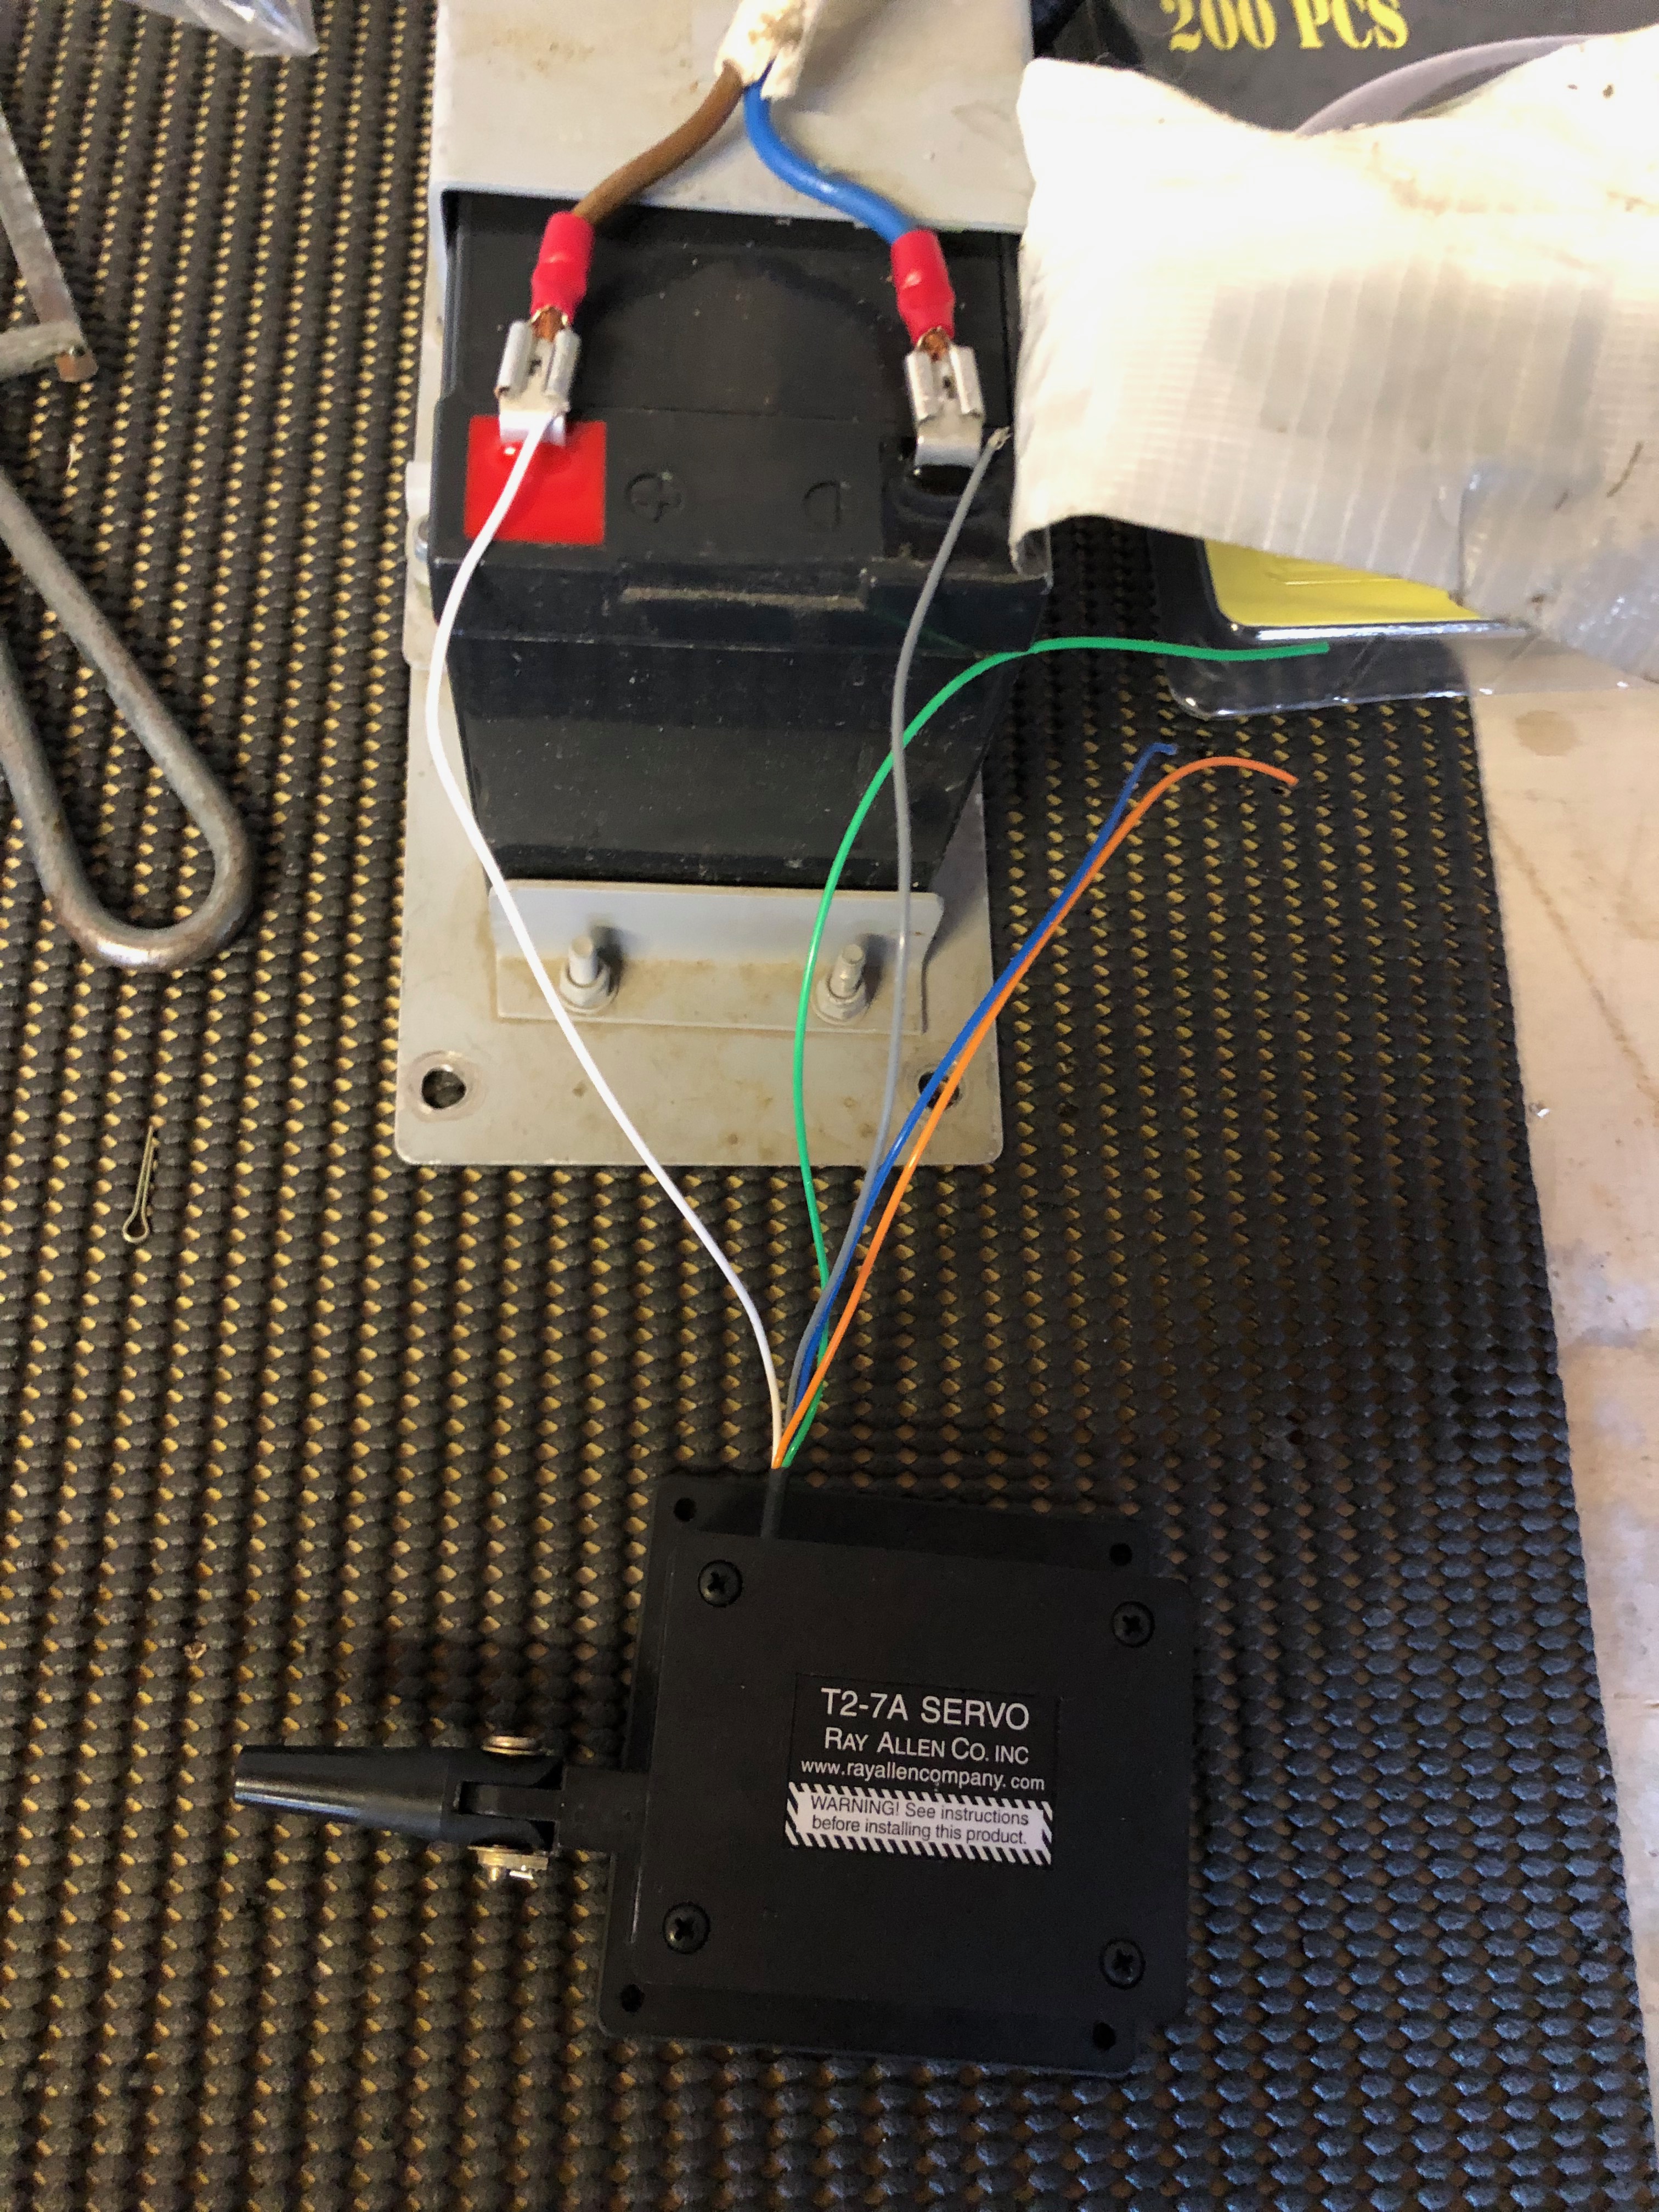
The servos need to be moved to mid position which can be done with the aid of a 12 volt battery. The white and grey leads can be connected to the battery in either polarity to move the servo in or out.
The servo is positioned in the recess and cleco’d in place so the control rods can be adjusted correctly.
Once adjustments are done the locking nuts are secured using Loctite 243.
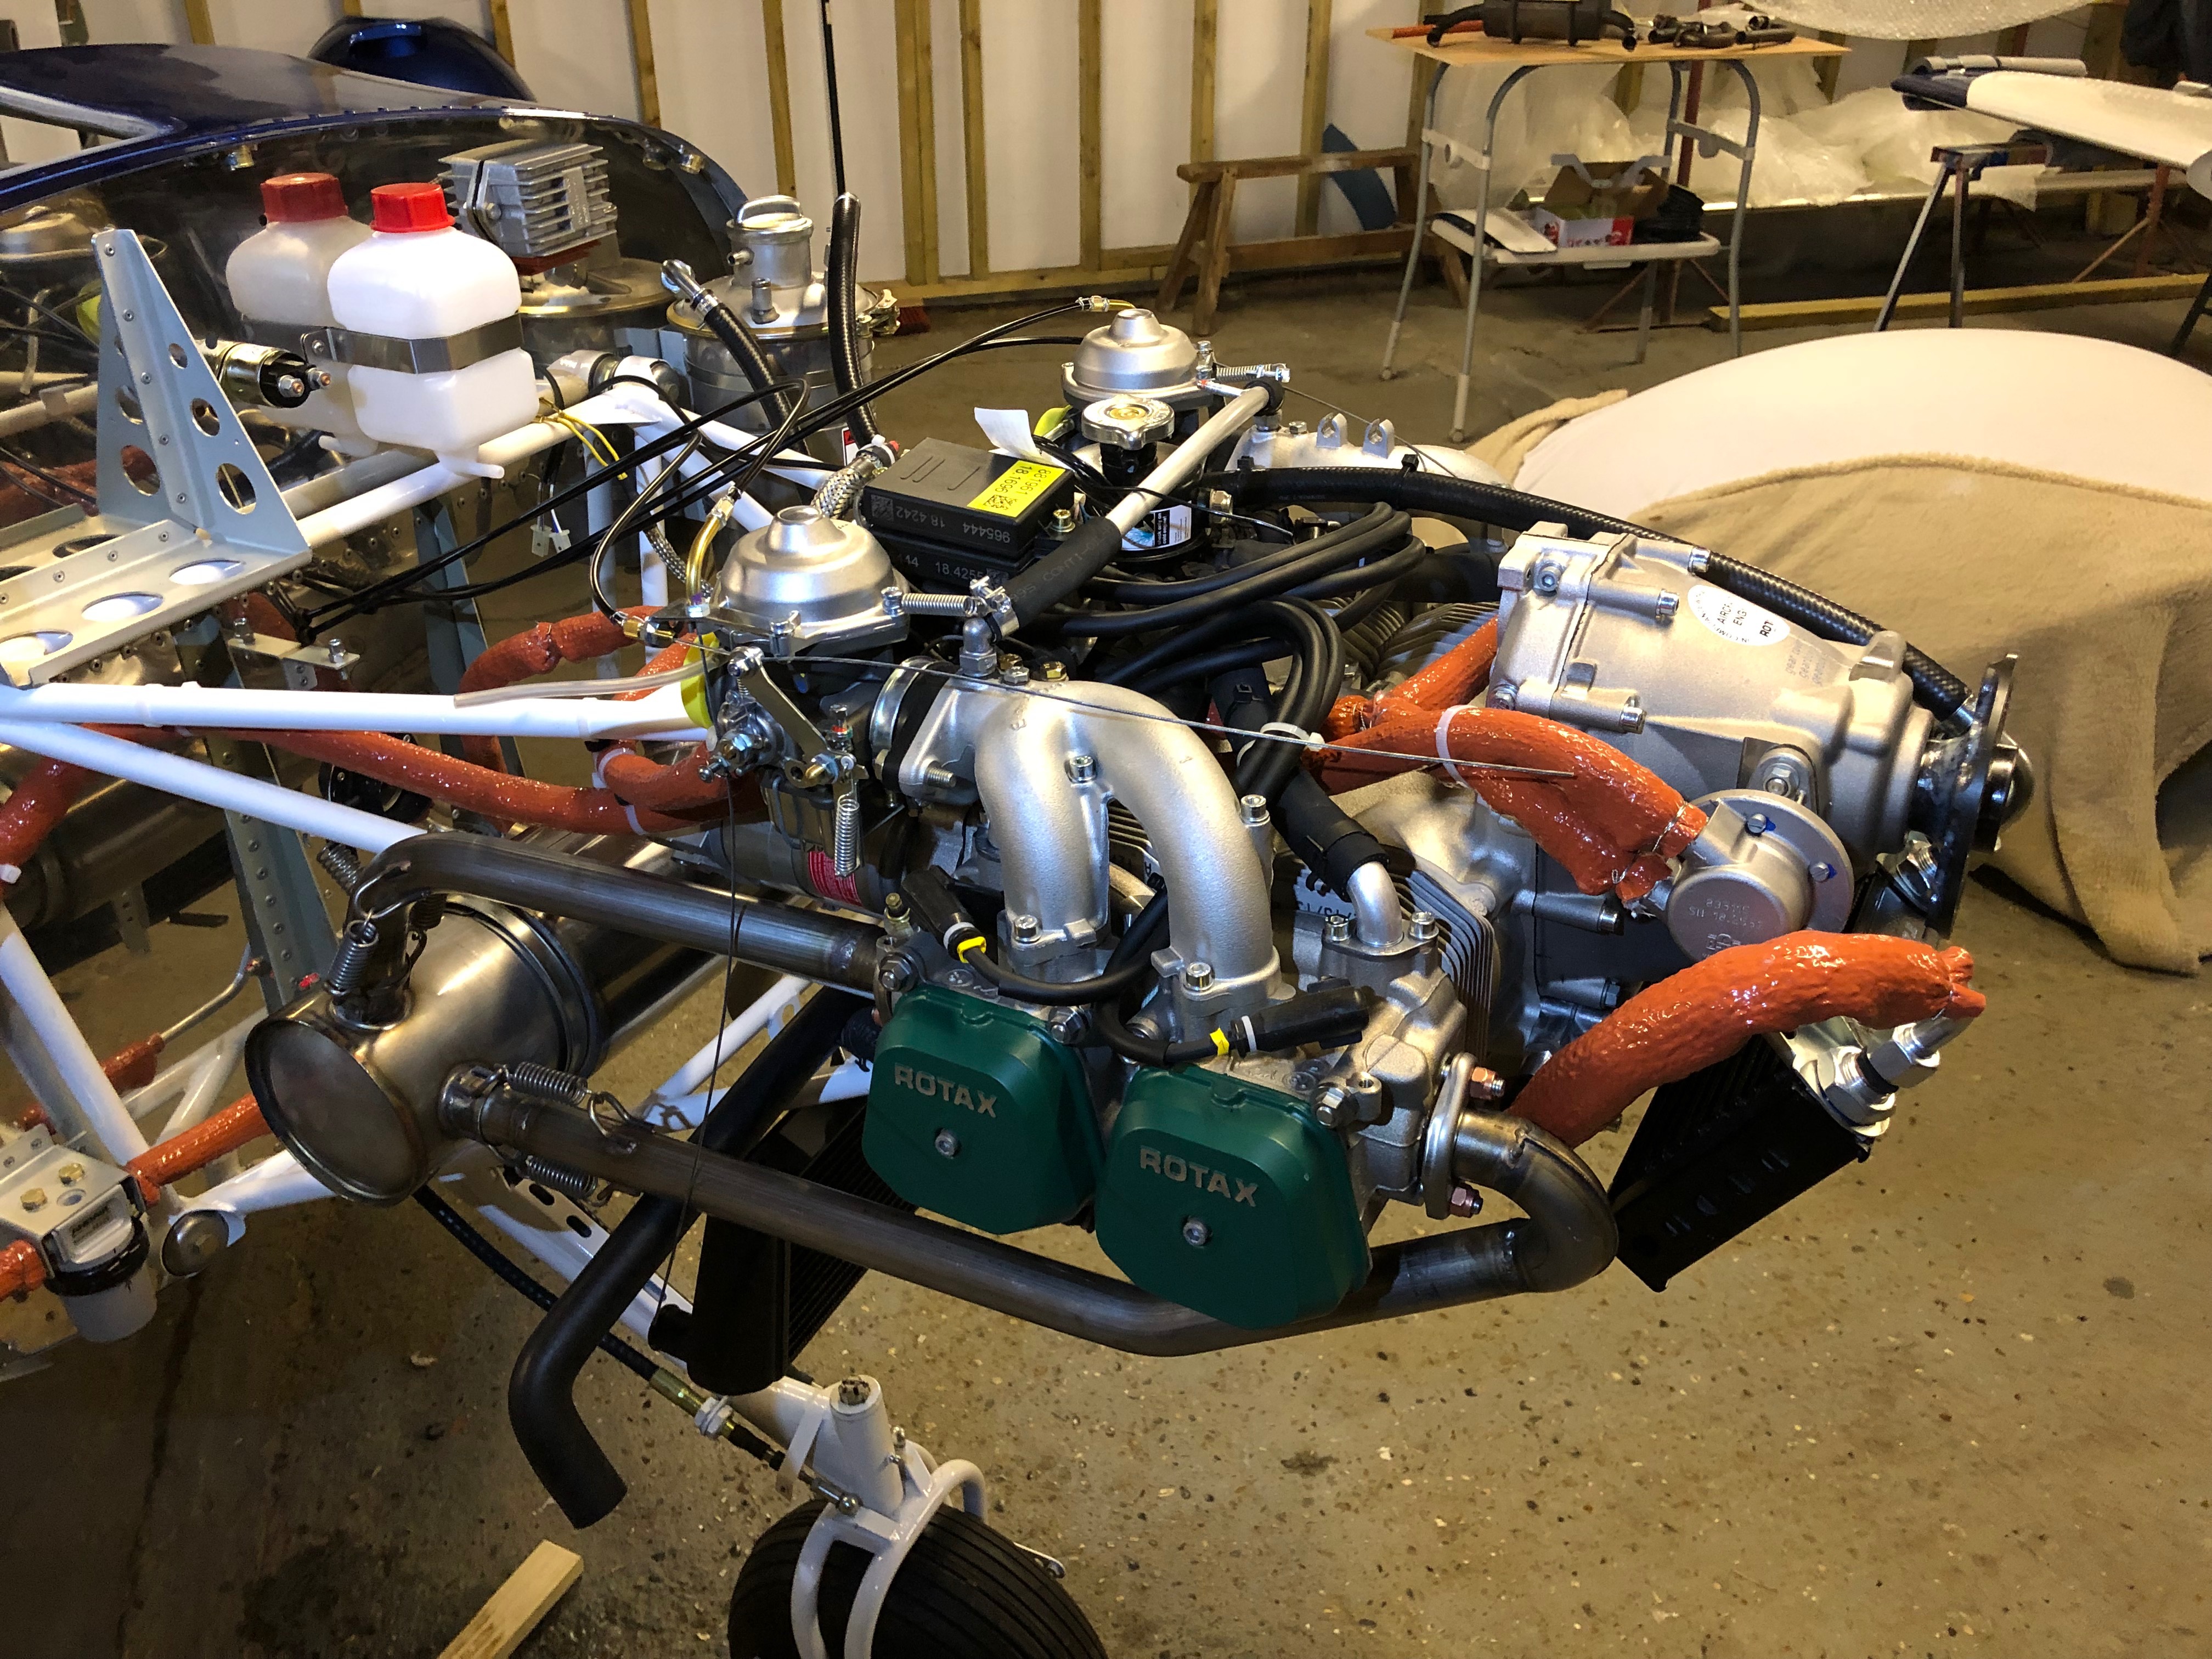
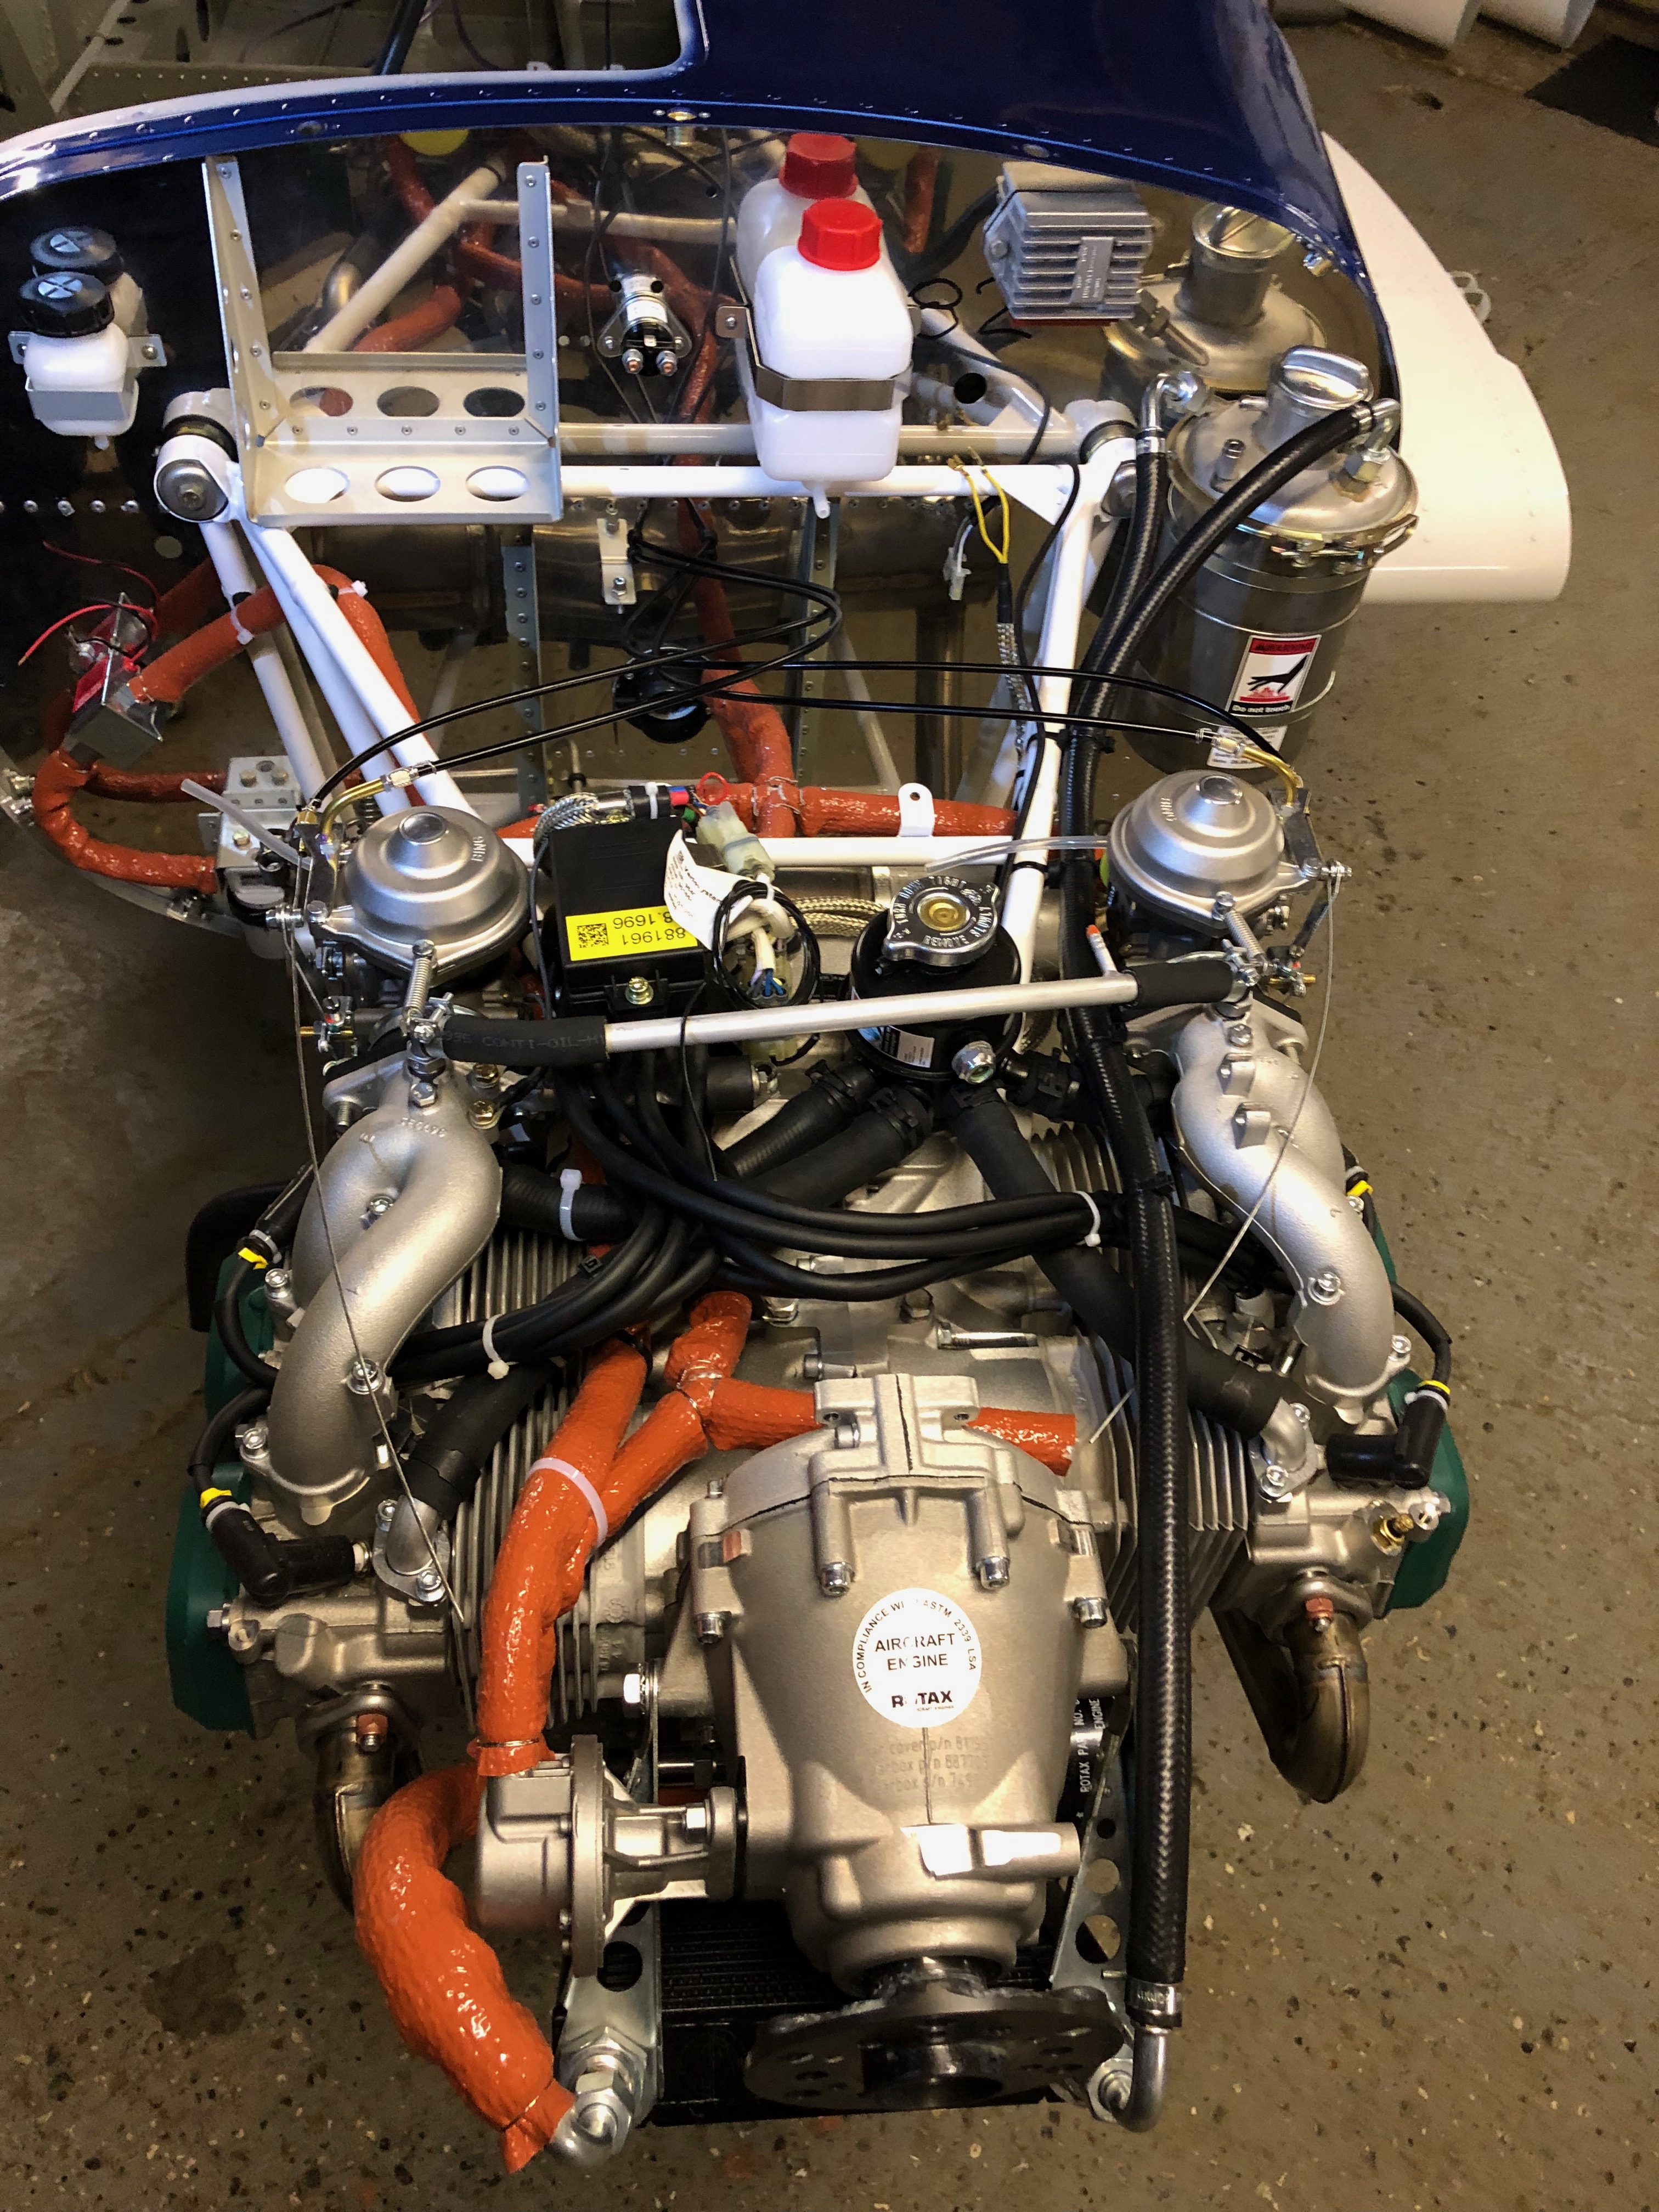
Today plan is to finish off some tasks that will see the completion of the oil system, exhaust system, NACA duct, and installing the rest of throttle cables ready for the throttle quadrant install.
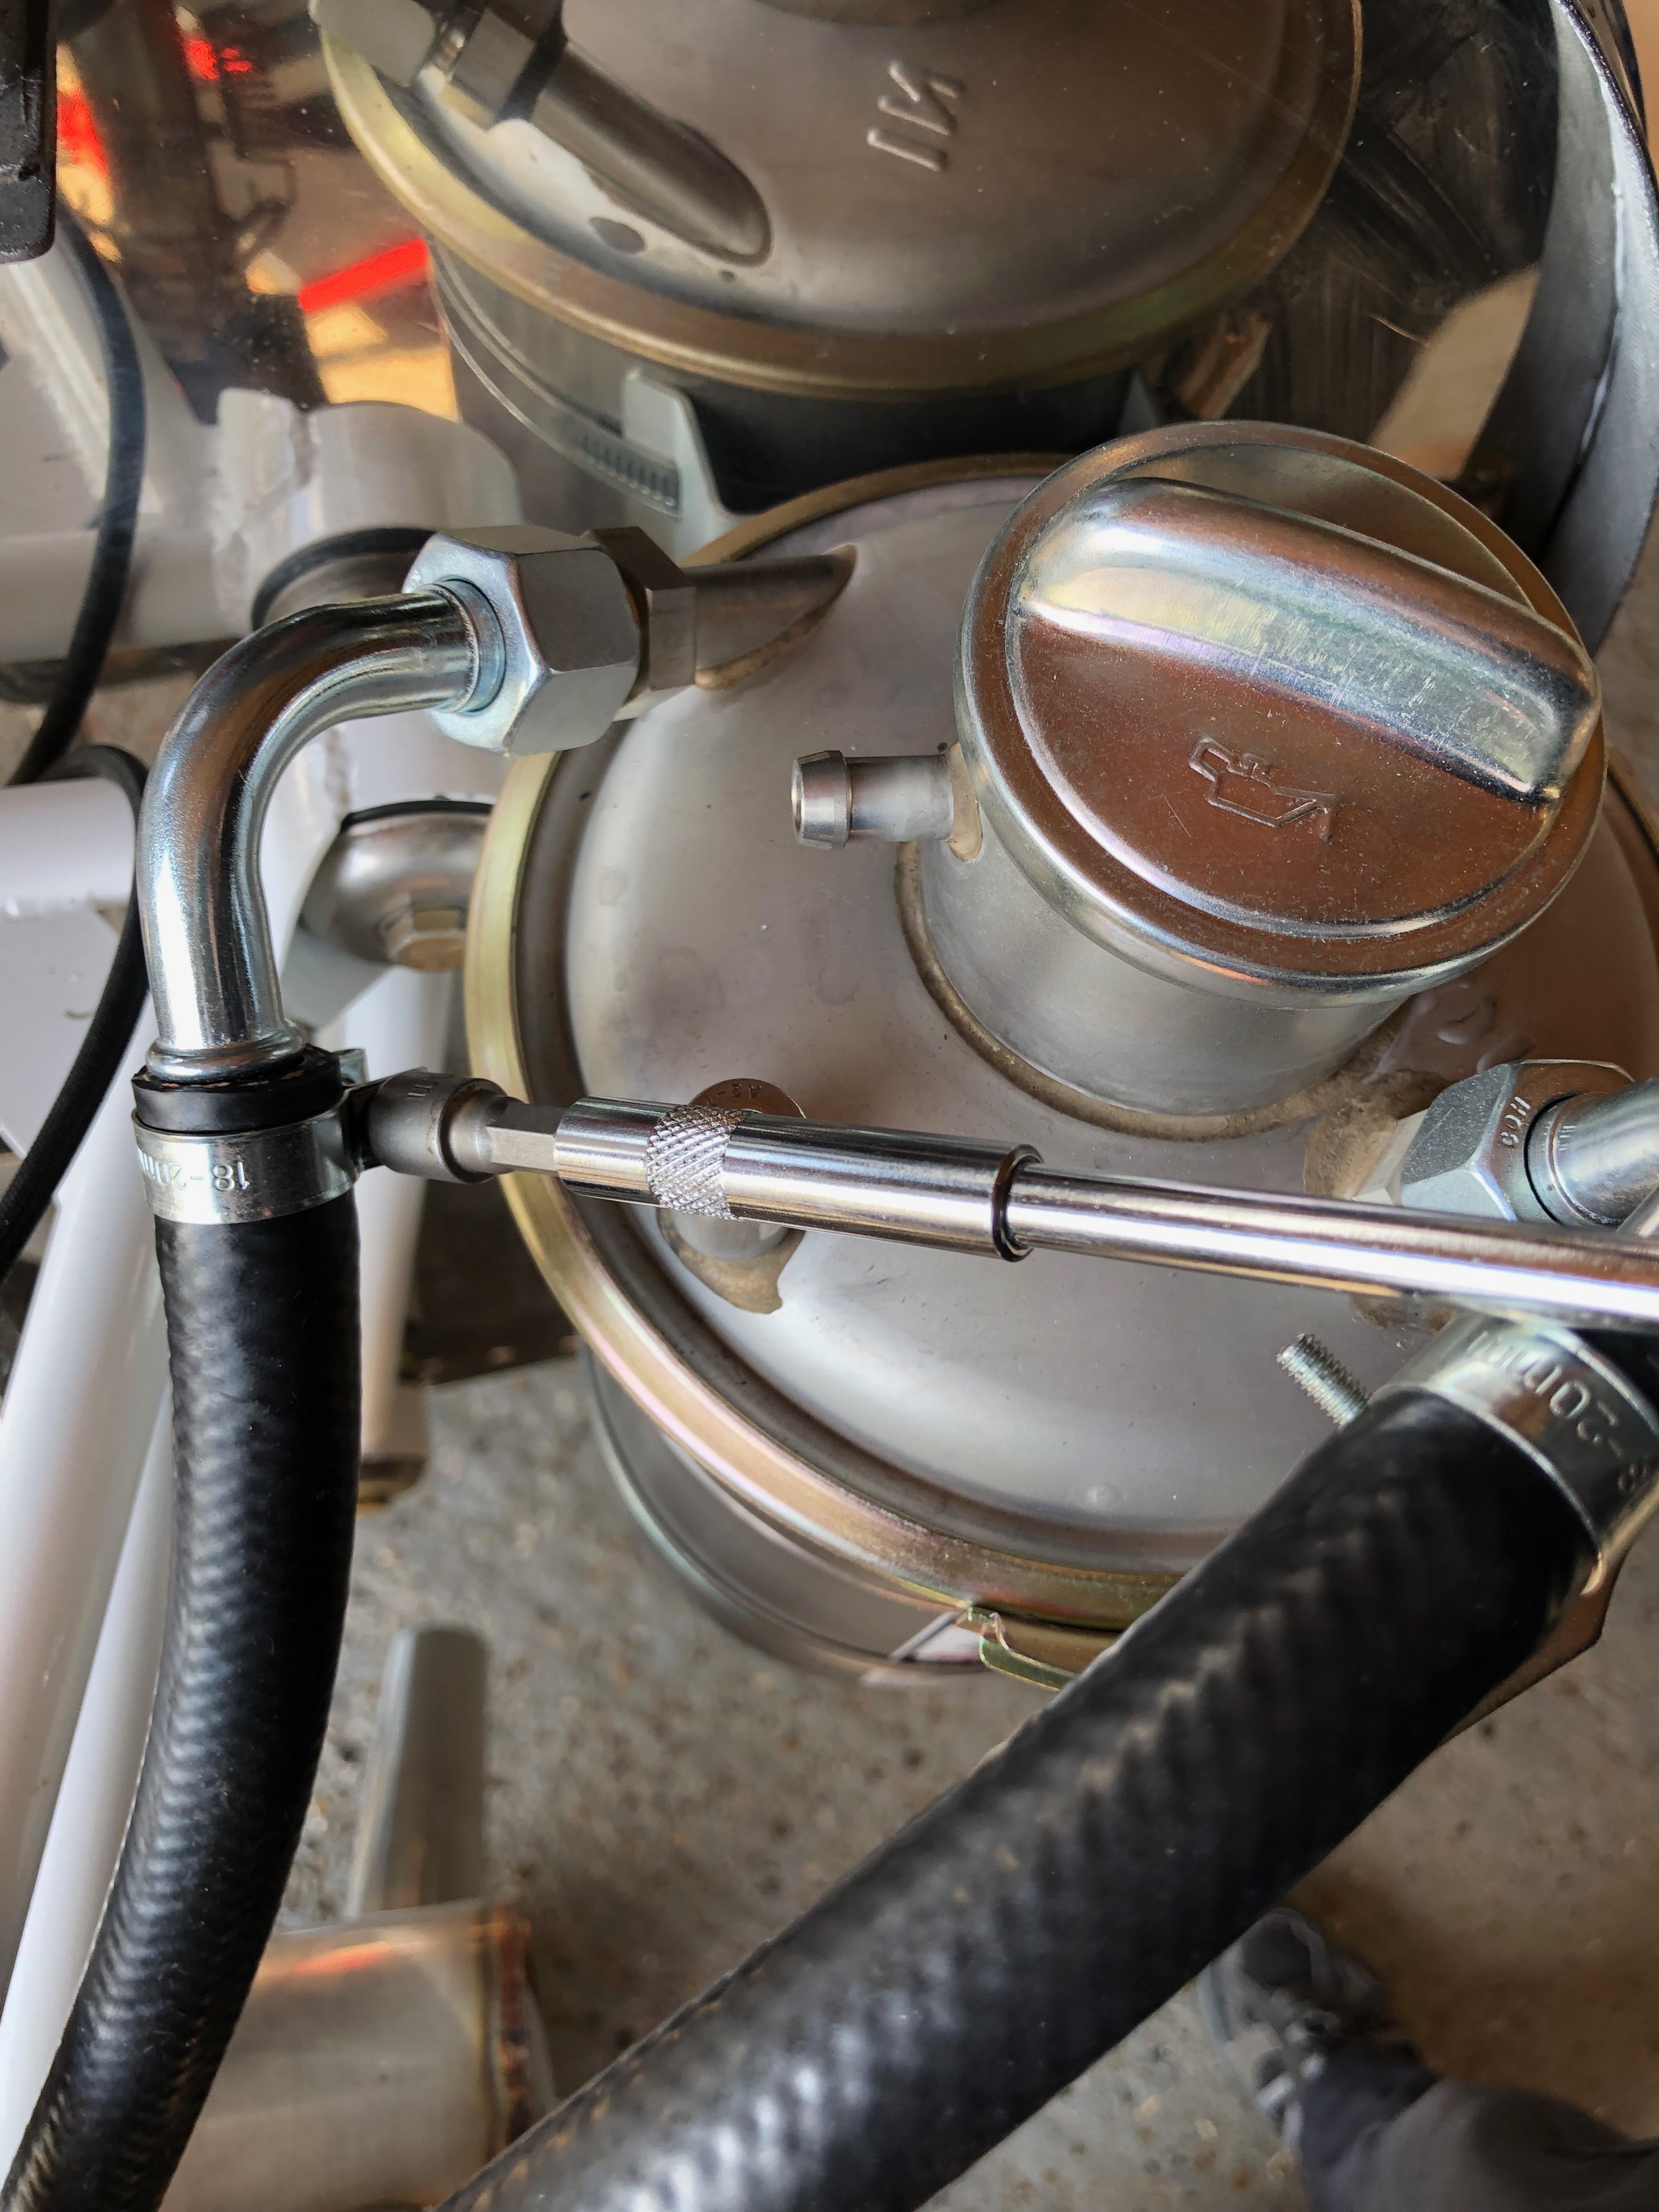
The hose clamp are added to the oil return line…
and the oil bottle. I’ve tried to position the clamps to make sure they are easier to get to for maintenance but out the way so someone working on in the engine bay won’t snag their hands or clothing on them.
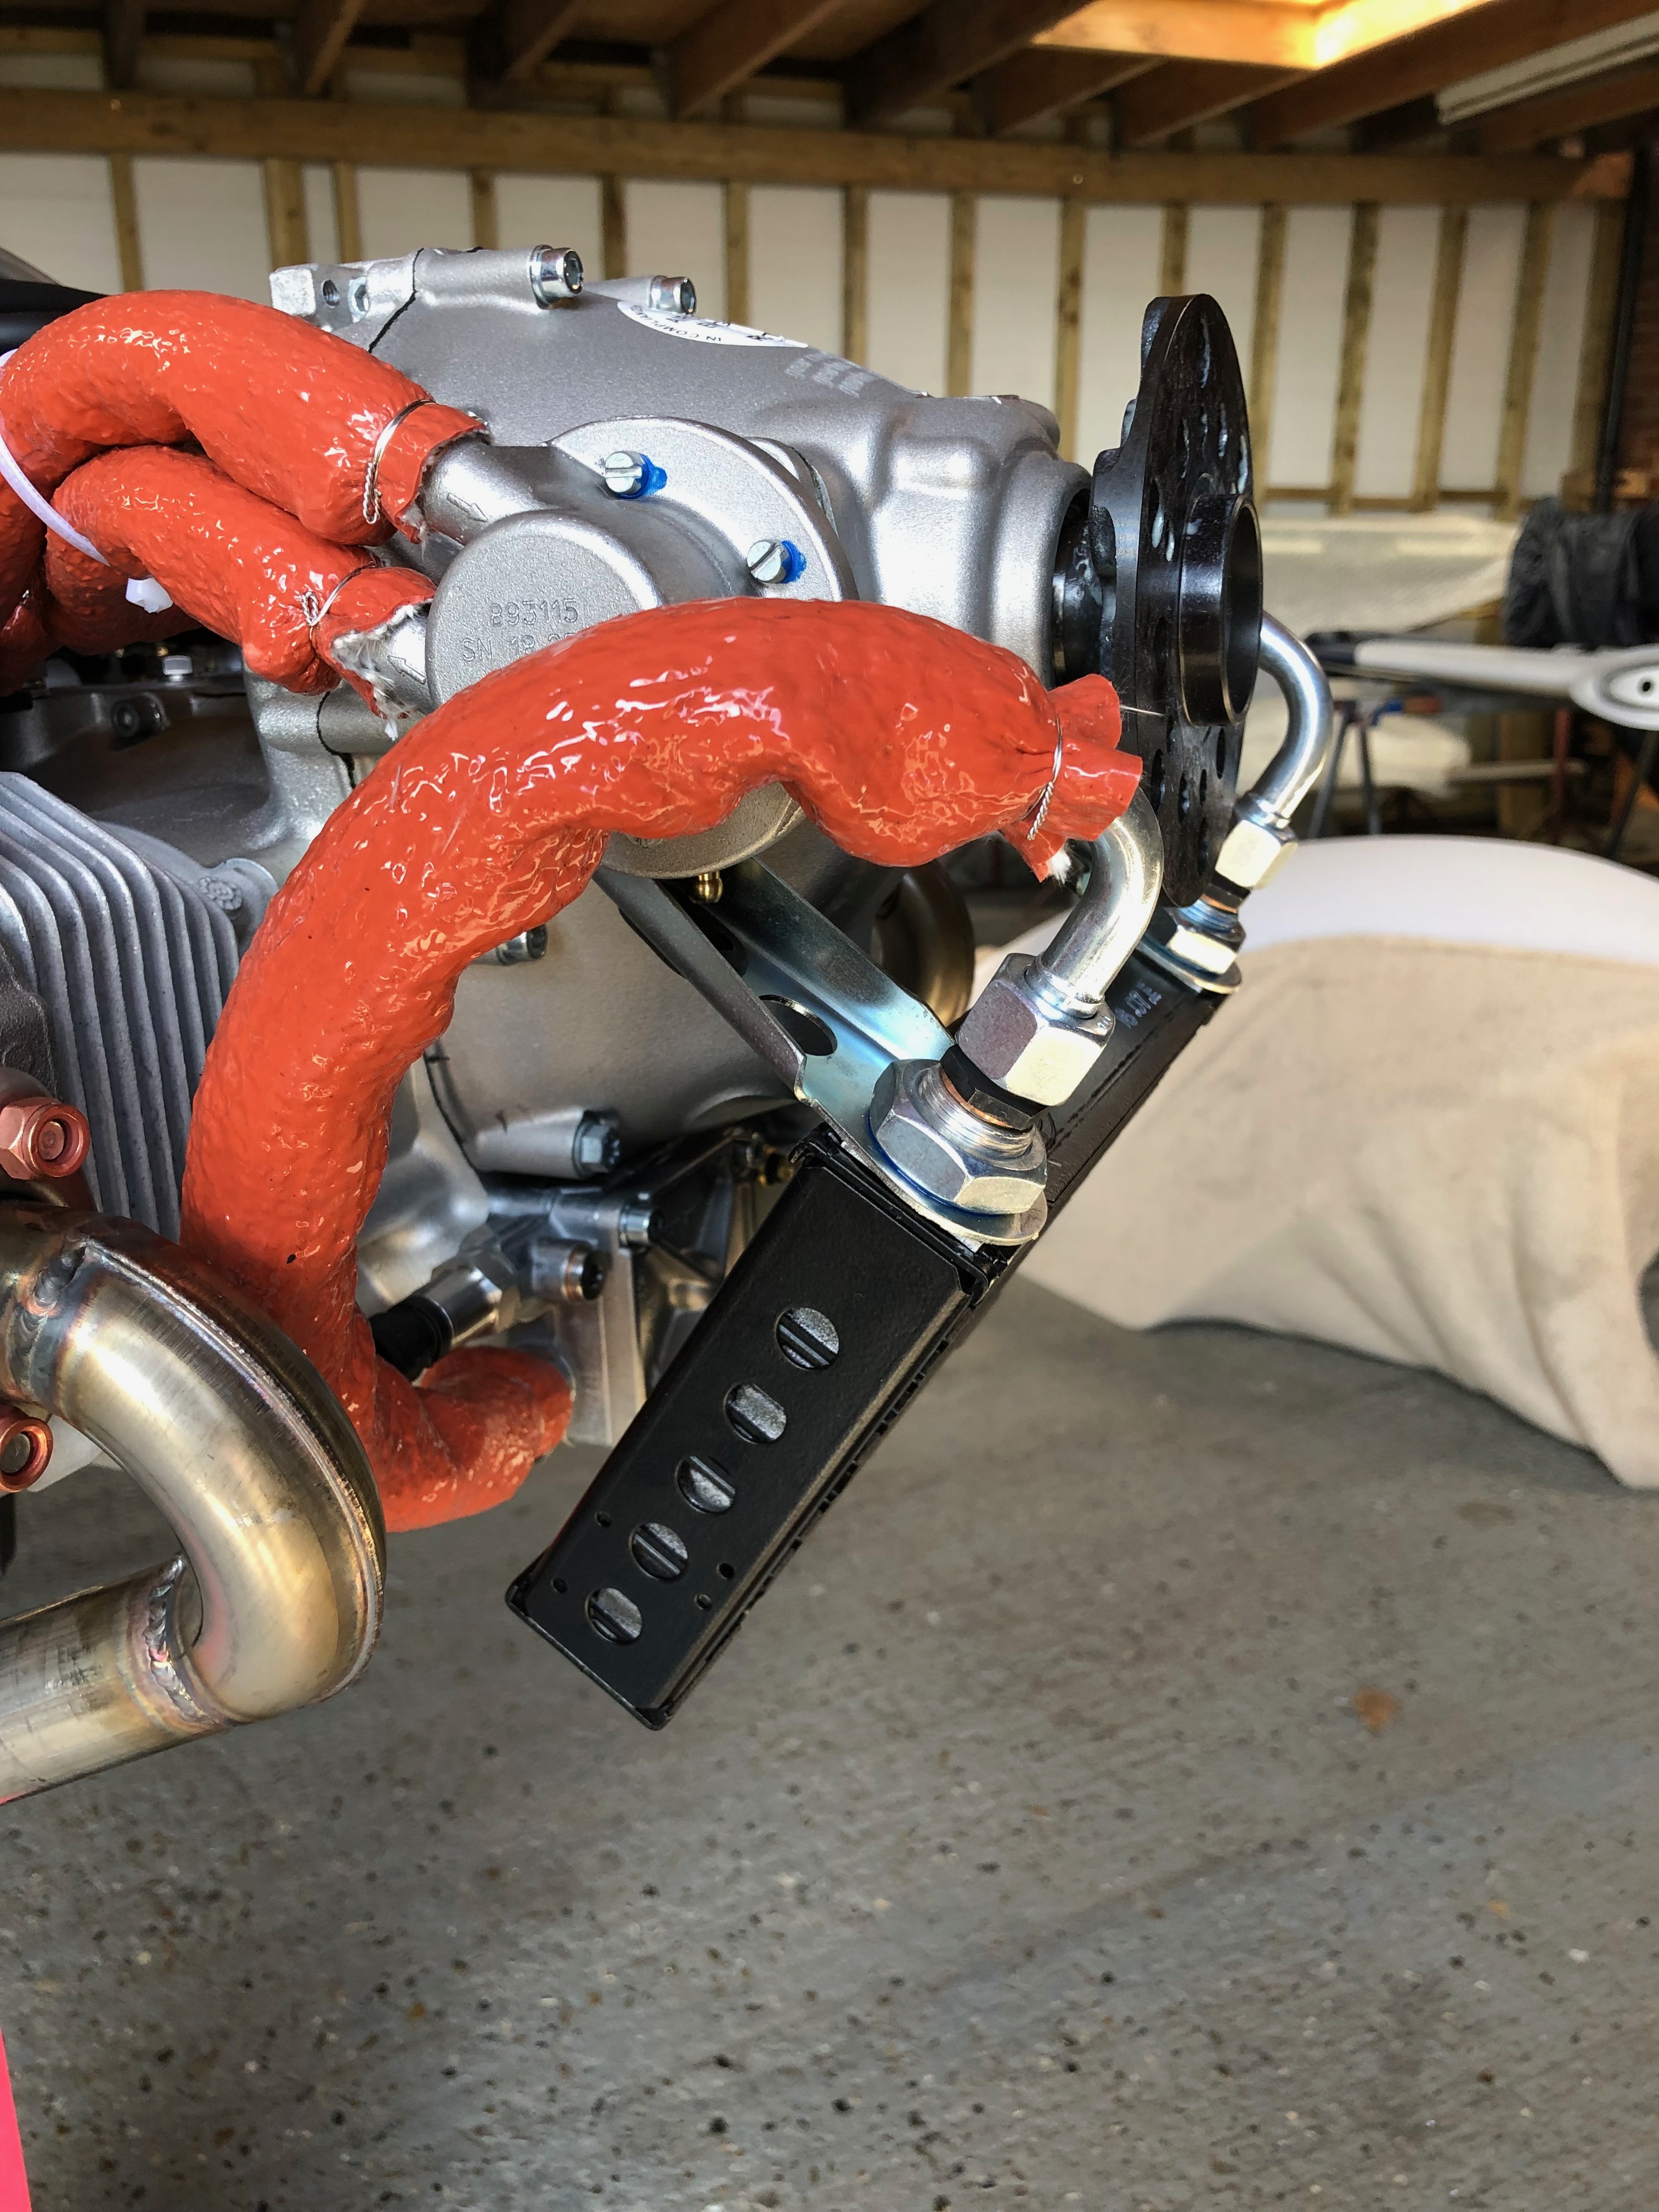
The oil pump to oil radiator pipe is clamped and fire sleeving is added as the pipe runs very close to the exhaust down pipe.
Fire sleeving should protect the oil hose but I will be adding some exhaust wrap to further protect the pipe. The oil system is now complete.
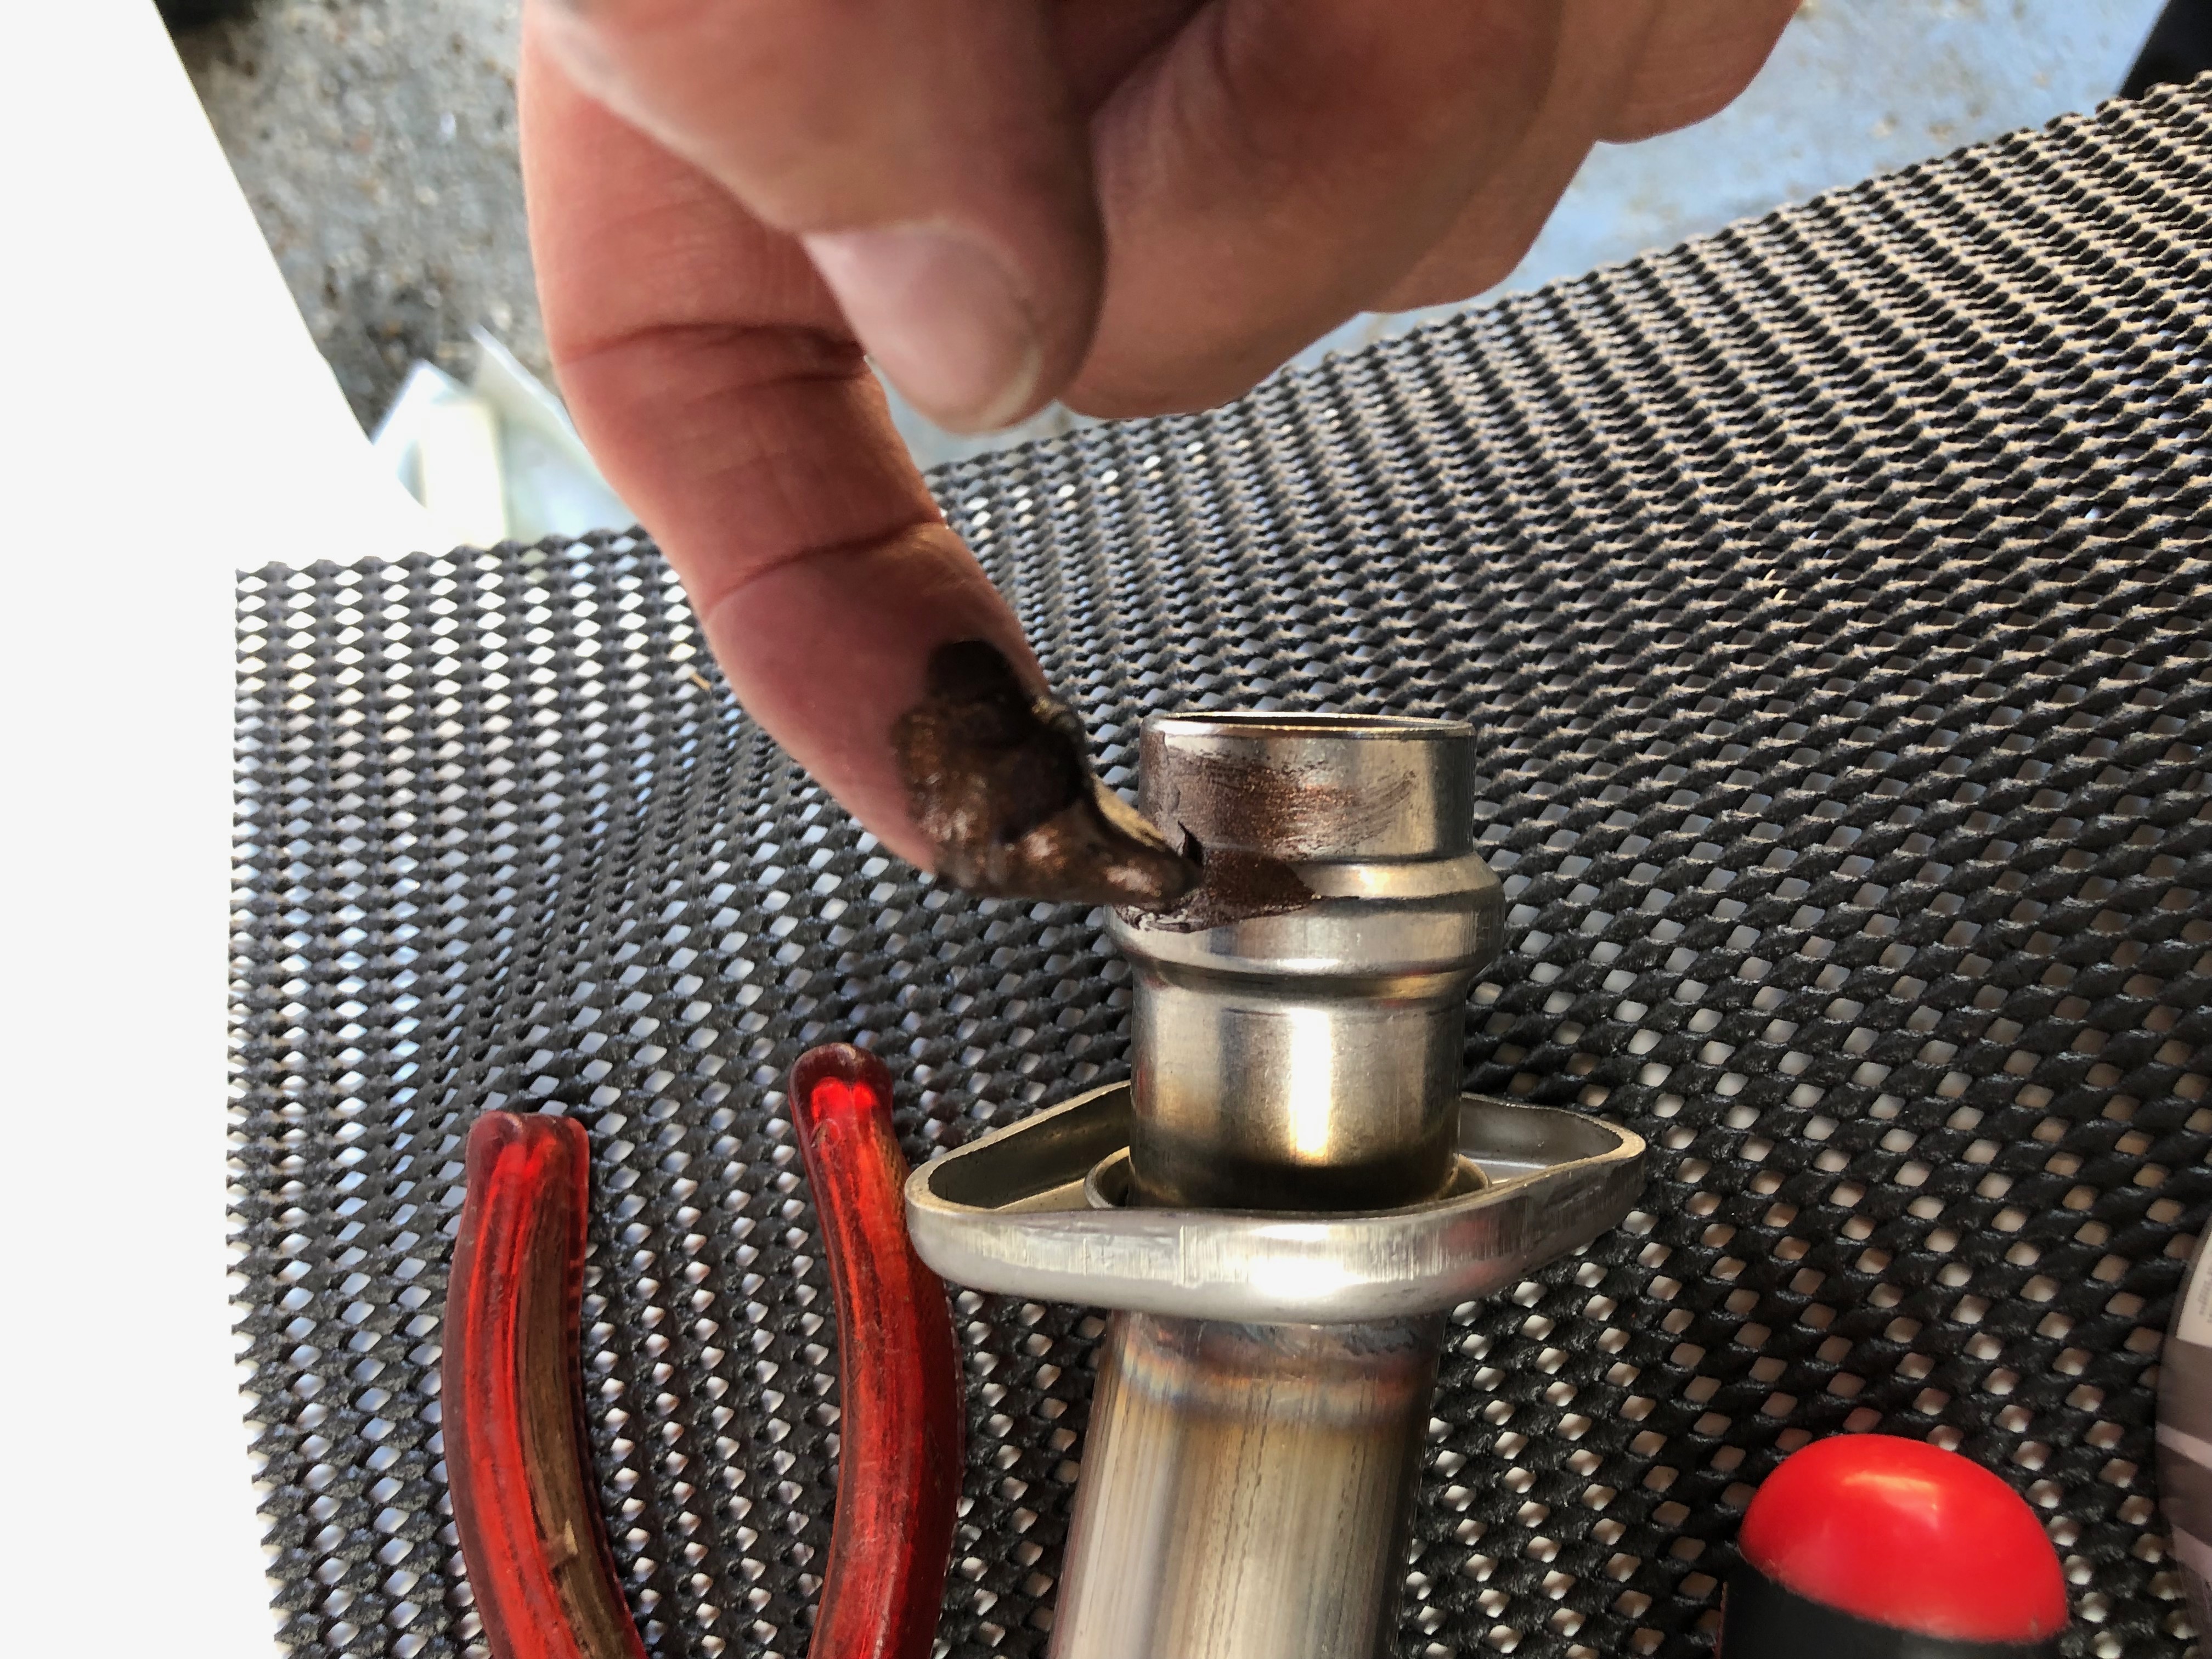
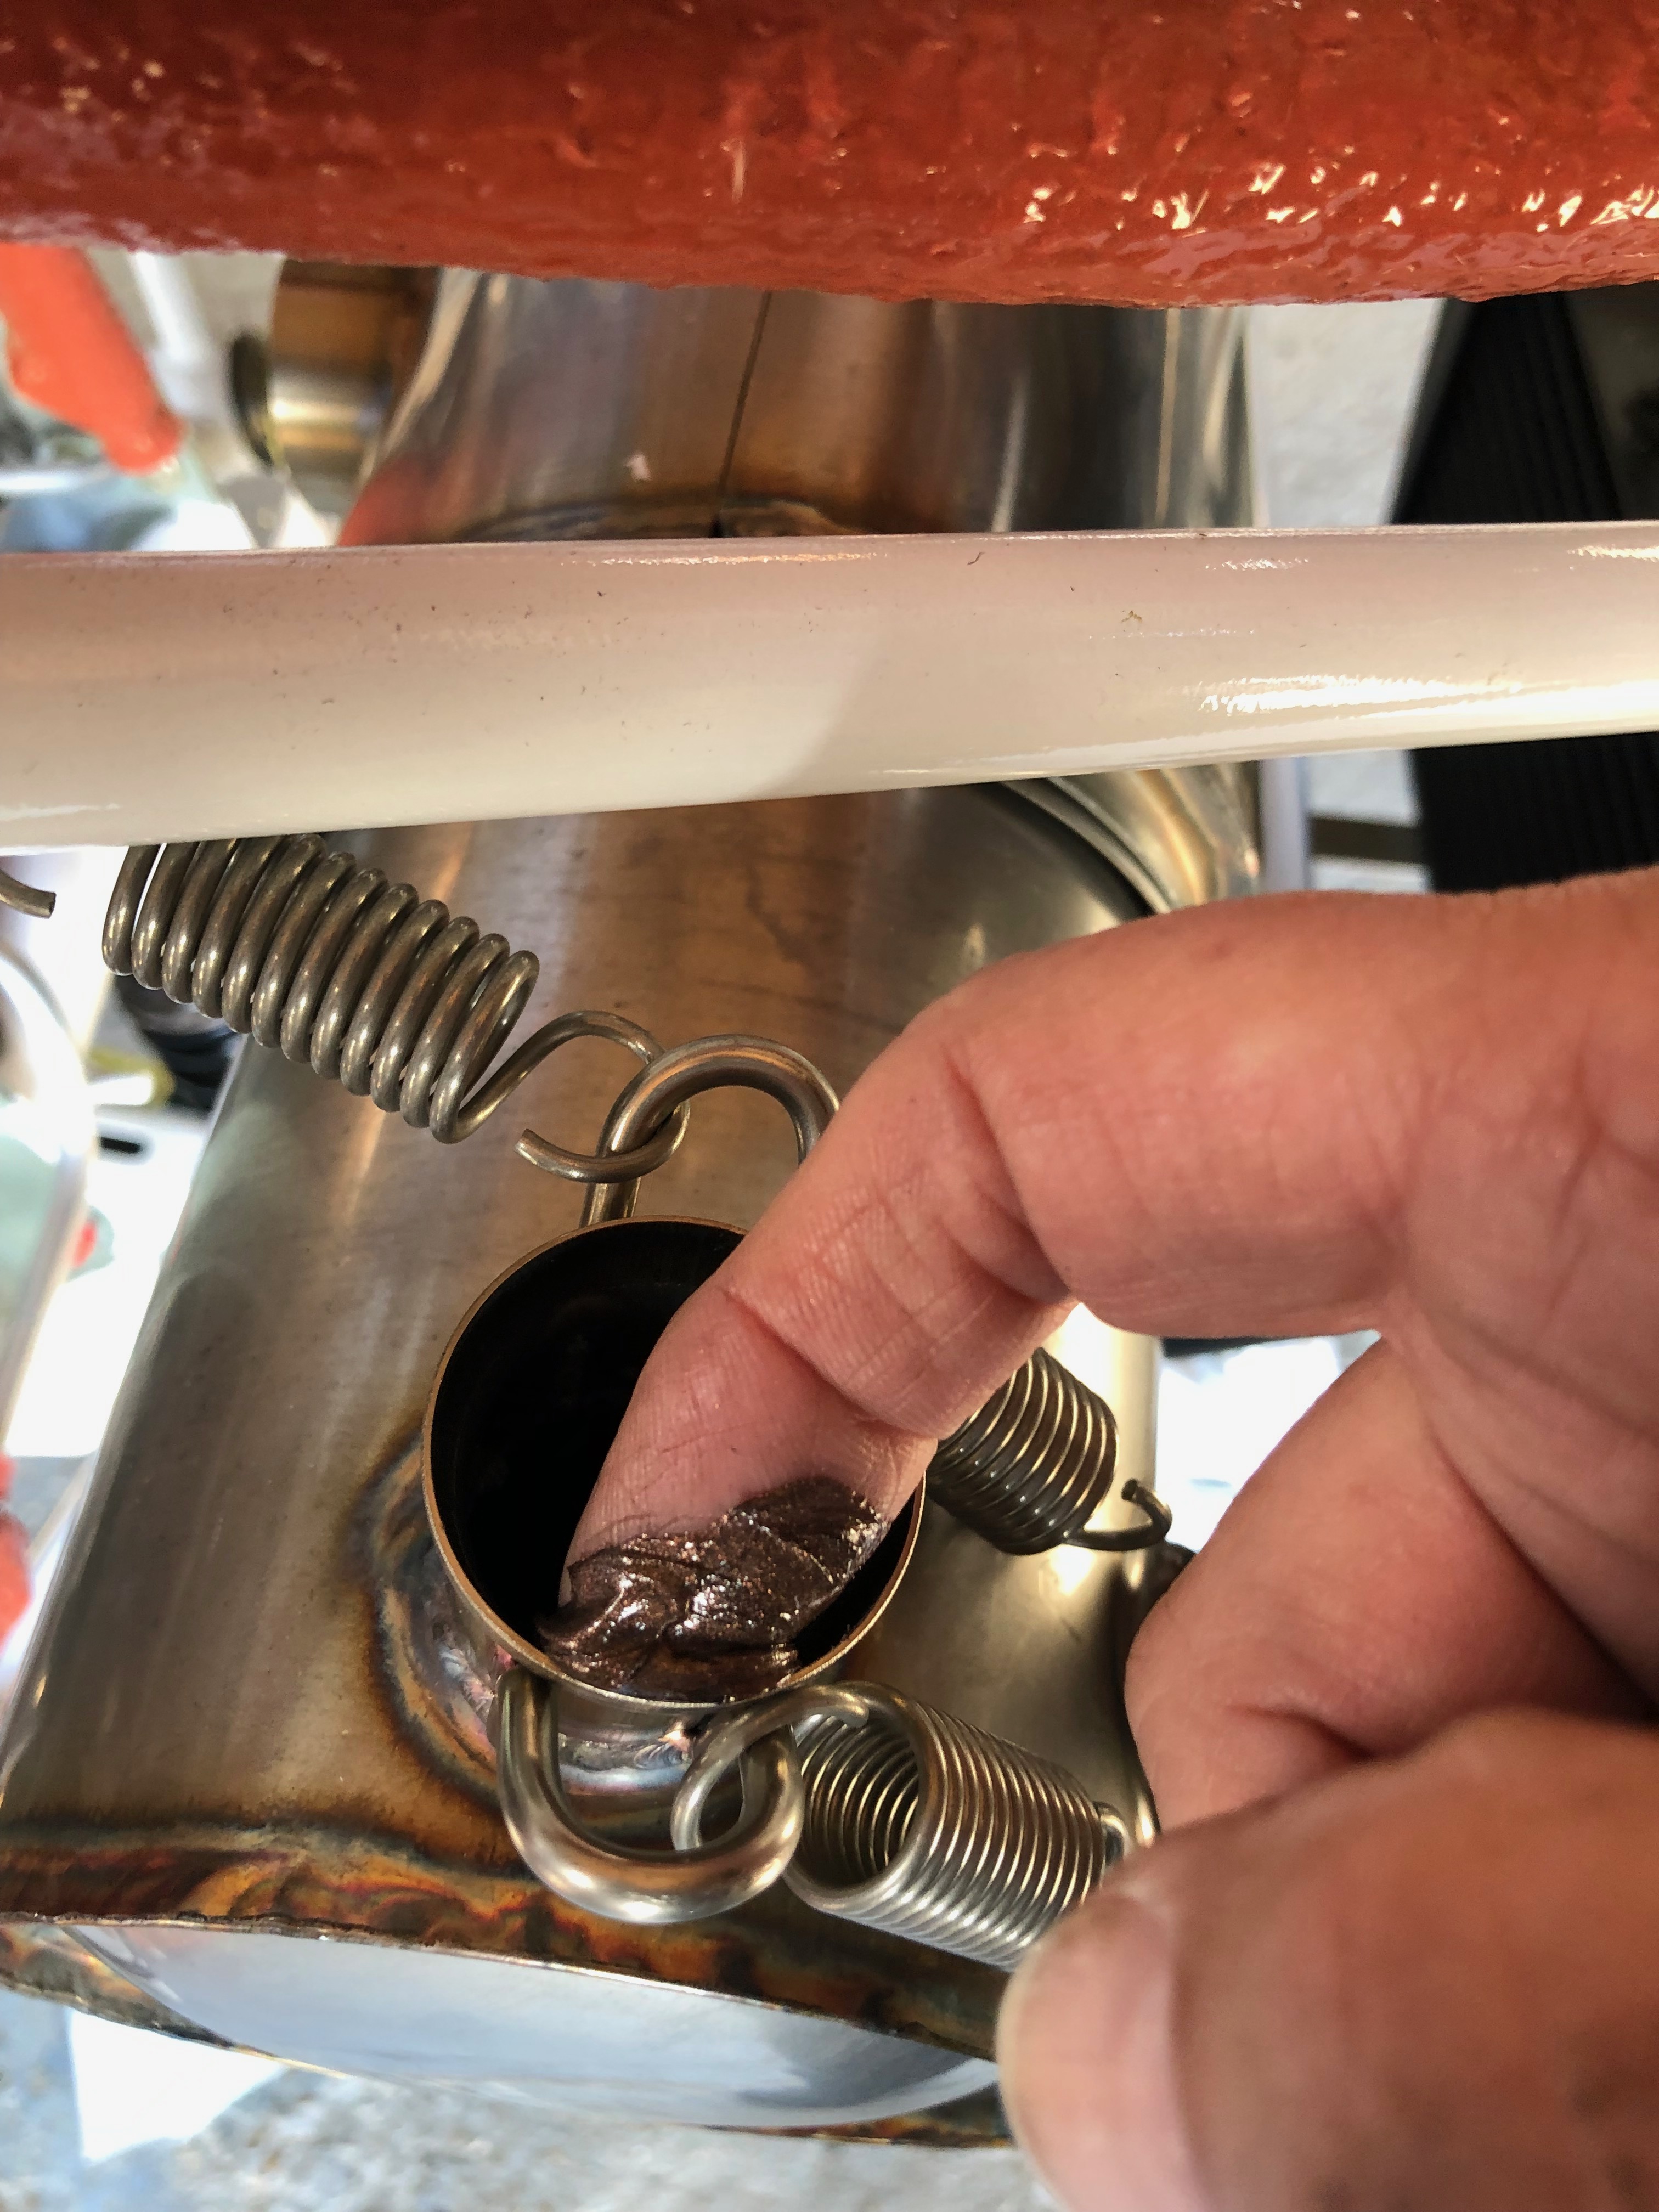
To finish the exhaust system install I need to apply some copper ease to the pipes to enable them to move slightly in service.
and also on the exhaust connection pipe.
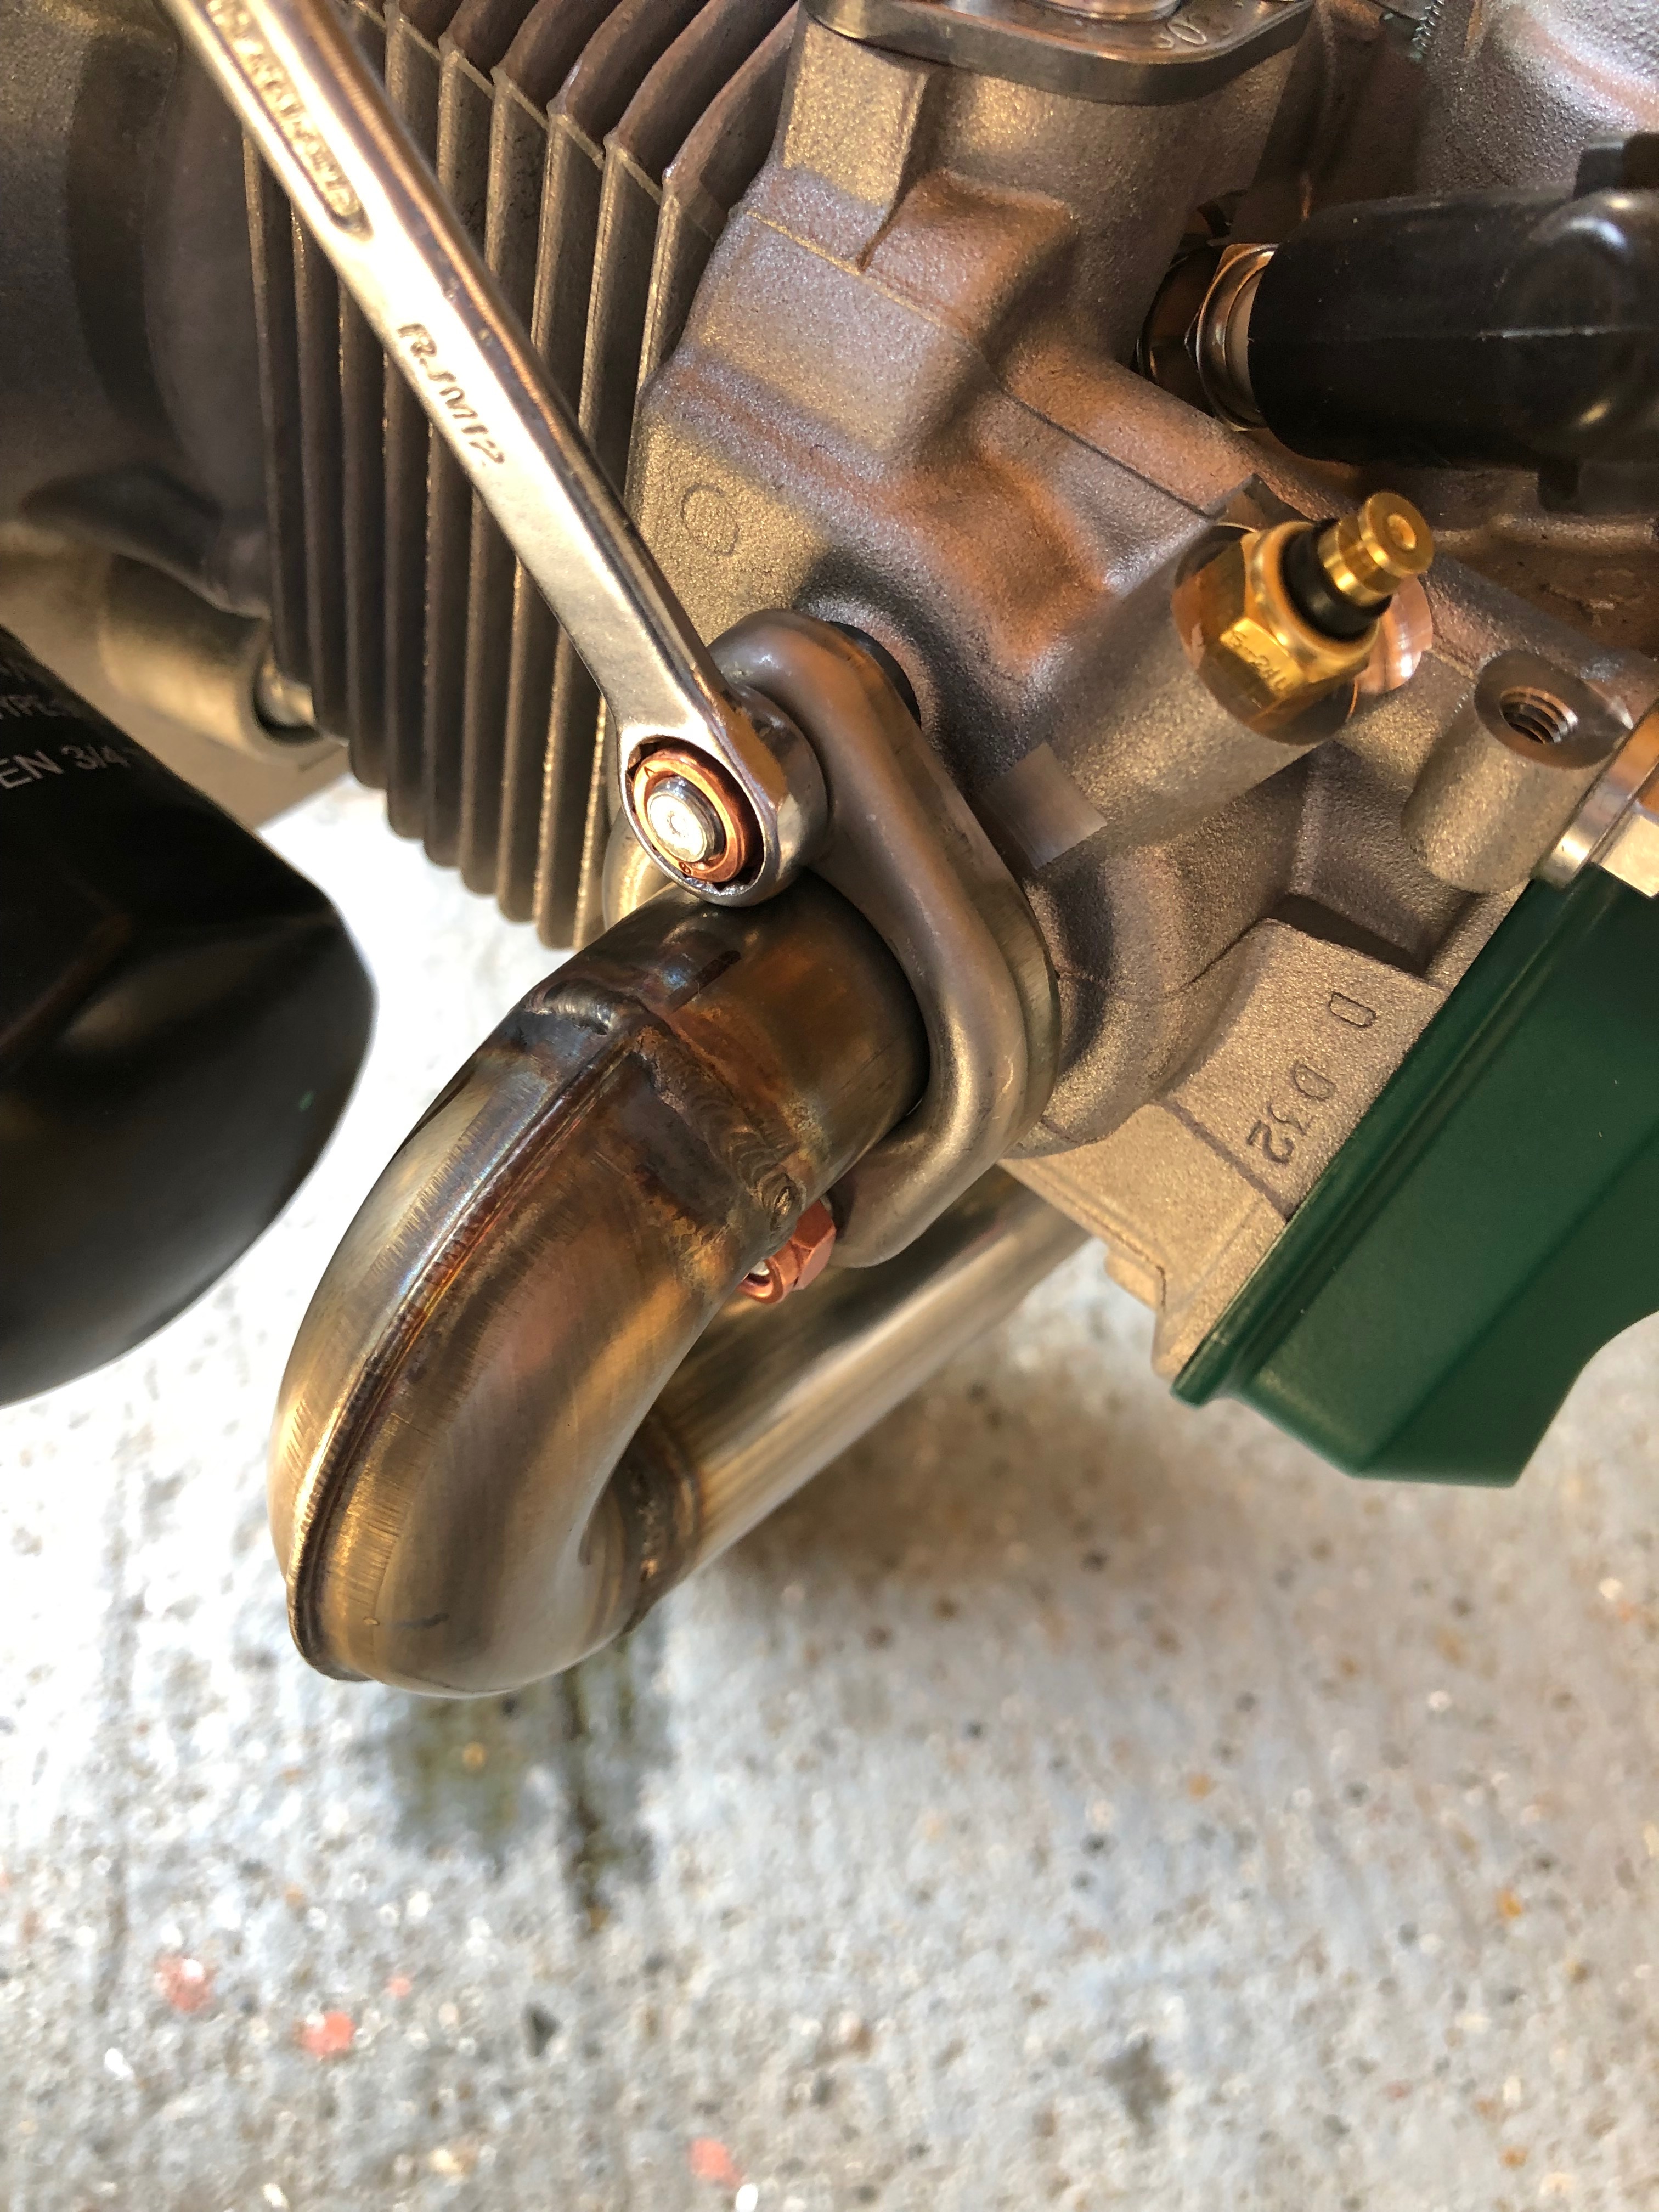
After checking the run of the pipes the nuts are tightened to complete the exhaust install.
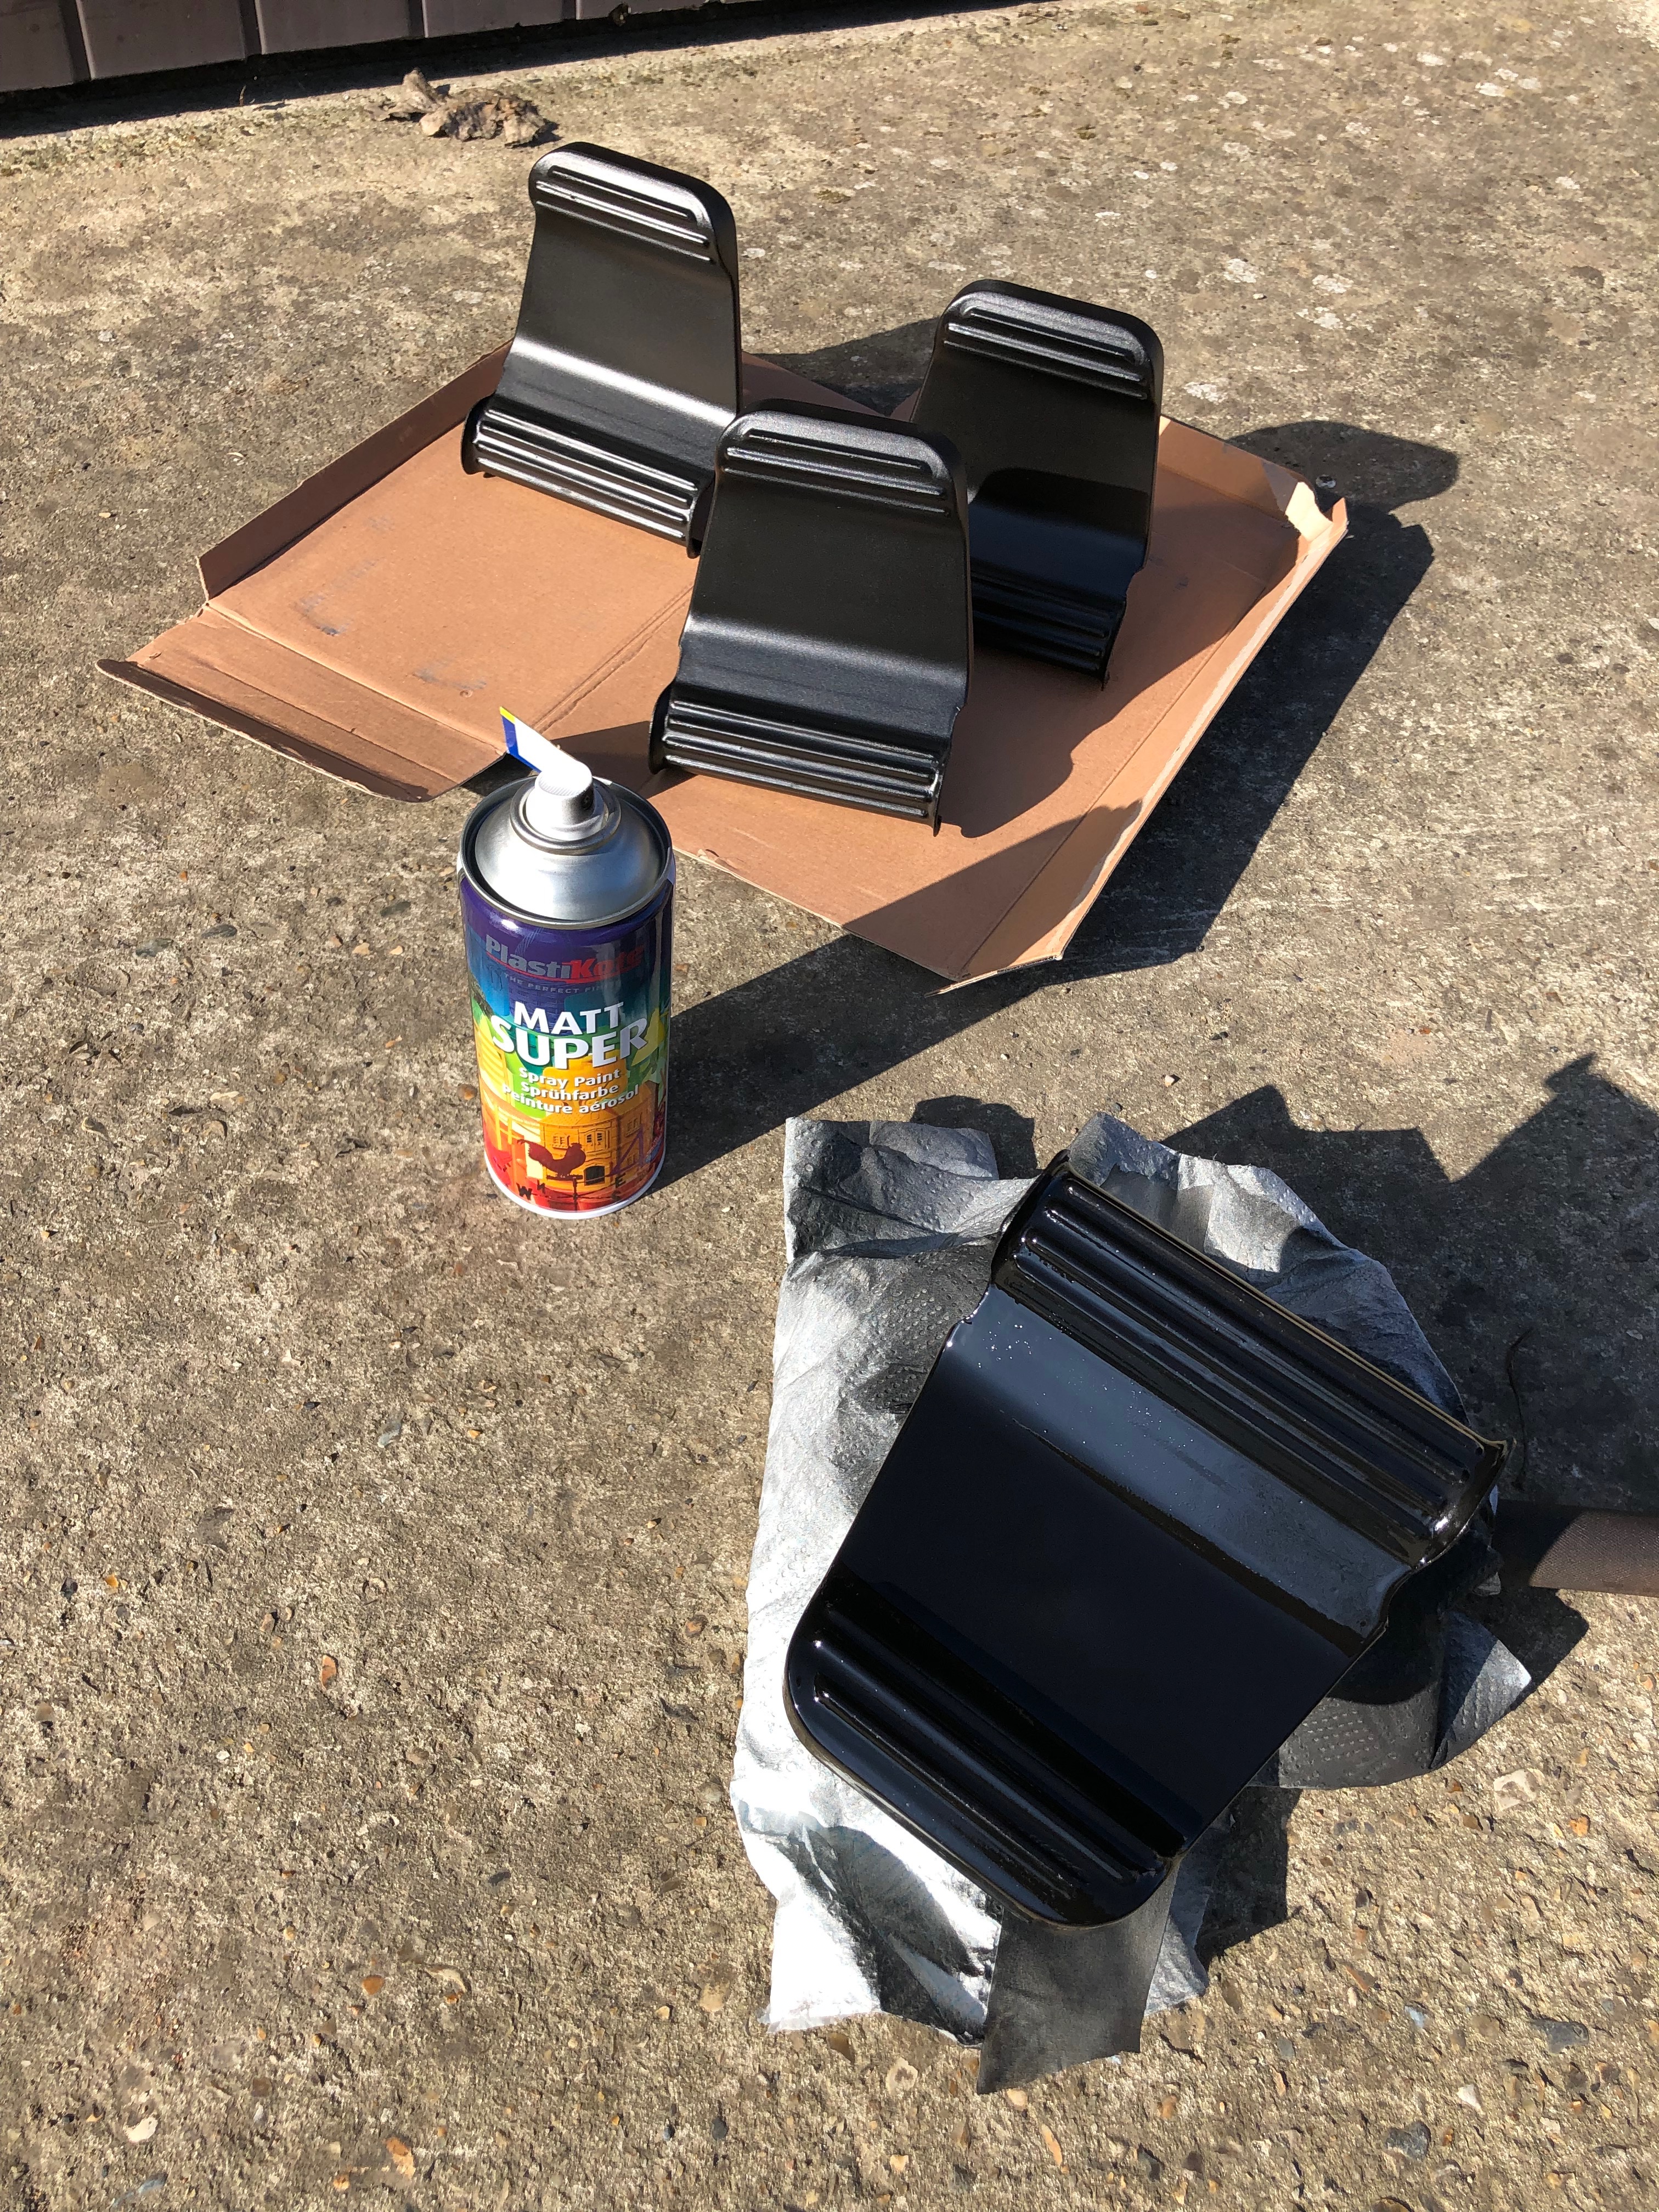
One of the jobs I can do between other jobs is to paint the rudder pedals. Two coats are needed leaving then to dry for about an hour between coats.
Last coat applied and drying off in the sun.
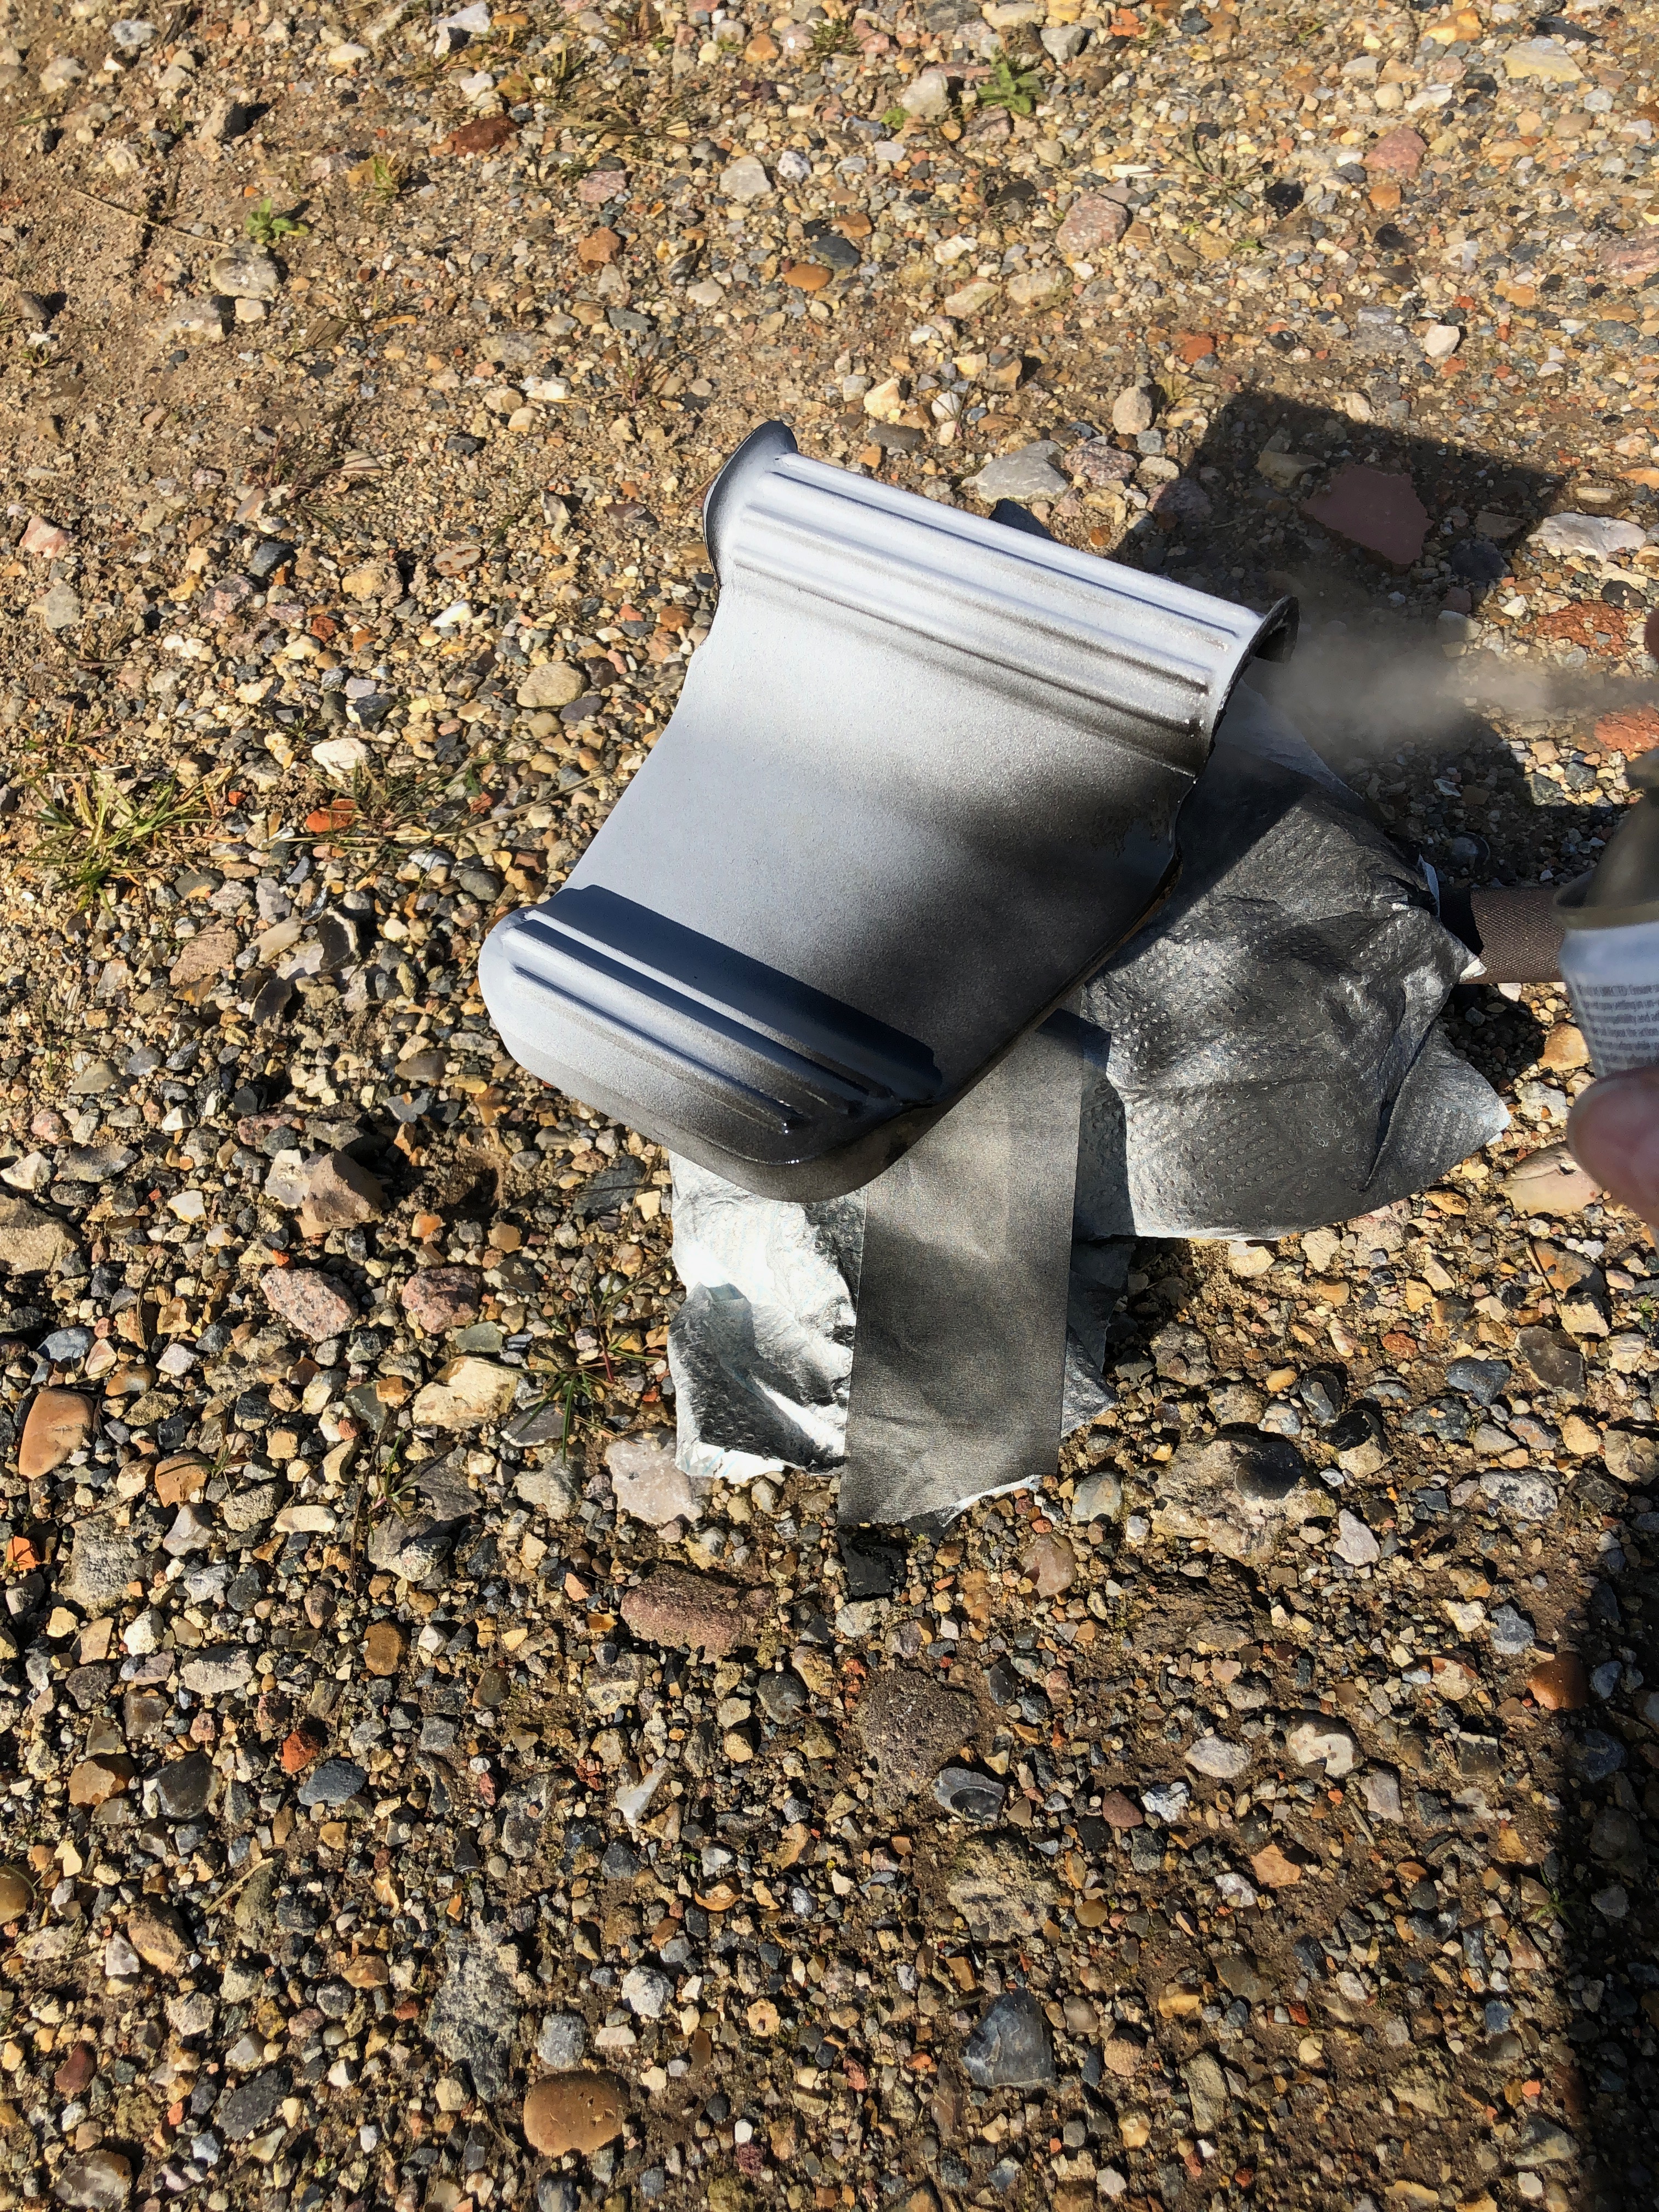
I had already drilled the NACA ducts but the mastic to seal them was too cold to apply so I had to warm it up slightly to apply it.
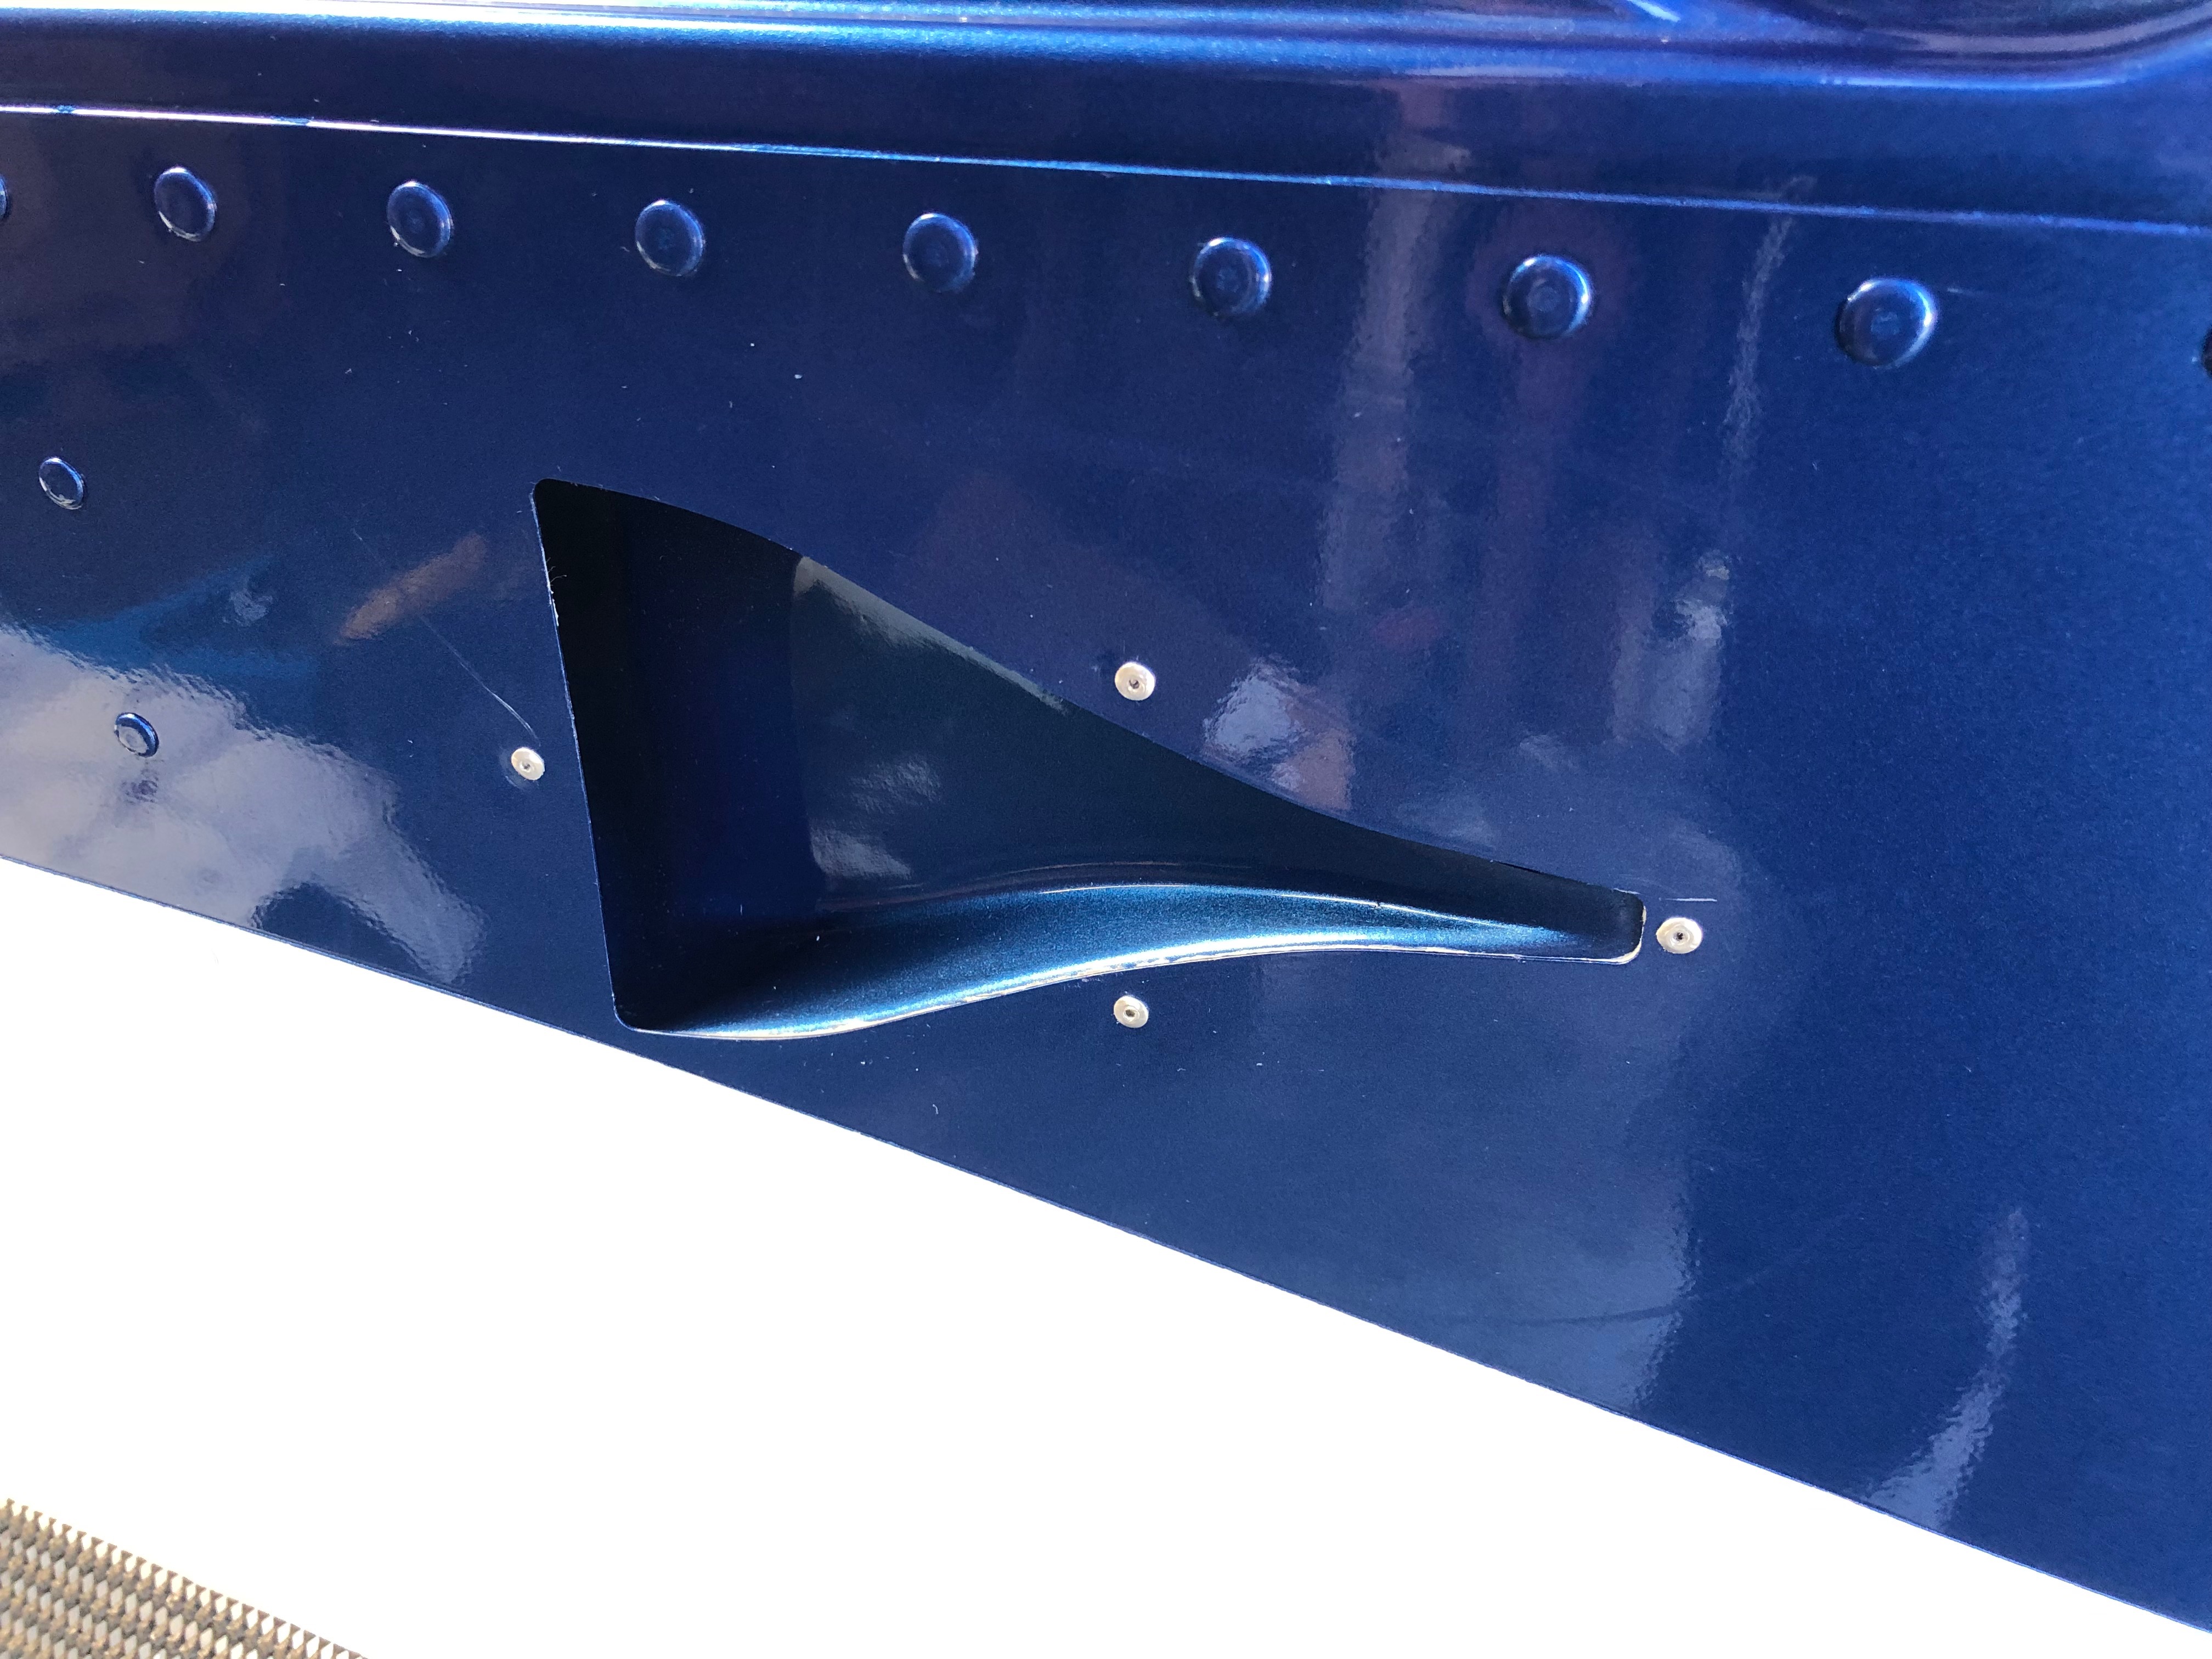
When I riveted the right side NACA duct I slipped twice and scratched the paintwork slightly which will need touching up and polishing out at some point. To stop this happening again I applied some asking tape around the rivet.
Right side duct. As you can see a slight scratch on the left rivet.
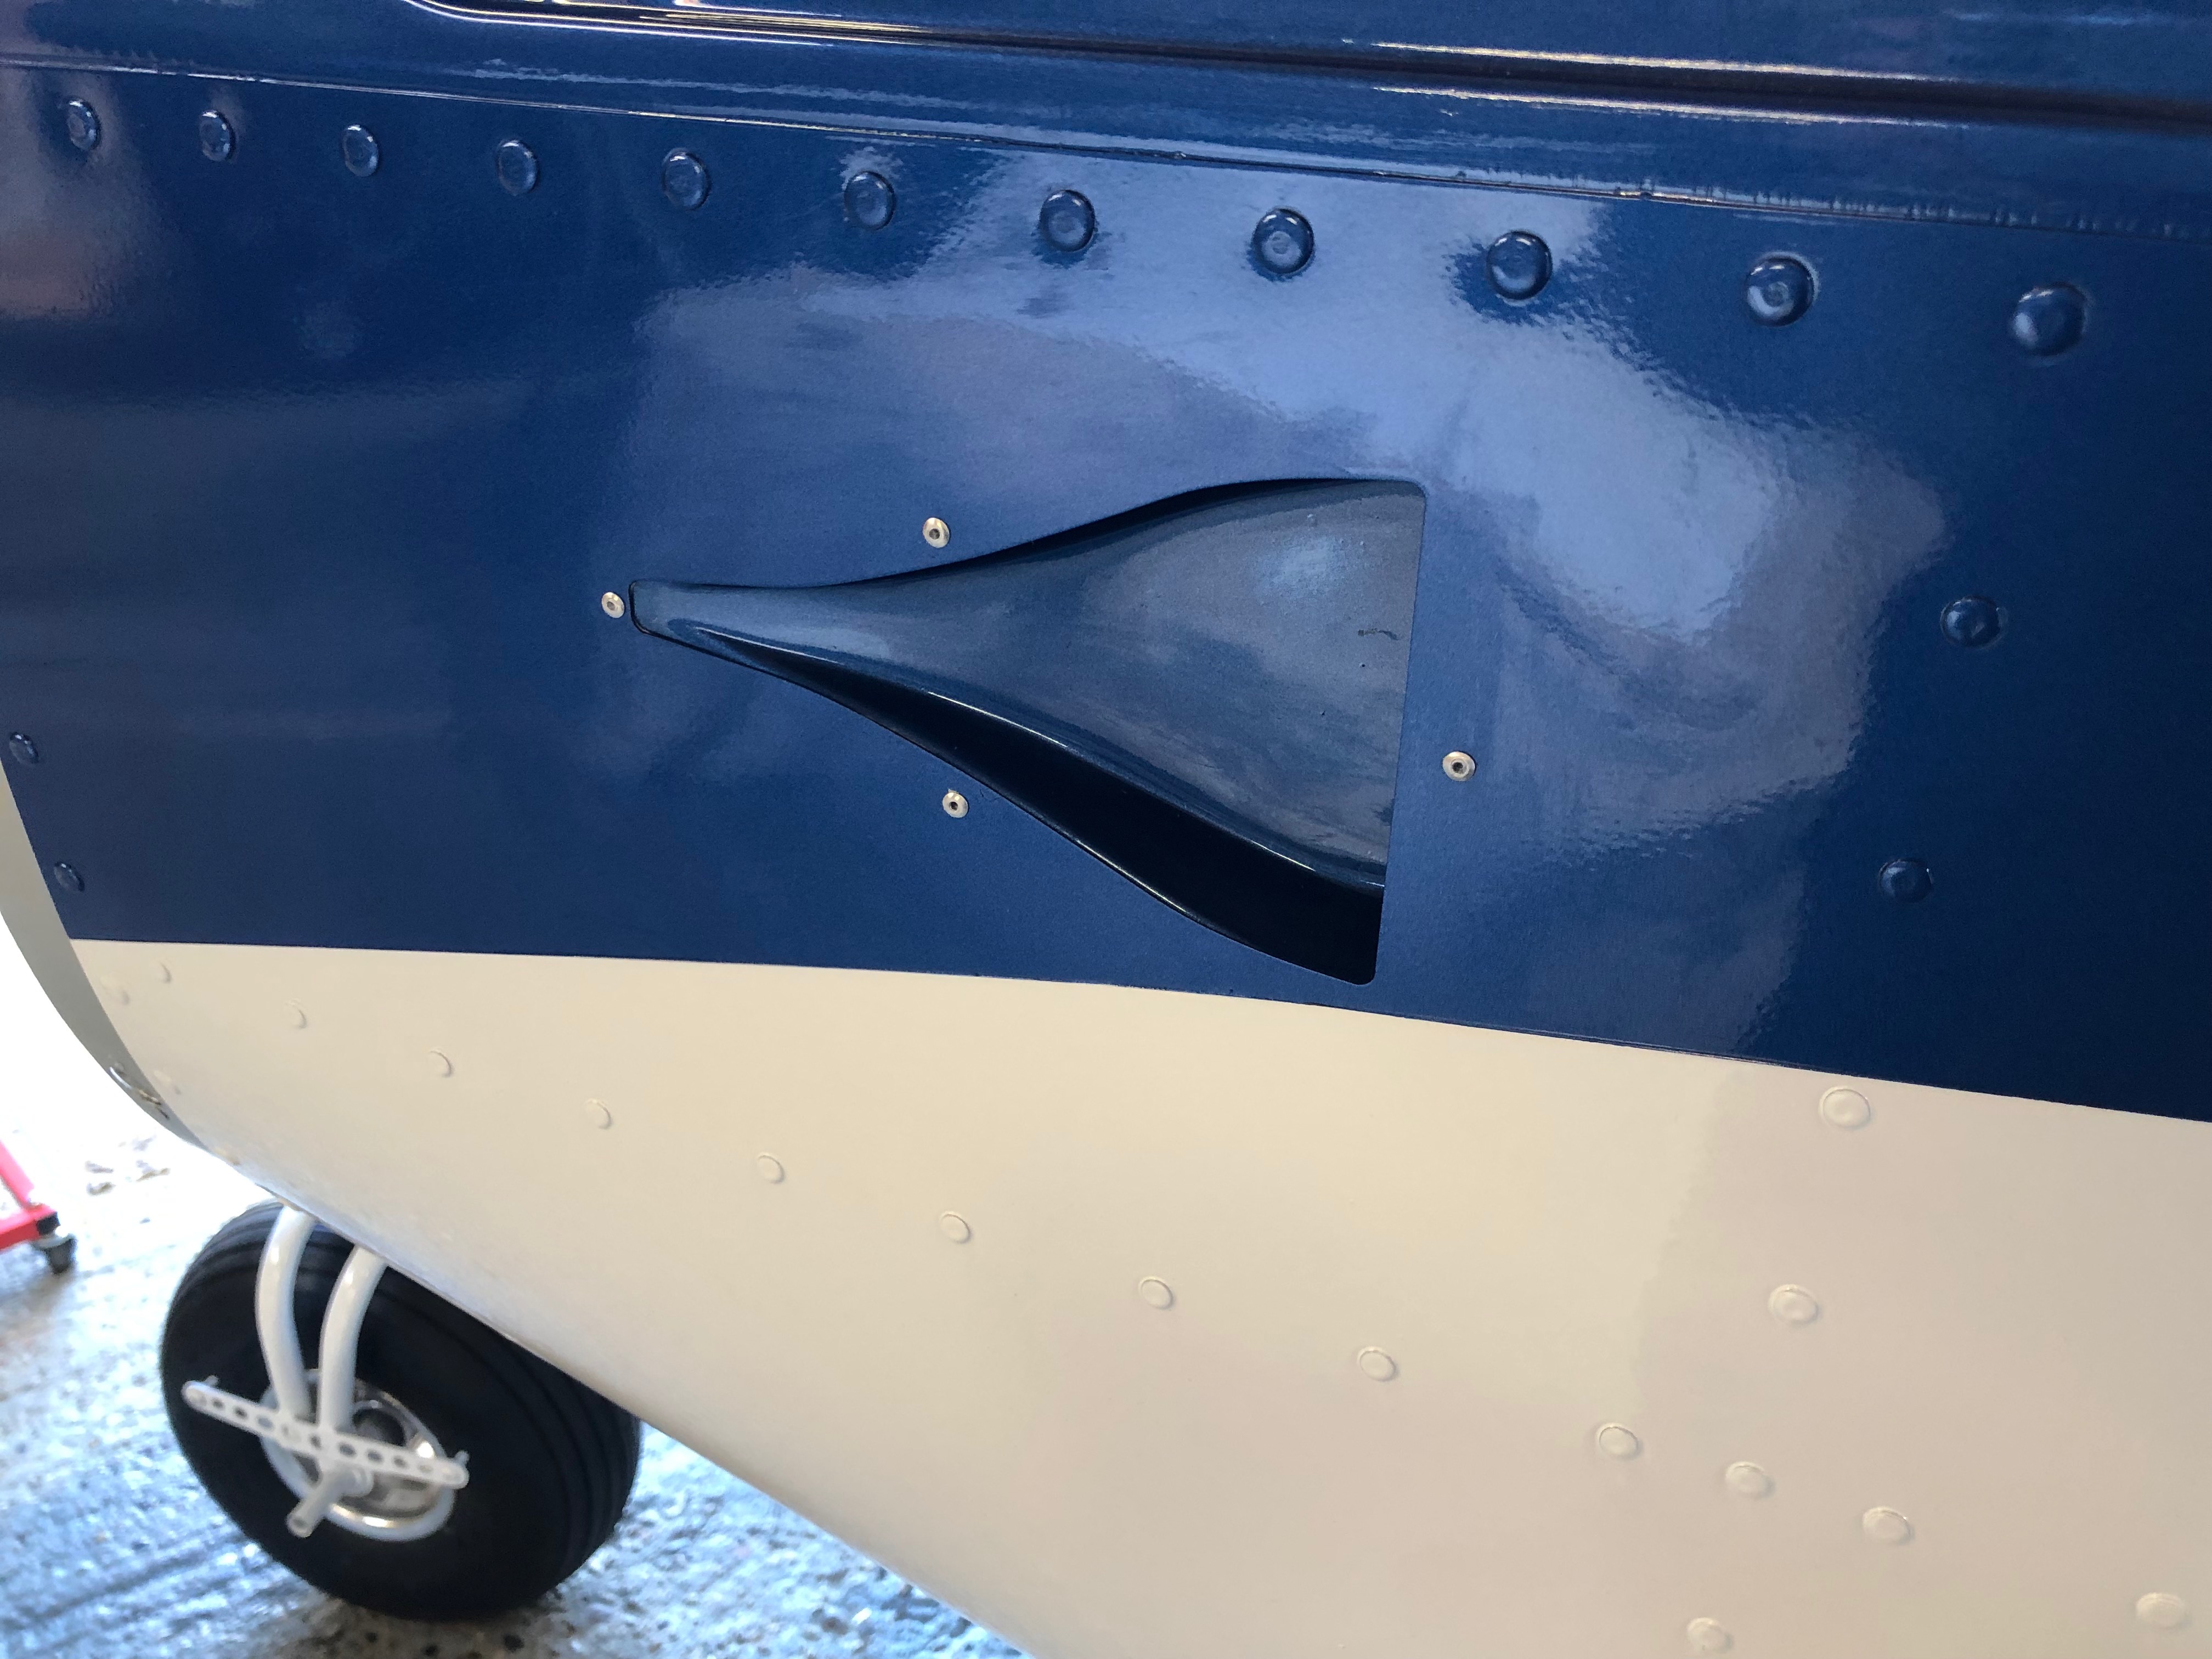
and the lefthand duct. A better job on this side. The duct install is now complete but still needs the Scat hose to be added for the cabin air vents.
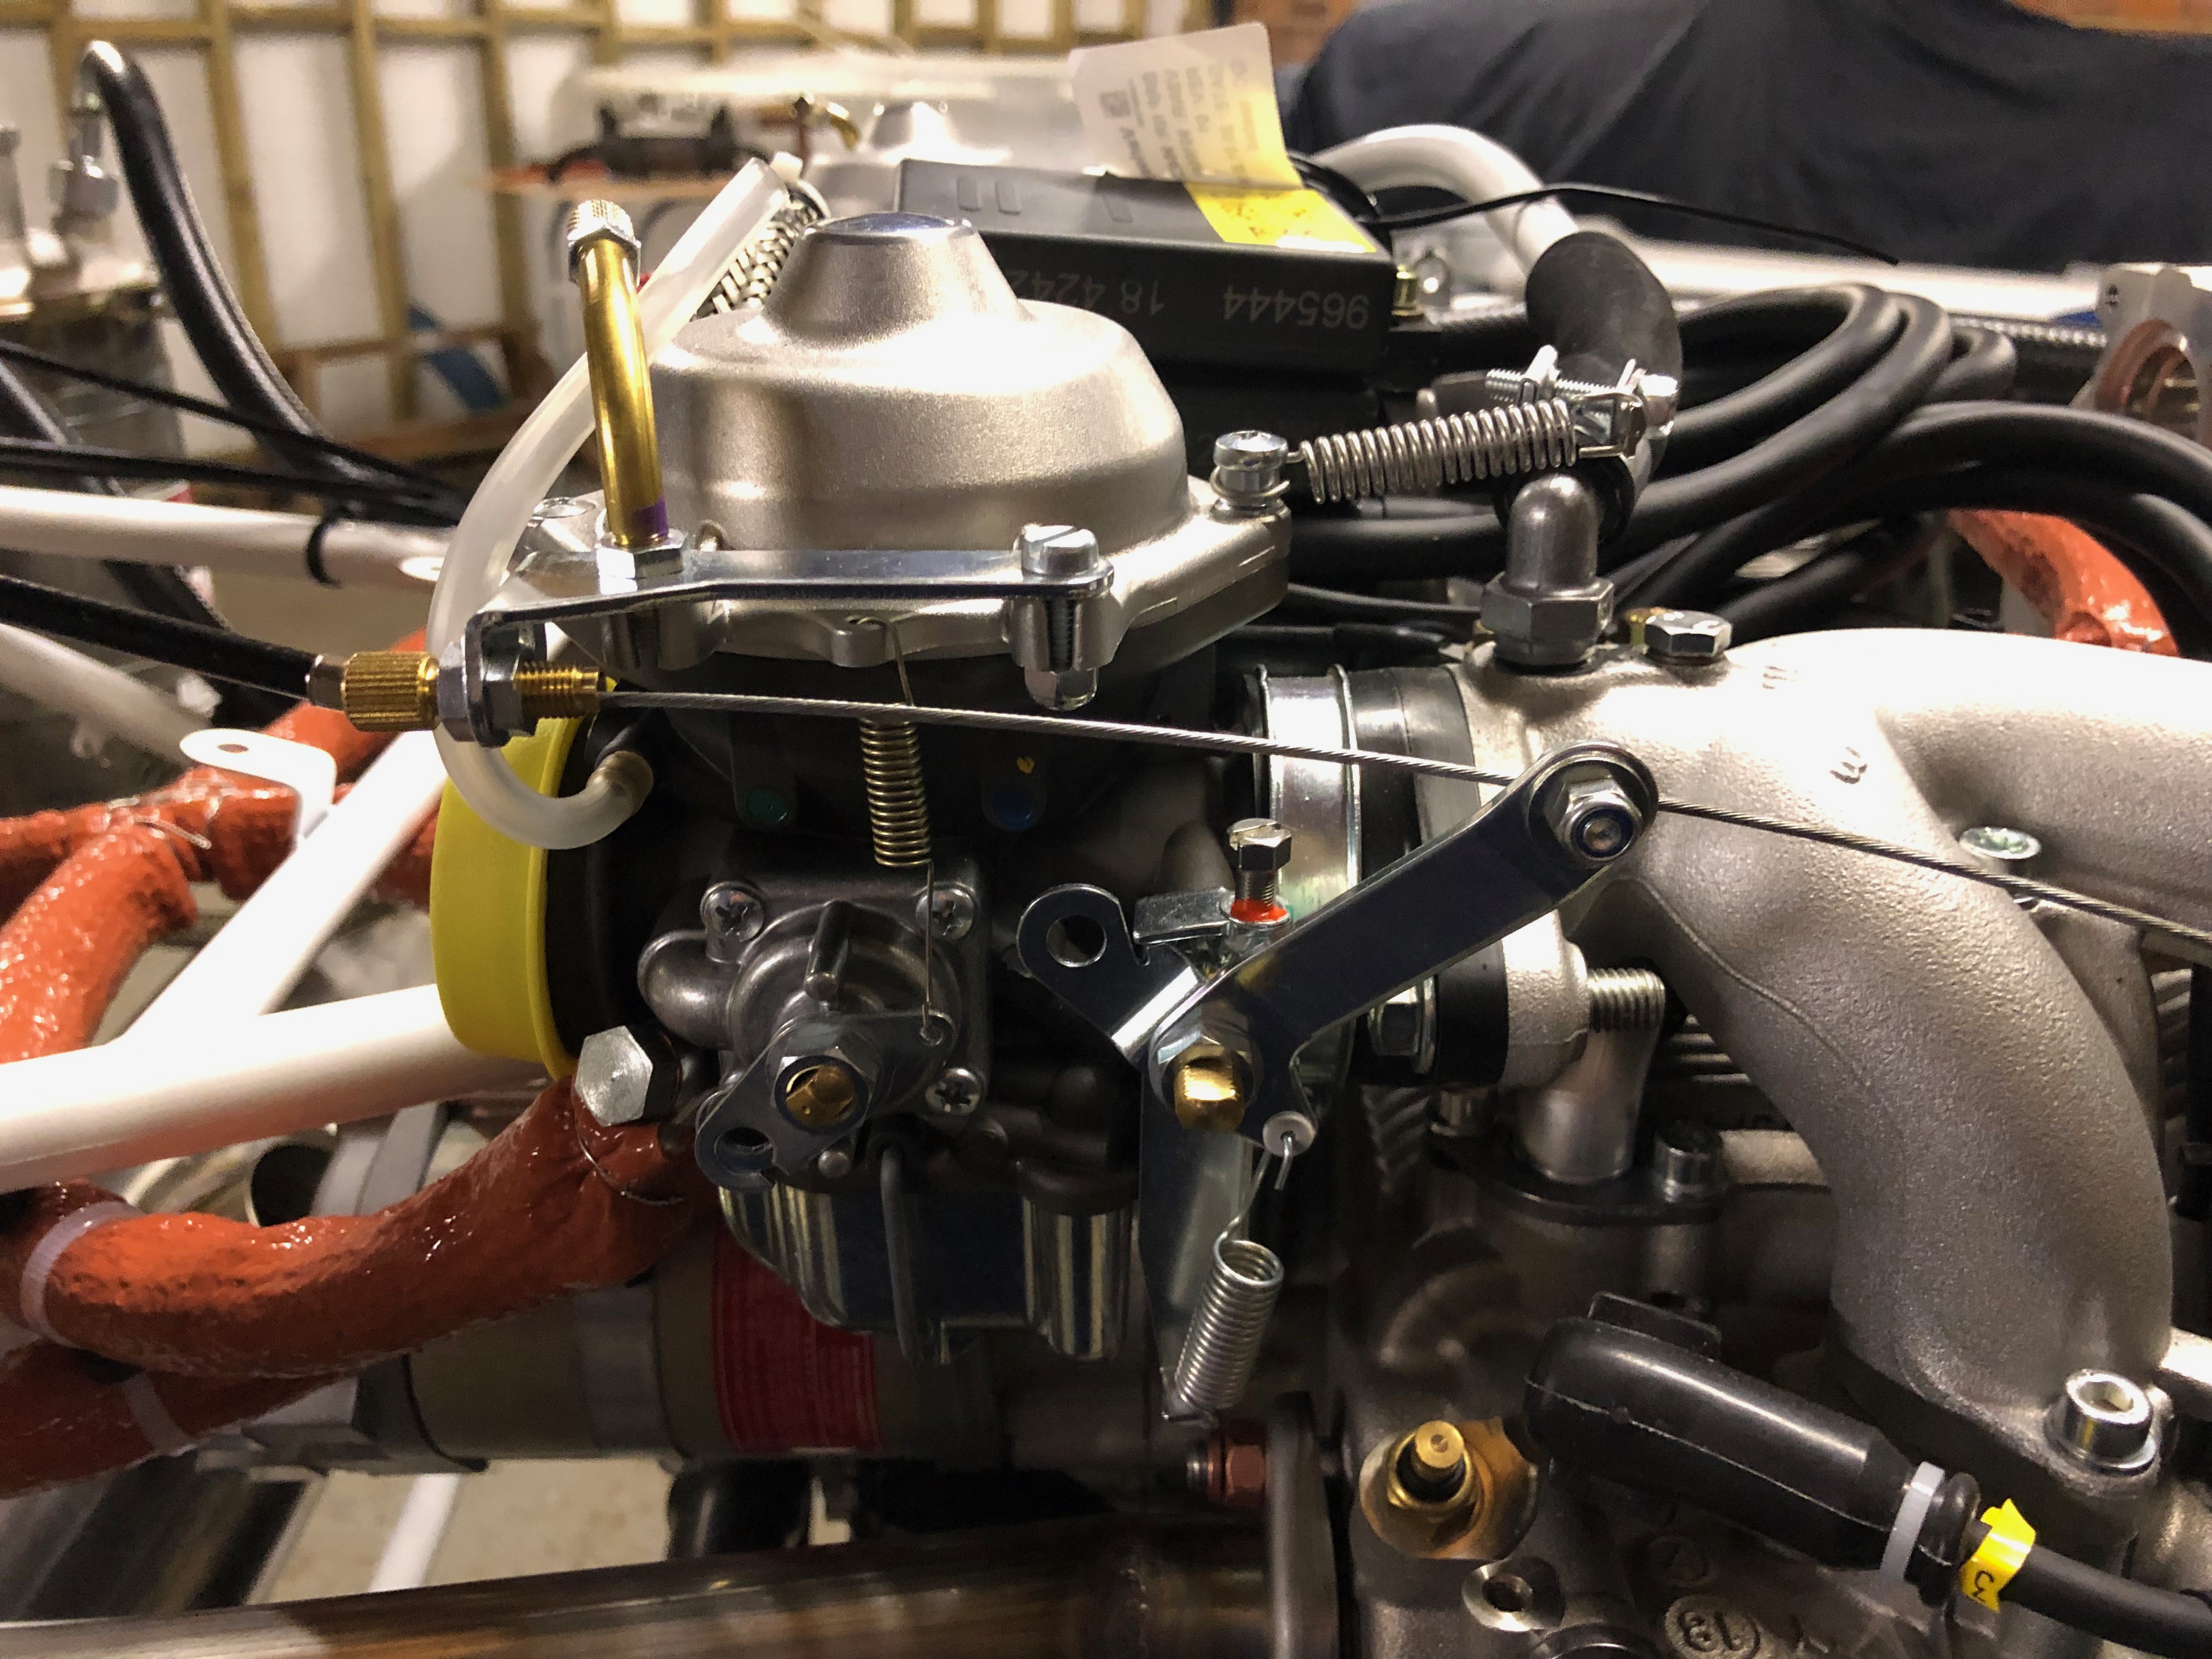
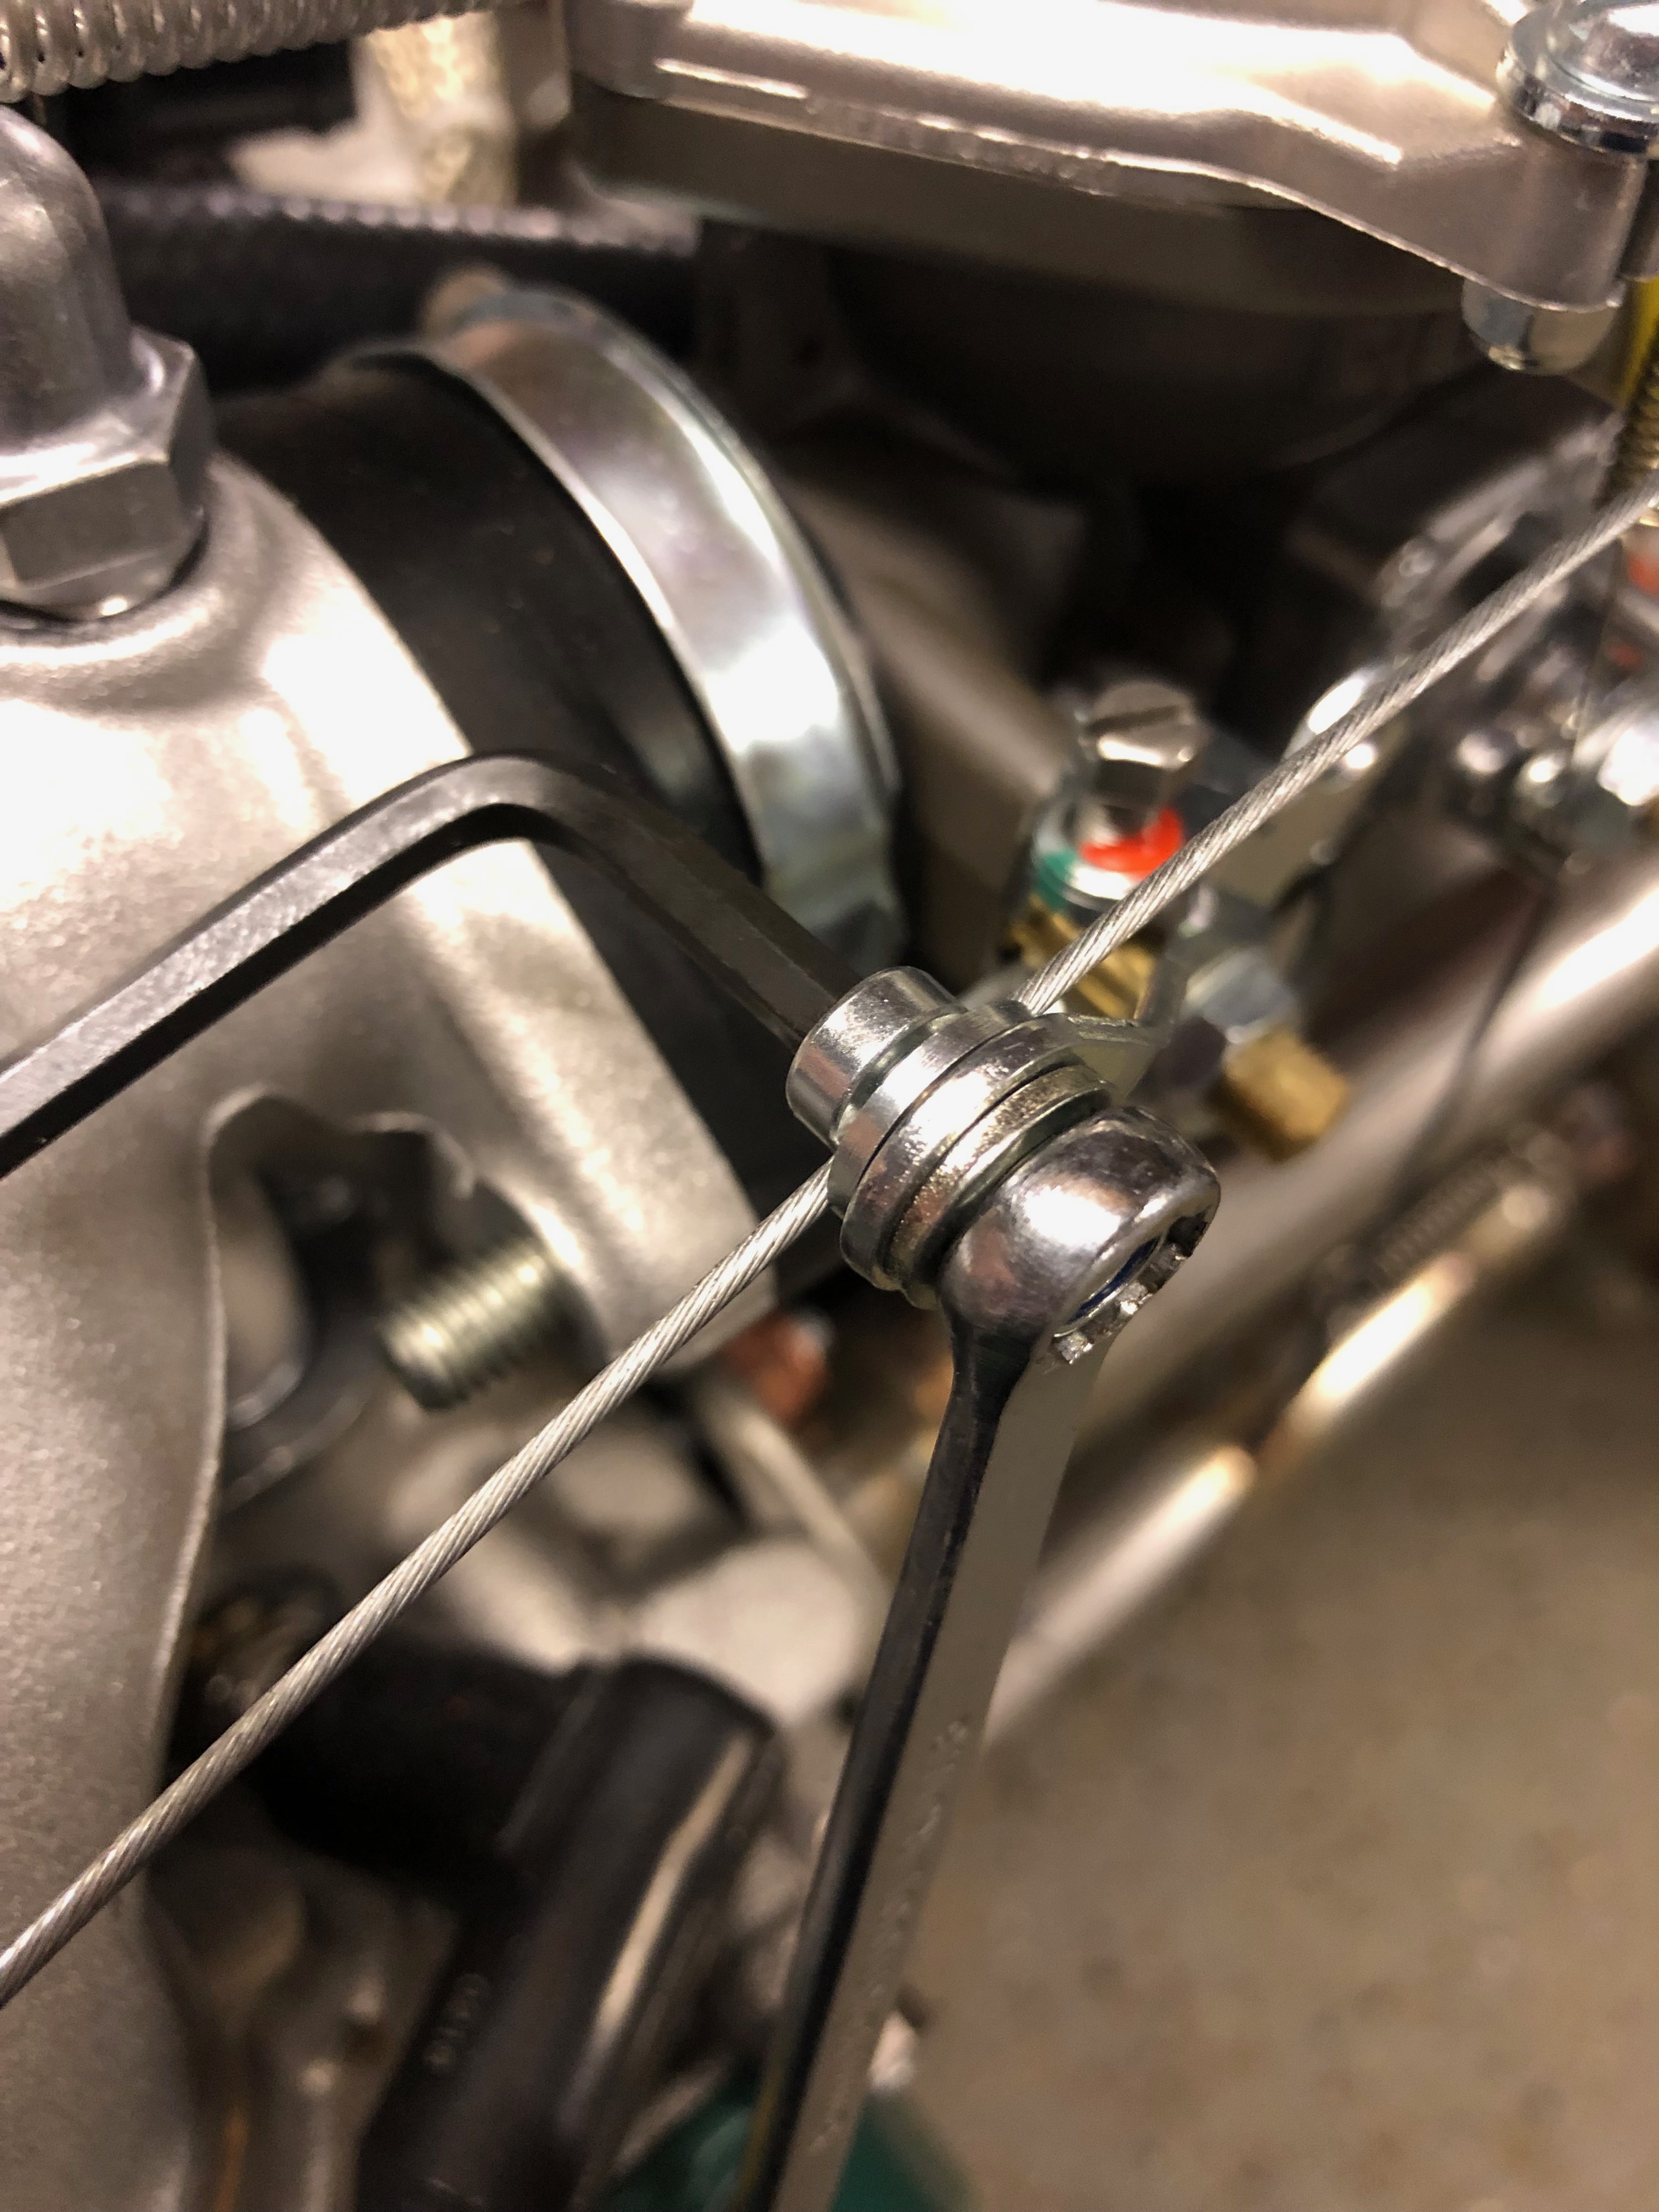
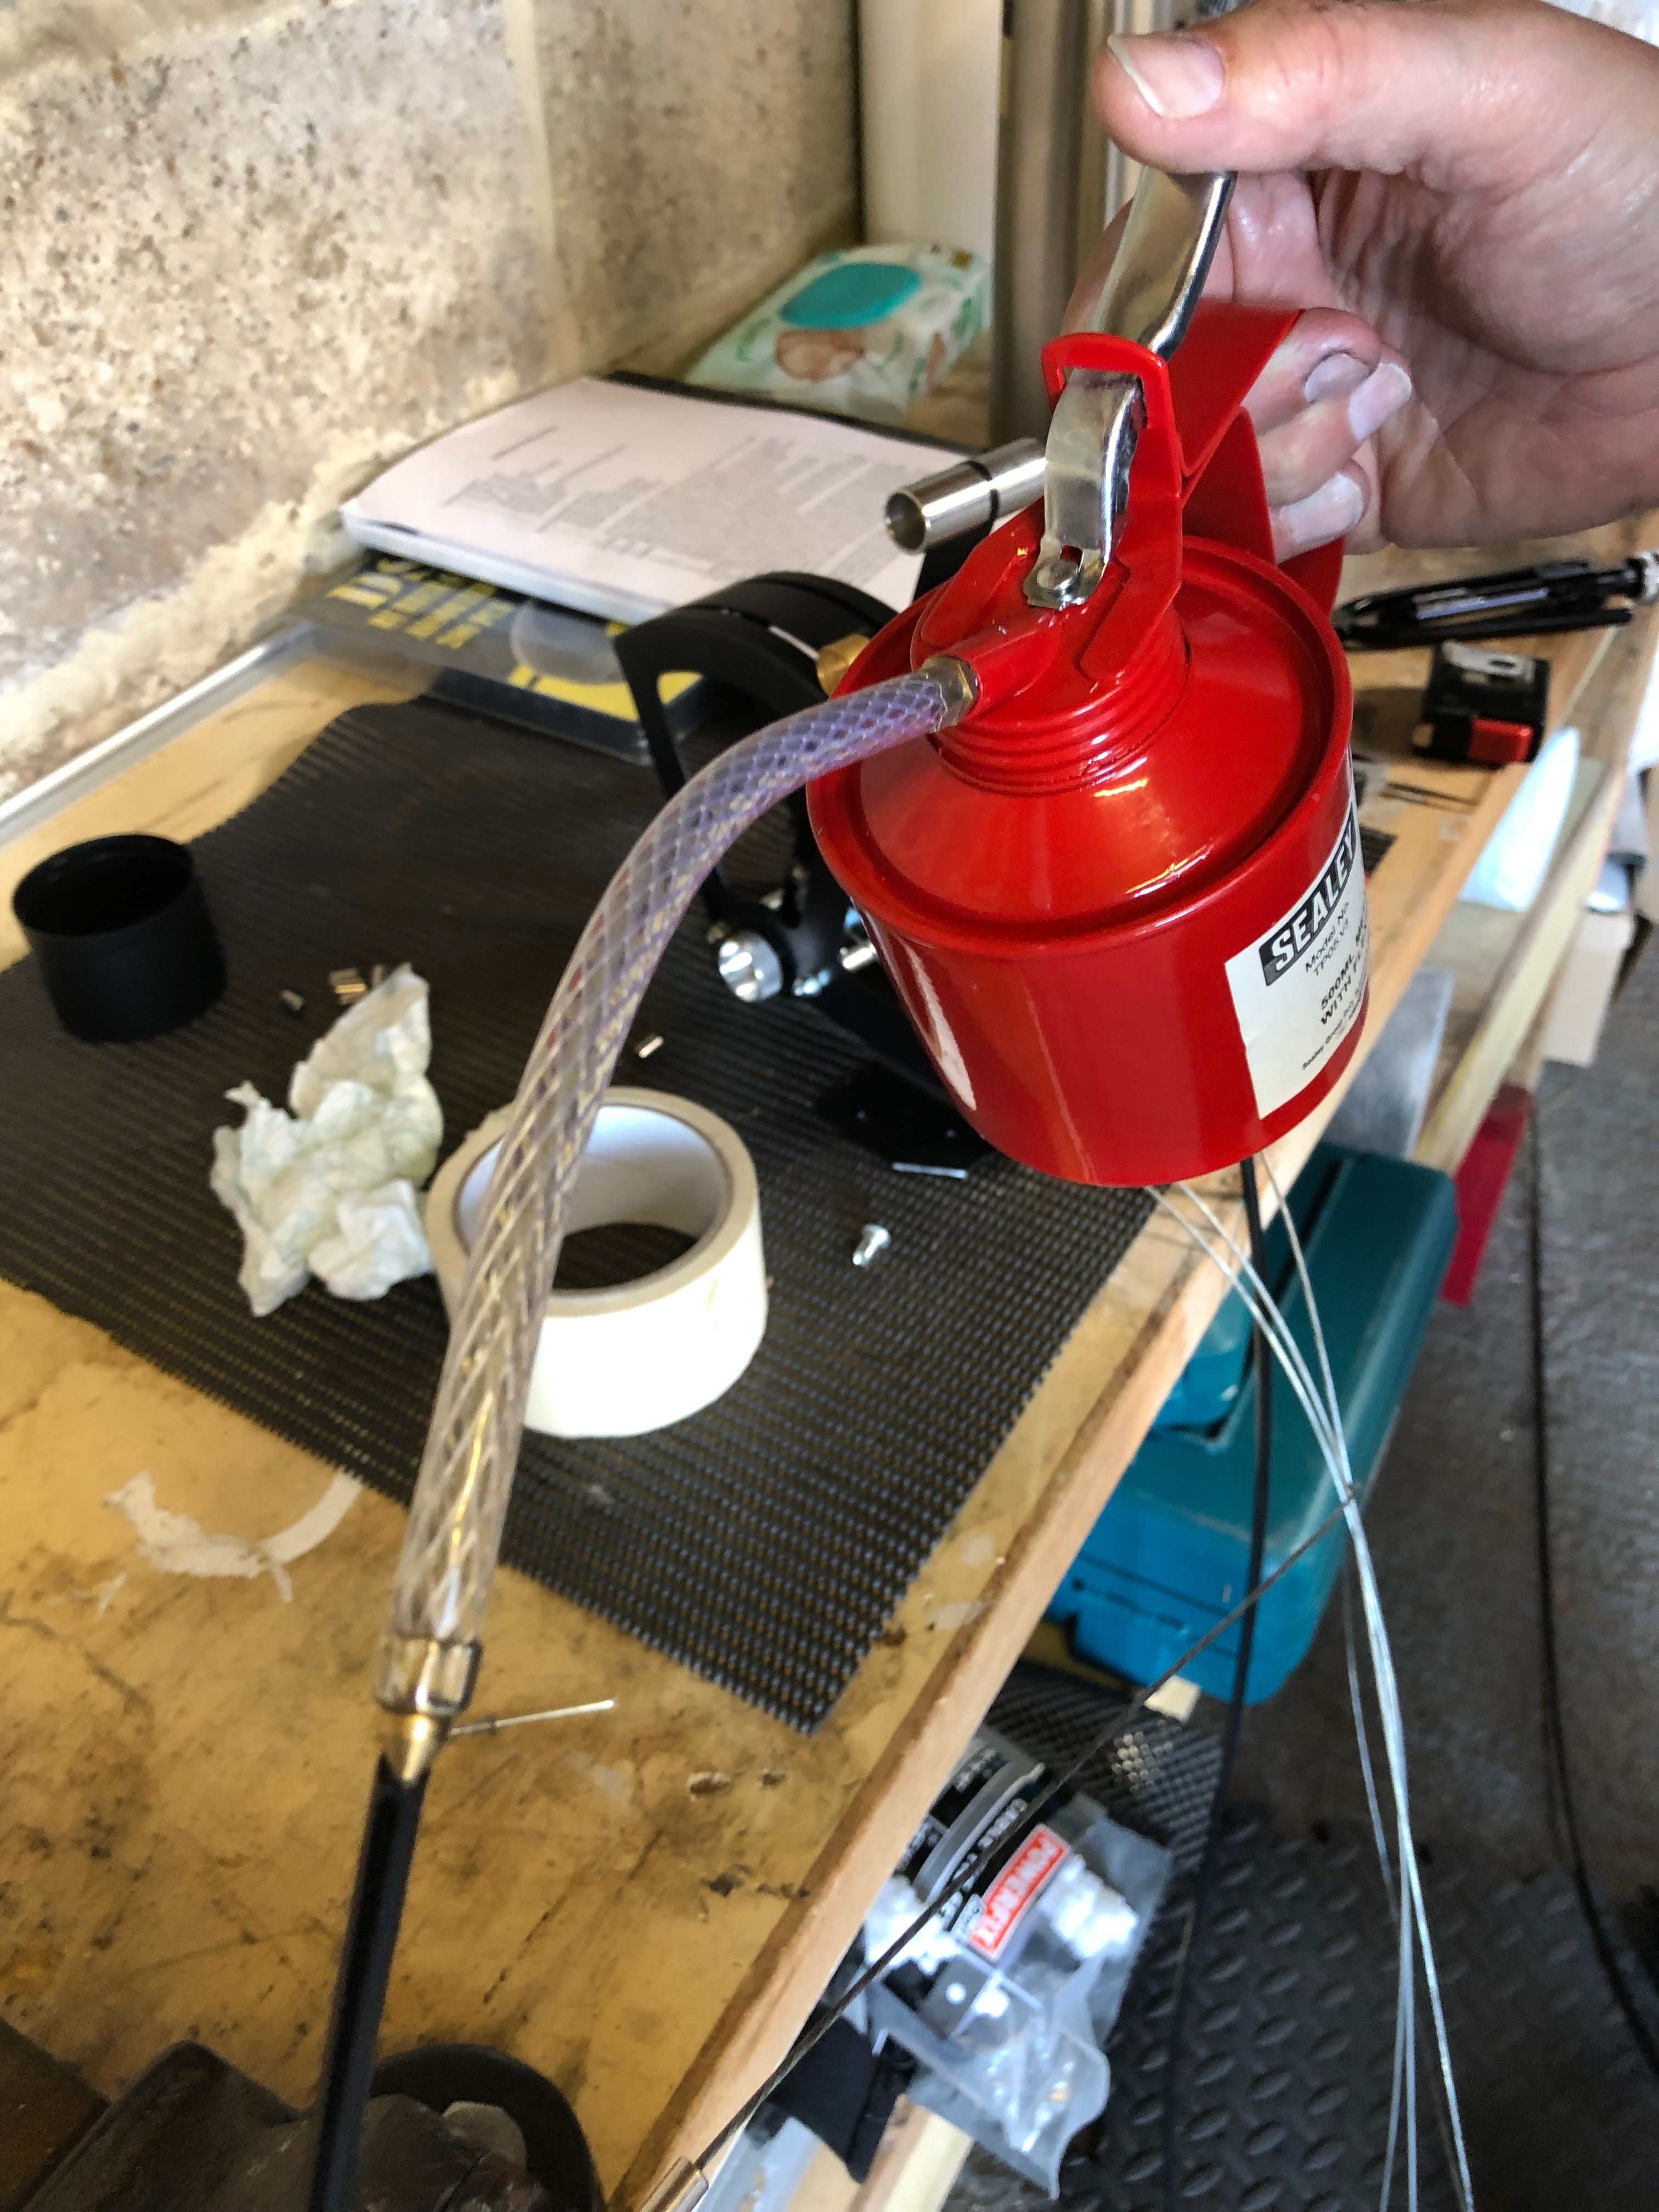
The throttle cables have to be cut and made up. A few drops of oil down the outer will allow the cable to run smoothly and operate better in service.
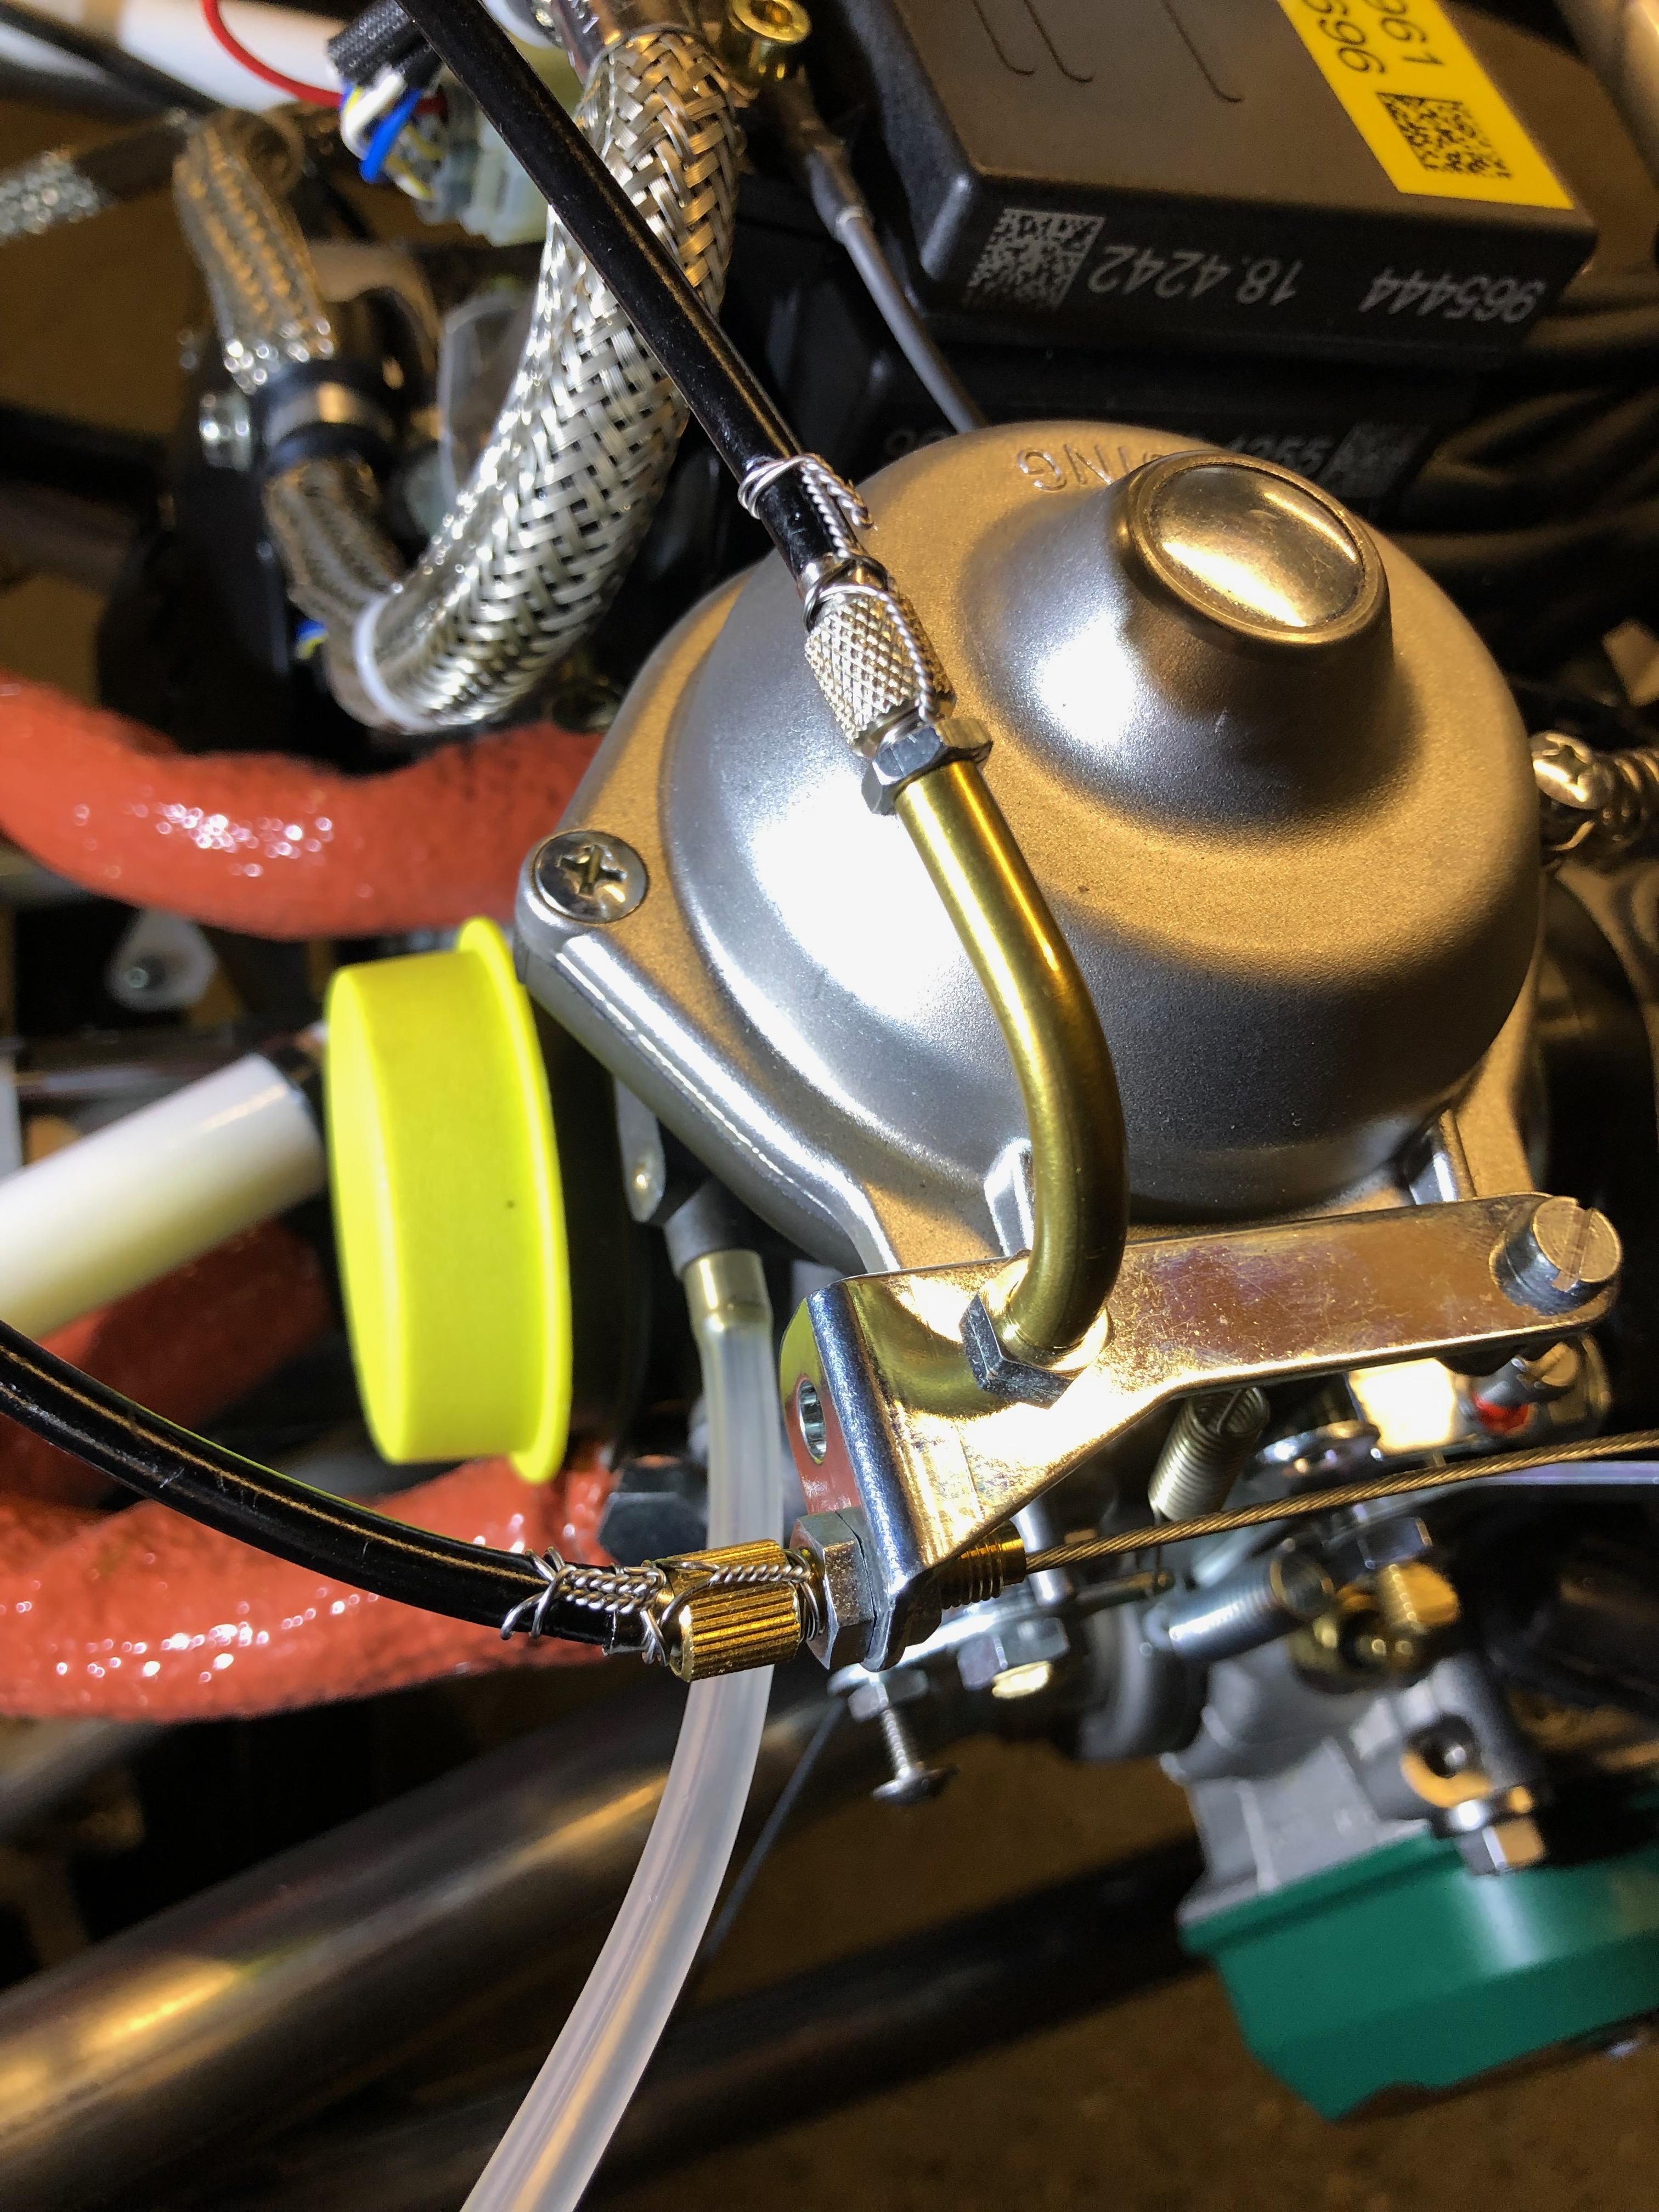
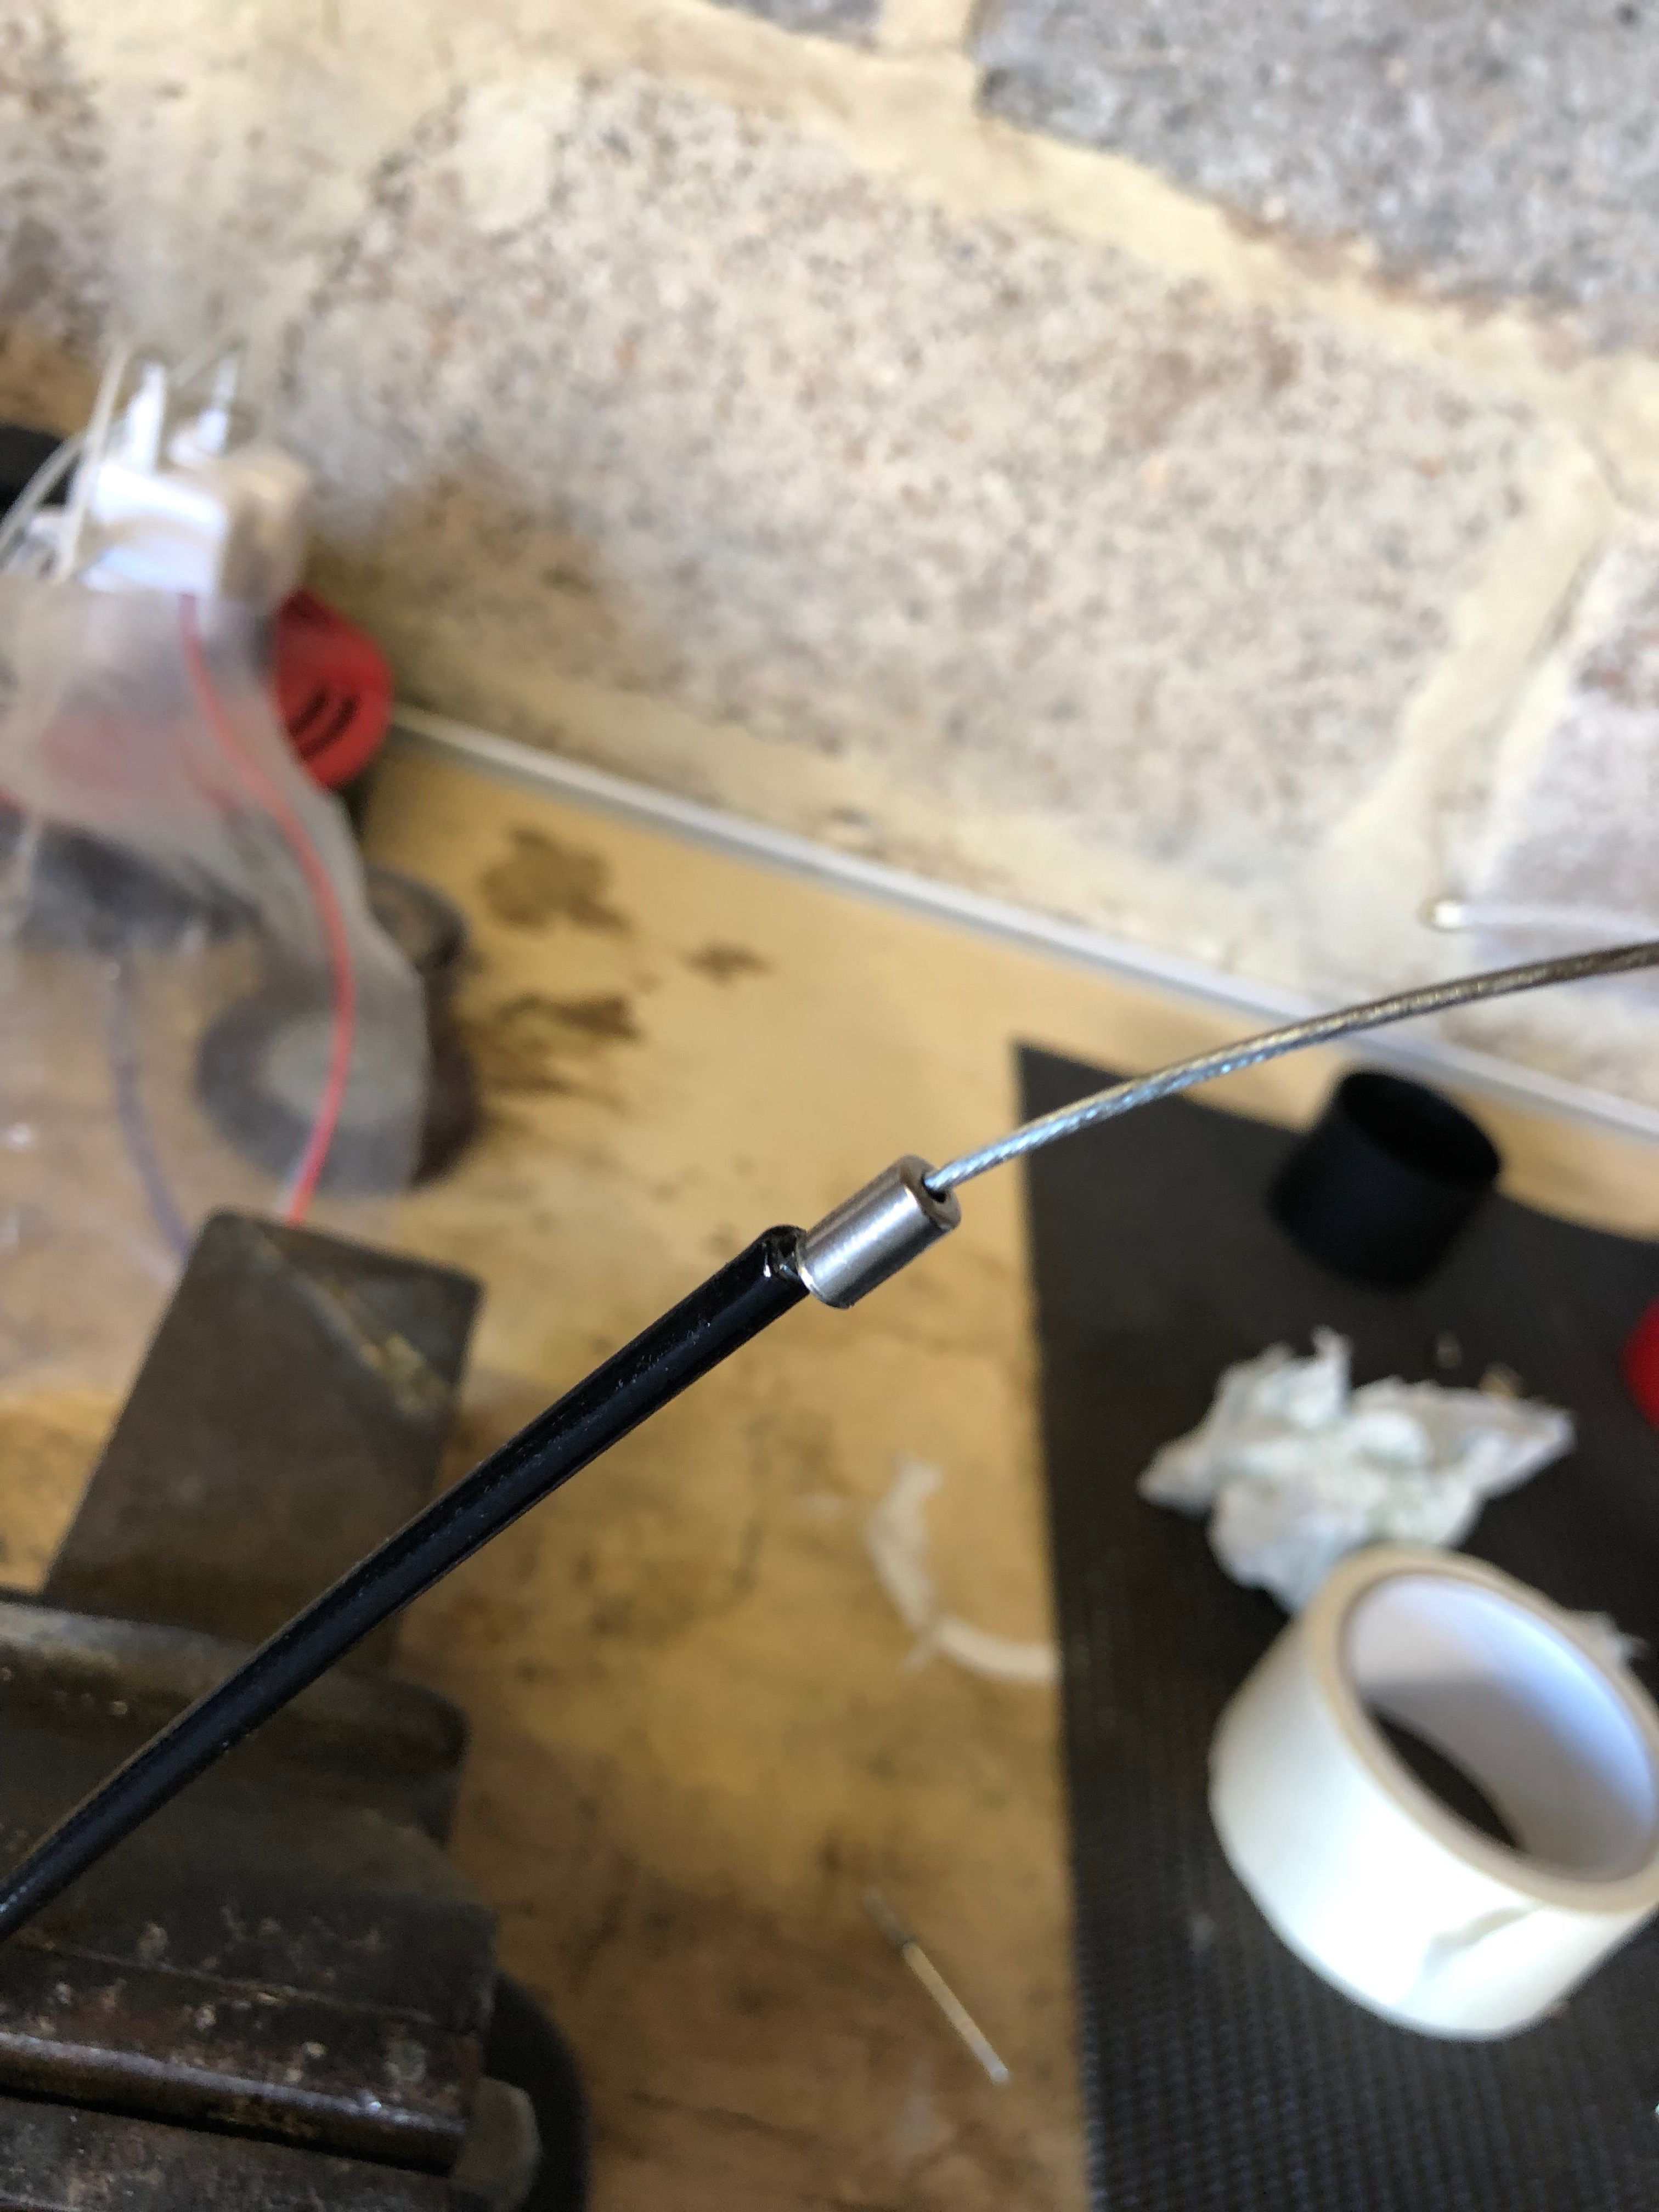
Ferrules are added to the outers before fitting.
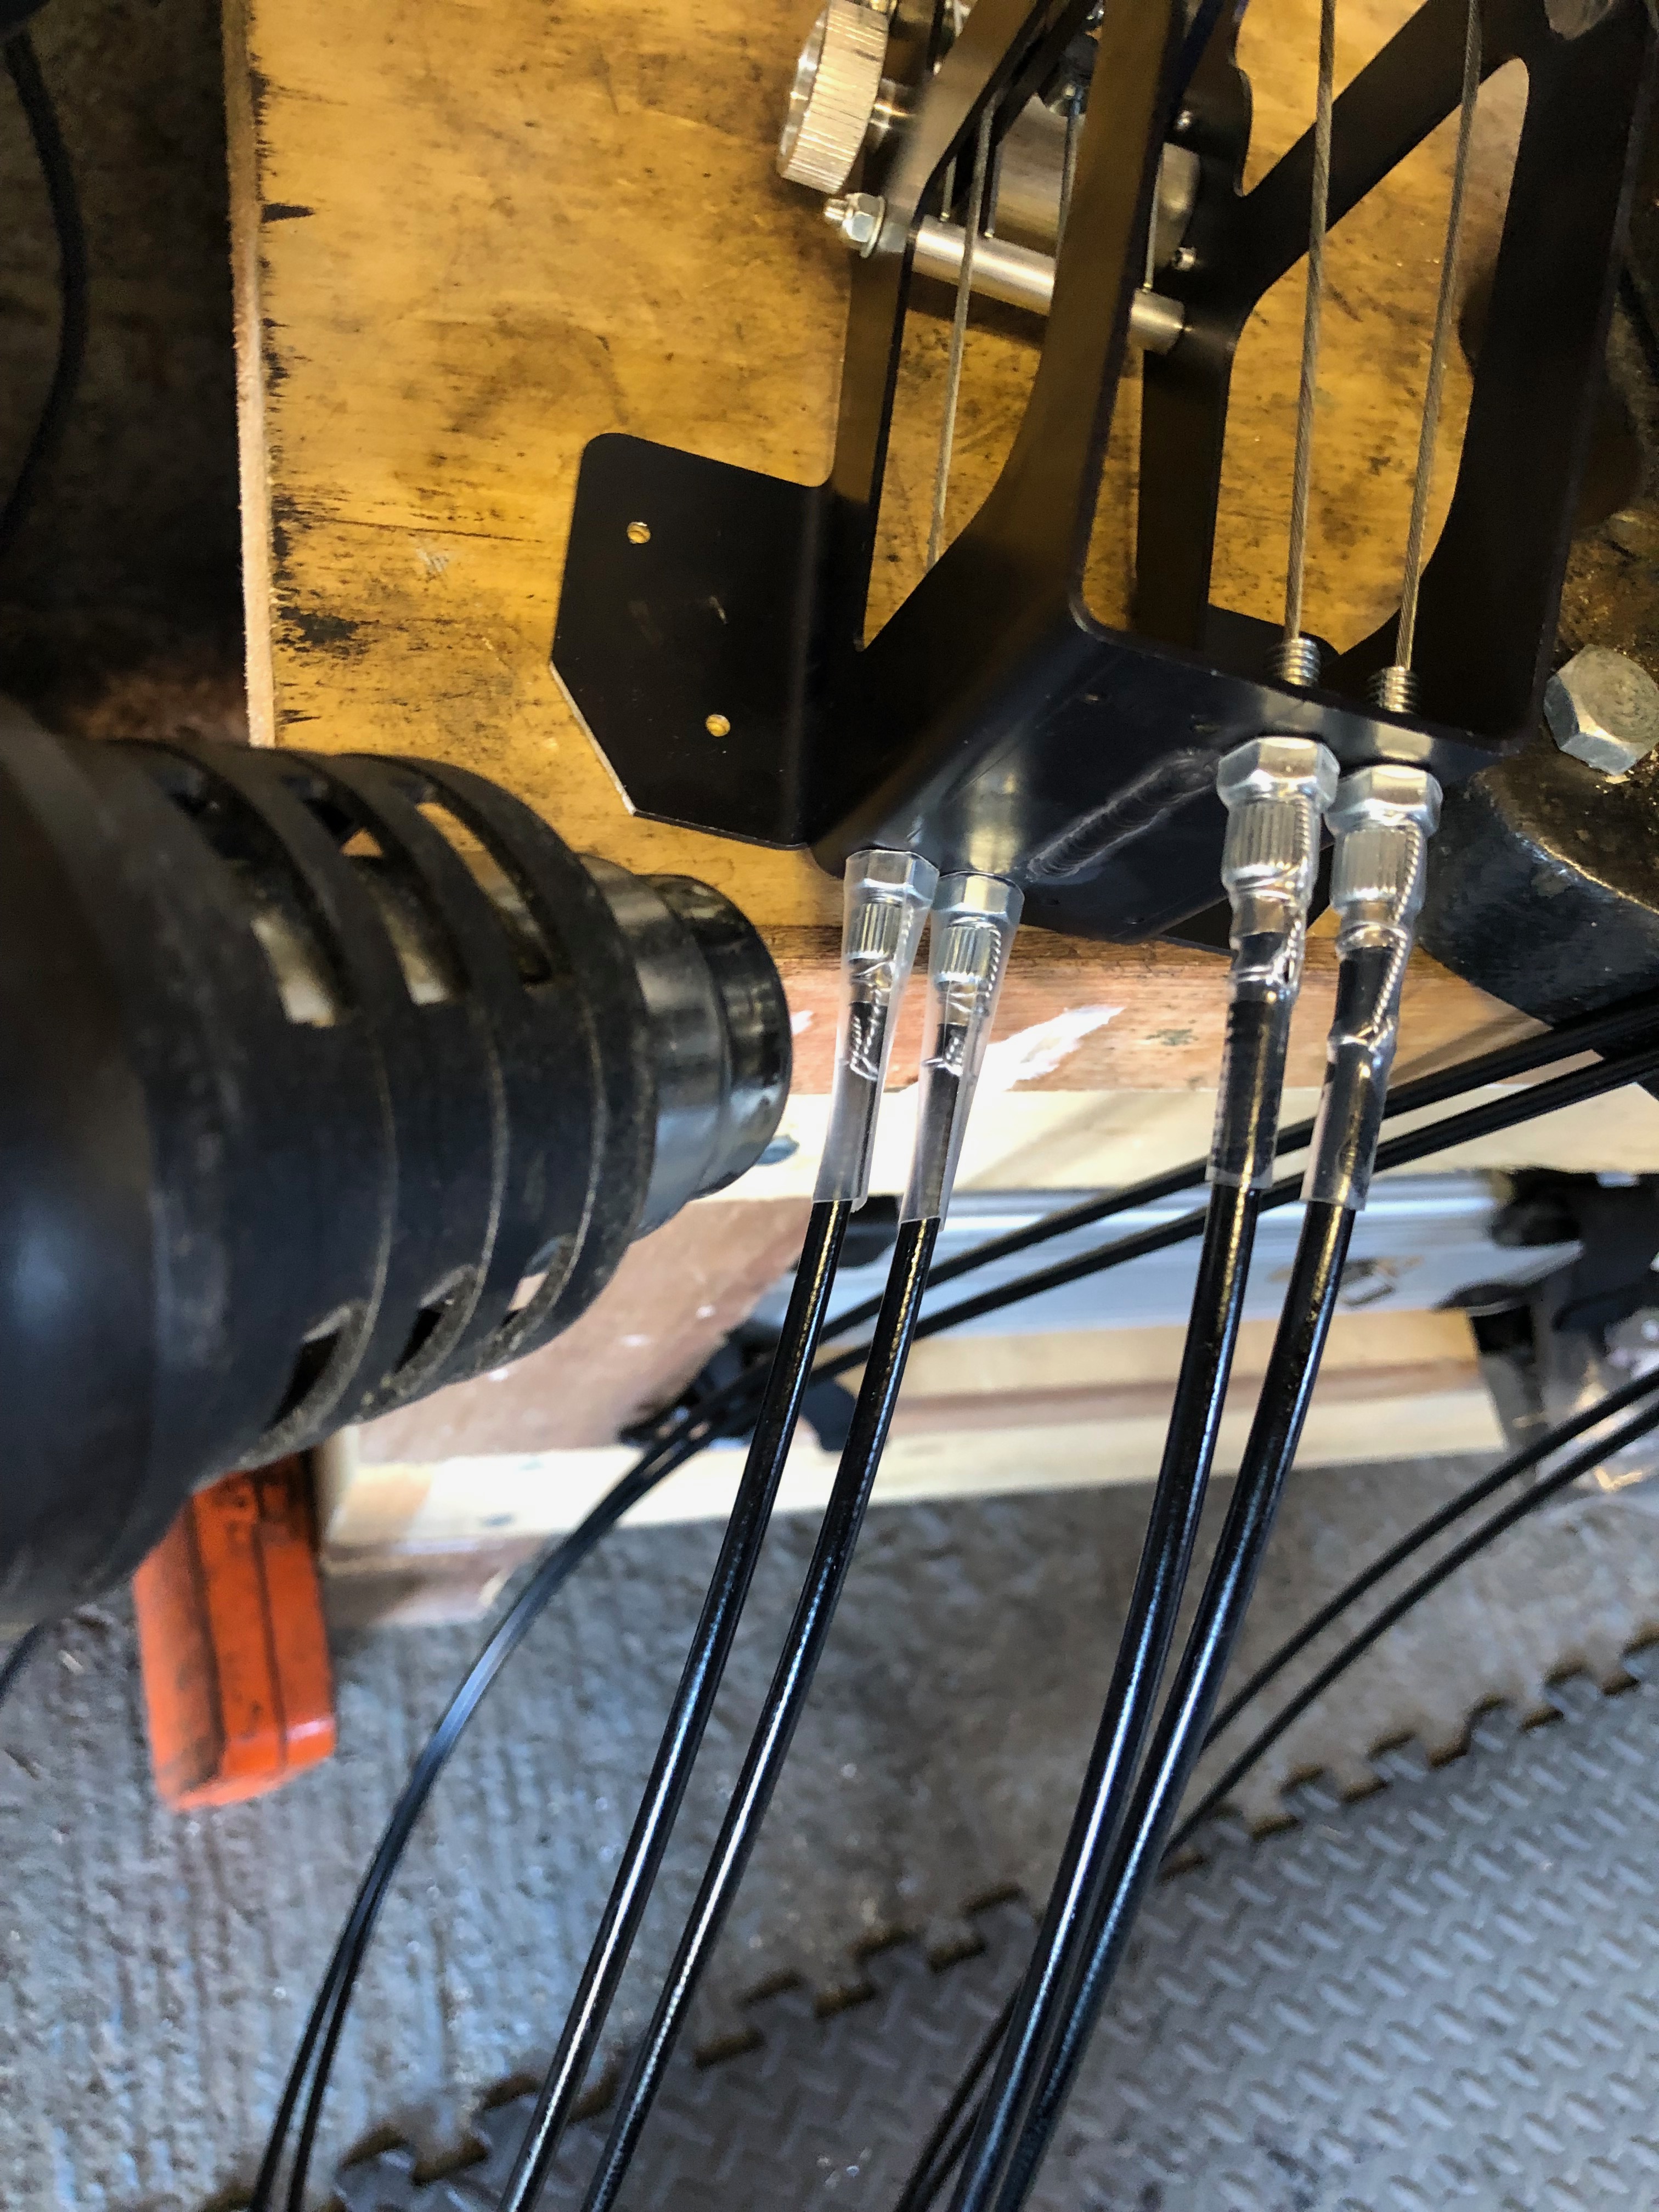
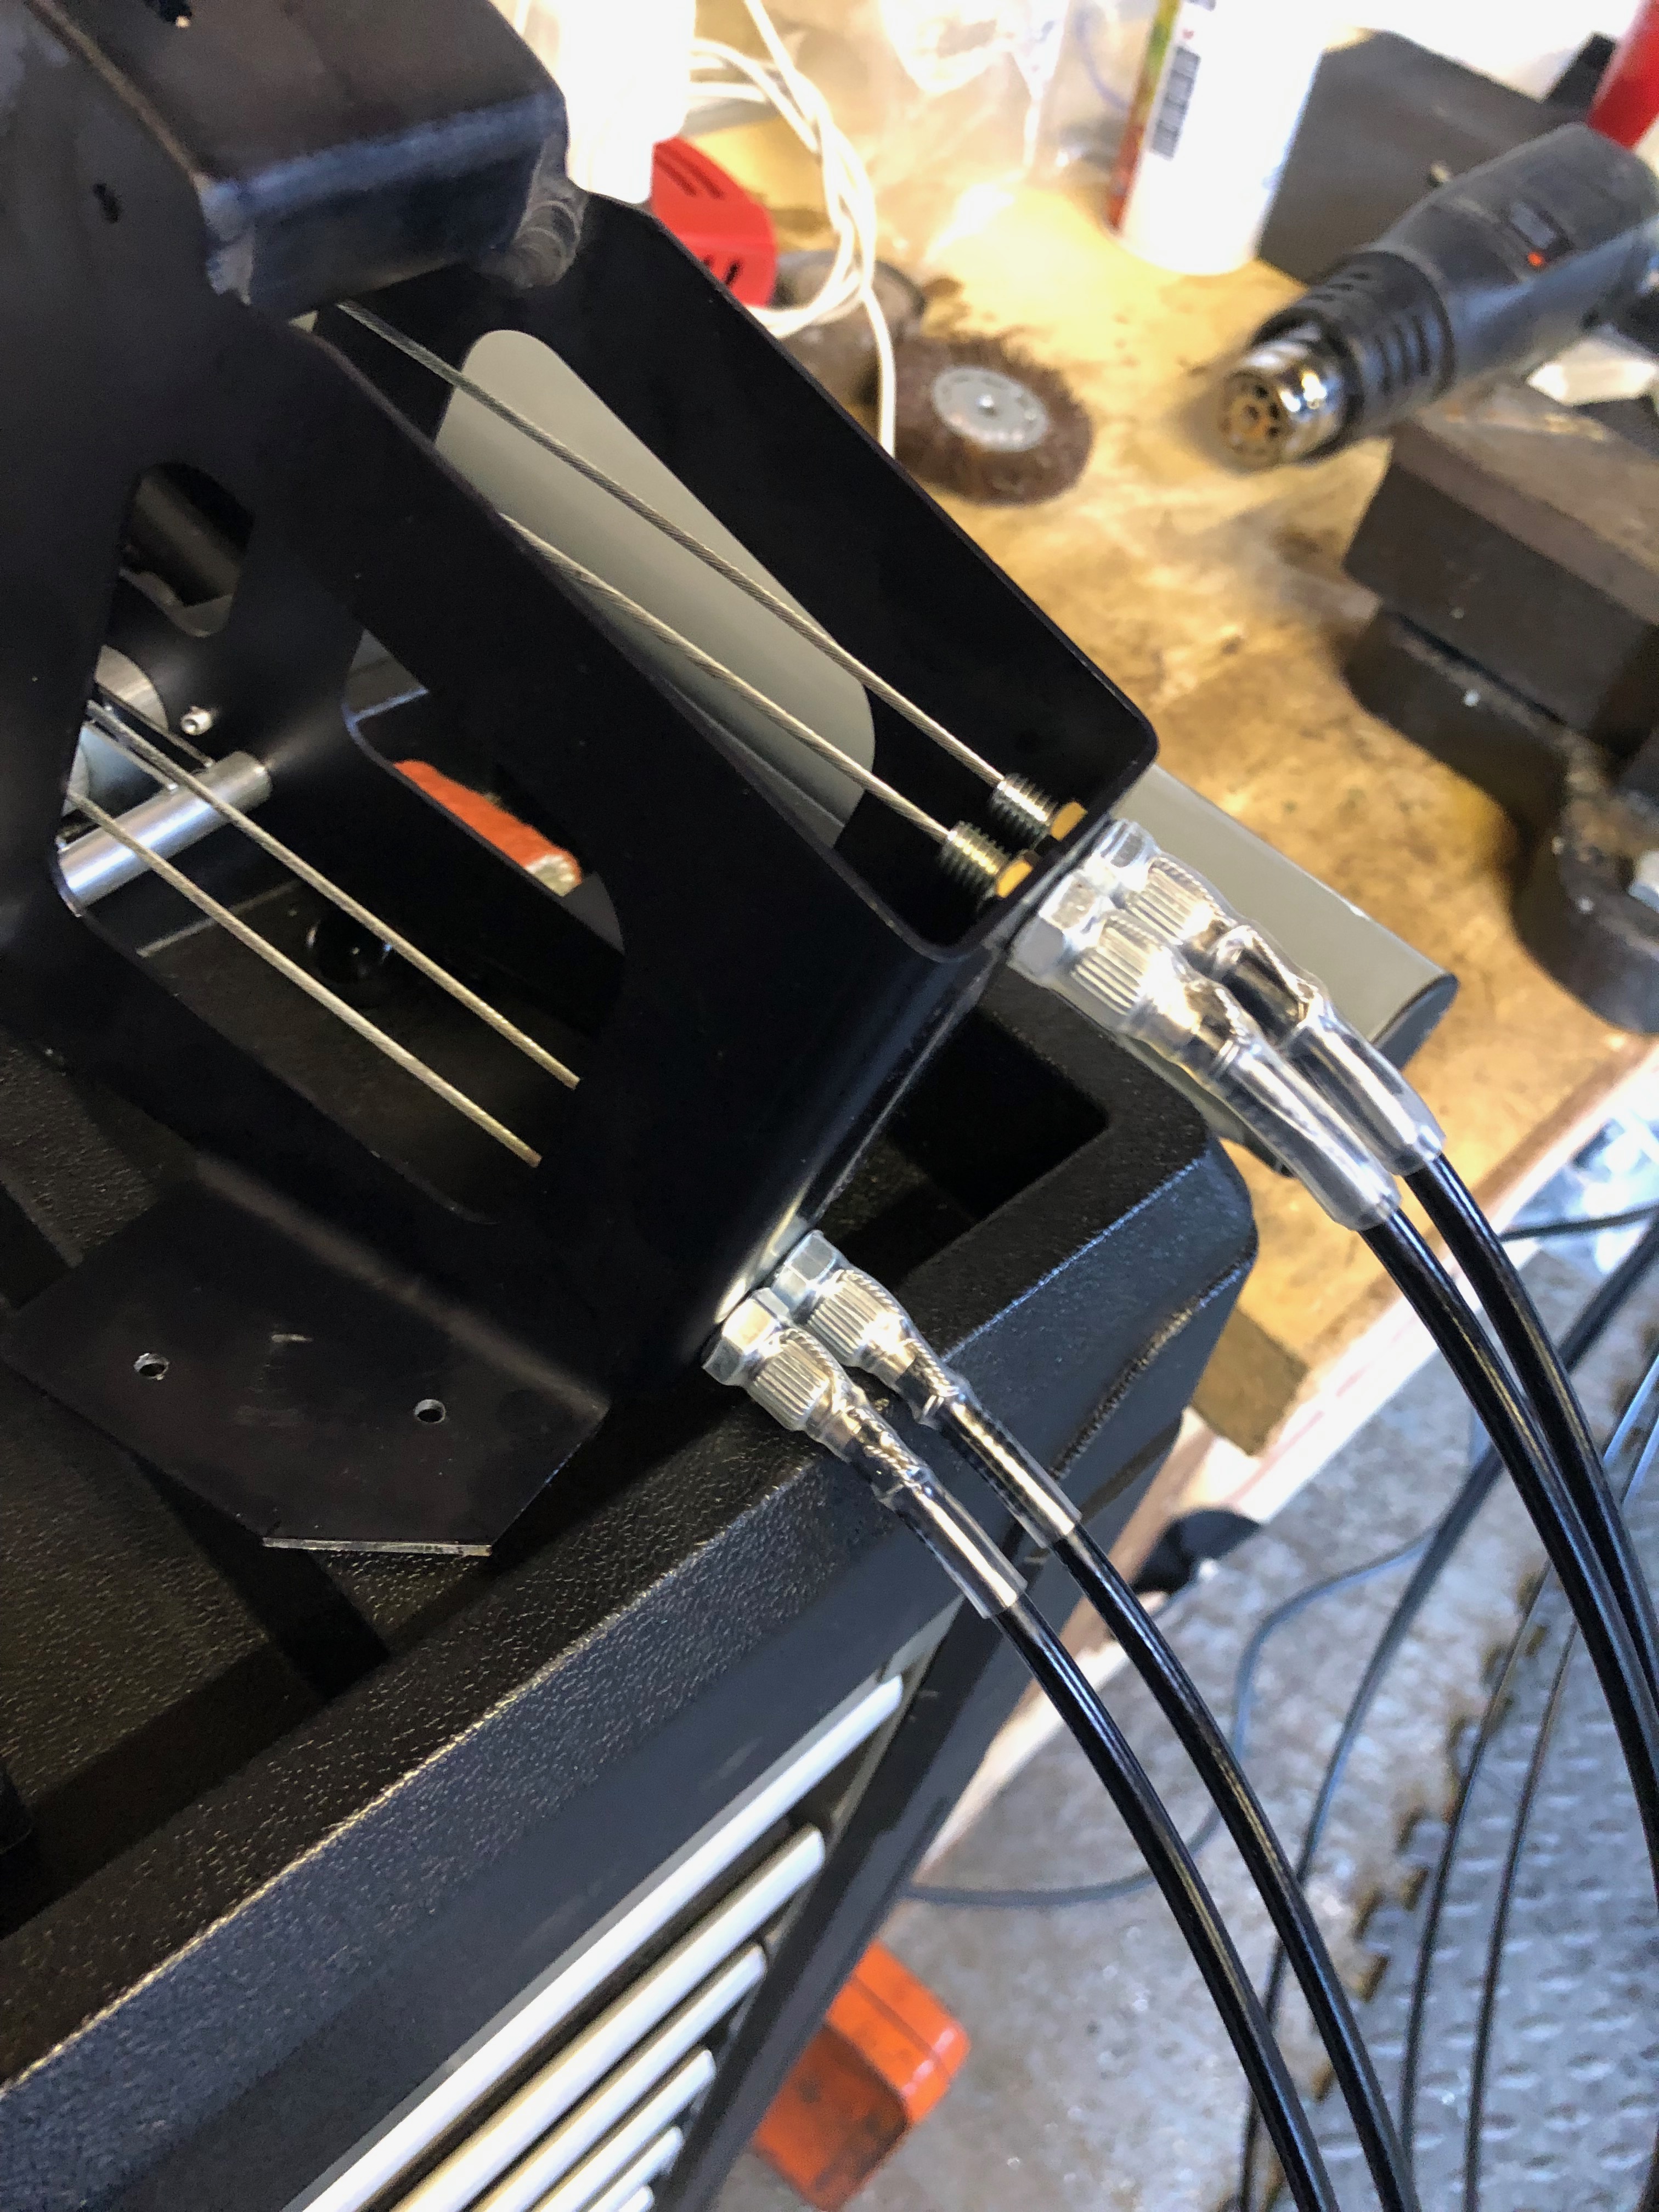
Wire locking is added and a piece of heat shrink tubing is slipped over the assembly to ensure is doesn’t undo.
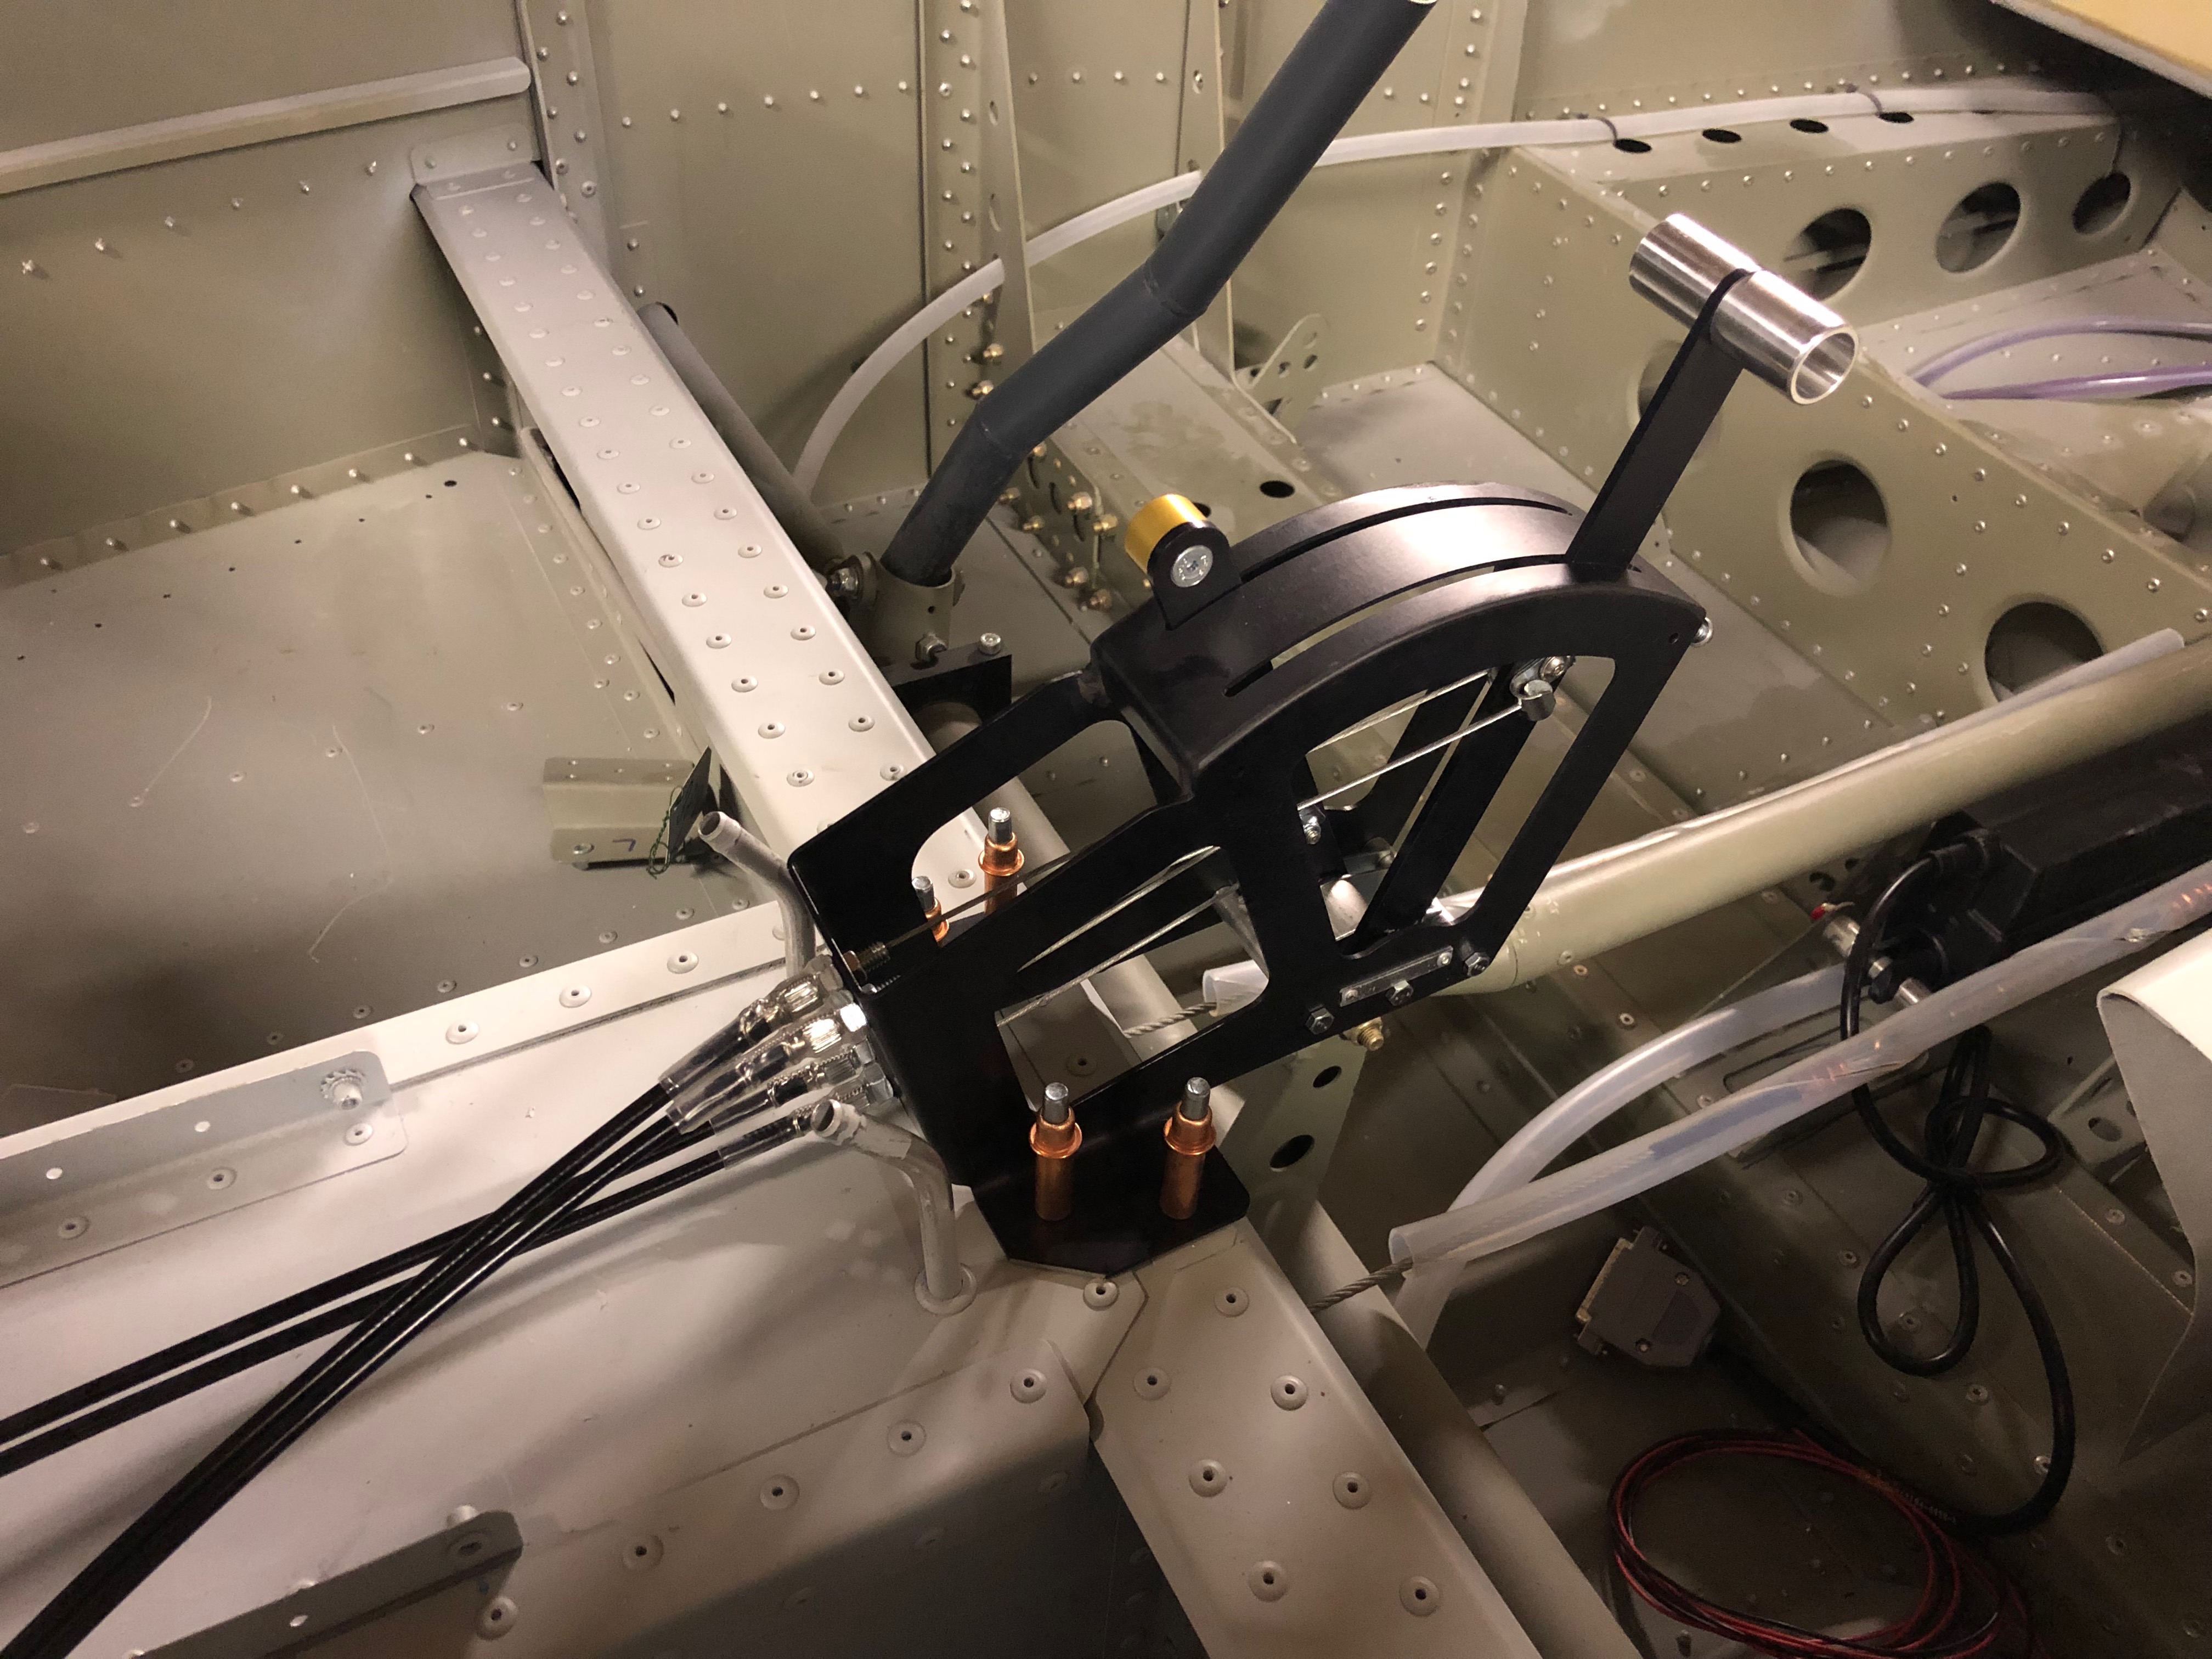
The throttle quadrant is complete and will be installed when I come back this evening.