Category Archives: Carburettor

Friday 3rd January 2020 – Rotax Mandatory SB-912-073

Rotax issue Service Bulletins alerting owners of known issues or defects that need addressing. The first was to replace the carbruettor floats that have been found to be soaking up fuel and sinking. This could cause rough running or even engine failure. I changed these before the first flight to ensure my test pilot wasn’t at risk.

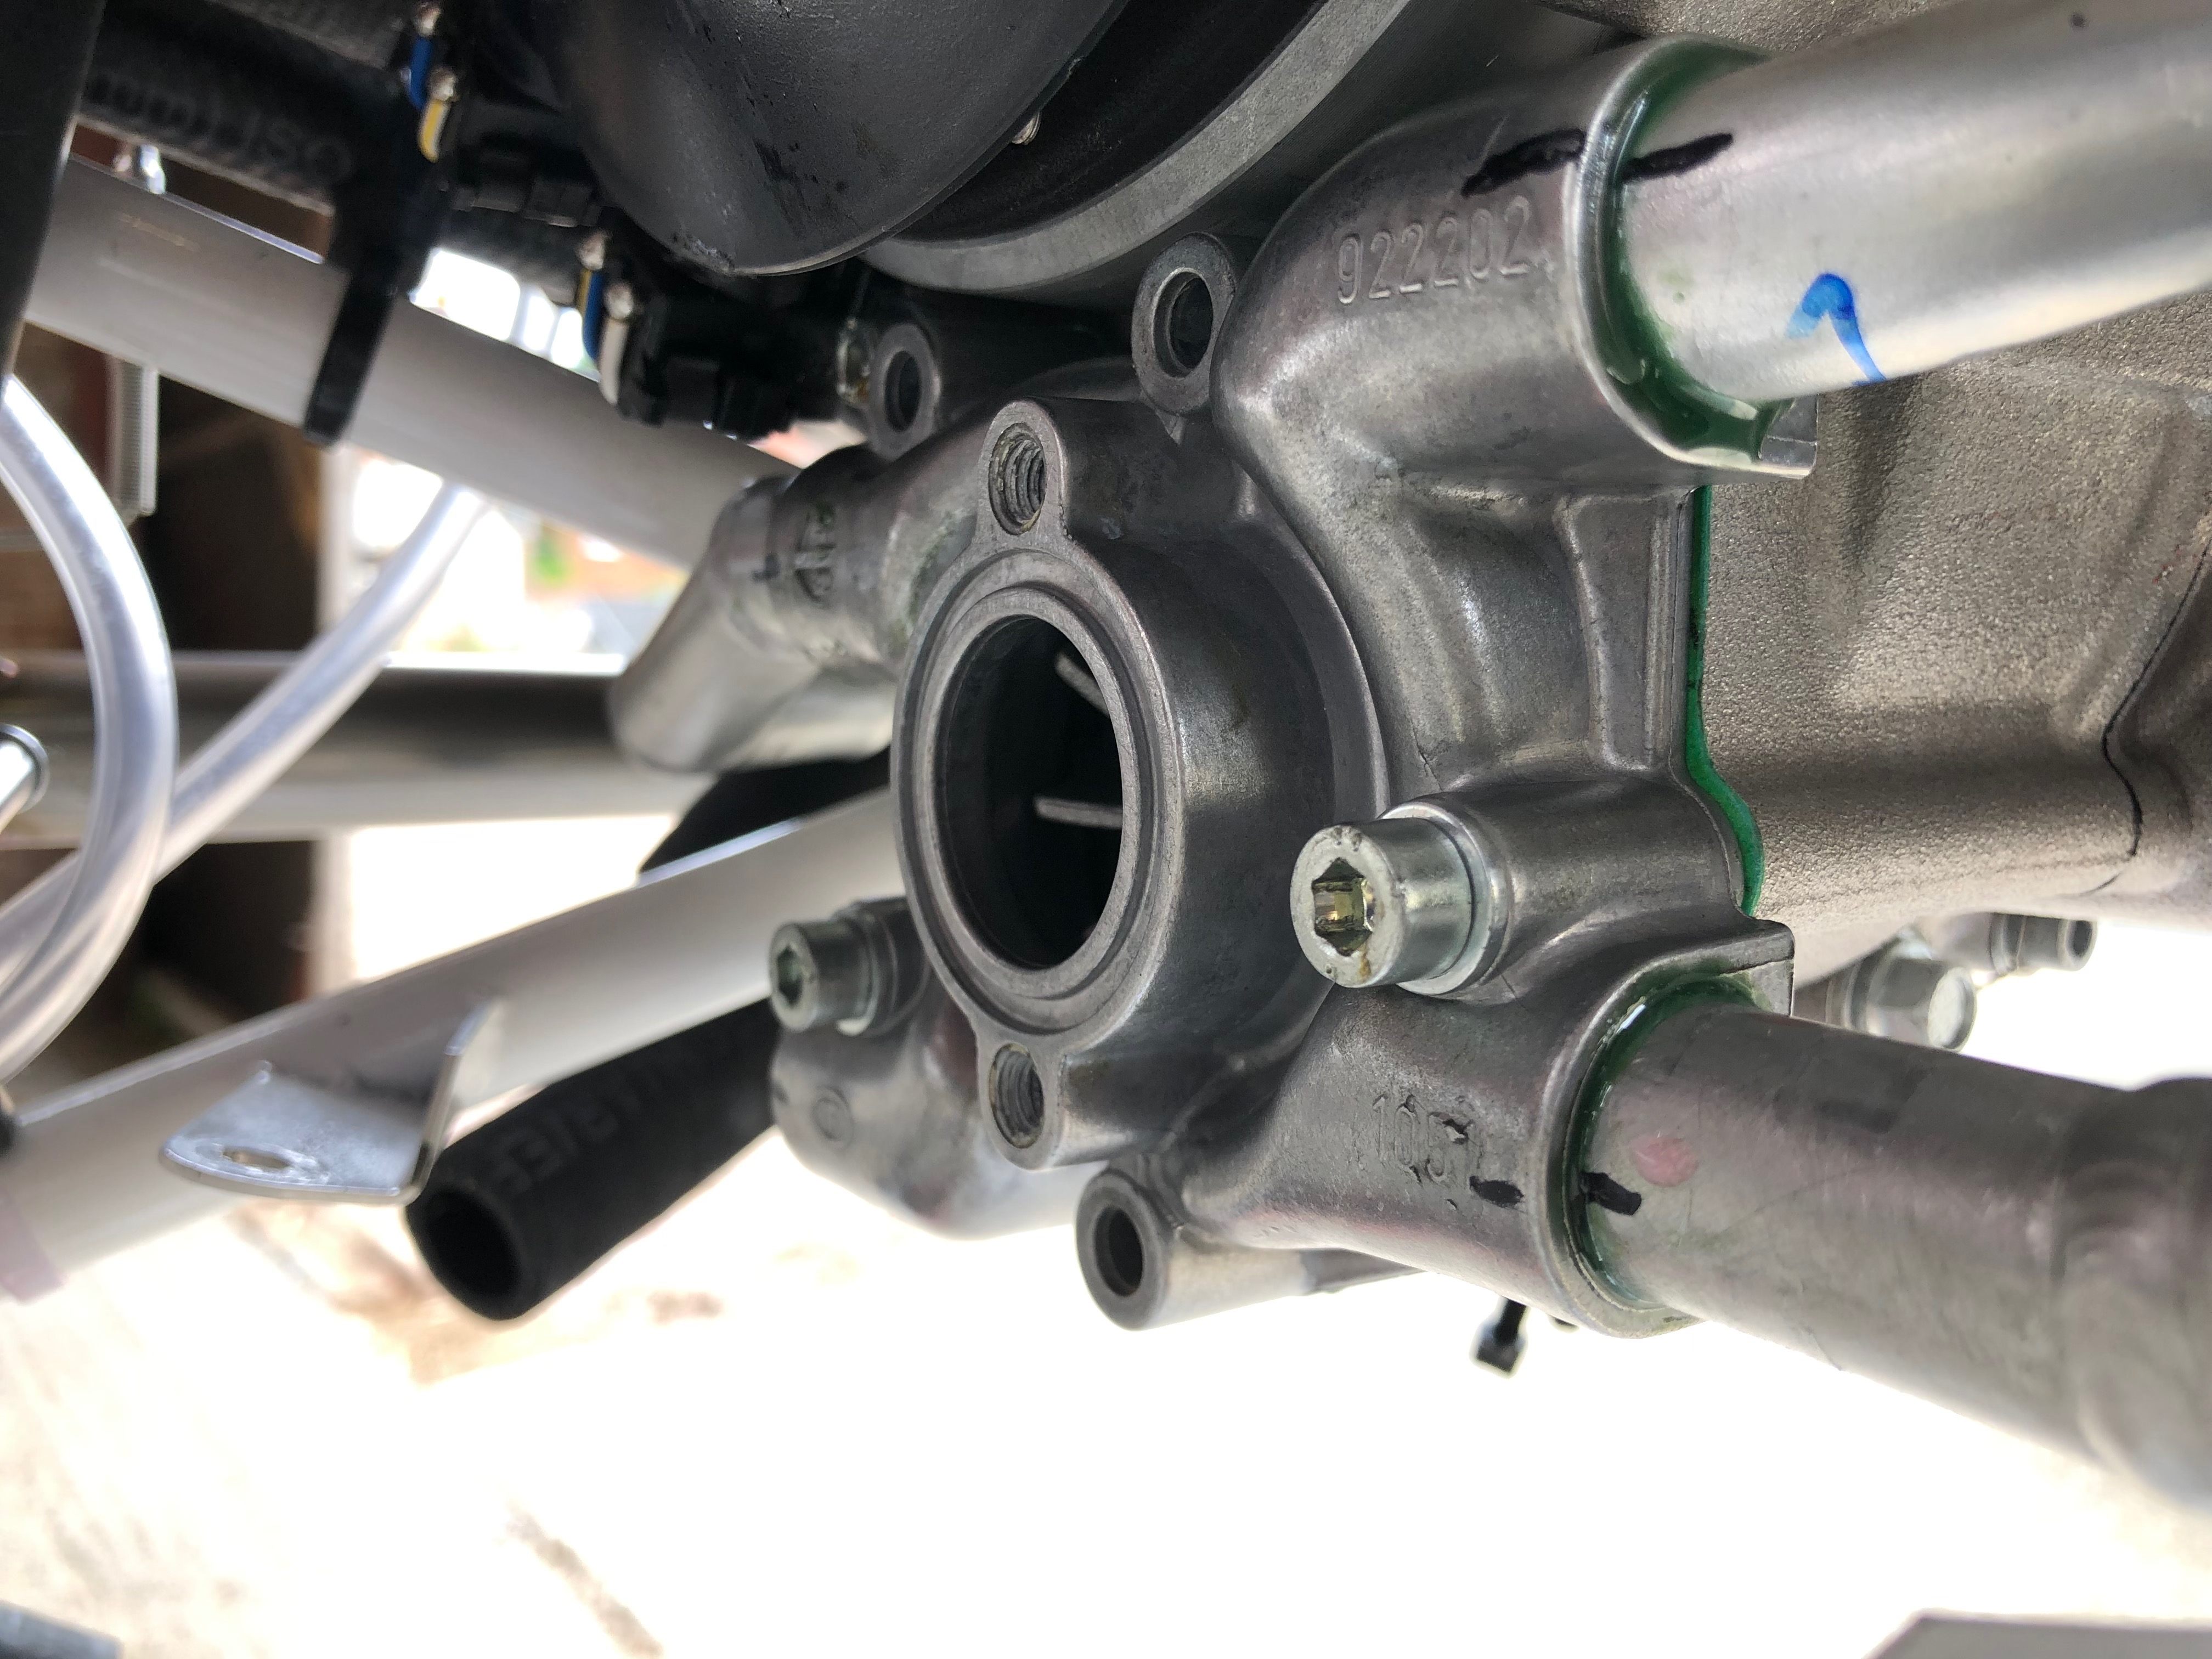
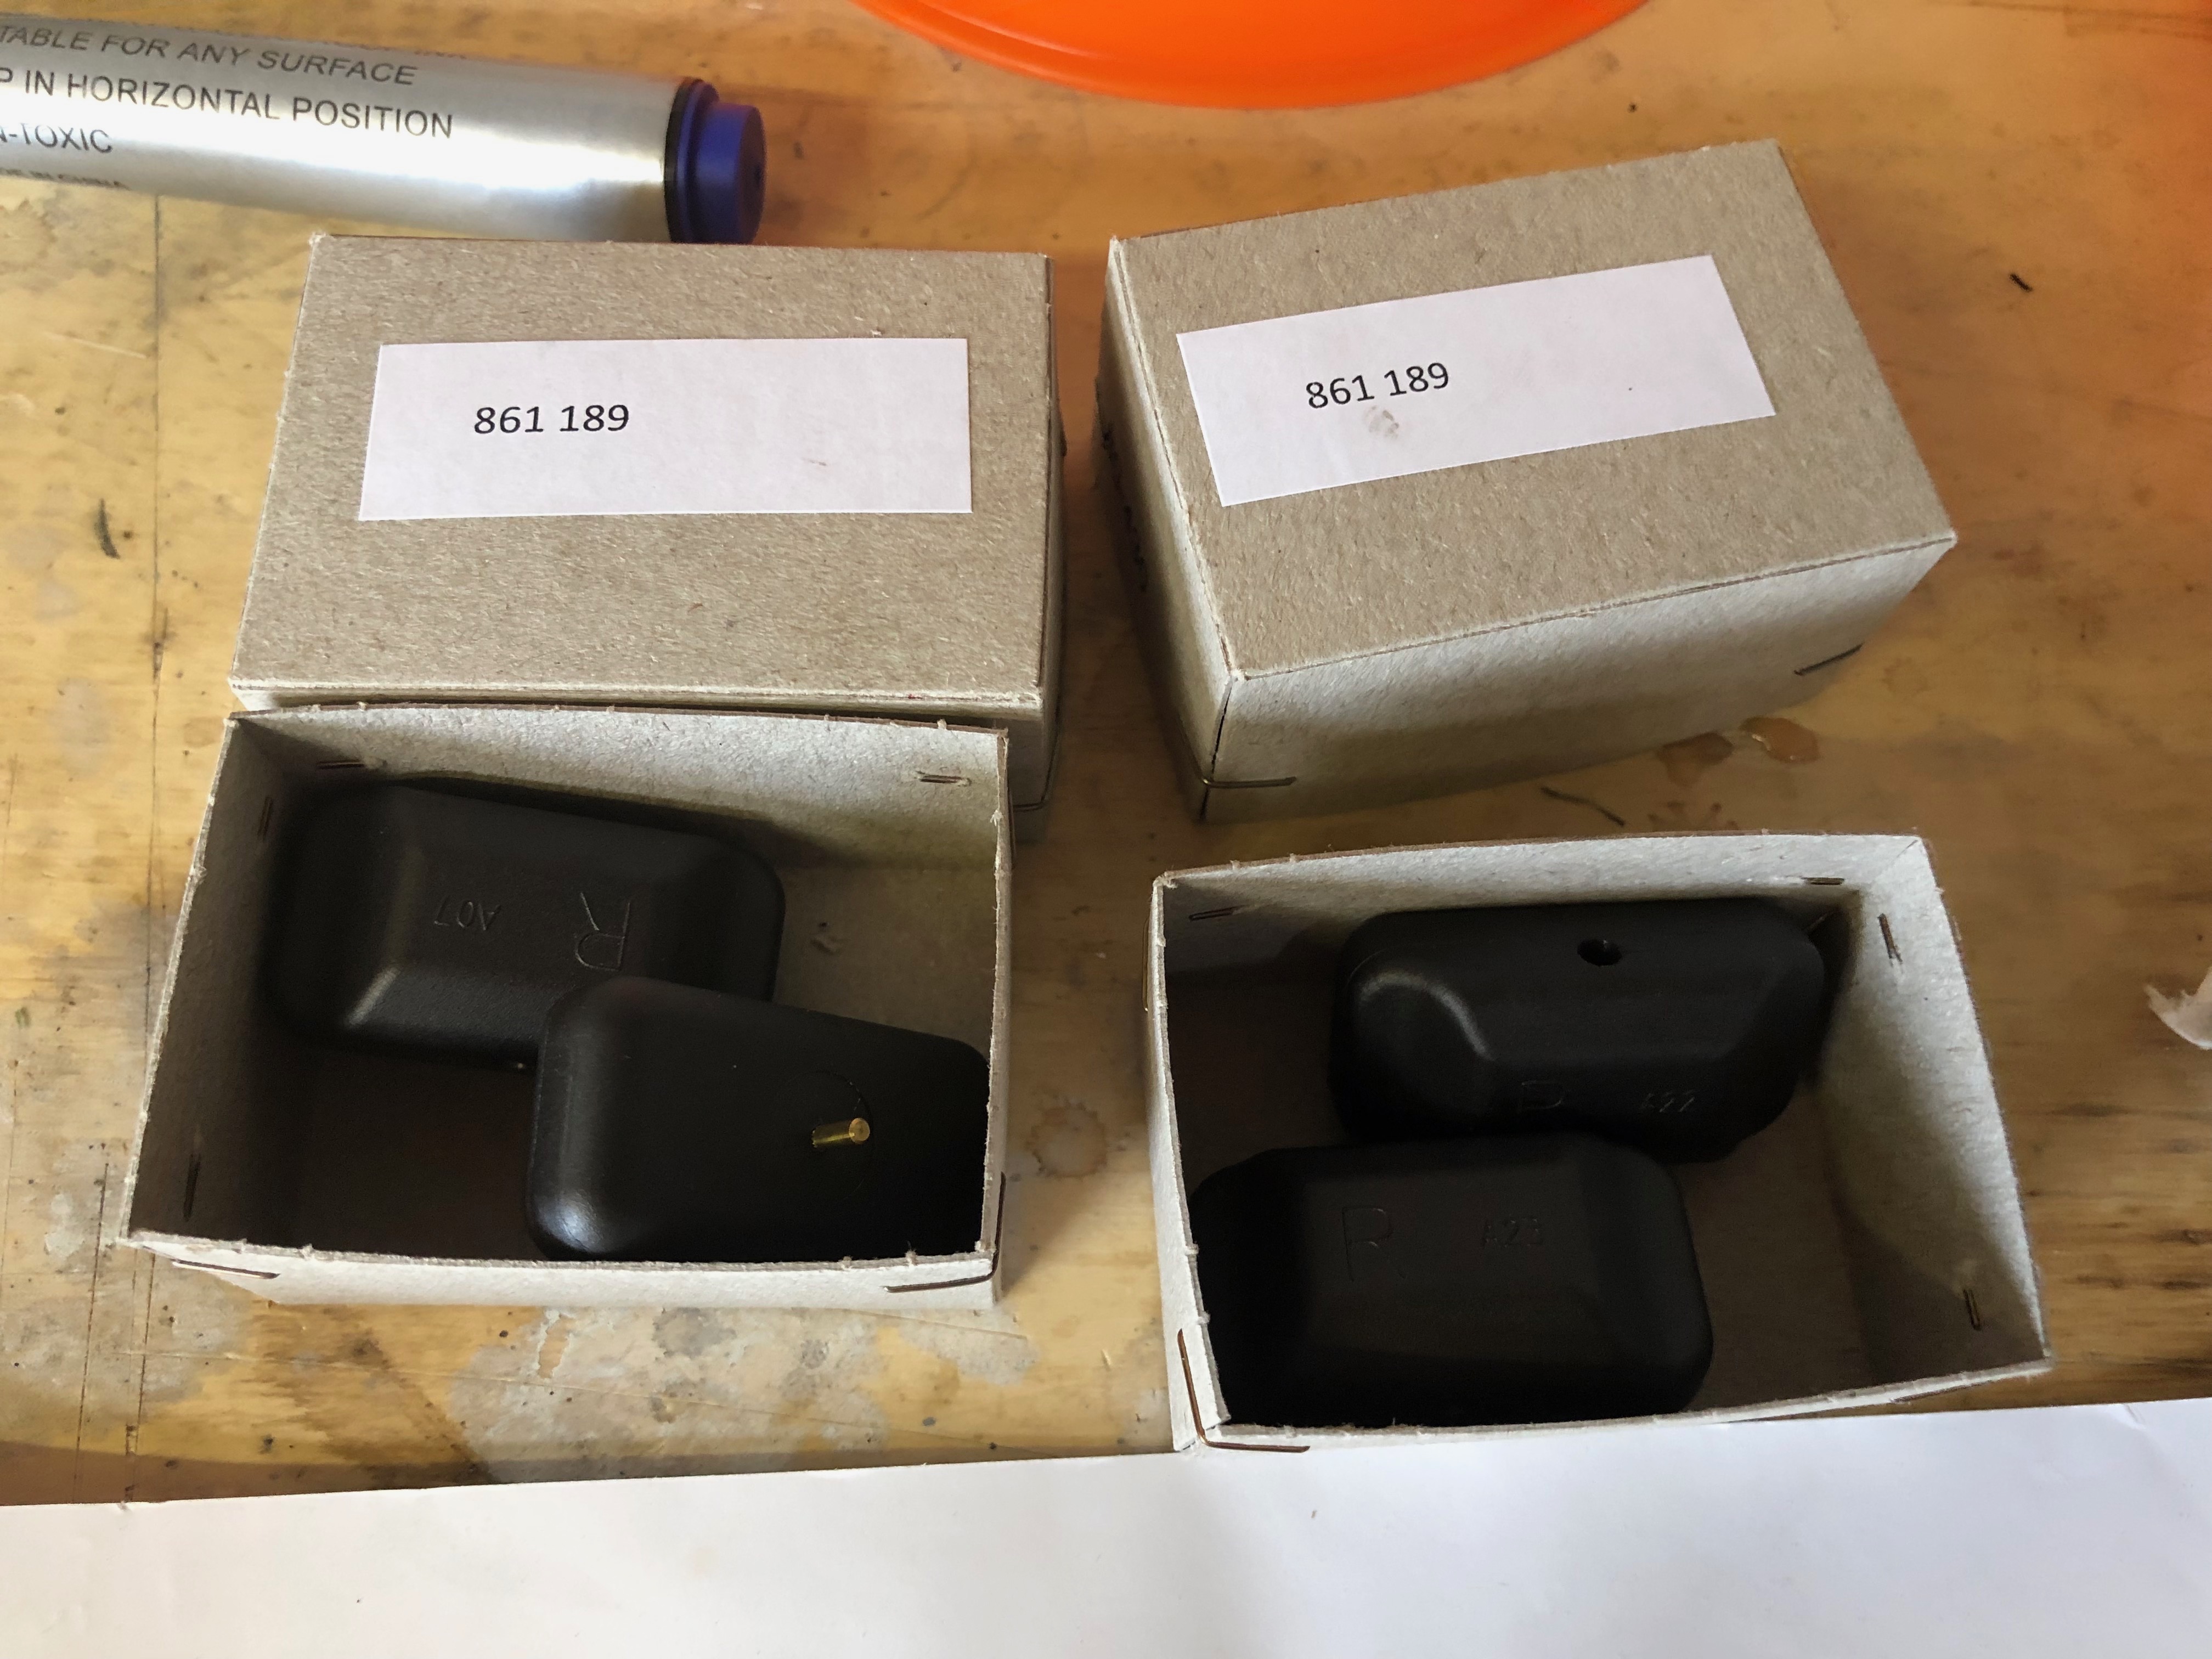
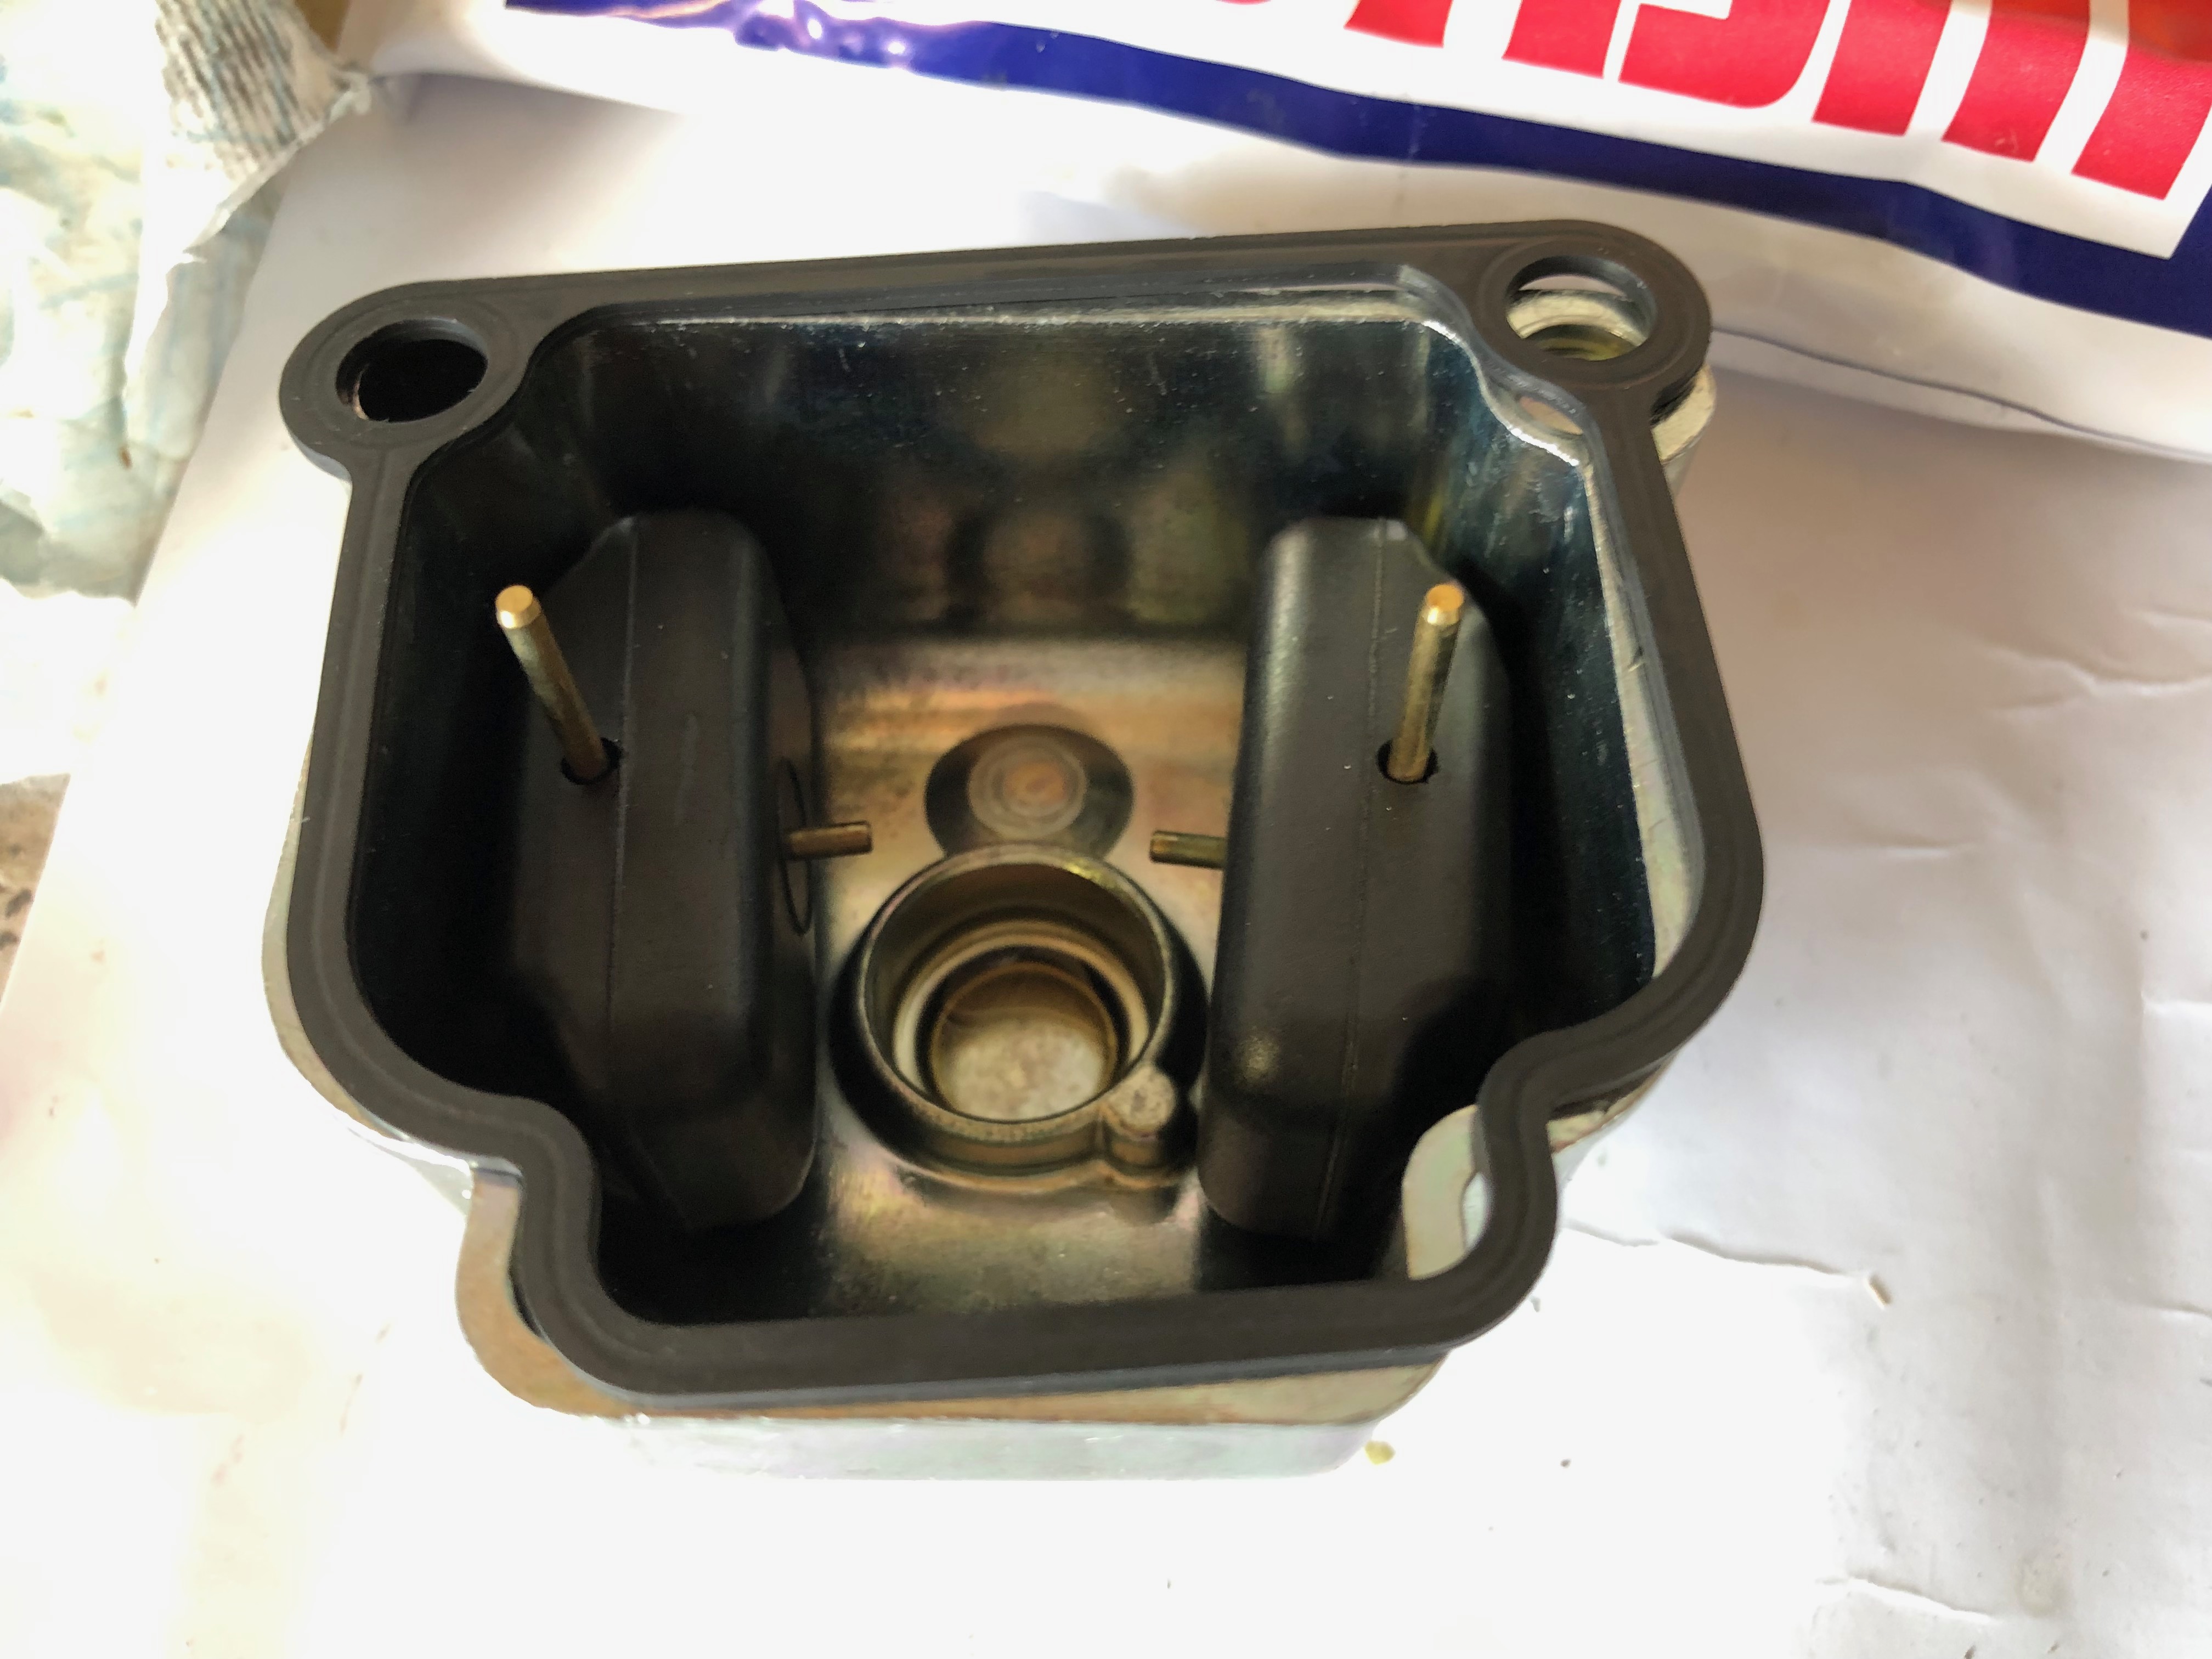
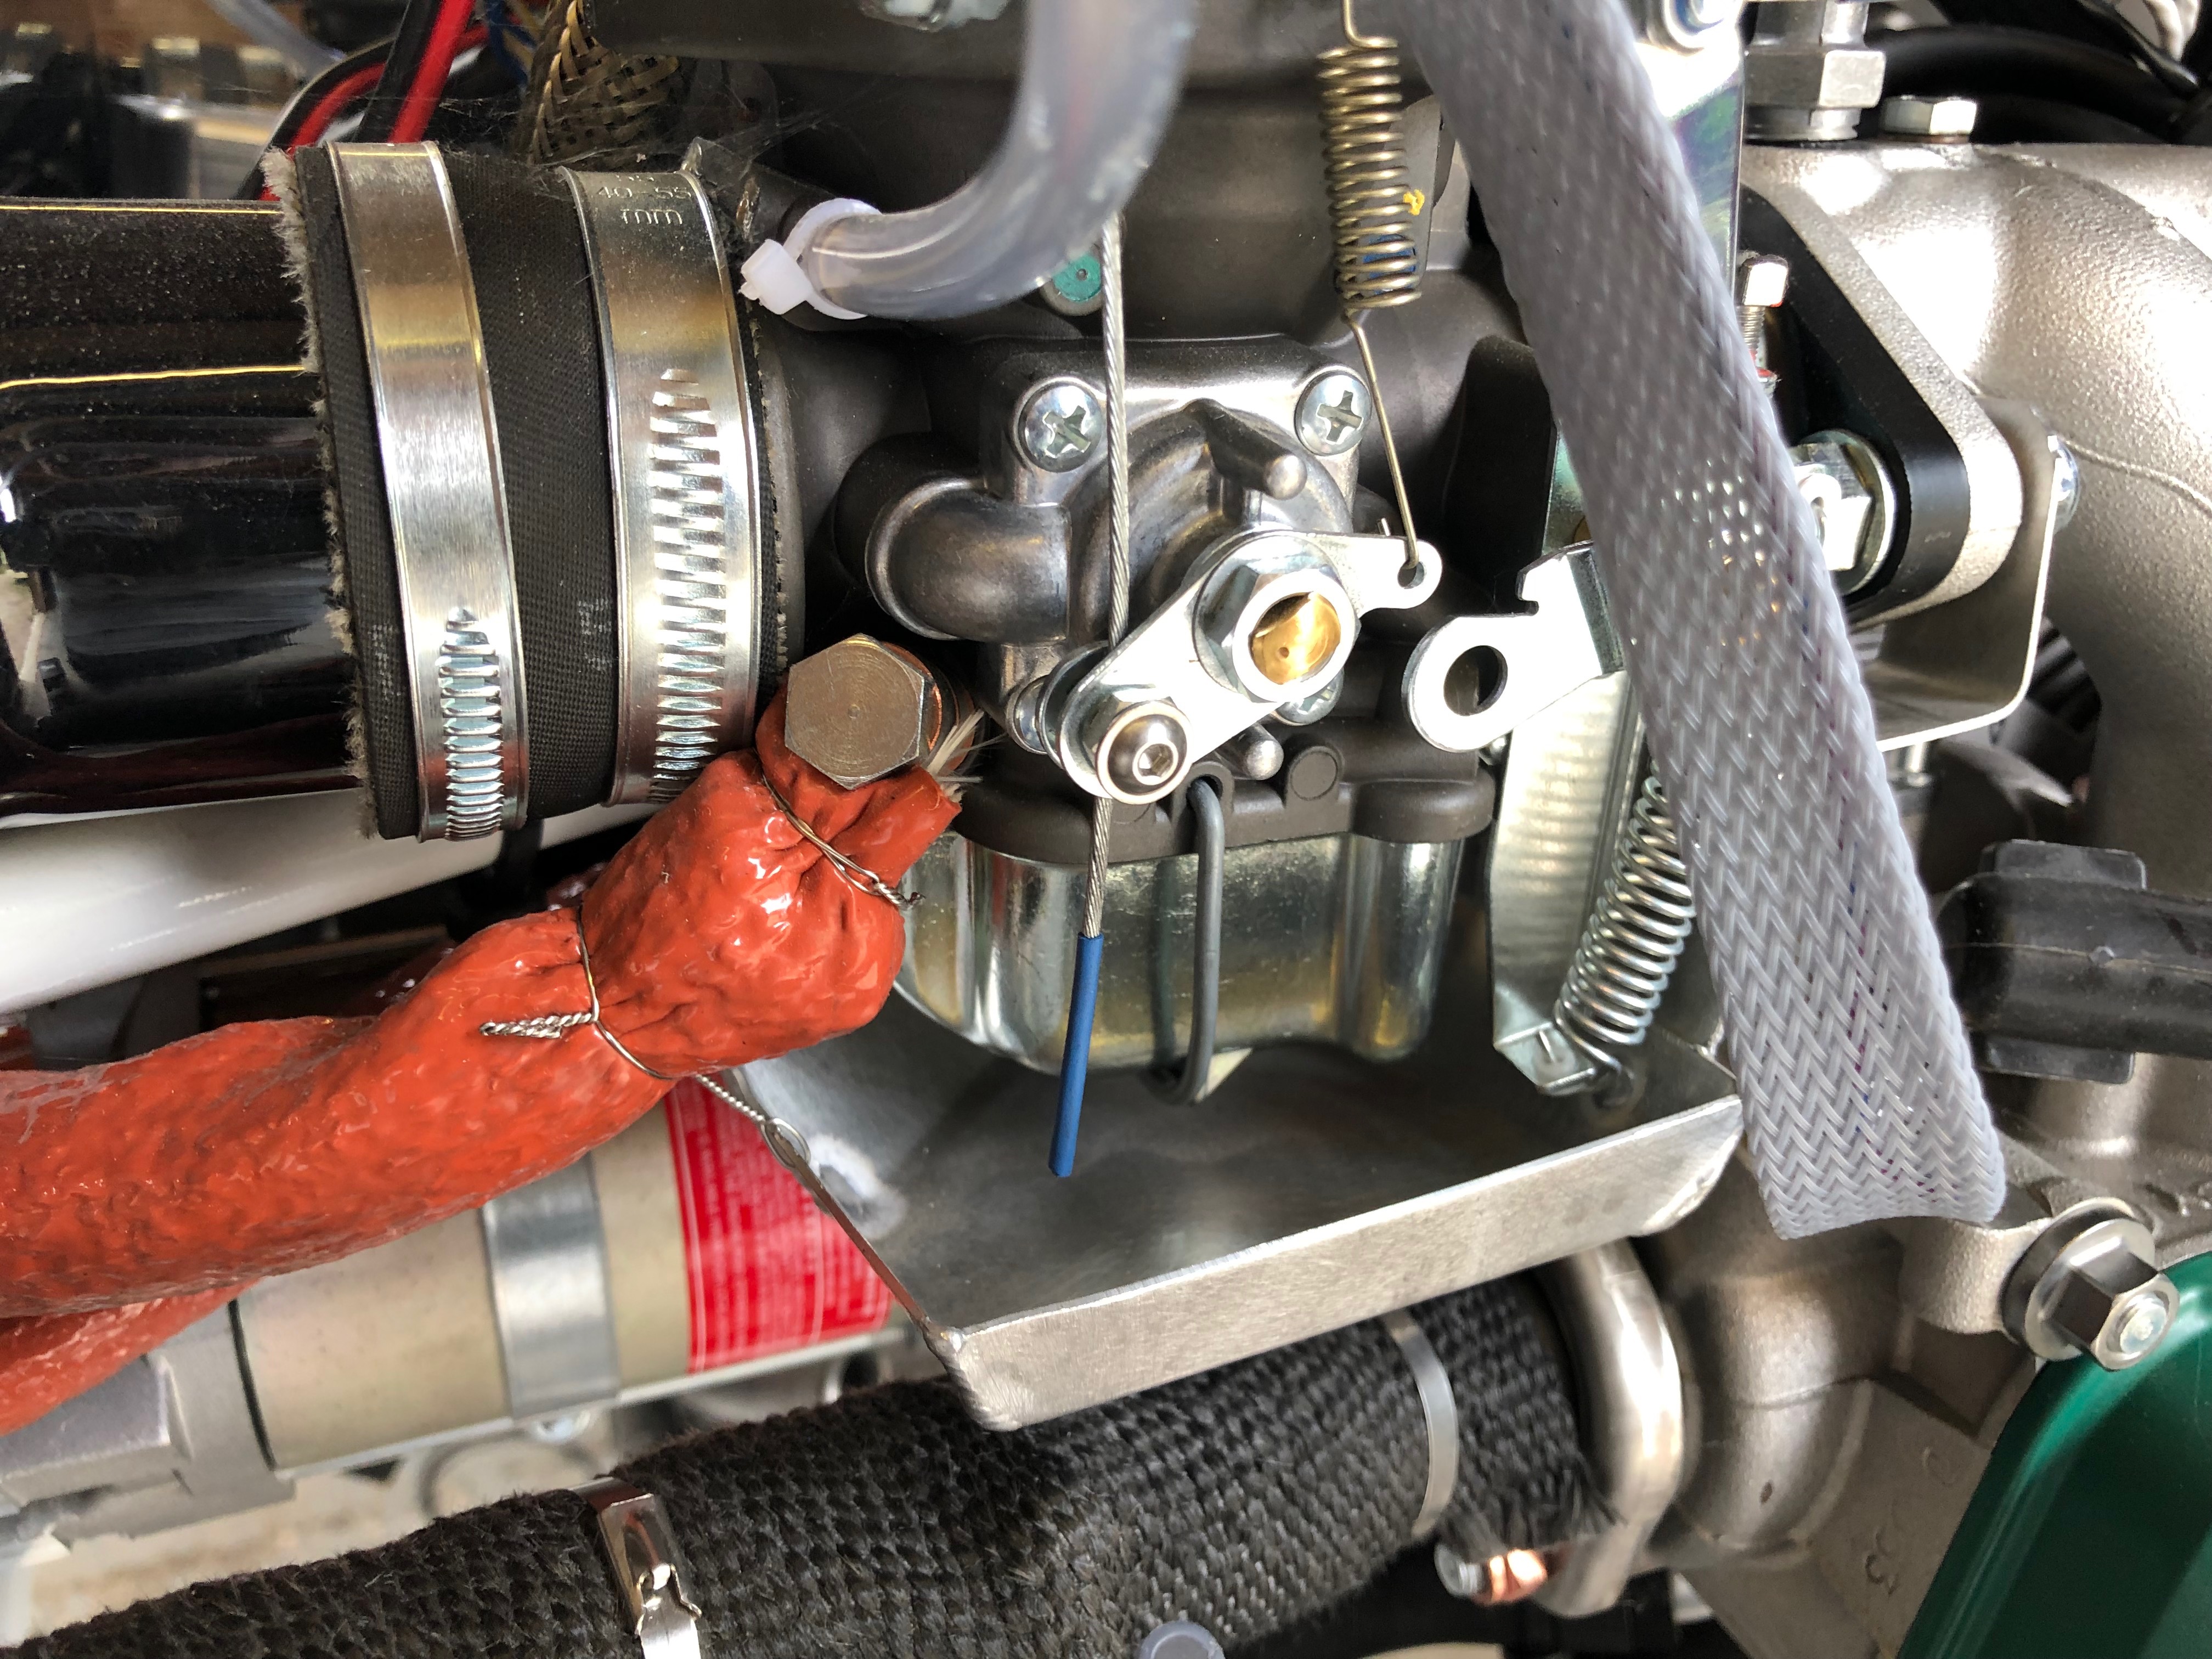
The latest one applies to my engine and relates to a circlip that holds the jet needle in place. The reason stated was ‘Due to deviations in the manufacturing process a partial fracture of the circlip may occur. This fracture might lead to a crack/ total fracture of the circlip which in consequence may lead to a malfunction of the carburettor. Possible effects might be rough engine running or an unusual engine operating behaviour.’ The replacement needed to be done within 25 hours of the notice issue date but in any event no later than 31st July 2020. Replacement circlips and the ‘O’ rings were supplied under warranty from CFS

As the engine is just coming up to 25 hours and with Maypole’s runway waterlogged it was an ideal time to carry out the change.

The circlips…
and ‘O’ rings supplied under warranty.
The first thing to do is to remove the carburettor tops which requires the choke spring and …
throttle and choke cables to be removed.
The two screws retaining the top are removed…
which allows the top, spring and …
…the slide to be removed.
The needle retaining screw is removed next but Loctite has been applied to the thread so it’s quite tight to remove. Luckily it unscrewed without too much force.
Once the retaining screw is removed the needle can be withdrawn the circlip removed and replaced making sure to note which of the 4 grooves it was located in first!
The ‘O’ ring that stops the needle moving in situ is recessed in the retaining screw and is also replaced.
The needle is reinserted and Loctite 243 is applied to the retaining screw.
The carburettor can now be reassembled…
and the choke and retaining springs reattached. The last thing to be done is to reconnect the throttle and choke cables.
The carburettor reassembled.

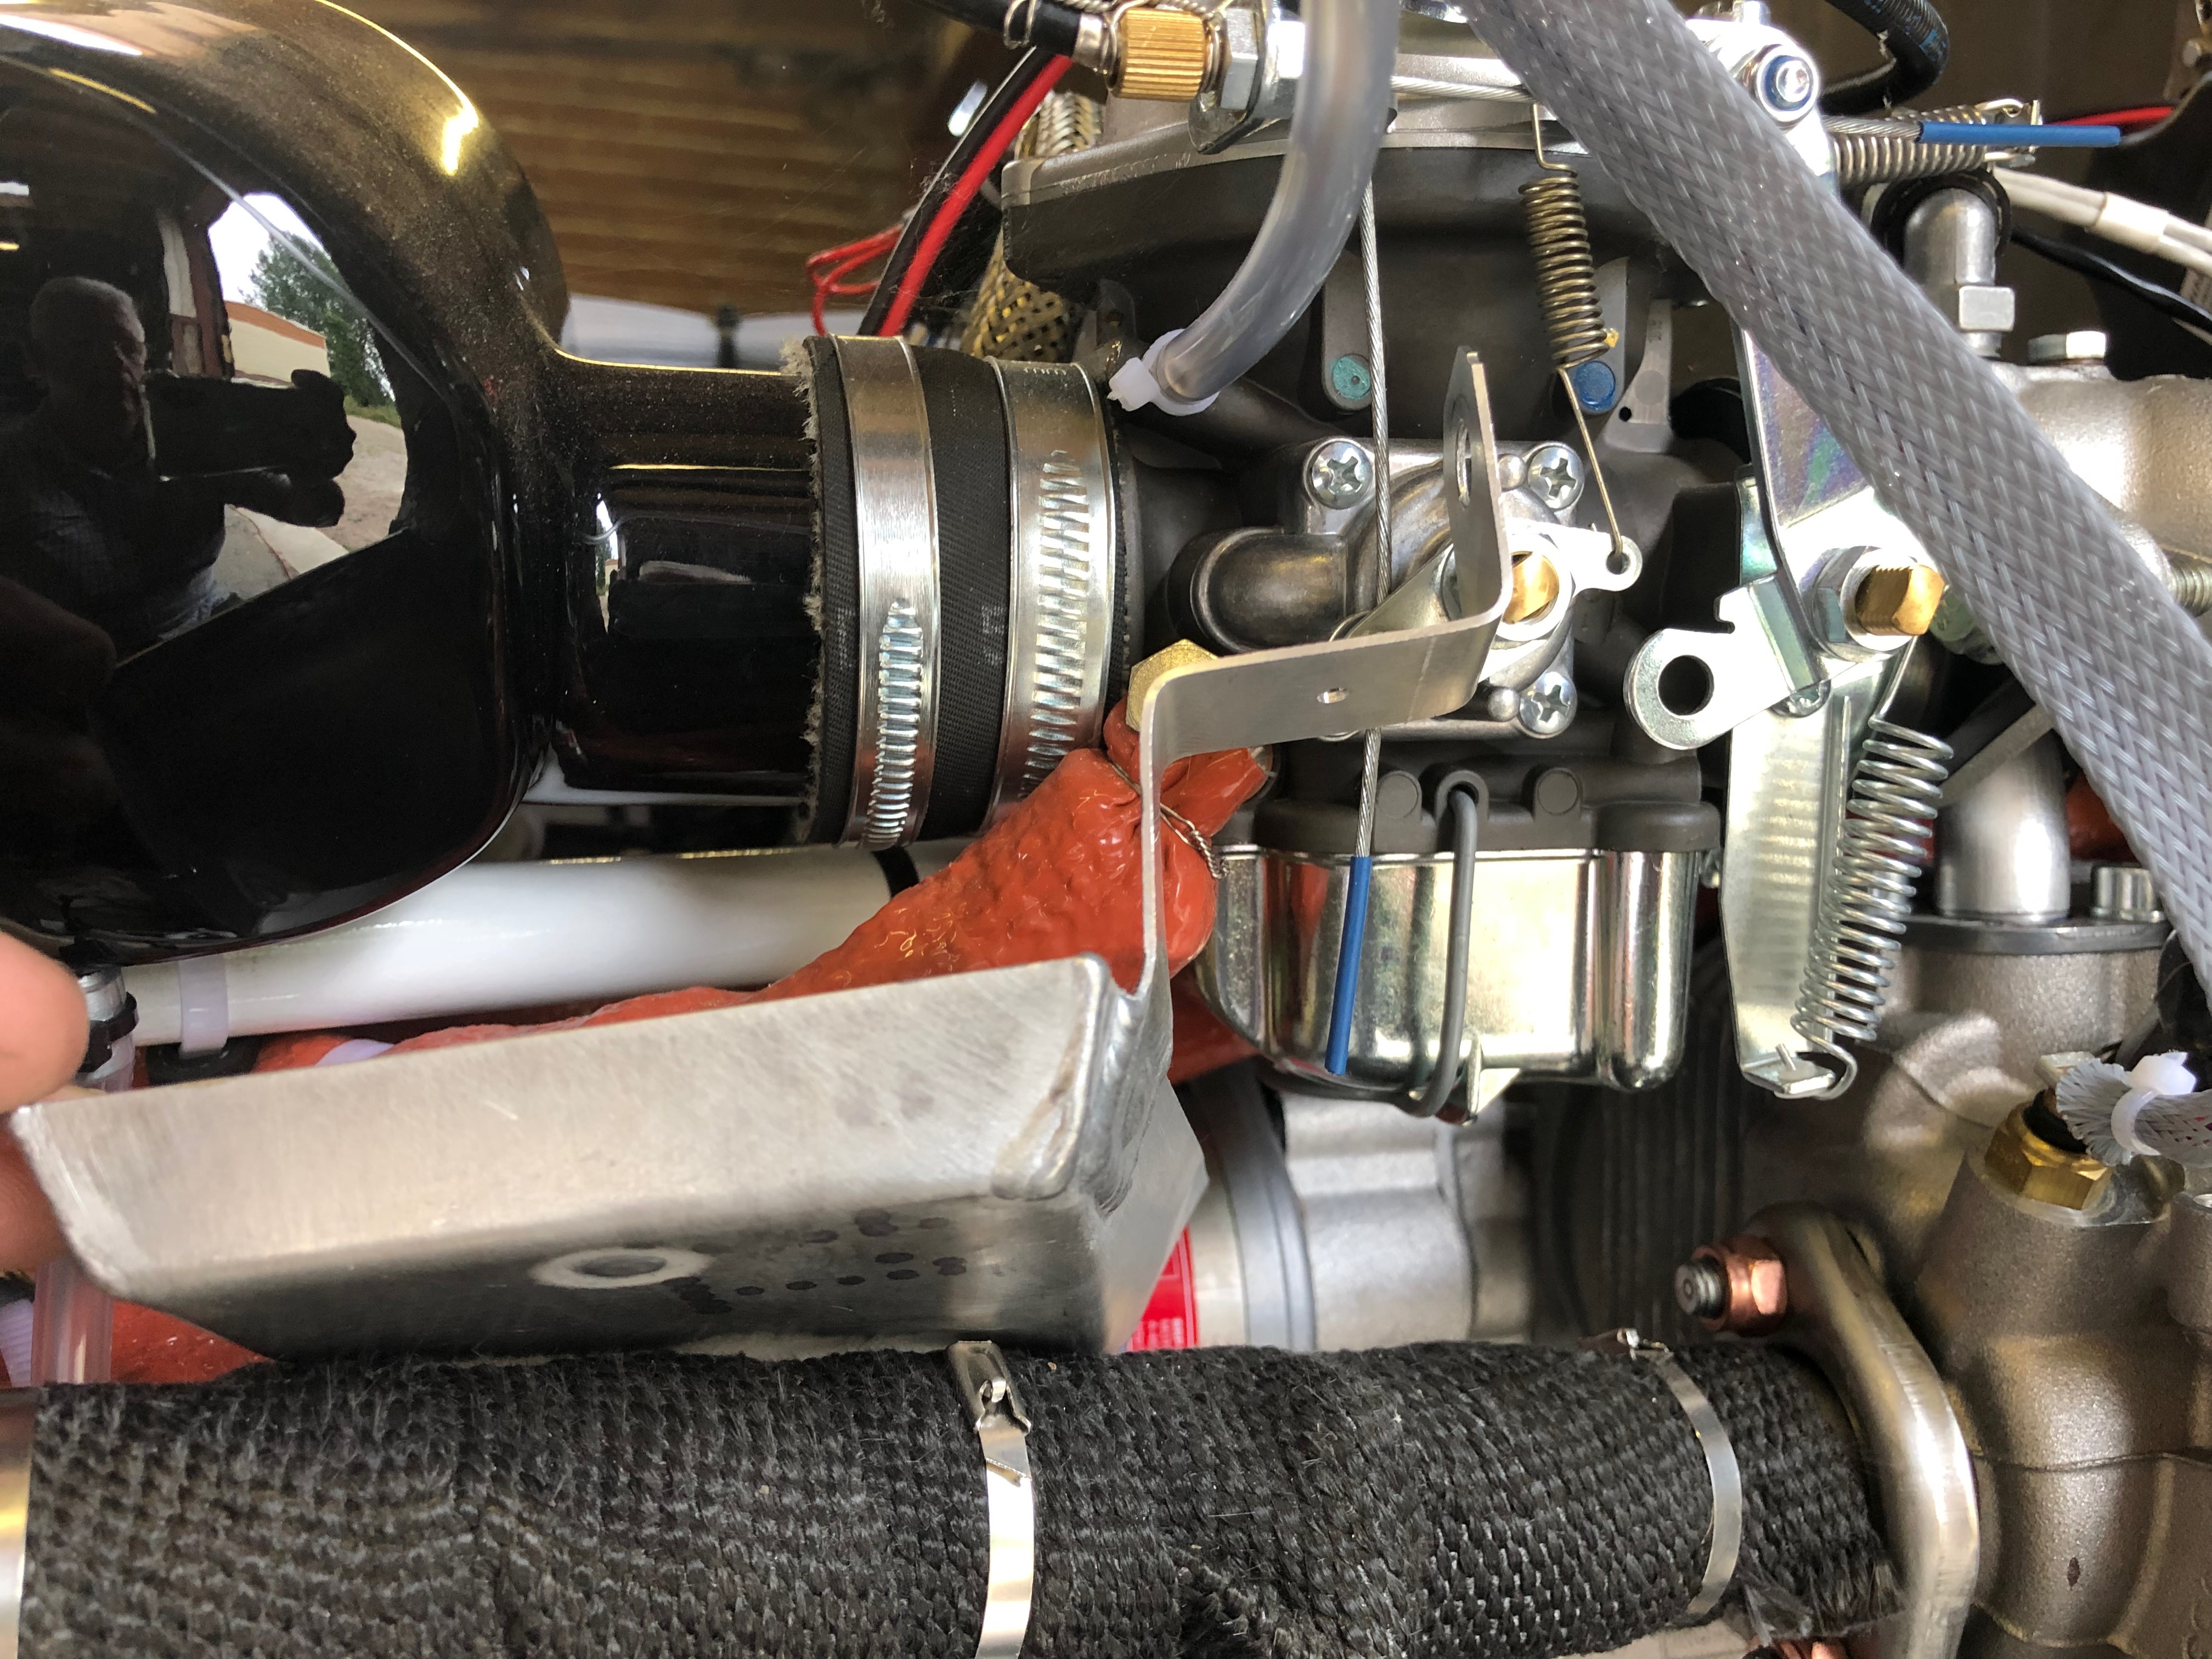
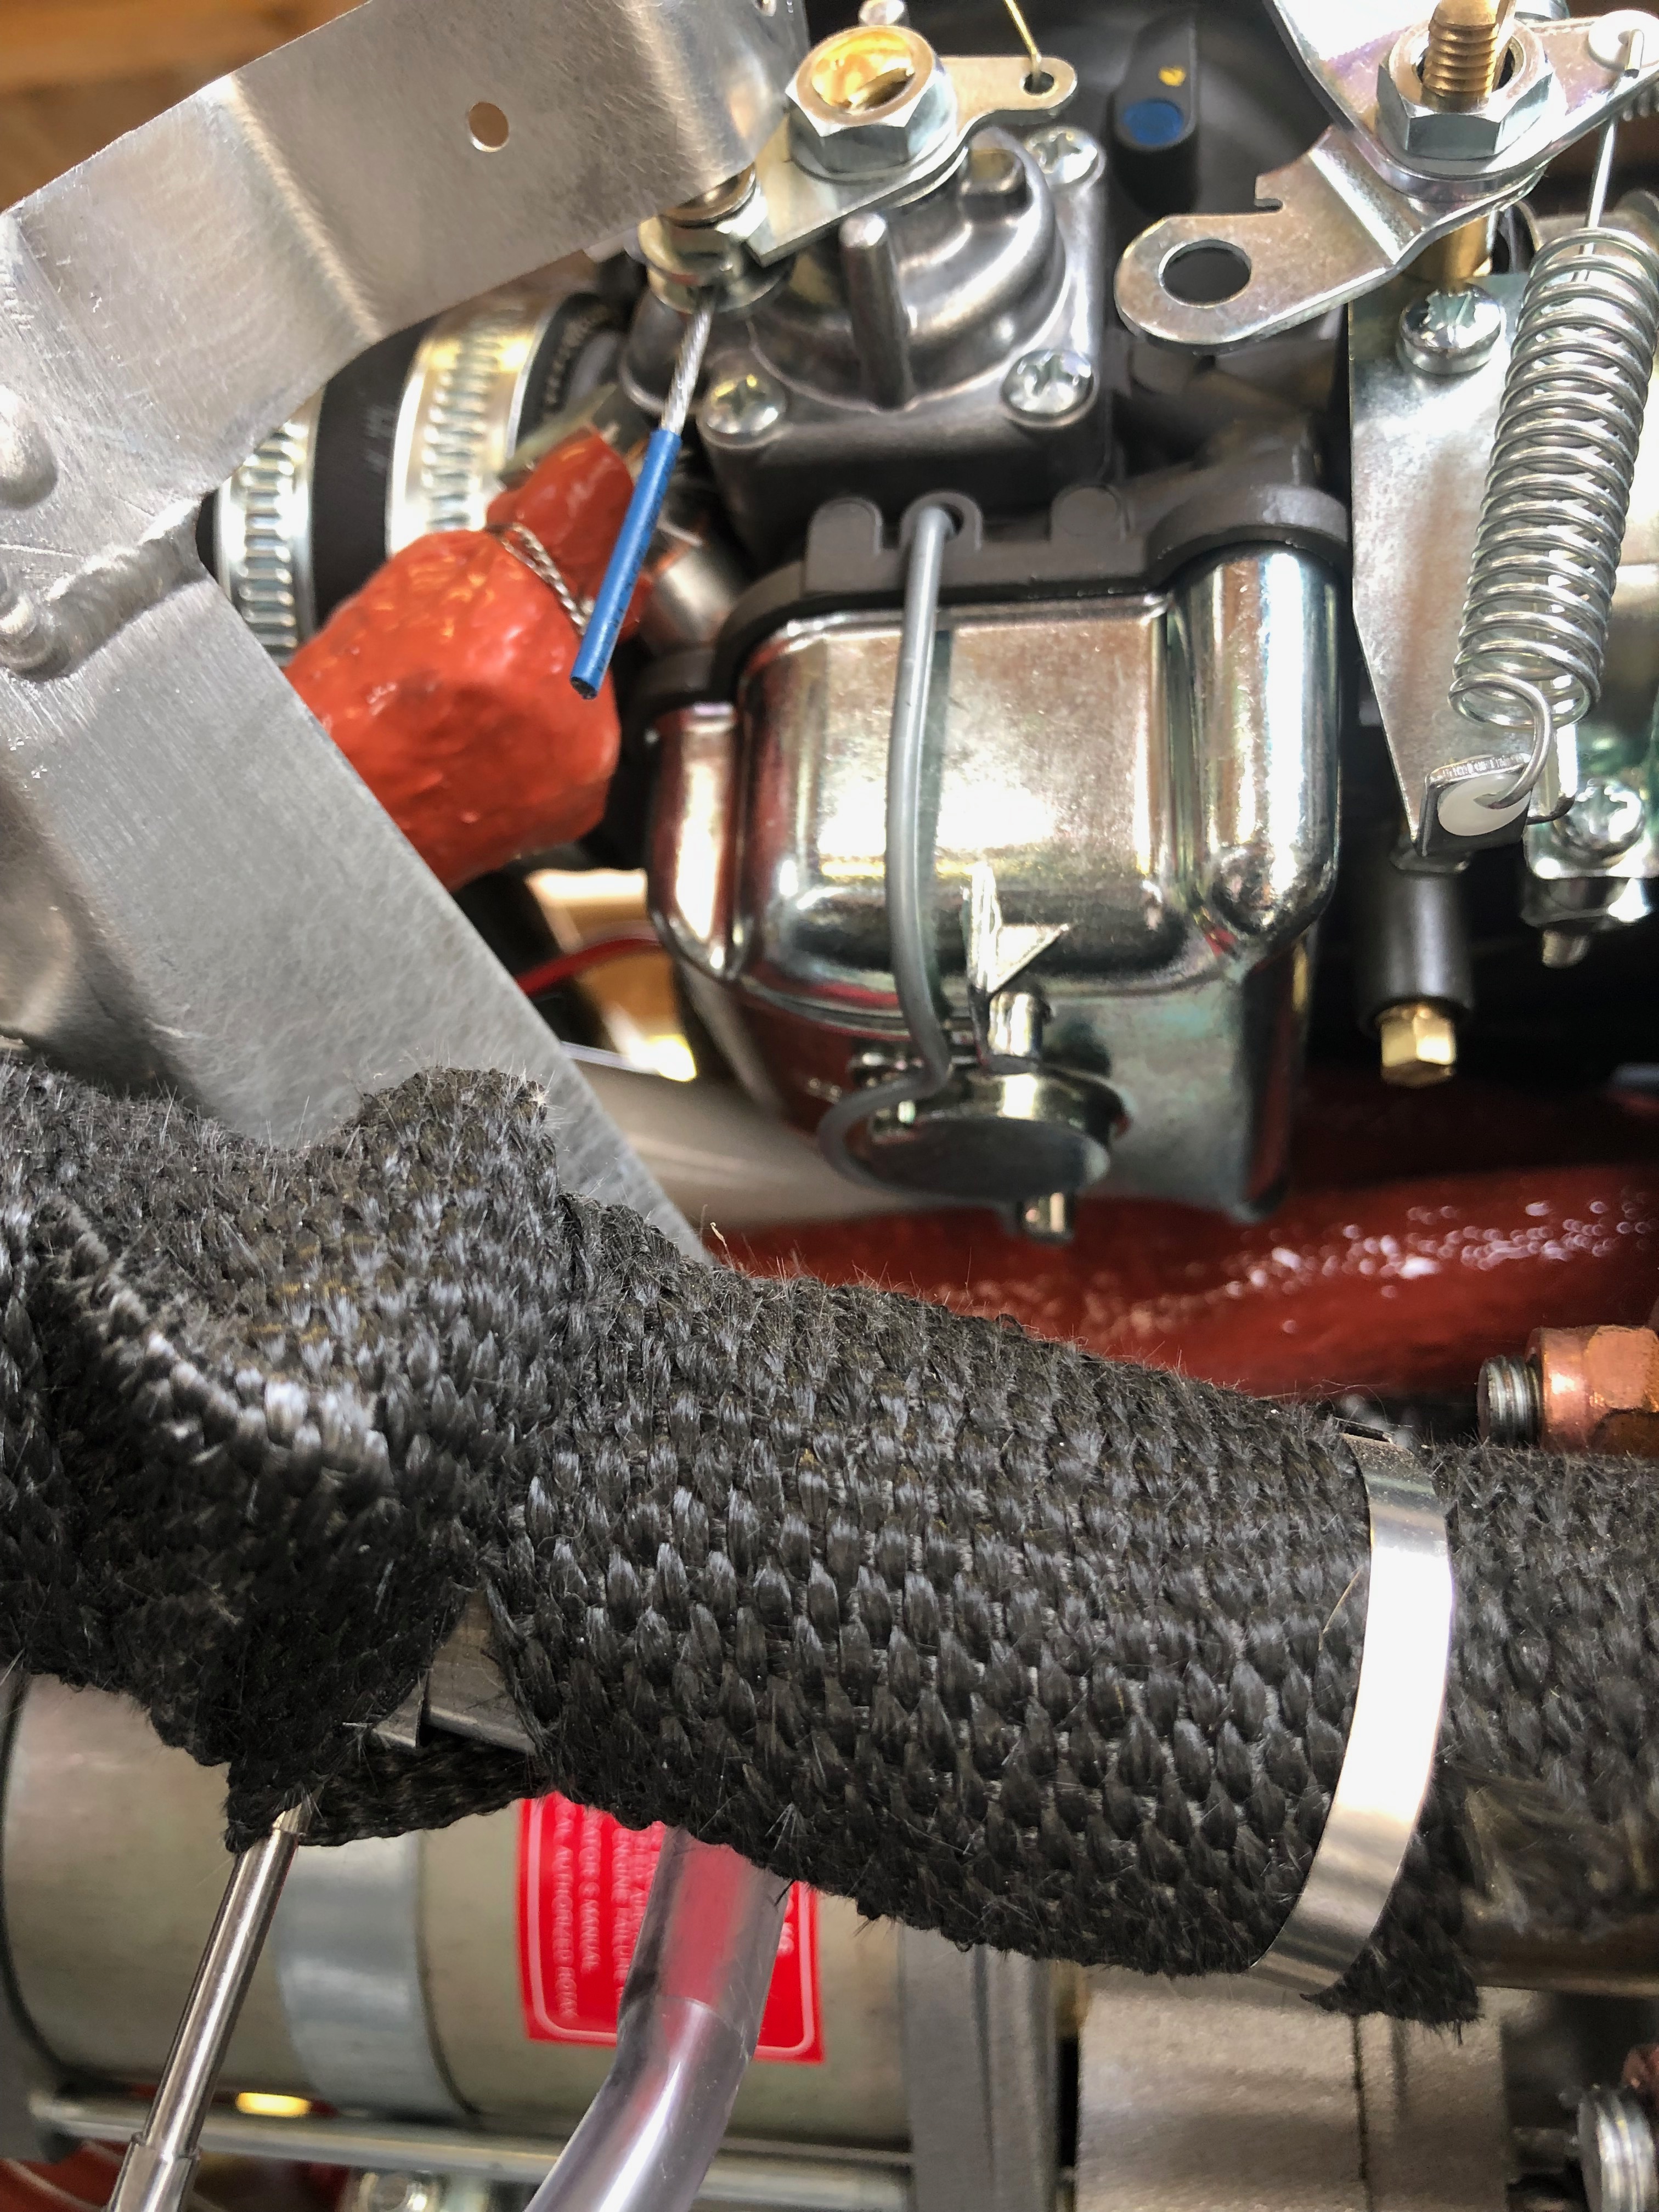
Overall the process was very straightforward. The first carb took 45 minutes to do but the second was much quicker at 30 minutes. The engine logbook has been updated and the engine will be test run to check for correct operation before the next flight.

Let’s hope there’s not too many more of these mandatory service bulletins affecting my engine!

Wednesday 10th July 2019

Music: Lightening Seeds, The Beautiful South, Gerry Rafferty

Feel like I’m going backward as I need to do some remedial work to the water pump and replace the carburettor floats. But I have a few other things that I’ll do today which will get me back on track. I will o order the registration vinyls (that I have left far too late) and I’ll also be fitting the seatbelts.

The order that I’ve been waiting for was an 18mm x 1 fine pitch die to cut a little more thread on each water pump pipe. Fairly easy to do but I make to make sure that the die went on perfectly straight otherwise it might start cutting a new thread!
All done and sealed with Loctite. I’m going to leave it in position for a couple of days to fully cure before touching the pipes. Hopefully this will ensure I won’t have a repeat of the leak.
Now onto the floats. I spoke to CFS aero who are the importers for Rotax engines and they sent me a full set of new floats to replace those that were in my carbs. This is really a precautionary measure as I don’t know if the floats fitted are defective or not but I didn’t want to find out on the first flight!
To get to the float chambers I have to undo some of the work that I’ve done previously. First off are the carb drip trays…
…revealing the float bowl retaining clip. This is prised off to allow the bowl to be removed.
The flaots sit in the bowl and rise and fall on pins to retain them. Brings back memories when I used to play about with motorcycles when I was younger.
When refitting must make sure that I don’t damage this mechanism and ensure that the seal is seated correctly.
Then a refit of the carb drip trays before repeating the procedure on the other carb.
All done and back to home it was before my intervention.
Next on the agenda is to fit the seatbelts. Three bolts and nyloc nuts are used to secure them.
The top hole in the retaining mount is opened up to 11mm before the bolts can be fitted.
The top retaining strap is fitted first and tightened to pinch the fitting and then just eased off slightly to allow for some movement in operation.
The bolts with a ‘shoulder’ are then fitted to to the left and right seatbelt retaining brackets.
The top strap is too long to use as is so the seatbelt webbing needs to be modified by cutting and running through the retaining adjusters.
To stop the webbing flying in service I’ve sealed the ends with superglue. This may work ok but if it fails after some use I’ll seal with heat instead but this seemed a good solution.
With both side now done is was time to try out on a ‘real’ pilot so Pilot Pooh was given first go…