Today was set out to redo some piping that I wasn’t happy with, re site the water radiator support bracket that seemed to be straining then continue the fuel system and oil system install.
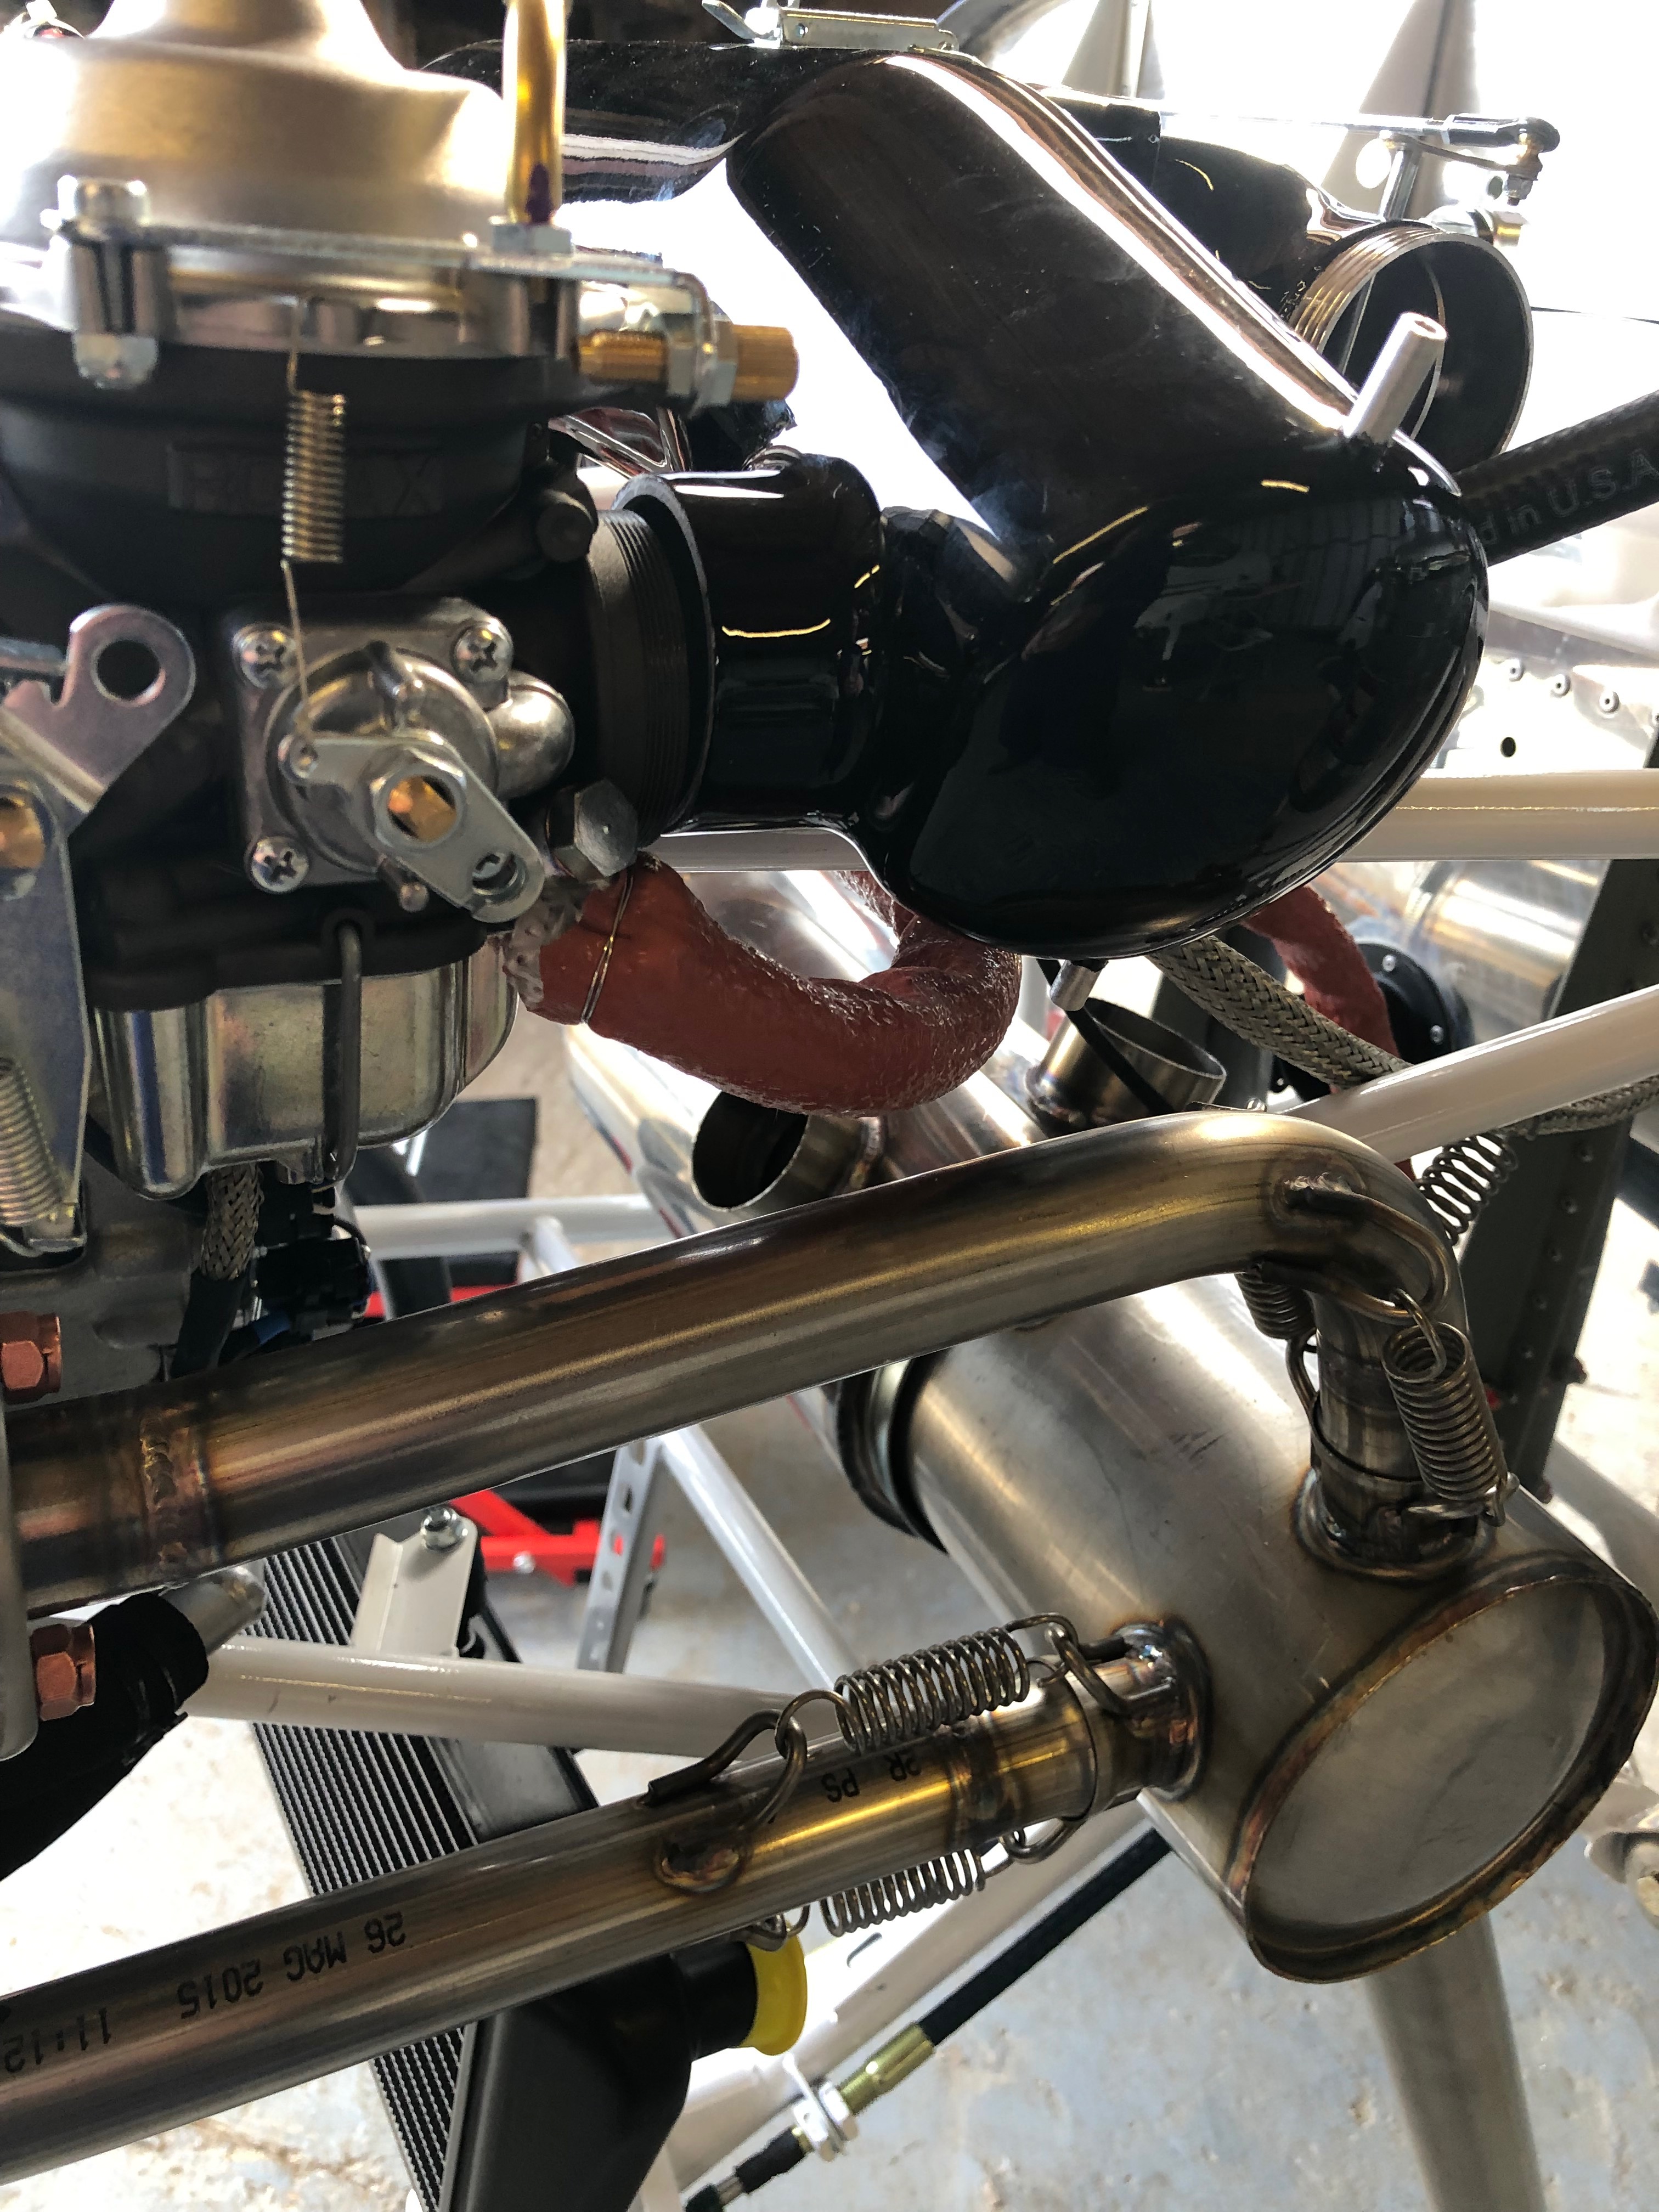
I wasn’t happy with this pipework so I changed the angle of the carburettor banjo and shortened the fuel pipe.
The change resulted in a much neater installation.
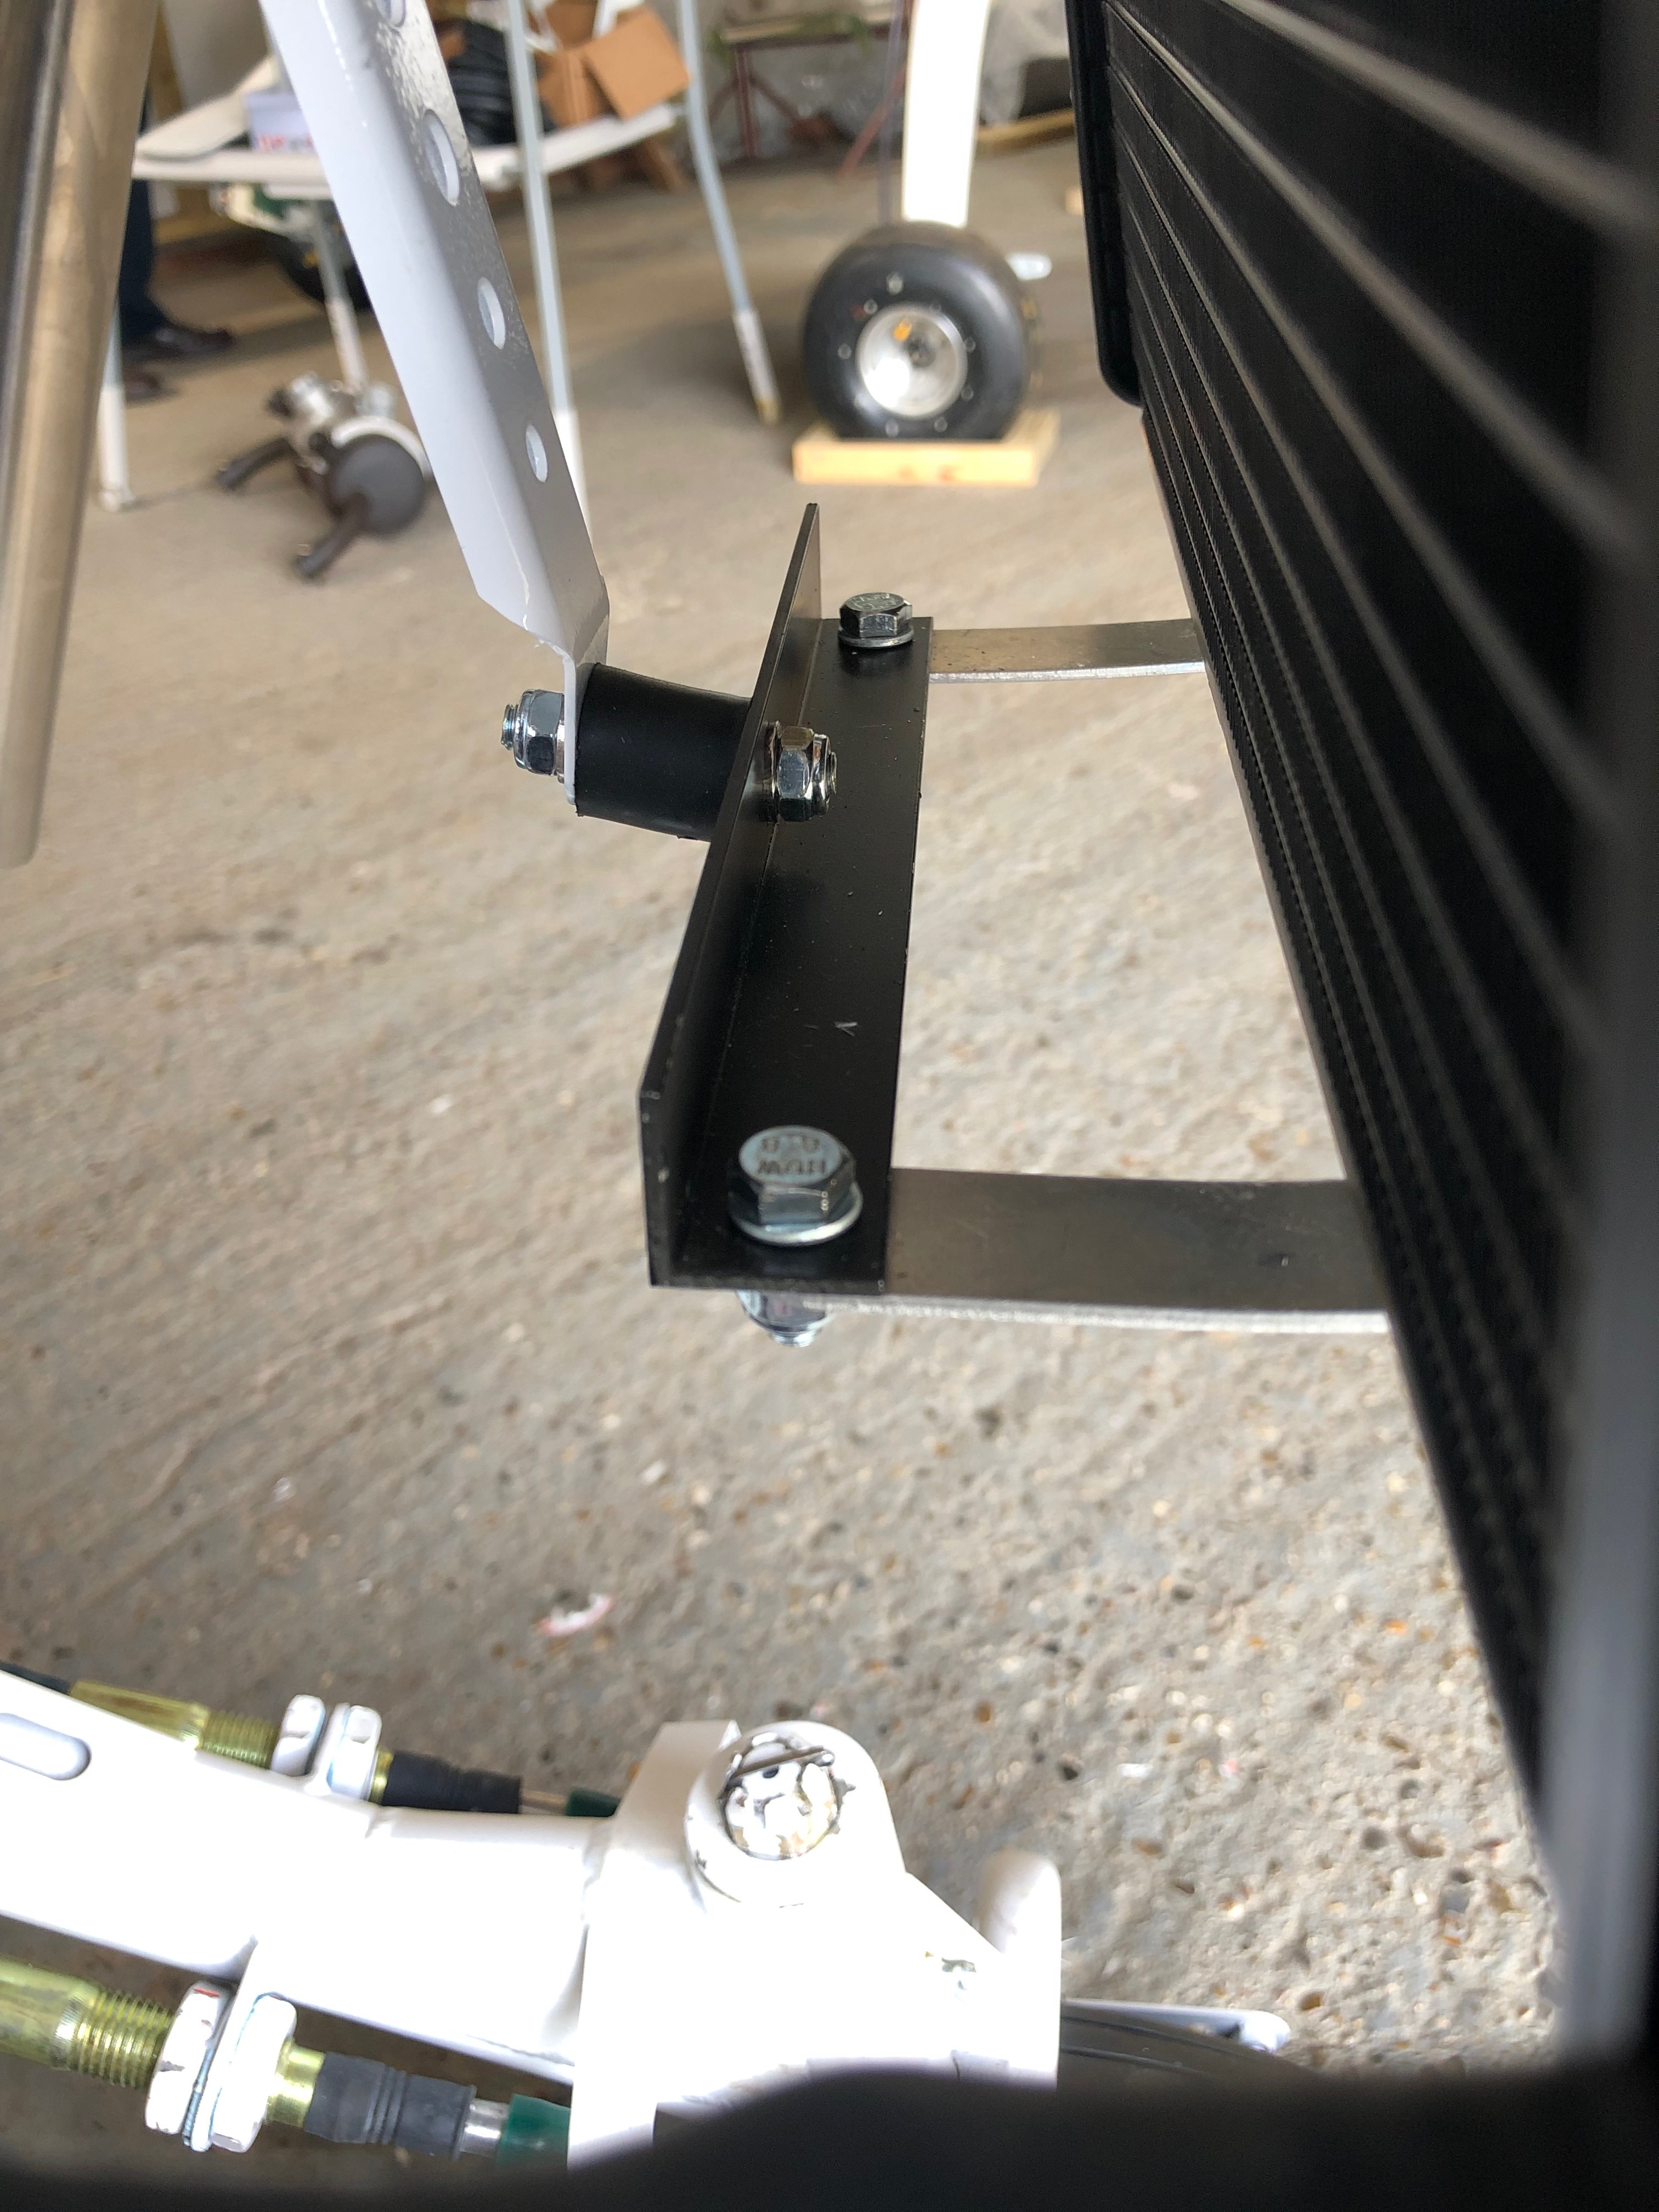
The aluminium water radiator brackets were moved to underneath the black bracket which seems to work much better than the original fit.
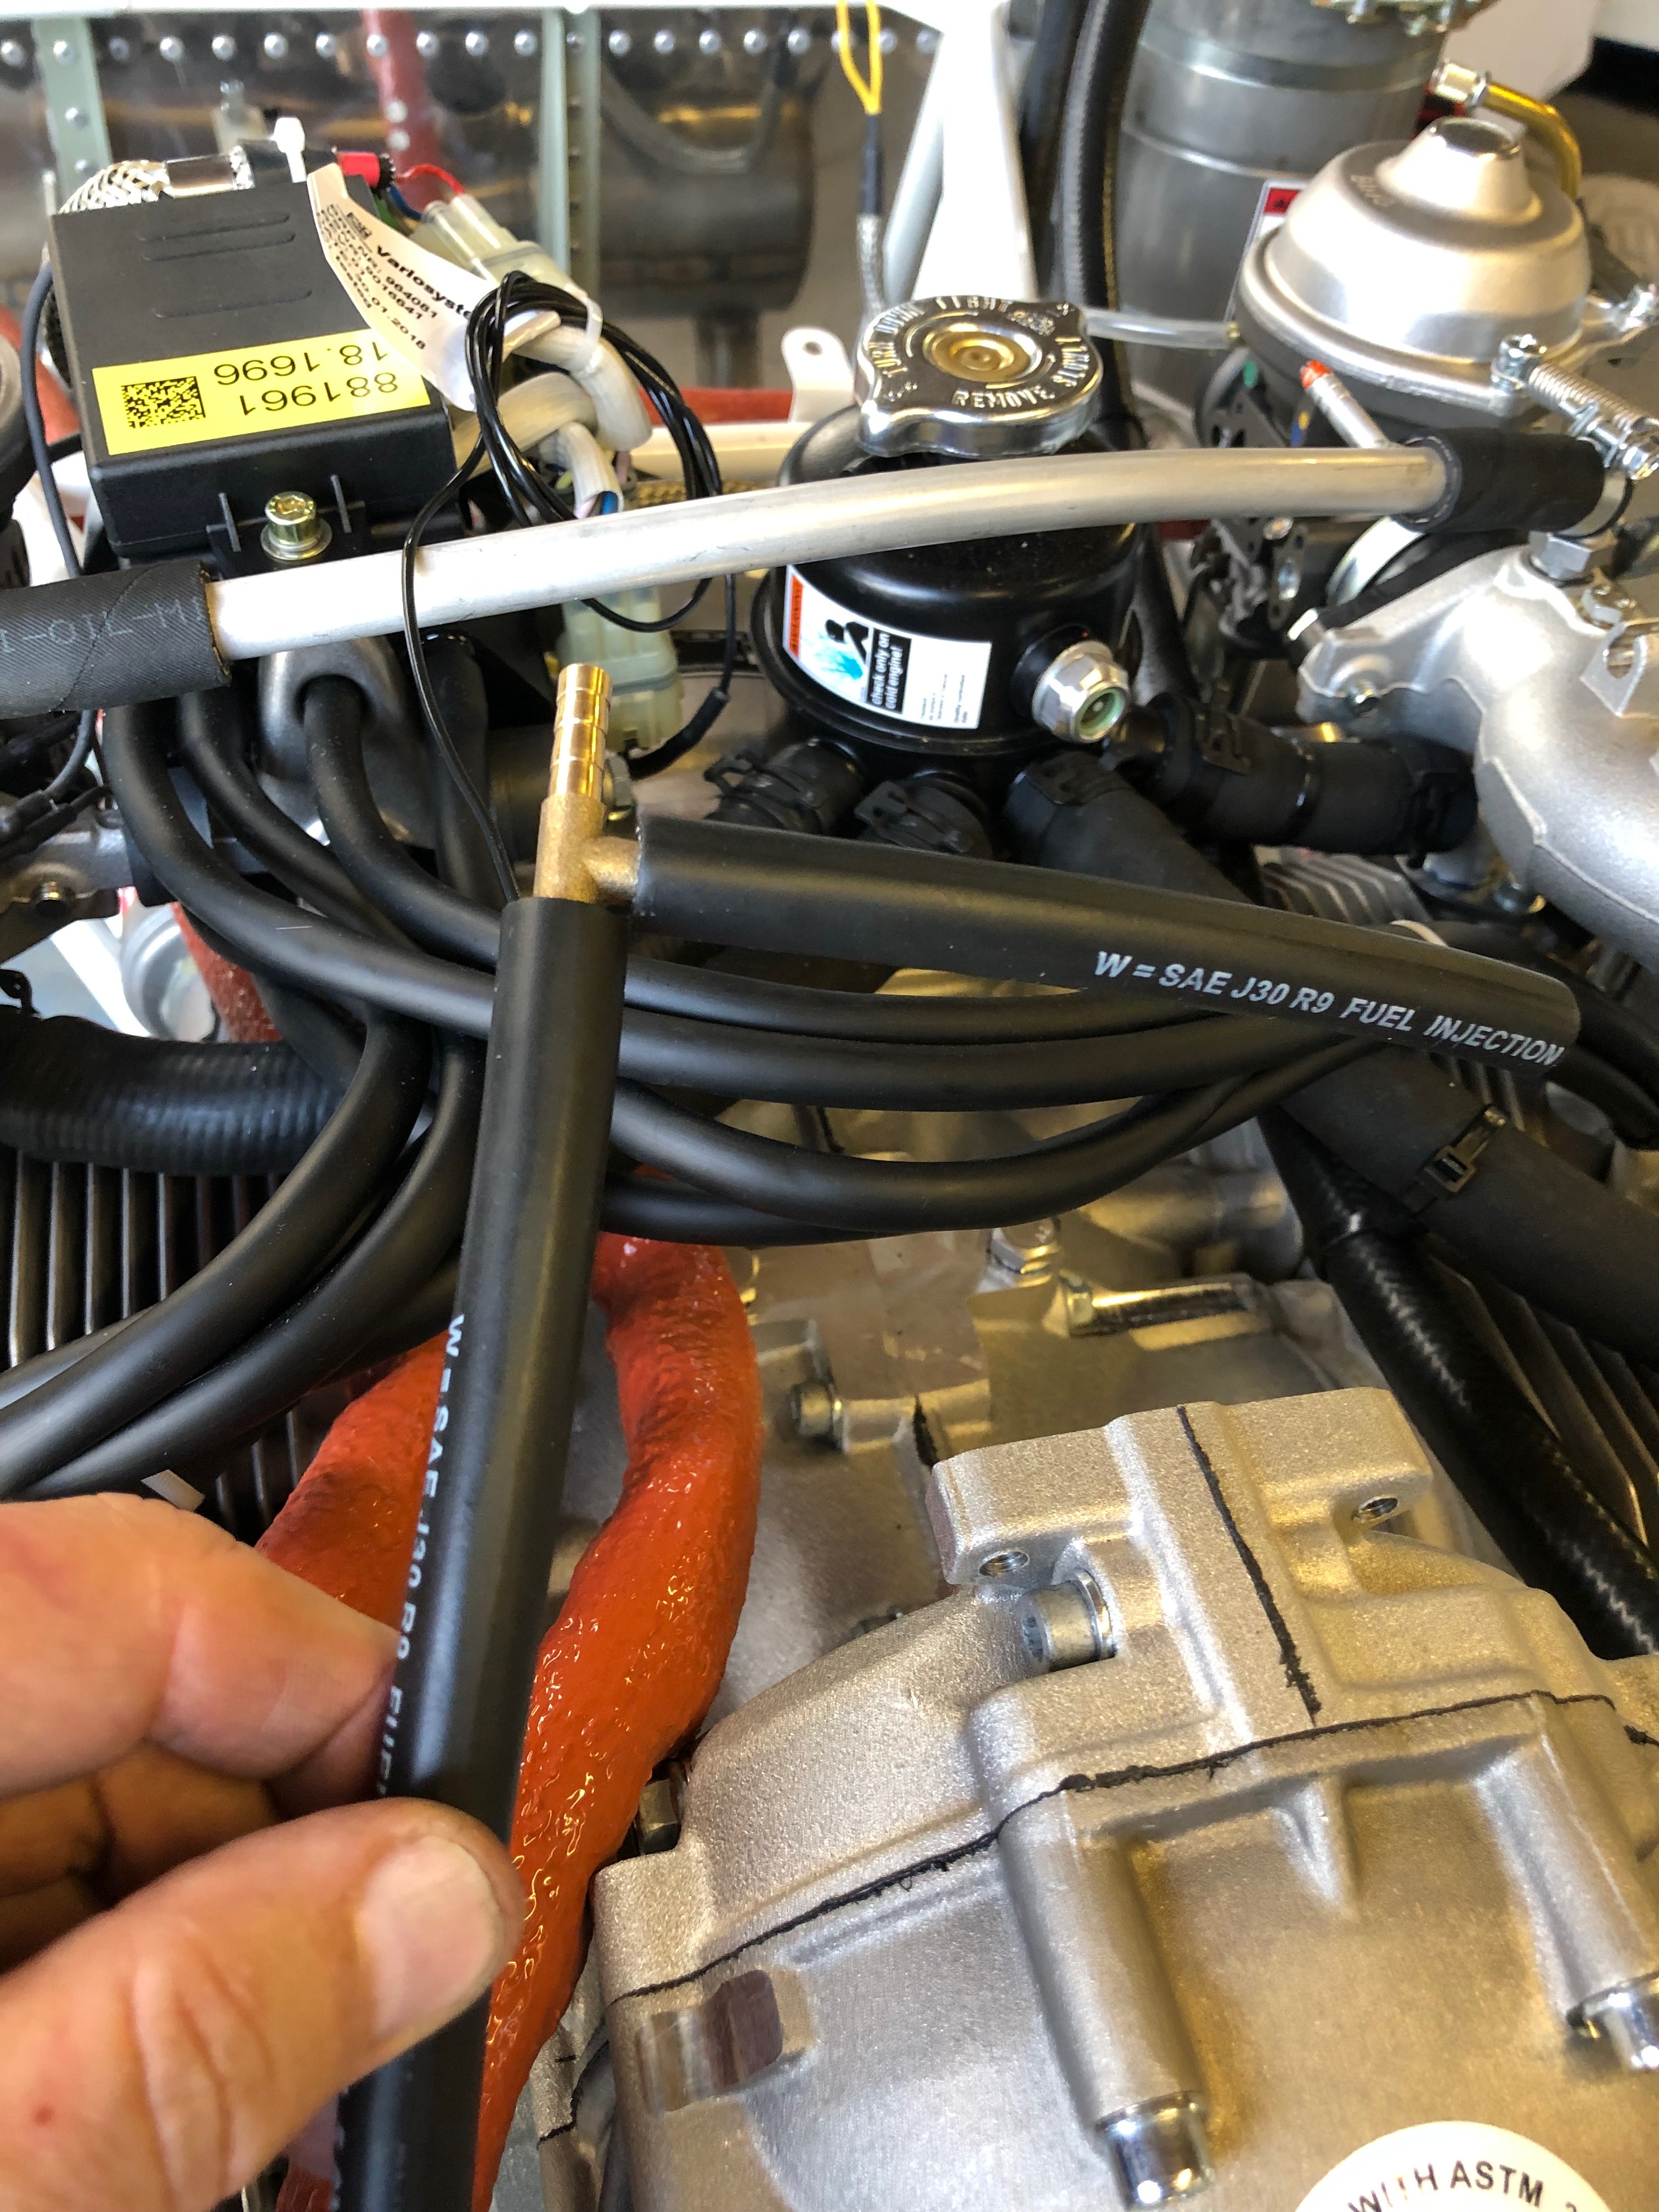
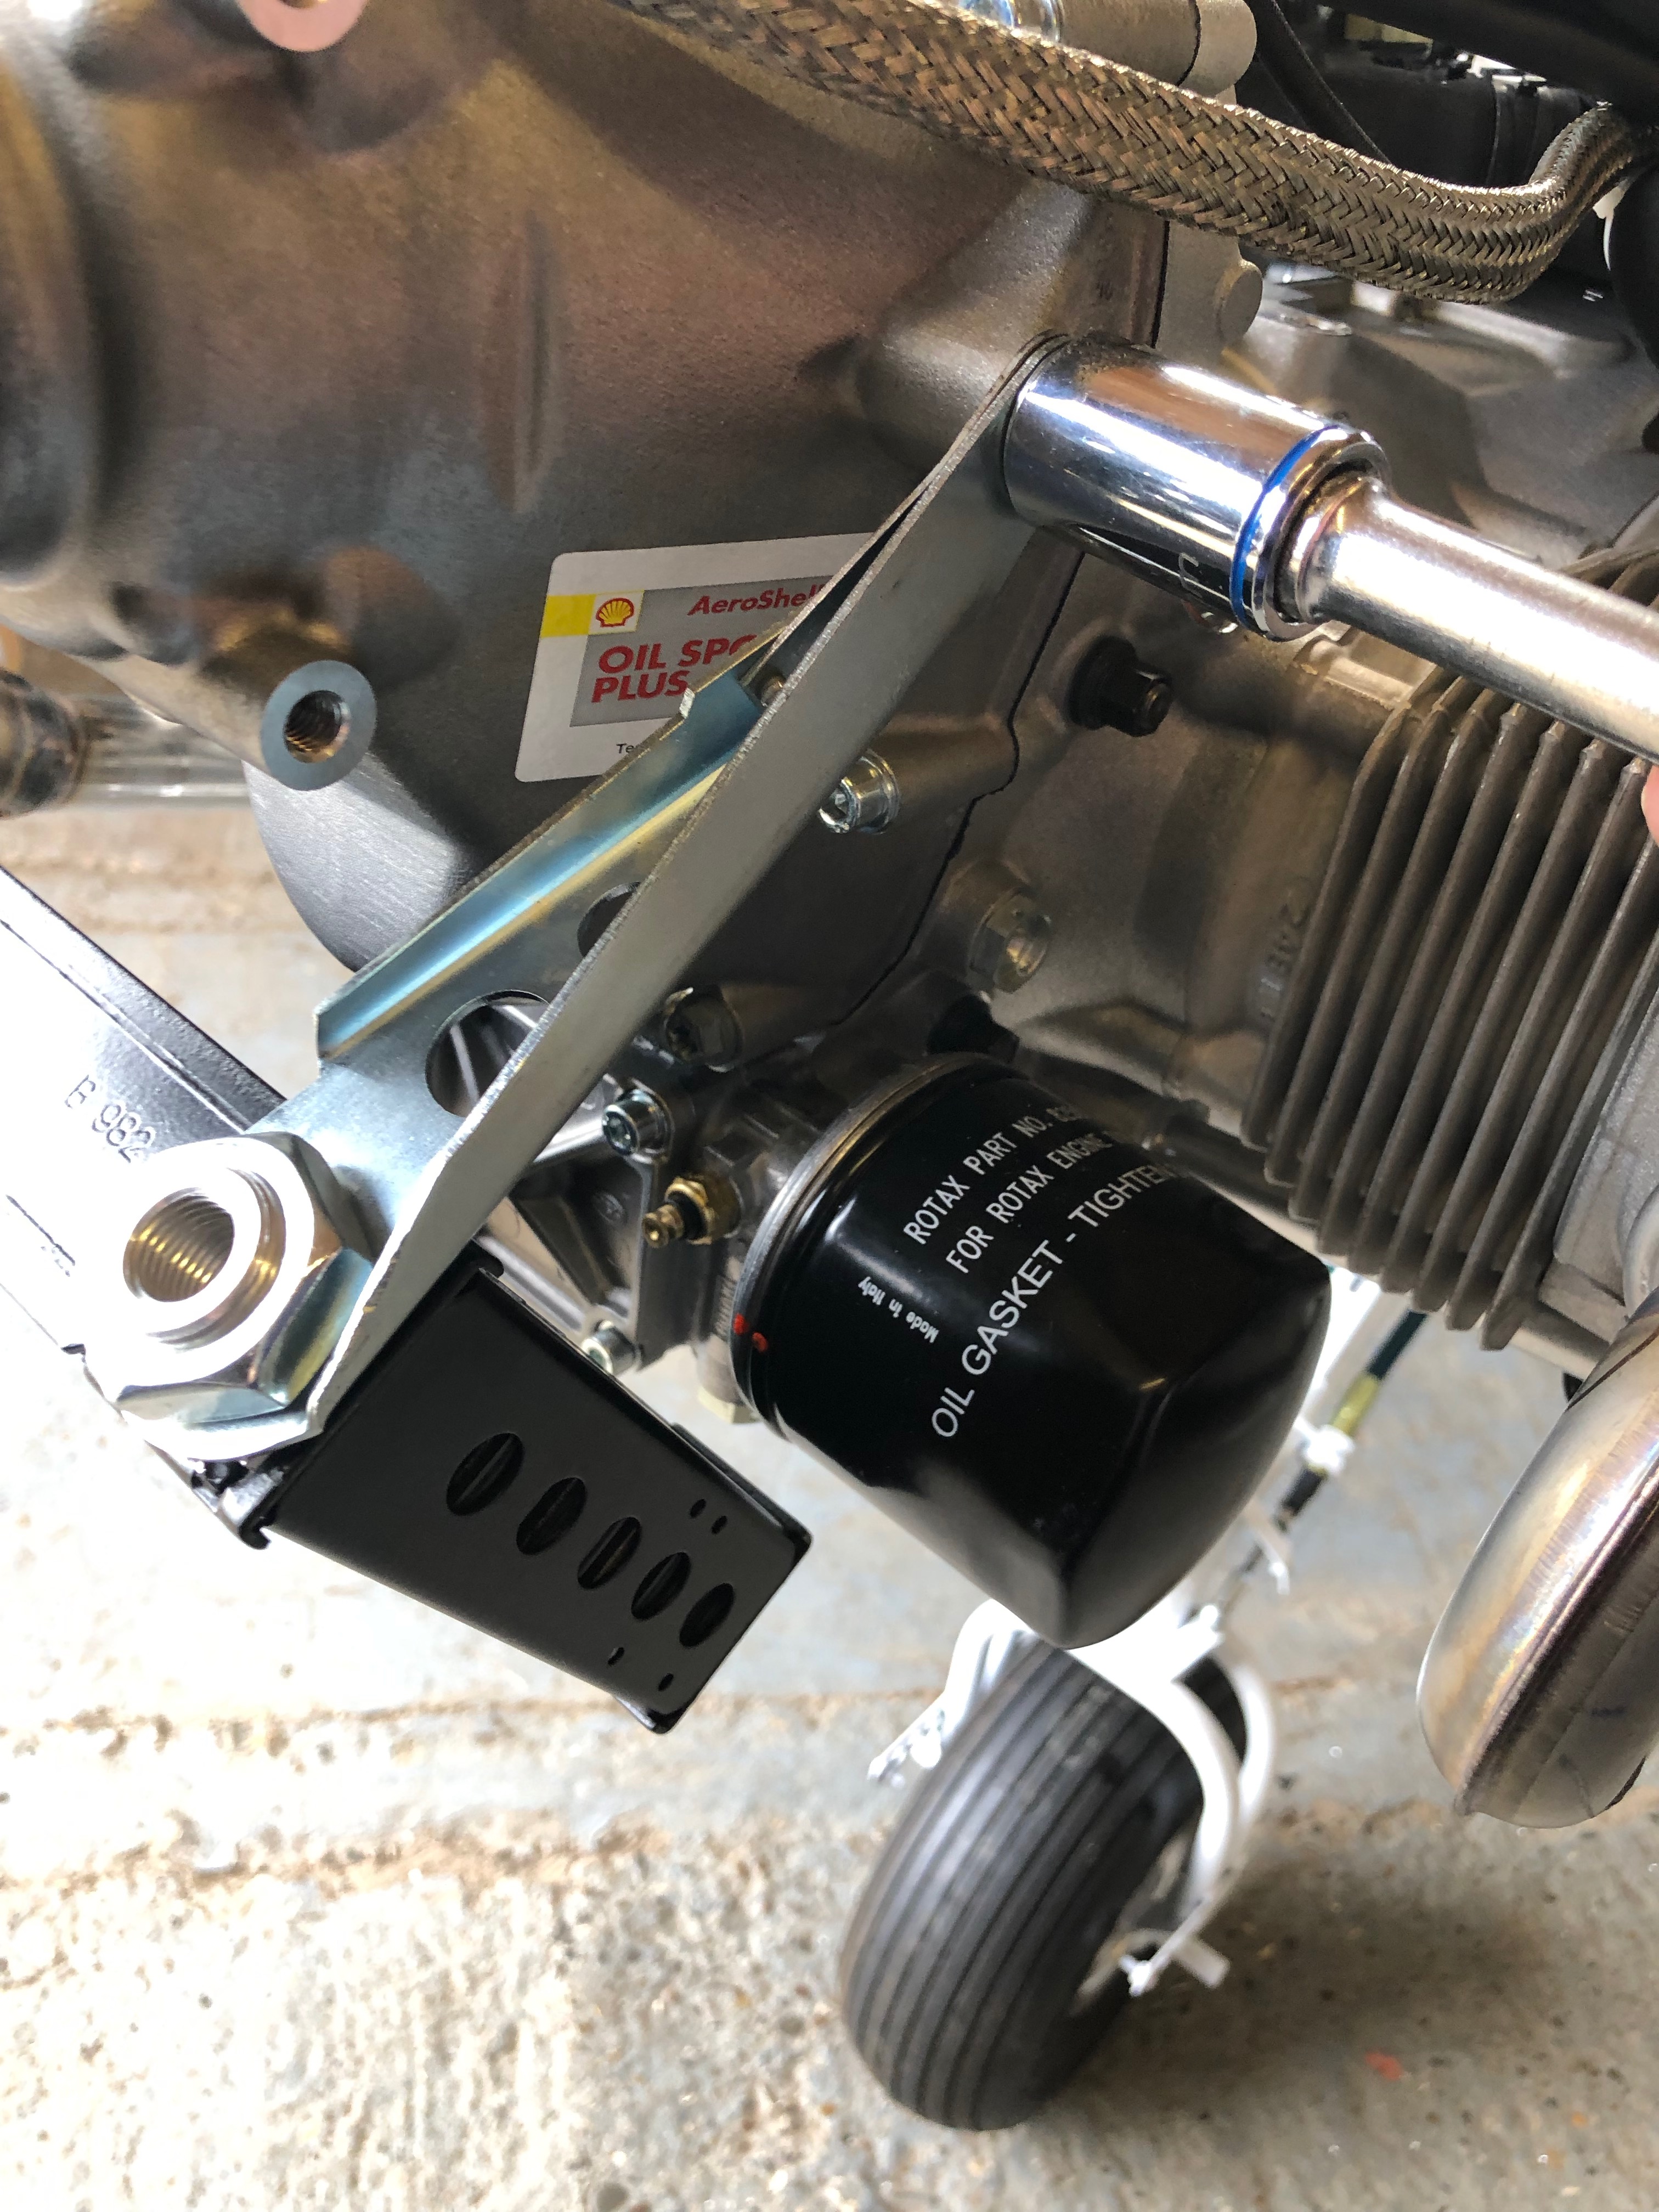
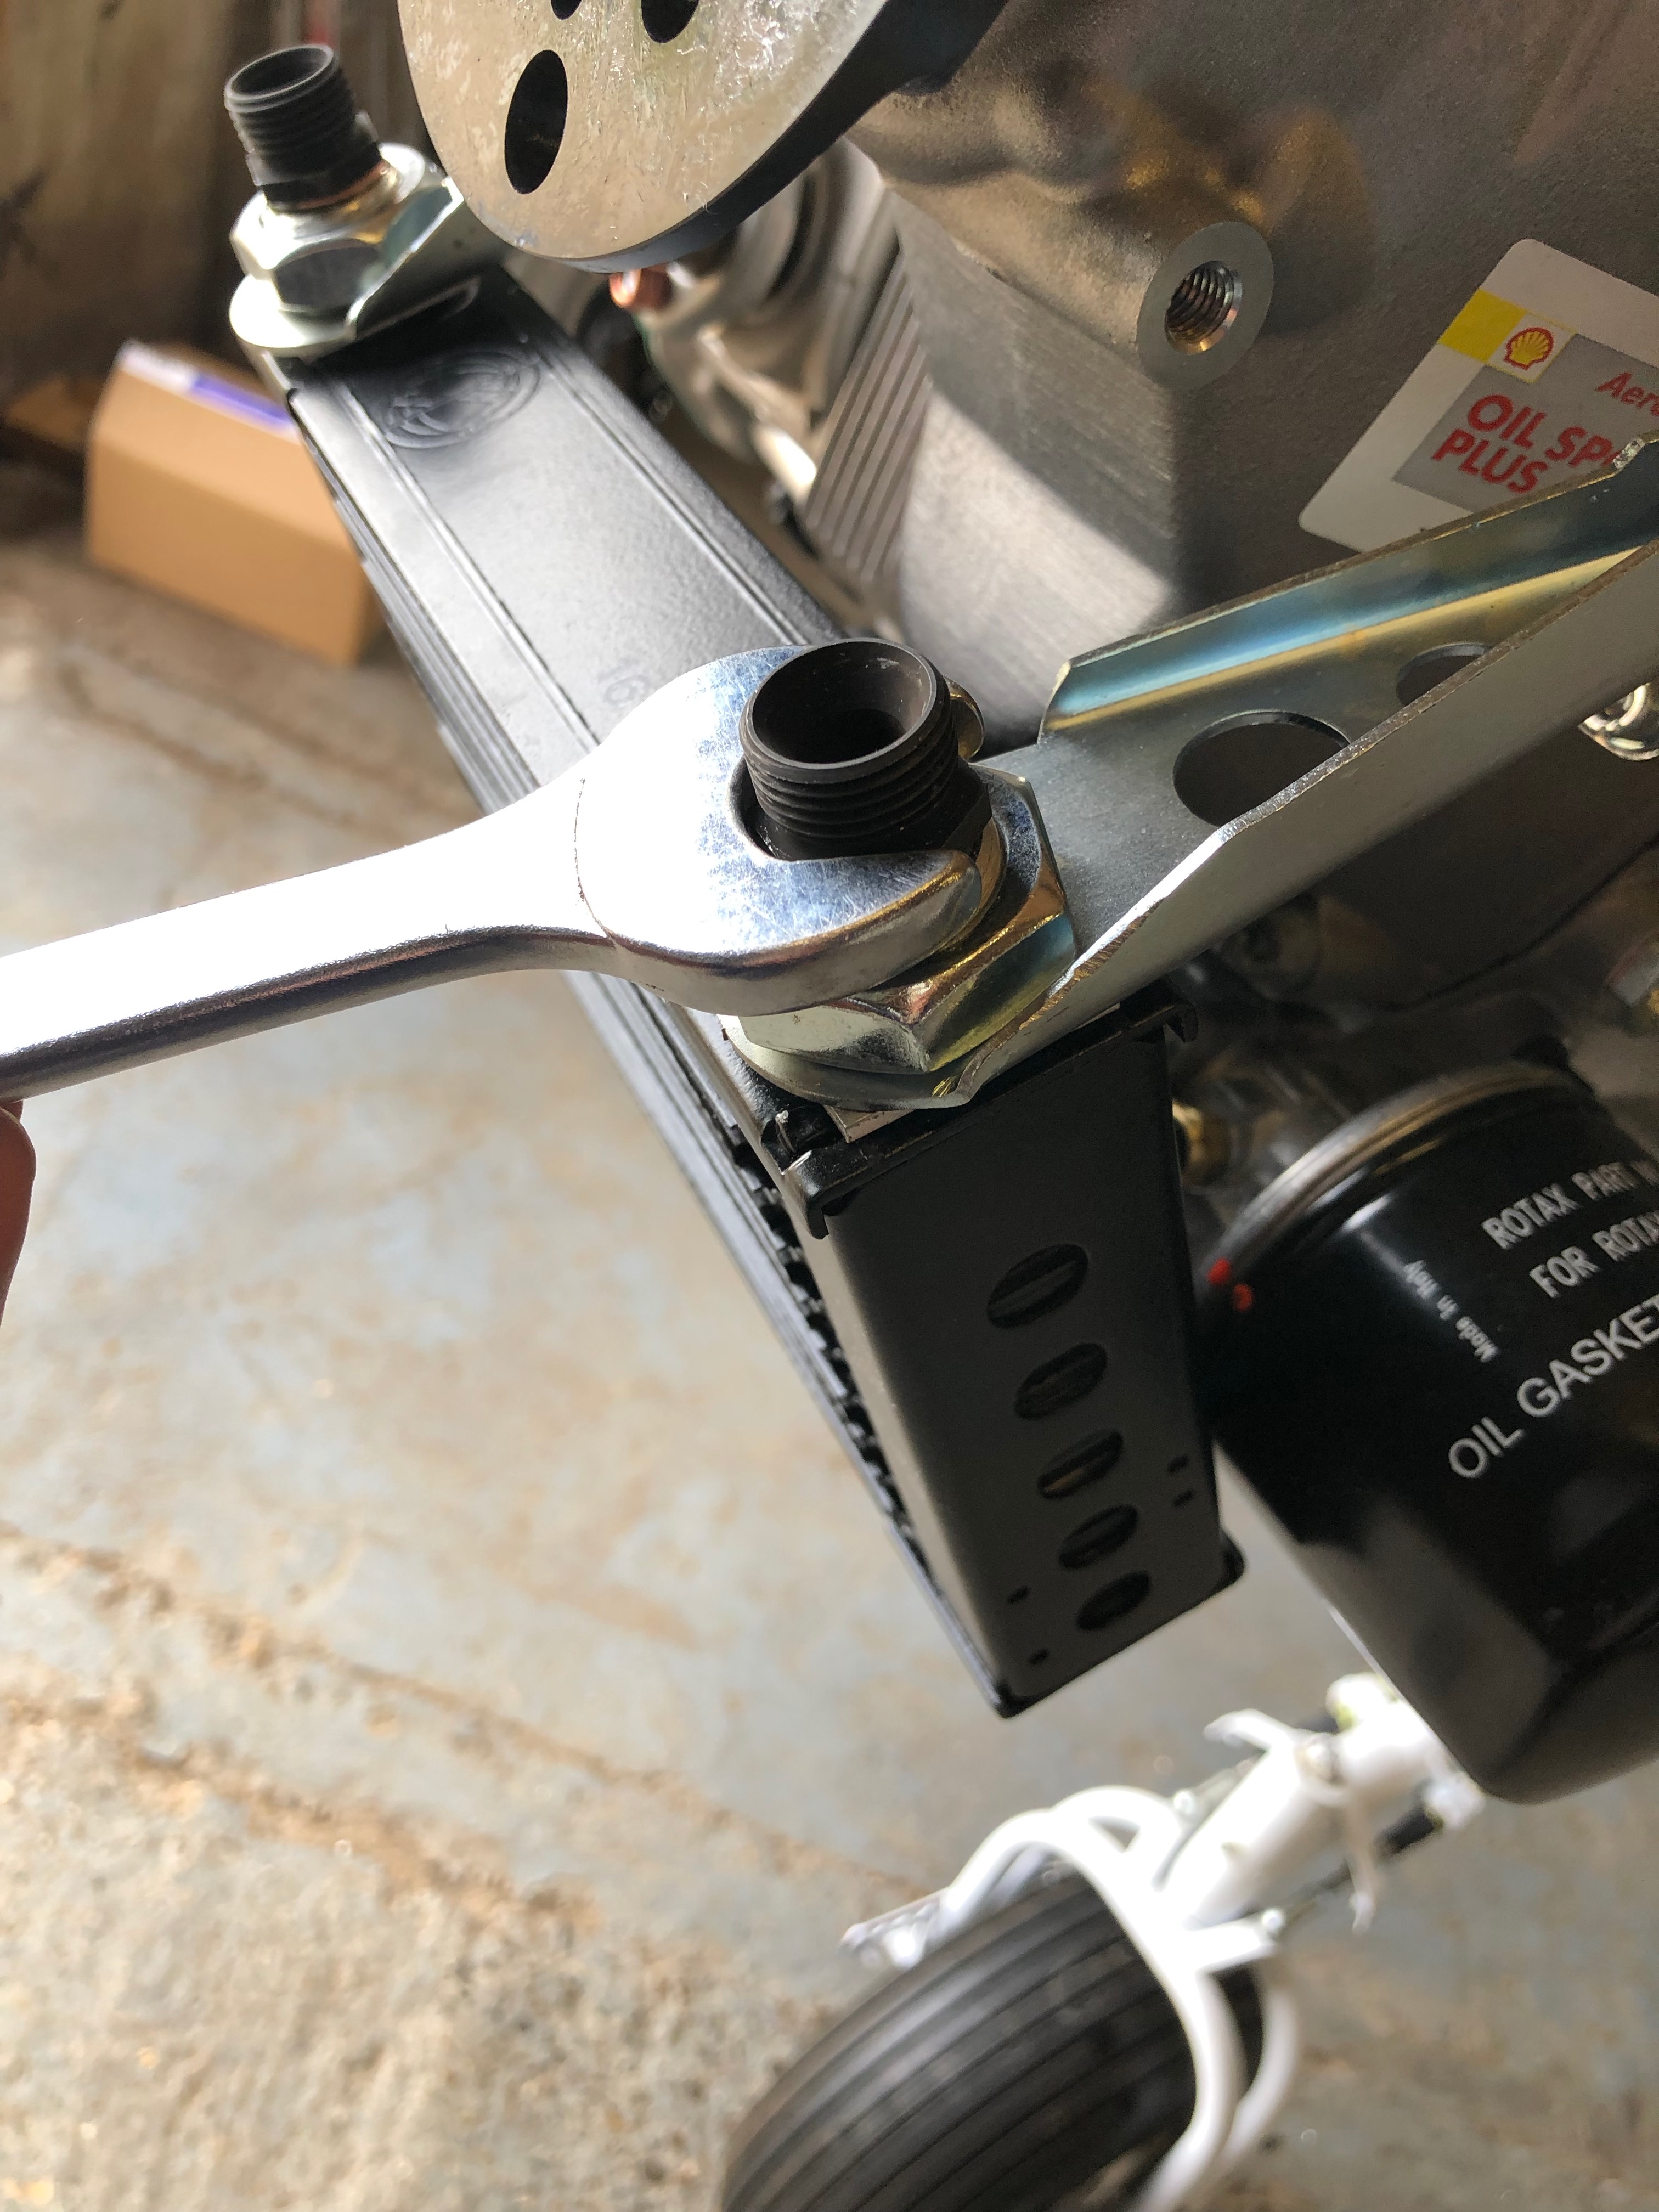
The oil system is next. Most of the time taken to install the piping is working out the the route to make sure that it doesn’t rest or rub on other parts of the engine and it has a natural route which doesn’t lead to kinking of the pipe.
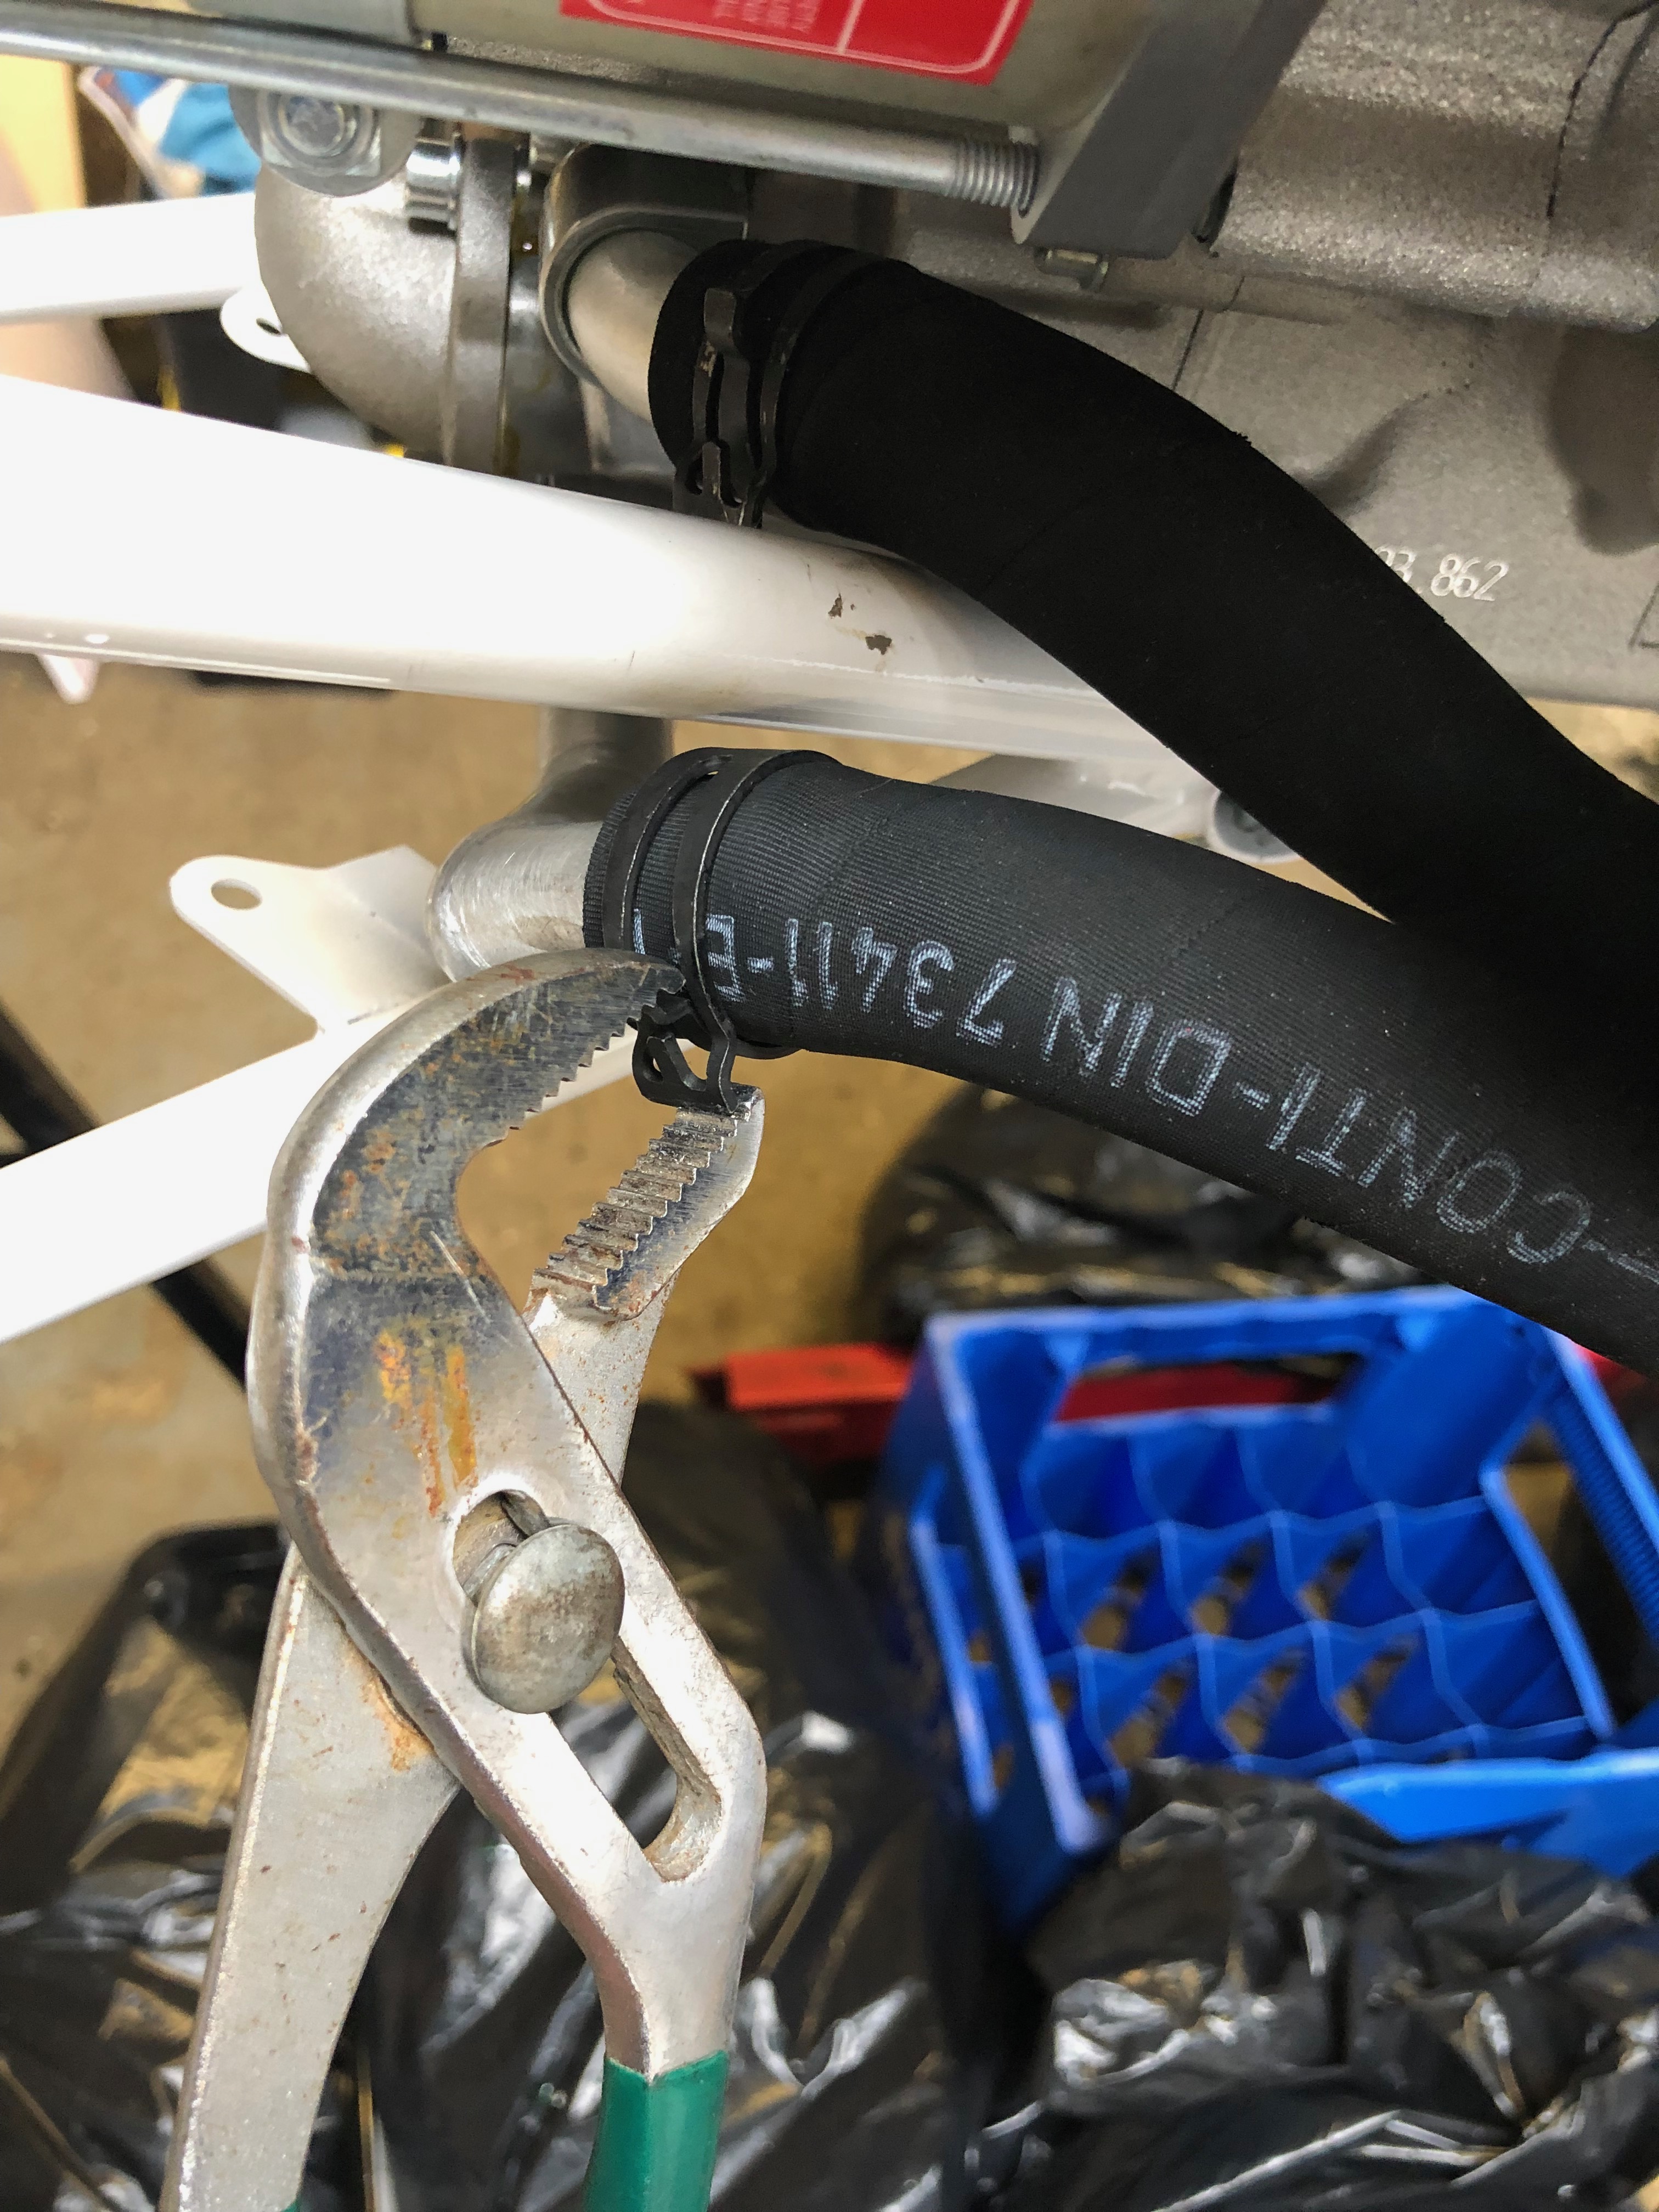
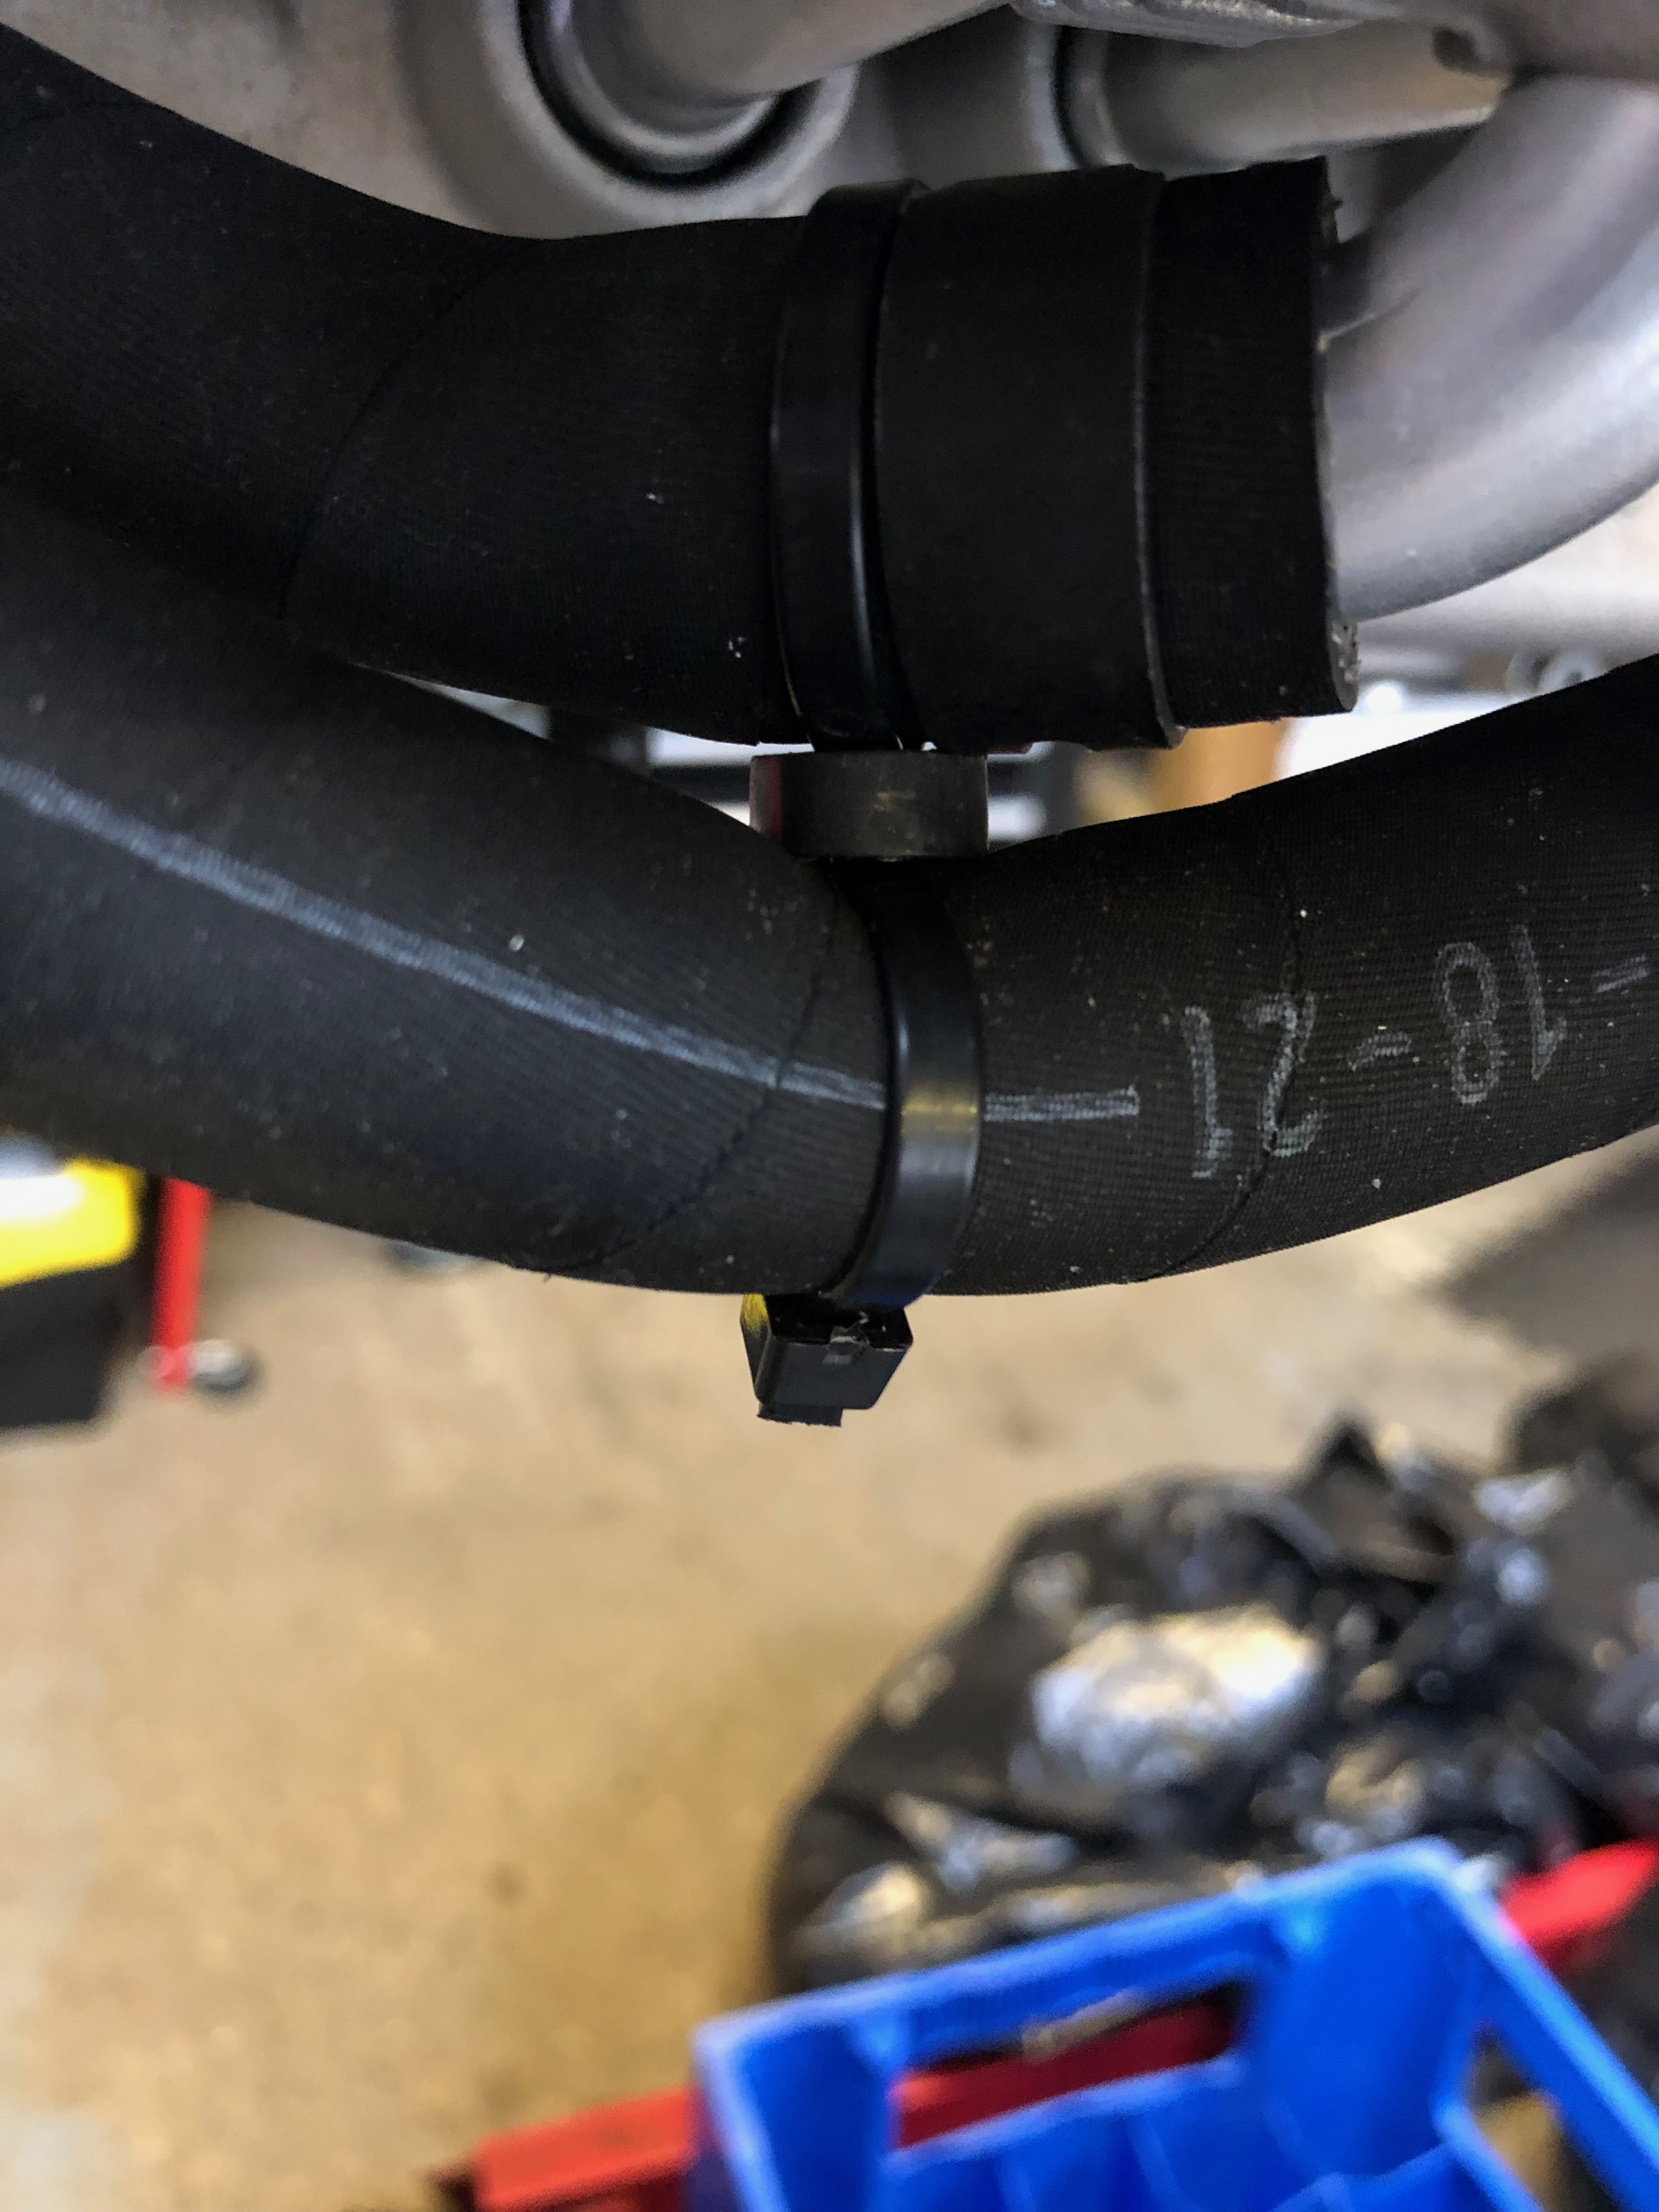
The oil supply hose is fairly easy to route but still requires careful positioning and ‘stand-offs’ to make sure nothing rubs.
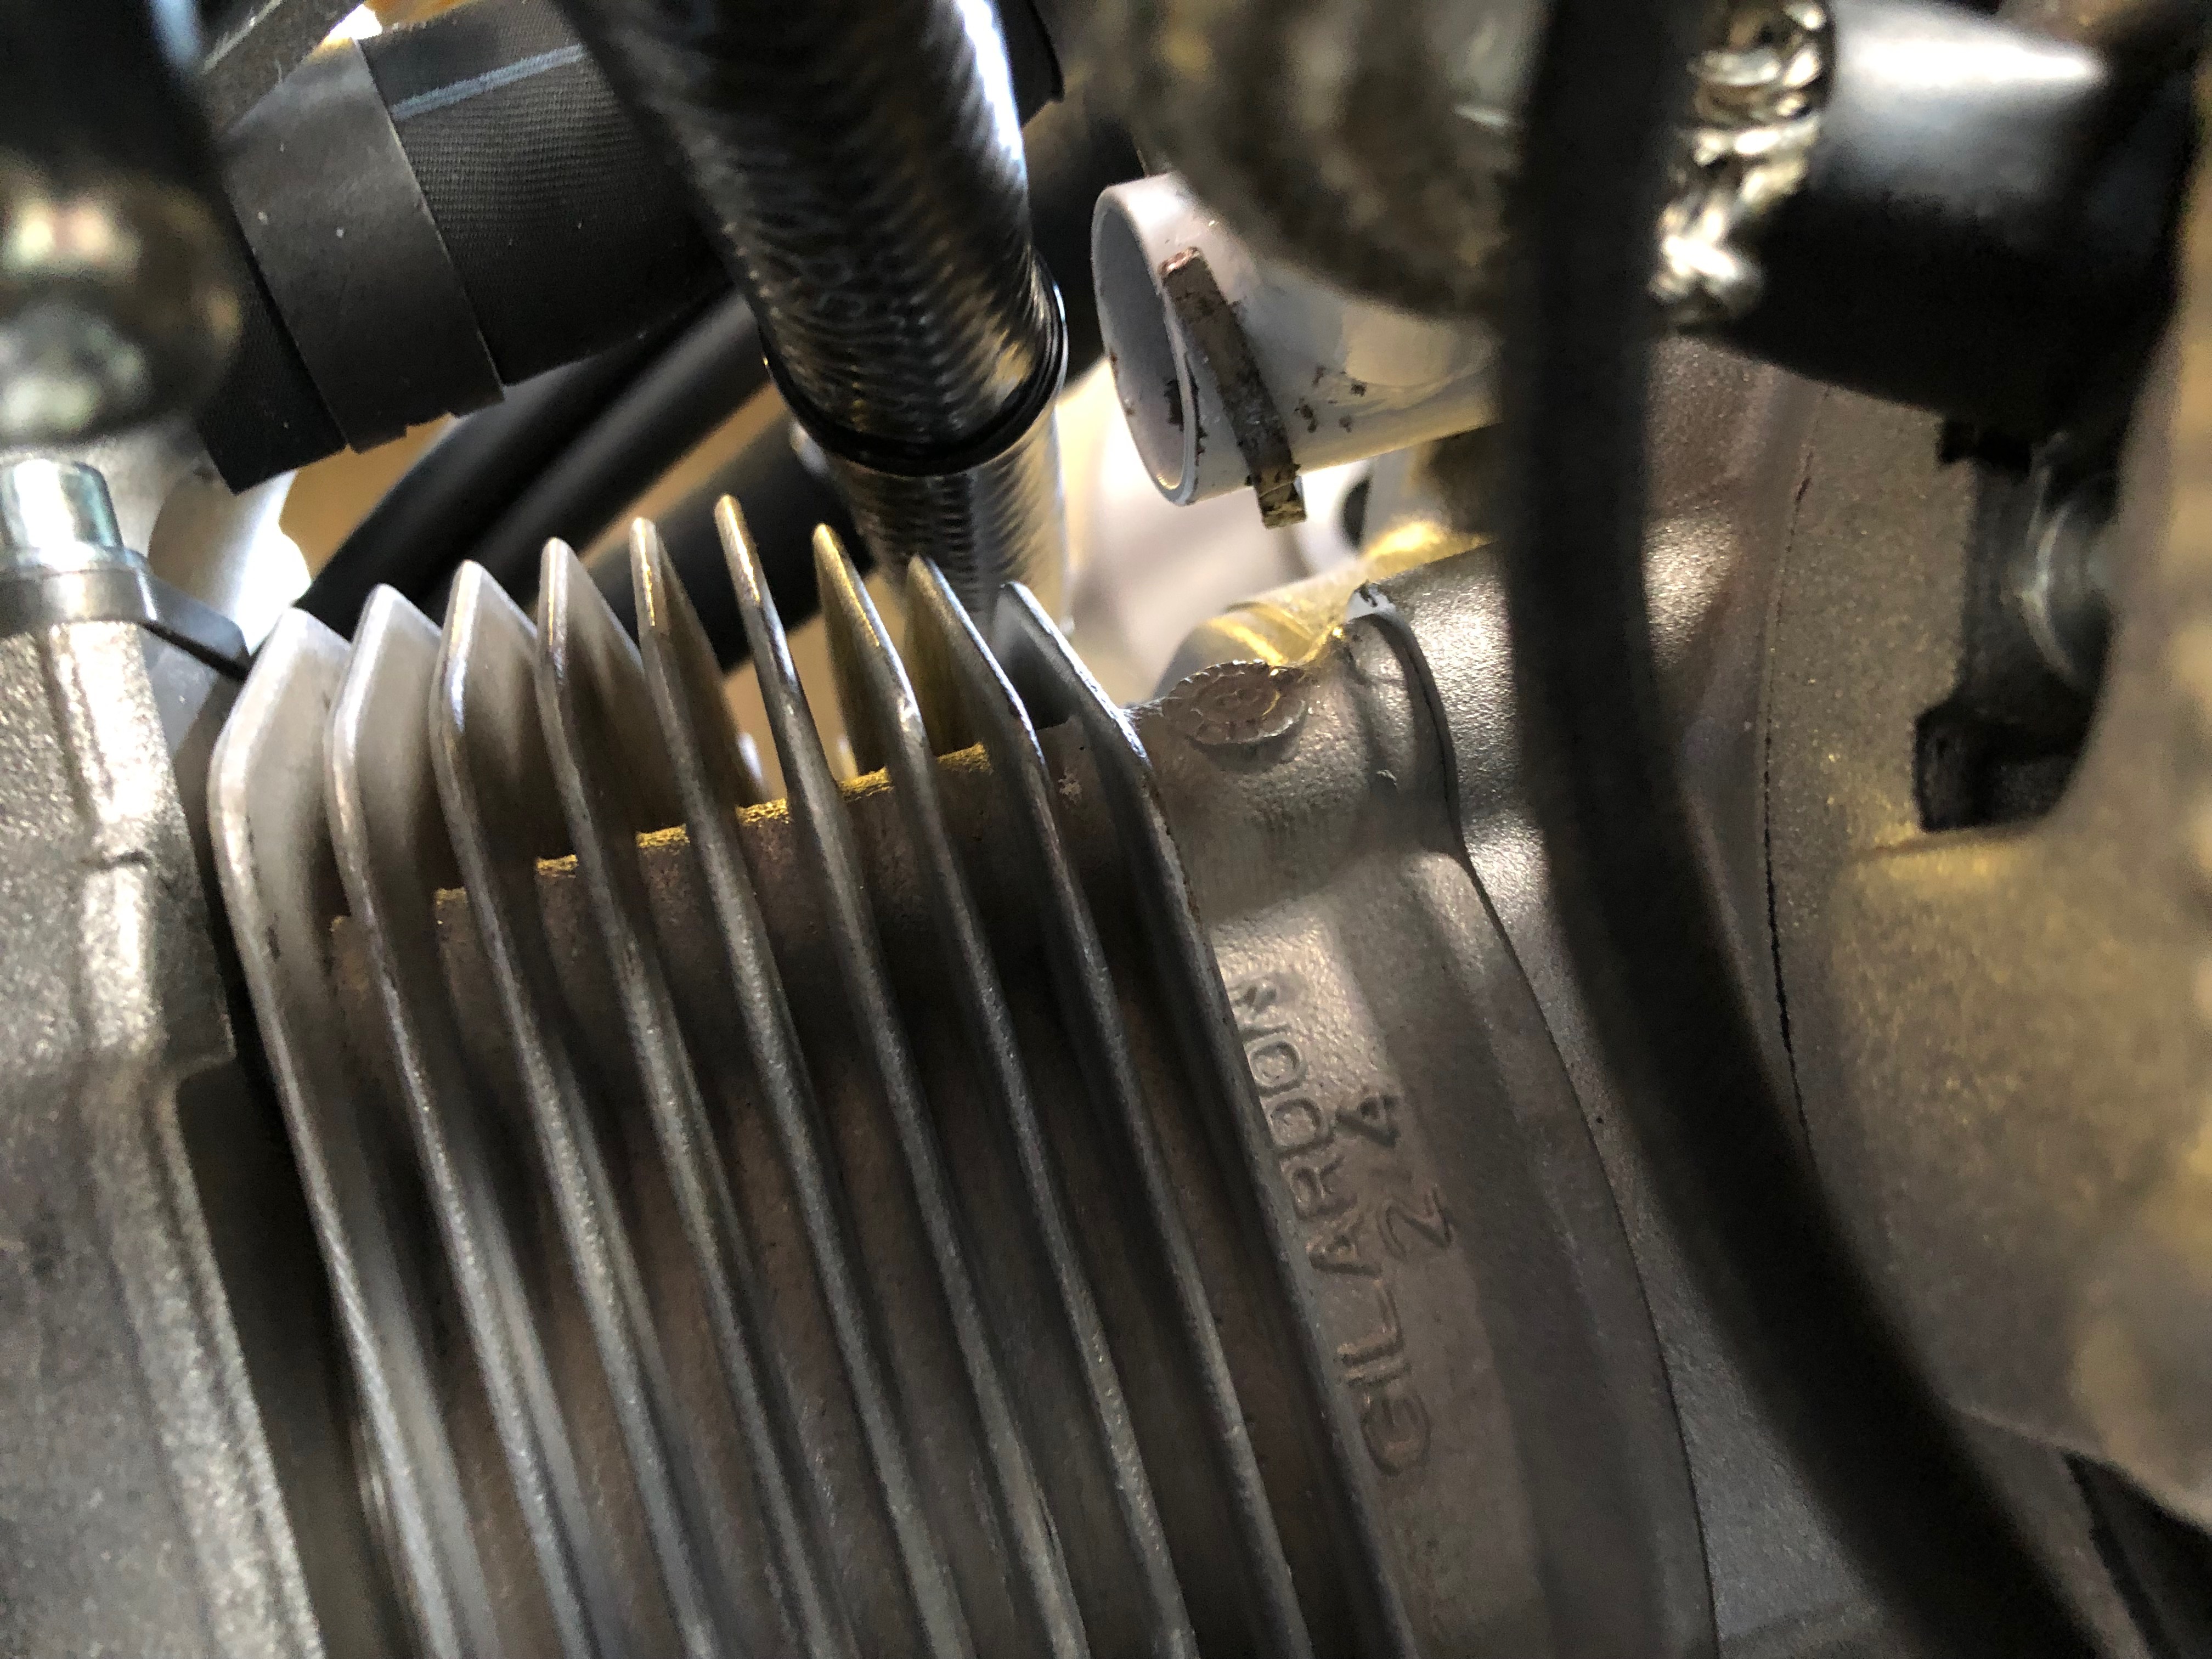
There’s not a lot of space as you can see here.
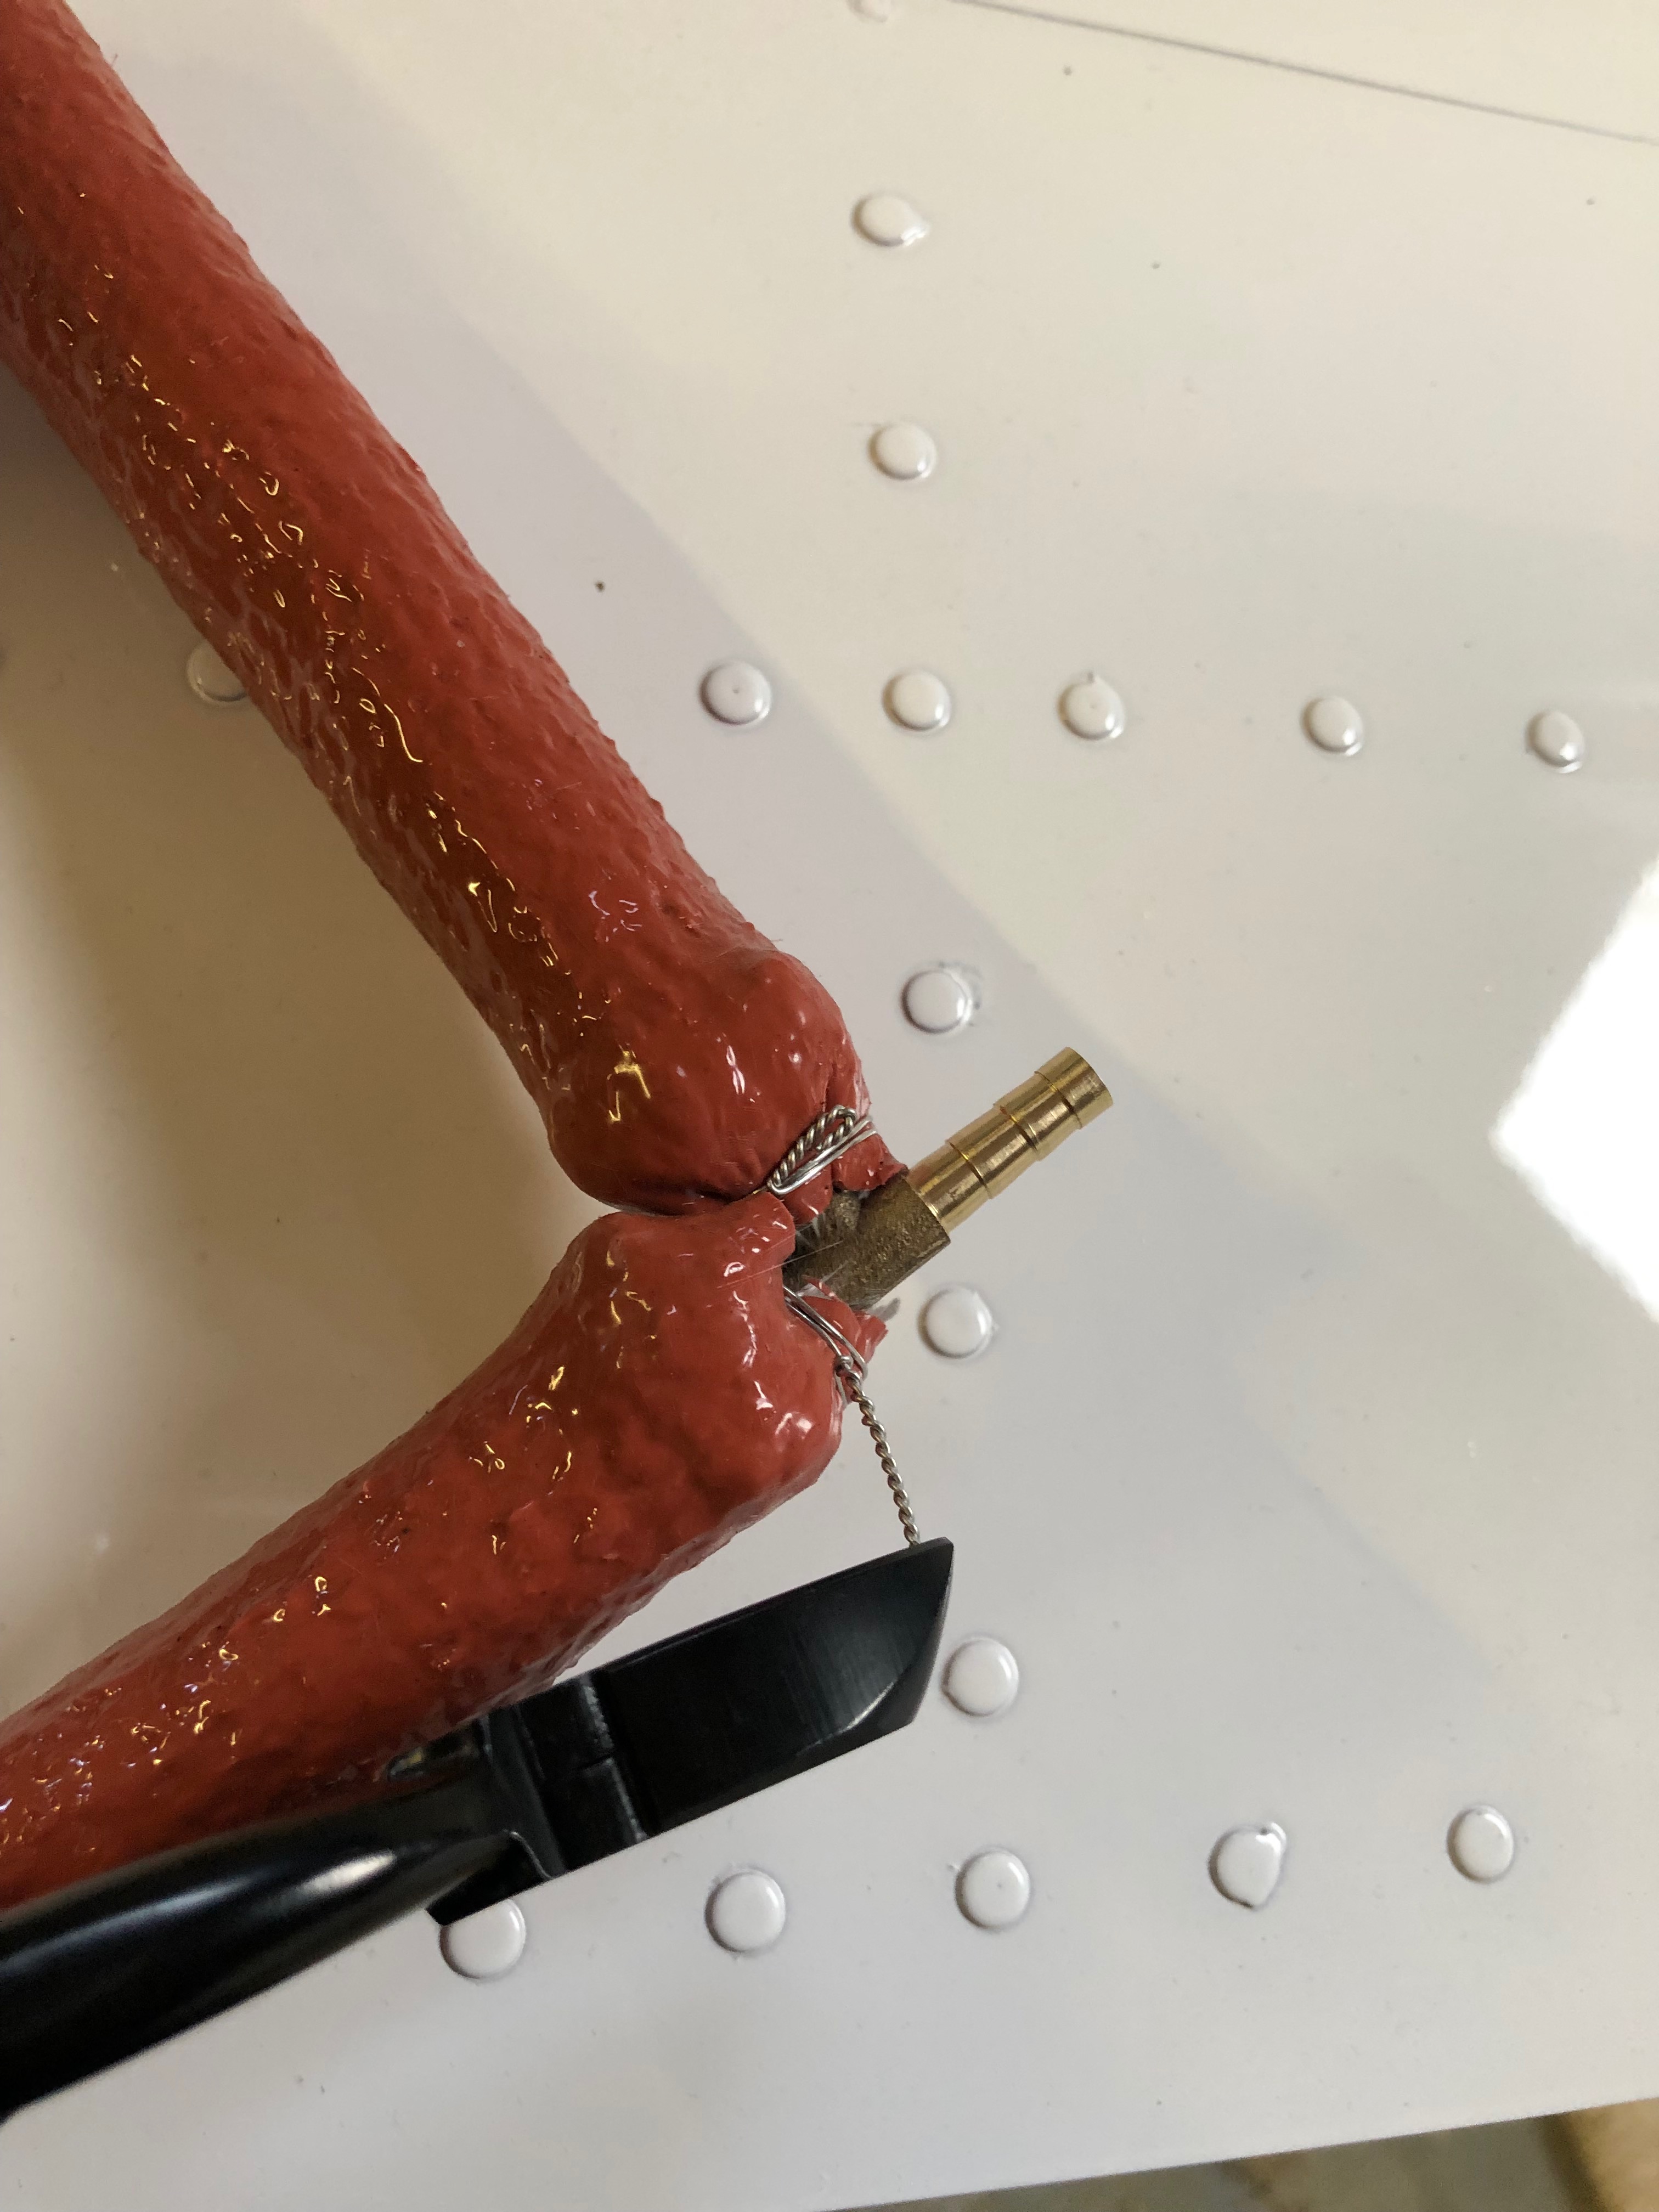
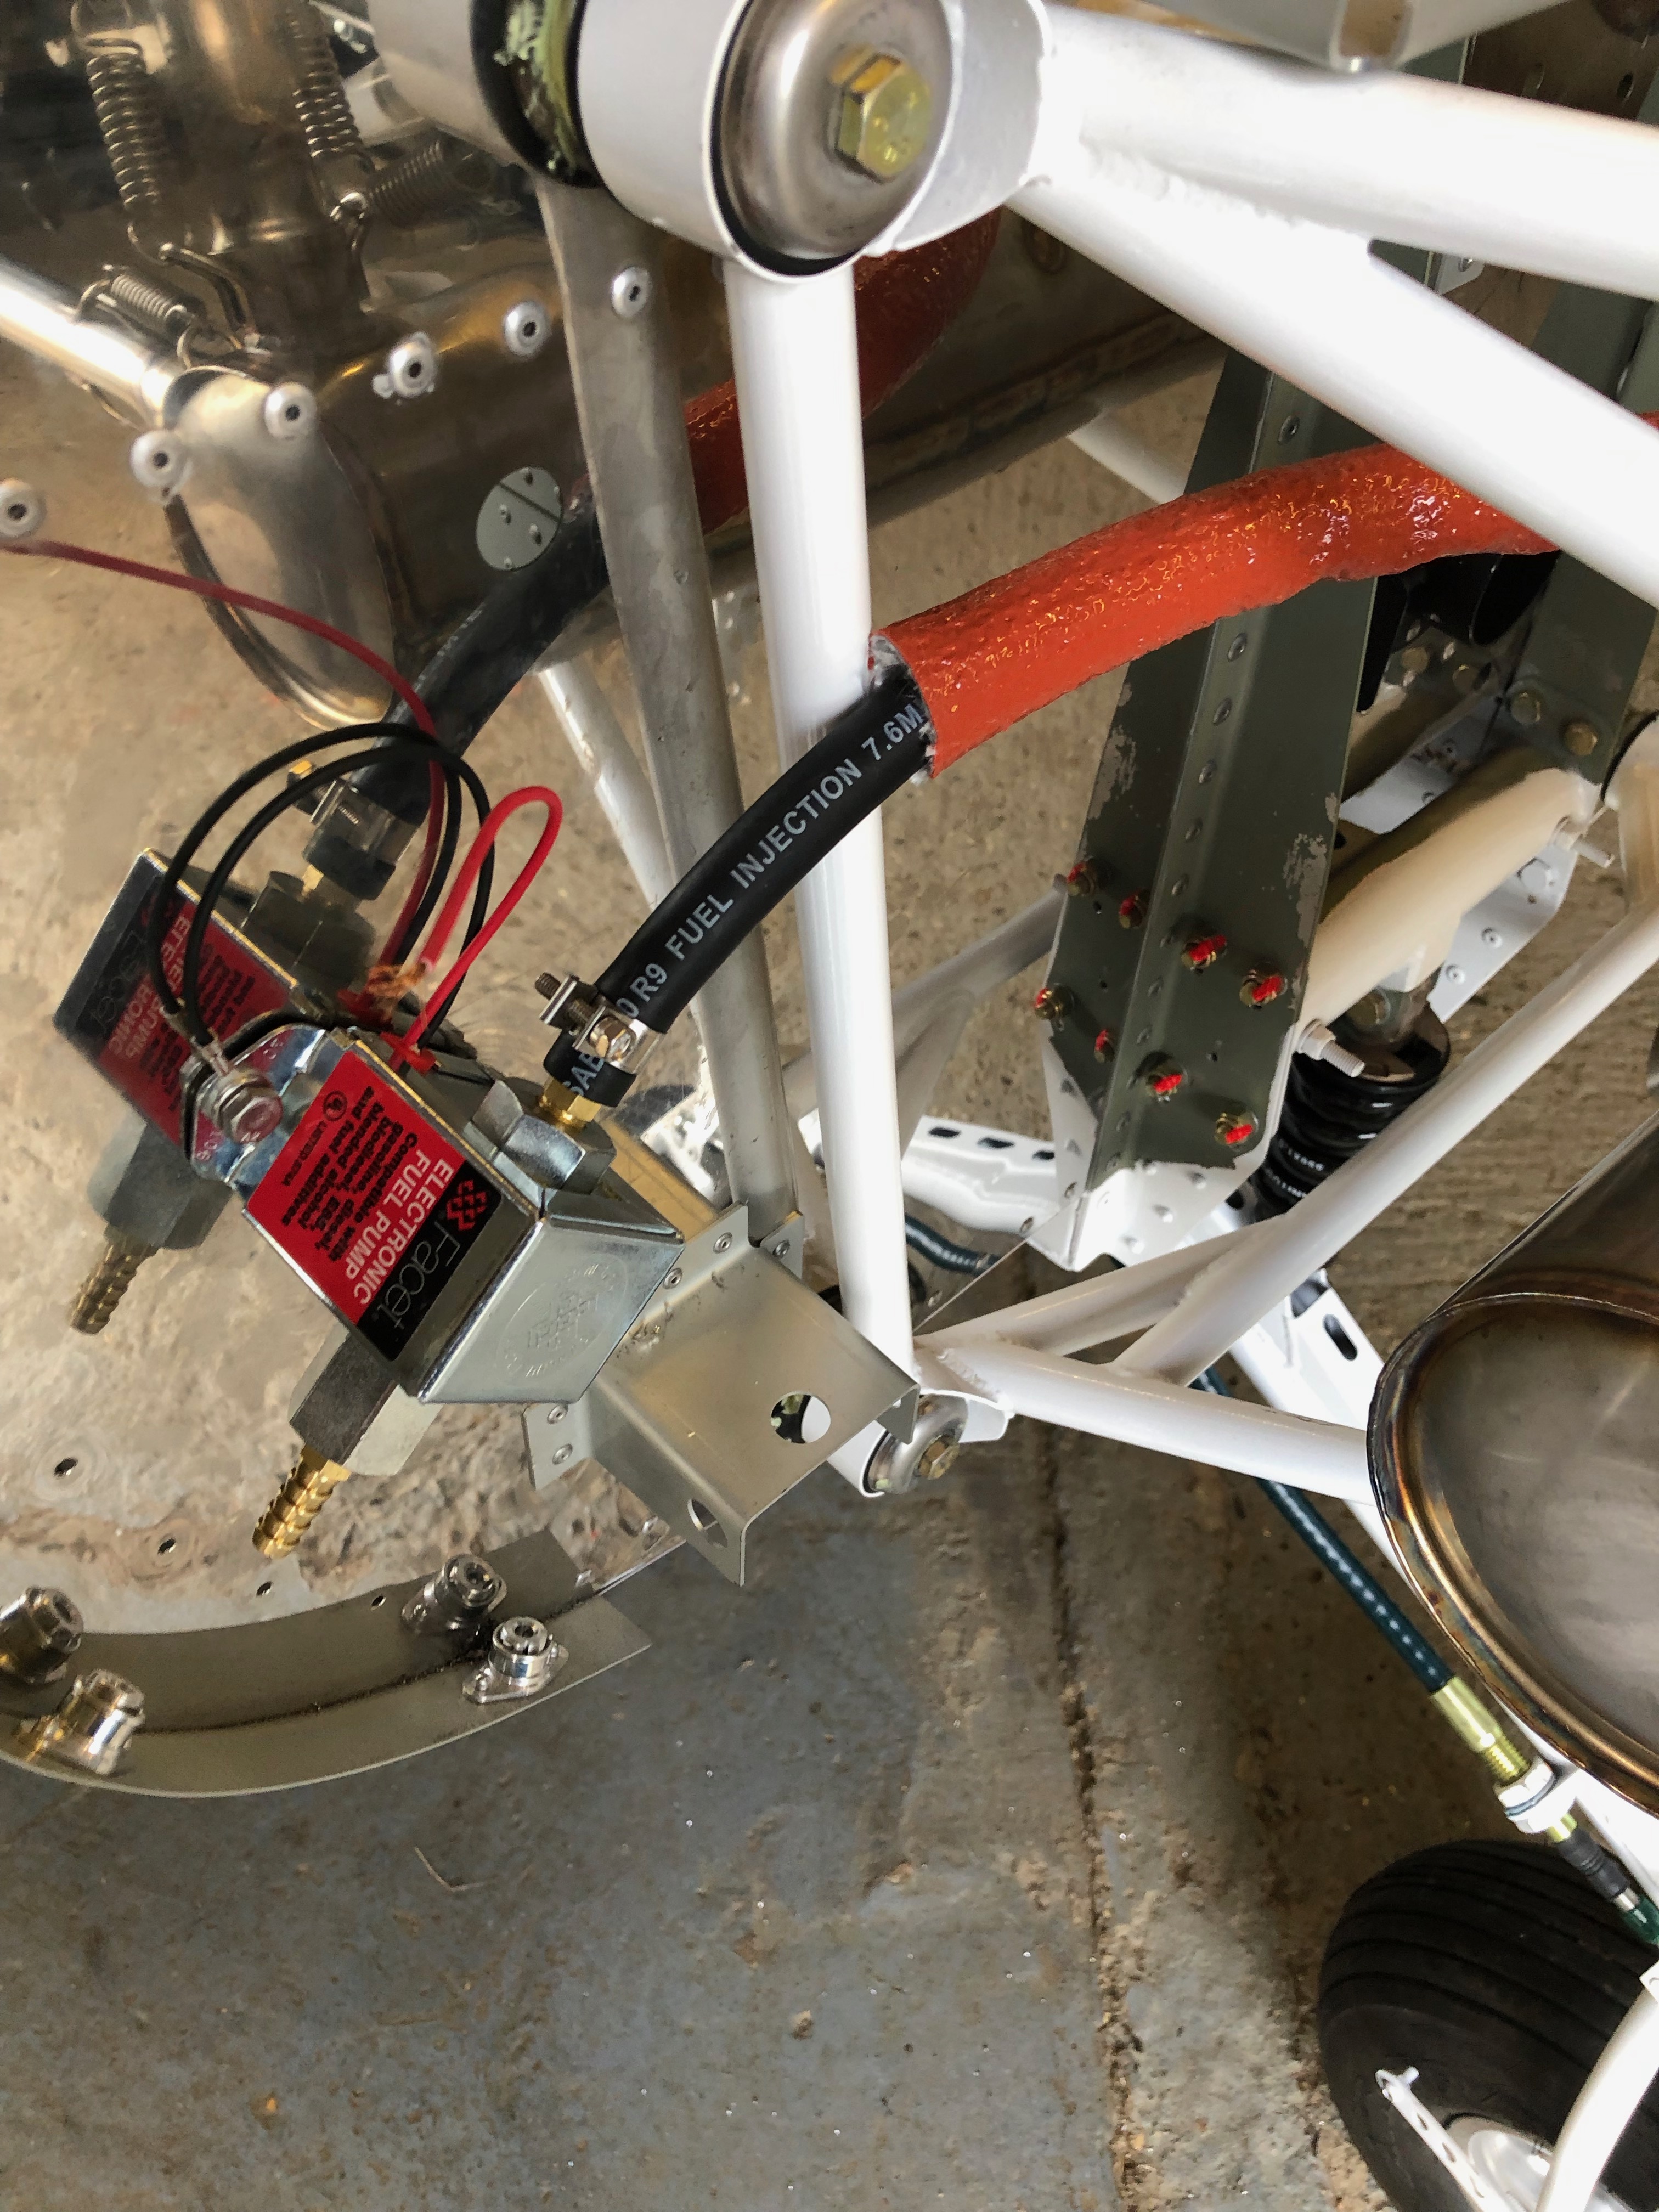
Last job for today is to make the tee for the fuel pressure sensor. This will be fitted in the fuel line between the mechanical fuel pump and the cross connector that has the restrictor installed. This will ensure that the sensor reads the correct pressure.
The Tee must also have fire sleeving and secured in place with wire wrap.
The missing parts arrived in the post today so I was able to get on with some of the tasks that have been stalled.
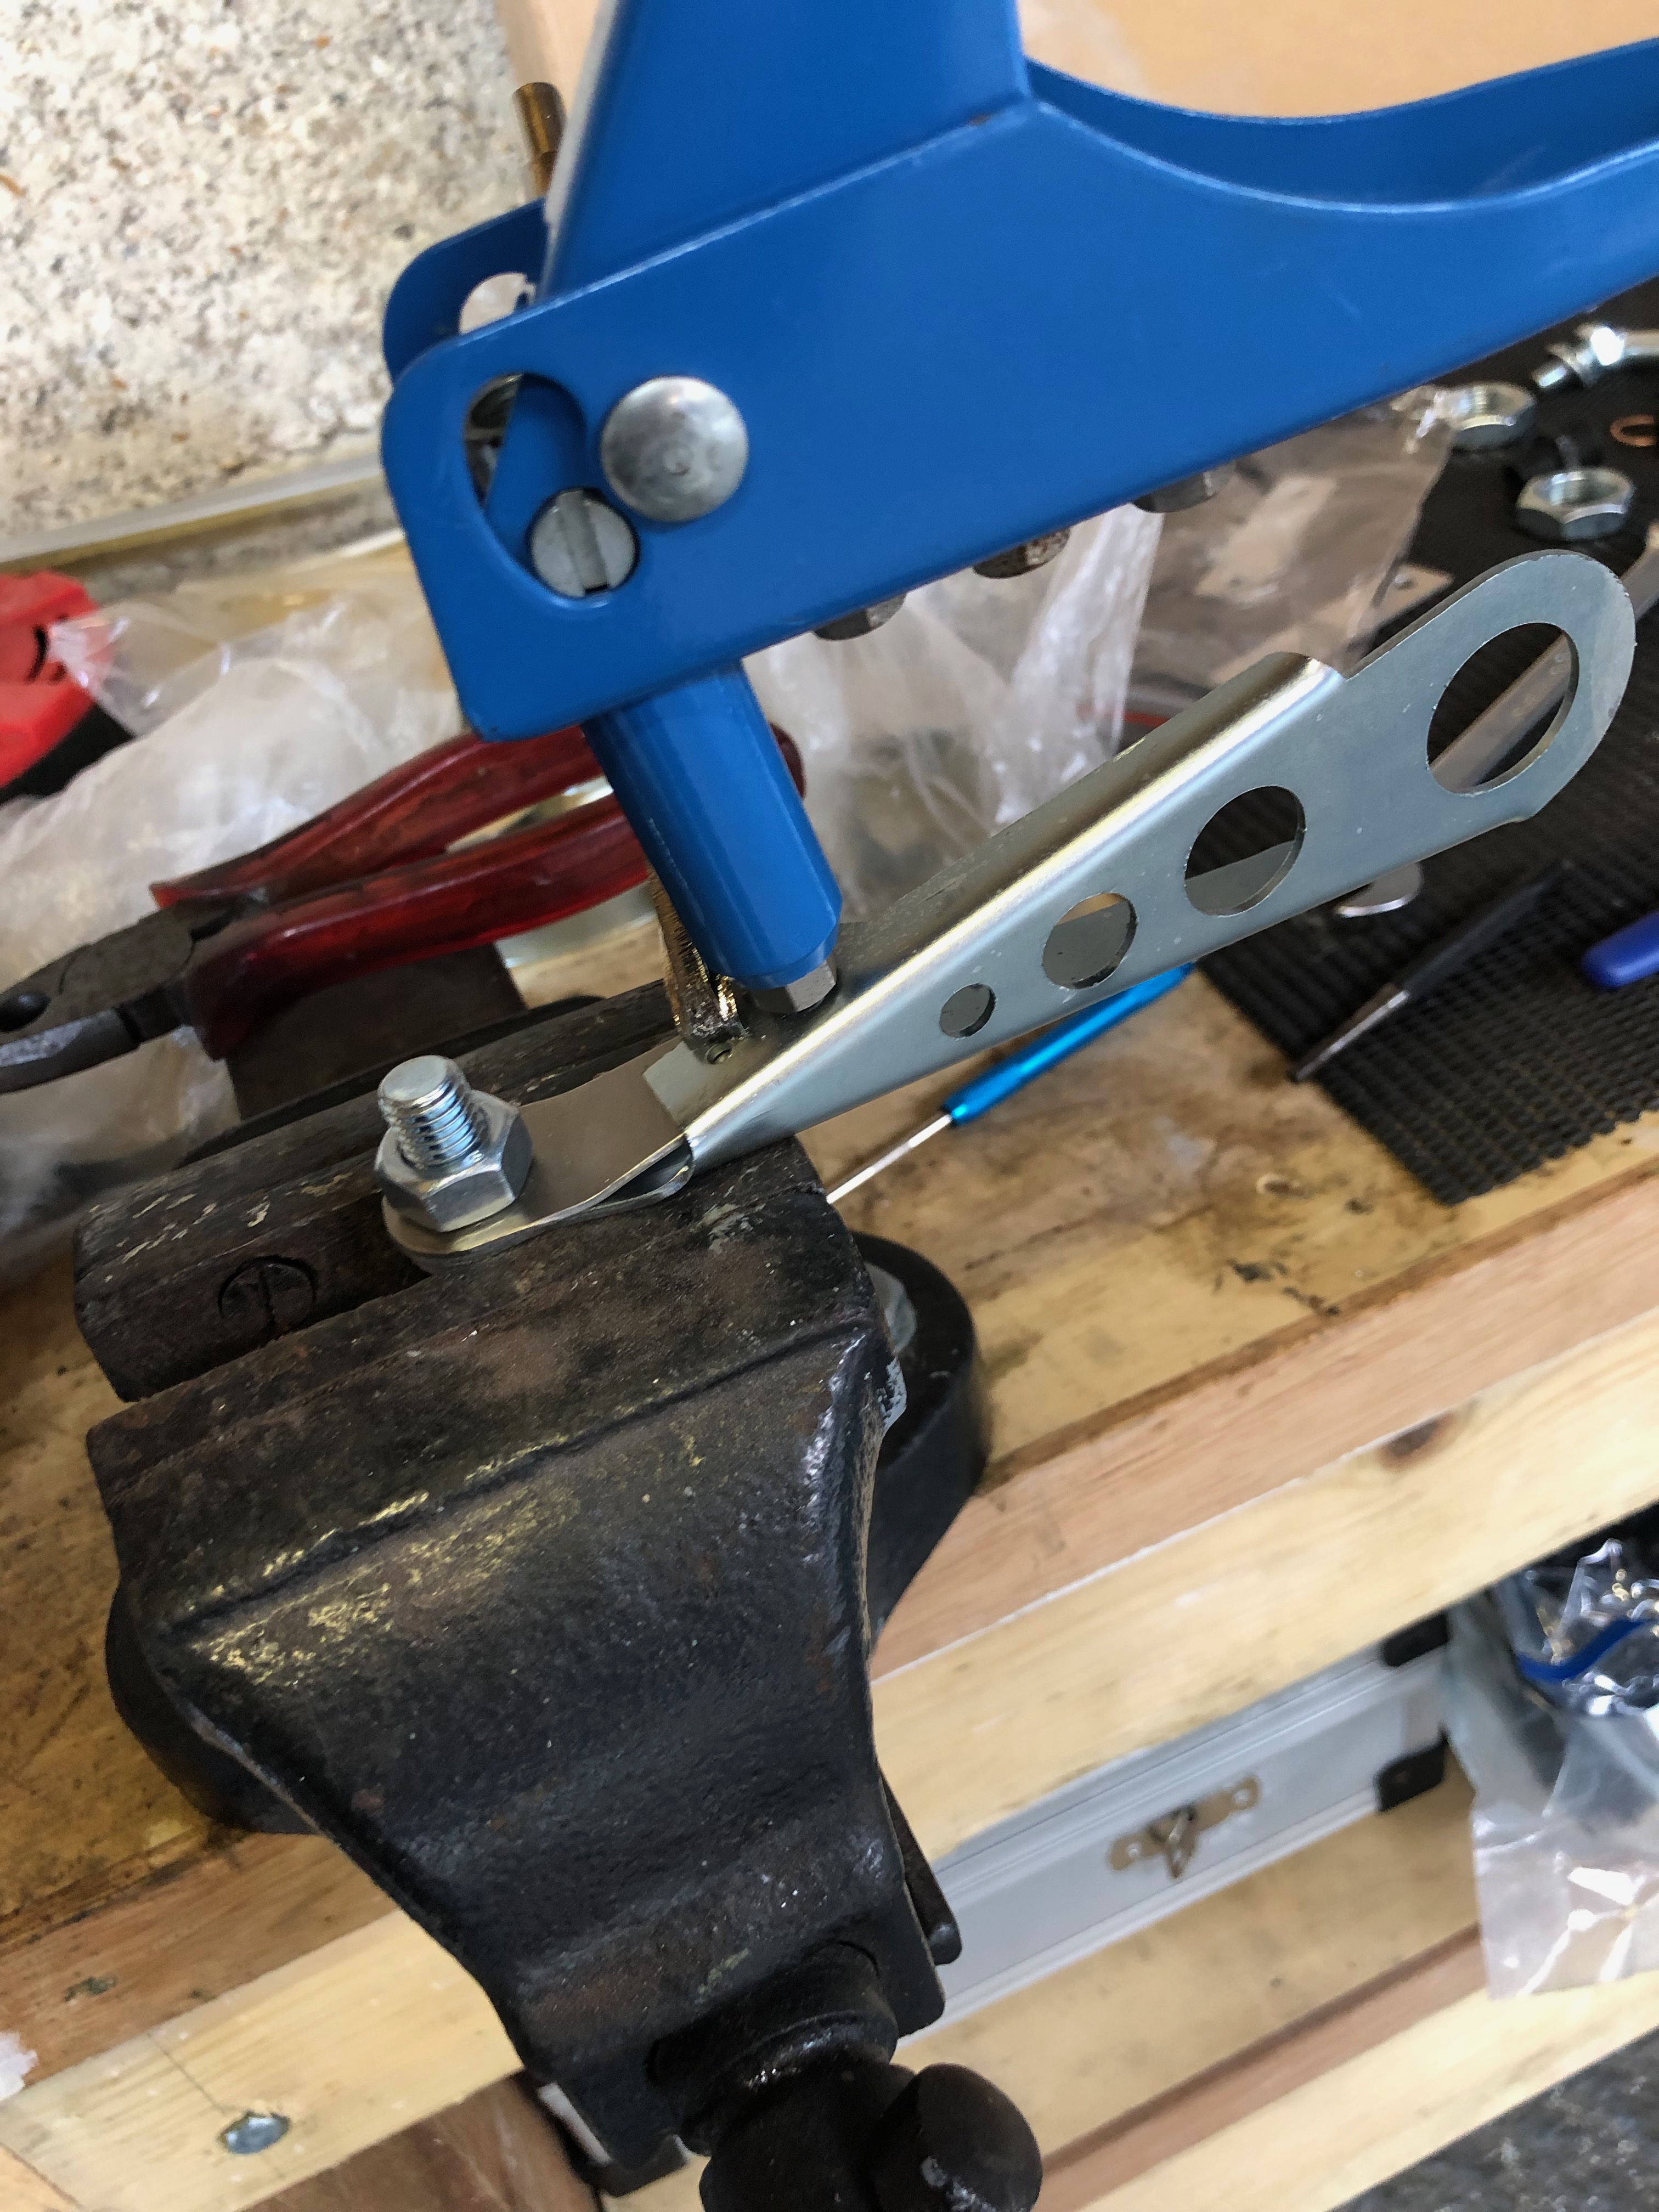
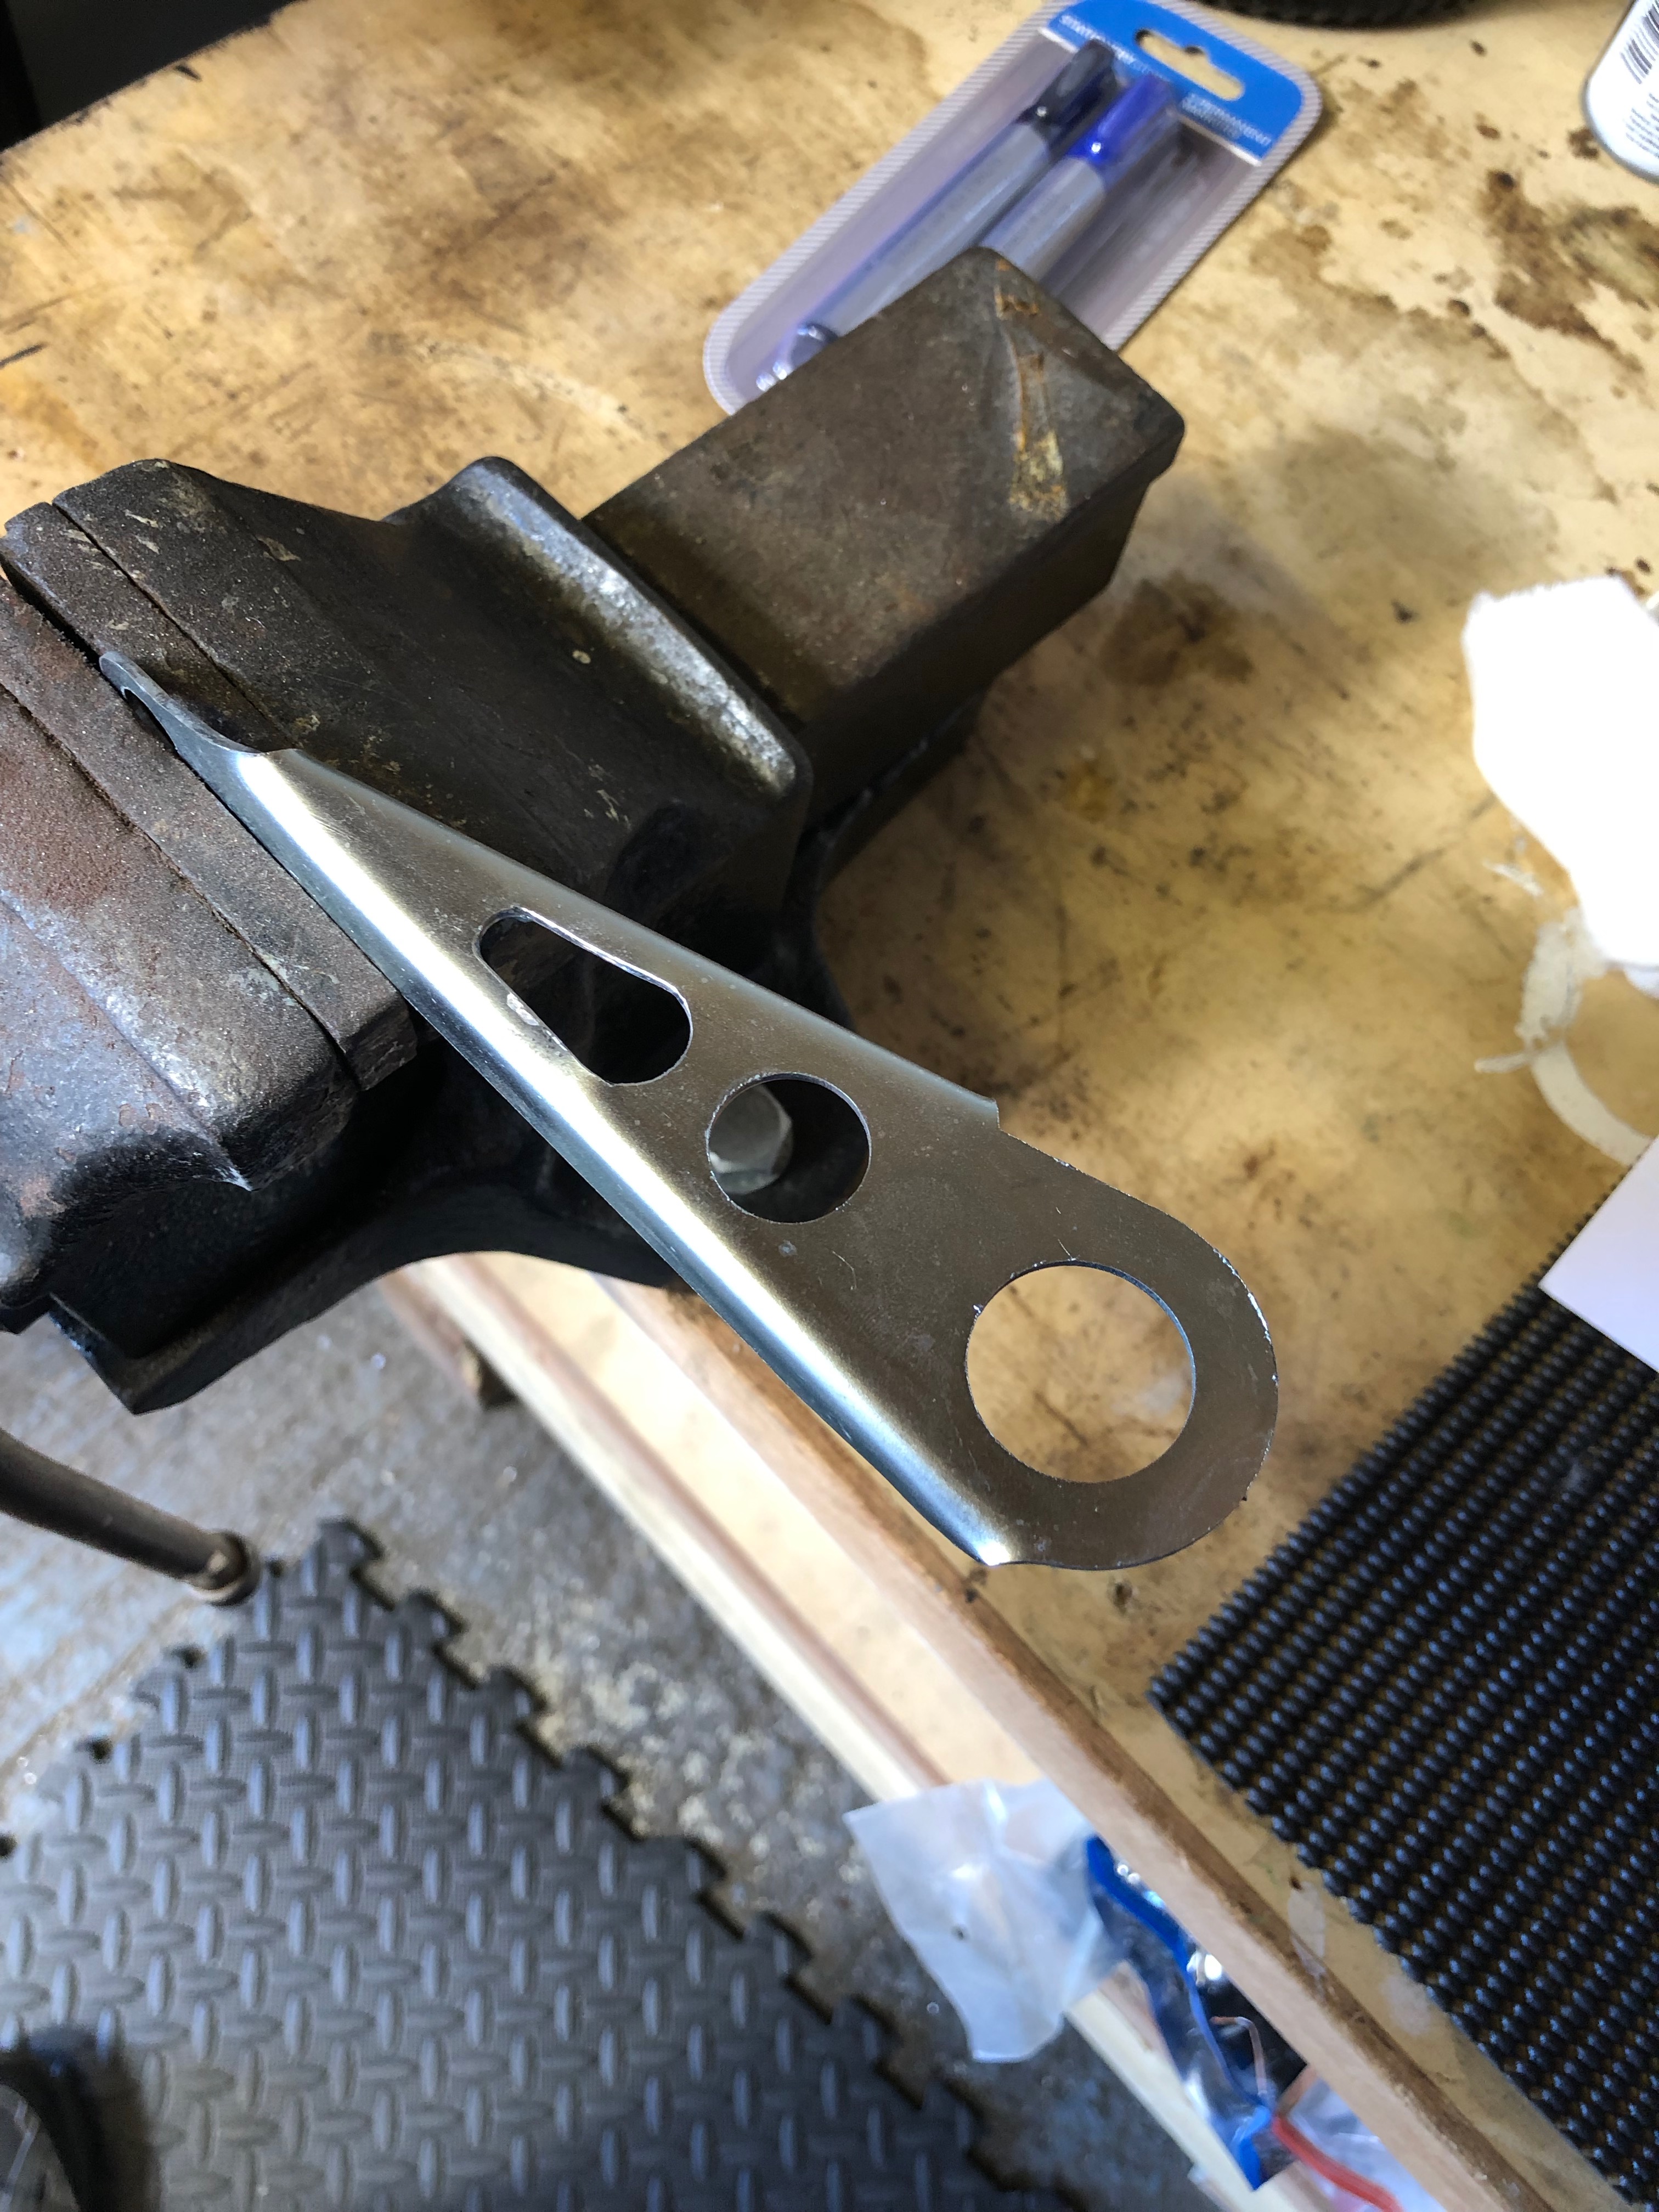
First job today is to add strengthening to the oil coolers bracket. The strip of metal is bolted to the bracket and holes are drilled to accept 2 rivets.
Rivets are installed.
The finished brackets ready for install.
Next is to clamp the heat exchanger, for cabin and carb heat, onto the exhaust with large jubilee clips. They are no tightened at this point as it may need to be rotated later.
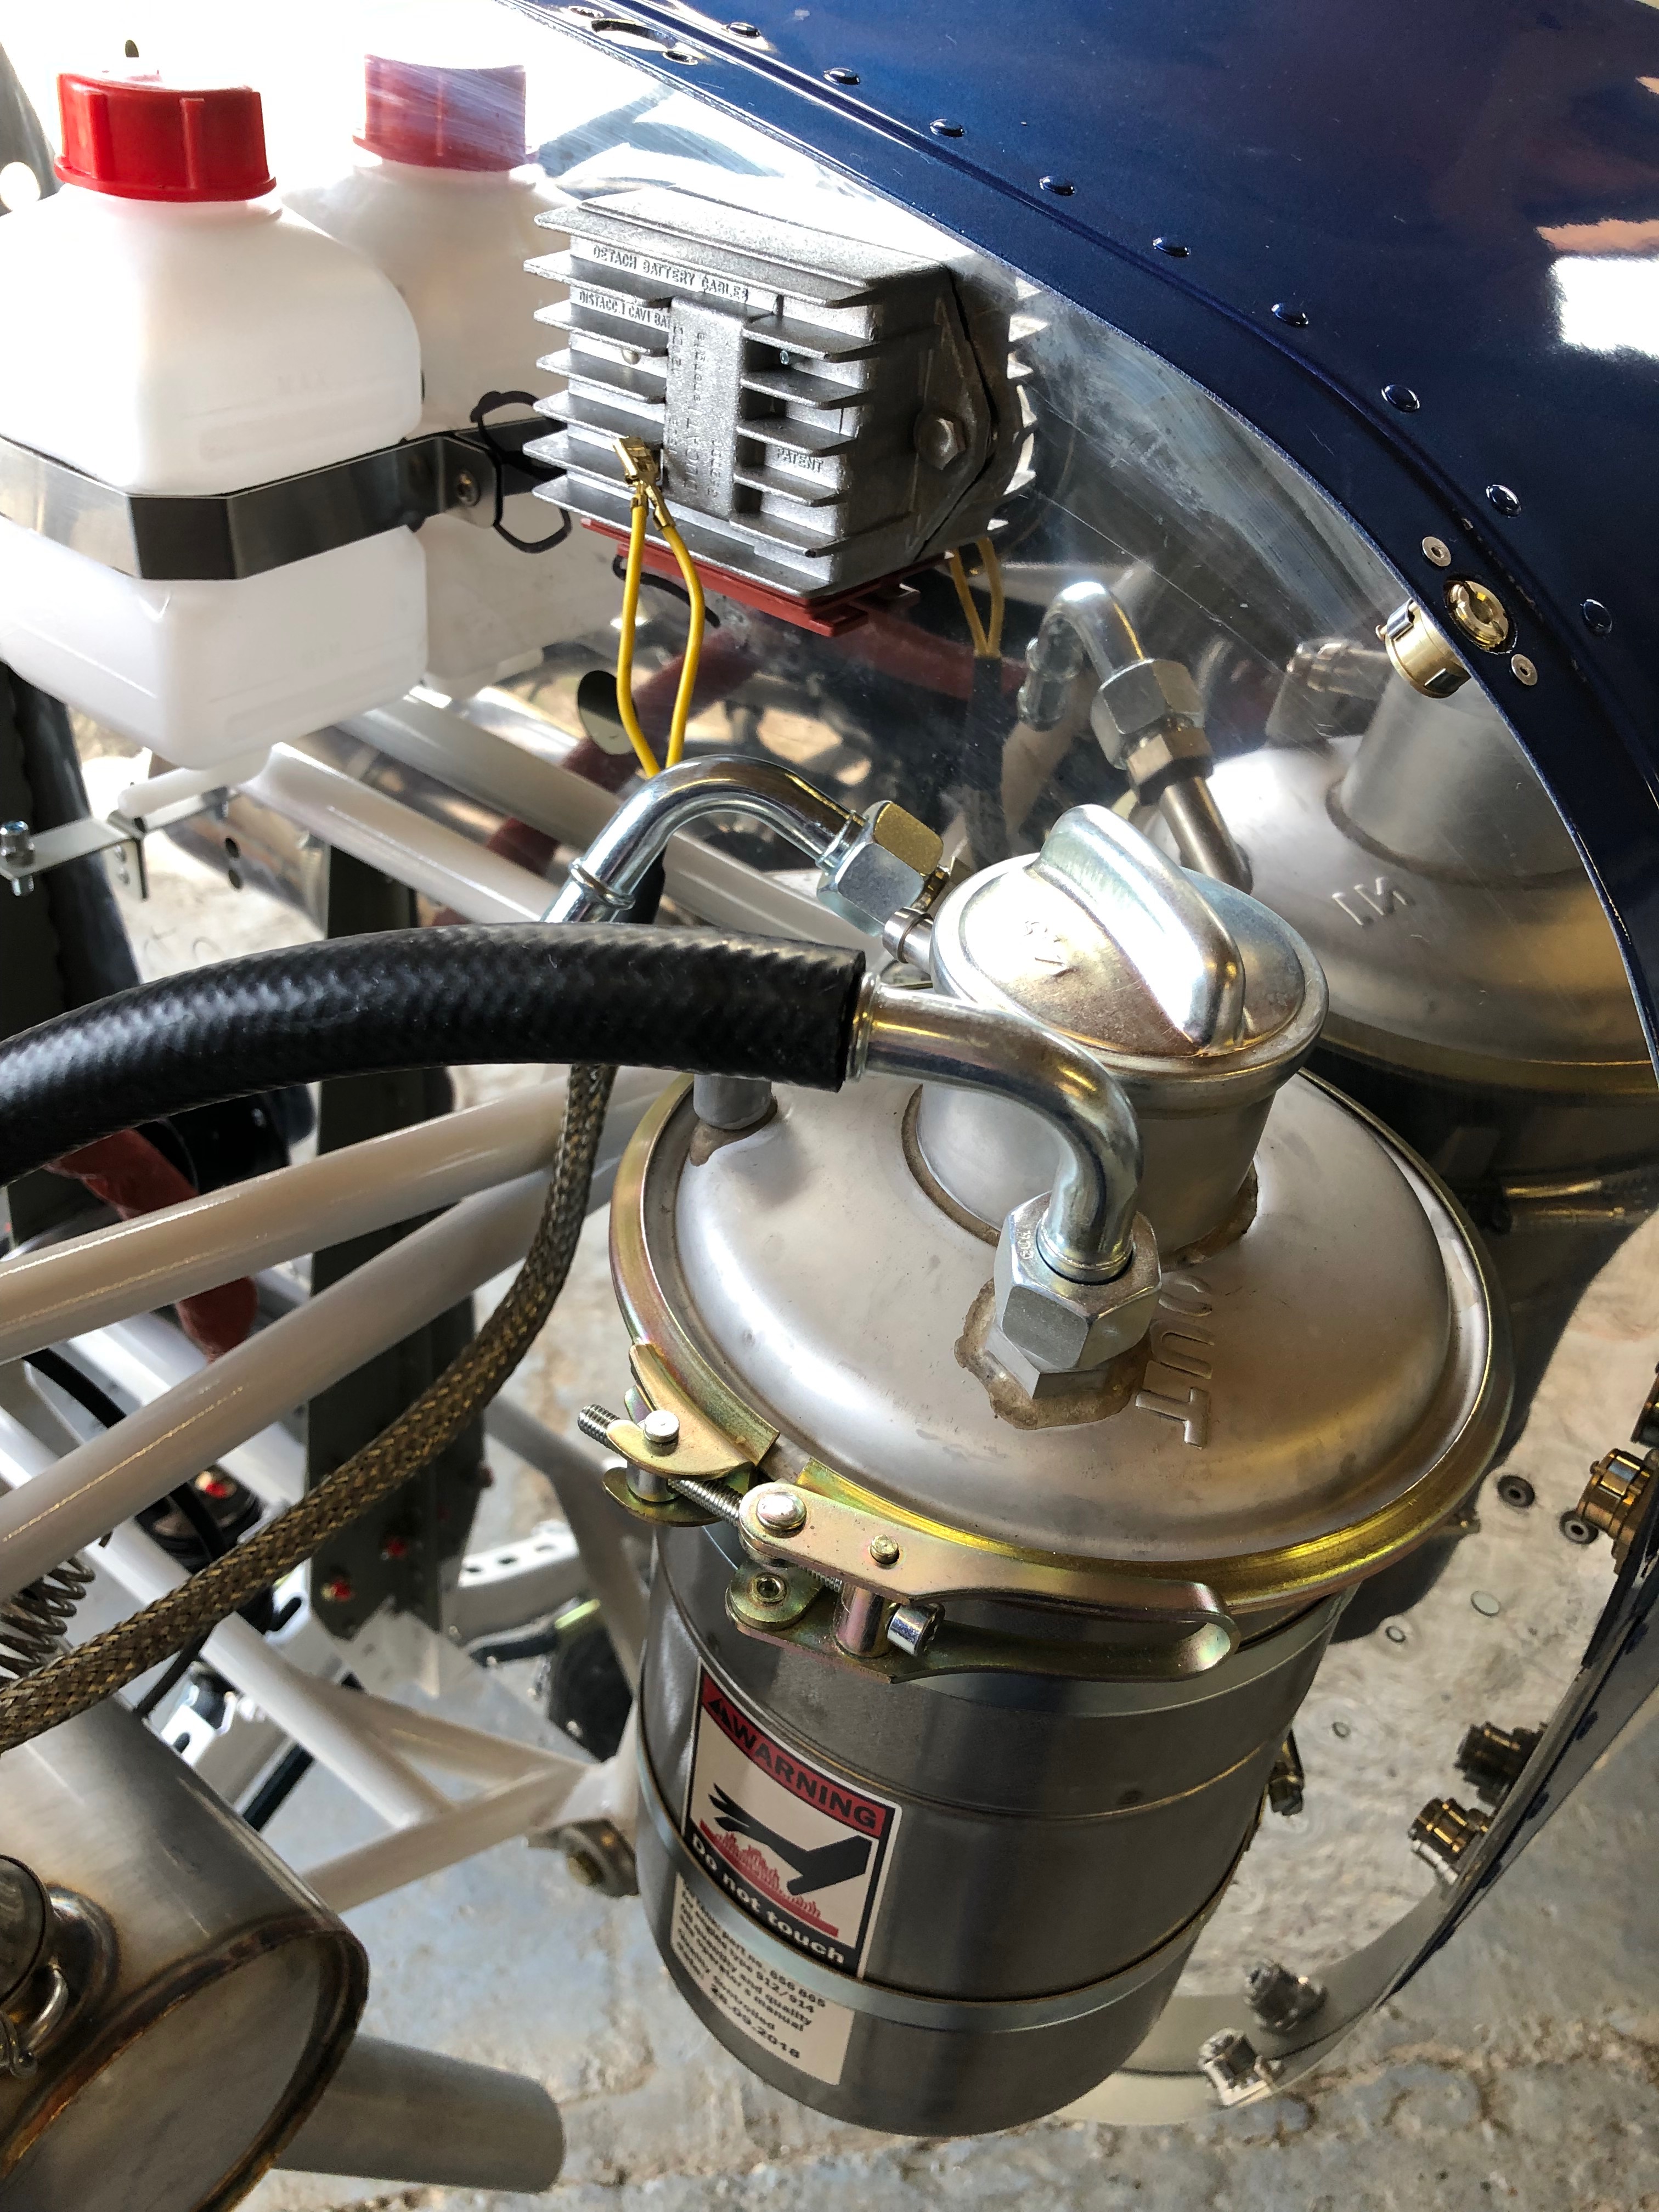
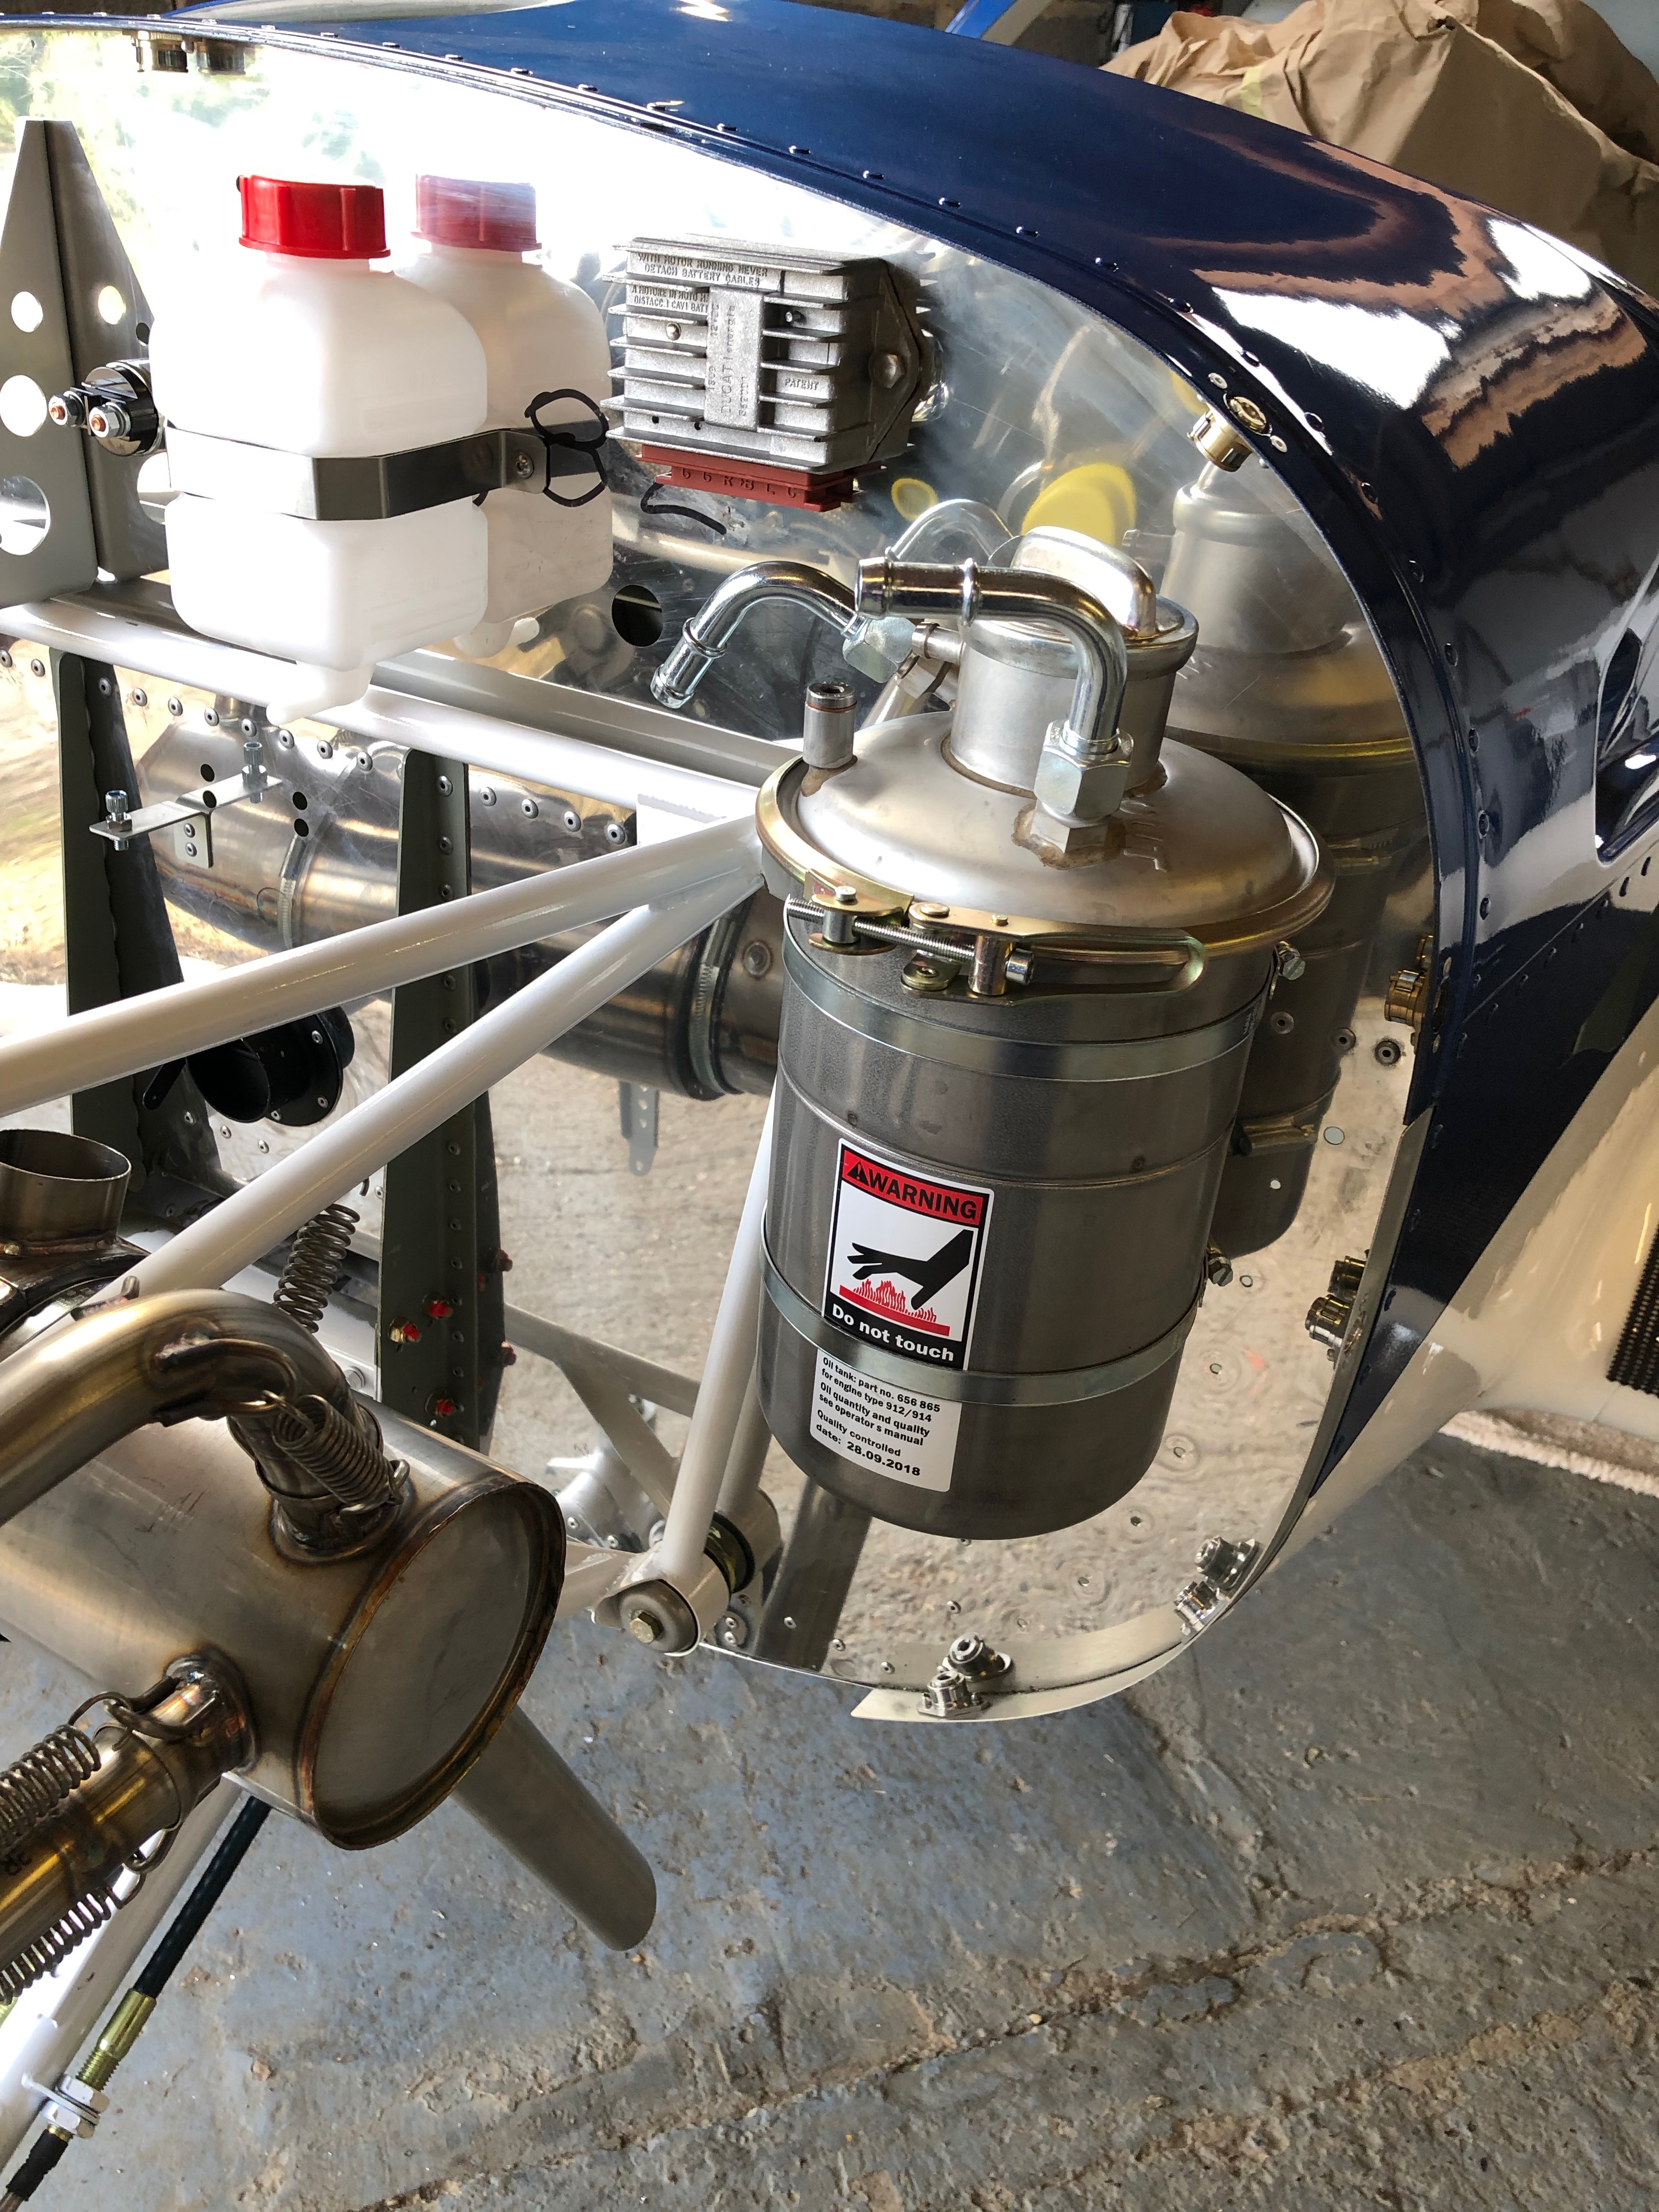
The oil tank is secured with large jubilee clips. Thinking about the location of the screw clamps I decided to turn them round.
Tank now install and the screw clamps are now ‘hidden’ at the rear of the tank. I’ve also turned the tank clamp around which makes it easier to undo for servicing.
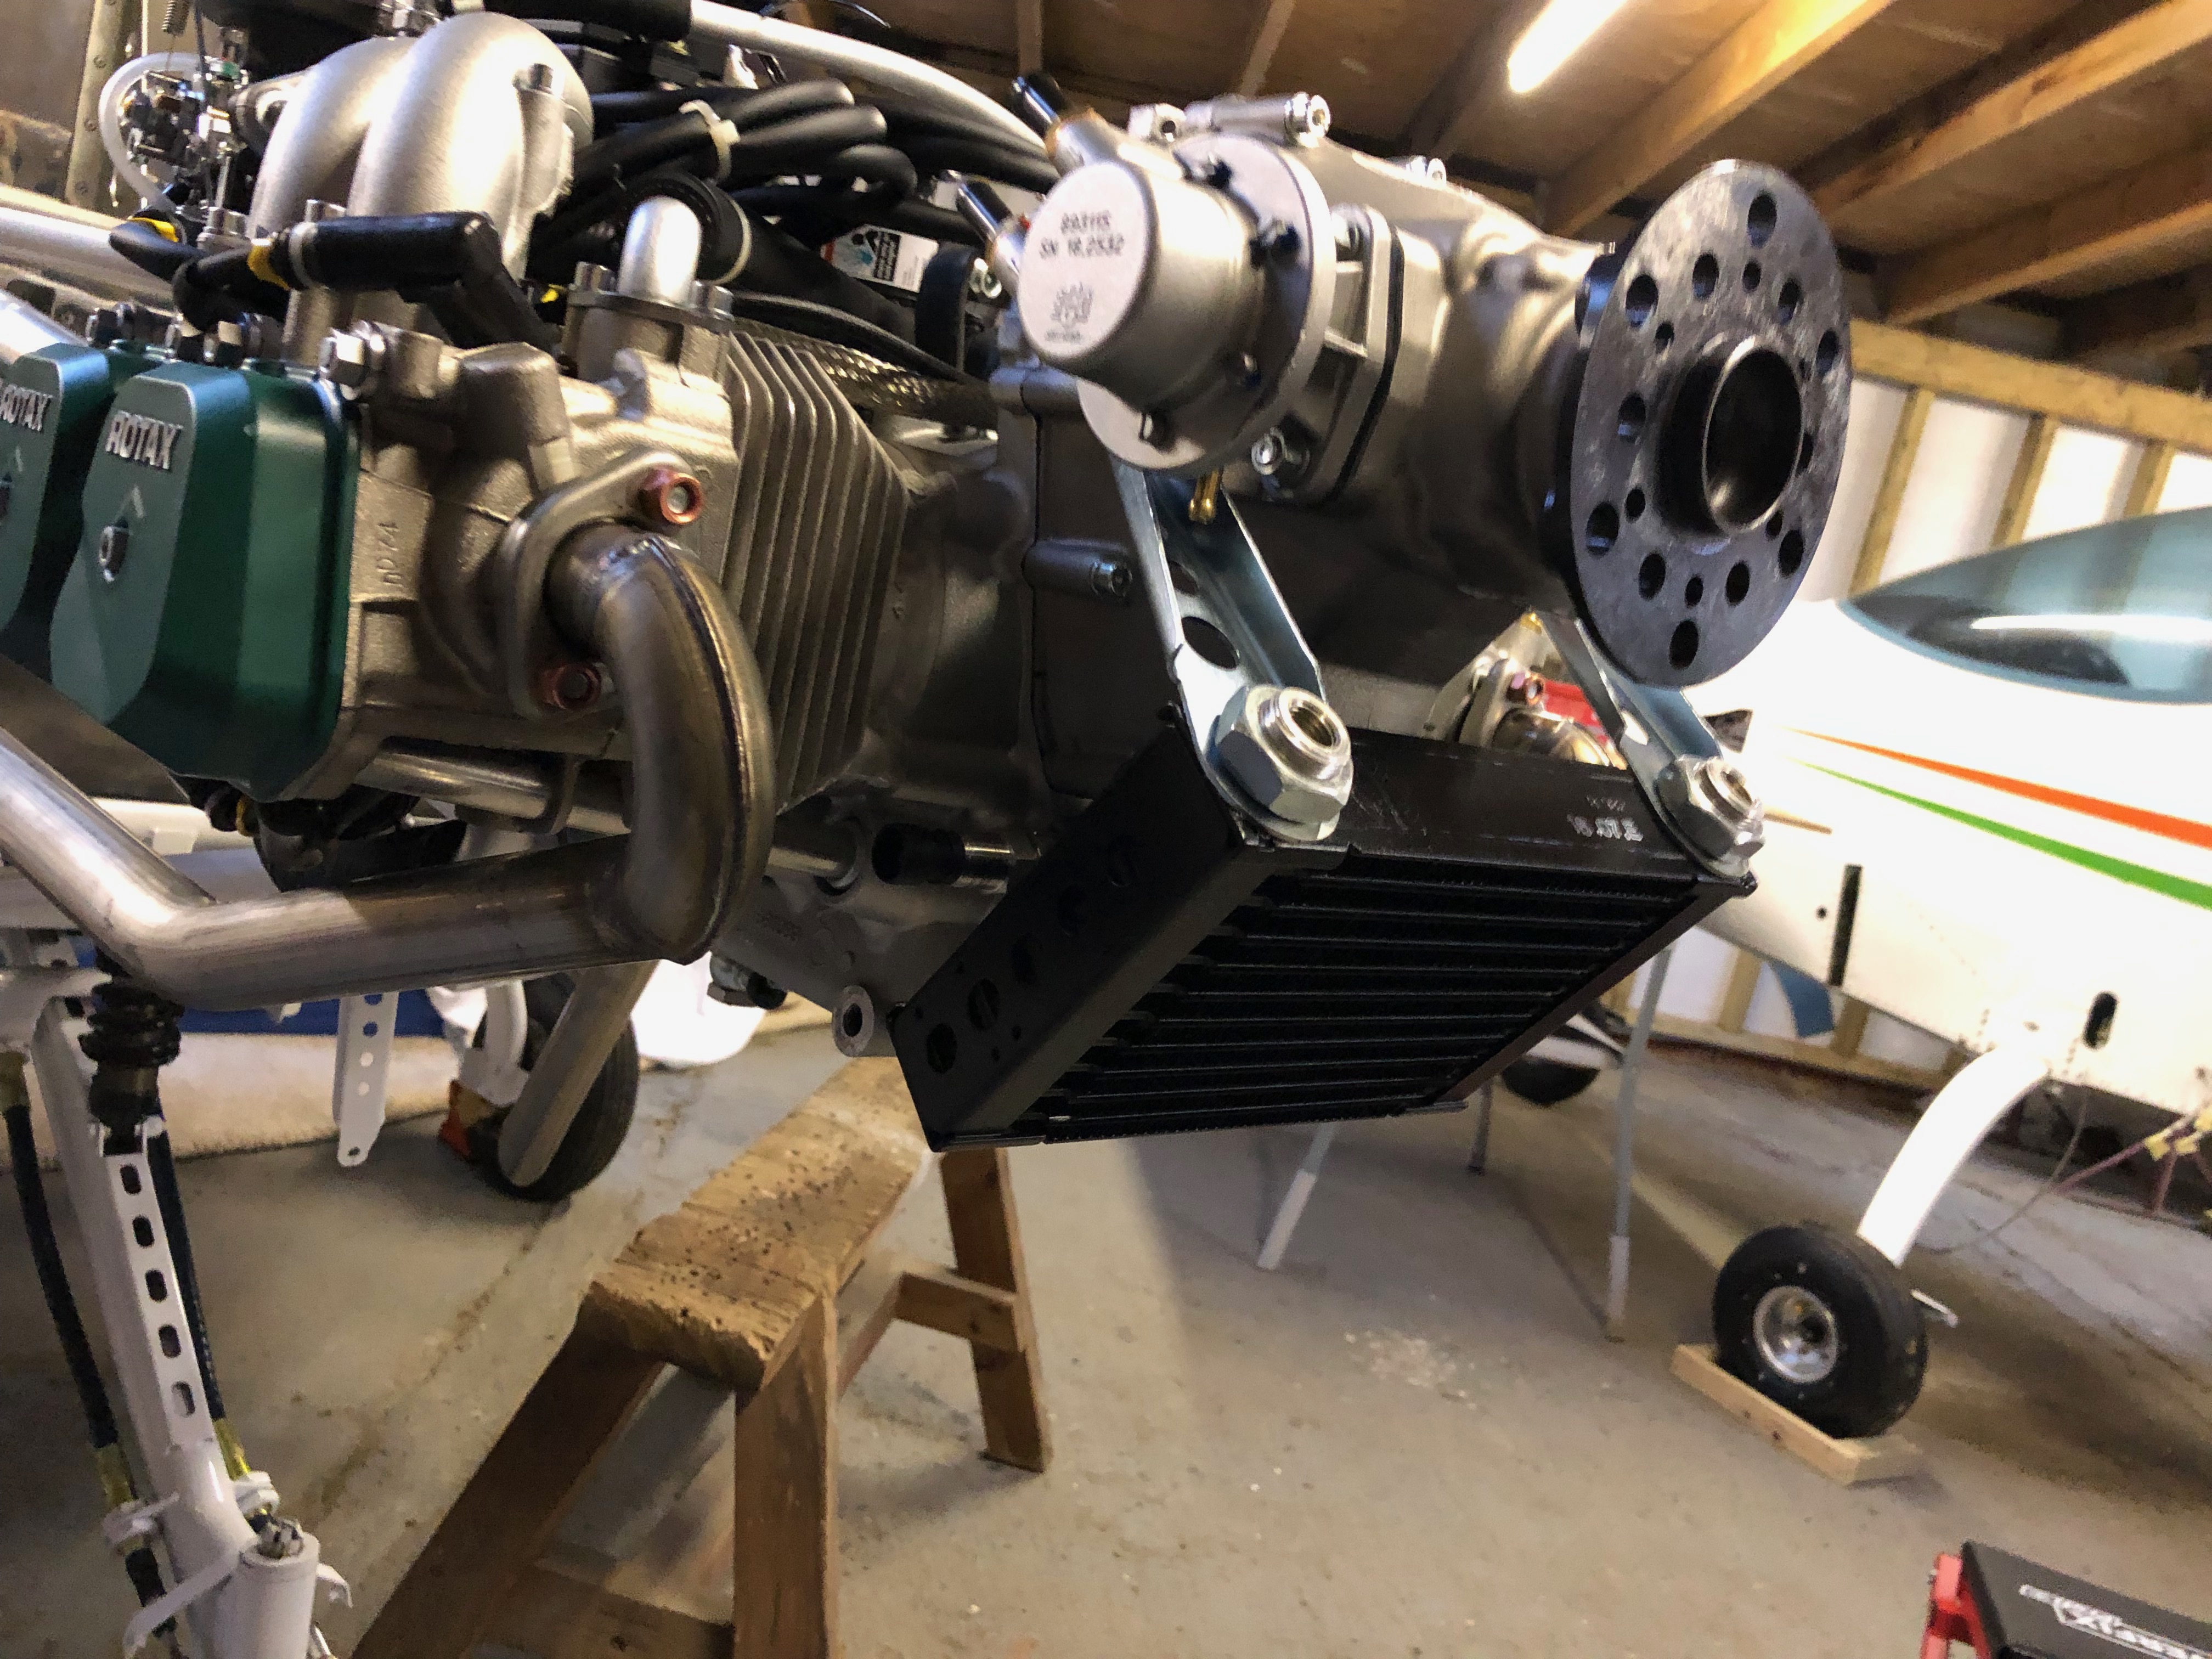
Now the oil cooler brackets have been strengthened it’s time to install the oil cooler.
A reducer is installed to for the oil hose connectors.
Oil pipe connectors installed.
2 bolts are installed and locked with Loctite 243 to stop dirt and muck filling the lifting bracket mounts.
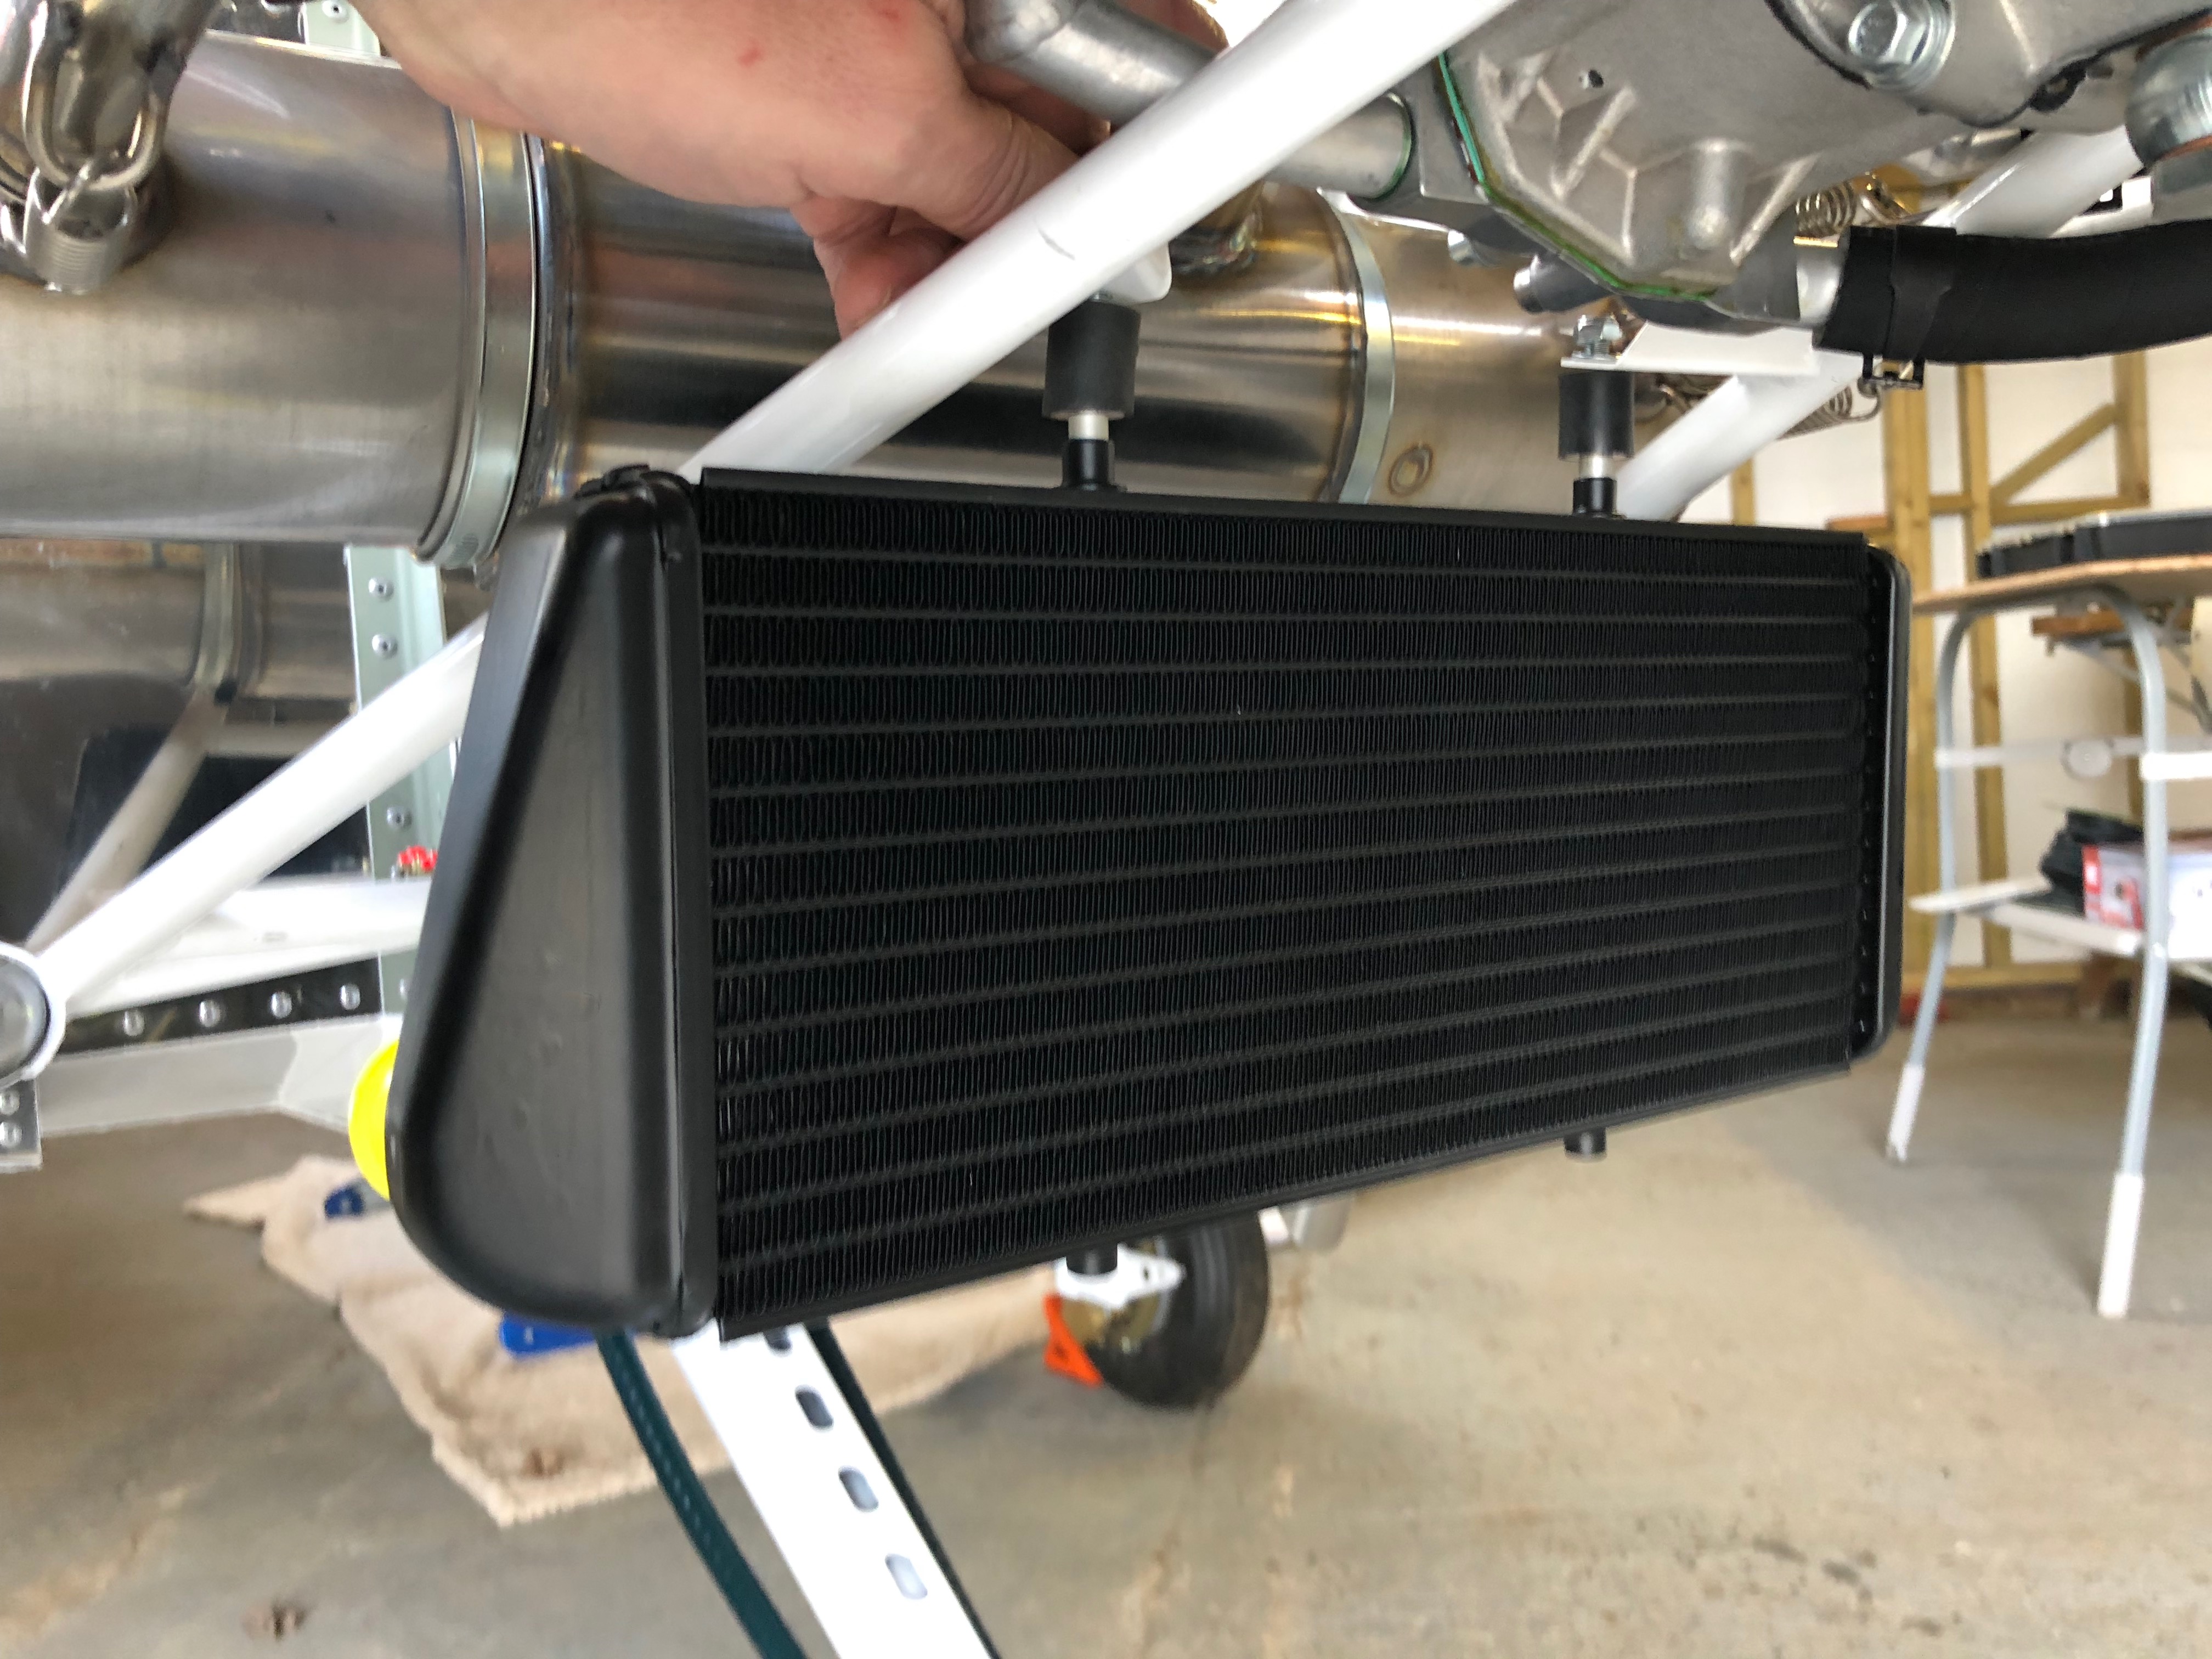
The water cooler is installed next and requires a couple of brackets and 5mm spacers to be made.
I think that’s close enough…
The 2 spacers are fitted on the rubber vibration isolators, screwed into the top of the water radiator and secured with 2 M6 nyloc nuts.
The aluminium brackets are fitted to the lower support…
and secured under the water radiator. I need to finish the final securing tomorrow.
Unfortunately because a number of items have been omitted from the kit, today is going to be mainly small jobs that can be done to allow other work to proceed when the bits turn up.
I will also start the fuel system install.
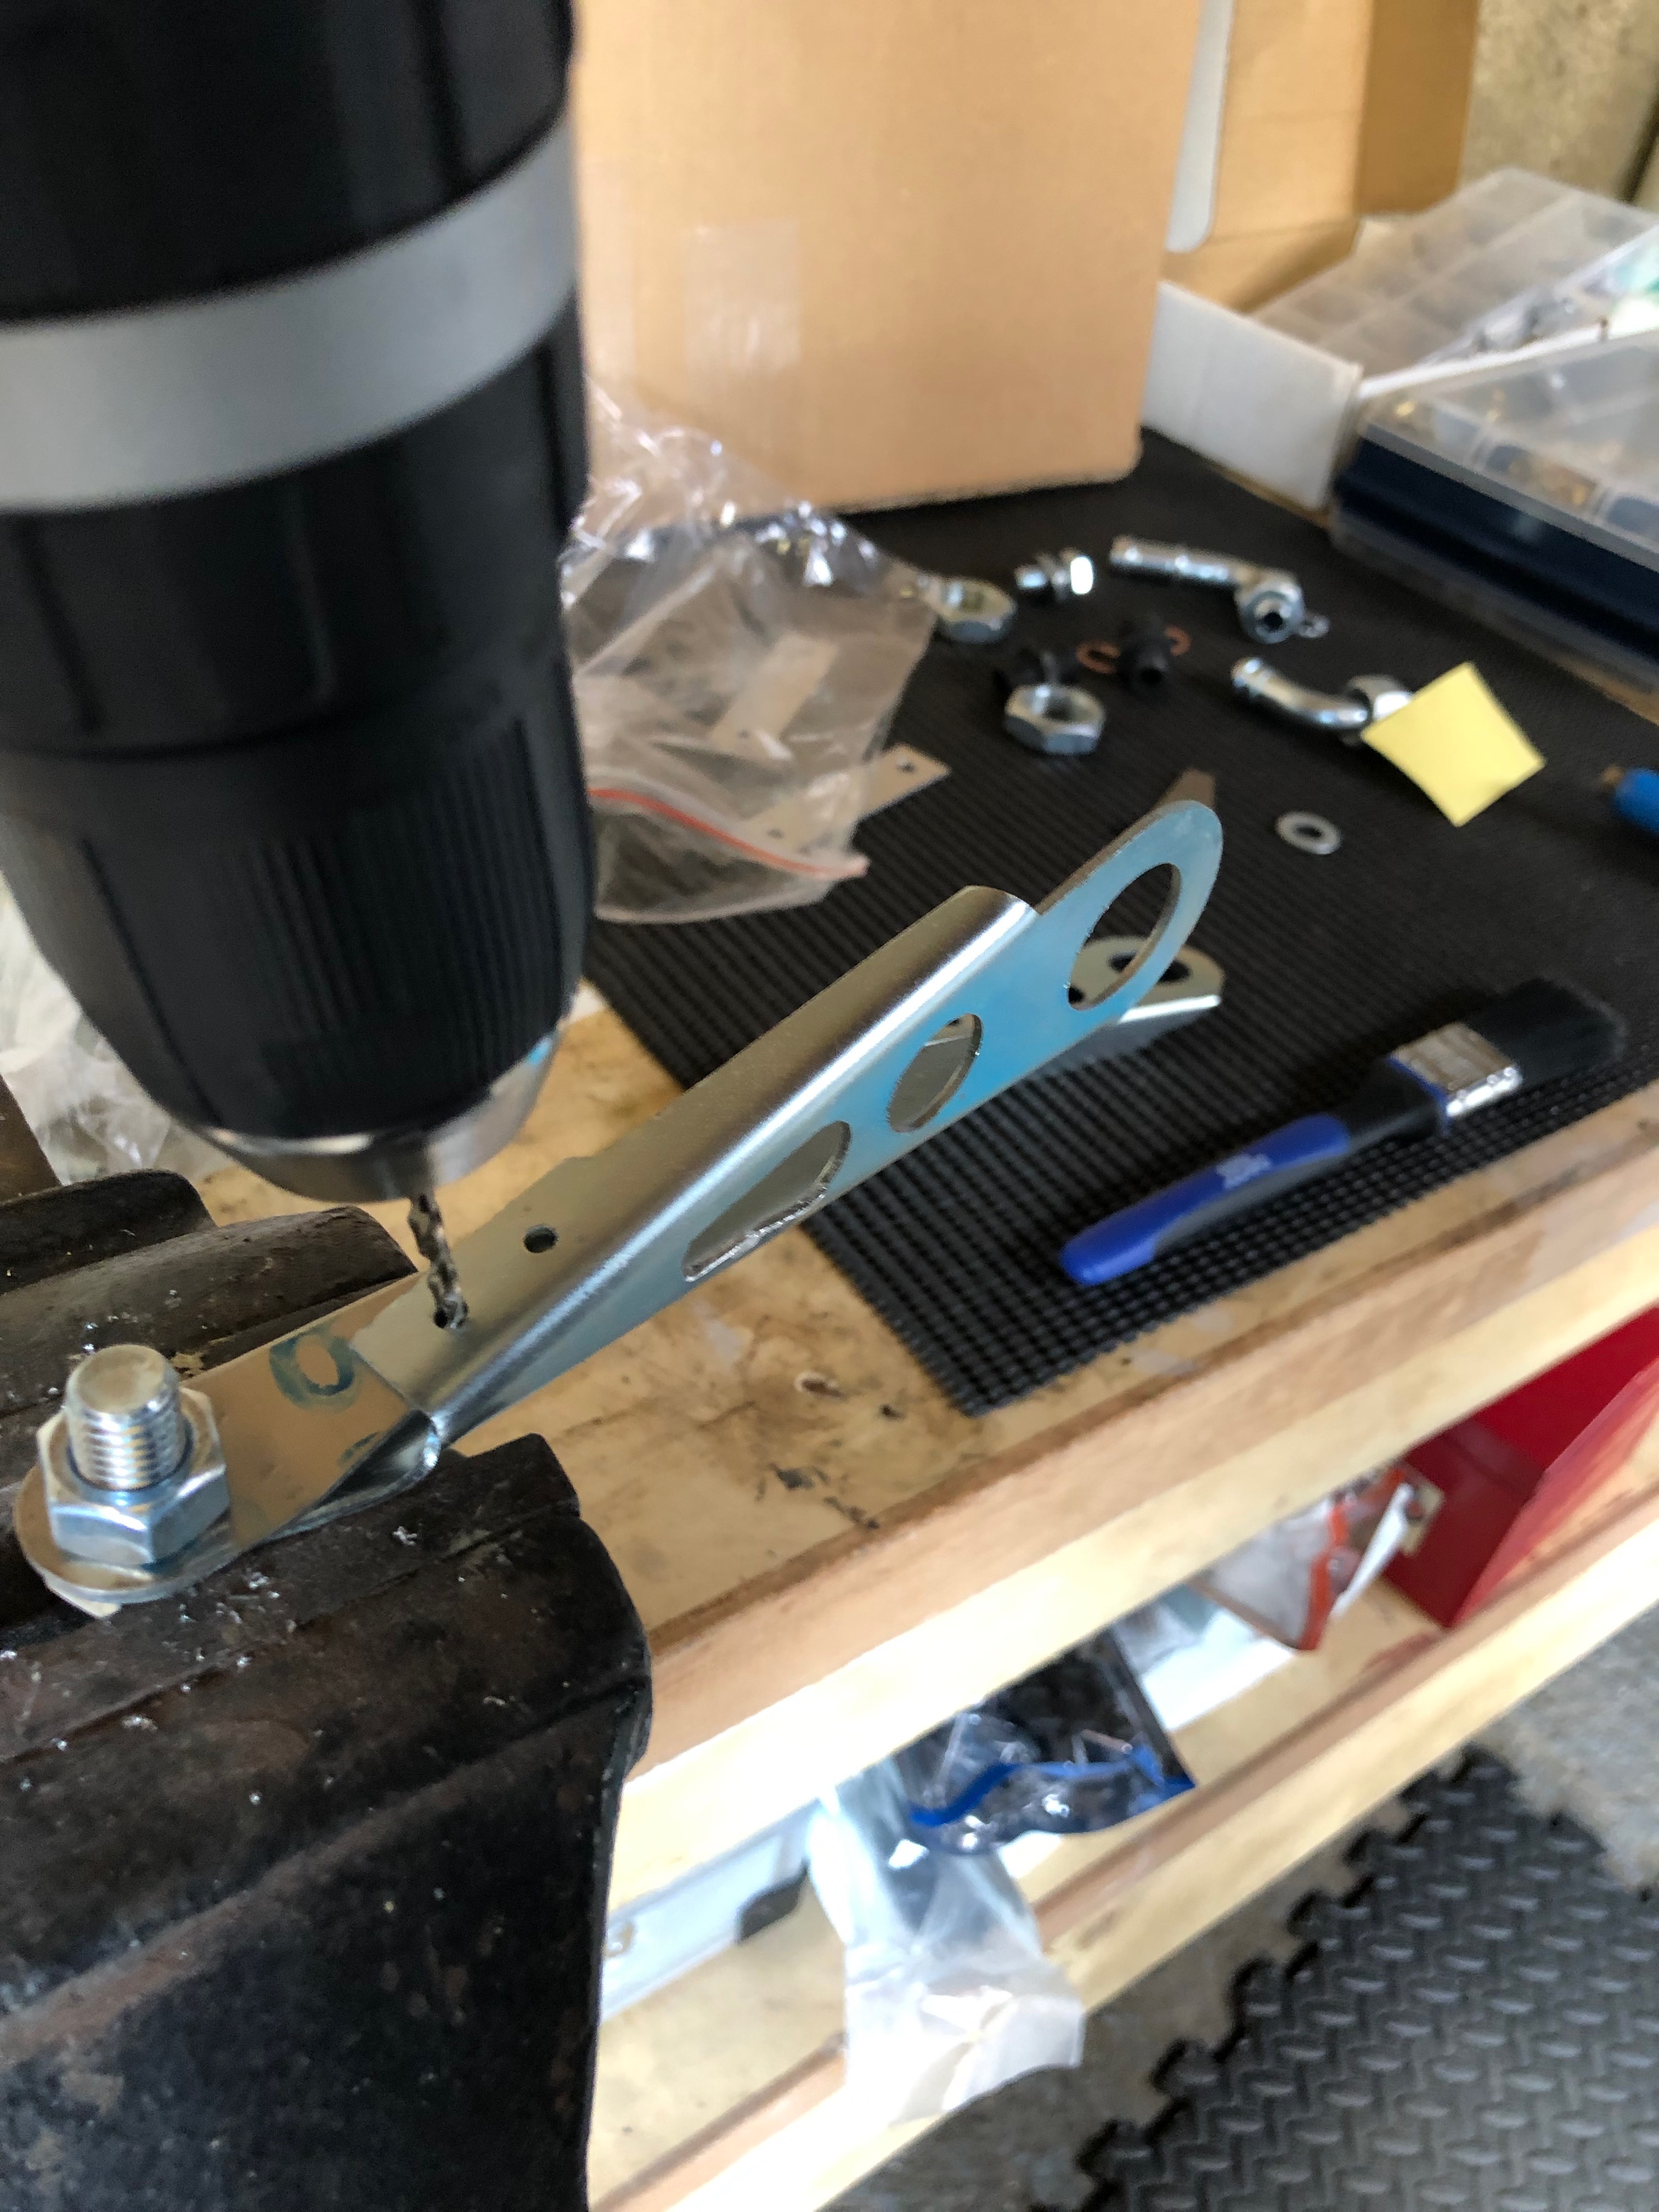
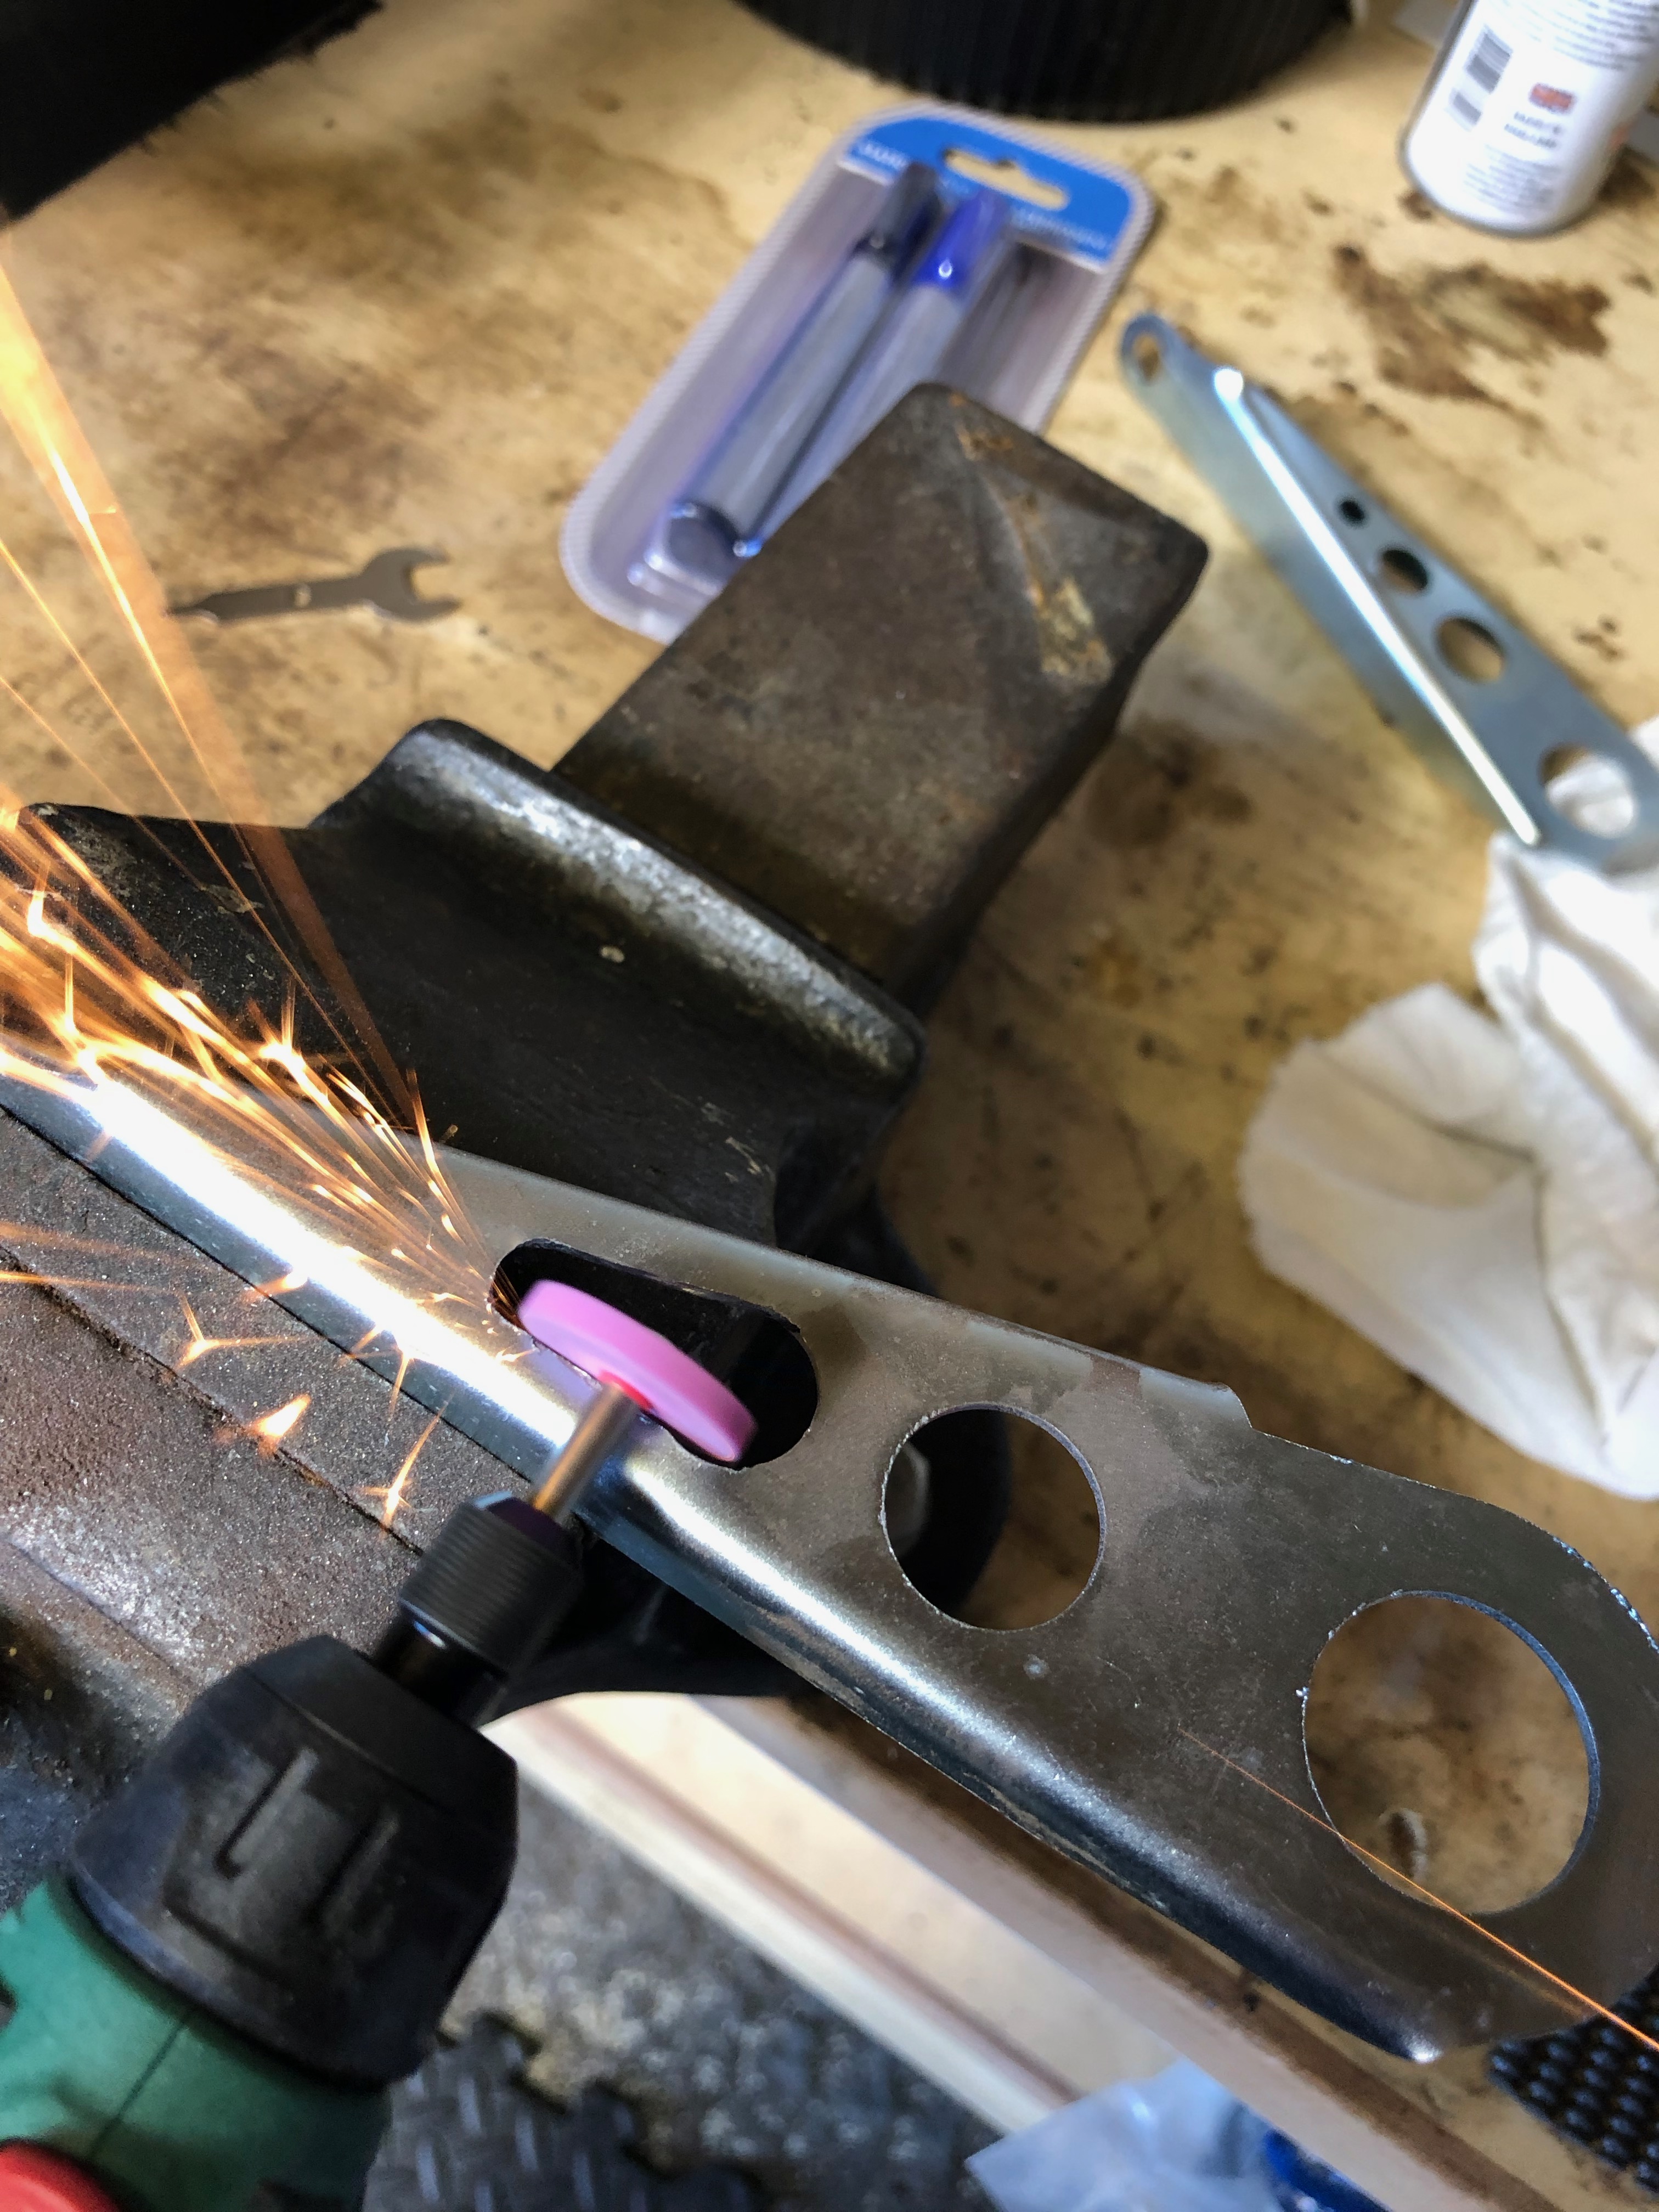
The oil radiator bracket needs to be modified to allow the mechanical fuel pump drain tube to pass through it.
Only the right bracket needs to be modified in this way but both need to be strengthened before they can be fitted. Unfortunately the strengtheners were missing so Tony is making some up and sending them in the post.
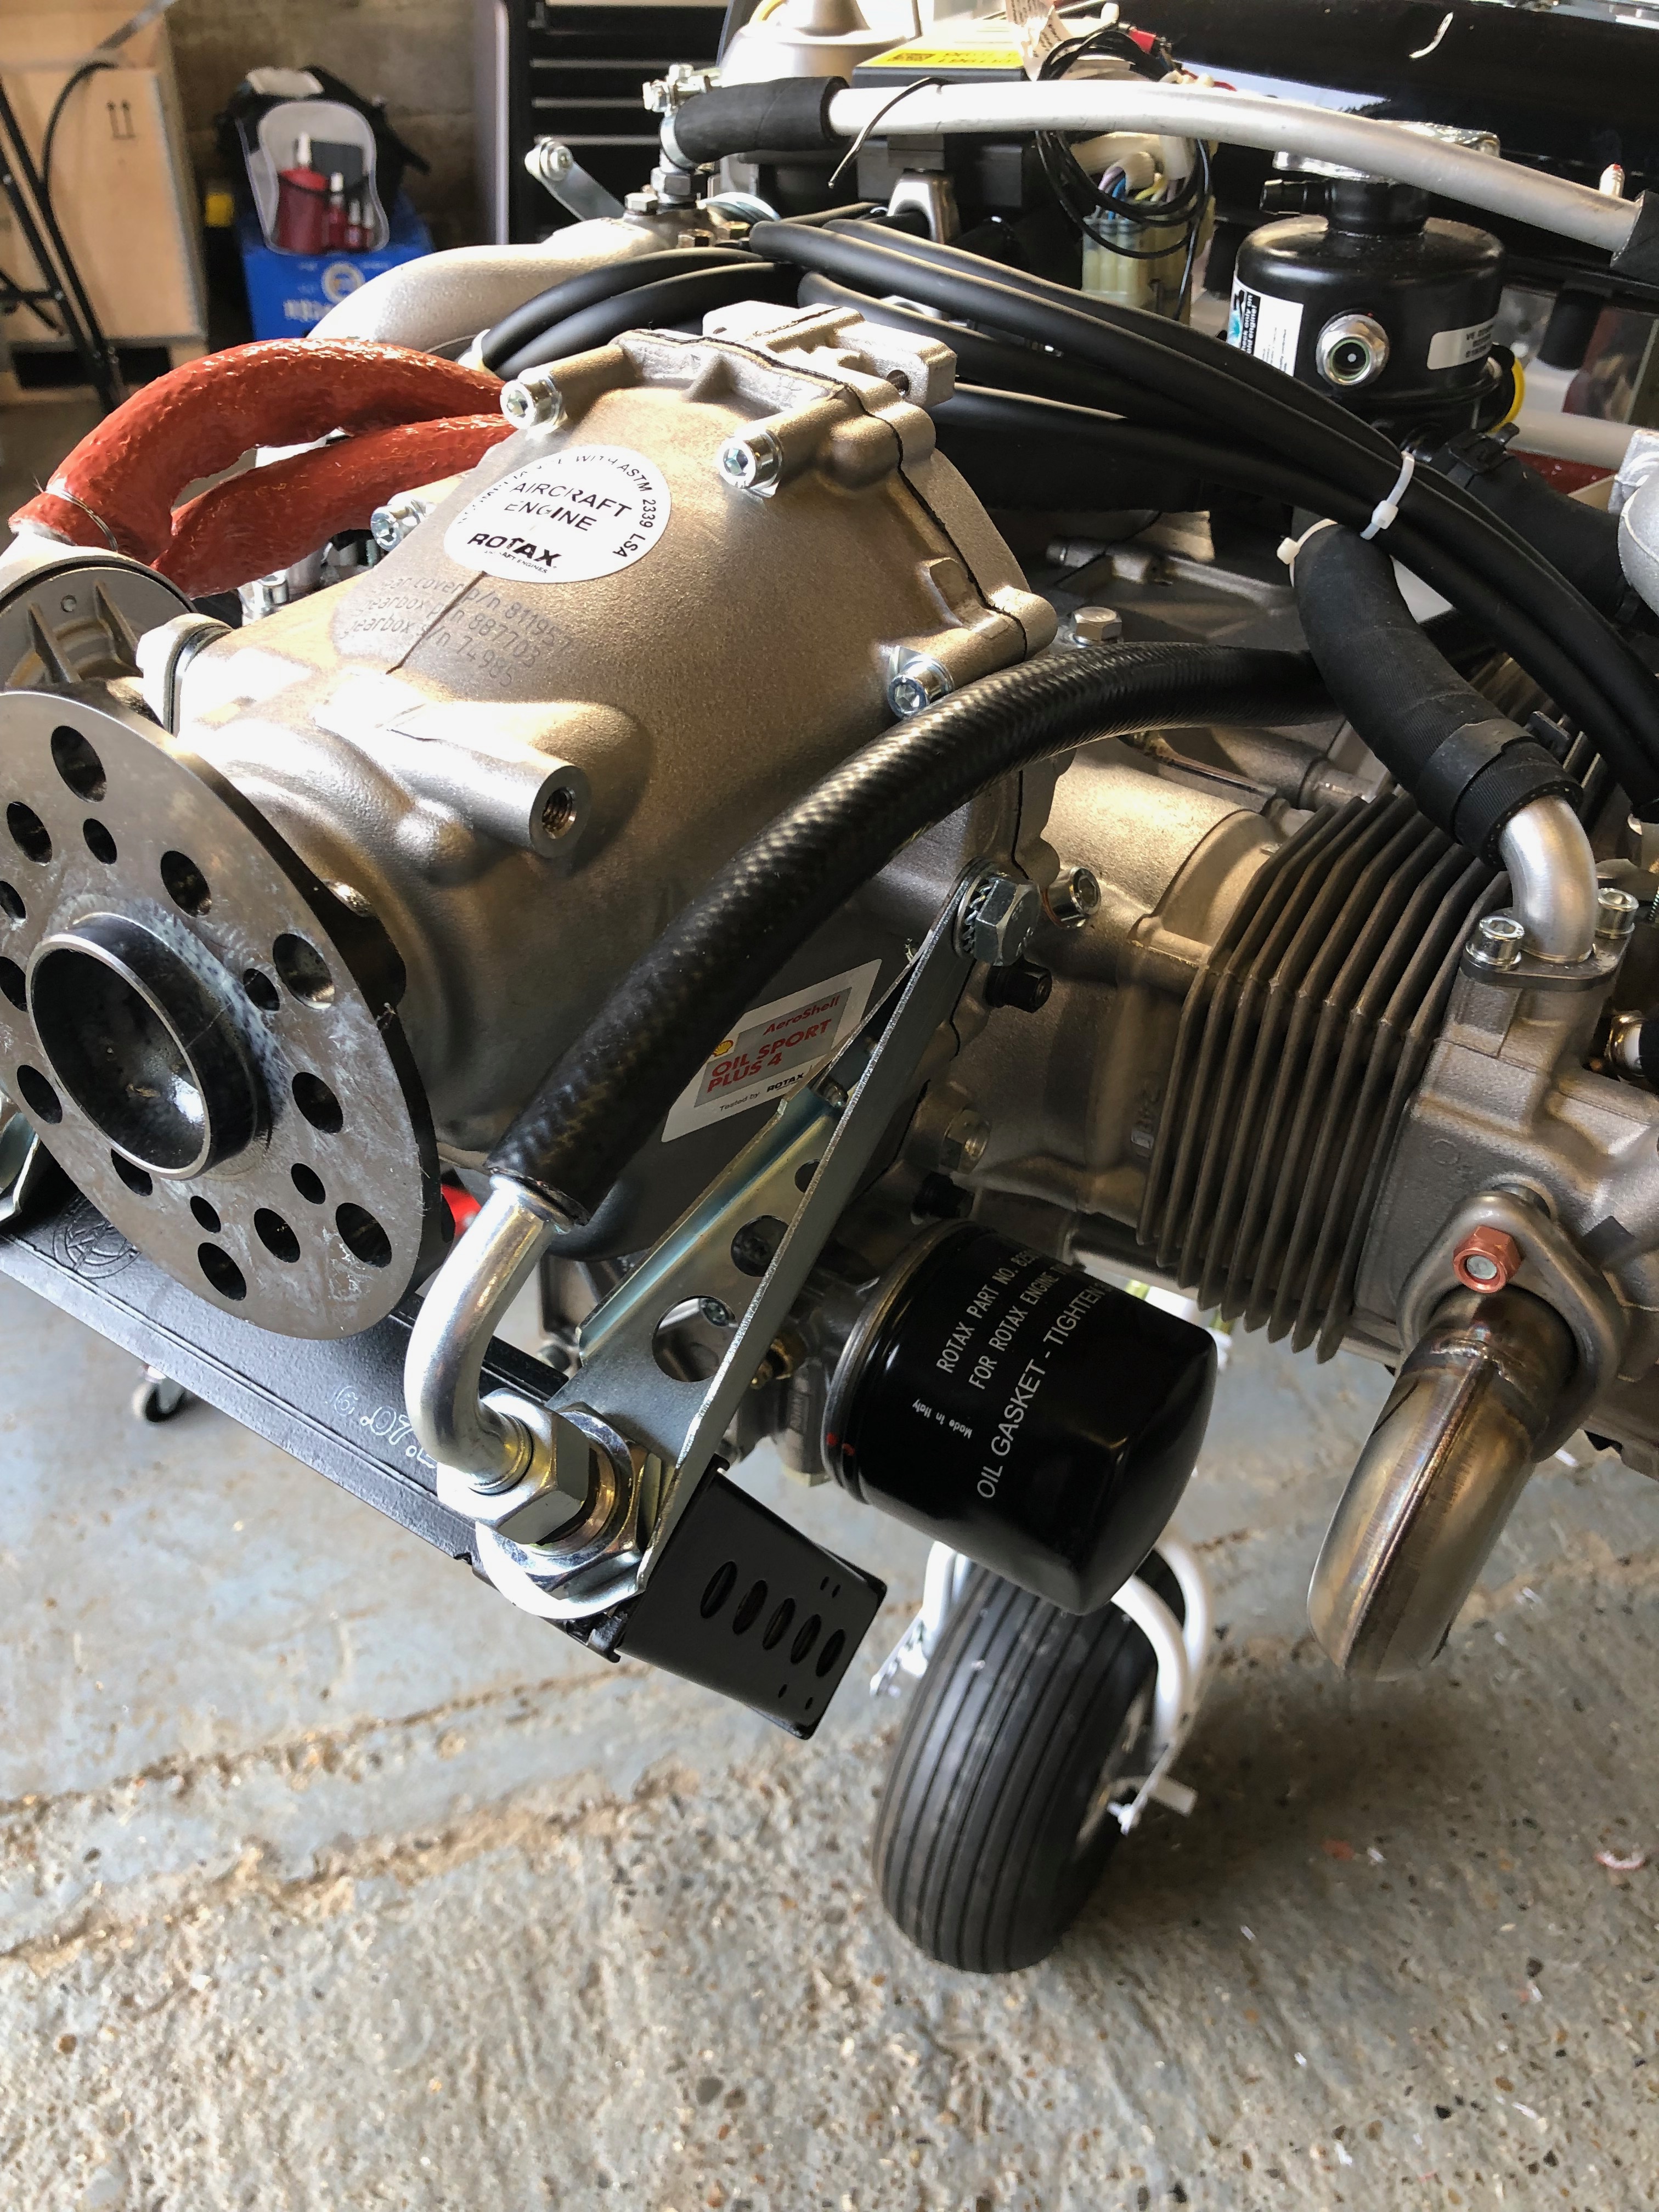
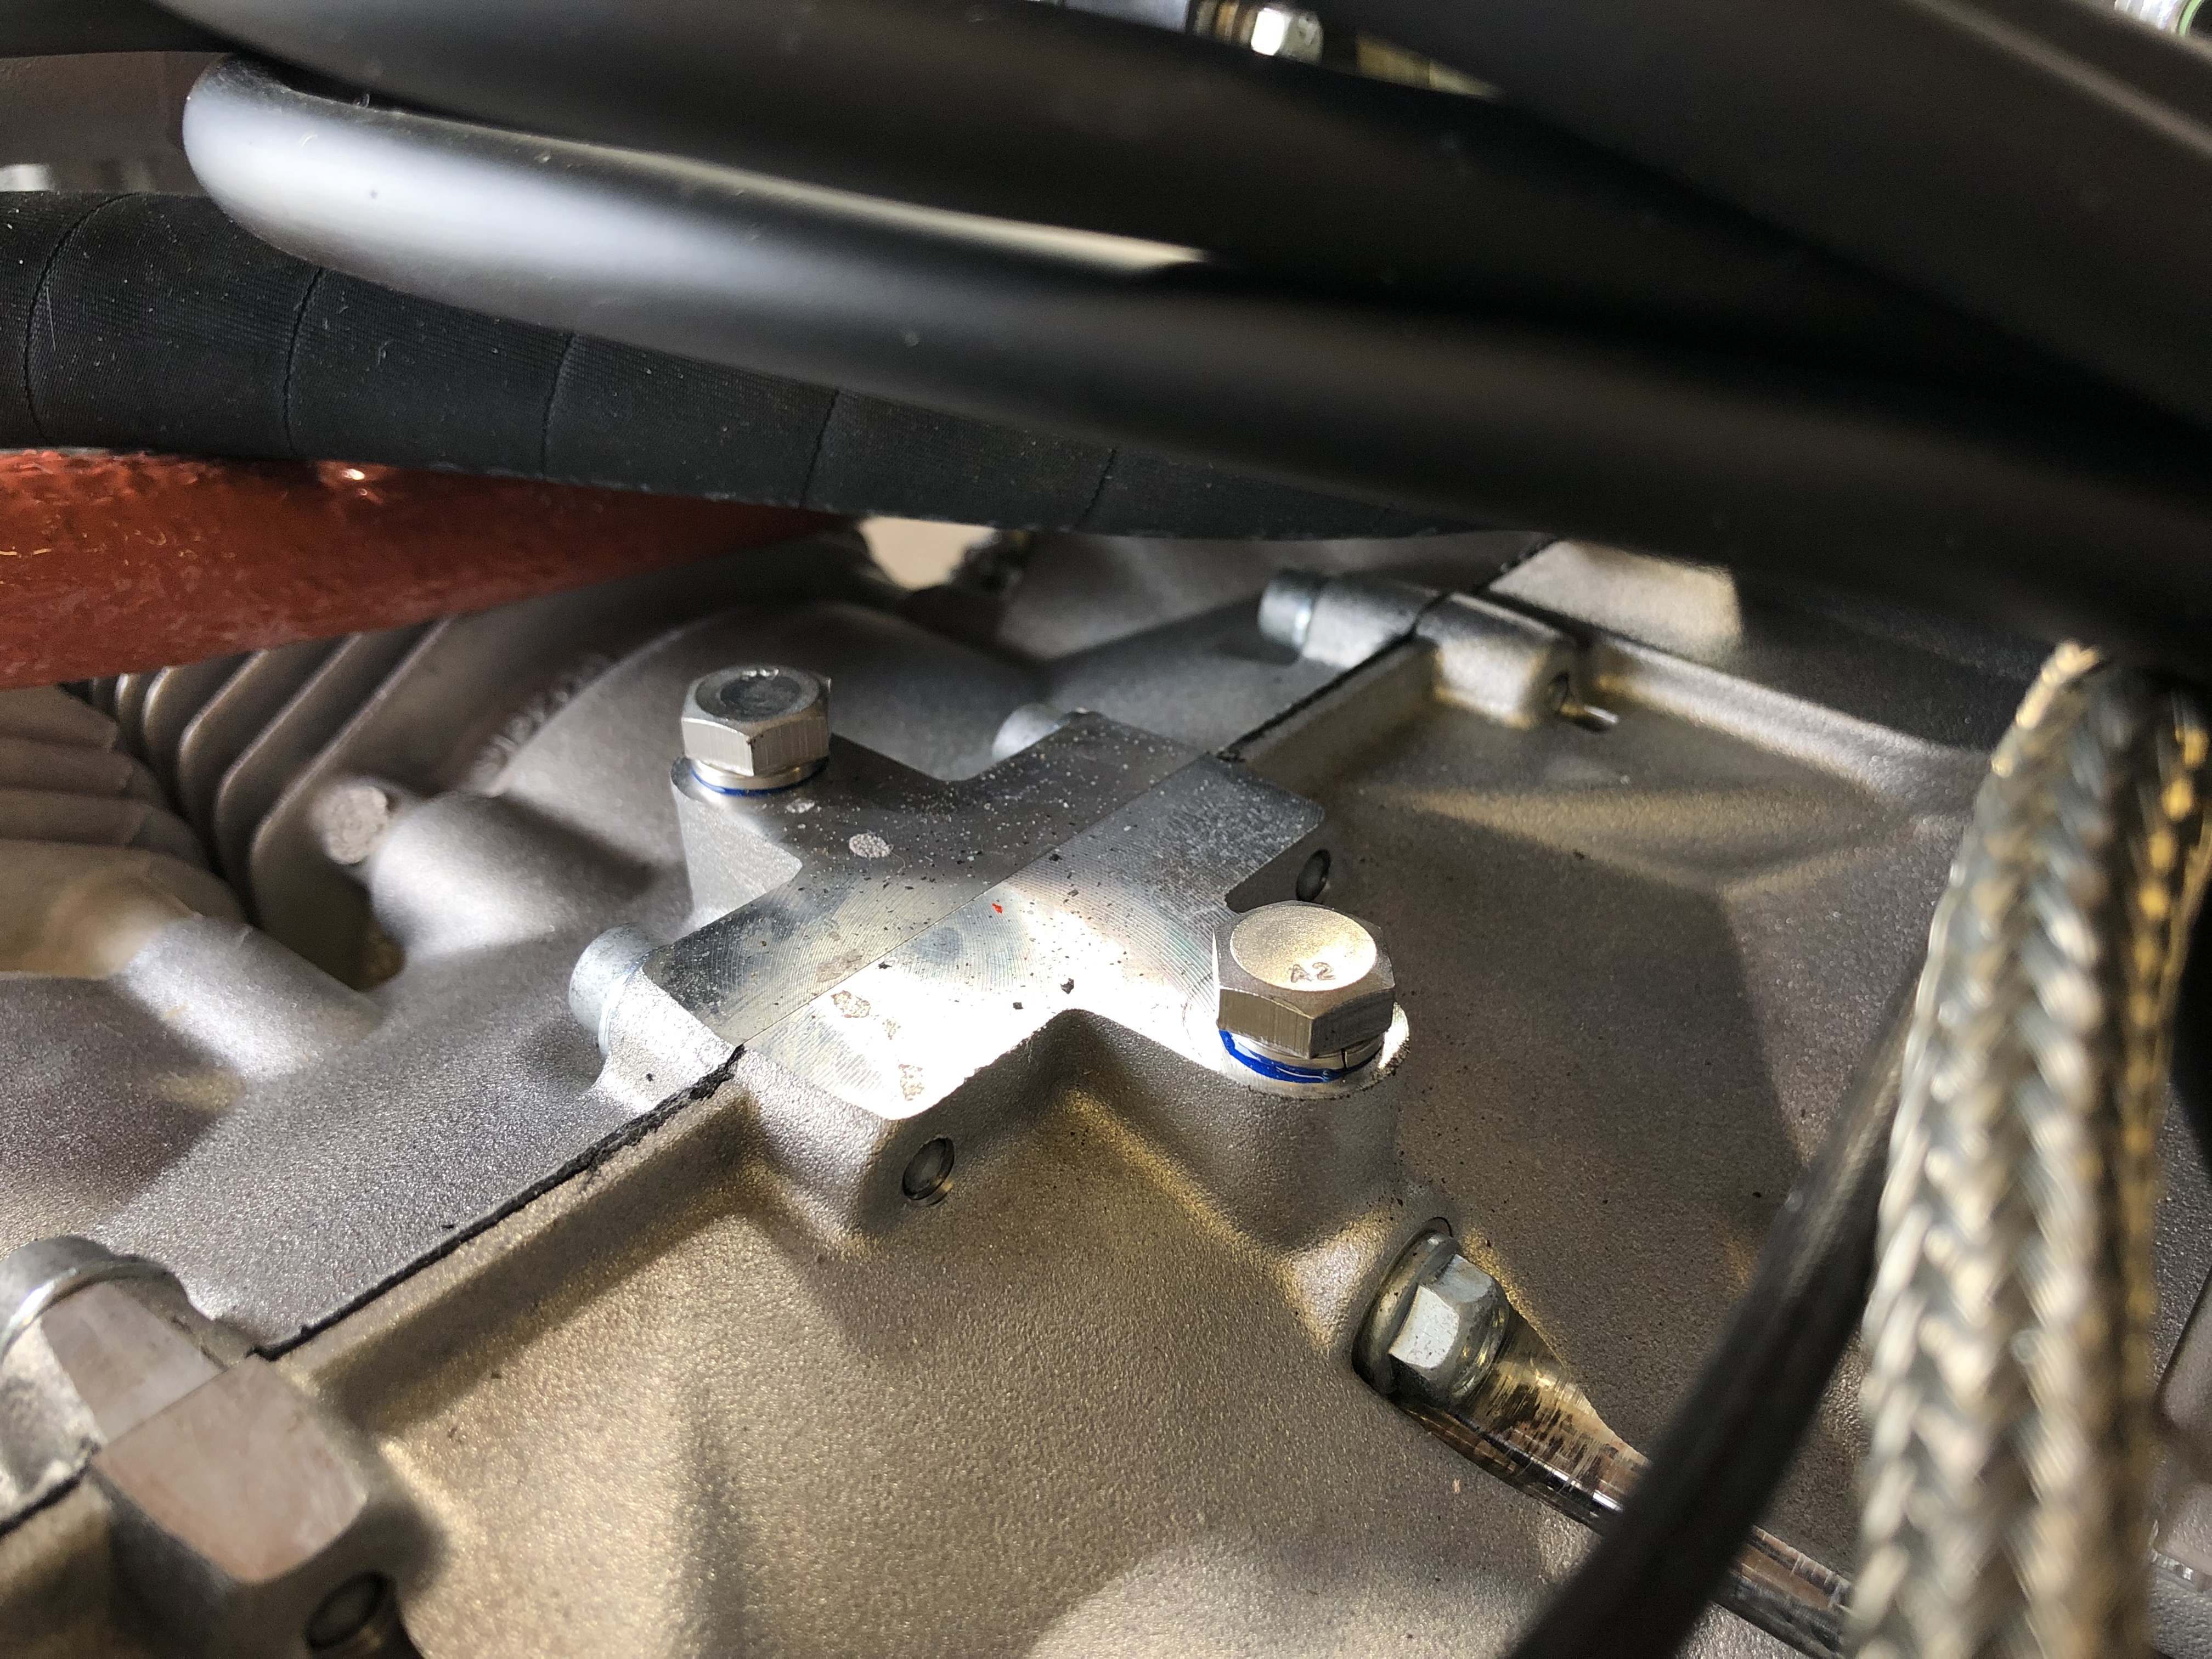
To give a visual indication of any loosening of the engine mount bolts Torque seal is applied across the nut and thread.
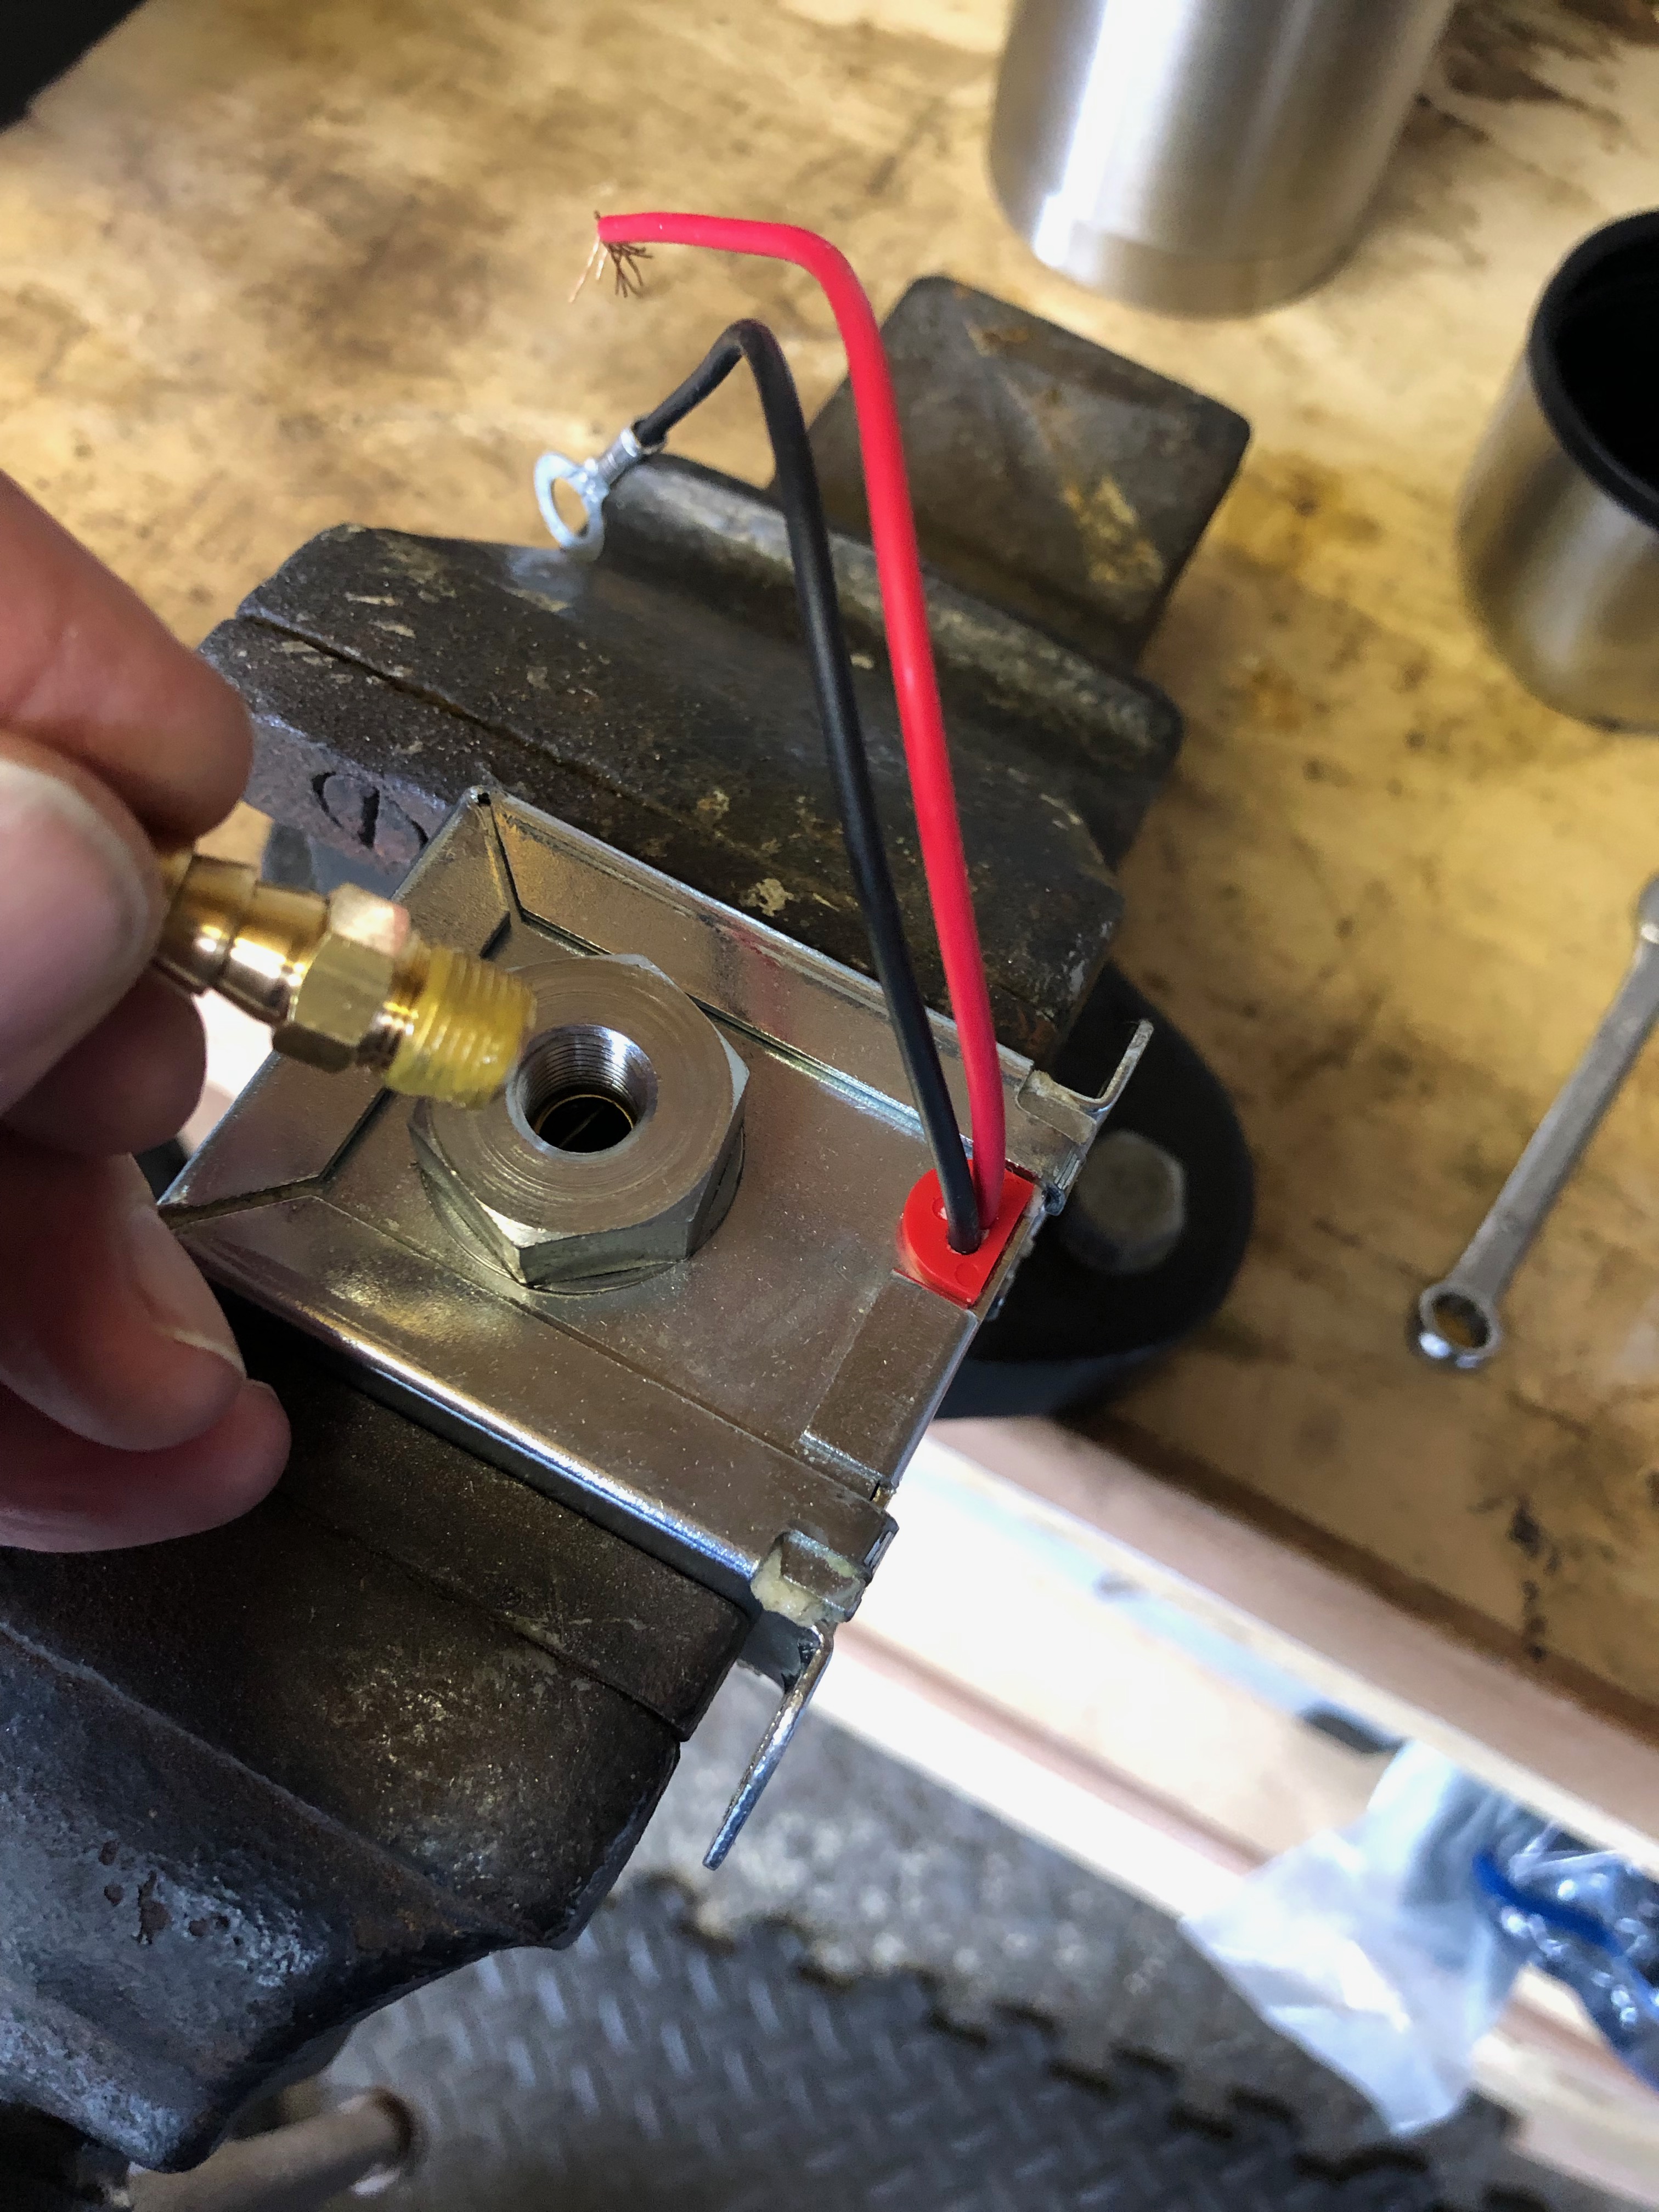
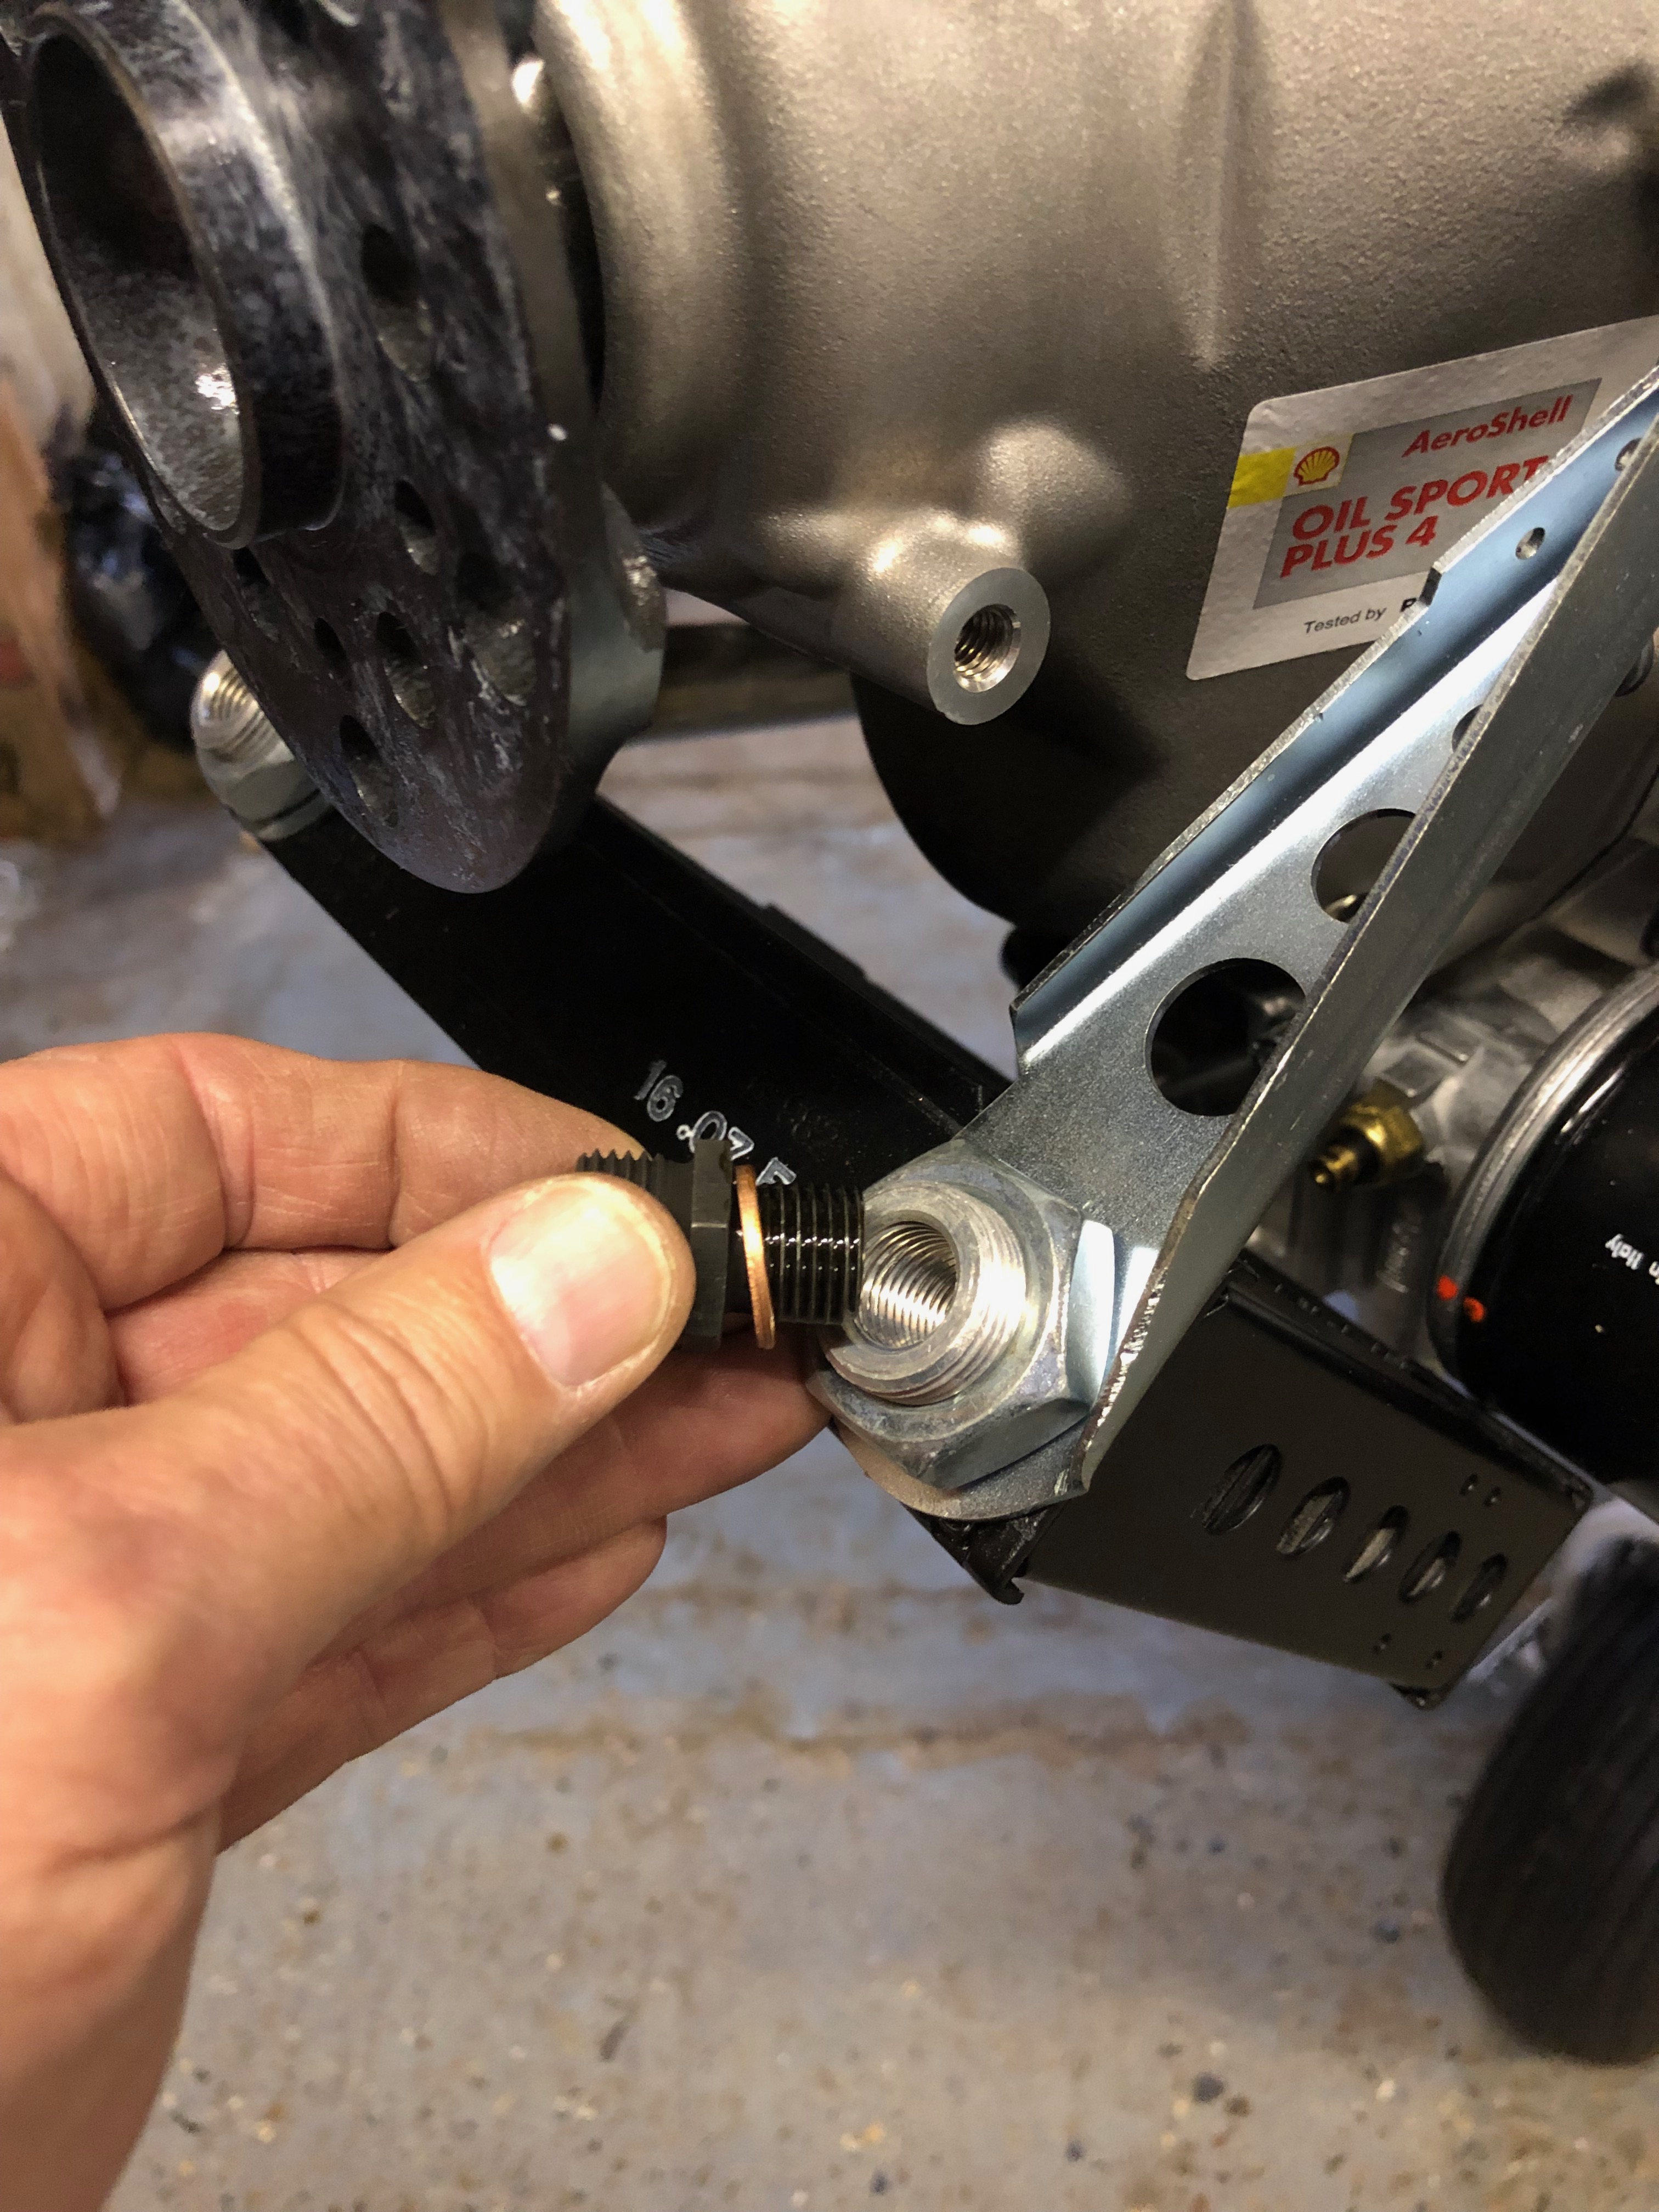
Loctite 577 is applied to the thread of the 8mm fitting before being screwed into the pump body.
The firewall is marked and drilled. 2 x M6 Rivnuts are fitted before securing with M6 bolts.
The 8mm R9 fuel hose is attached and secured with hose clamps before fire sleeving is slid over.
The fire proof sleeving is secured using a wire wrap.
The fuel lines were missing from the kit so they are being made and sent to me.
A number of fittings are also missing so Tony is sending them to me by post.
The Gascolator and drain valve are on order from Andair.
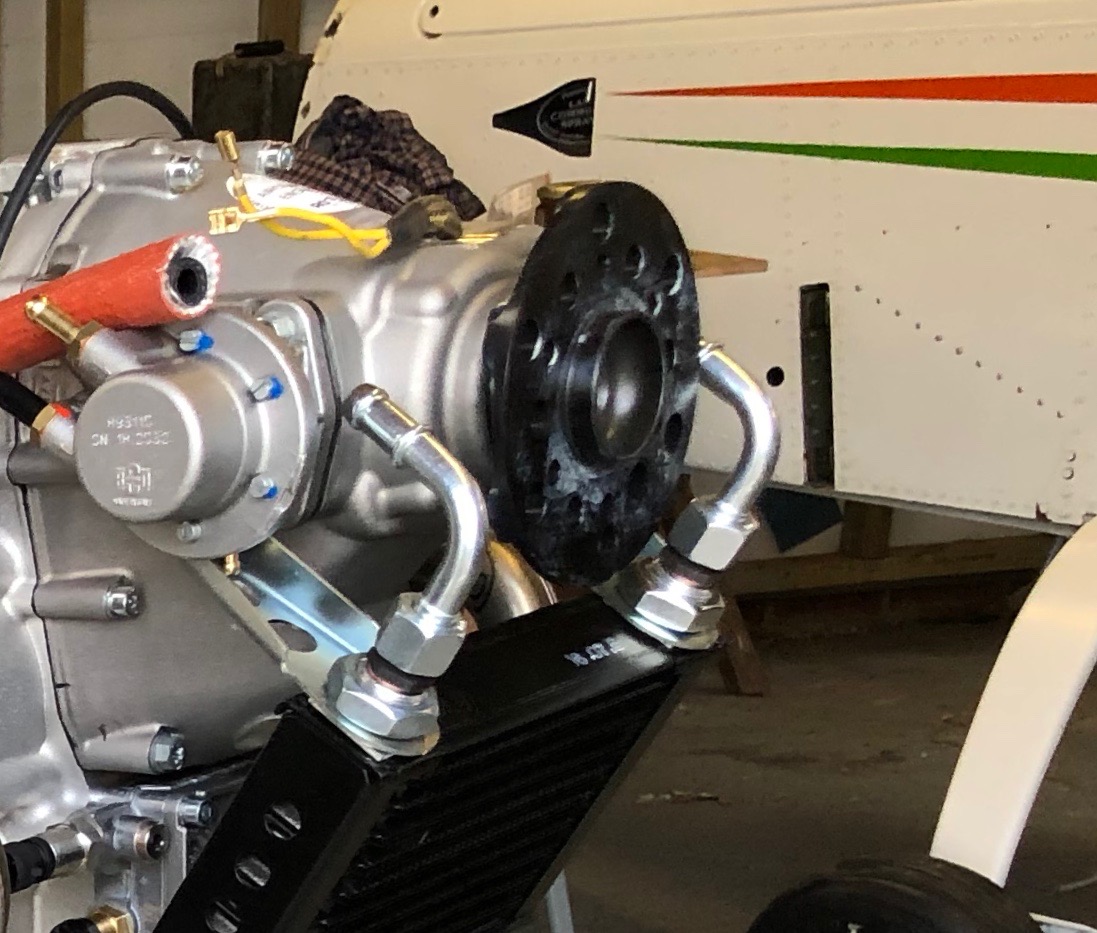
Now the Loctite is set the water pump pipes can be refitted.
A ‘stand off’ is required to stop these 2 pipes from rubbing.
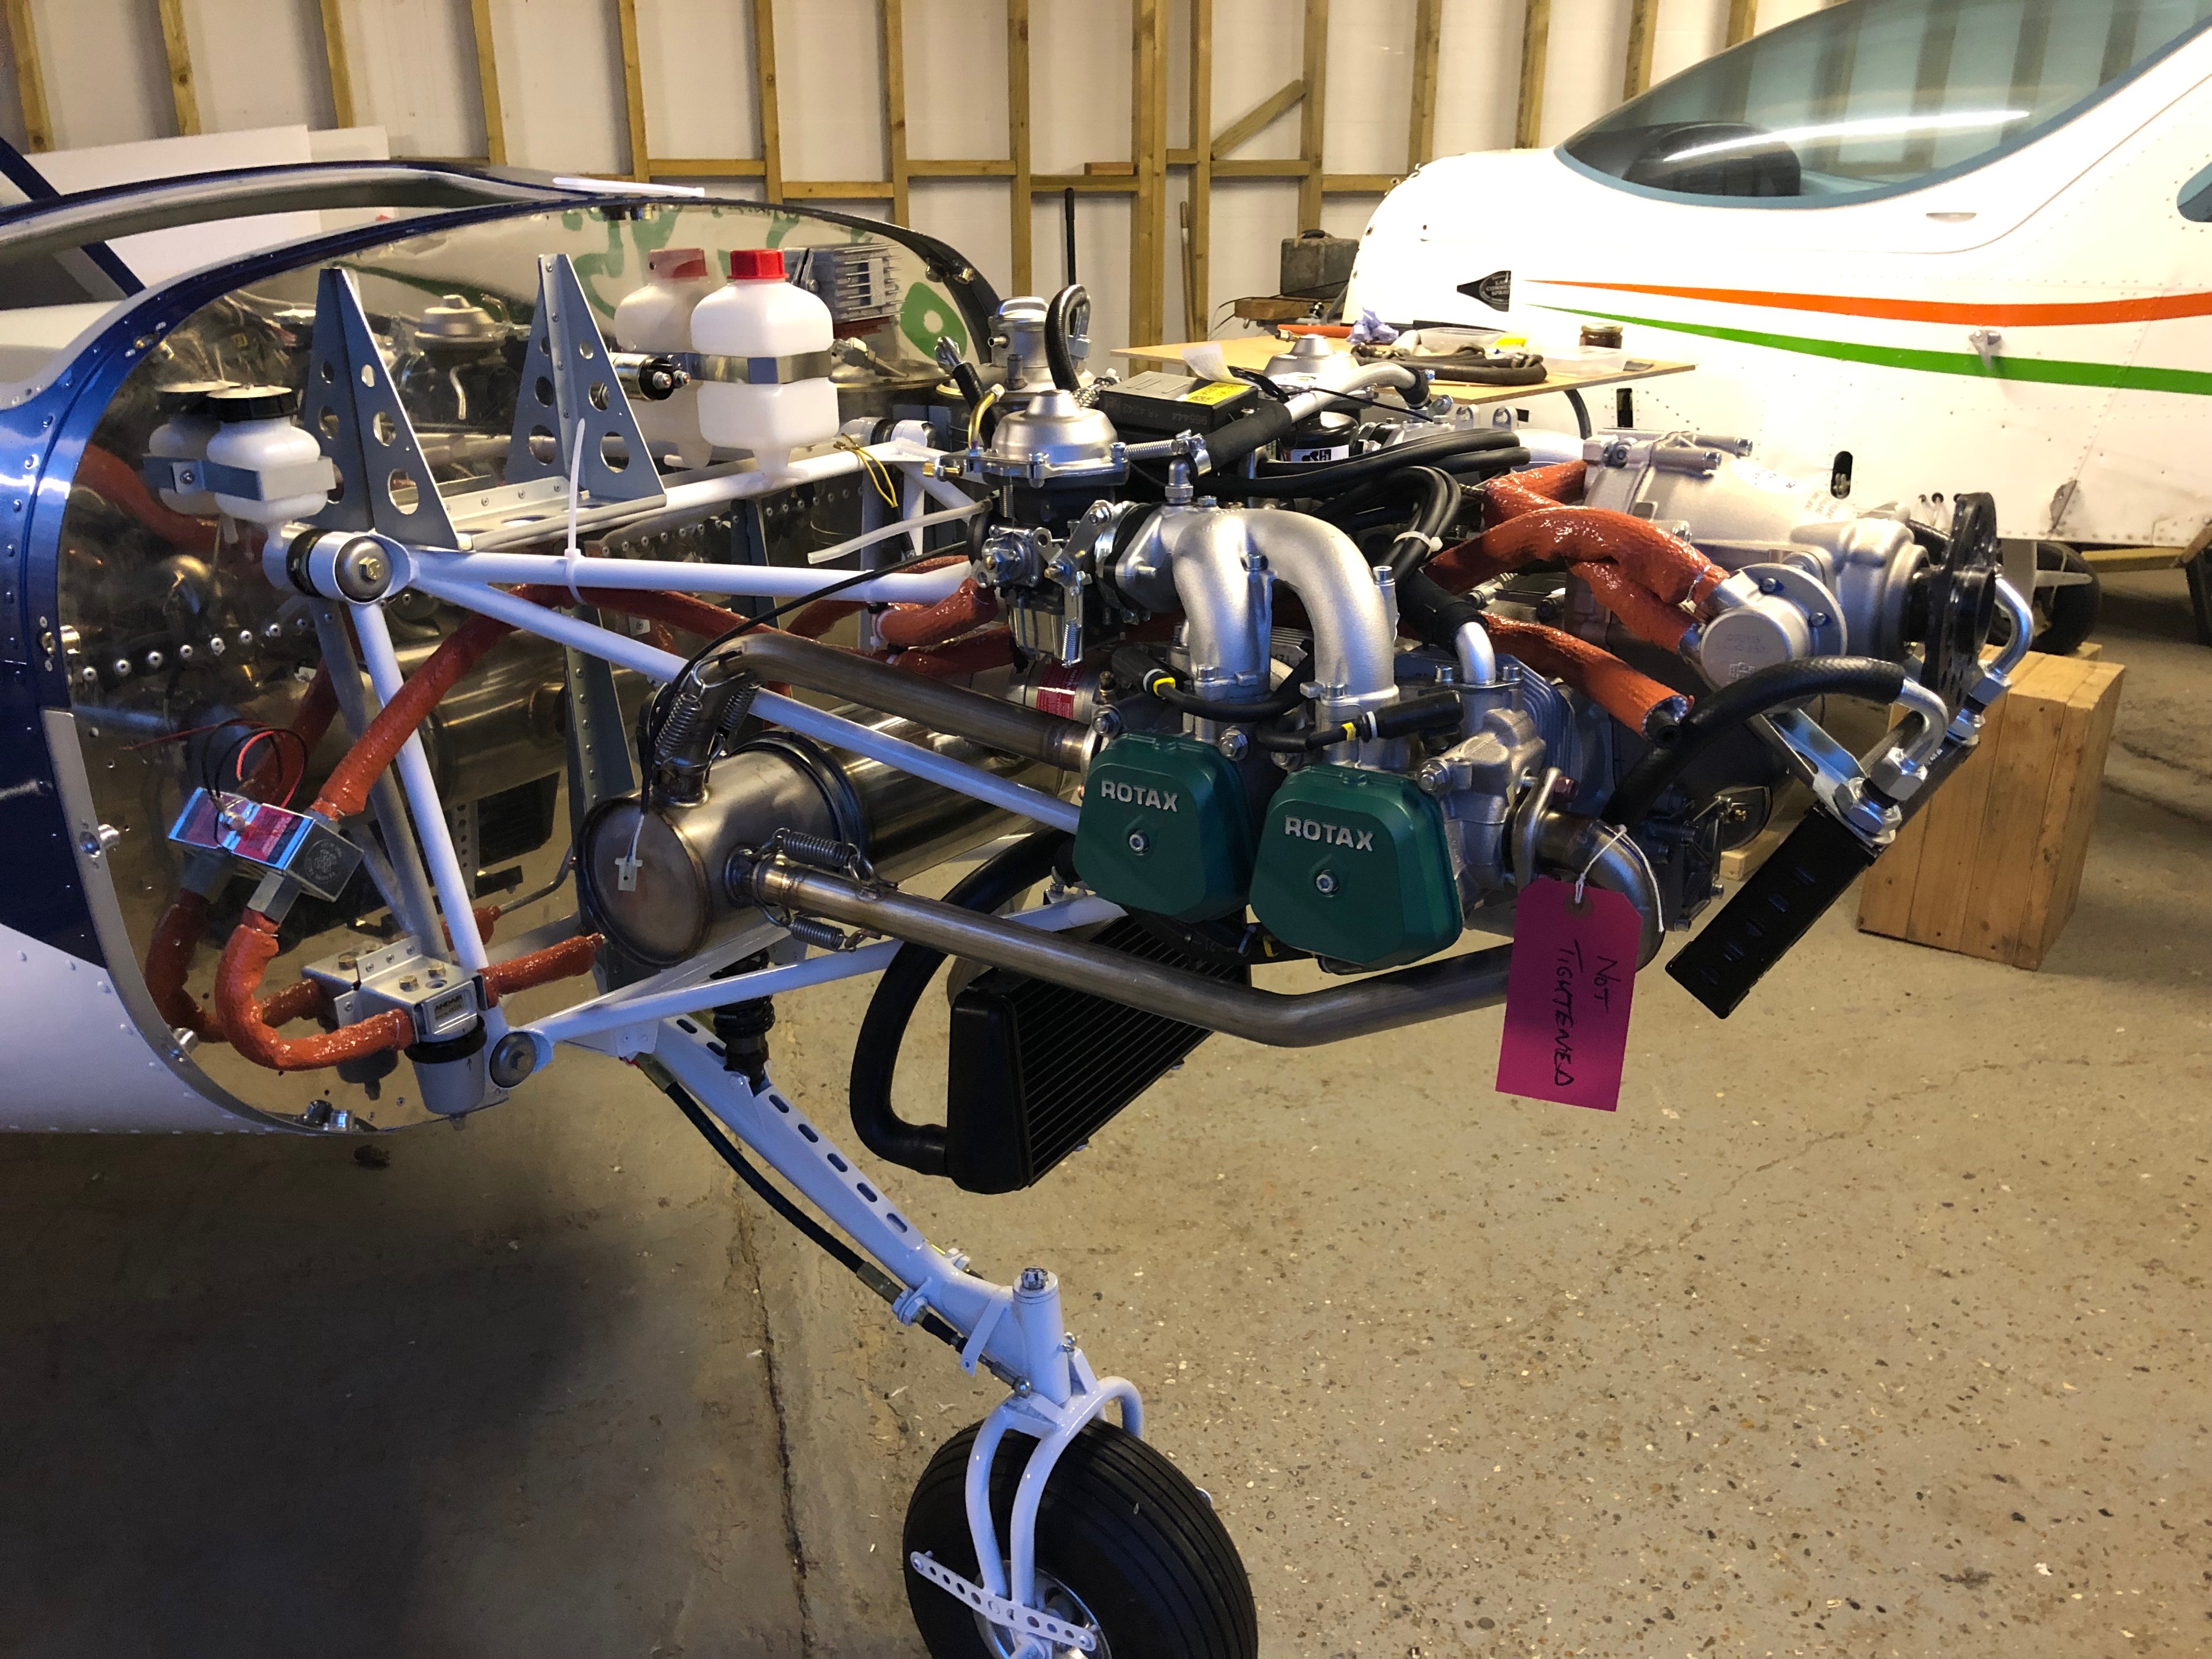
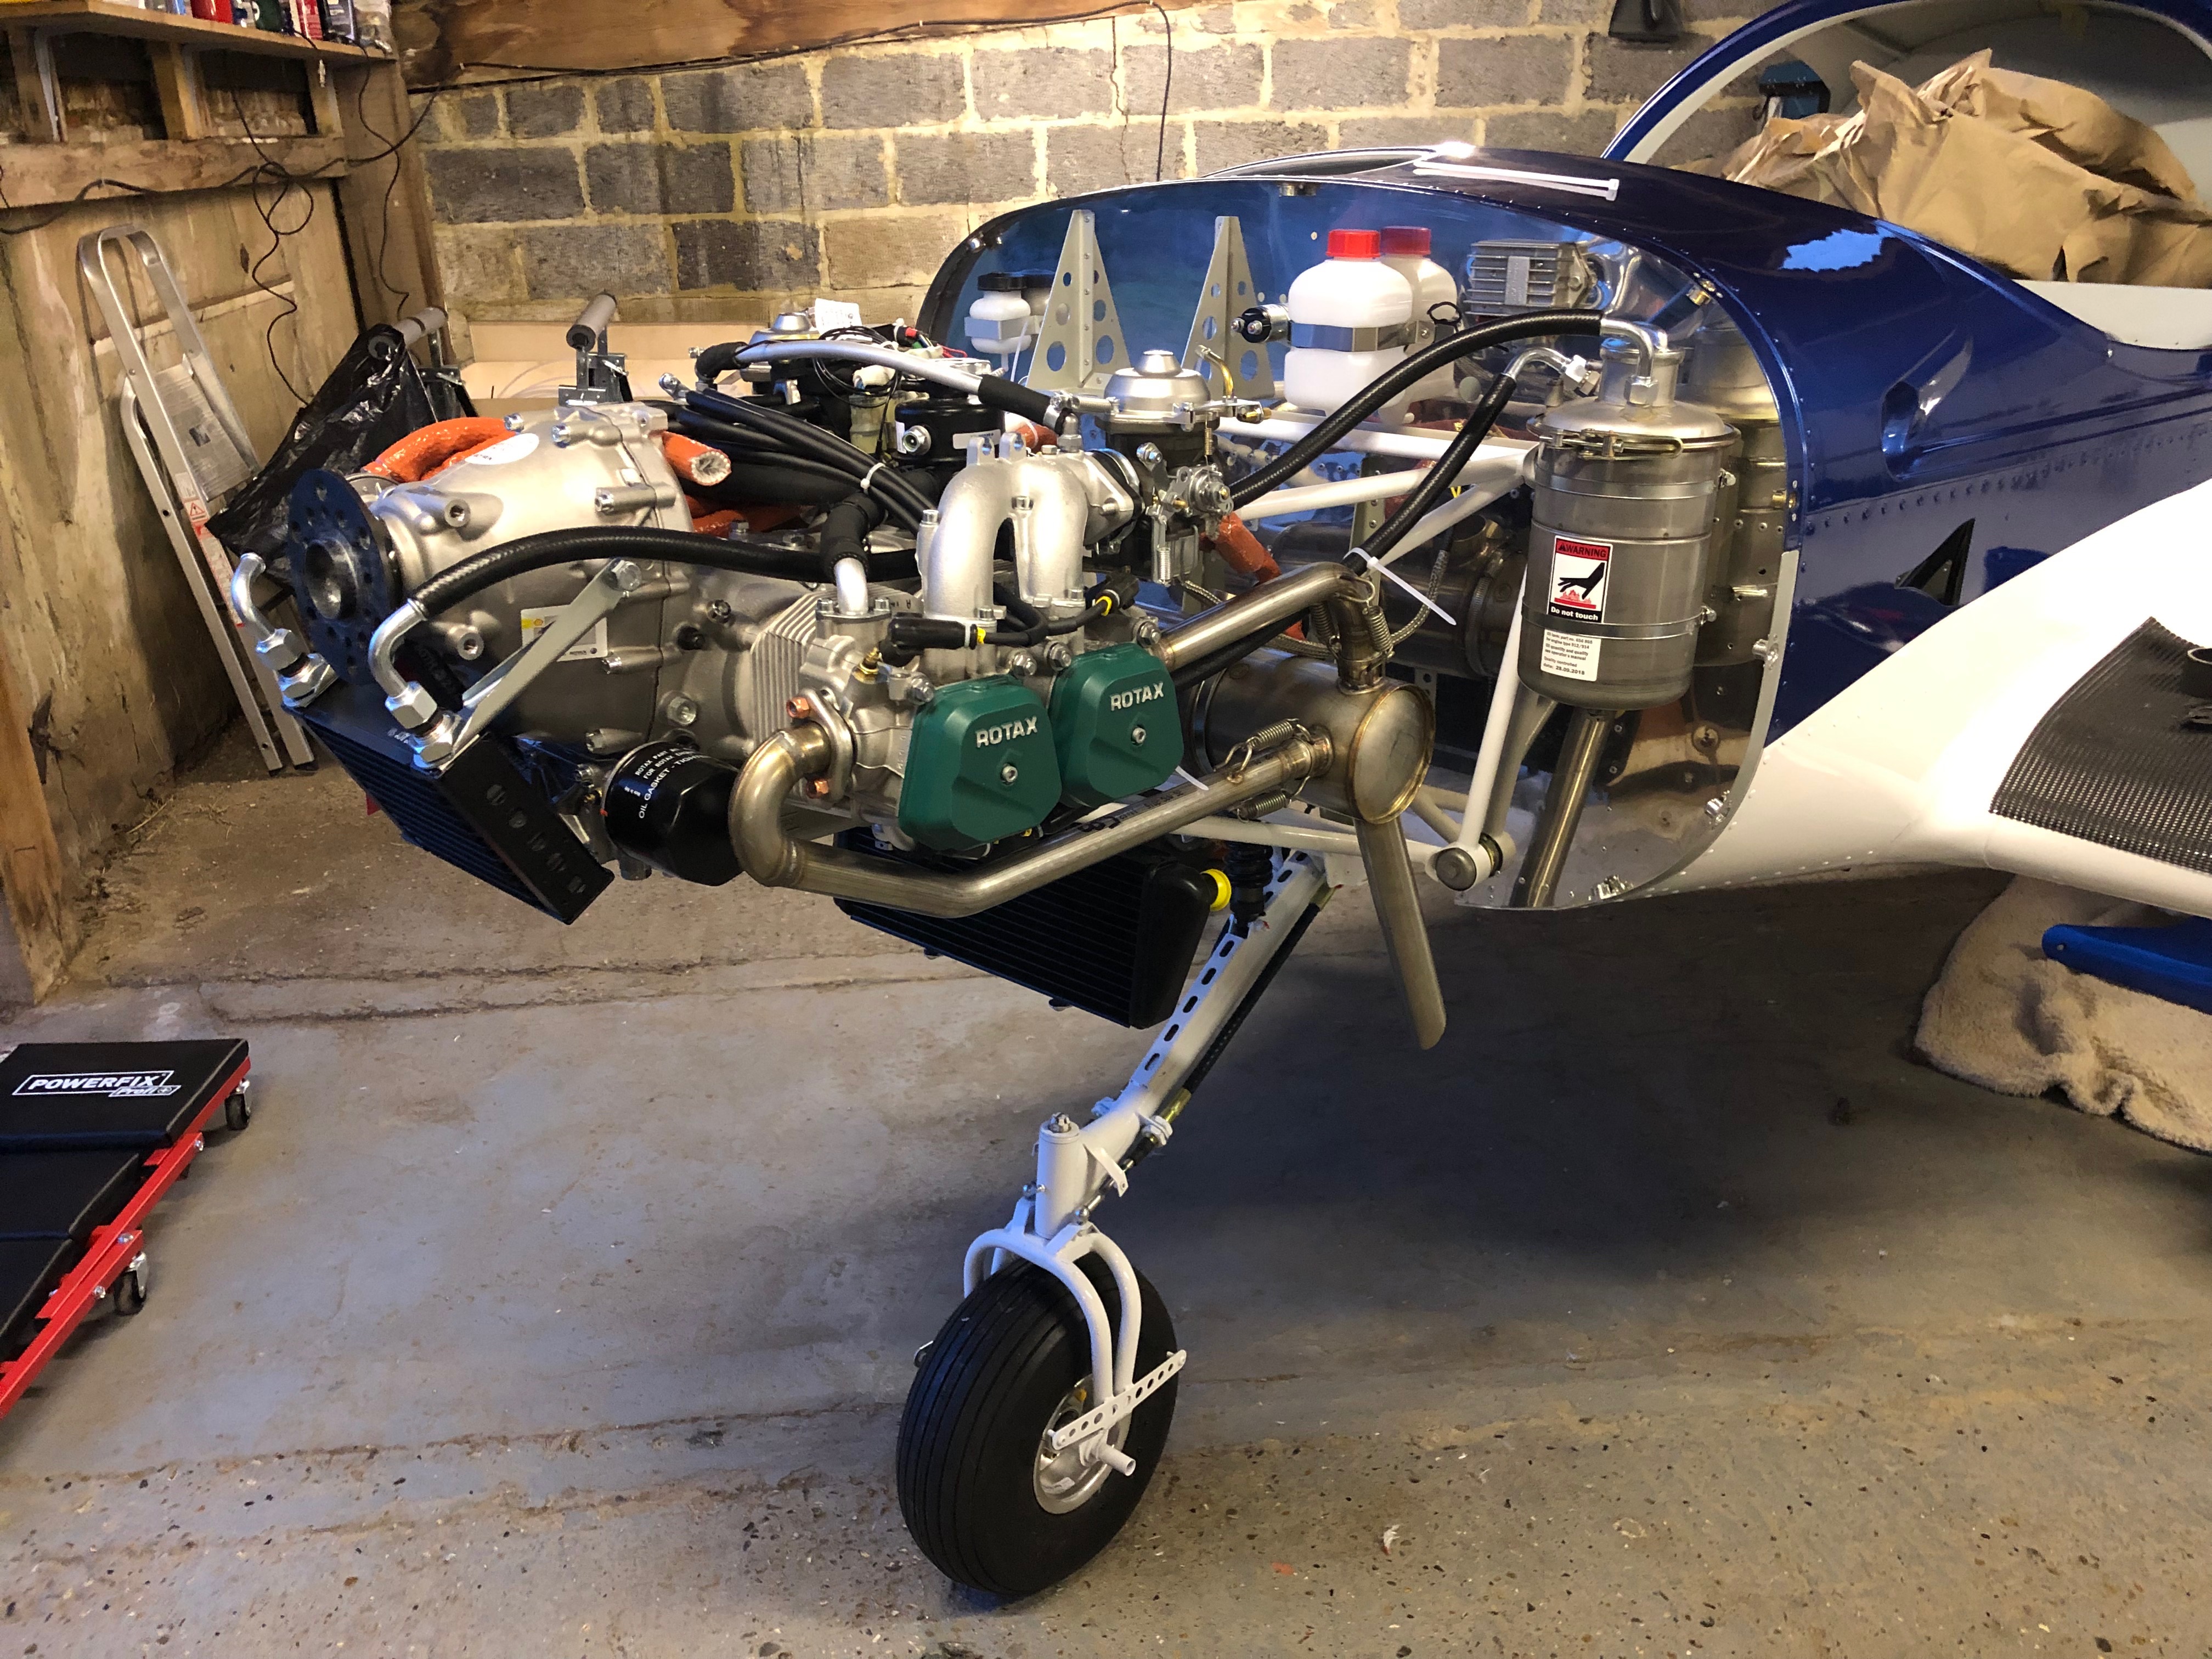
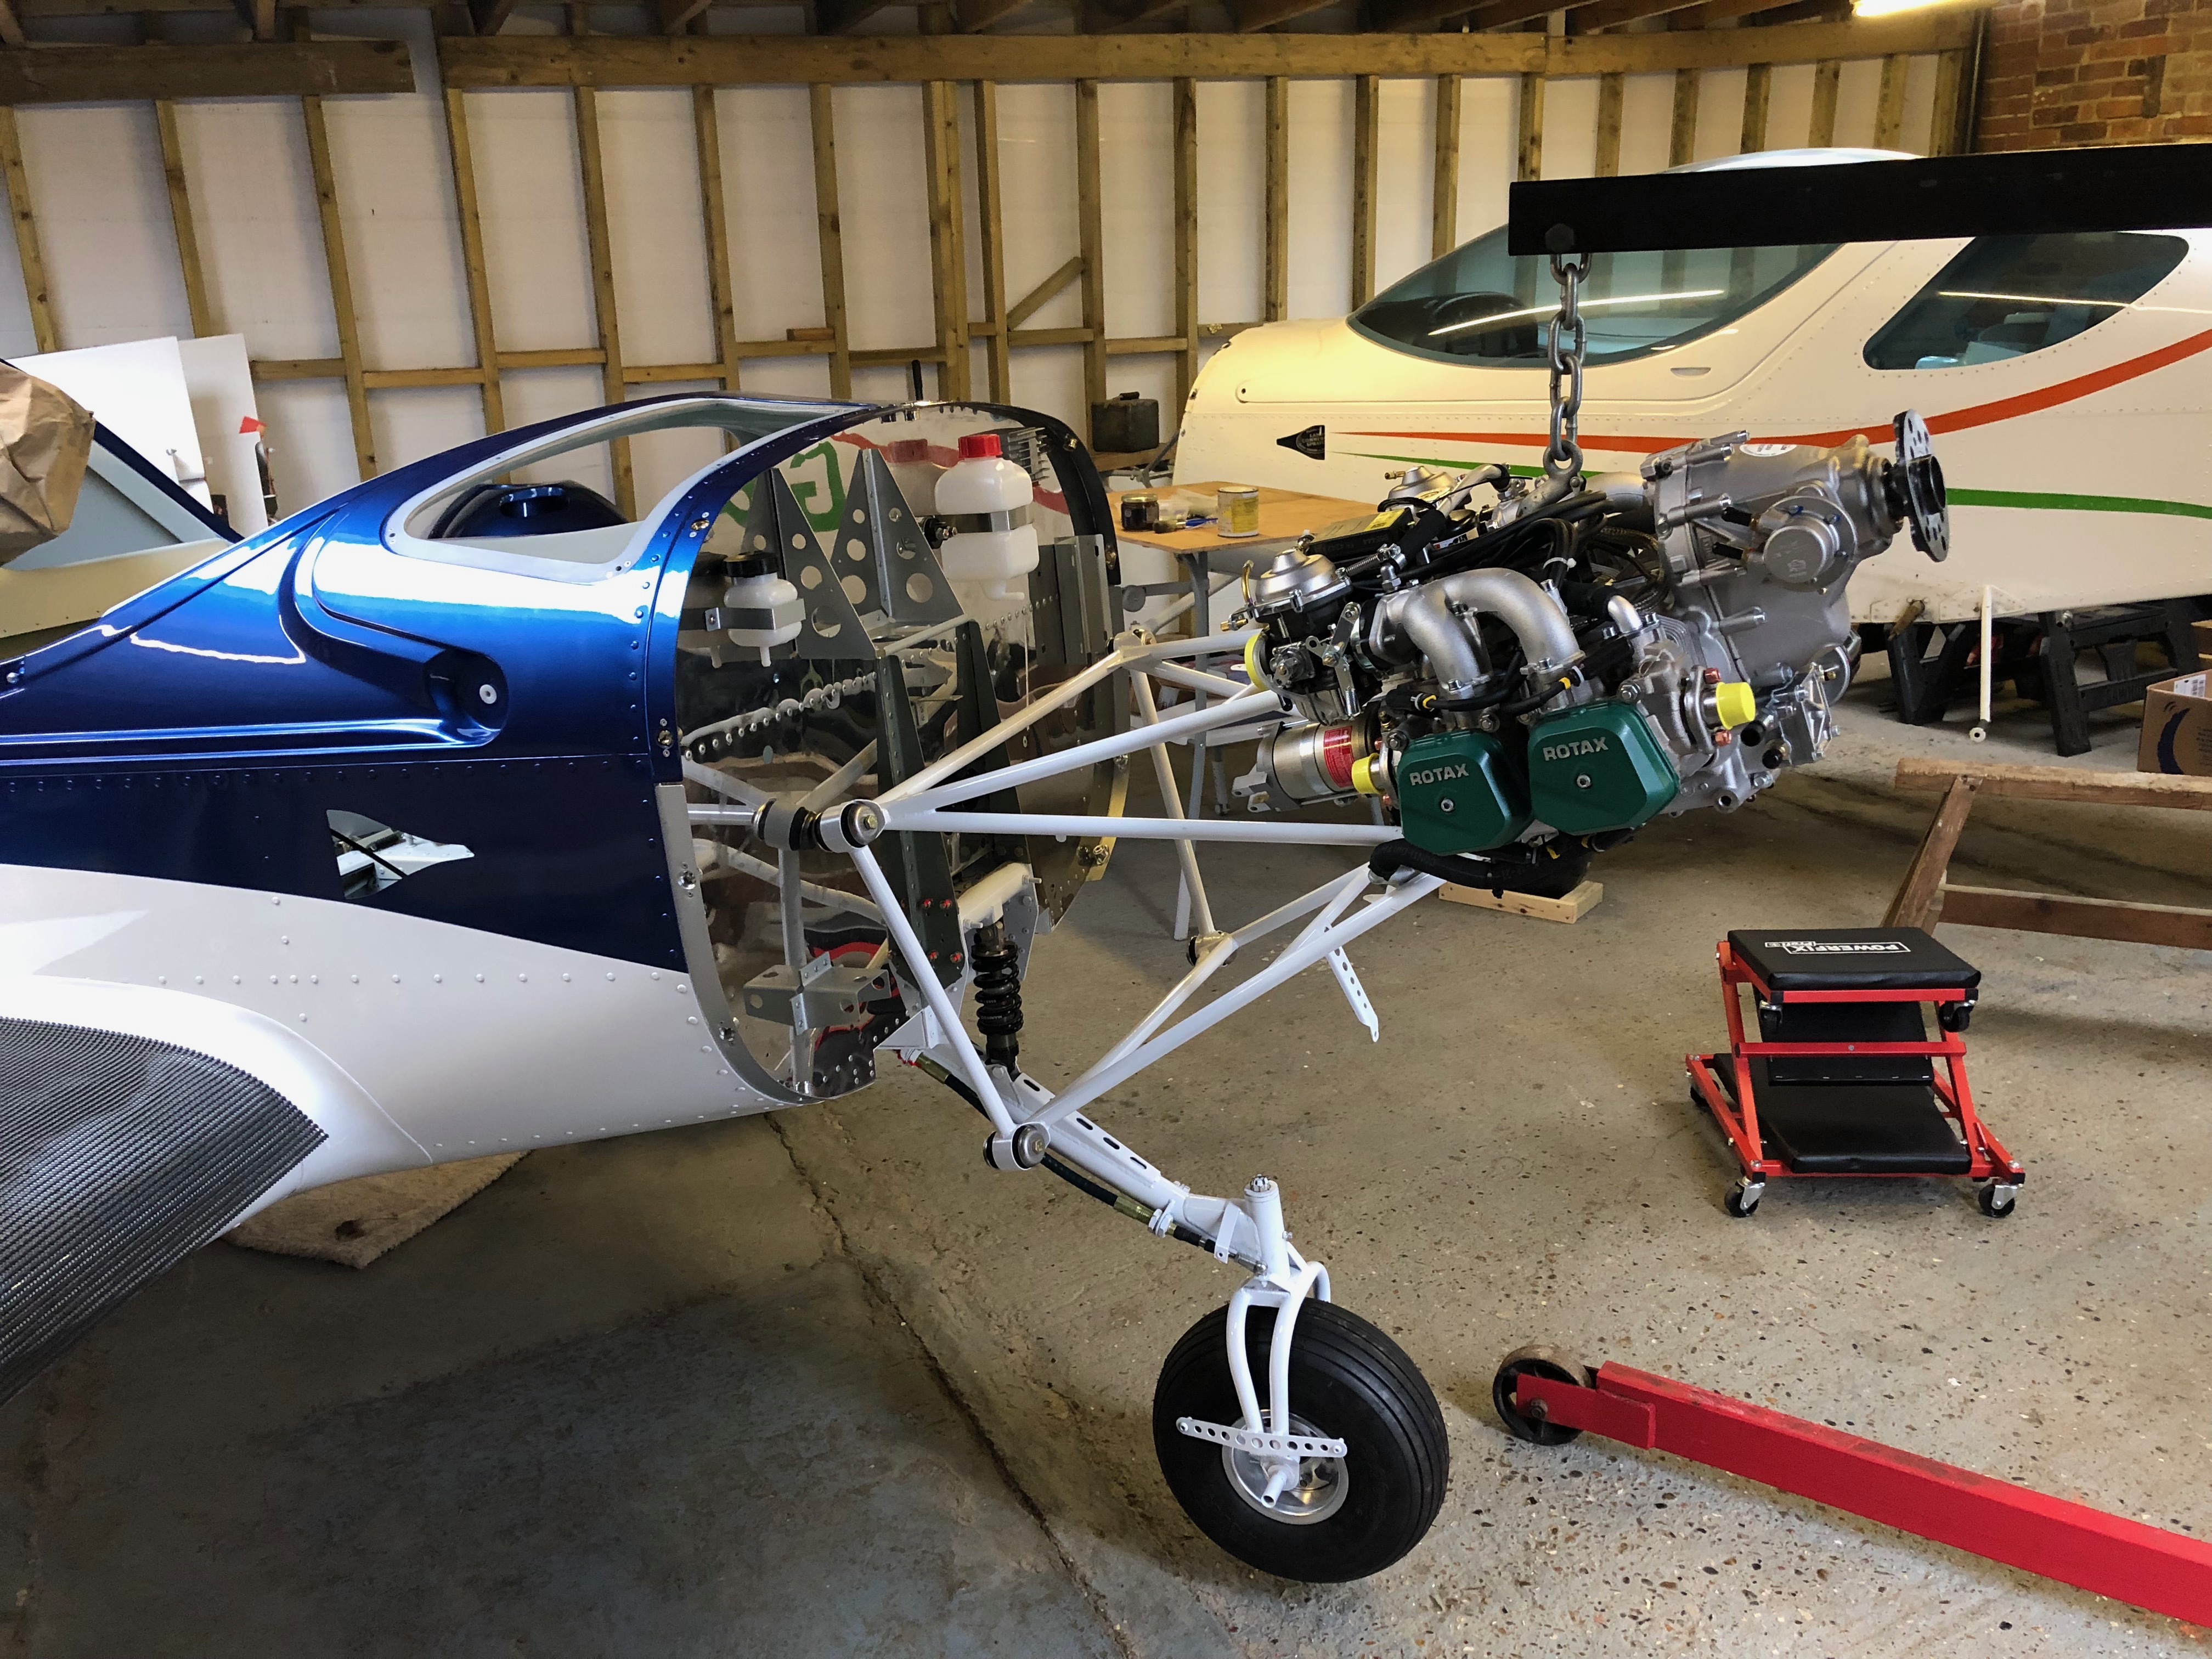
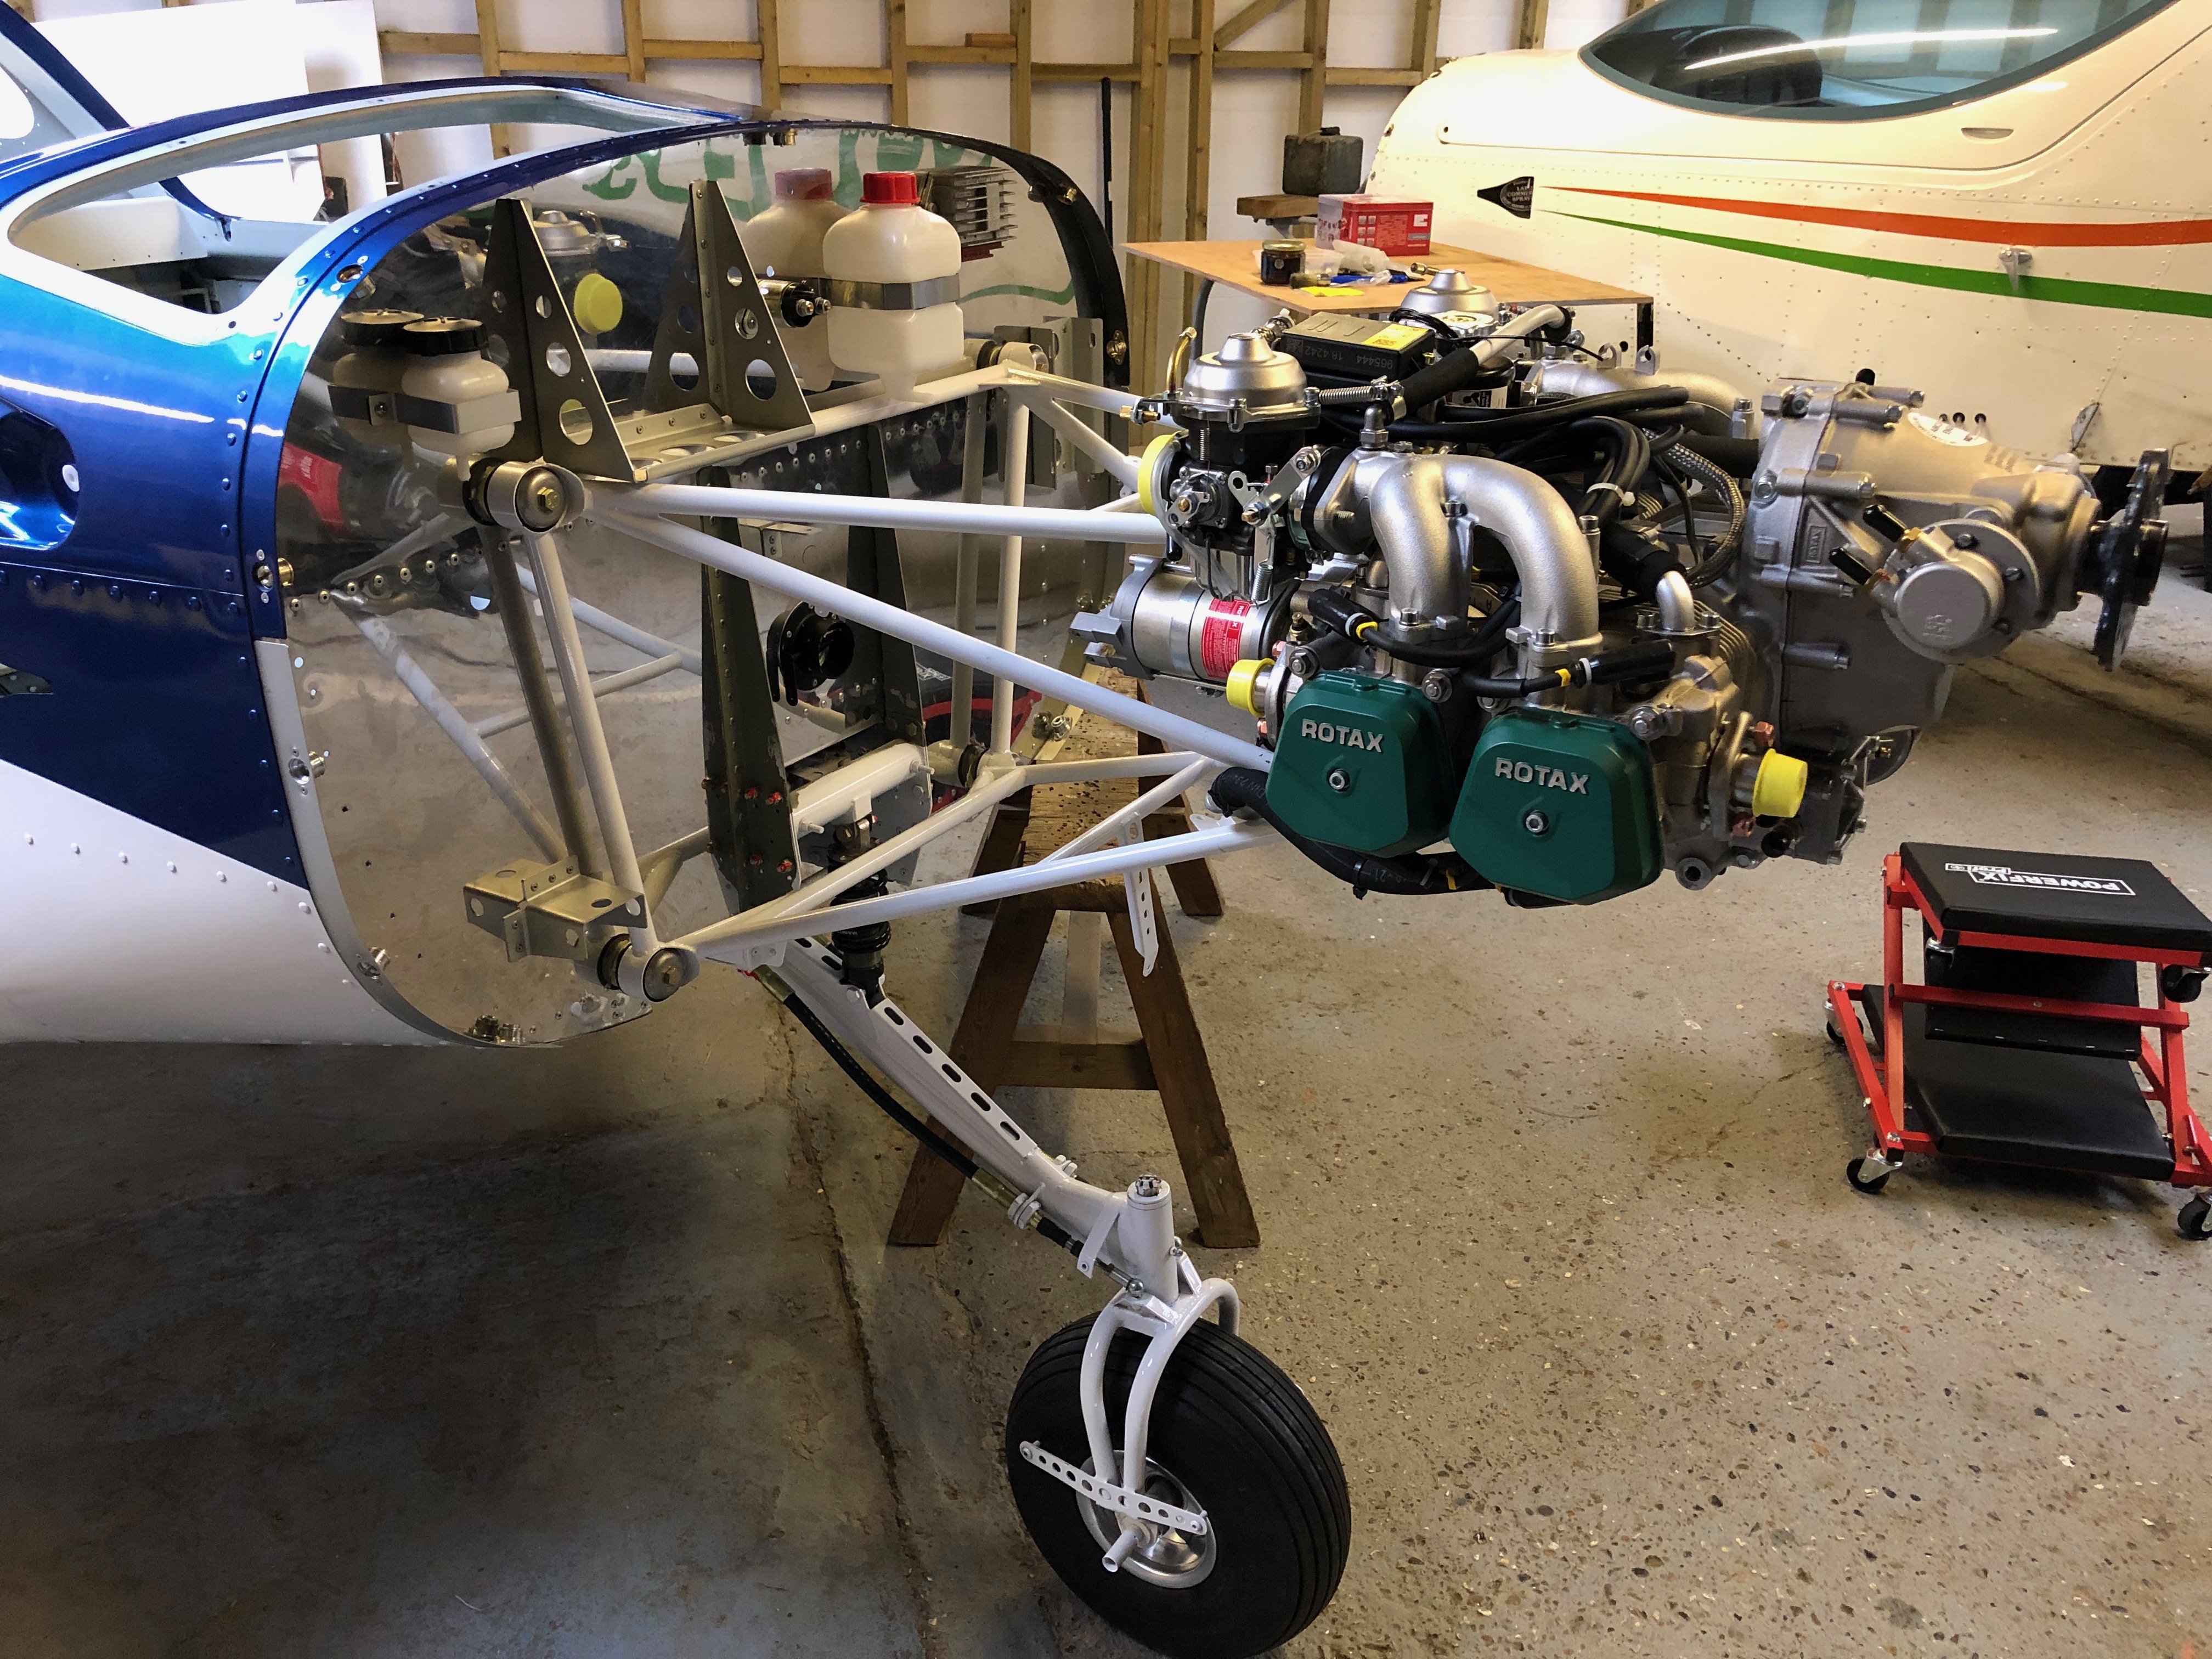
Time to hang the engine. The engine hoist and engine is positioned just in front of the fuselage and hoisted to roughly the correct height.
The engine mount steel cup washers are covered in jointing compound to stop them rusting once fitted.
First of 4 bolts to be fitted. 3 were quite easy to fit with the forth taking about 10 minutes to position properly as the rubber mount had turned slightly.
With the engine mounted and bolts tightened it’s time to fit the exhaust system.
The bespoke Bristell exhaust downpipes are fitted first.
The exhaust box is hung using springs and flexible couplings to provide a leak free system.
Next the oil cooler is fitted using the brackets provided.
and adapters are fitted to accept the aluminium connector pipes.
Good progress for the day. A tidy up of the workshop in readiness for tomorrow.
Following the build of my Bristell NG5 Kit No. 382 Registration G-MLSY