Music: The Pretenders – They were the support to Fleetwood Mac on Sunday at Wembley. I’d forgotten how good their music was!
Time for a short break from wiring but not for long before continuing the battle of the wires!


Music: The Pretenders – They were the support to Fleetwood Mac on Sunday at Wembley. I’d forgotten how good their music was!
Time for a short break from wiring but not for long before continuing the battle of the wires!
Music: Hall & Oates and Simply Red

Due to limited space I couldn’t drill the second set of holes for the retention system. Luckily Ian had a 90 degree attachment the allowed me to drill the holes.

The holes for the rivets that will secure the bracket.

Sometimes you have to leave certain jobs because an immediate opportunity comes up for someone to help you swap wings. This is what happened when I had starboard wing up on the stand so I didn’t get chance to fit the strobe light. So today’s the day to do it.

Once the holes are drilled they need to be countersunk otherwise the strobes won’t fit flush.

Some Loctite 243 on the screws and then they are pinched up, not too tightly, otherwise they will disfigure the rubber mount.

The finished job, let’s hope it matches the other wing!

A job I kept forgetting to do is to add a breather pipe to the oil tank.

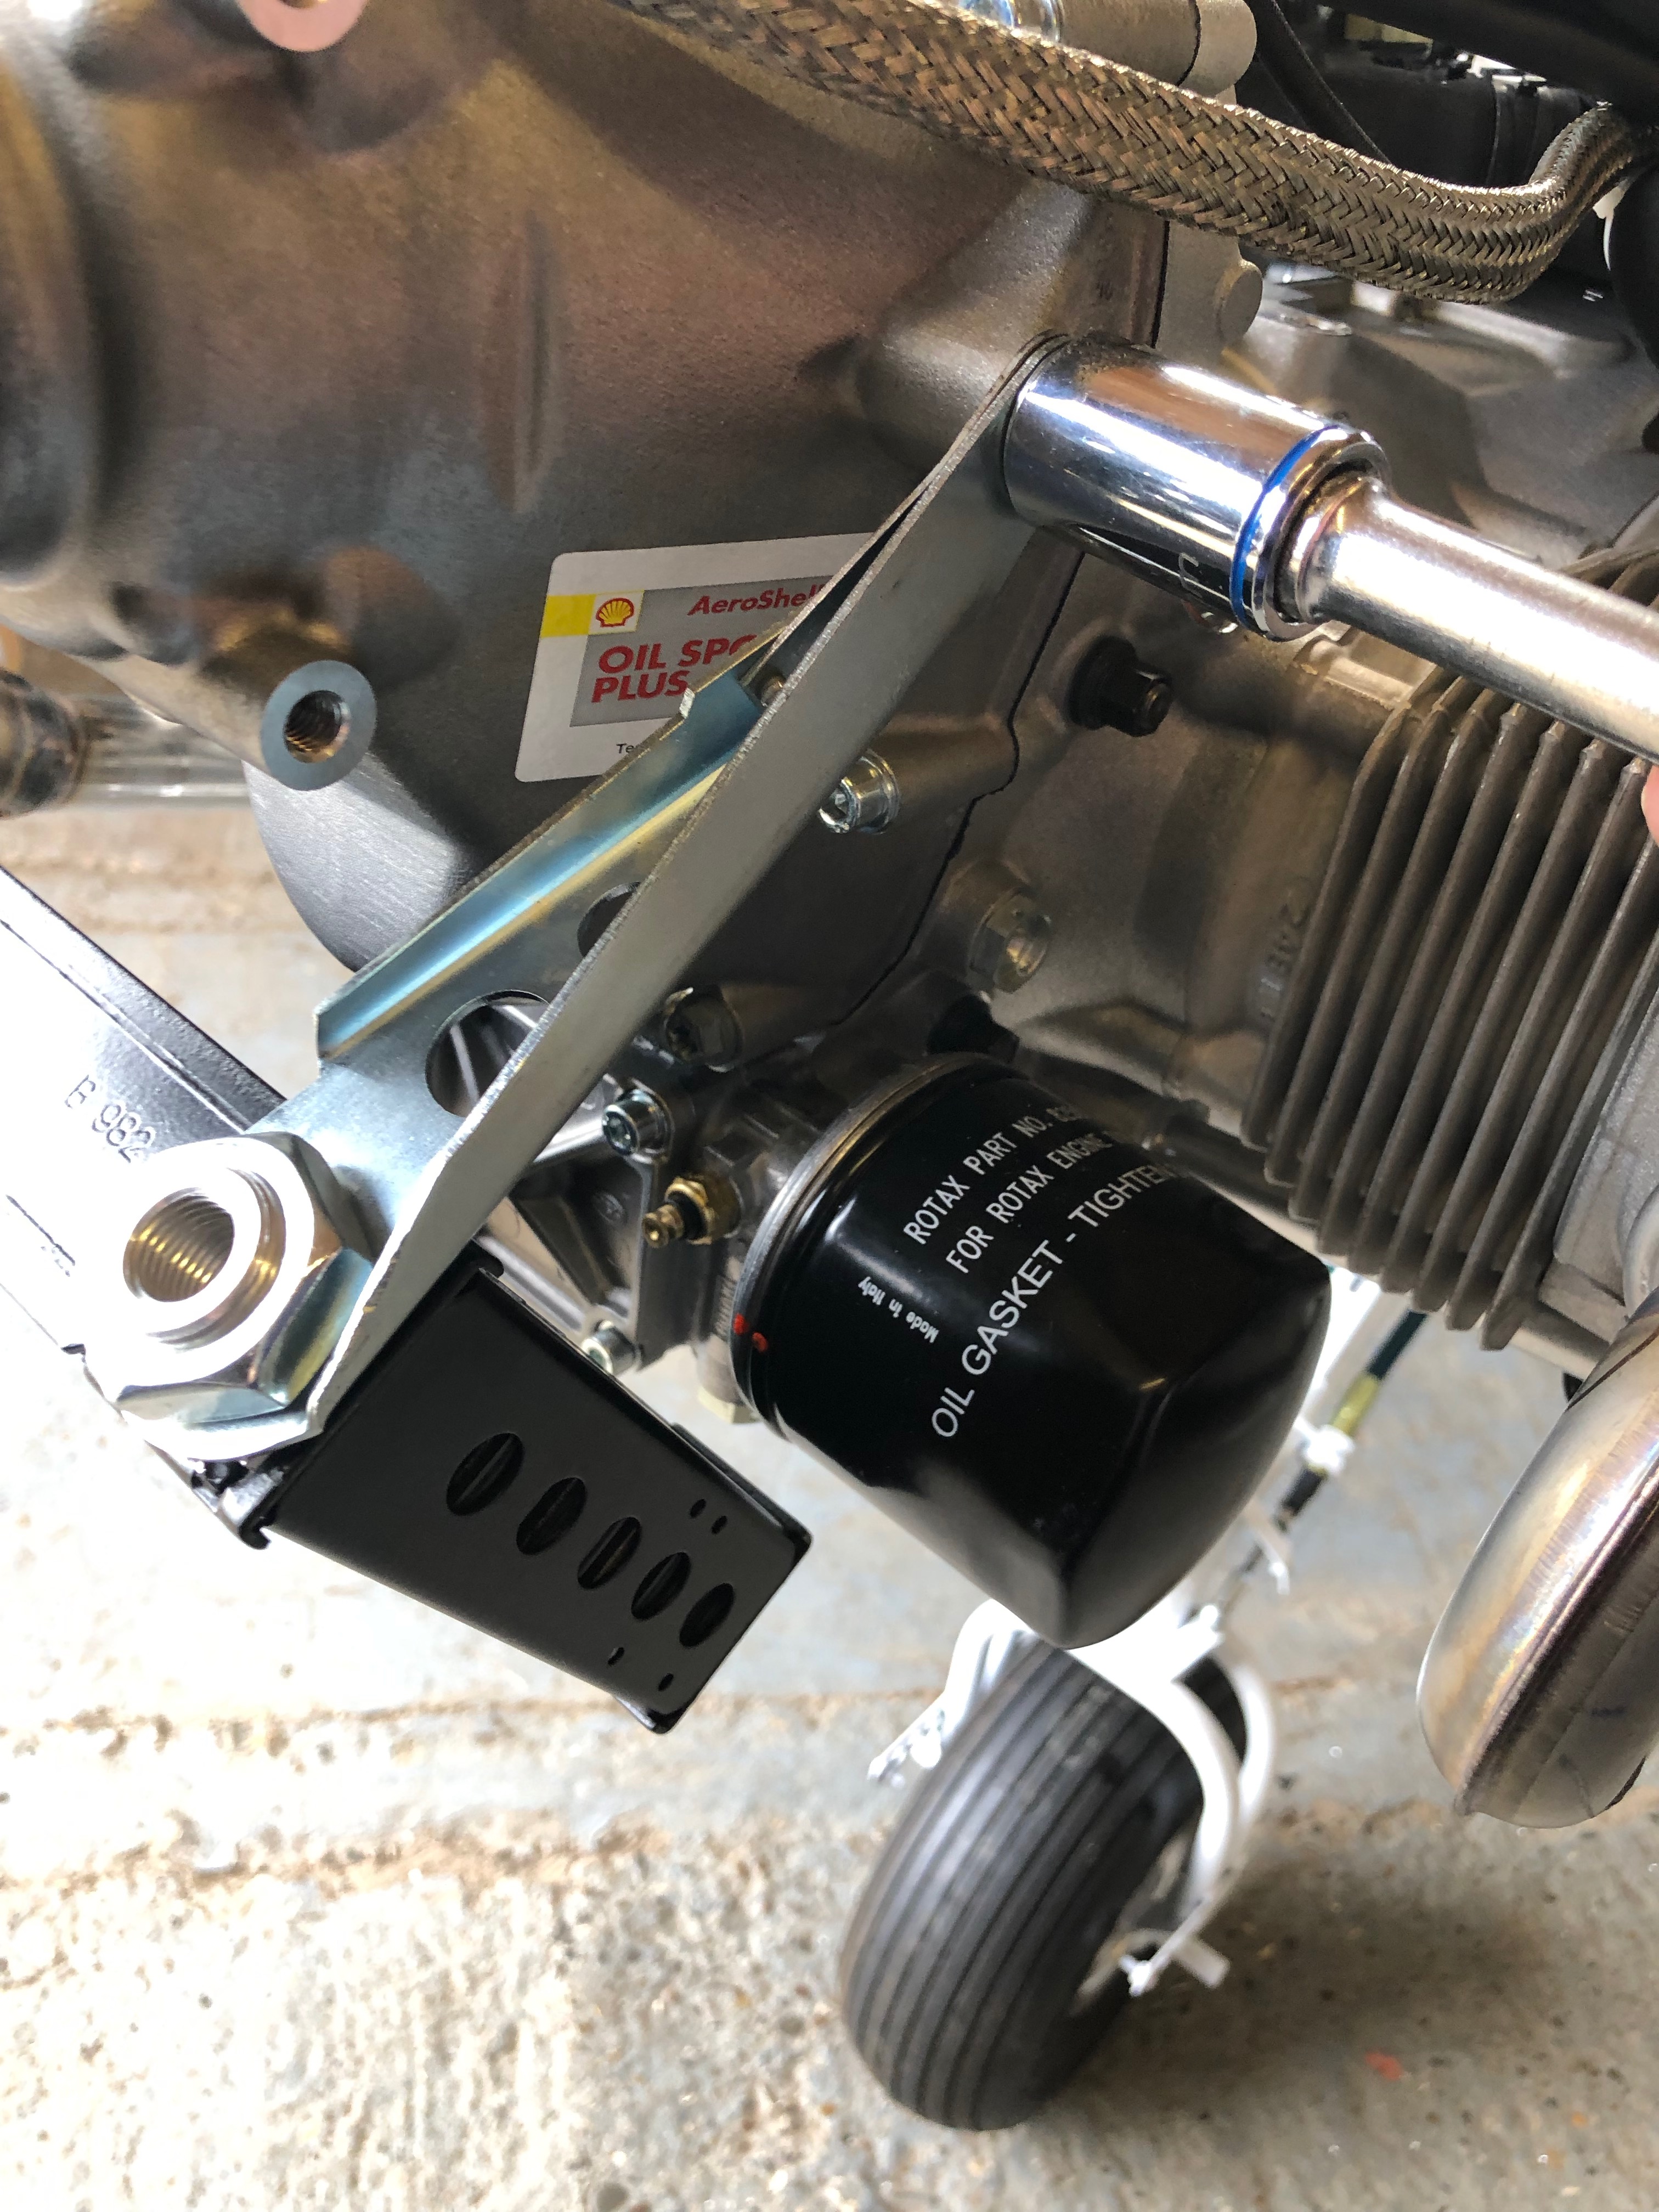
Now they can be secured with the drip tray and air intake breather tubes that Andy fitted yesterday.

I wanted to try to reduce the amount of vibration and droning from the firewall and noise from the engine. I purchased some sound & vibration deadening heat resistant foil back foam that will do the job.

After cutting to size, I’ve made the service holes to match the firewall and added grommets to make it a neater job.

I used some thinners to remove the printing on the foil before fitting. Looks a good fit.

I now need to undo some of the work I’ve done on the brakes and fit the front lower panels so I can fit sound deadening on the firewall behind the rudder pedals but run out of time today so will finish this job Monday.
The missing parts arrived in the post today so I was able to get on with some of the tasks that have been stalled.
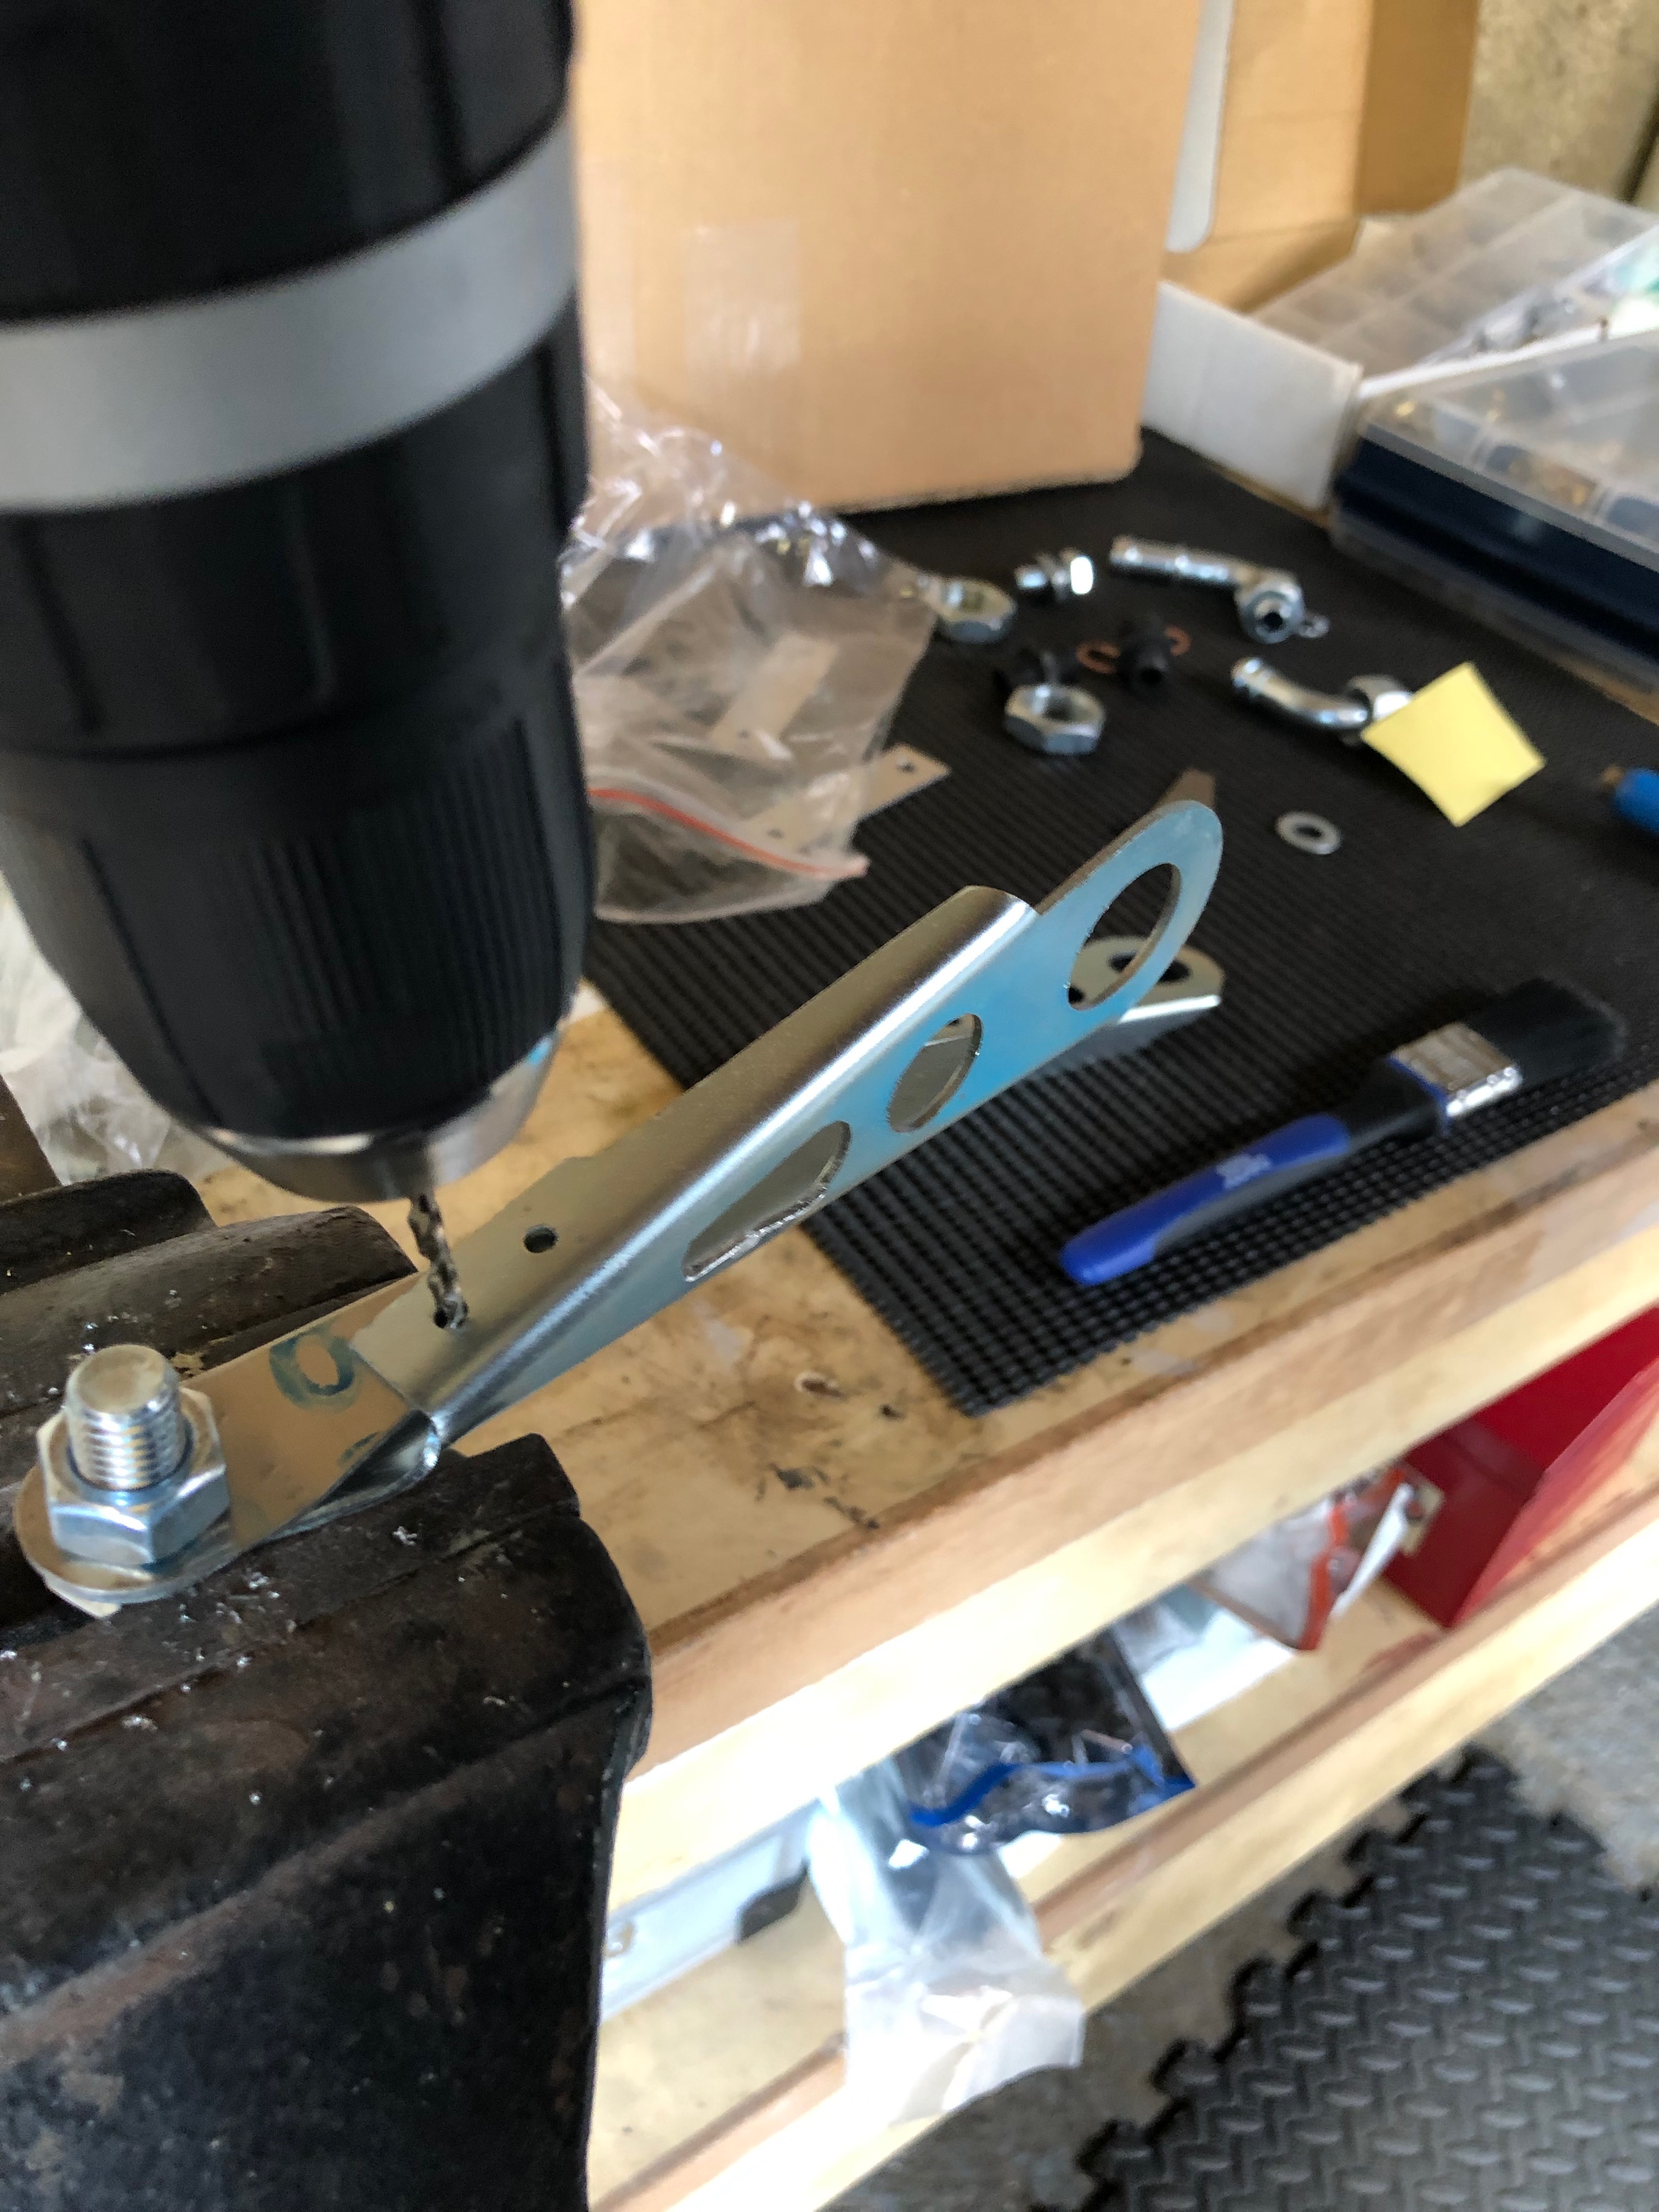
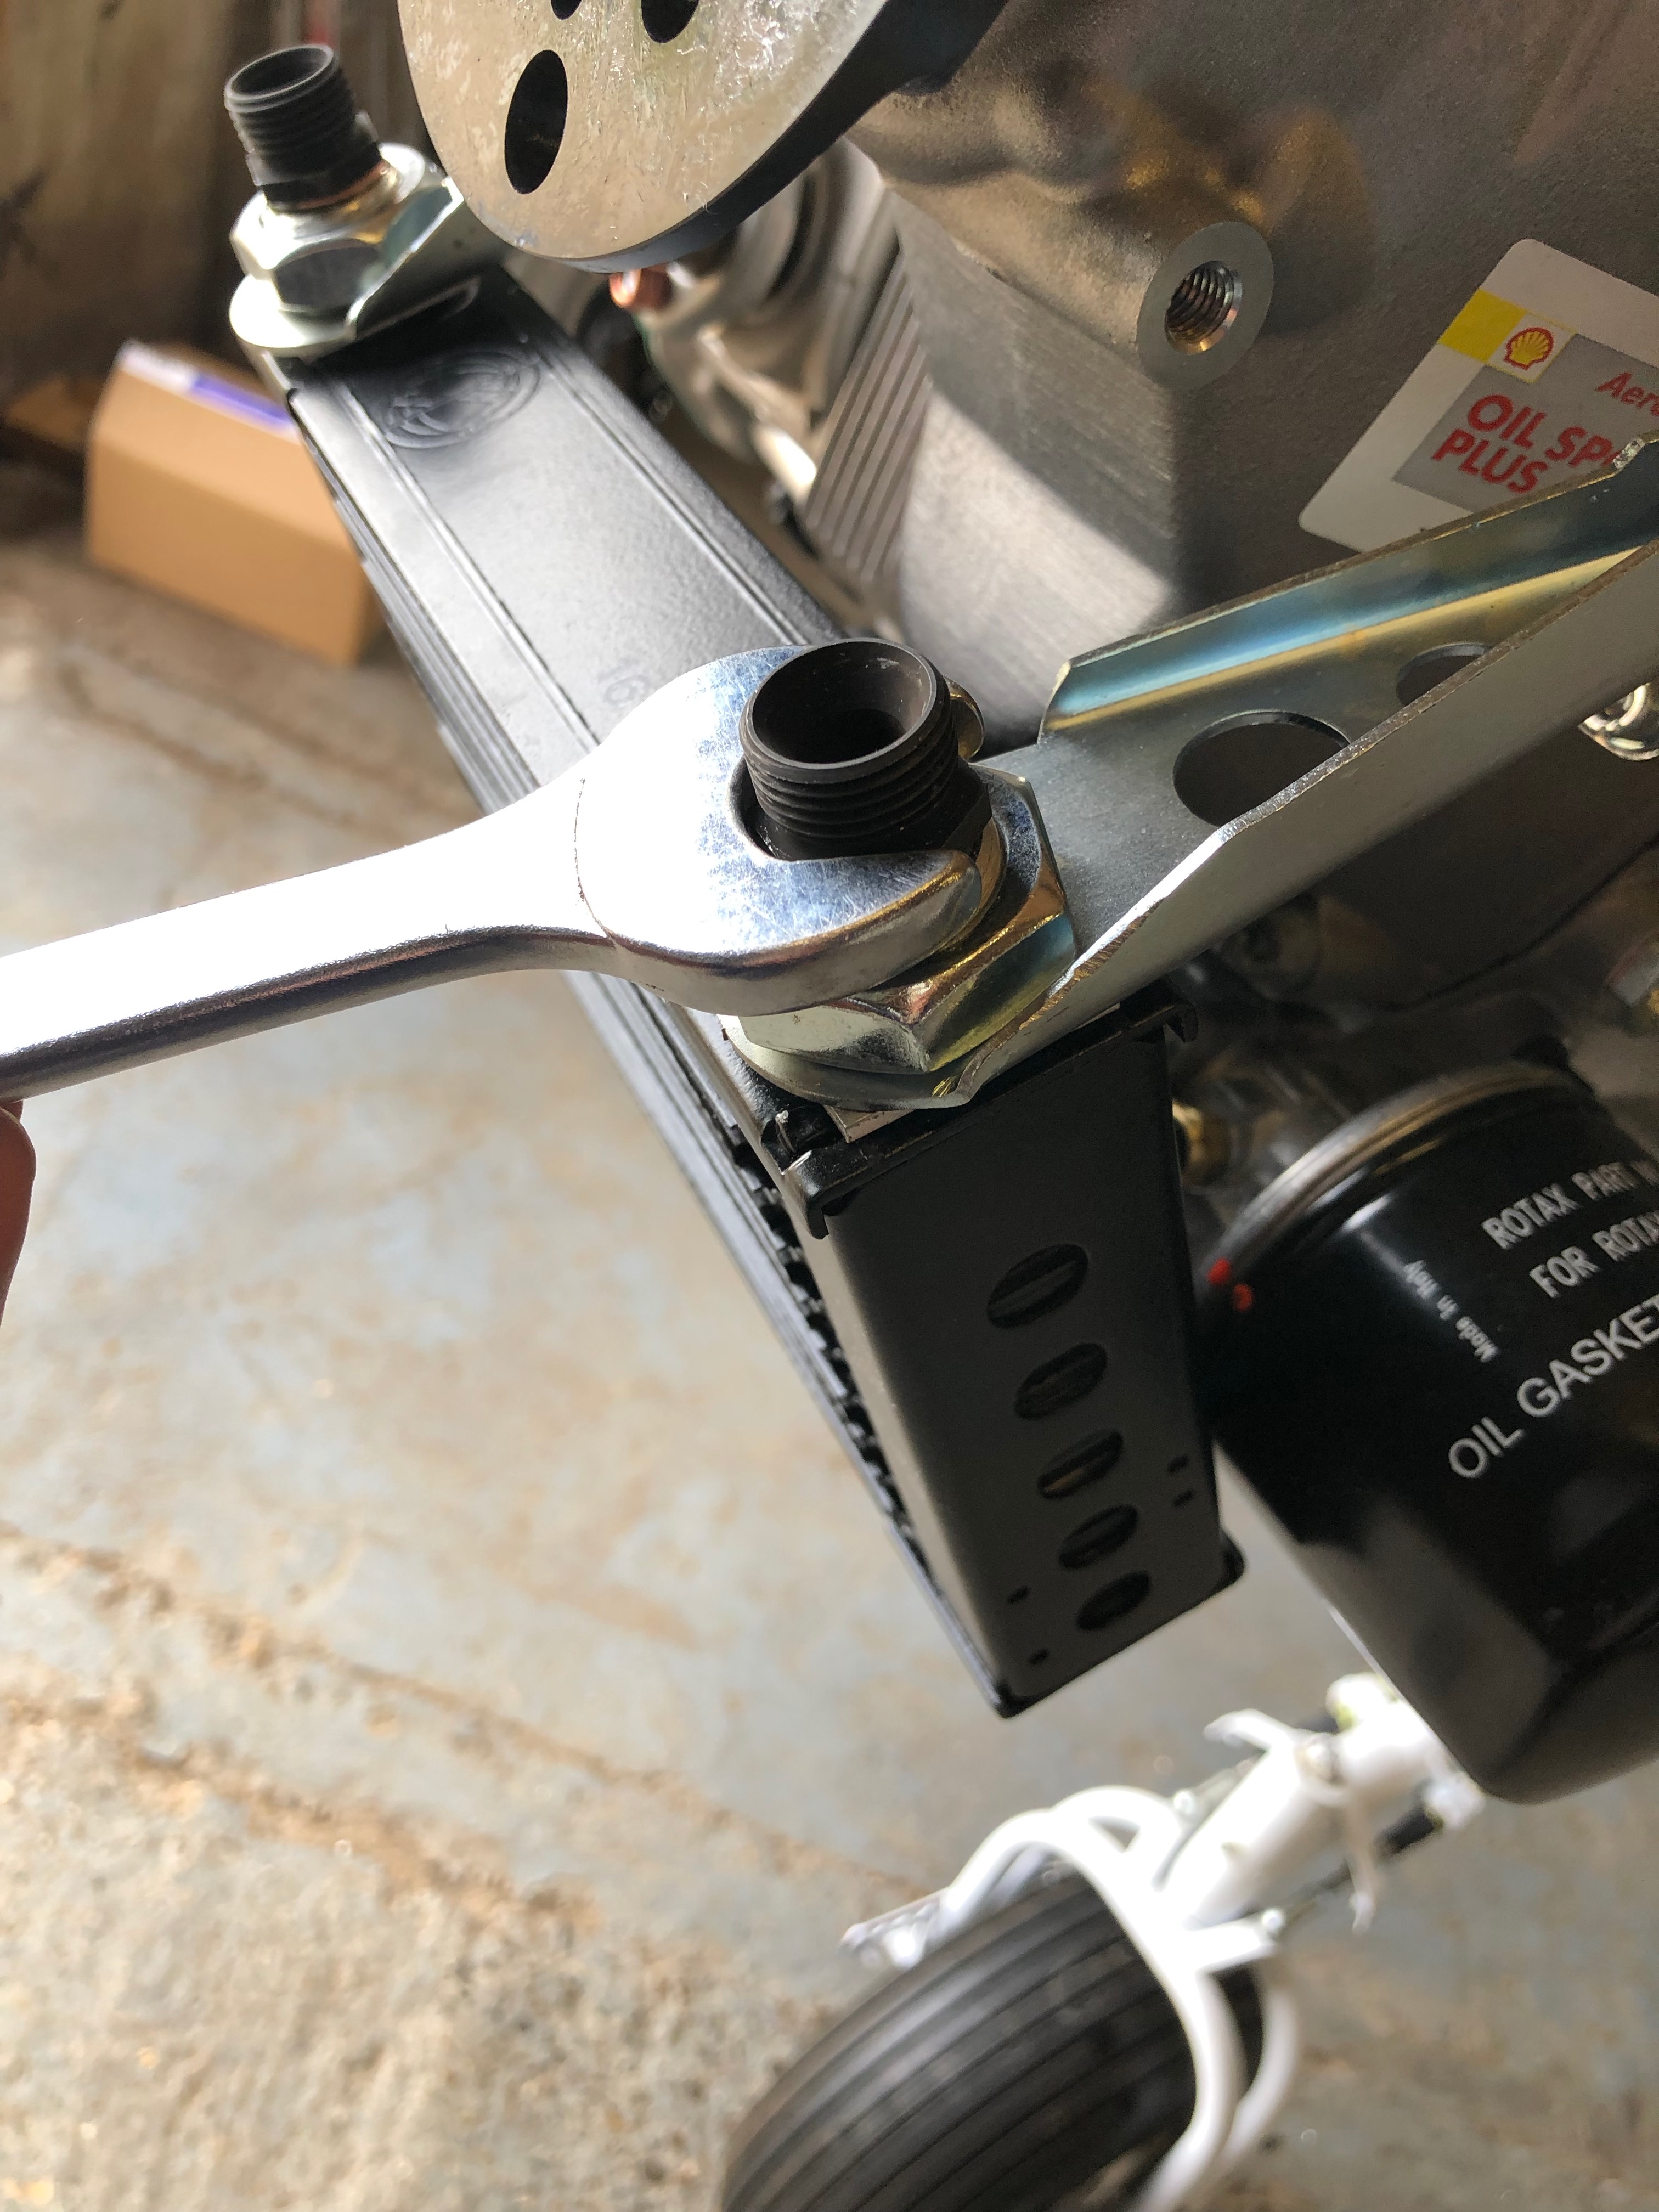
First job today is to add strengthening to the oil coolers bracket. The strip of metal is bolted to the bracket and holes are drilled to accept 2 rivets.
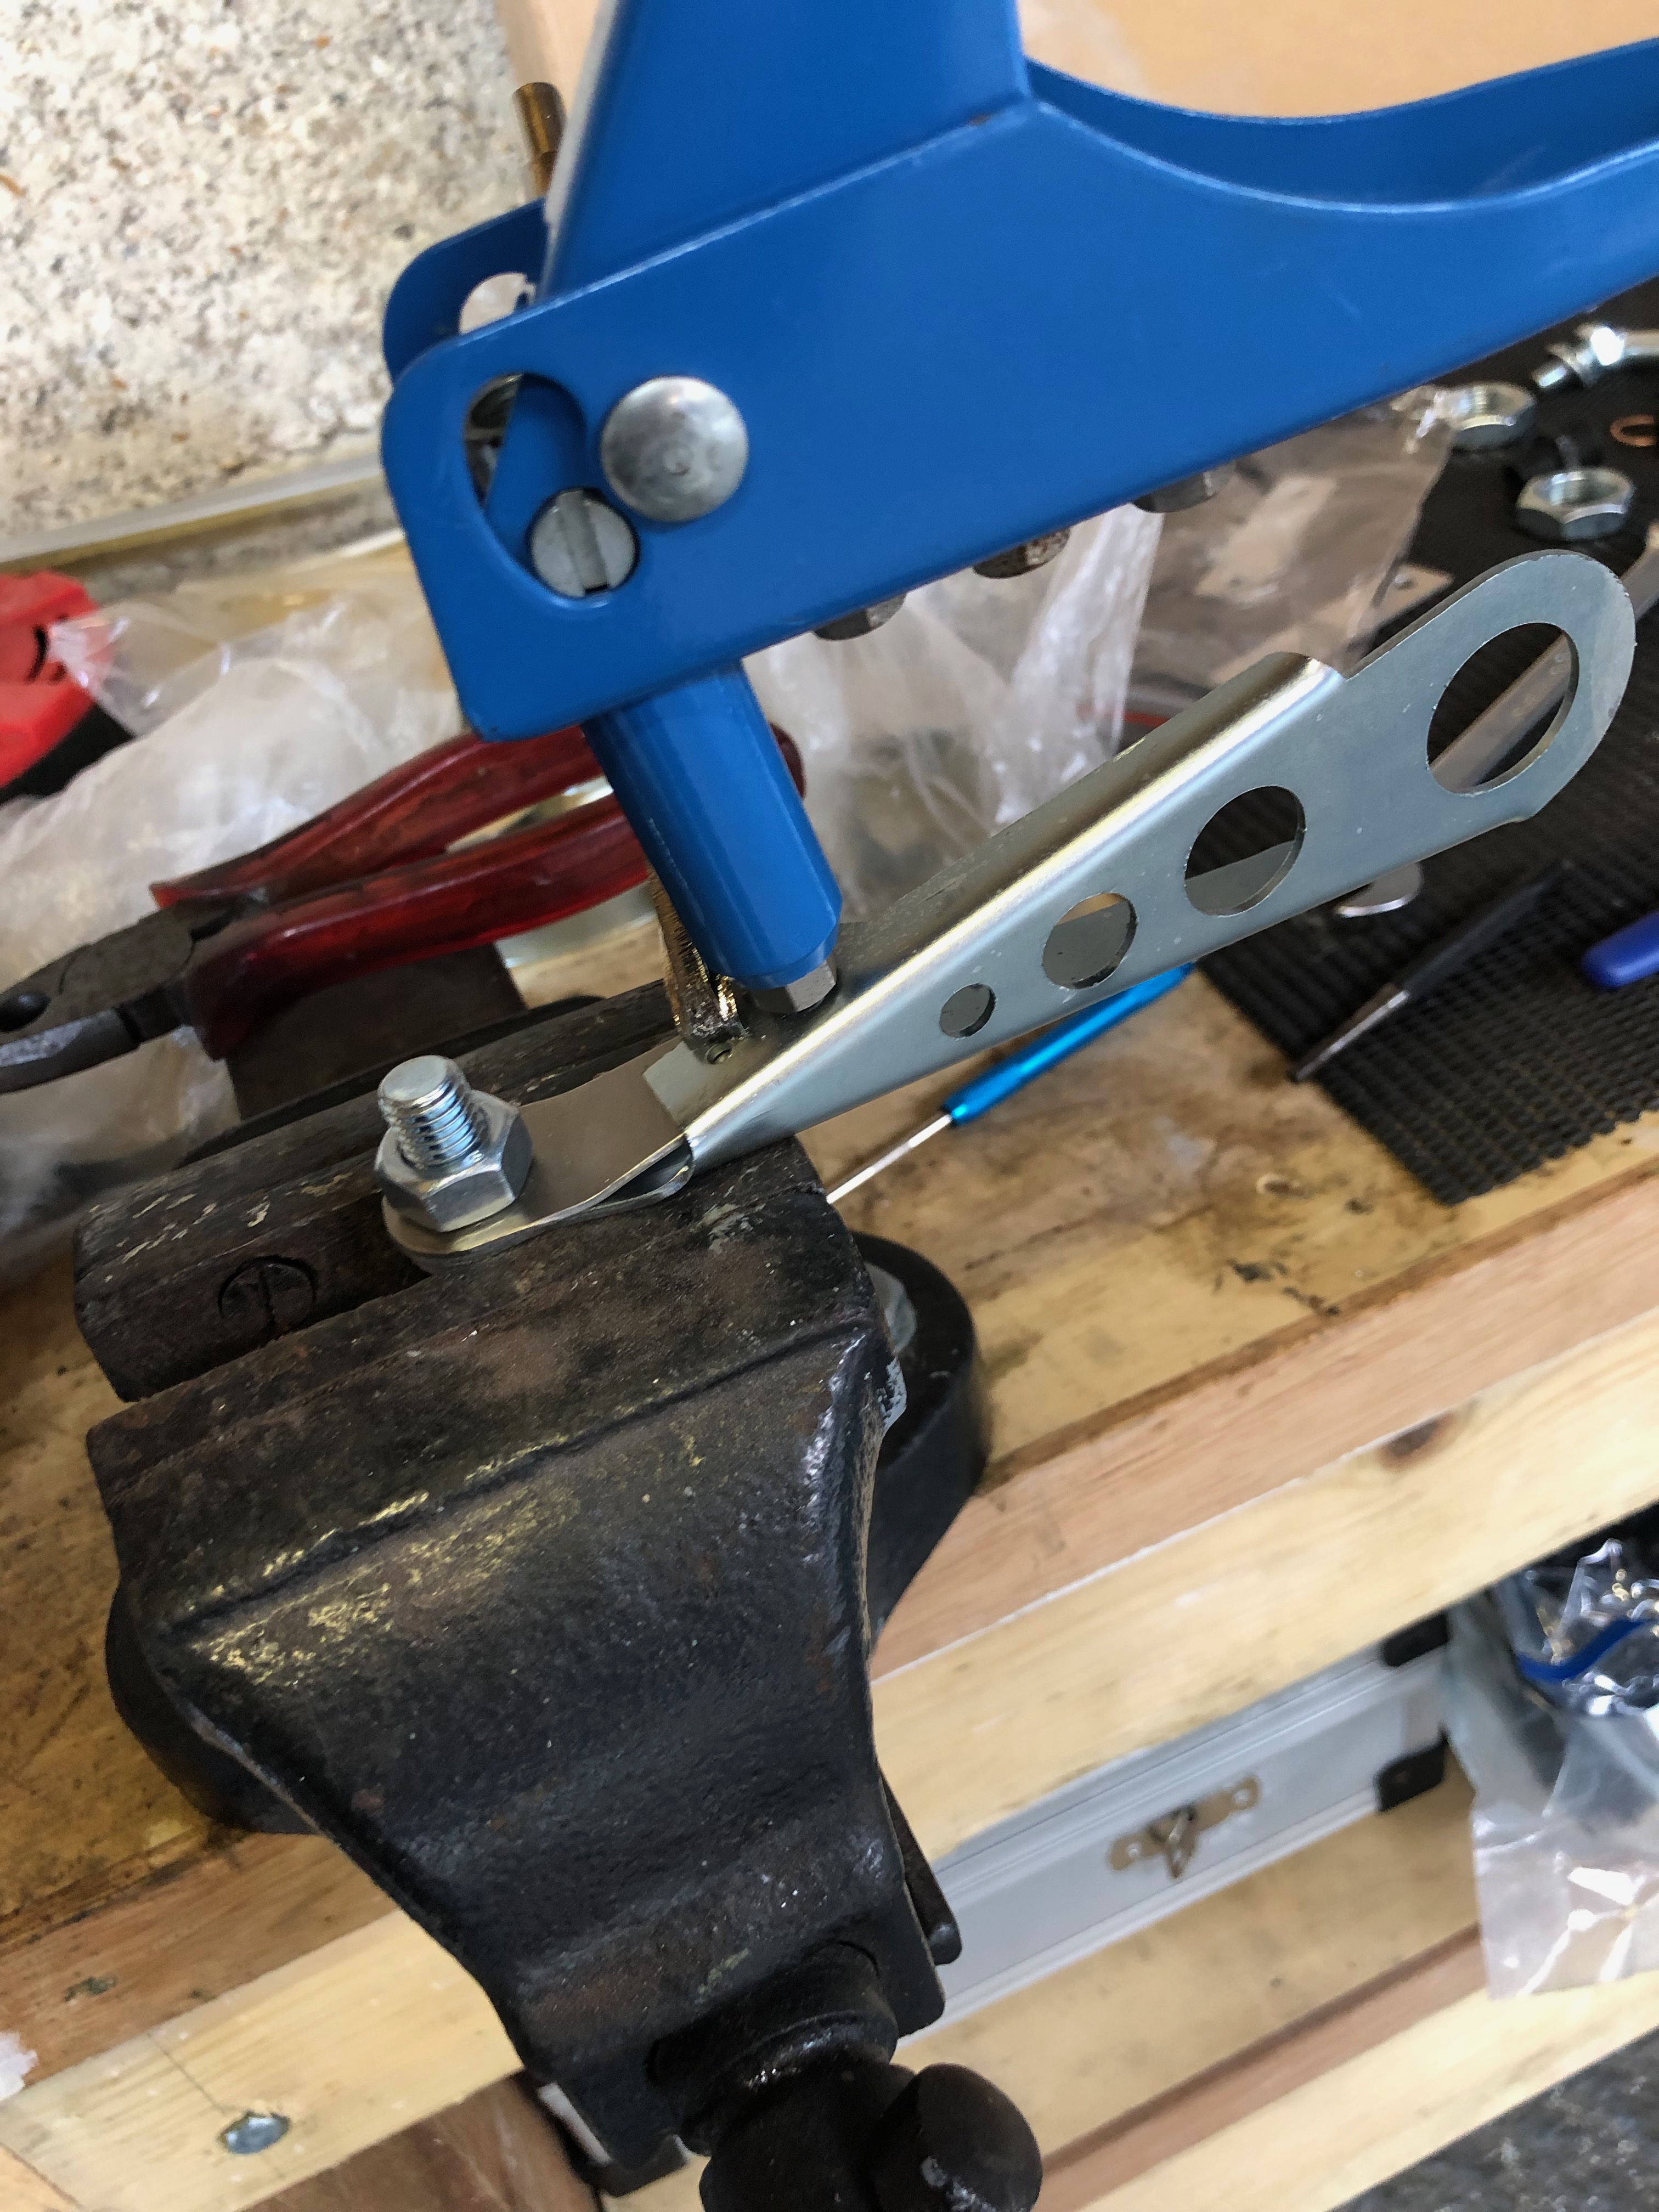
Rivets are installed.

The finished brackets ready for install.

Next is to clamp the heat exchanger, for cabin and carb heat, onto the exhaust with large jubilee clips. They are no tightened at this point as it may need to be rotated later.
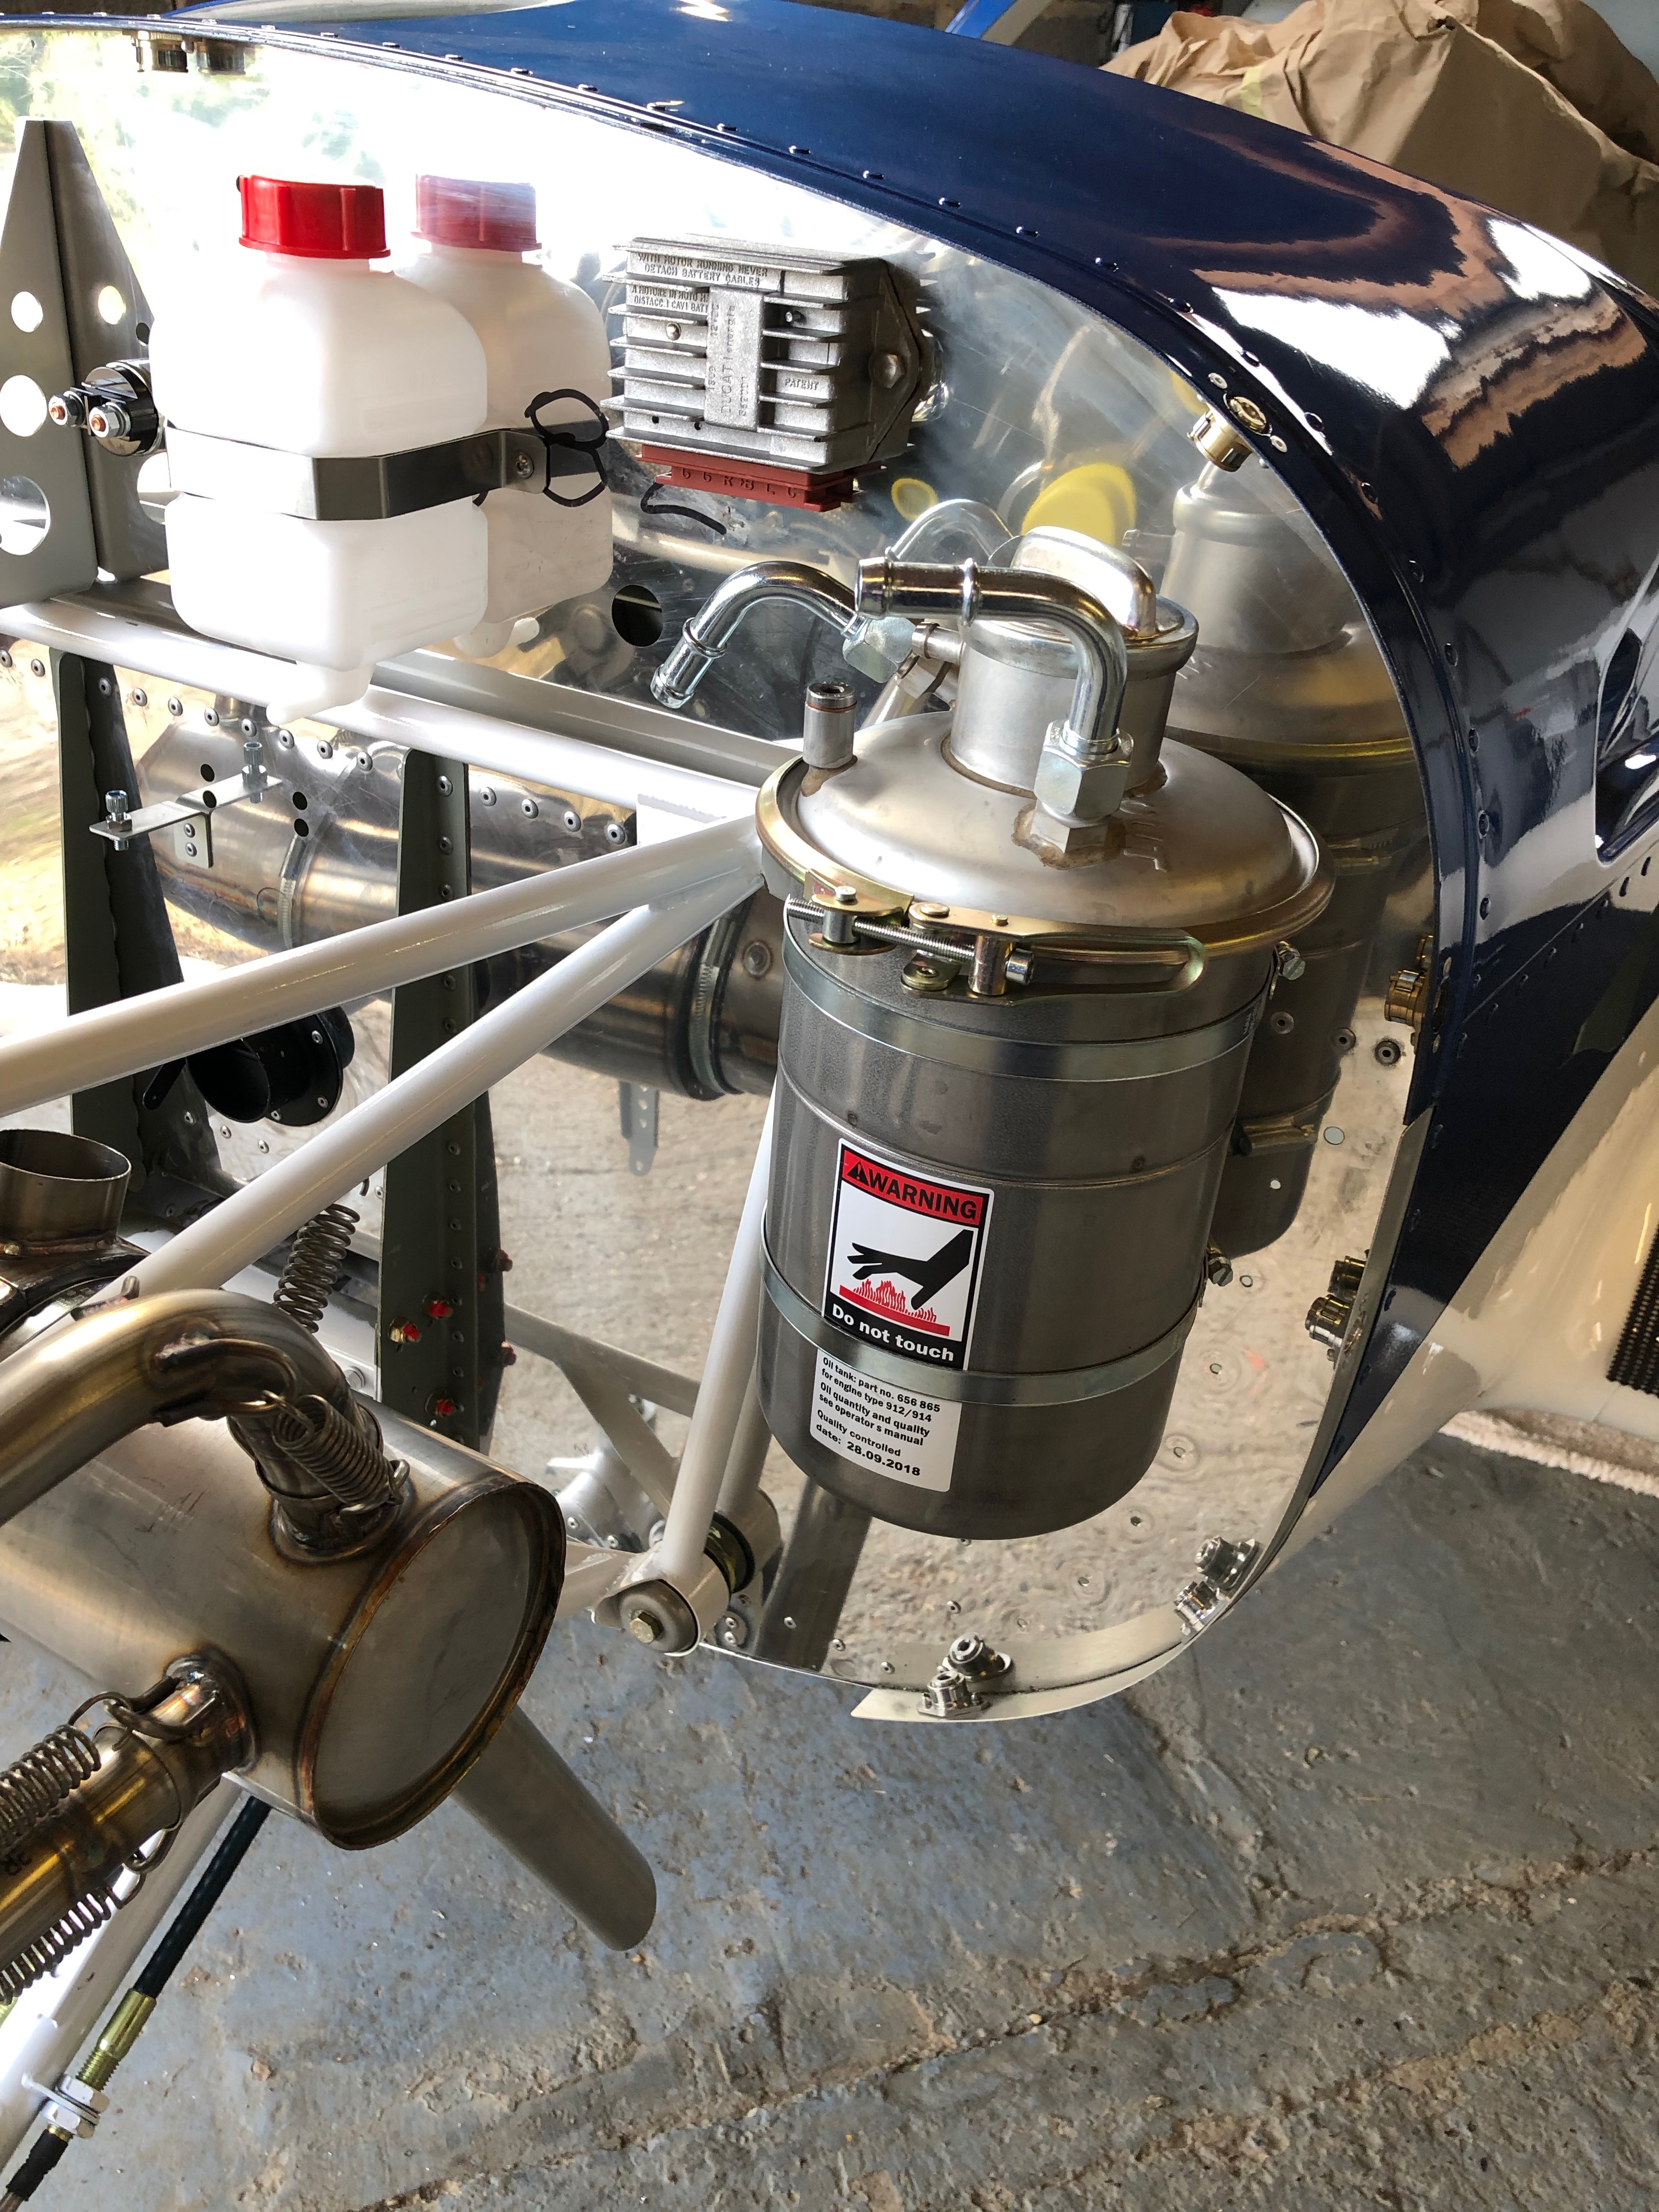
The oil tank is secured with large jubilee clips. Thinking about the location of the screw clamps I decided to turn them round.

Tank now install and the screw clamps are now ‘hidden’ at the rear of the tank. I’ve also turned the tank clamp around which makes it easier to undo for servicing.
Now the oil cooler brackets have been strengthened it’s time to install the oil cooler.
A reducer is installed to for the oil hose connectors.
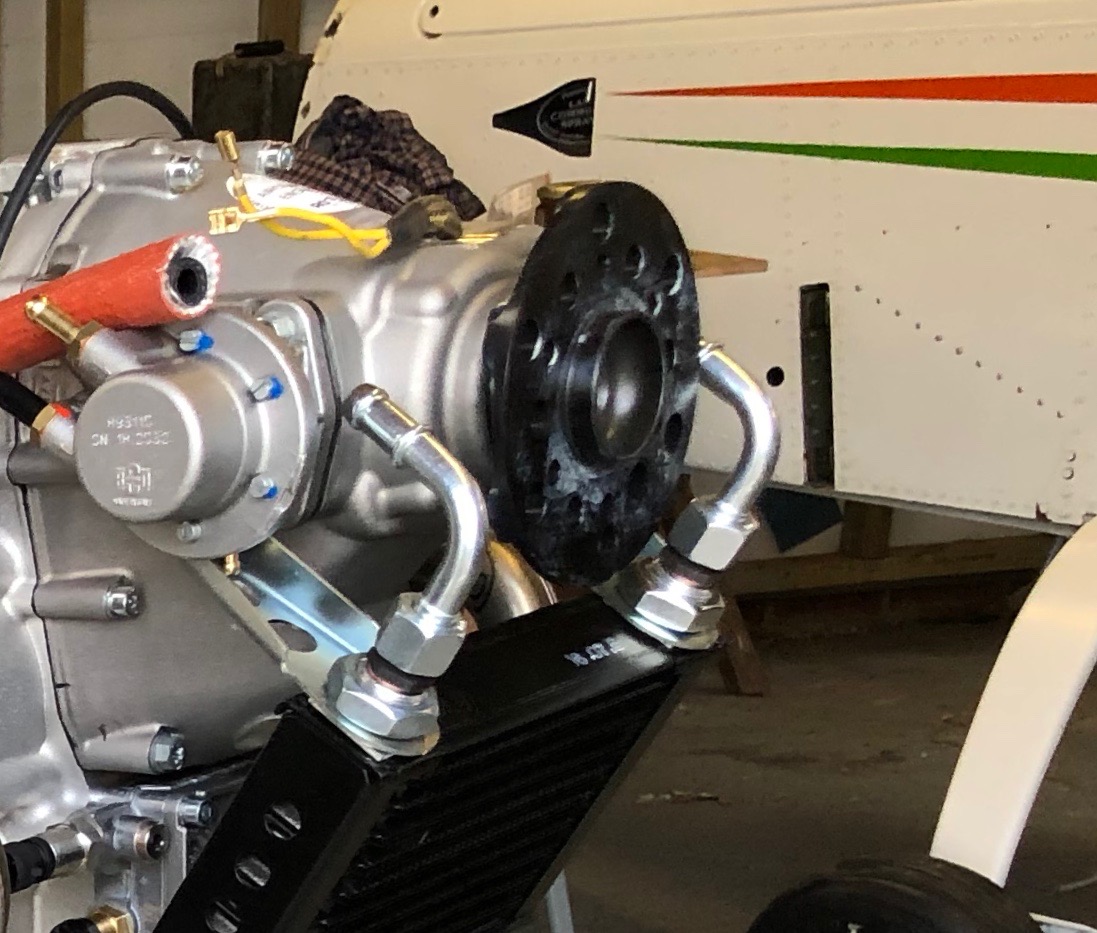
Oil pipe connectors installed.
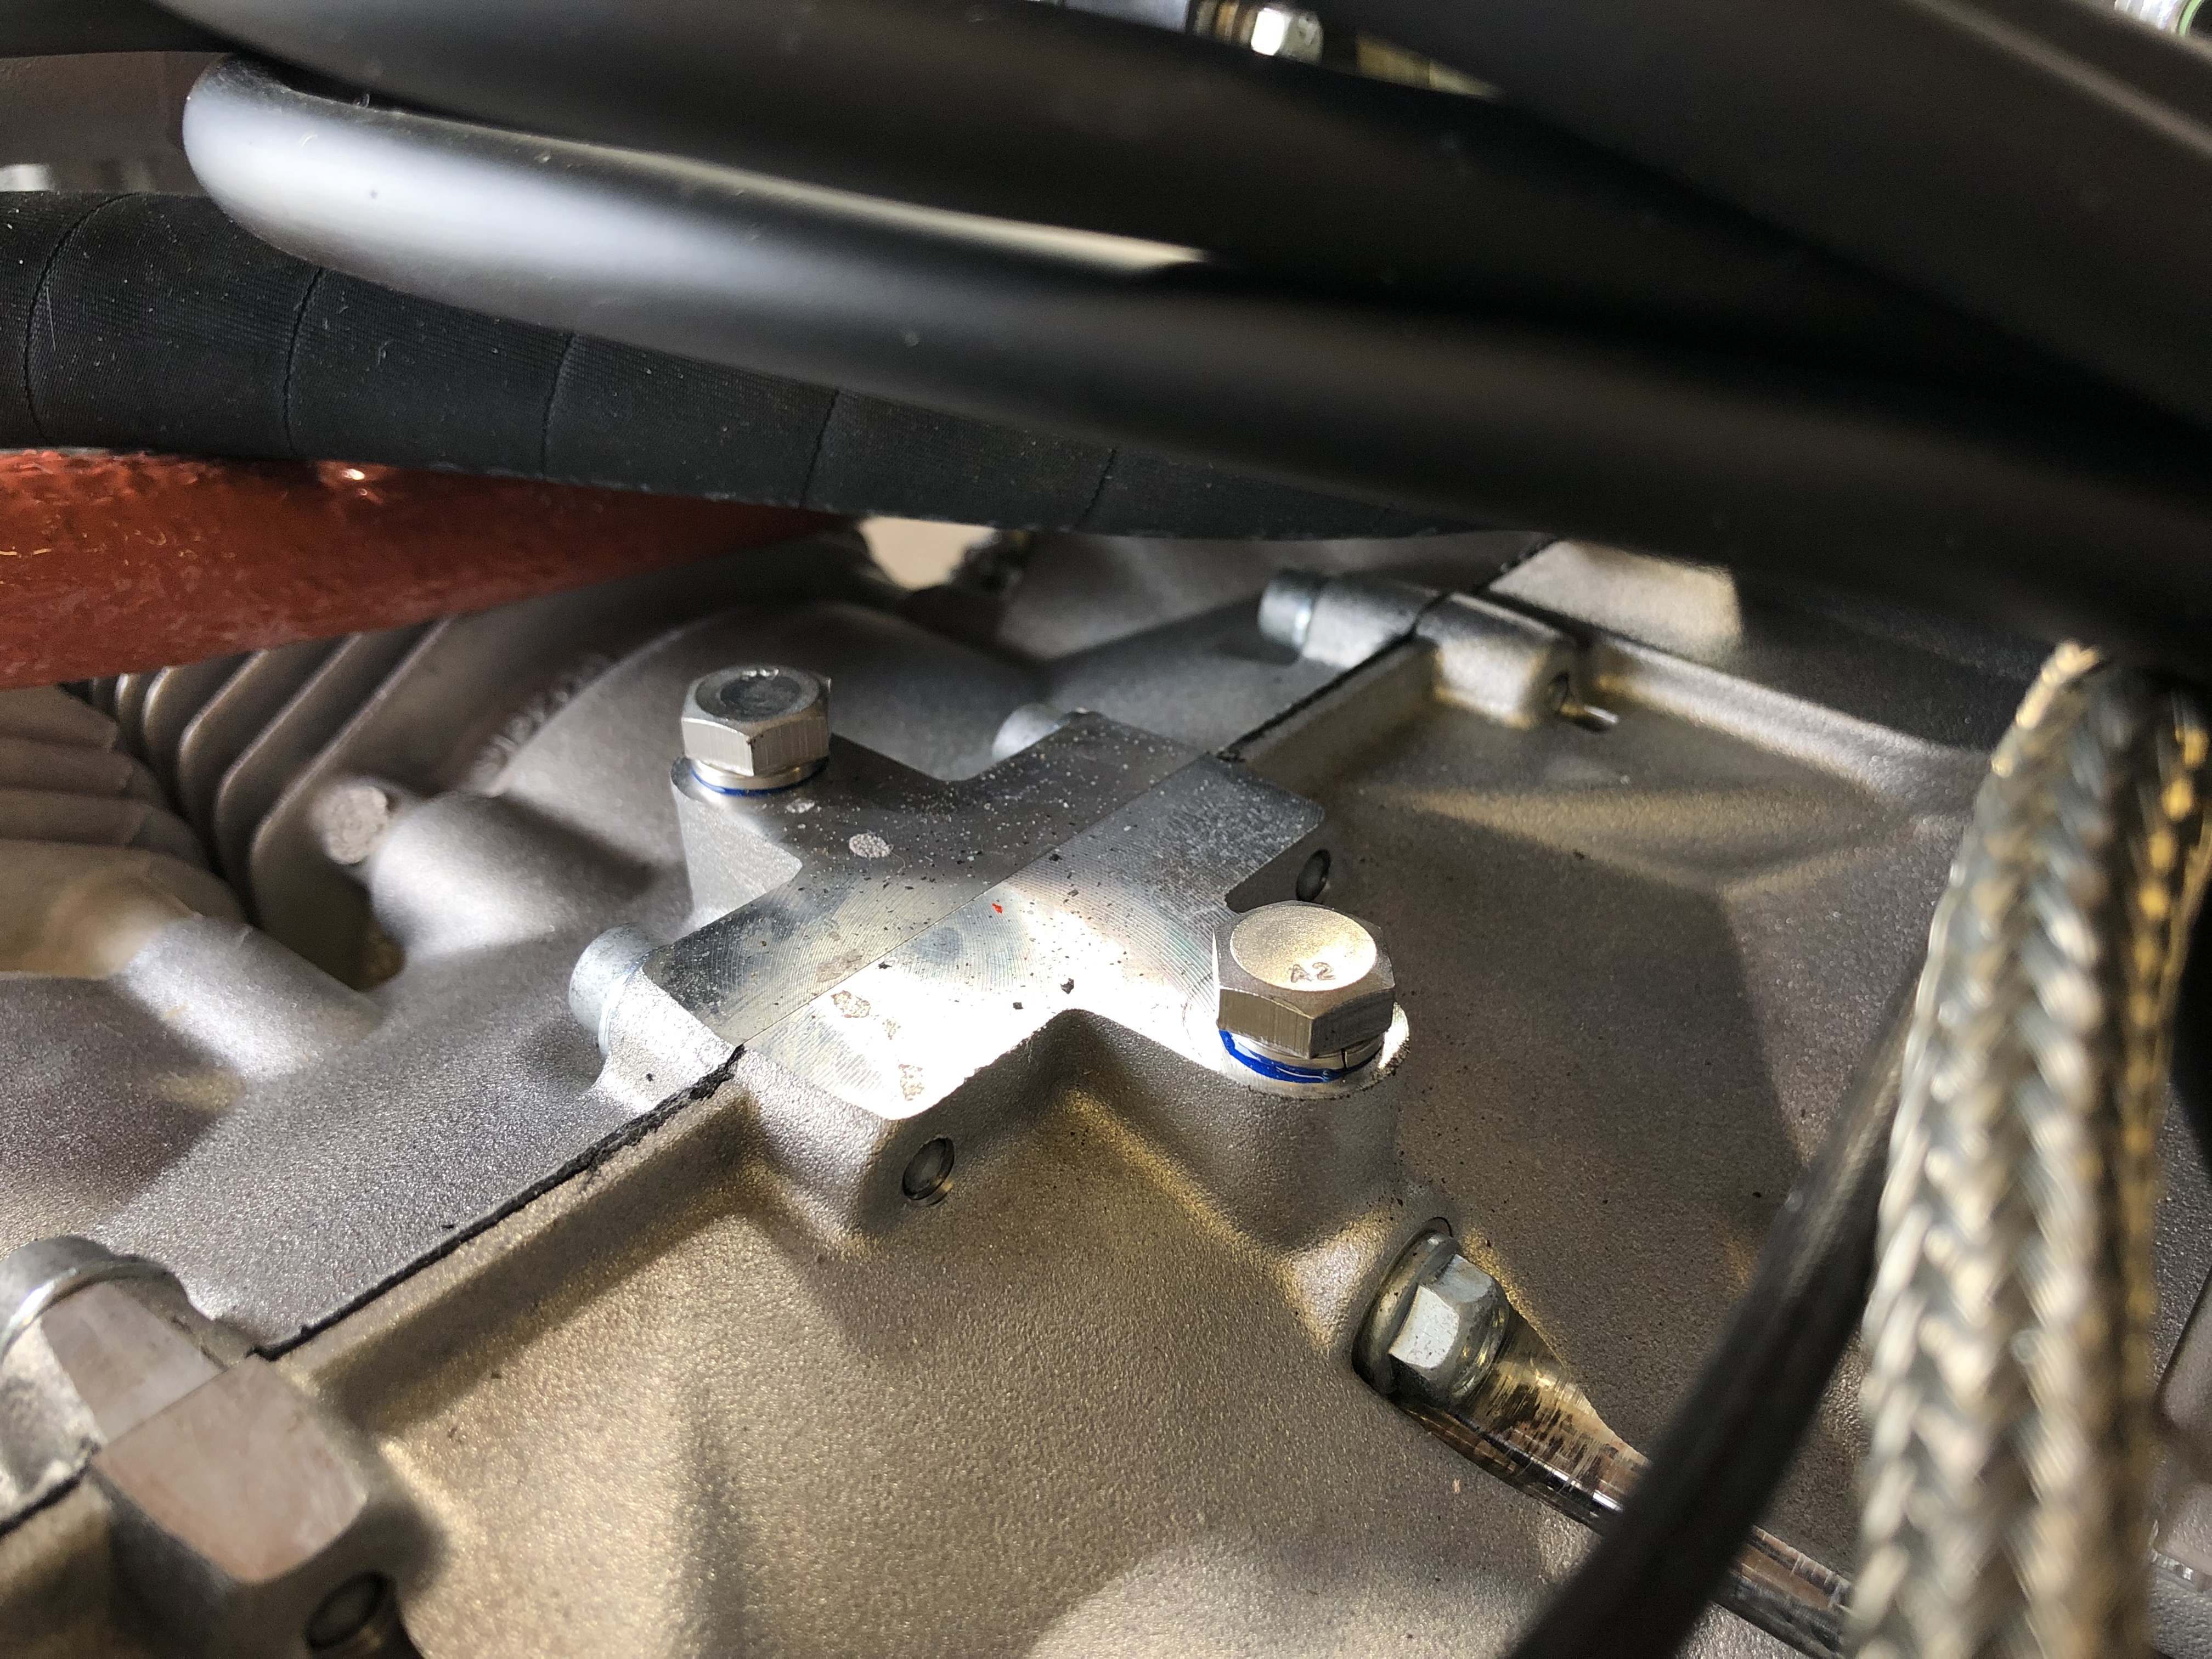
2 bolts are installed and locked with Loctite 243 to stop dirt and muck filling the lifting bracket mounts.

The water cooler is installed next and requires a couple of brackets and 5mm spacers to be made.

I think that’s close enough…
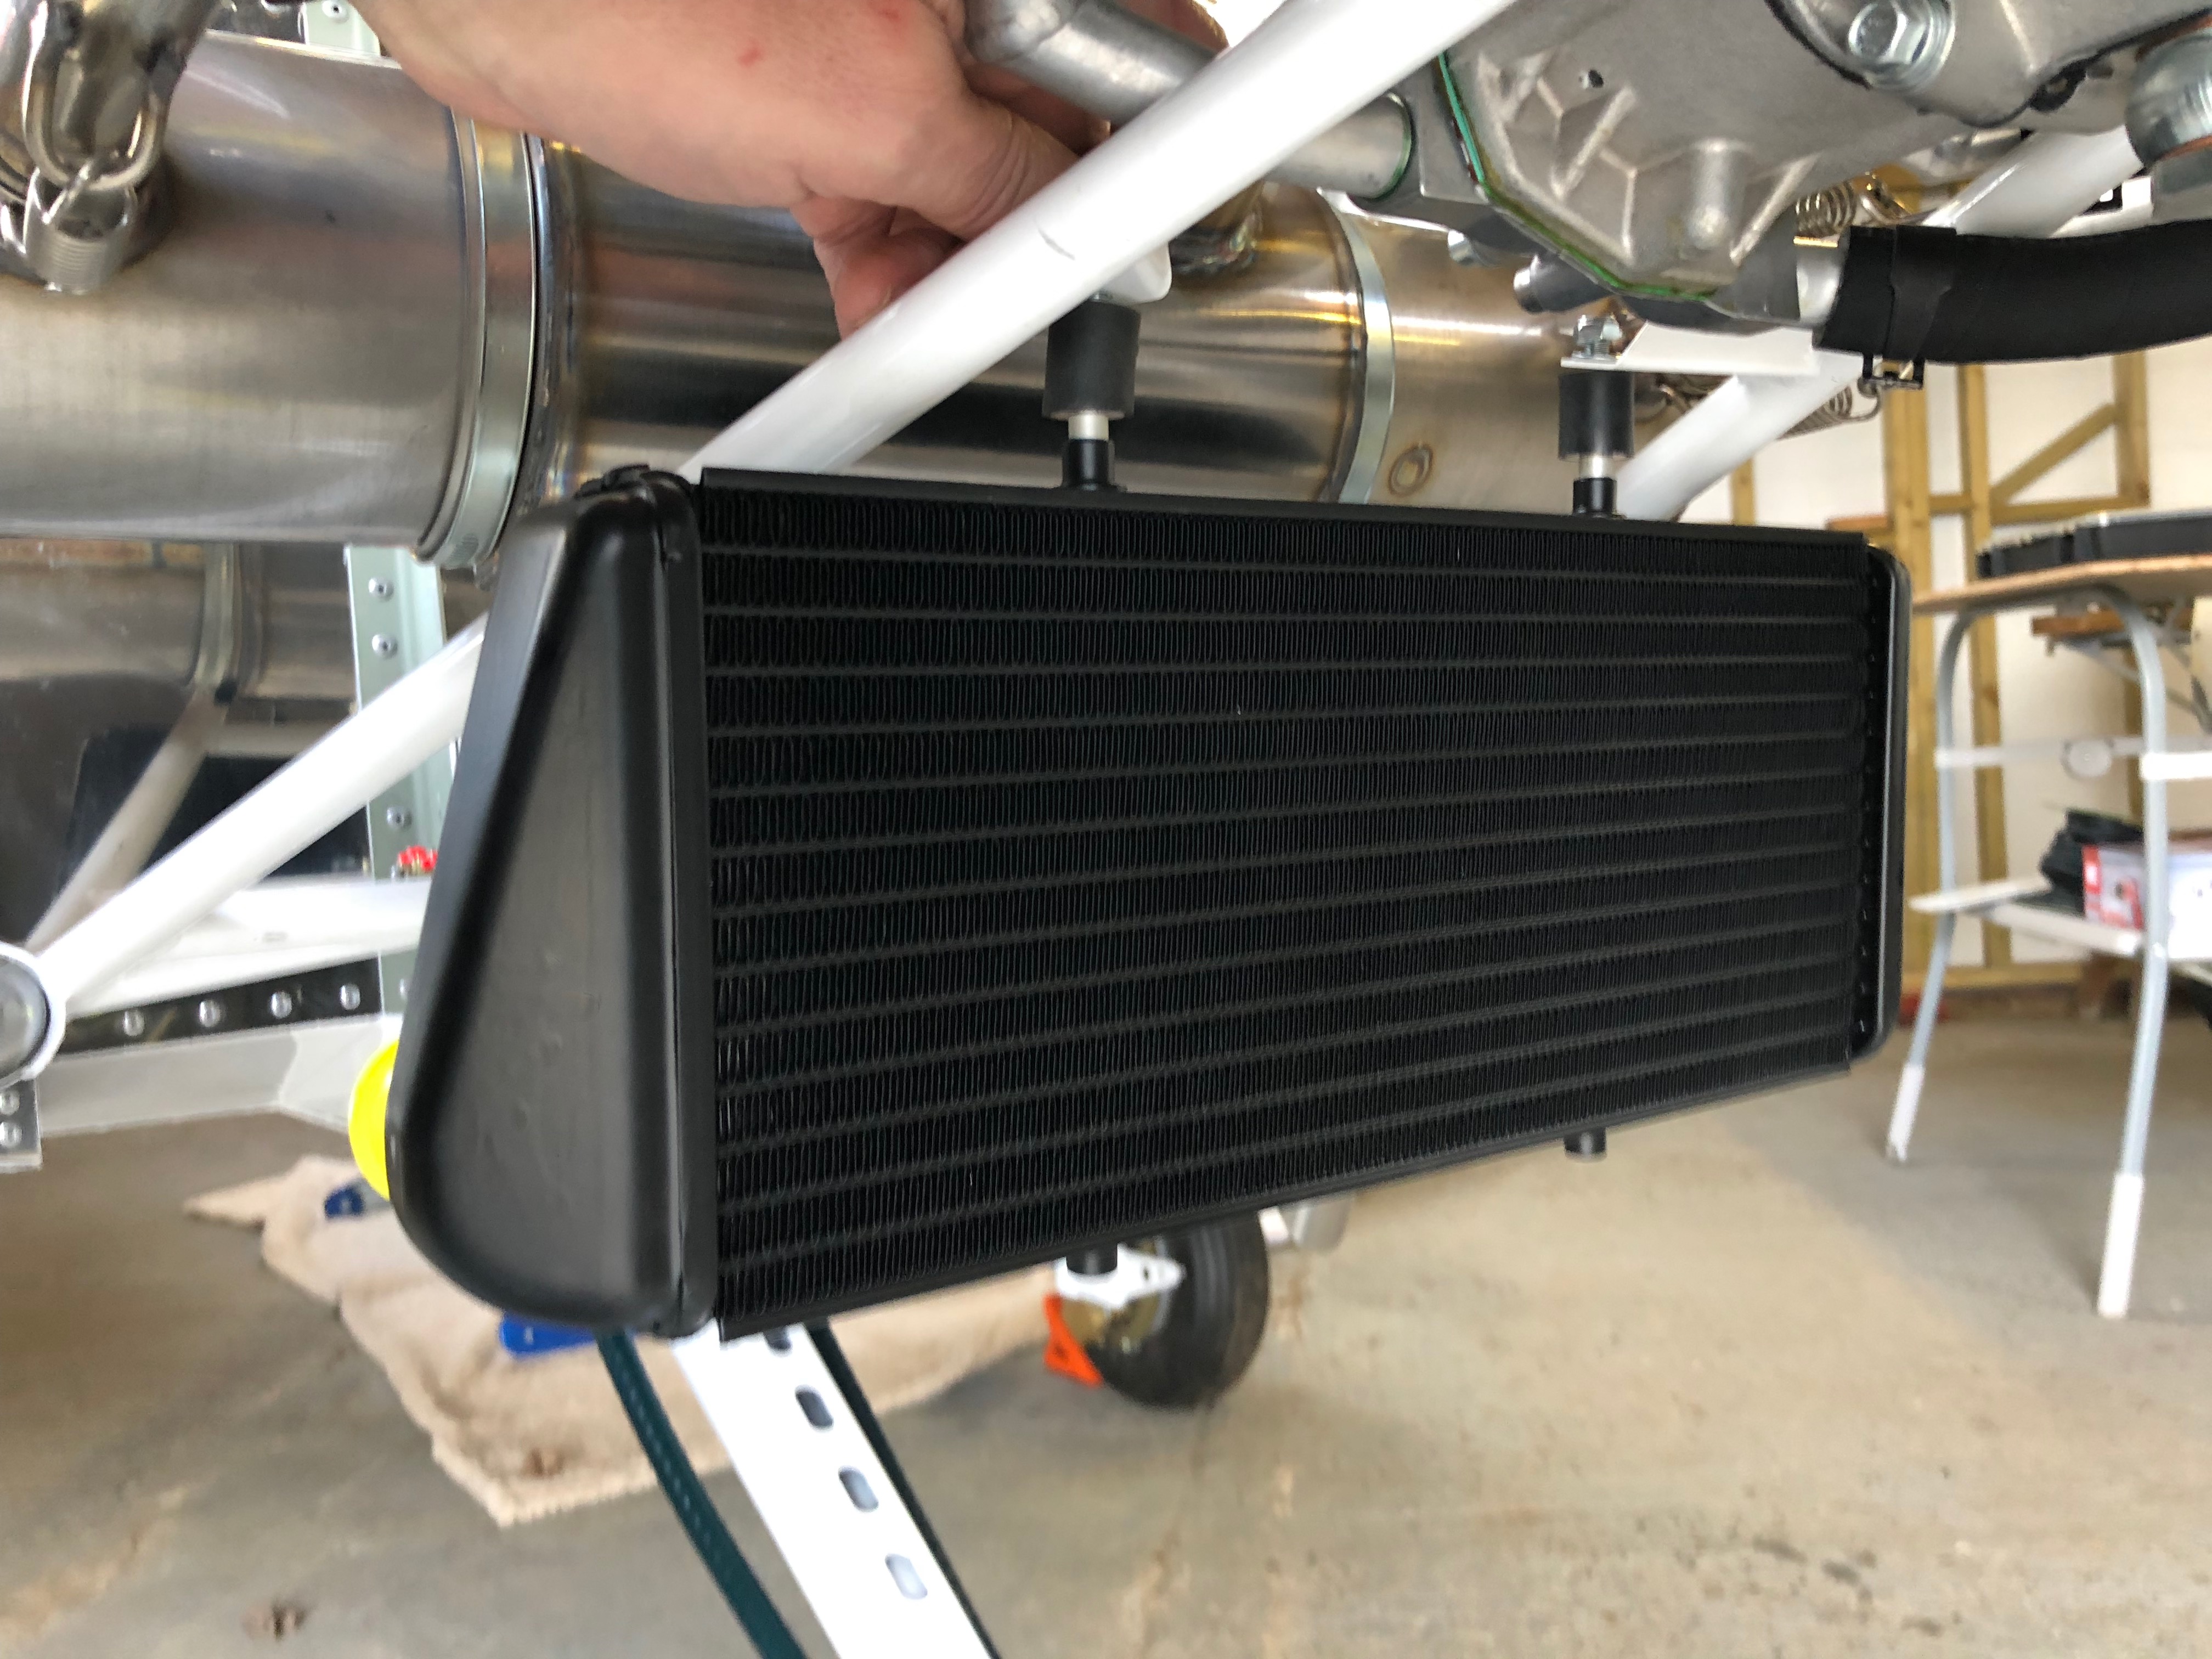
The 2 spacers are fitted on the rubber vibration isolators, screwed into the top of the water radiator and secured with 2 M6 nyloc nuts.

The aluminium brackets are fitted to the lower support…

and secured under the water radiator. I need to finish the final securing tomorrow.

Engine installation so far – Right.

and from the left.
