Category Archives: Propellor

Friday 9th August 2019 – Adjusting the Prop

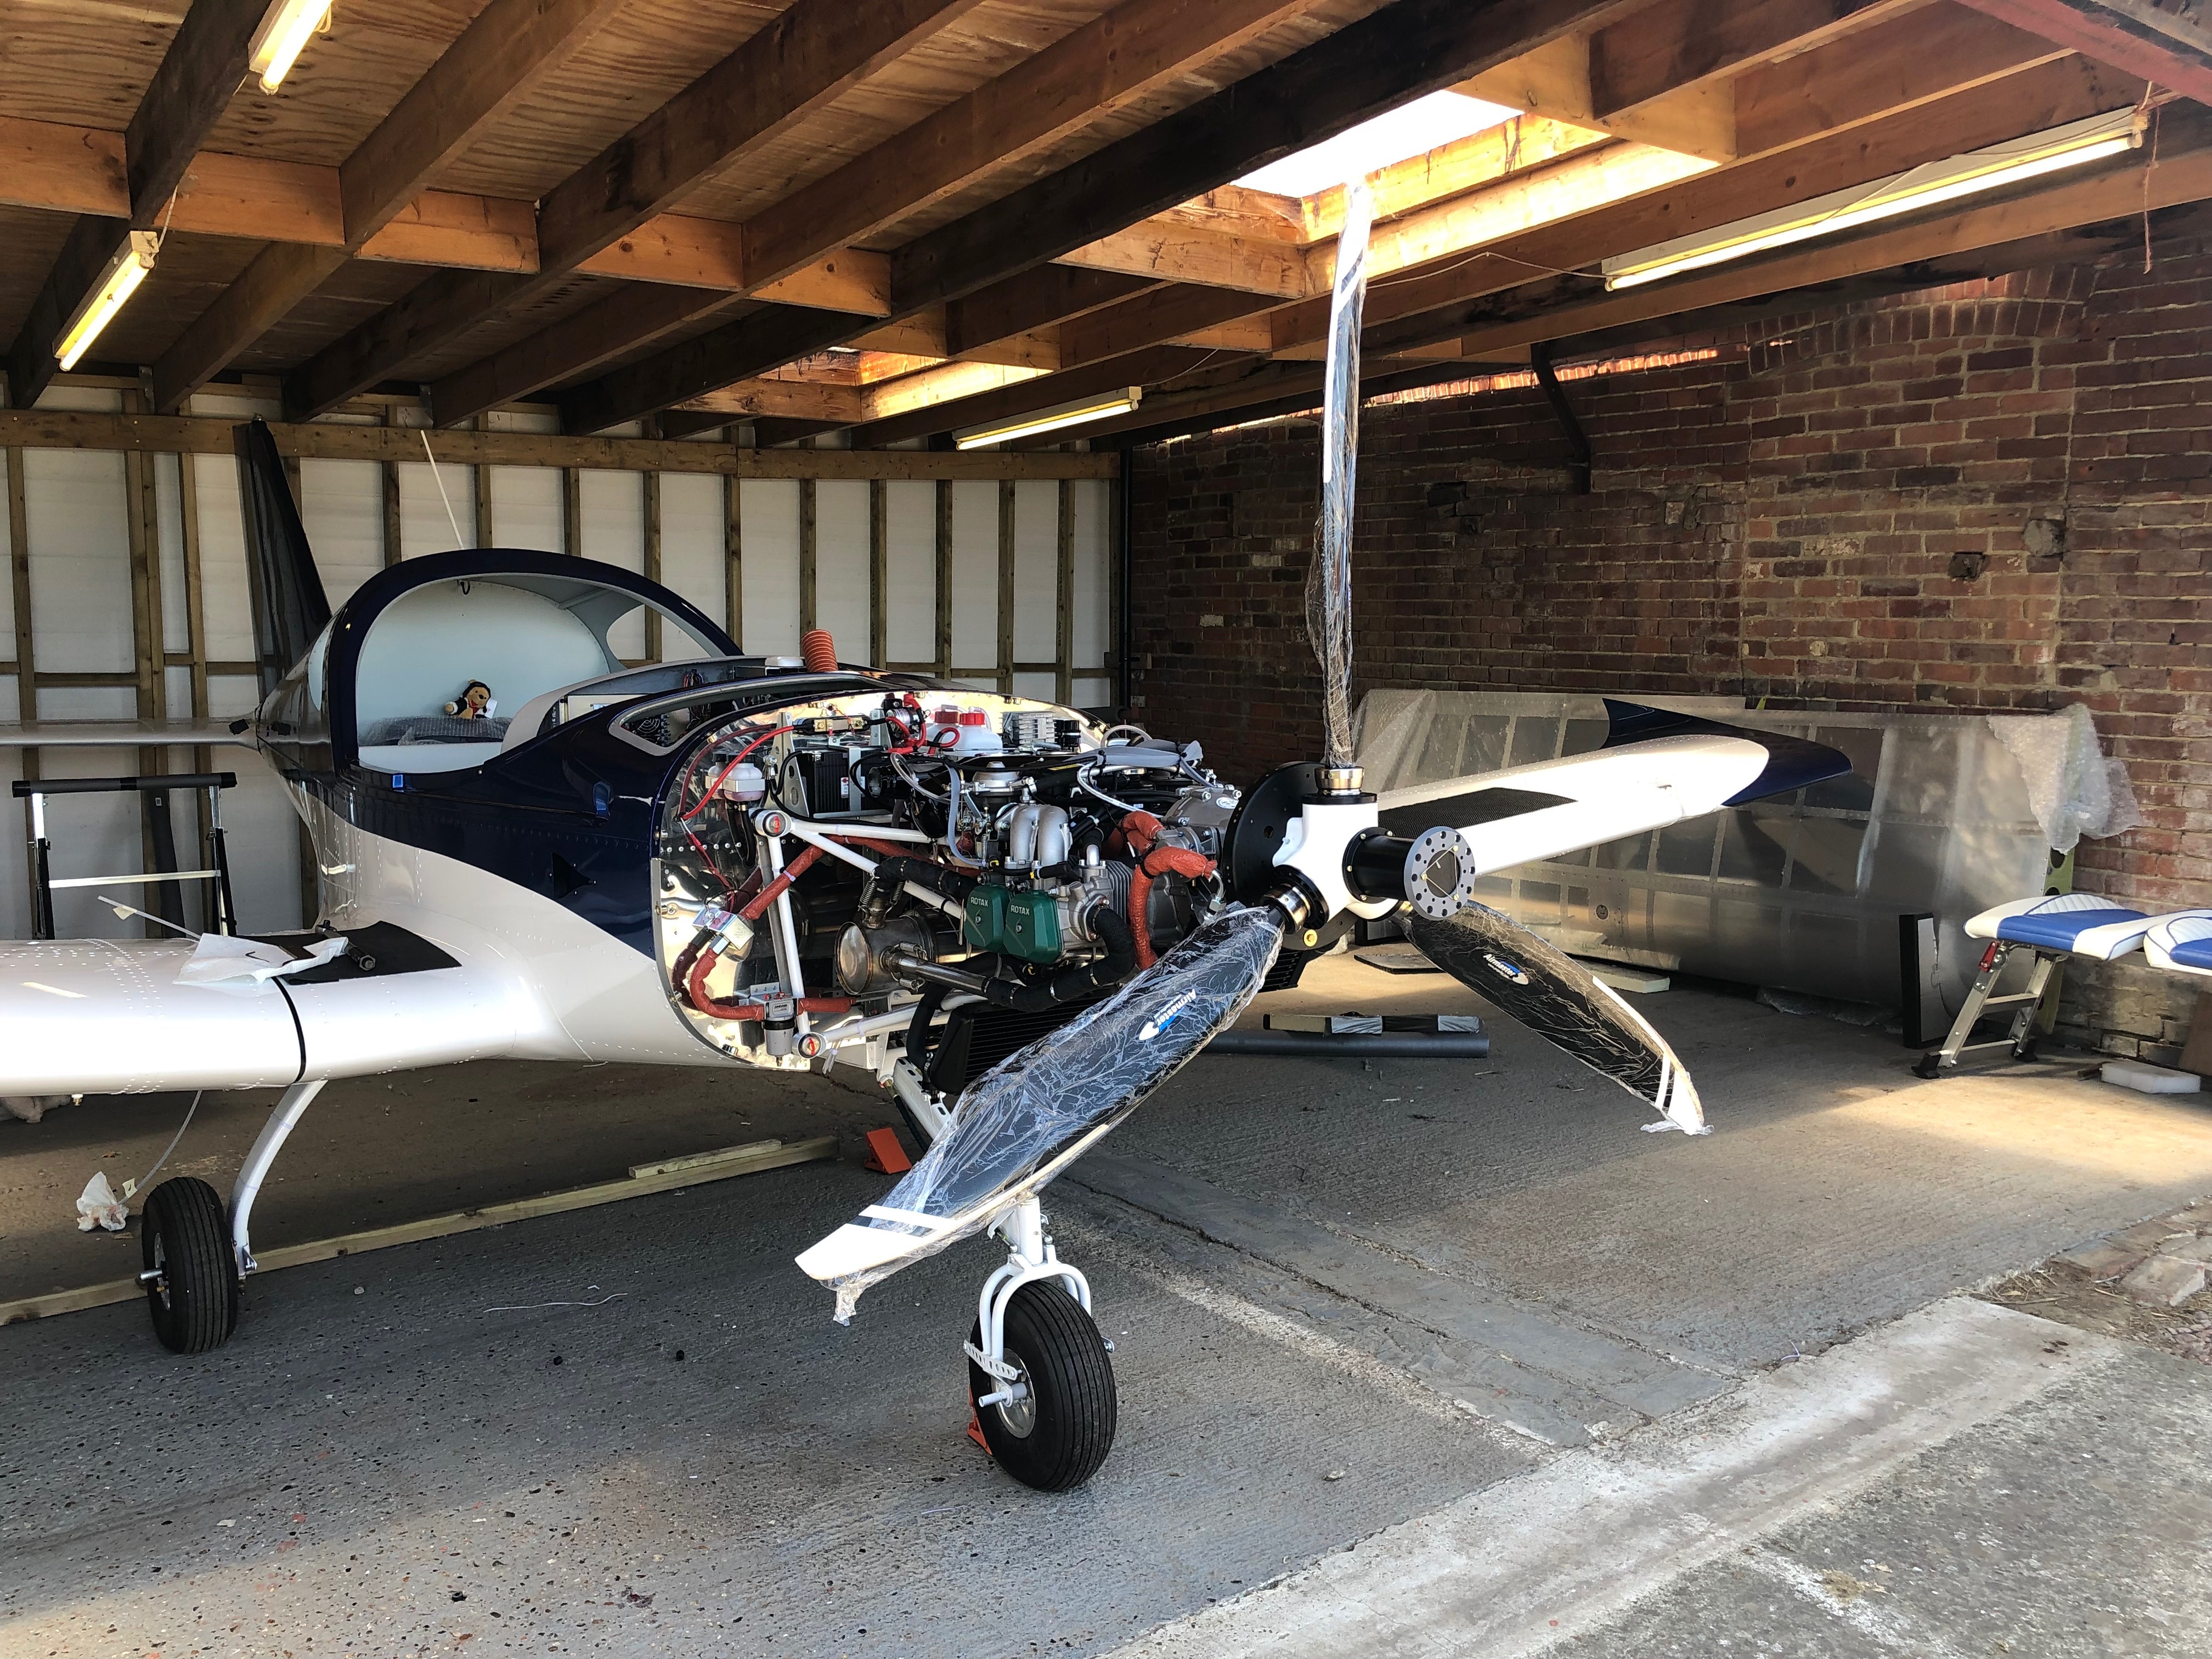
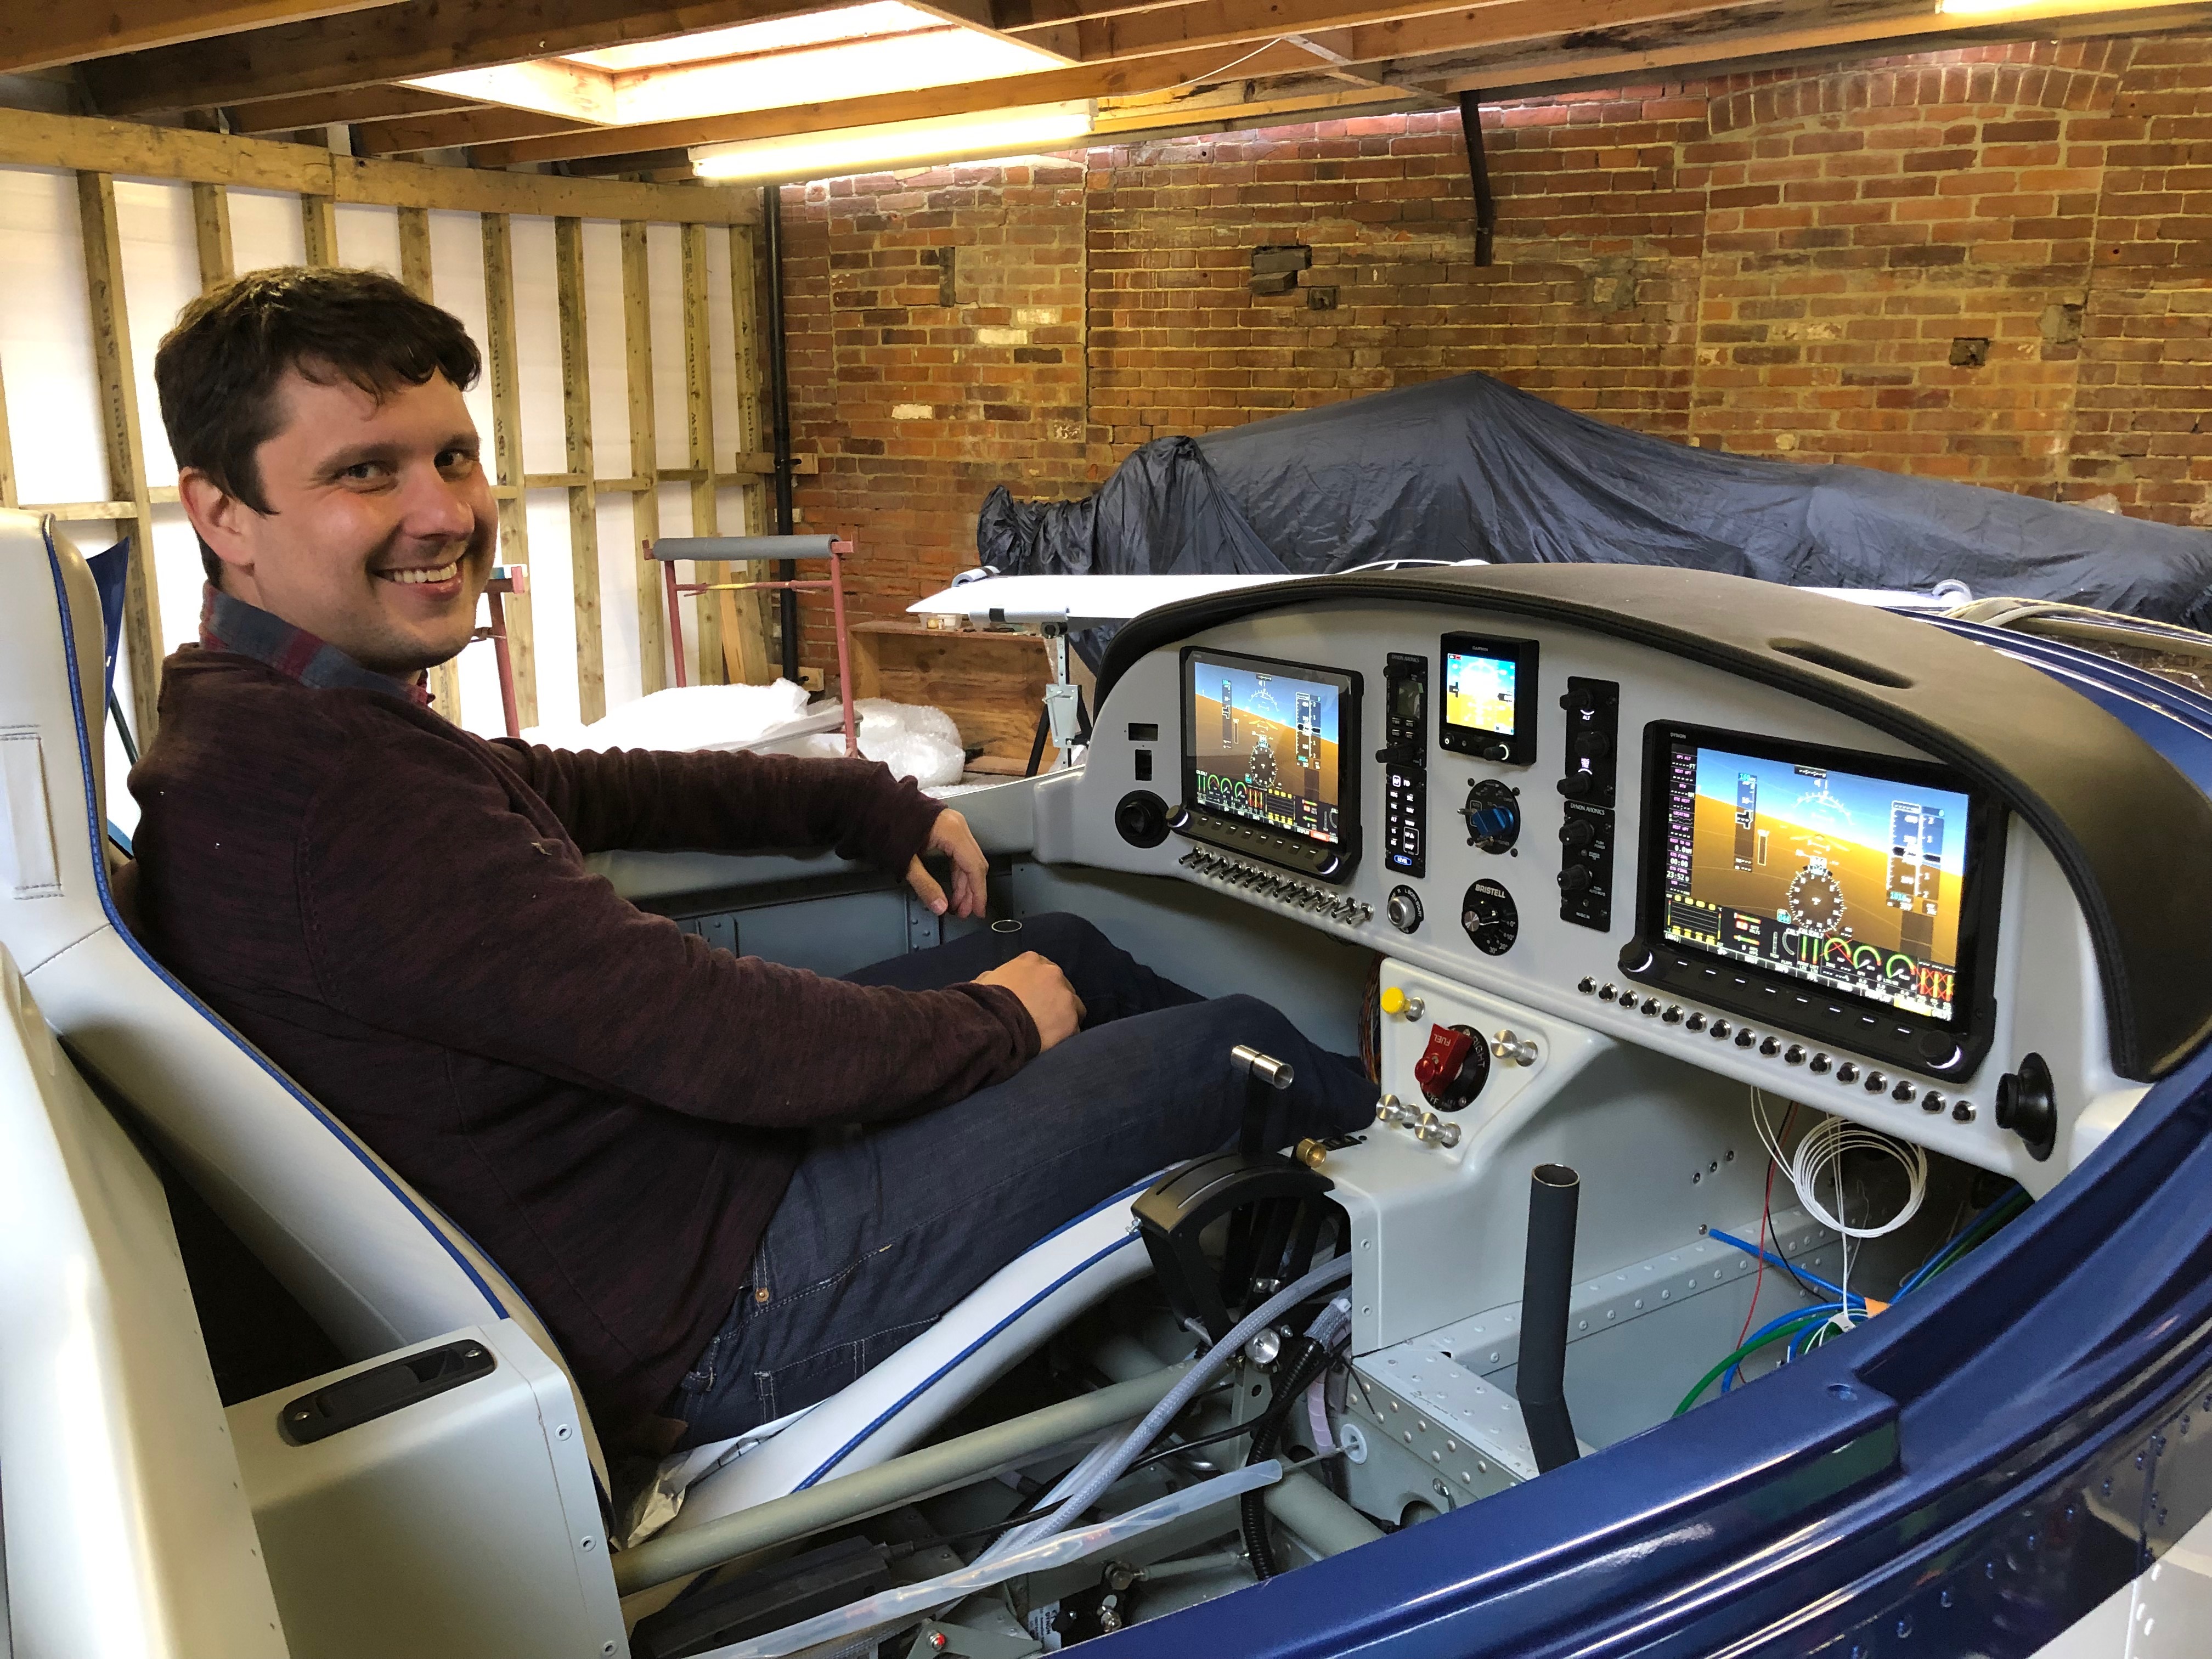
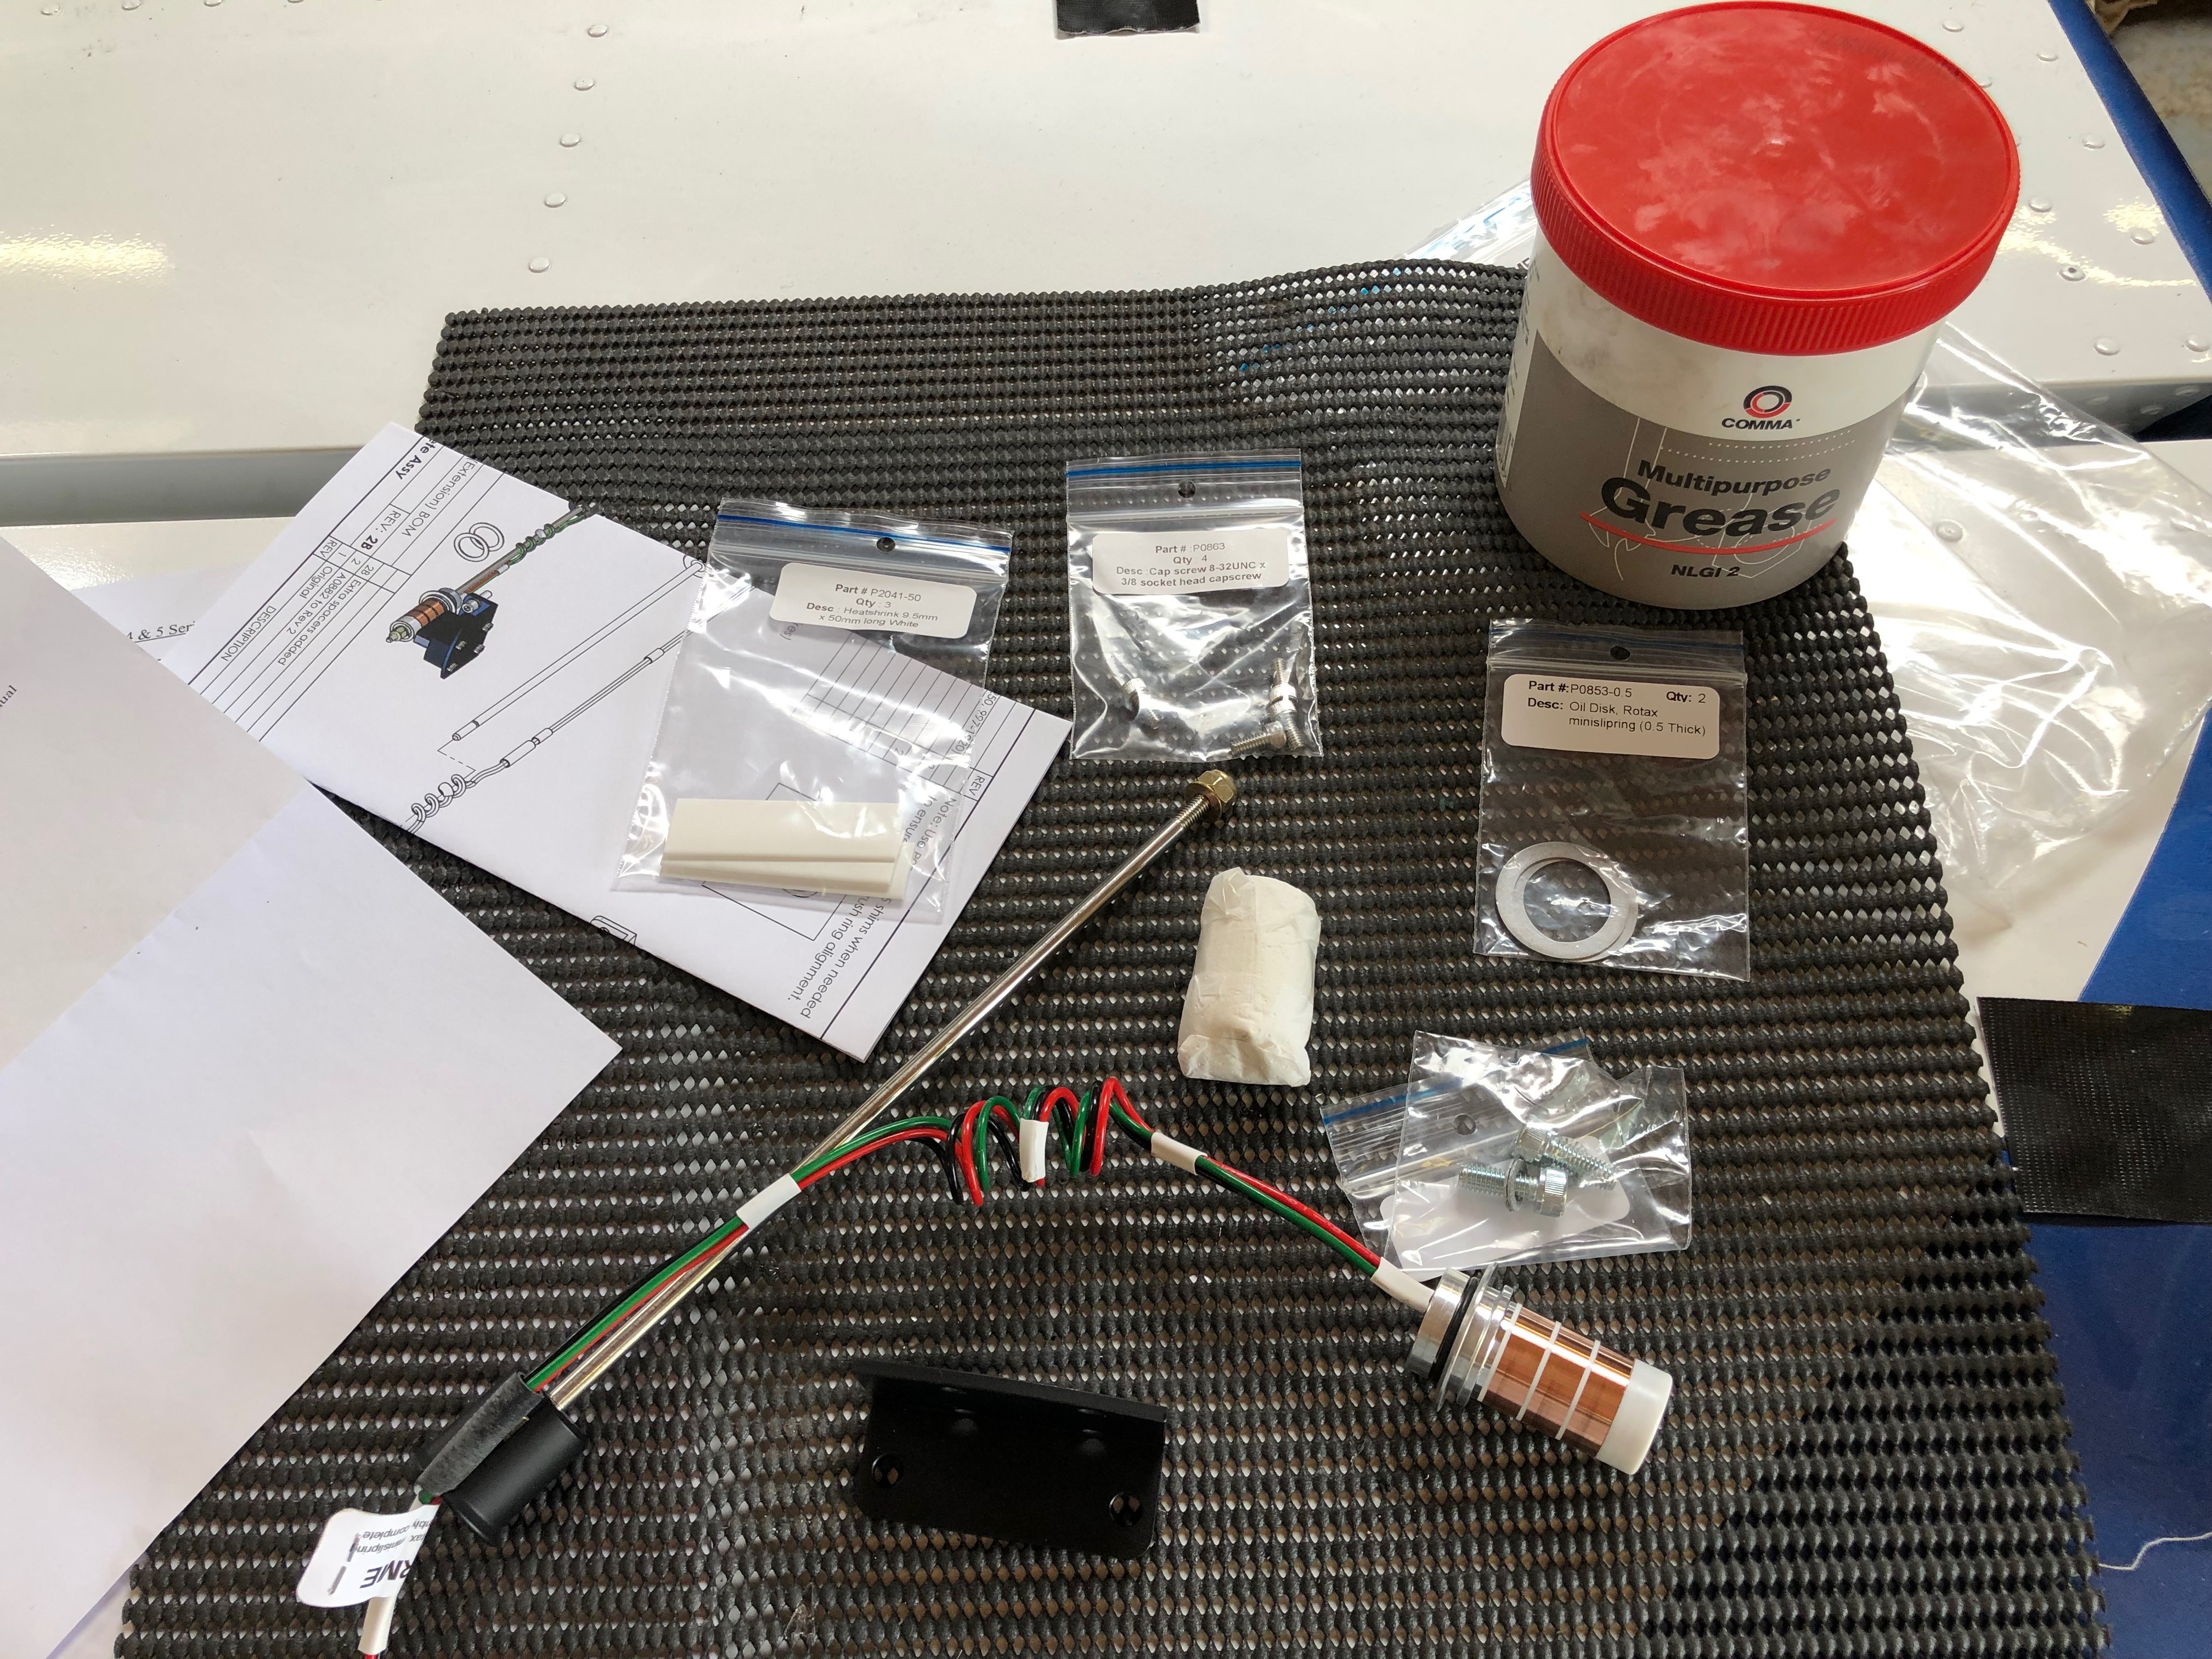
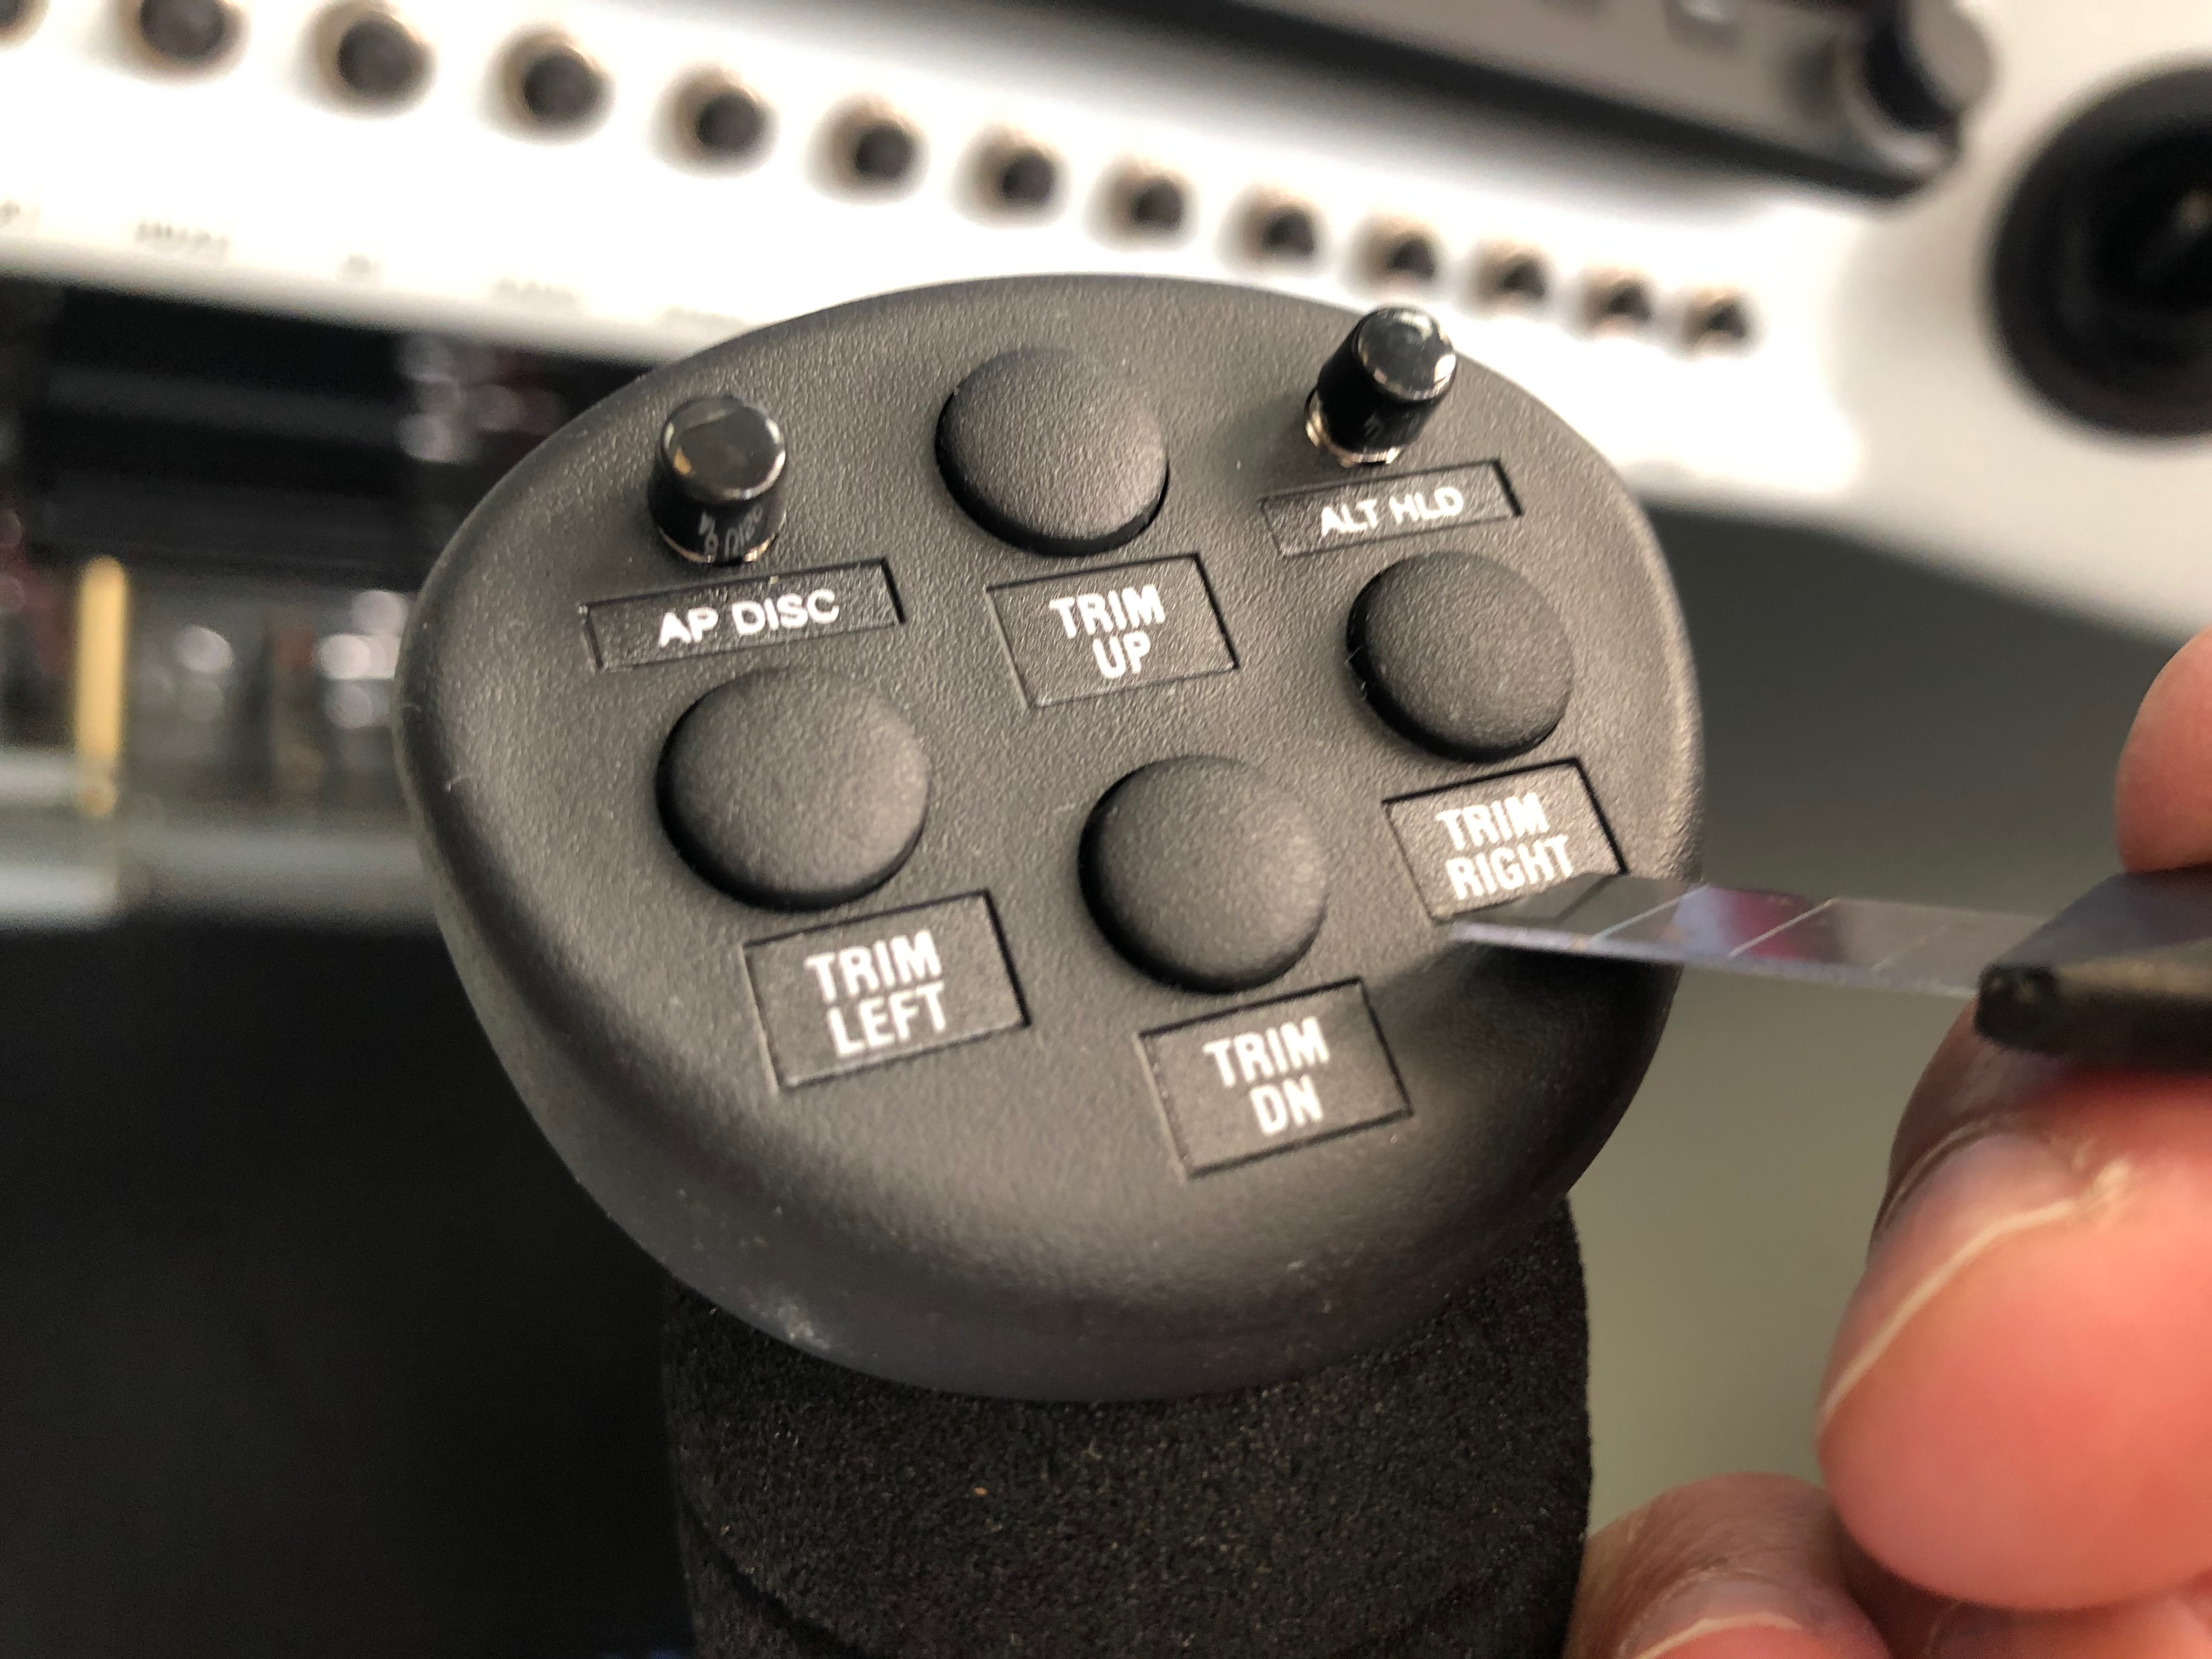
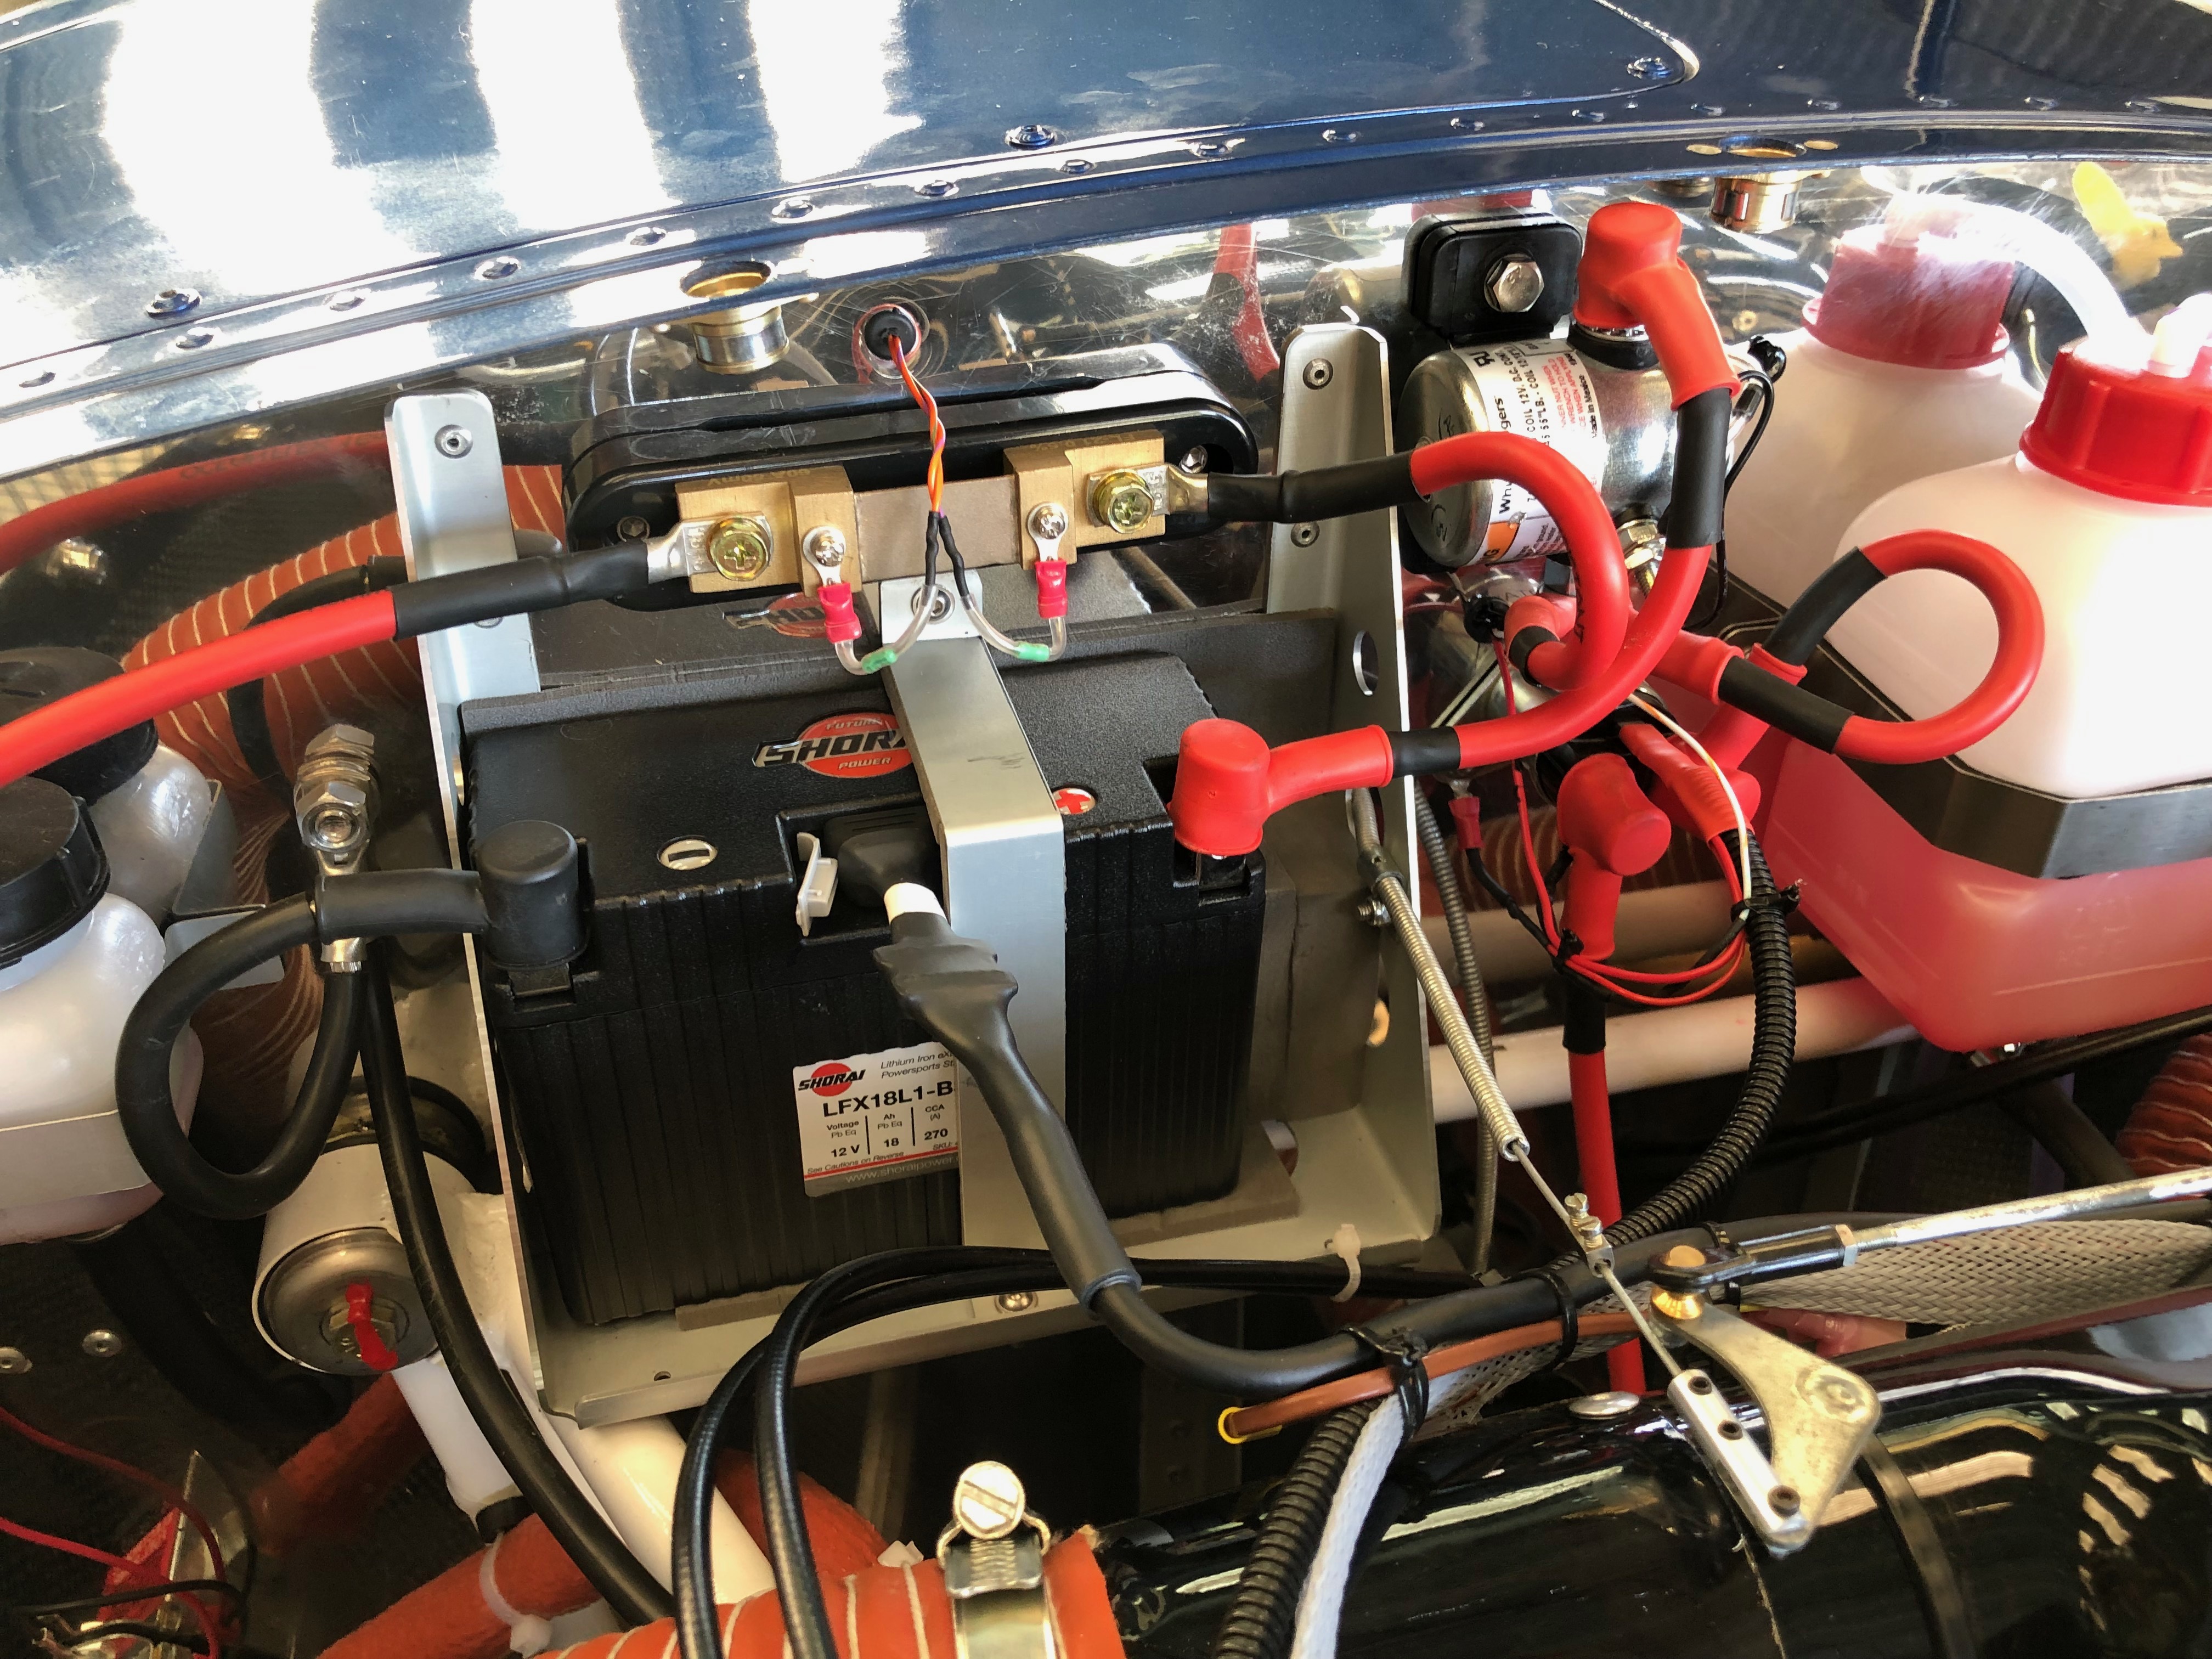
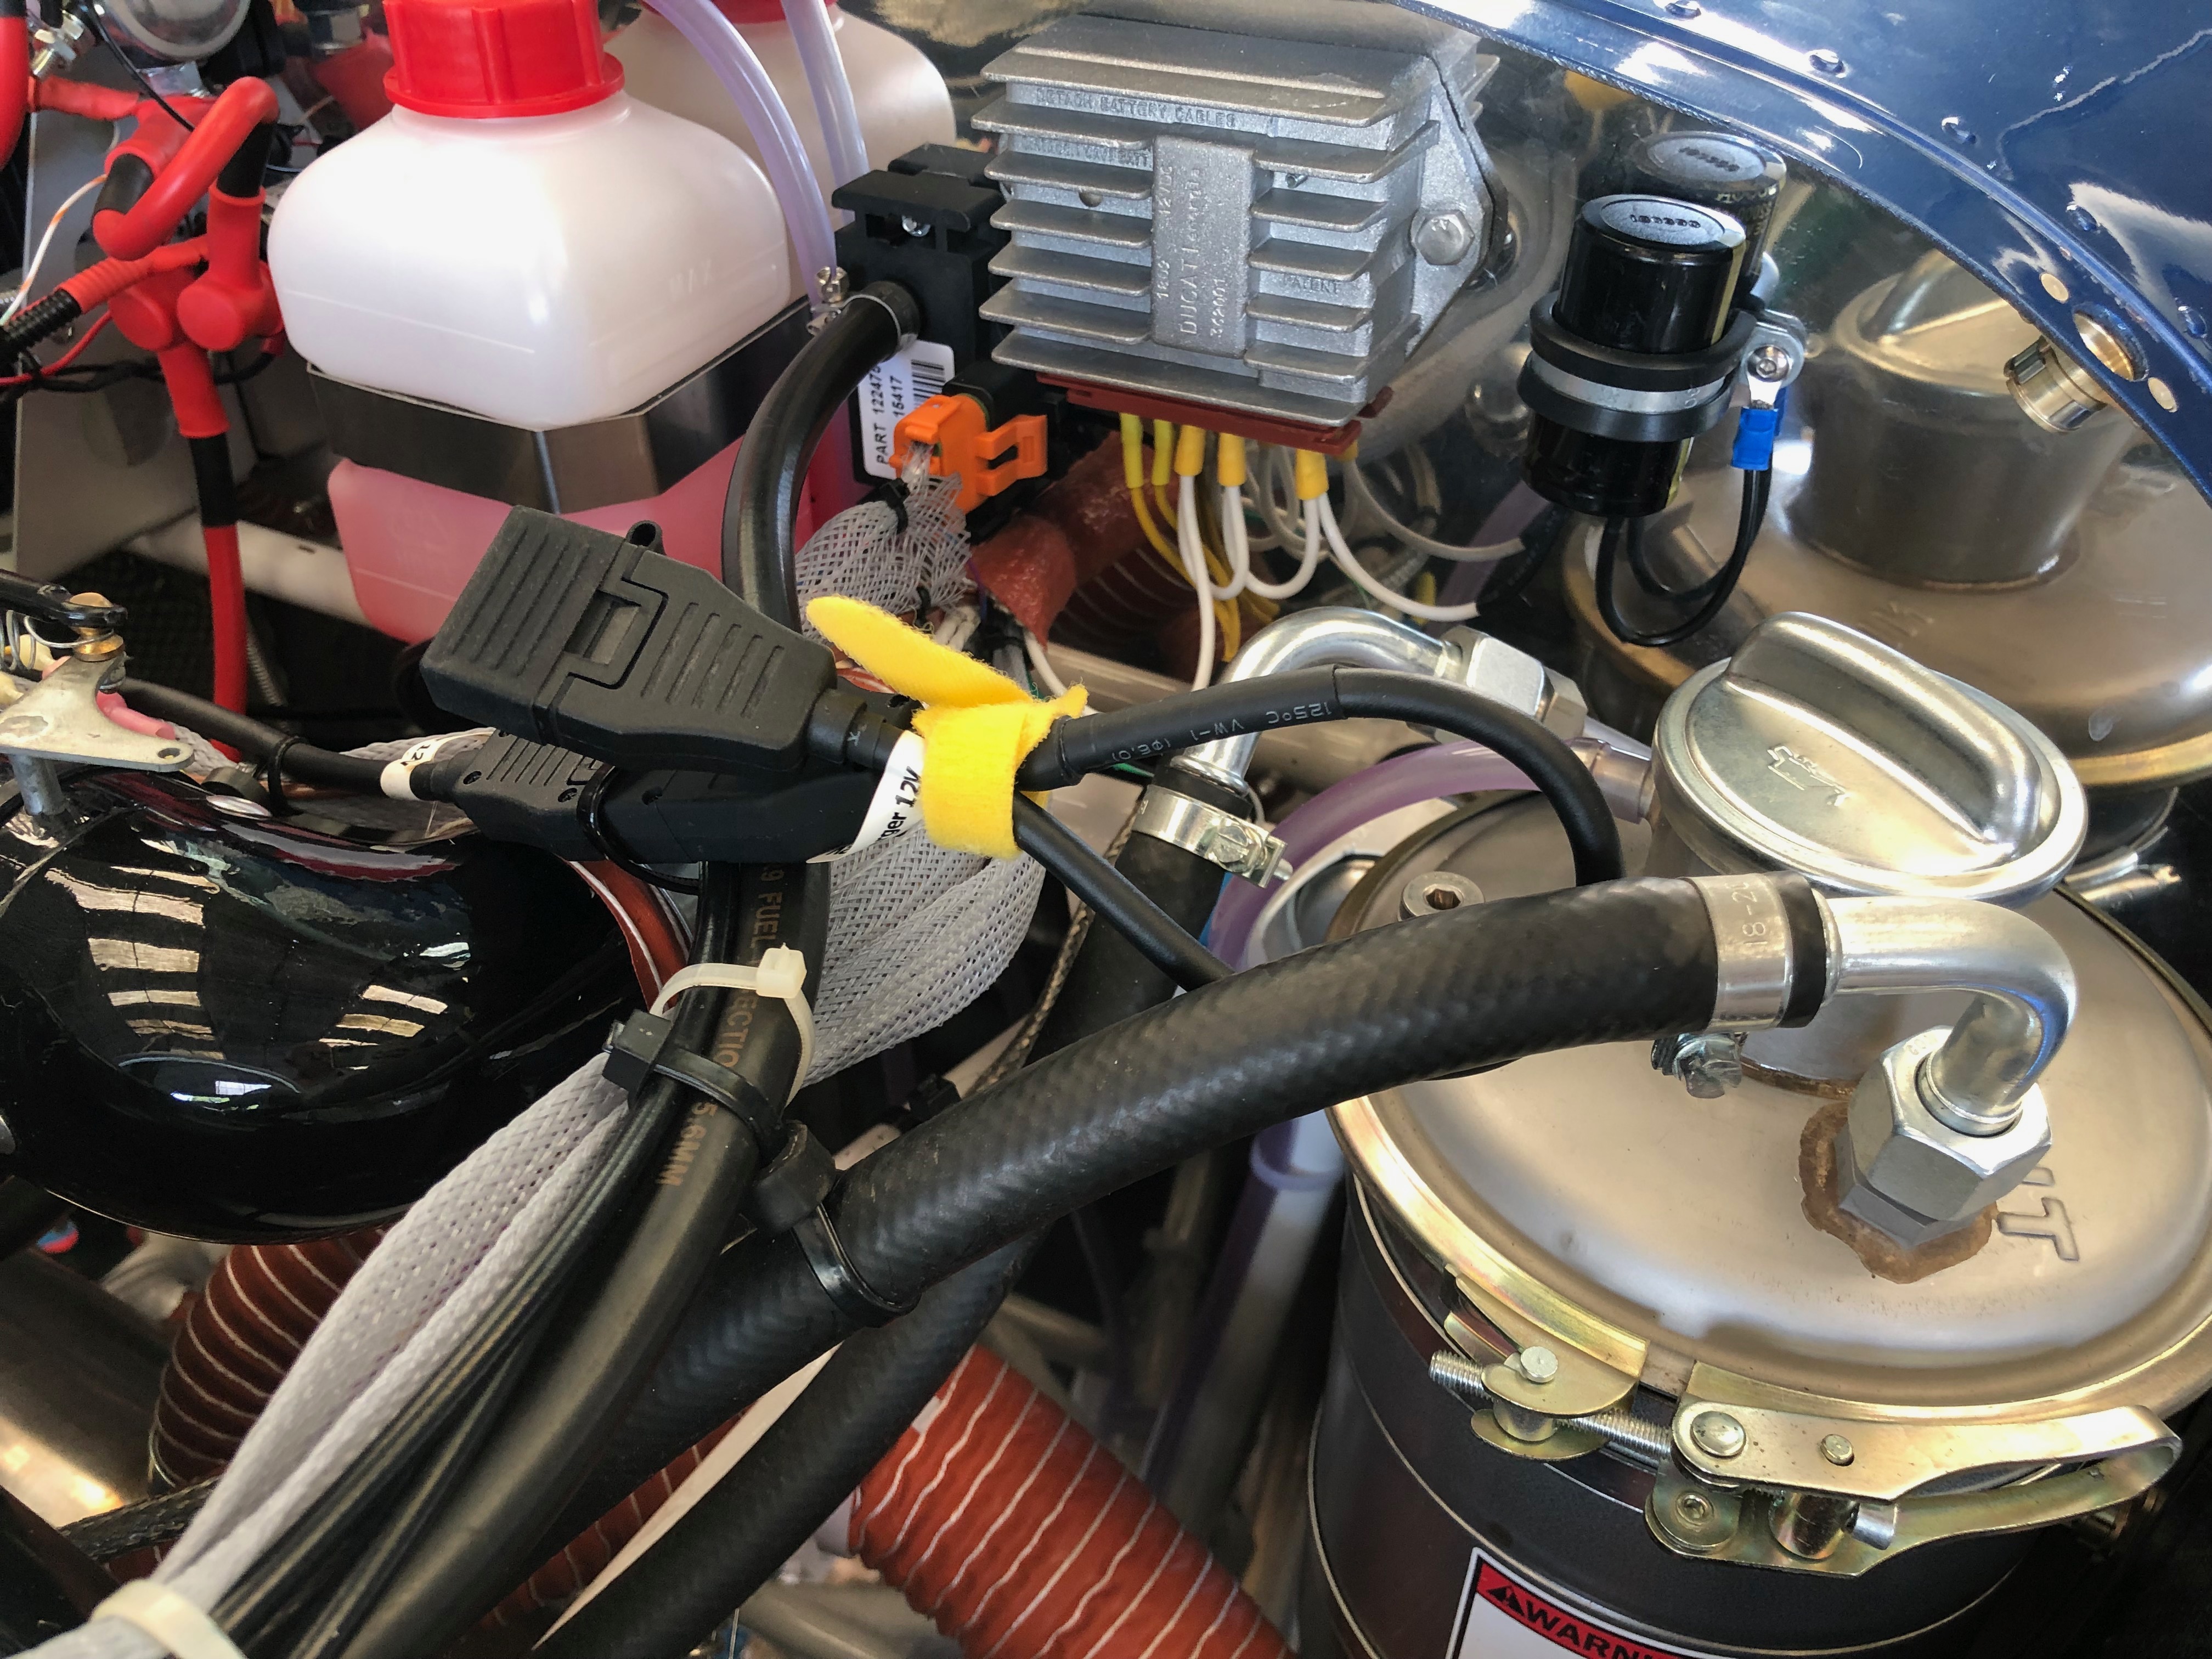
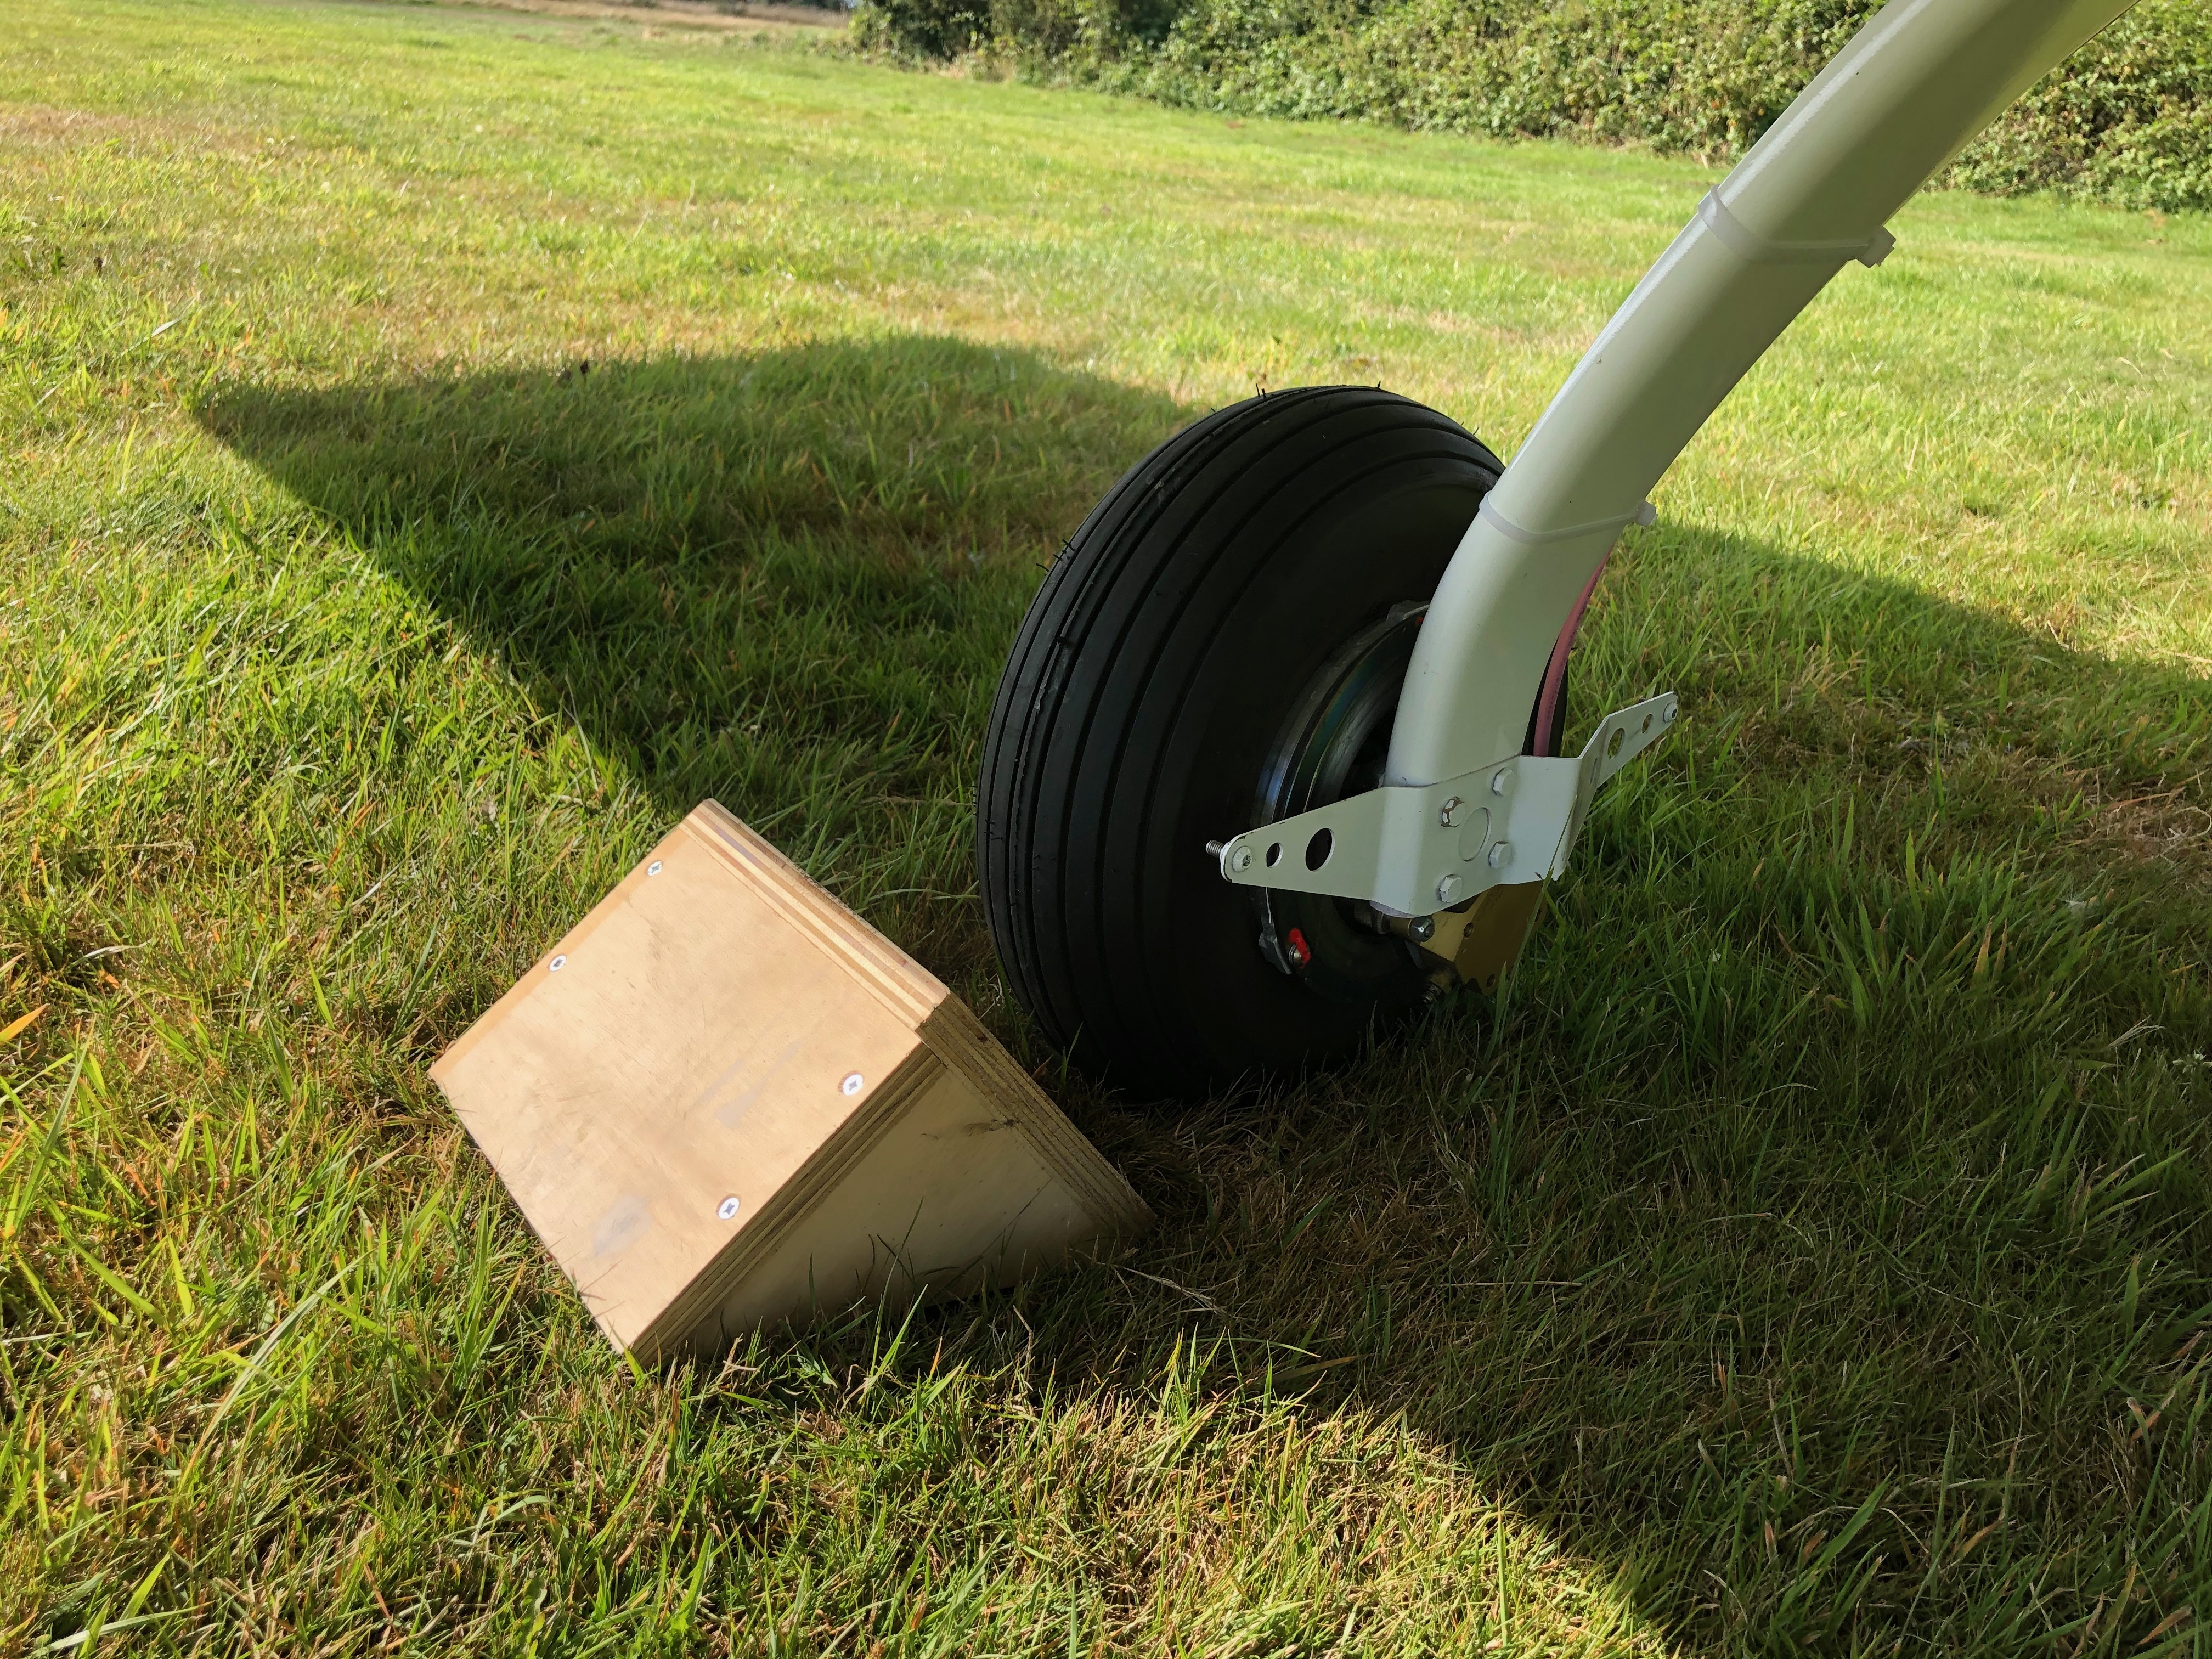
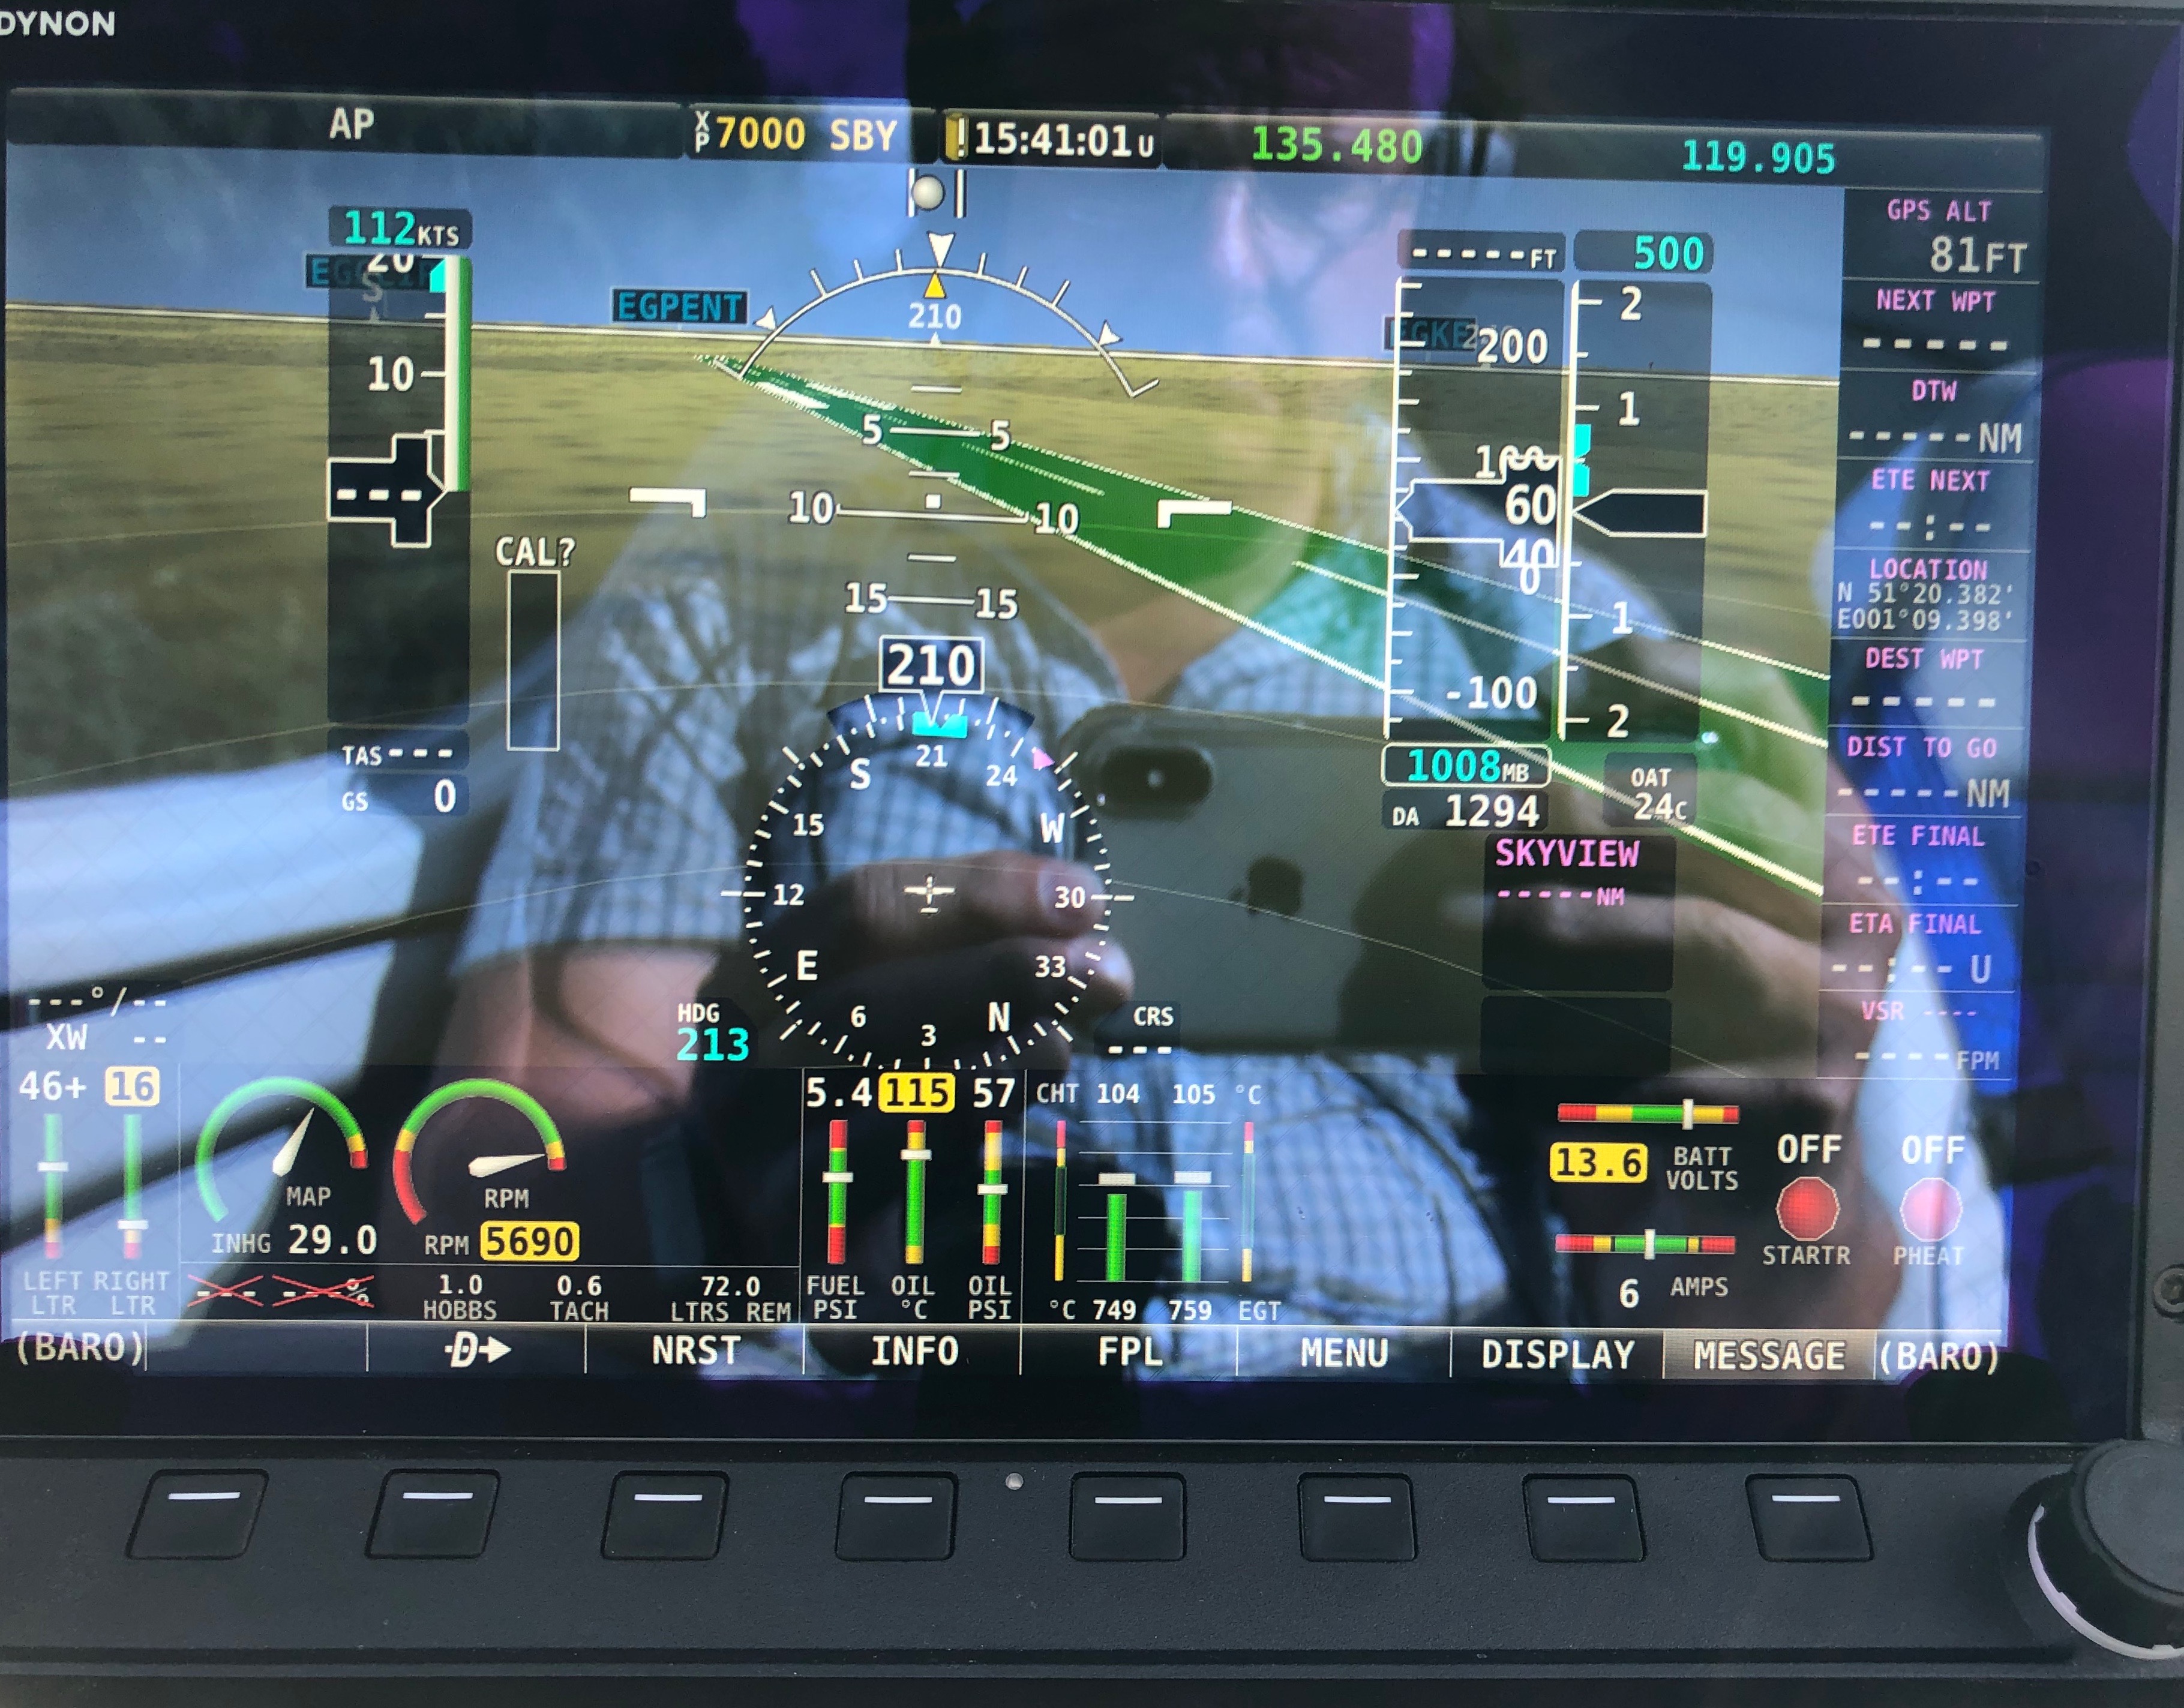
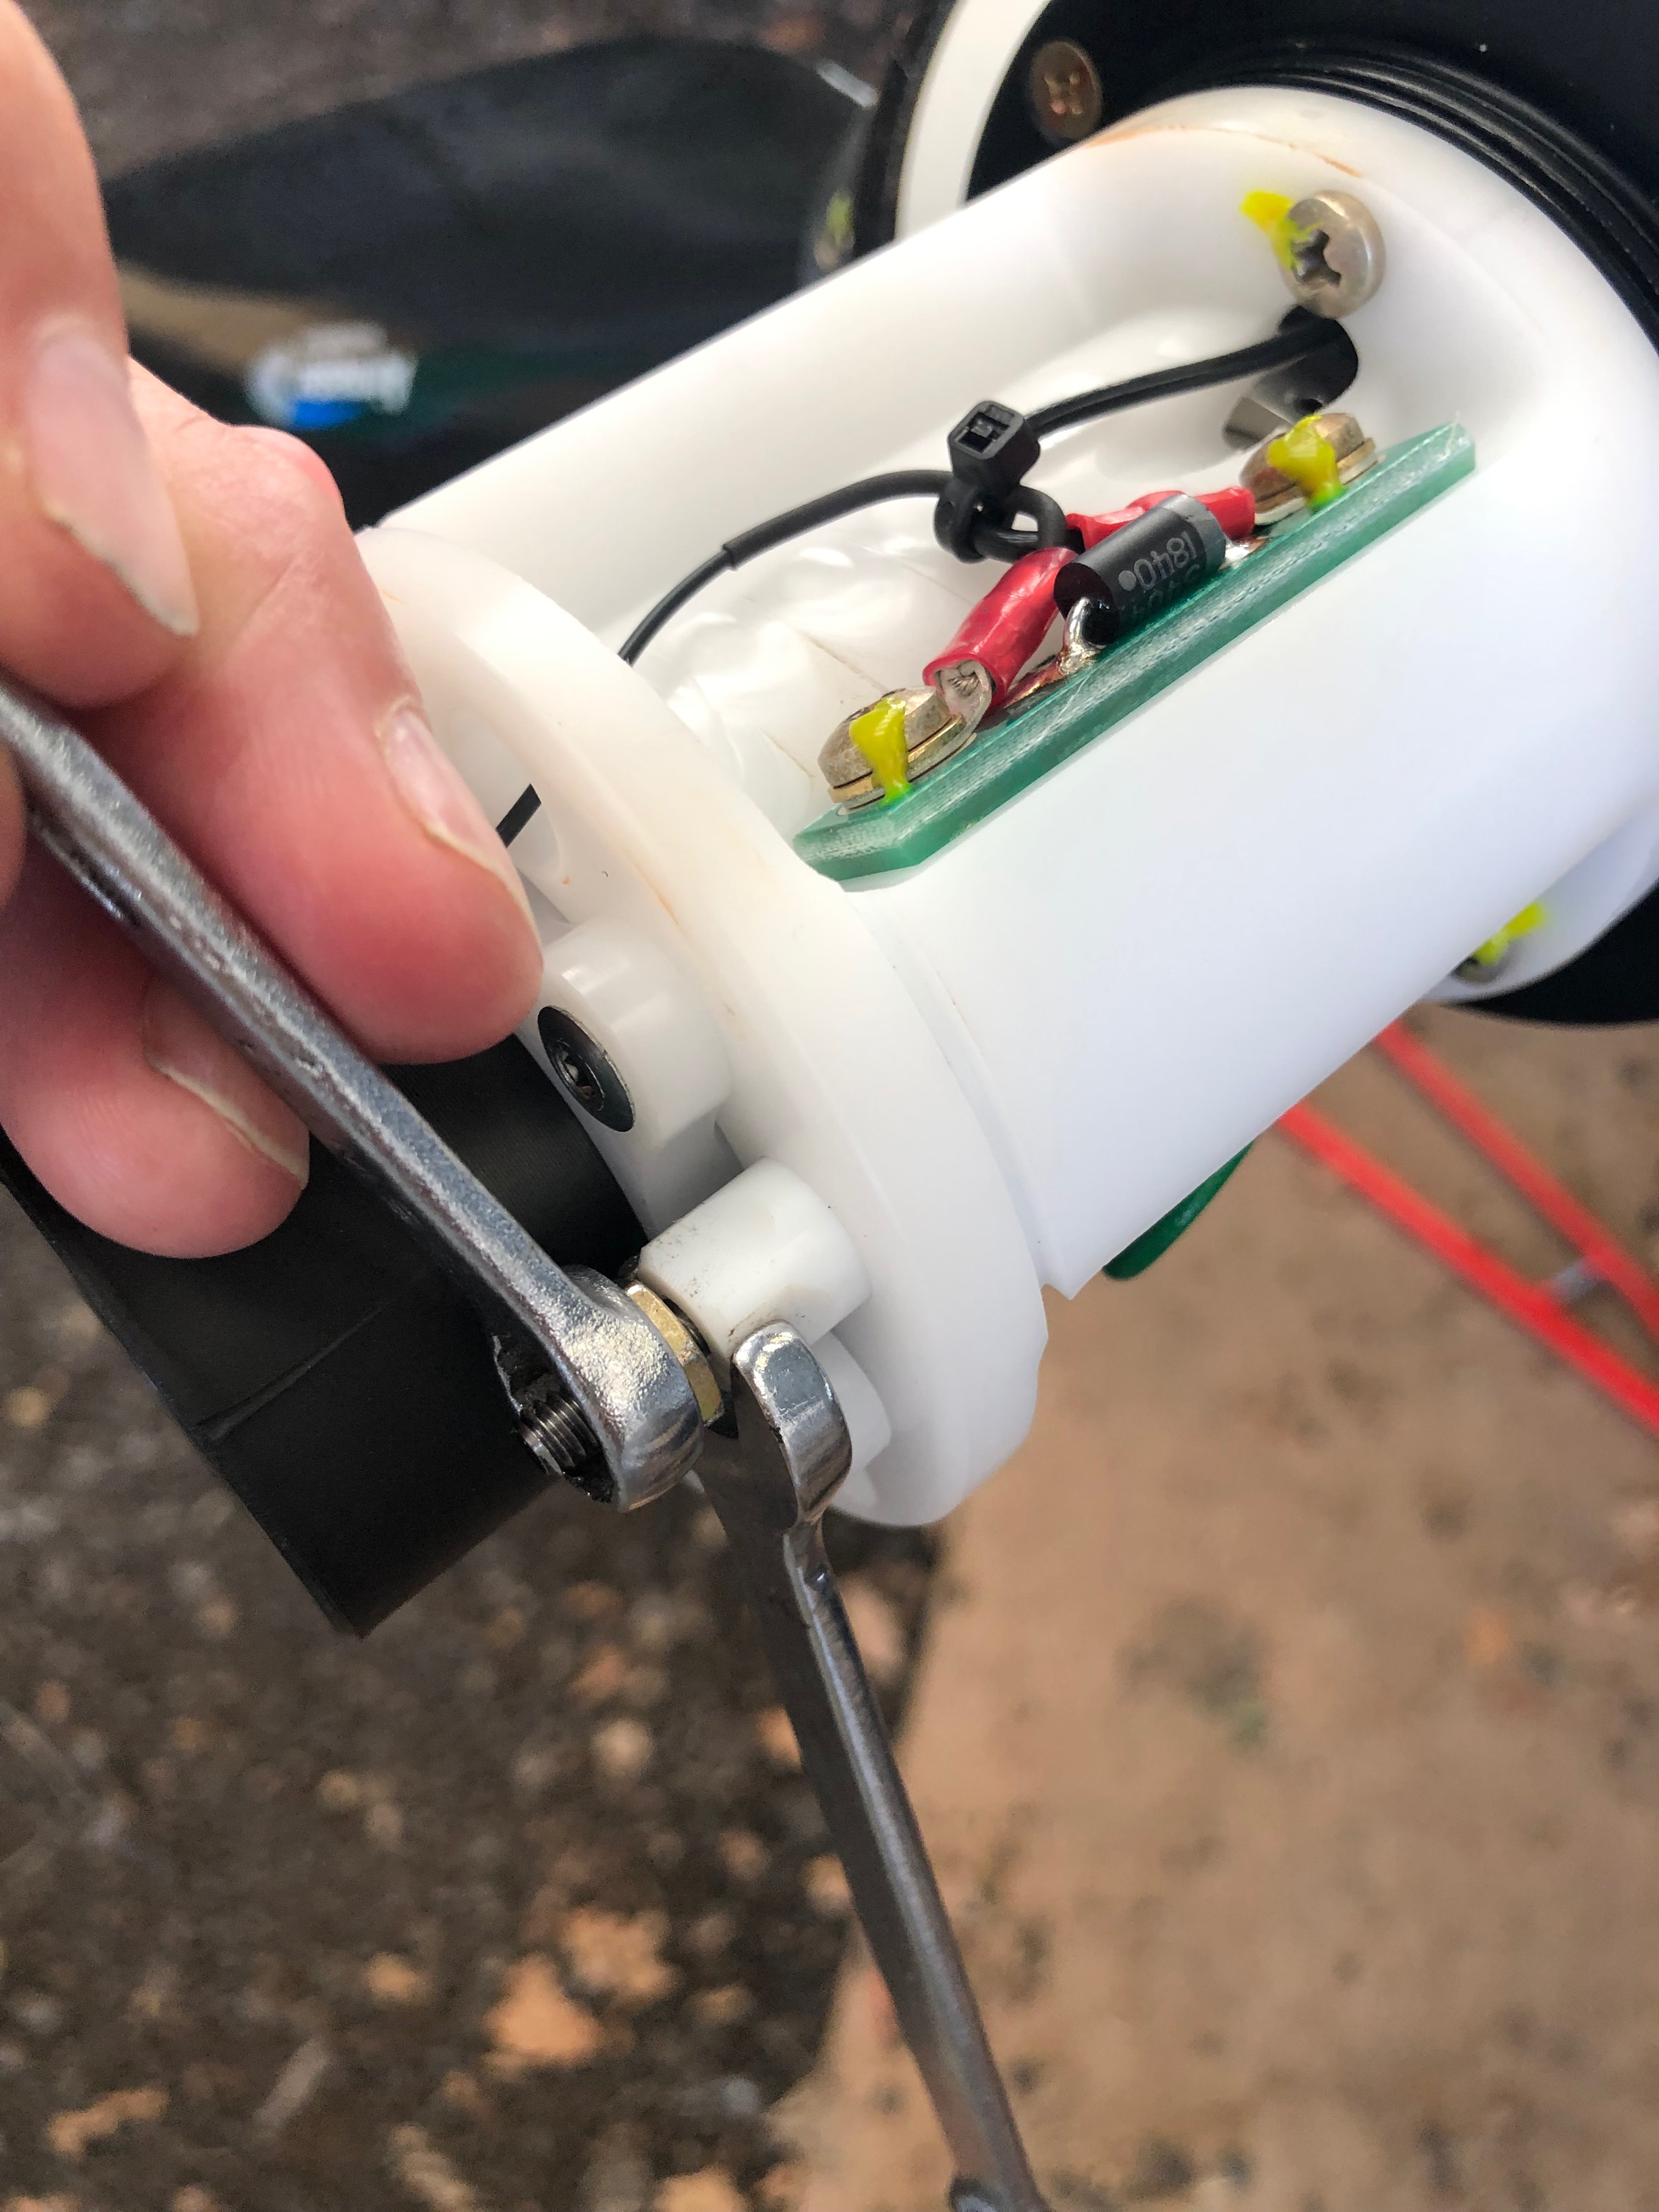
With the aircraft substantially complete and awaiting Ian to return to carry out some sign-offs I’m finishing off some smaller jobs that I can do whilst I wait. This includes adding a few more placards and labels, some more taxiing to check nose wheel alignment and brake operation, a couple of engine runs to check its operation and allow me to run to maximum RPM so I can set the fine pitch stop on the Airmaster prop. I’ve also purchased a battery charger for for the Shorai Lithium Iron Phosphate battery that I’ve fitted that balances the cells and ensures a better operation. The upside to this is that it comes with a special lead that fits to the centre port of the battery and not the usual batter terminal. This allows it to be permanently fitted.

The Bristell kit comes with G405 stick grips but I wanted to put the autopilot disconnect and autopilot level buttons on the grip. so I have installed G407 grips instead. It comes with a variety of labels to identify the button function.
The Rotax 912 ULS can run on a variety of fuels but unless you placard them a refuelled may not fill with the option you request. I got the MOGAS sticker from the LAA and Chris Knight from Maypole had a few of the AVGAS UL91 and 100LL stickers.
As the special battery charge lead plugs into the centre port I had to move the battery slightly off centre by moving the packing but was an easier option than re-siting the battery retaining strap.
I’ve run the charge lead to the oil inspection hatch which will allow me to charge the battery or keep it in maintenance mode without taking the top engine cowl off. Quite a neat solution.
One of the things I needed to do was set the Airmaster fine pitch. This involves putting the prop in manual mode and throttling up to just under maximum RPM at 5700. Once this is done then the engine can be shut down and the adjustment made.
Took this just to record some sensor readings at max RPM. Oil temp is a little high which may be because I’ve been stationary whilst running the engine at high RPM. I will be checking that…
Now I’ve set the prop pitch so the engine peaks at 5700 I can set the fine pitch cam. The pitch motor cover is removed to reveal the microswitches and cam adjusters…
The locking nut is undone and the cam adjuster is turned until you hear the microswitch operate and that’s it – very simple.
All that’s required is to reassemble the pitch motor cover and now the fine pitch has been set I can wire lock the screws to make sure that it doesn’t loosen whilst in operation.

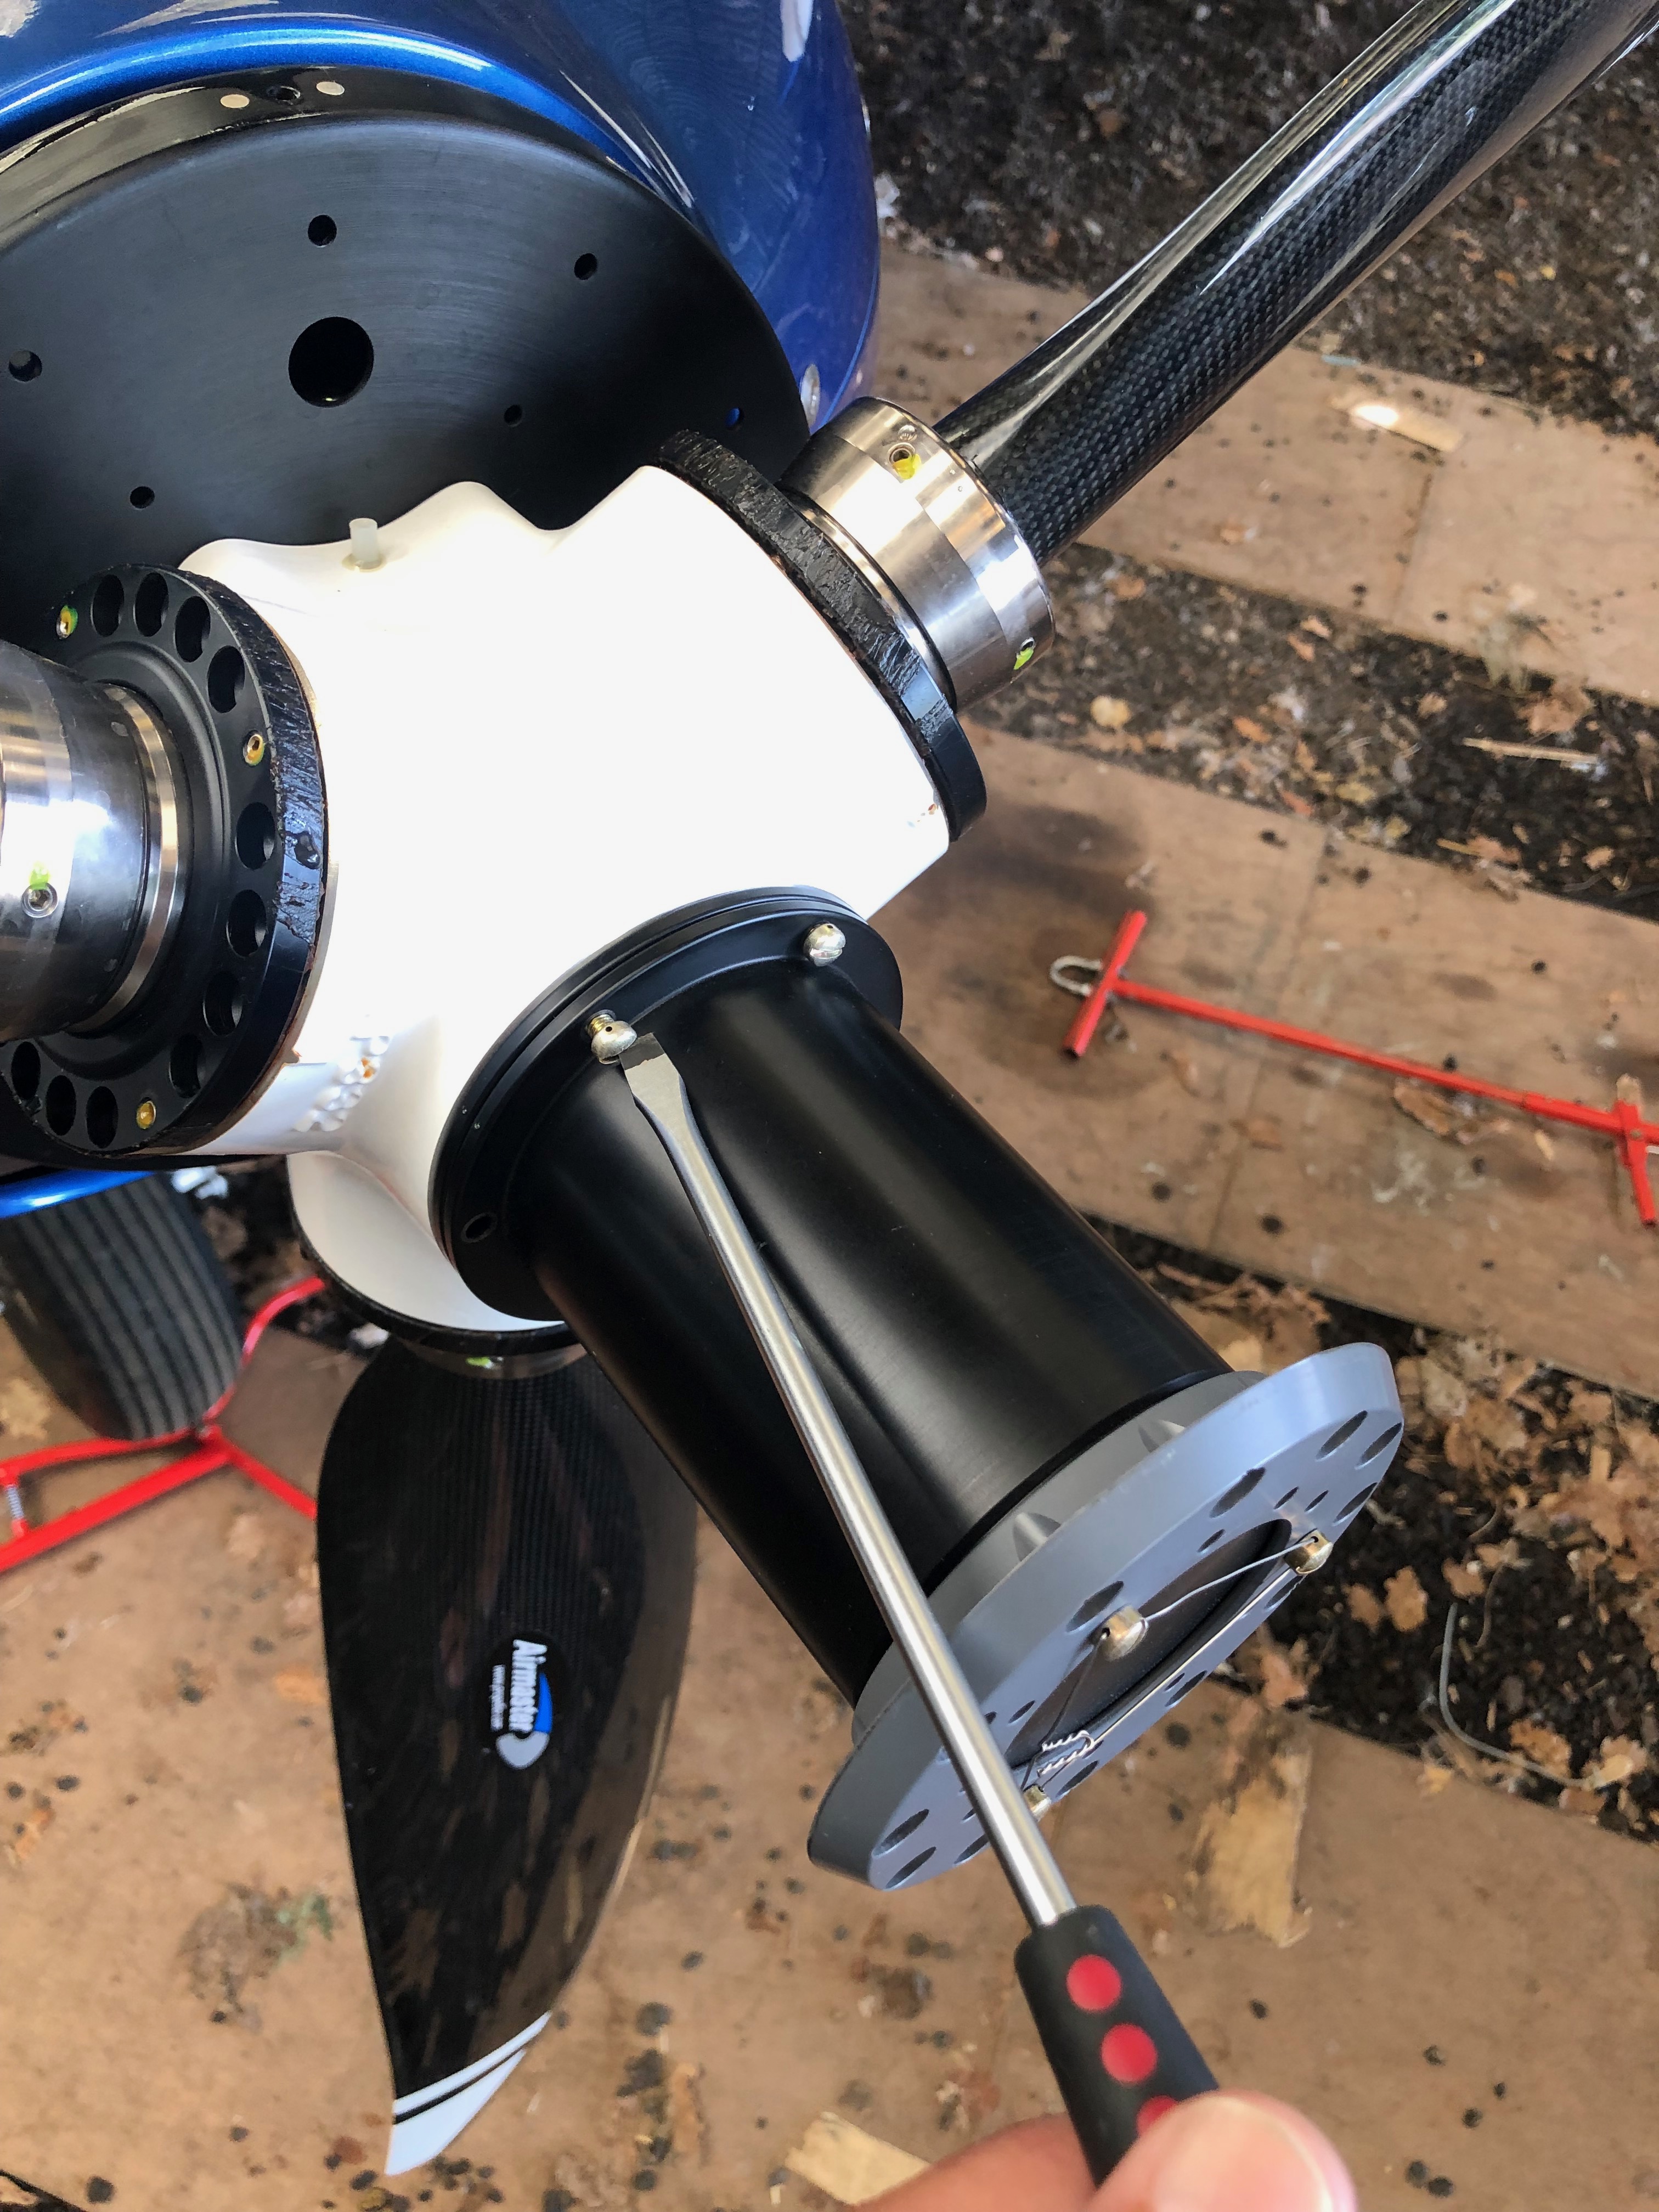
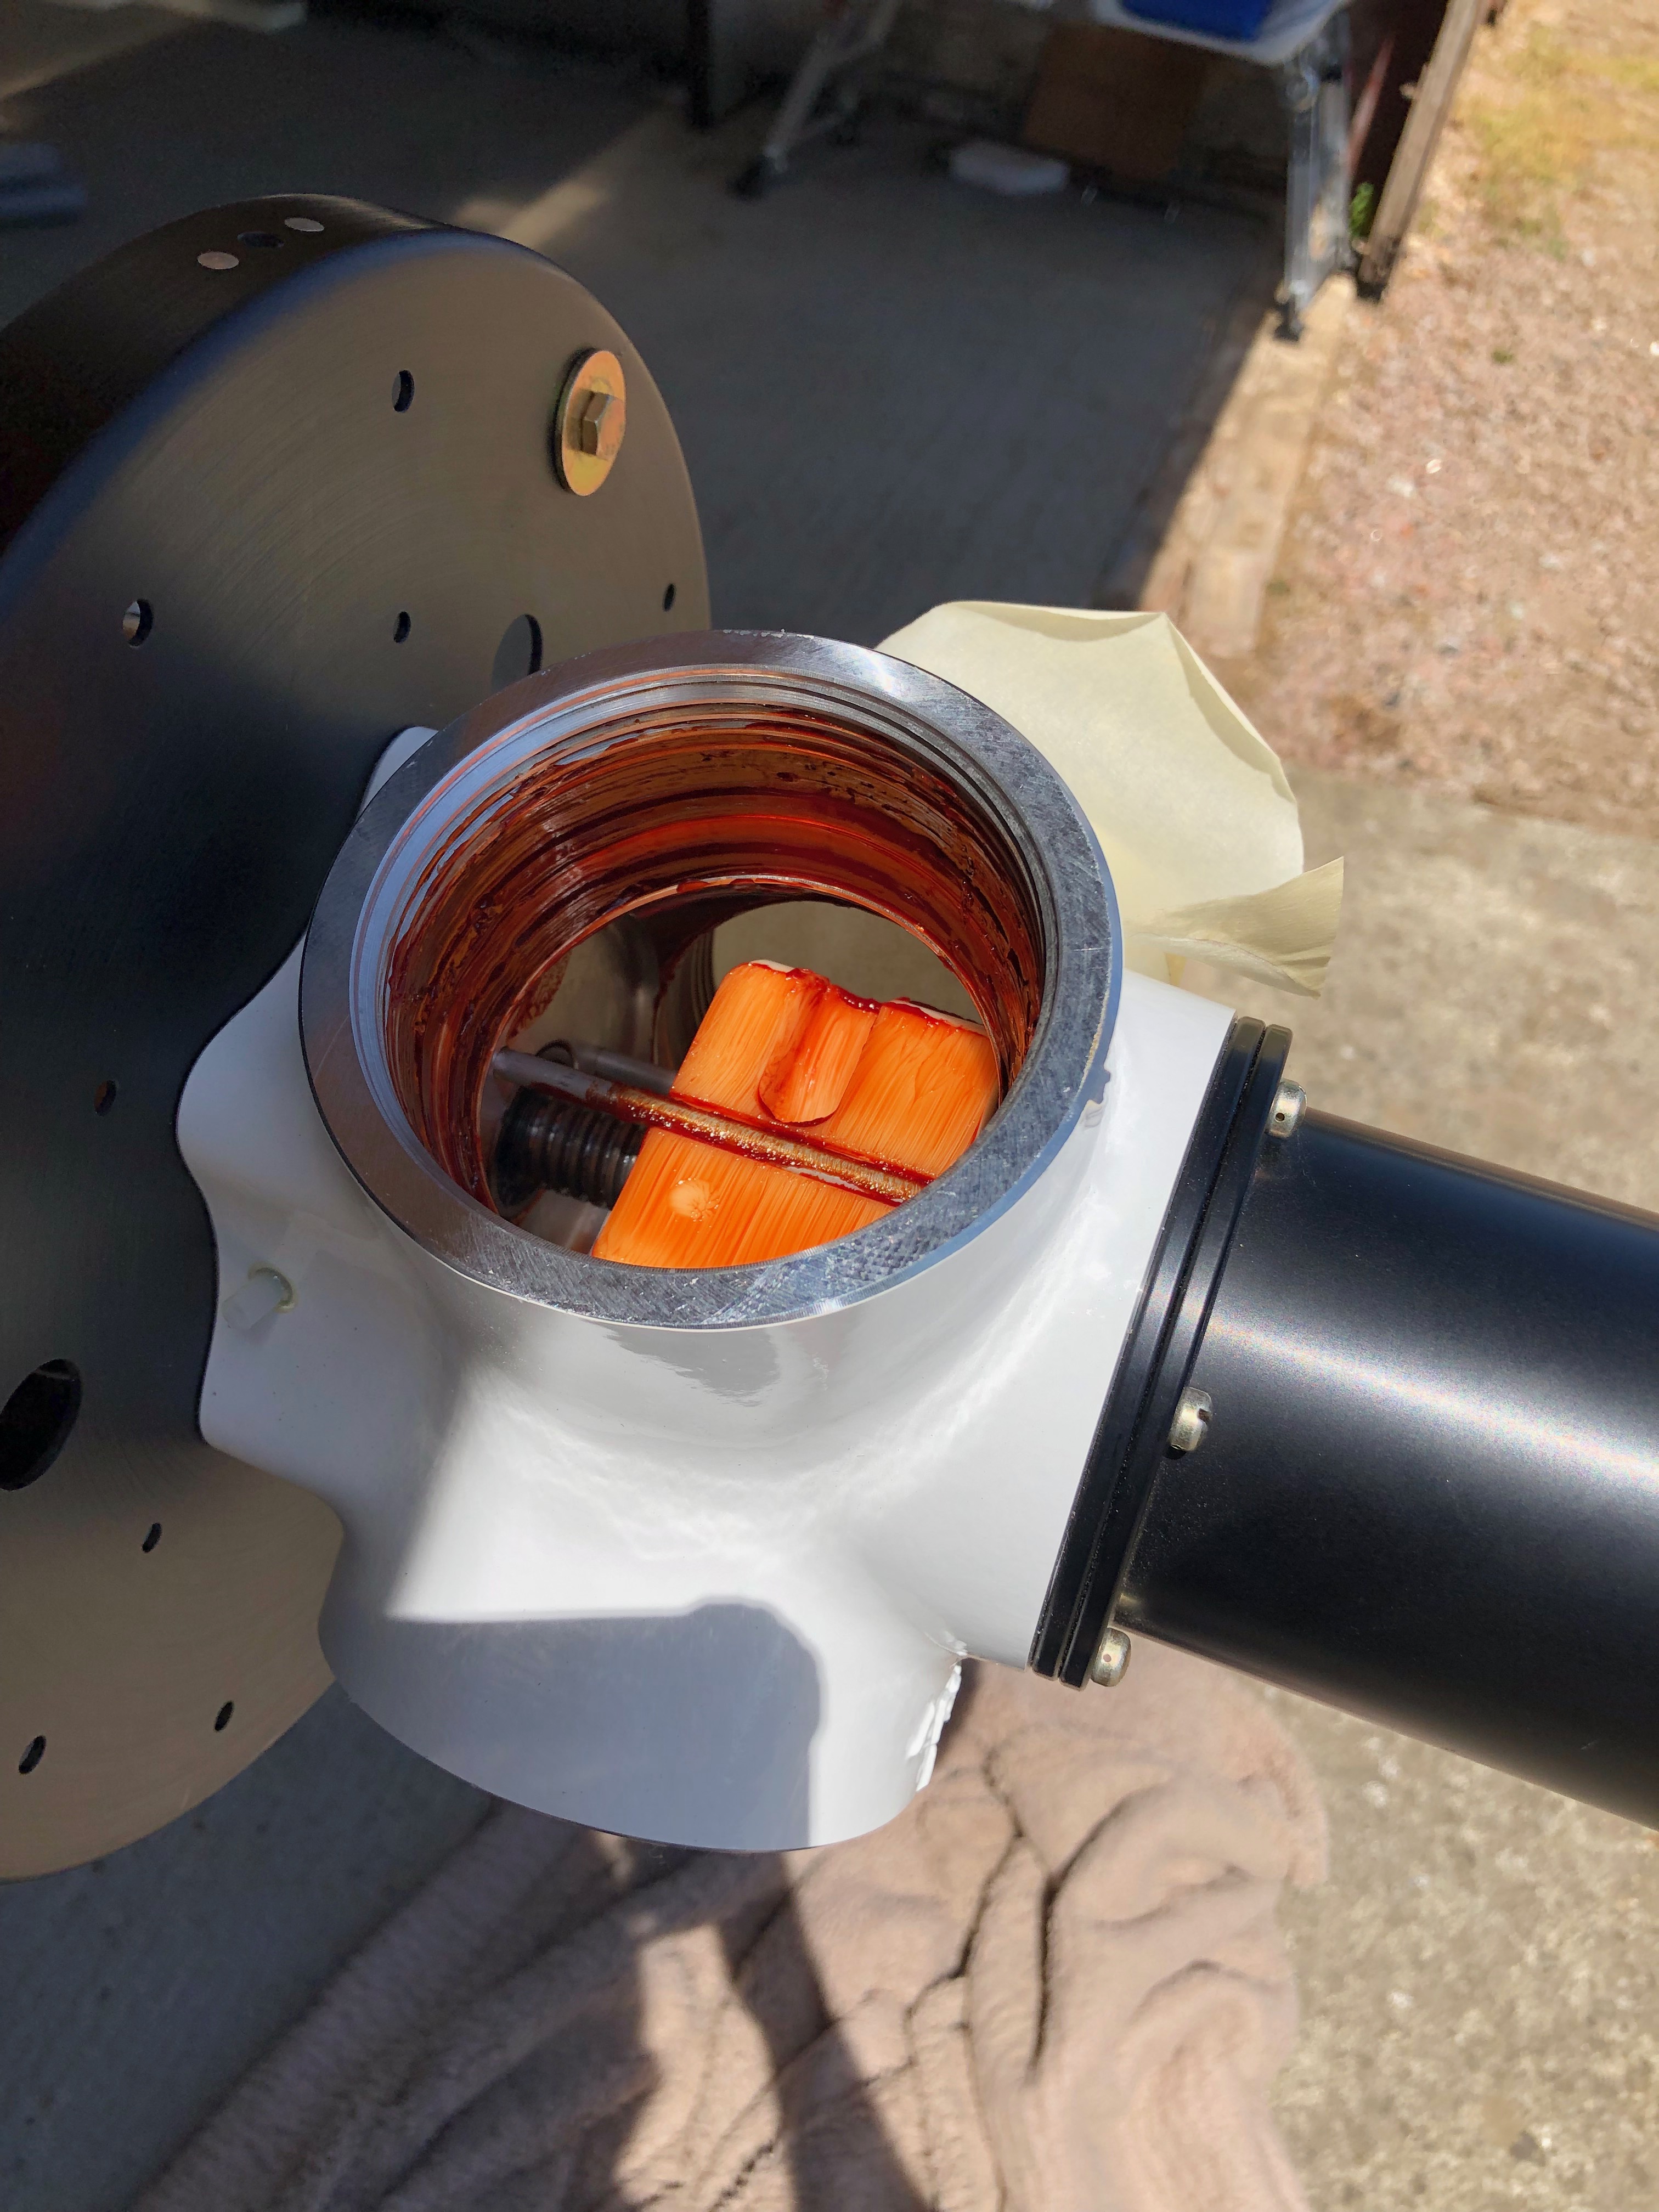
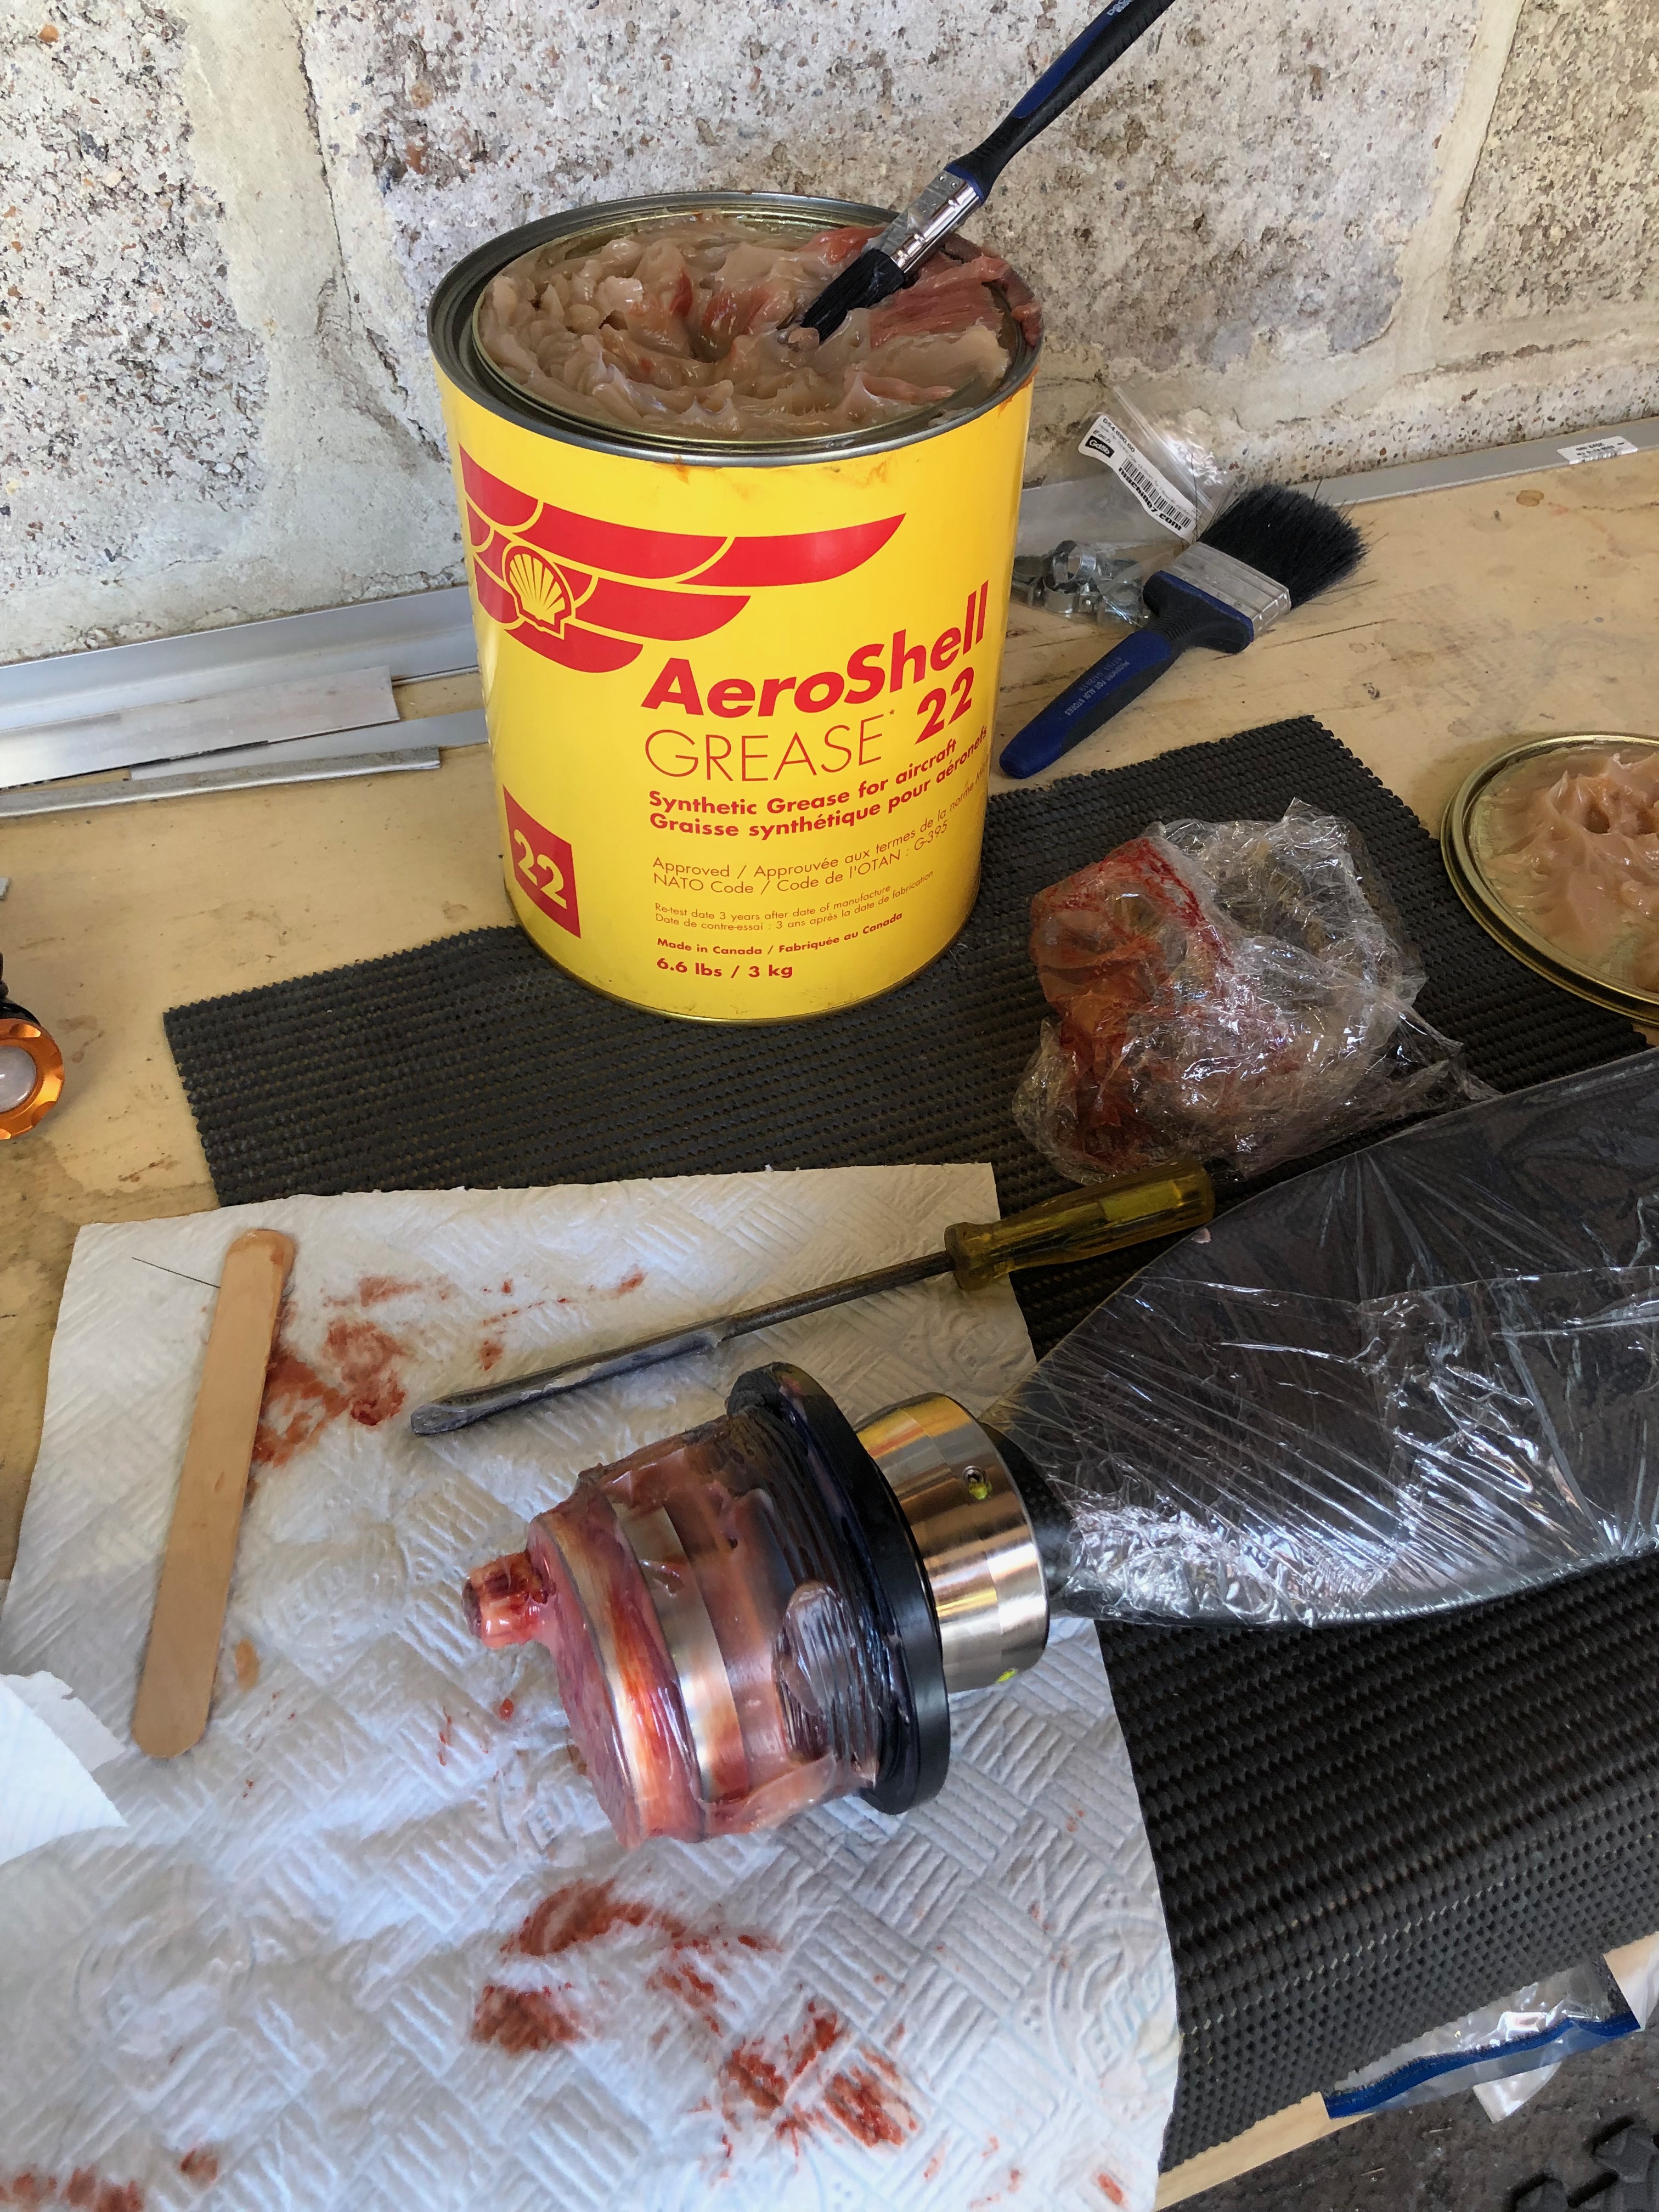
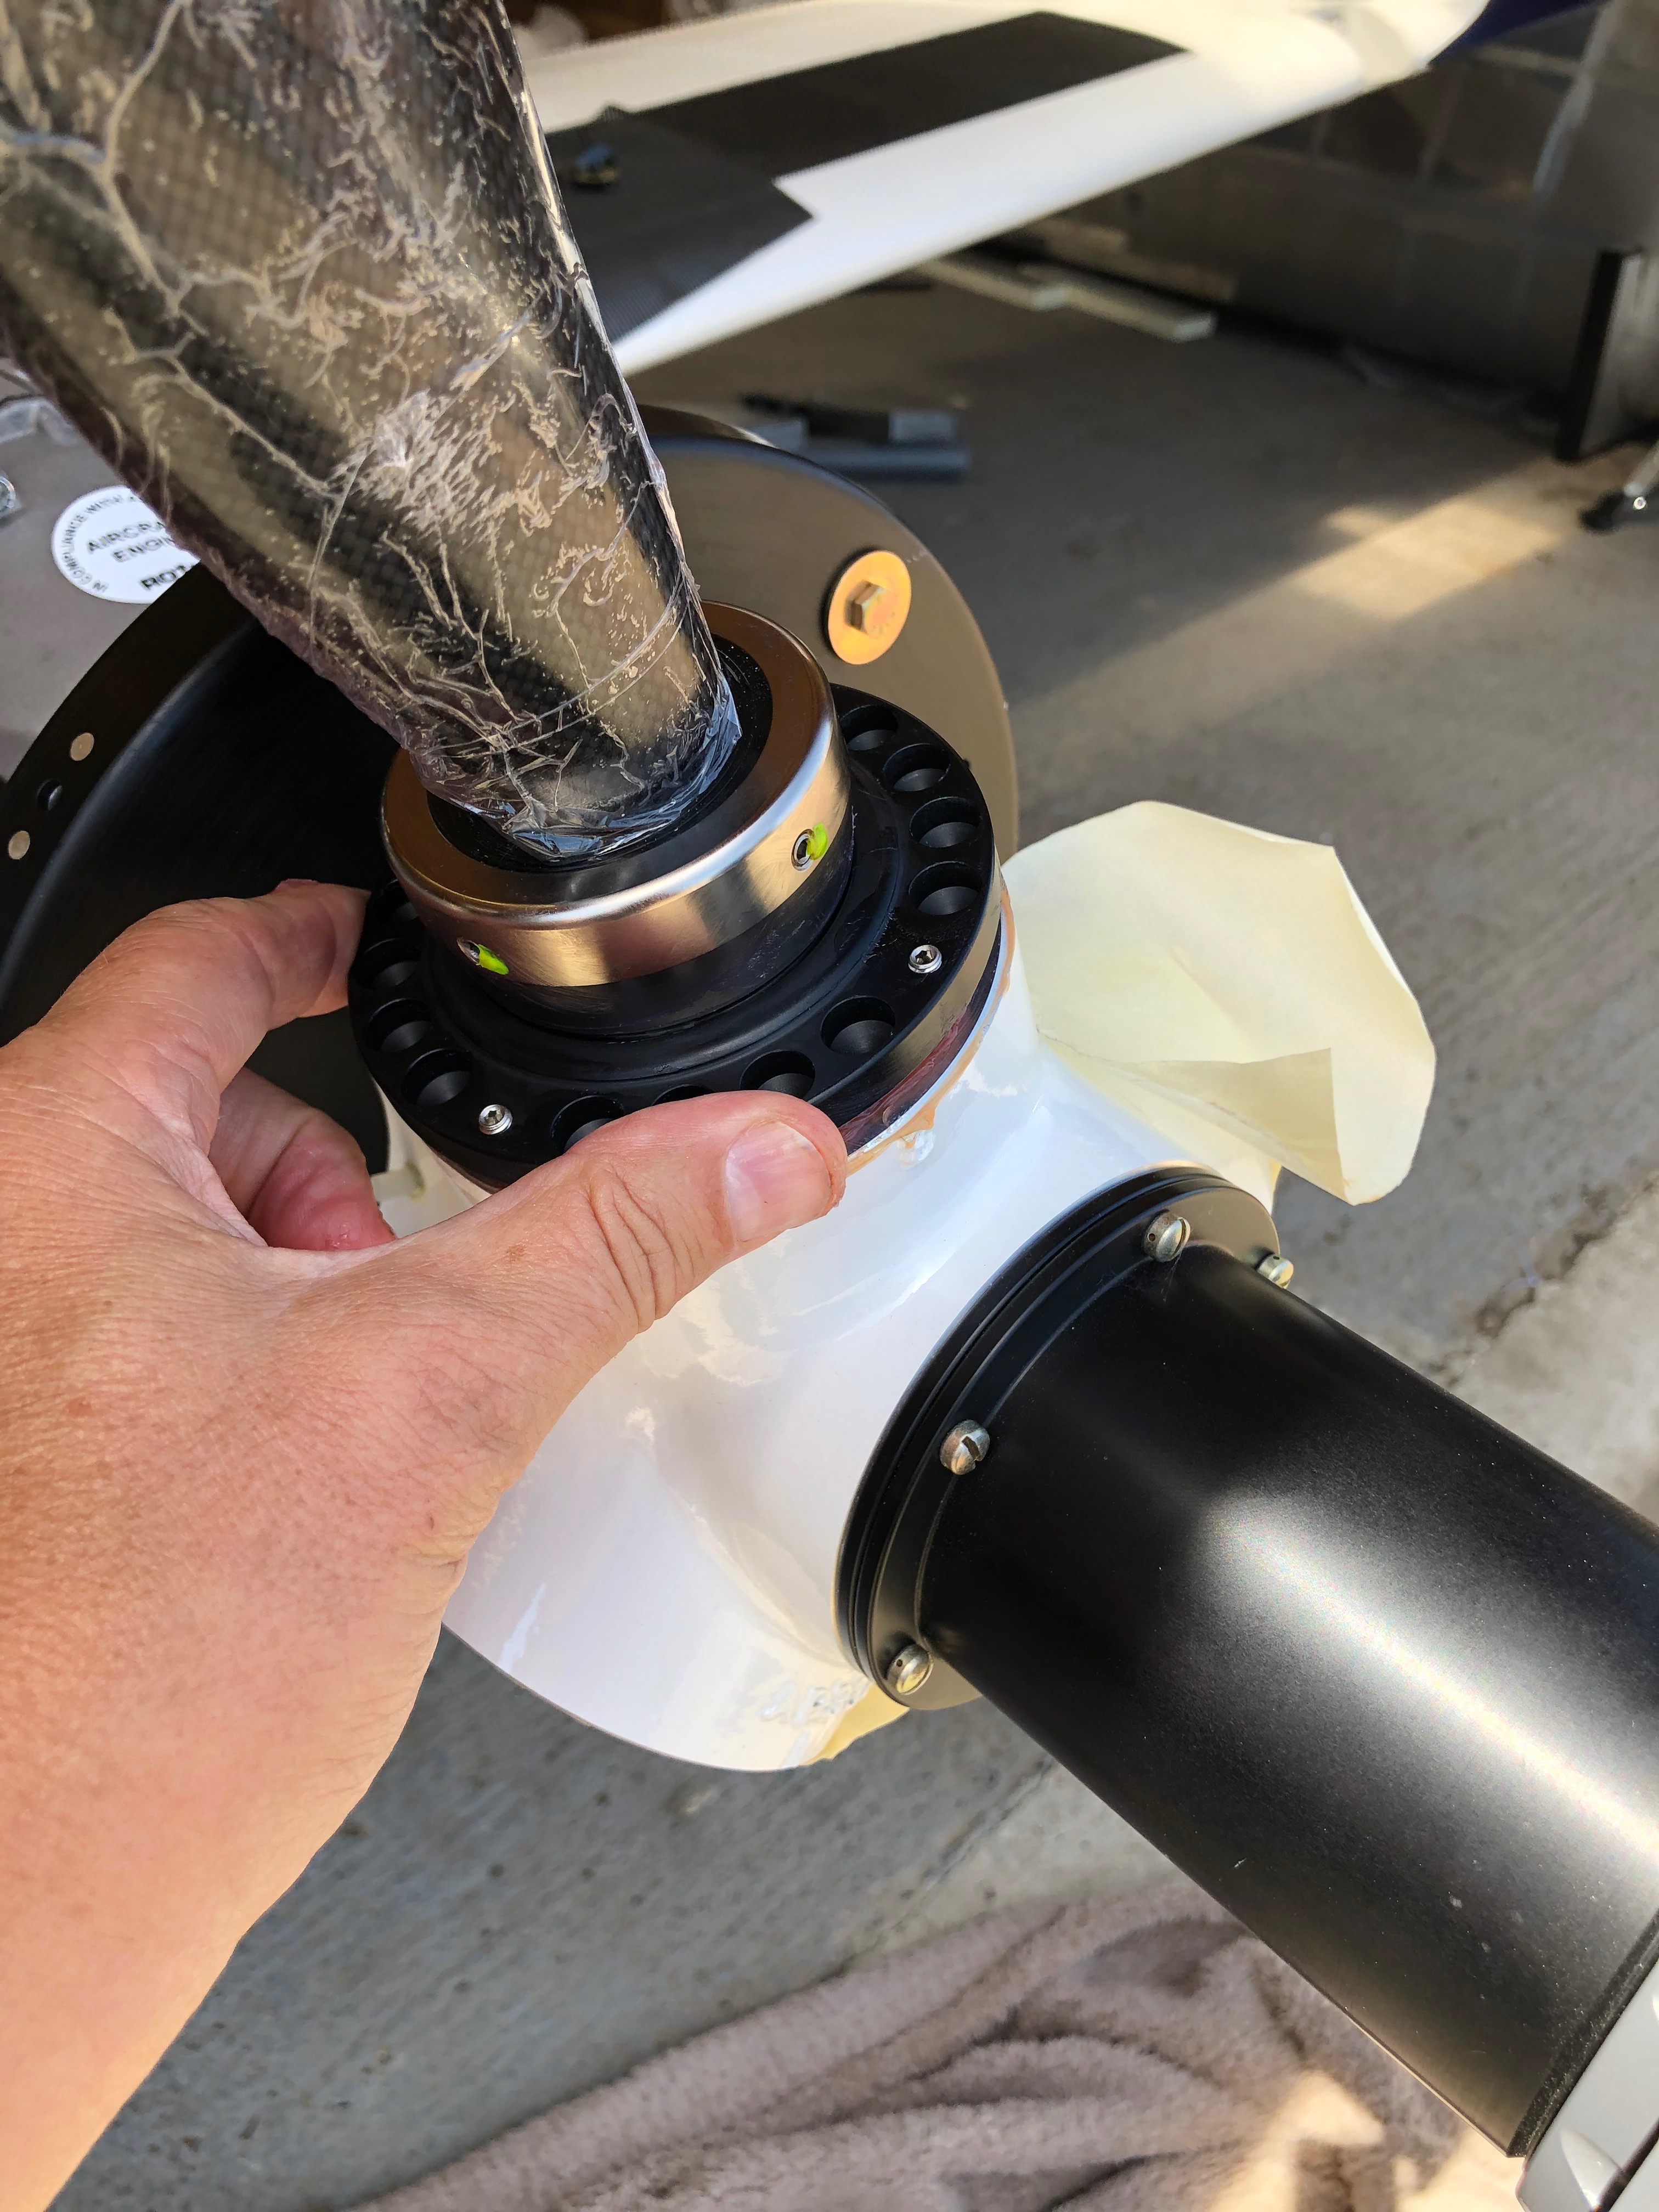
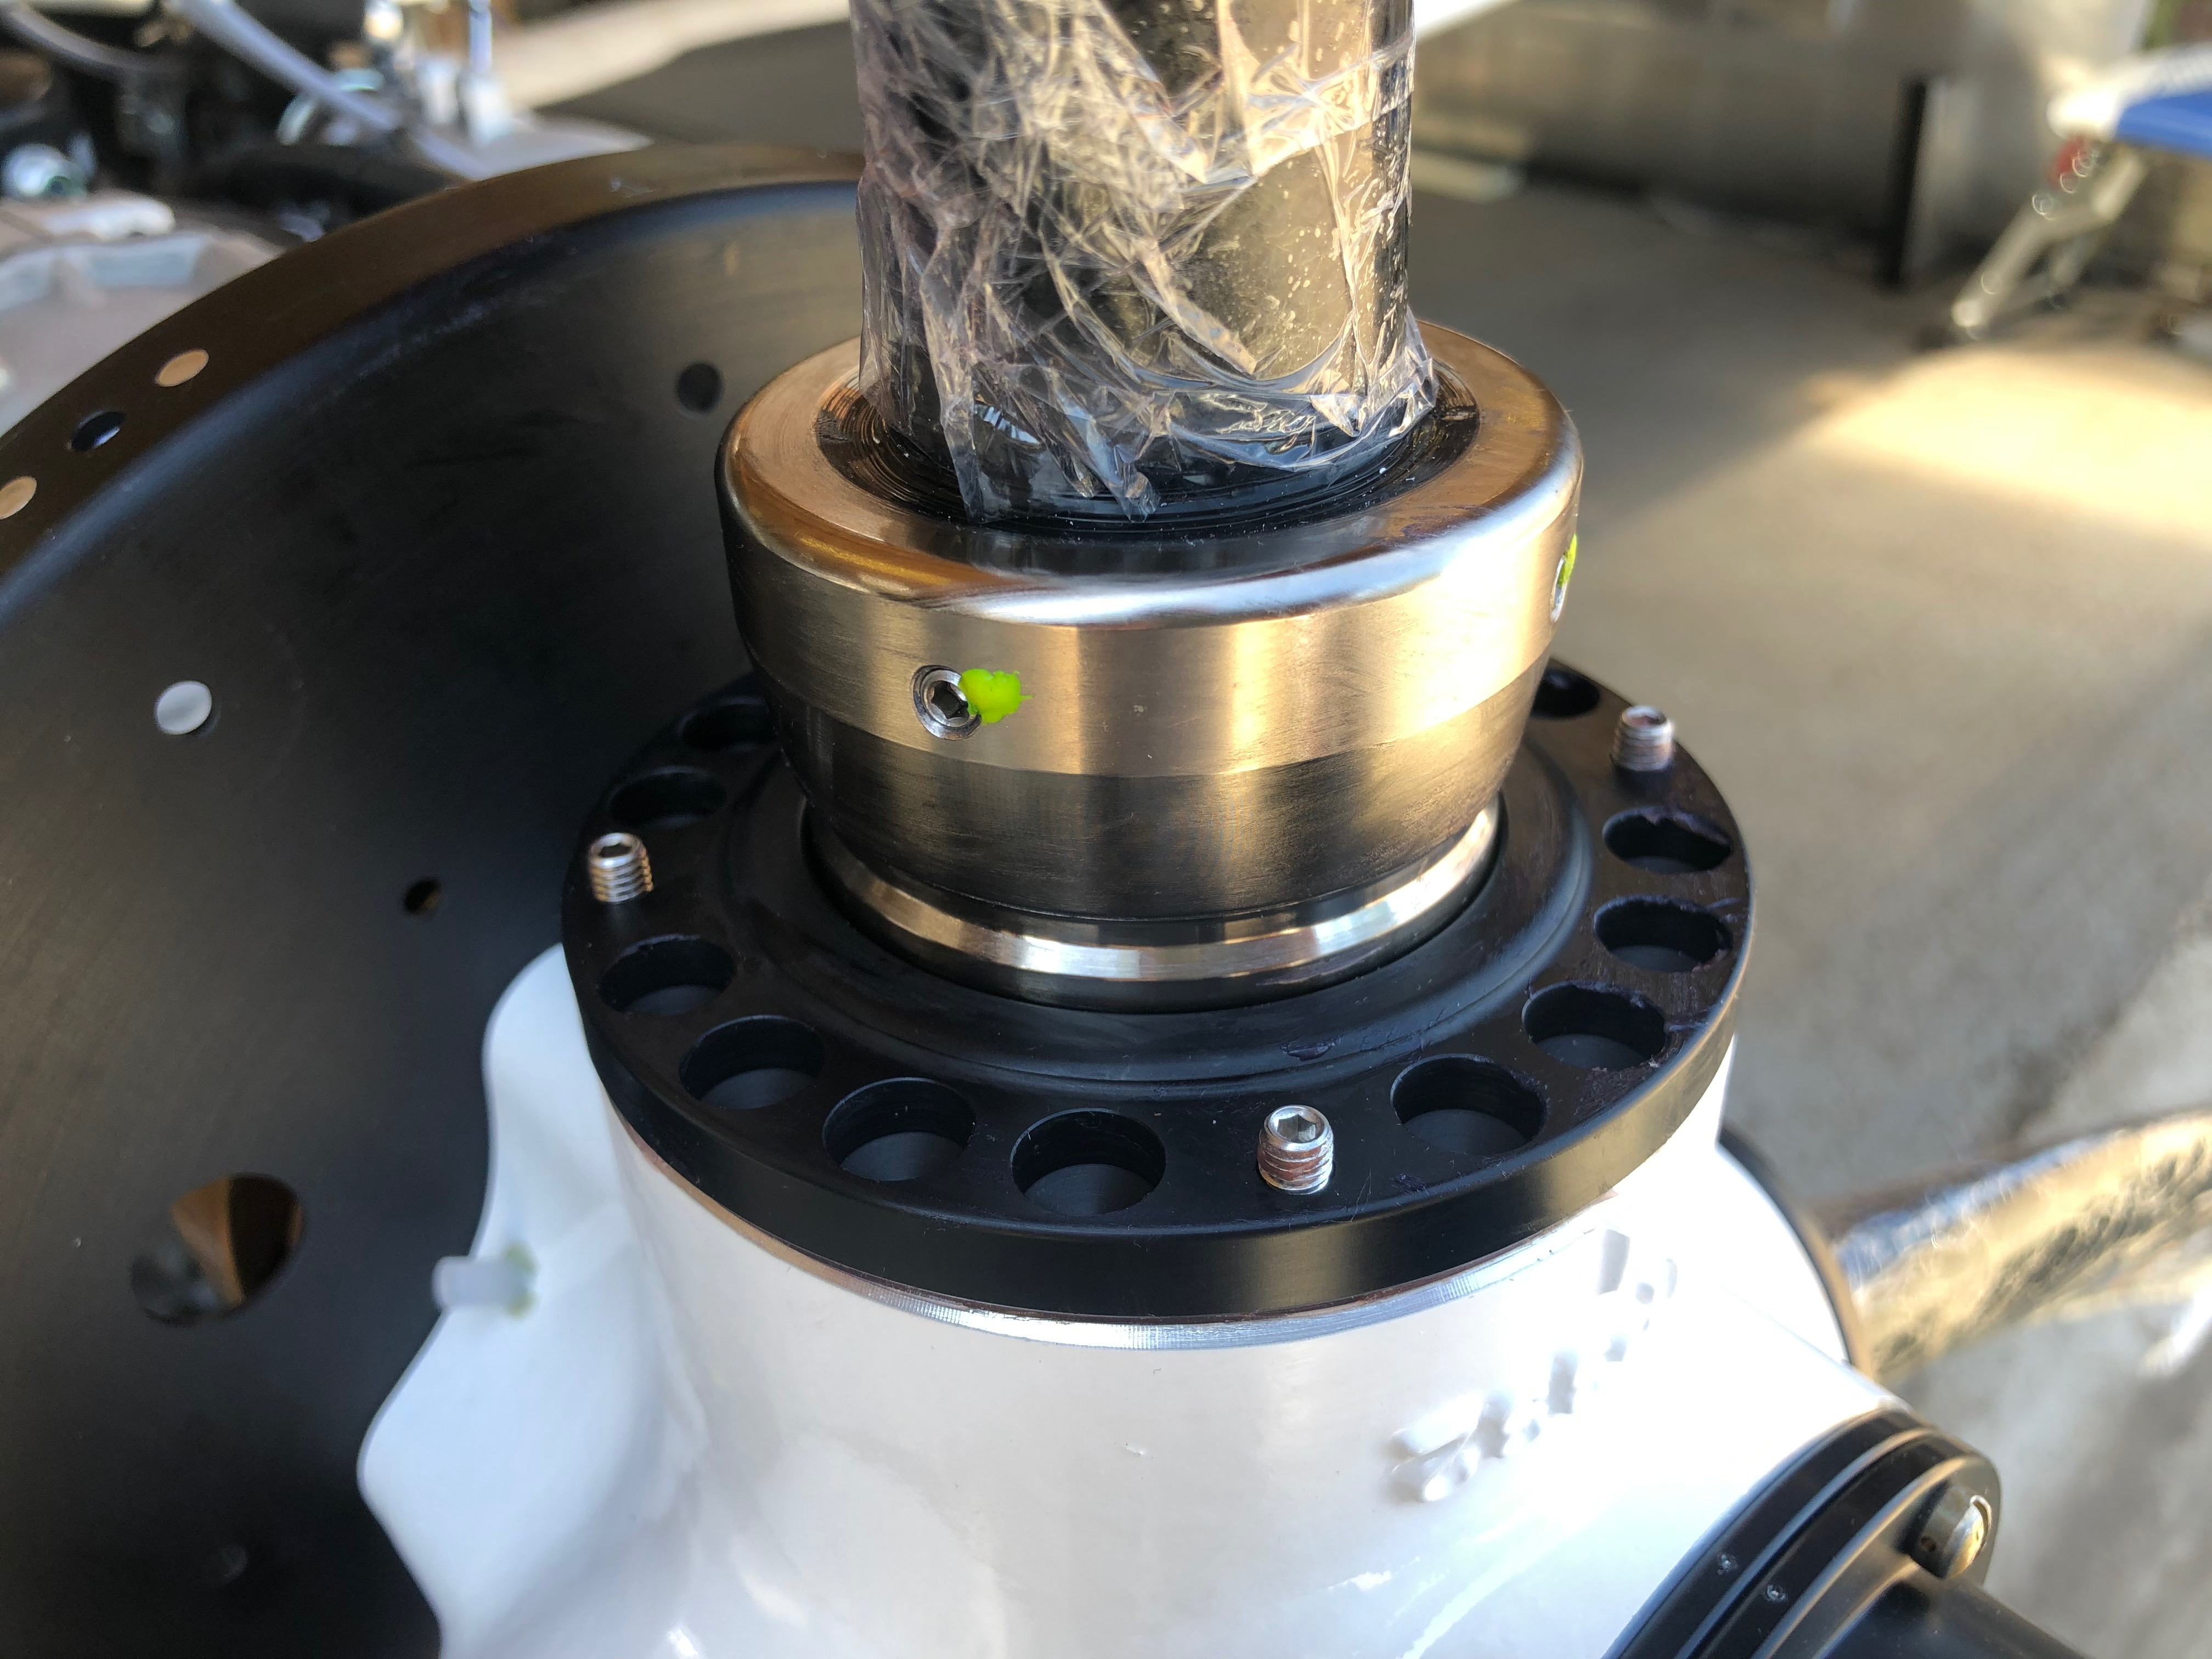
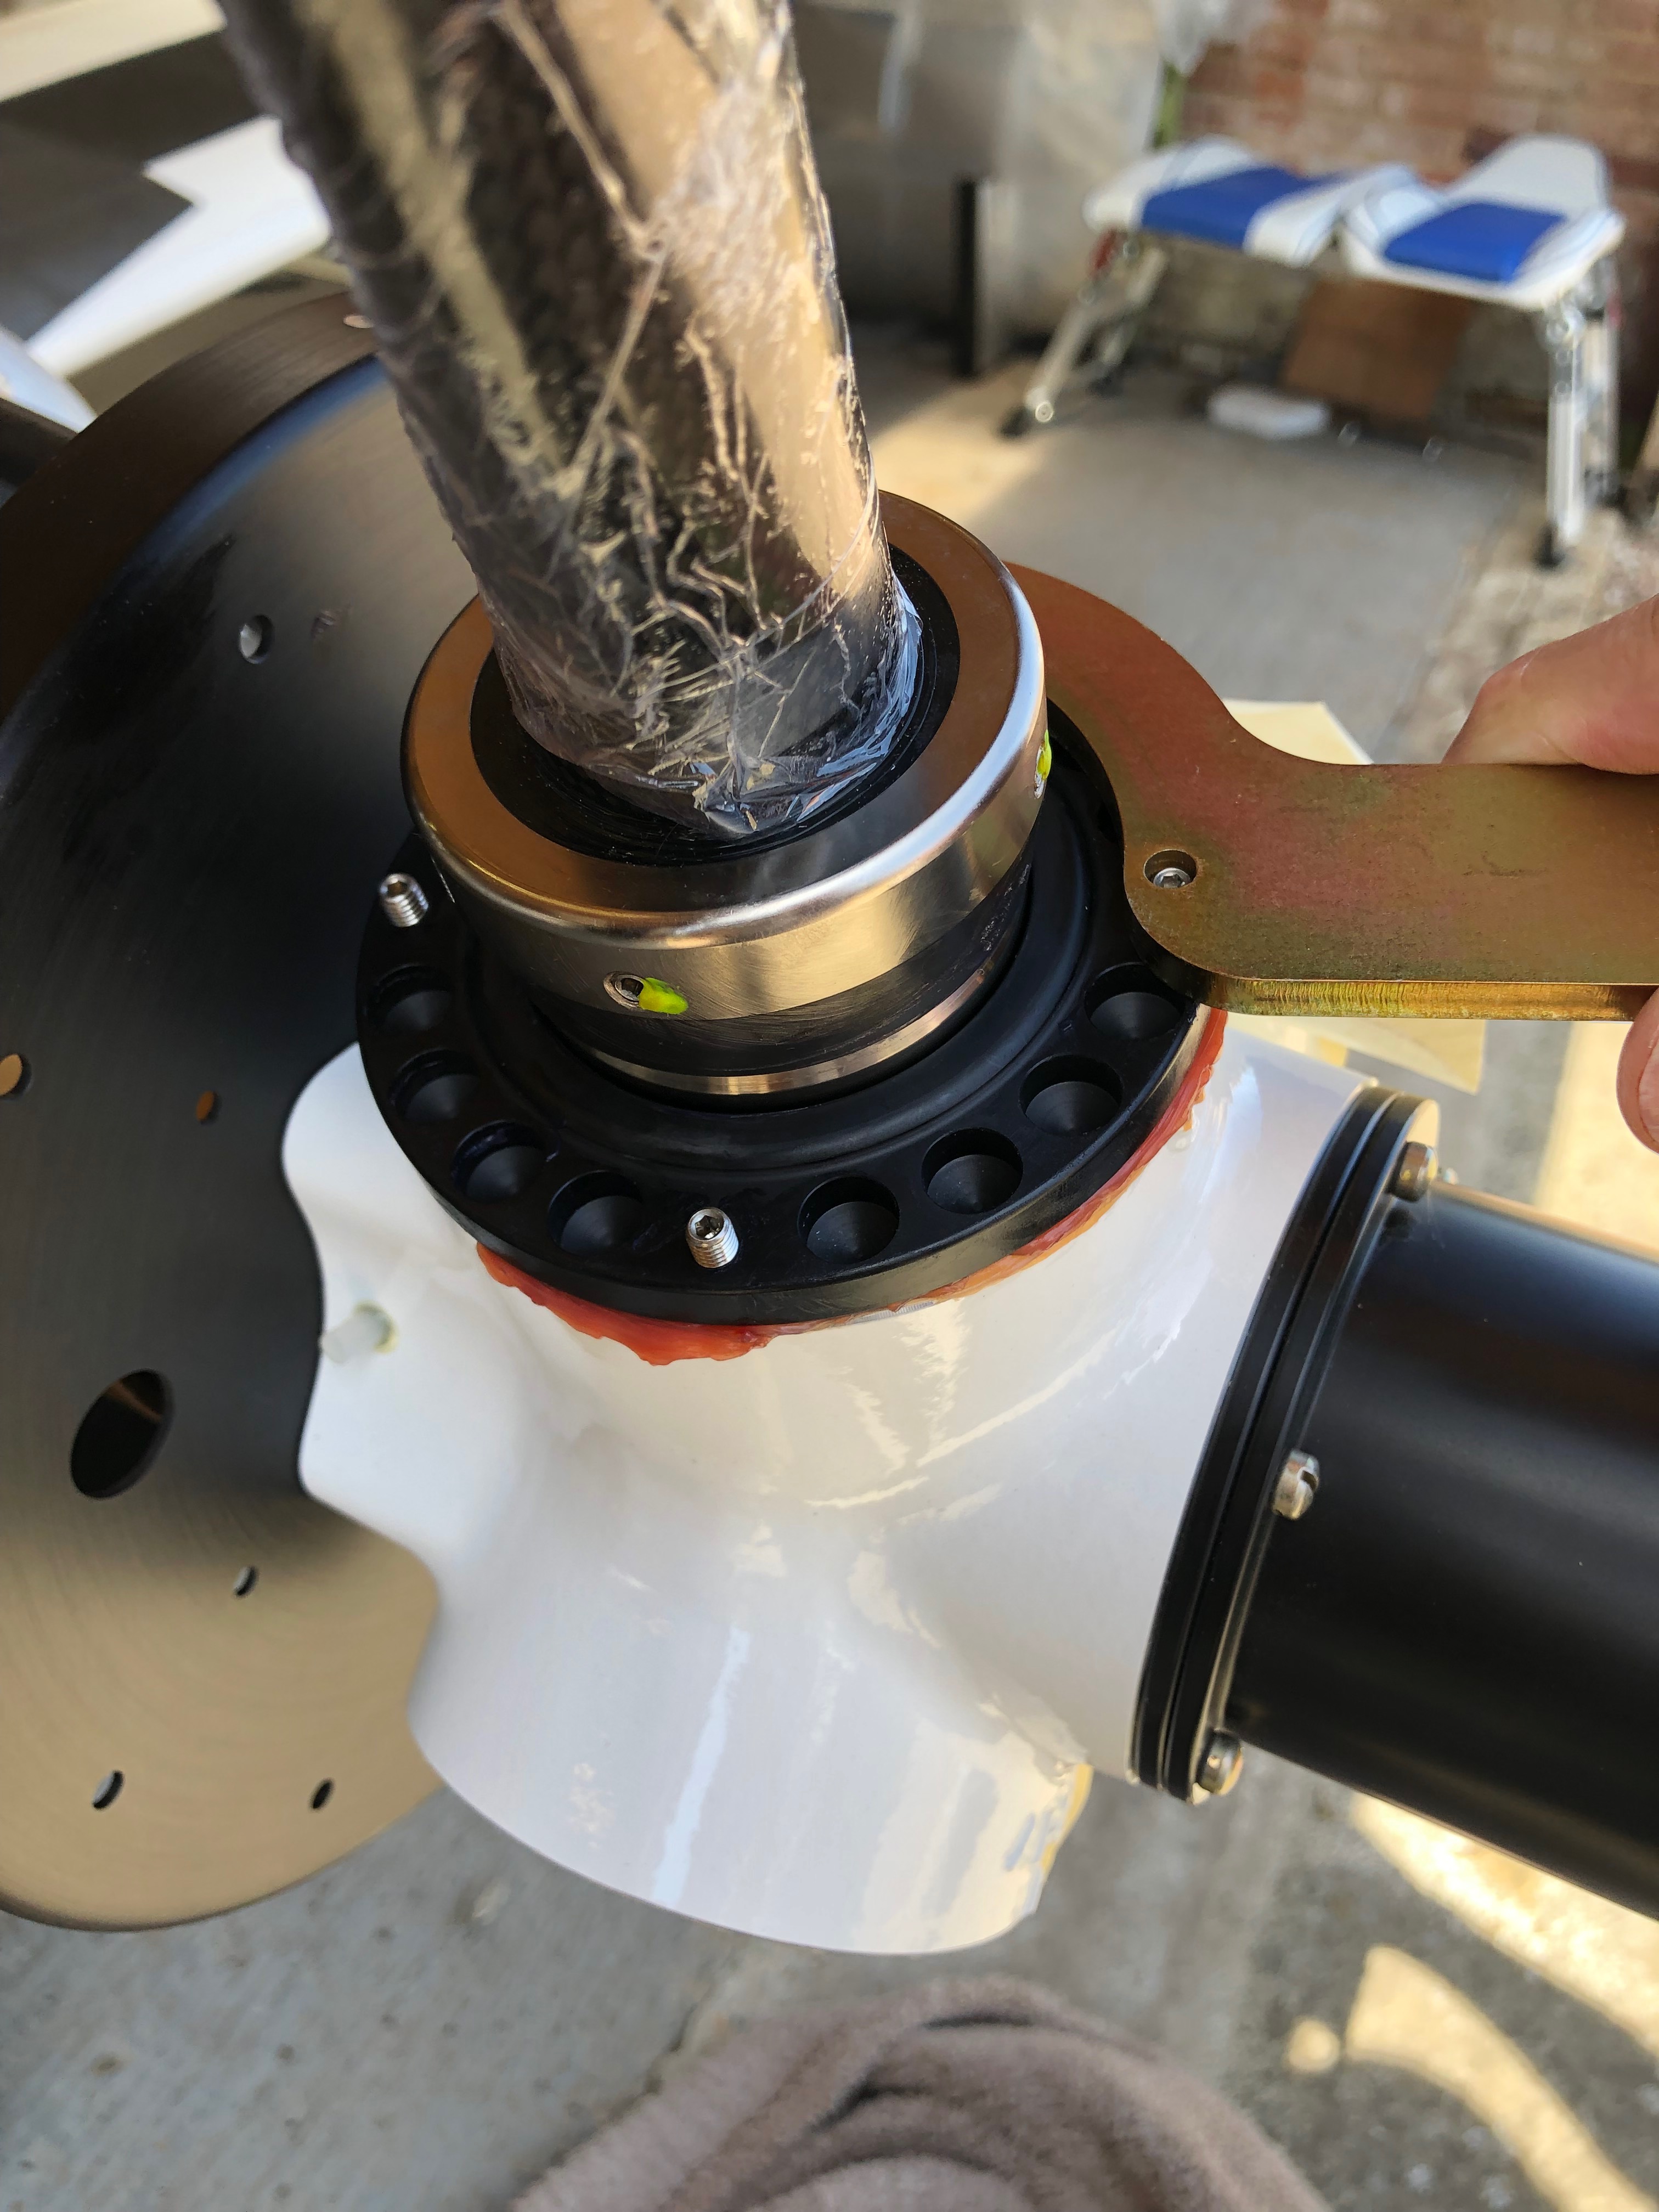
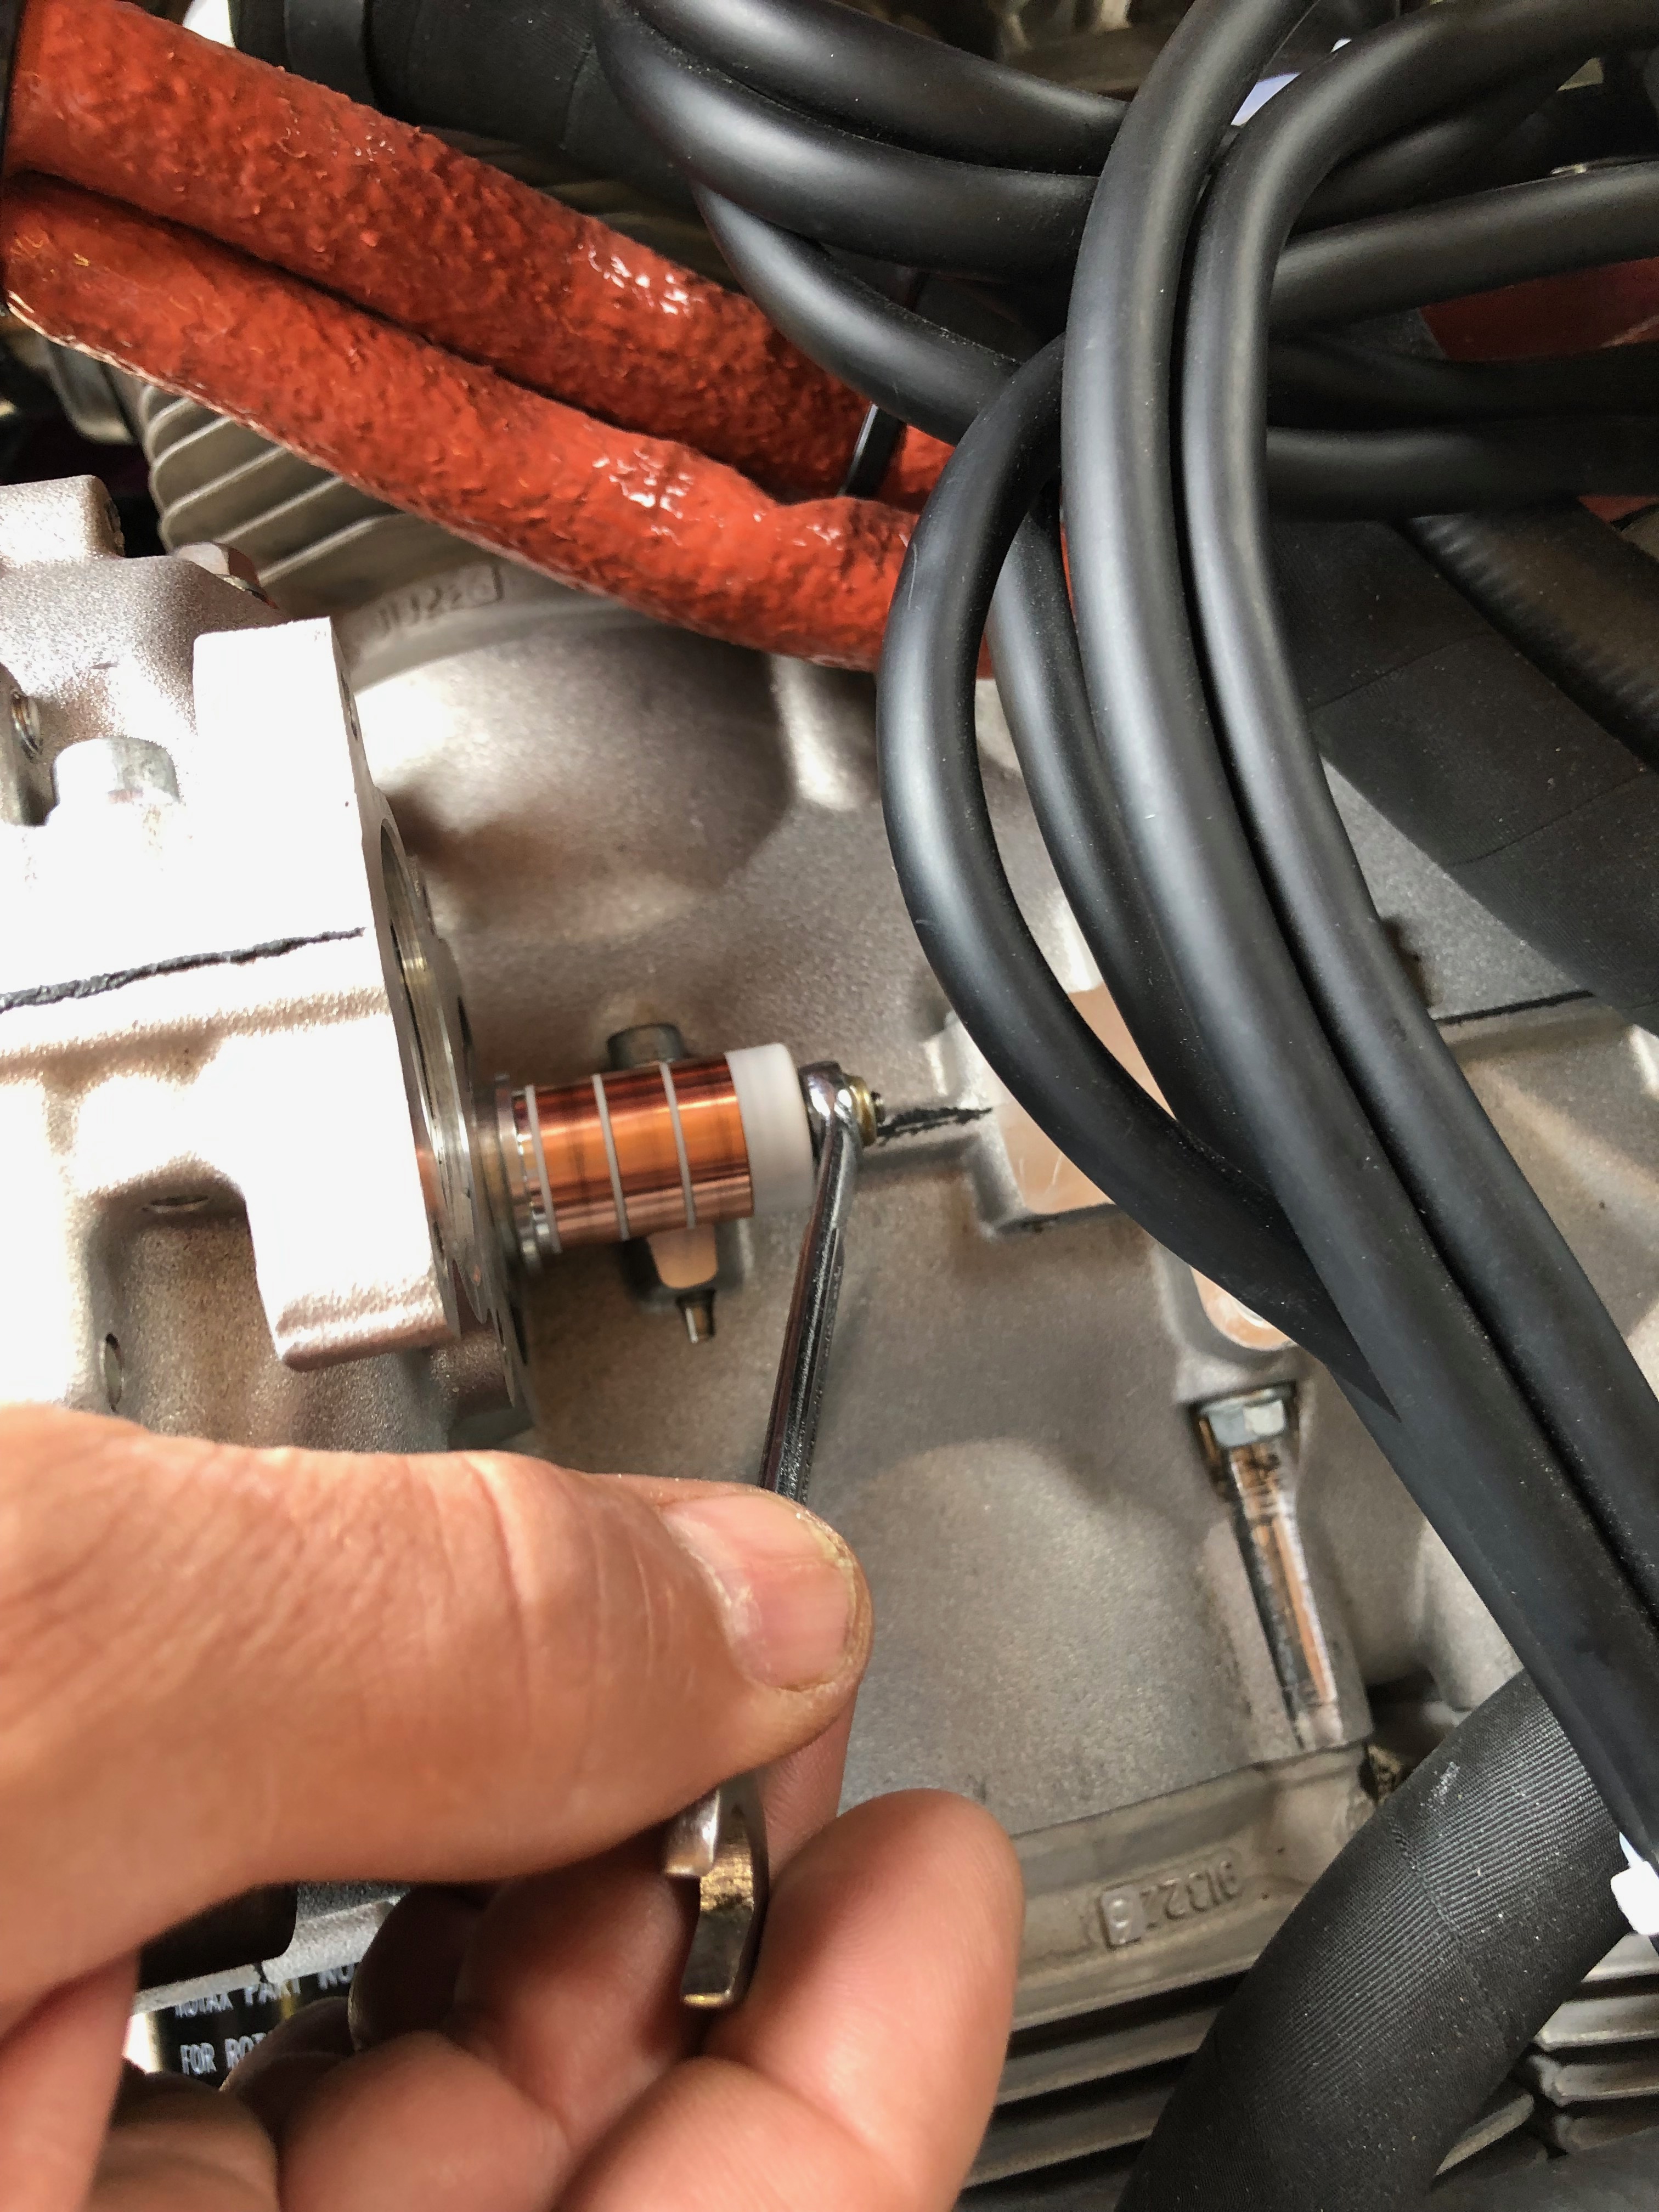
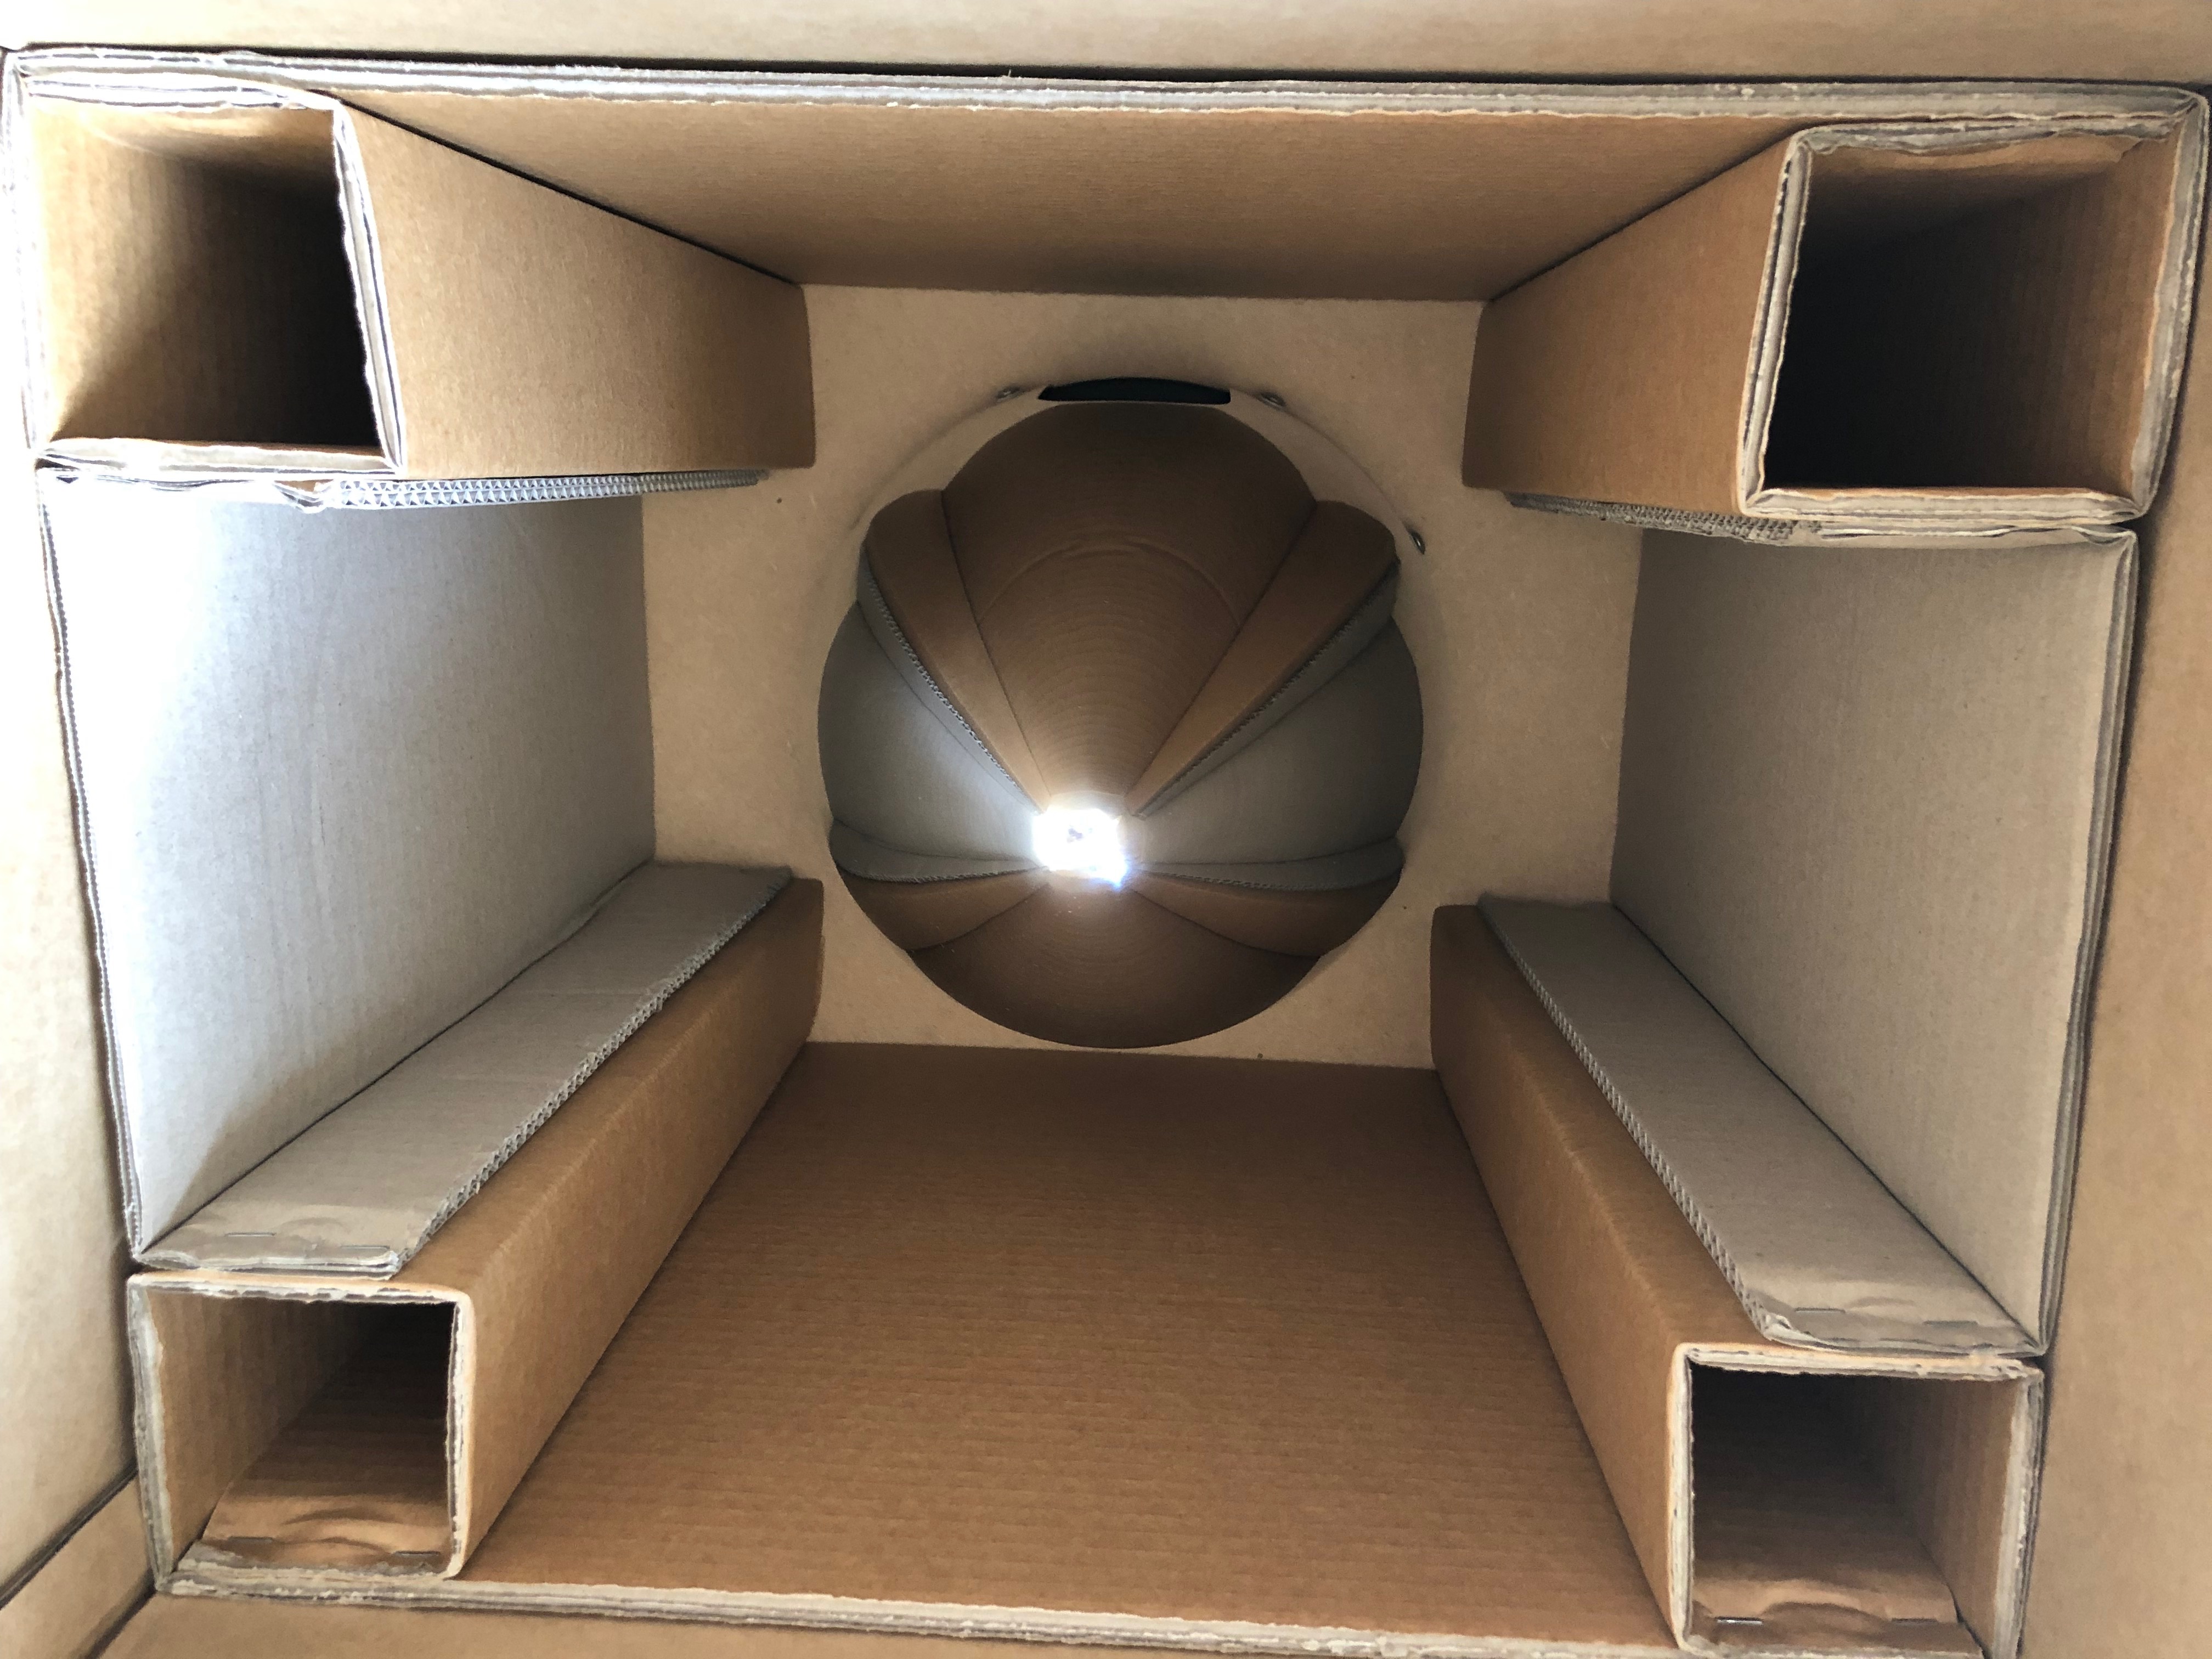
I must admit the more I work with the Airmaster prop the more I’m impressed with the quality and engineering. It’s brilliantly simple and well worth the extra I paid. It will be good to see what the performance when it finally flies but from what I’ve seen so far has impressed me. I can virtually guarantee maximum RPM for takeoff and tune the prop for climb and cruise. The fact that it has a 2000 hour TBO to match the Rotax and it’s user maintainable at 100 hours intervals means it will be very cost effective over the coming years.

Saturday 6th July 2019

Music: Karen was in charge of music so played tracks like ‘I can fix you’ and ‘All right now’ Very funny Karen!

As I was packing up last night I noticed a wet patch under the front tyre. When I investigated I found a very small leak from two of the modified water pump pipes. Unfortunately there was no way round it, the pump will have to be removed, the pipes removed and resealed. A call to Tony Palmer revealed that there had been other cases of leaking and was put down to a loose fitting pipe. The solution is to cut the thread slightly further down the pipe so it’s a tight fit when at the correct angle. Karen came along to give me a hand.

The slight leak. Can’t ignore it, if it leaks with no pressure in the system it’ll certainly leak a lot more when the engine is running.
So the coolant needs to be drained…
…so I can remove the pump. I’ve removed the pipes from the water pump, cleaned the thread but now have to order an 18mm die. I’ll use the die to cut a slightly longer thread.
As I can’t do anymore on the water pump I though i’d Loctite the12 set screws, 4 on each blade and…
… add some Torque Seal on the set screws to allow any movement to be identified.
I know have to wait for the Die to come before I can finish off the water pump.

Thursday 4th July 2019

Music: Reverend And The Makers

The main job today is to fit the propellor blades. Luckily the Aeroshell Grease that was supposed to have been delivered next Monday was delivered a couple of days ago so I can get on with it. Once fitted I can purge the oil system and add the antifreeze.

I had a call with CFS Aero who have now acknowledged that it would be a good idea to change the floats before I first fly the aircraft as Rotax have had a problem with sinking floats that leads to flooding of the engine and the possibility of engine failure. They will be sent in the post in the next couple of days. They have also confirmed that Halford OAT antifreeze is ok to fill the coolant system.

Once the protective seal has been removed it reveals the pitch change mechanism. It’s been greased after manufacture but needs a further coating as per a service bulletin.
I think I may have ordered the wrong size tin of grease 🙂 It was at a bargain price which was cheaper than smaller tins.
The hub is liberally coated with grease before being installed.
Each blade is simply screwed in…
…the set screws are unscrewed to leave around 4mm showing.
A special ‘C’ spanner is fitted on the set screws which is used to tighten to the specified torque setting using a torque wrench.
Job done, looks quite good. A quick test of the pitch system confirms it’s working as expected. Now for the oil system purging and filling the coolant system which has taken a lot more than the 1 1/2 litres that Rotax advertise to fill the system so I’ll need to get some more tomorrow.

Monday 10th June 2019

Music: Star Sailor and Turin Brakes

Dave came down to spend a day with me to see how the build is going so far and help me with fitting the prop hub and transponder aerial.

Forgot to attach the panel air vent ducting before I installed the panel. It’s a lot more fiddly i can tell you!
Now I’ve received the drive lugs I ordered from CFS Aero I can attach the prop extension to the drive plate. The bolts to attach the extension to the drive plate are 8mm and the bolts to attache the prop back plate are AN5. So metric and imperial in the same installation – how ridiculous!
The drive lugs are press fit and have a slight taper so the bolts are used to draw the lugs into the drive plate.
The bolts have been lightly tightened before torquing up to 24NM.
The mini slip ring control wires are adjusted so they hang just out the of the front of the prop extension.
Heat shrink tubing is added to each wire and the hub offered up to allow the control wires to be connected.
A heat gun is used to heat the heat shrink and the wires are pushed into the hollow shaft.
Some Duralac is added to the lugs that enter the hub to ease disassembly and the bolts tightened.
Time to check that I’ve got the measurements right for the prop extension so the engine cowlings are fixed in place.
A good fit with an acceptable gap, so shouldn’t rub in service. I’ll fit the blades closer to finishing the plane to save them getting damaged.
Next up is to install the transponder aerial. I’ve decided to mount it centrally between the main wheels. Still have to make up the coax for the radio and transponder but going to Air Expo on Thursday so will look to pick it up there.
Dave checking out the pilots seat before leaving for home.
So most of the main work has been completed so it’s time to start on the wiring. Not sure how long it’s going to take but need to make a tidy job of it and make sure that it’s easy to trace and maintain in the future.

Wednesday 5th June 2019

Music: Roxy Music & Dire Straits

With all the prep to fit the centre console, today’s the day to fit it for the final time. All the control cable outers have been routed and cut, the connections worked out, the pipe runs decided on and checked. Now it’s just a case of carrying out the fit.

The fuel pipe from the selector to the tanks and engine need to be routed so they don’t kink and cut the supply whilst also being kept away from anything that may chaff them.
This shows the support bracket for the park brake cable. It works well.
The outer cables are wire locked to the adjusters so they can’t move once fitted.
The demist control with the connector we made up. It looks a very good solution.
At last the centre console’s complete with all the controls fitted, cables run and fuel pipes fitted.
Having received the prop on Monday I can start to install the various bits. This is the mini slip ring available for Rotax 912ULS type 2 engines. It’s fitted to the rear of the gearbox.
and then secured in place with a rod hat runs through the hollow gearbox shaft. The control wires spiral round the rod…
and exit the front of the engine ready for connection to the pitch motor wires in the spinner.
Once the slip ring is fitted the pick up bushes are installed. The bushes need run centrally on the slip ring. That’s all for the prop today, more tomorrow.
Moving on to the panel again. I will fit as much as possible before fitting to the aircraft as it’s a lot easier than fitting the components when the instrument panel has been fitted to the aircraft.
I’m not sure what Tom is doing here? Perhaps he’s going to start to sing? Captions please! He’s going home today so I’m solo again tomorrow!

Monday 3rd June 2019

Music: Röyksopp

Good news – Today I’m expecting delivery of the Airmaster prop that was ordered in February. So I had brought back the switches and circuit breakers and thought that whilst waiting I would wire them up.

Each circuit breaker is linked to one or more switches depending on the circuit design by making a connecting wire with 22 or 18 AWG wire with a couple of crimped female spade connectors.
The Aveo air vents were next and are secured by screwing the front and back components together.
At last! I have finally received the Airmaster prop. On first inspection the hub and spinner box looked fine and undamaged and the inside…
looks good too…
However the box with the blades in had quite a substantial gash in the front.
Luckily, although the cut went through both the outer and inner boxes, whatever caused it never hit the blades – Phew!
One of the carbon fibre blades, looks very swish.

Friday 26th April 2019

Music: Supertramp

Finished the ADAHRS and GMU 11 mounts then primed and installed them. Spent some of the day investigating switches, circuit breakers and wiring.

Andy is coming over on Monday so we can look at getting some build stages signed off and possibly rig the aircraft to make sure every thing fits!

First thing was to drill the holes for the rivets….

and the holes for the devices that will be attached to the mounts.

The mount is sprayed with chromate primer and jointing compound is applied between the fuselage floor and the mounts to prevent corrosion.

The mounts are riveted from underneath the fuselage.

The GMU 11 mount installed and ready for the GMU unit to be added.

When I got home I got an early surprise of Airmaster. The controller and wiring loom had arrived from New Zealand. They were despatched on Tuesday so pretty quick to get here. I can install the wiring and controller in readiness for the delivery of the prop in late May.

Tuesday 9th April 2019

Today I checked on the delivery status of the Airmaster prop that I’d ordered on 22nd February. I hadn’t heard anything and was expecting to receive a request for payment so thought it would be good to check. I gave them a call at 3am only to find that they had a breakdown of their CNC machine a couple of weeks ago which will delay the delivery of my propeller by 6 weeks. Needless to say that I was shocked by this news which will have a significant impact on the completion of the aircraft and disappointed that they hadn’t had the courtesy to advise me.