Music: The Greatest Showman reimagined and Snow Patrol.
Finishing off the insulation installation, first fit of centre console, autopilot servo install and filling brake system with Aero Shell 41.
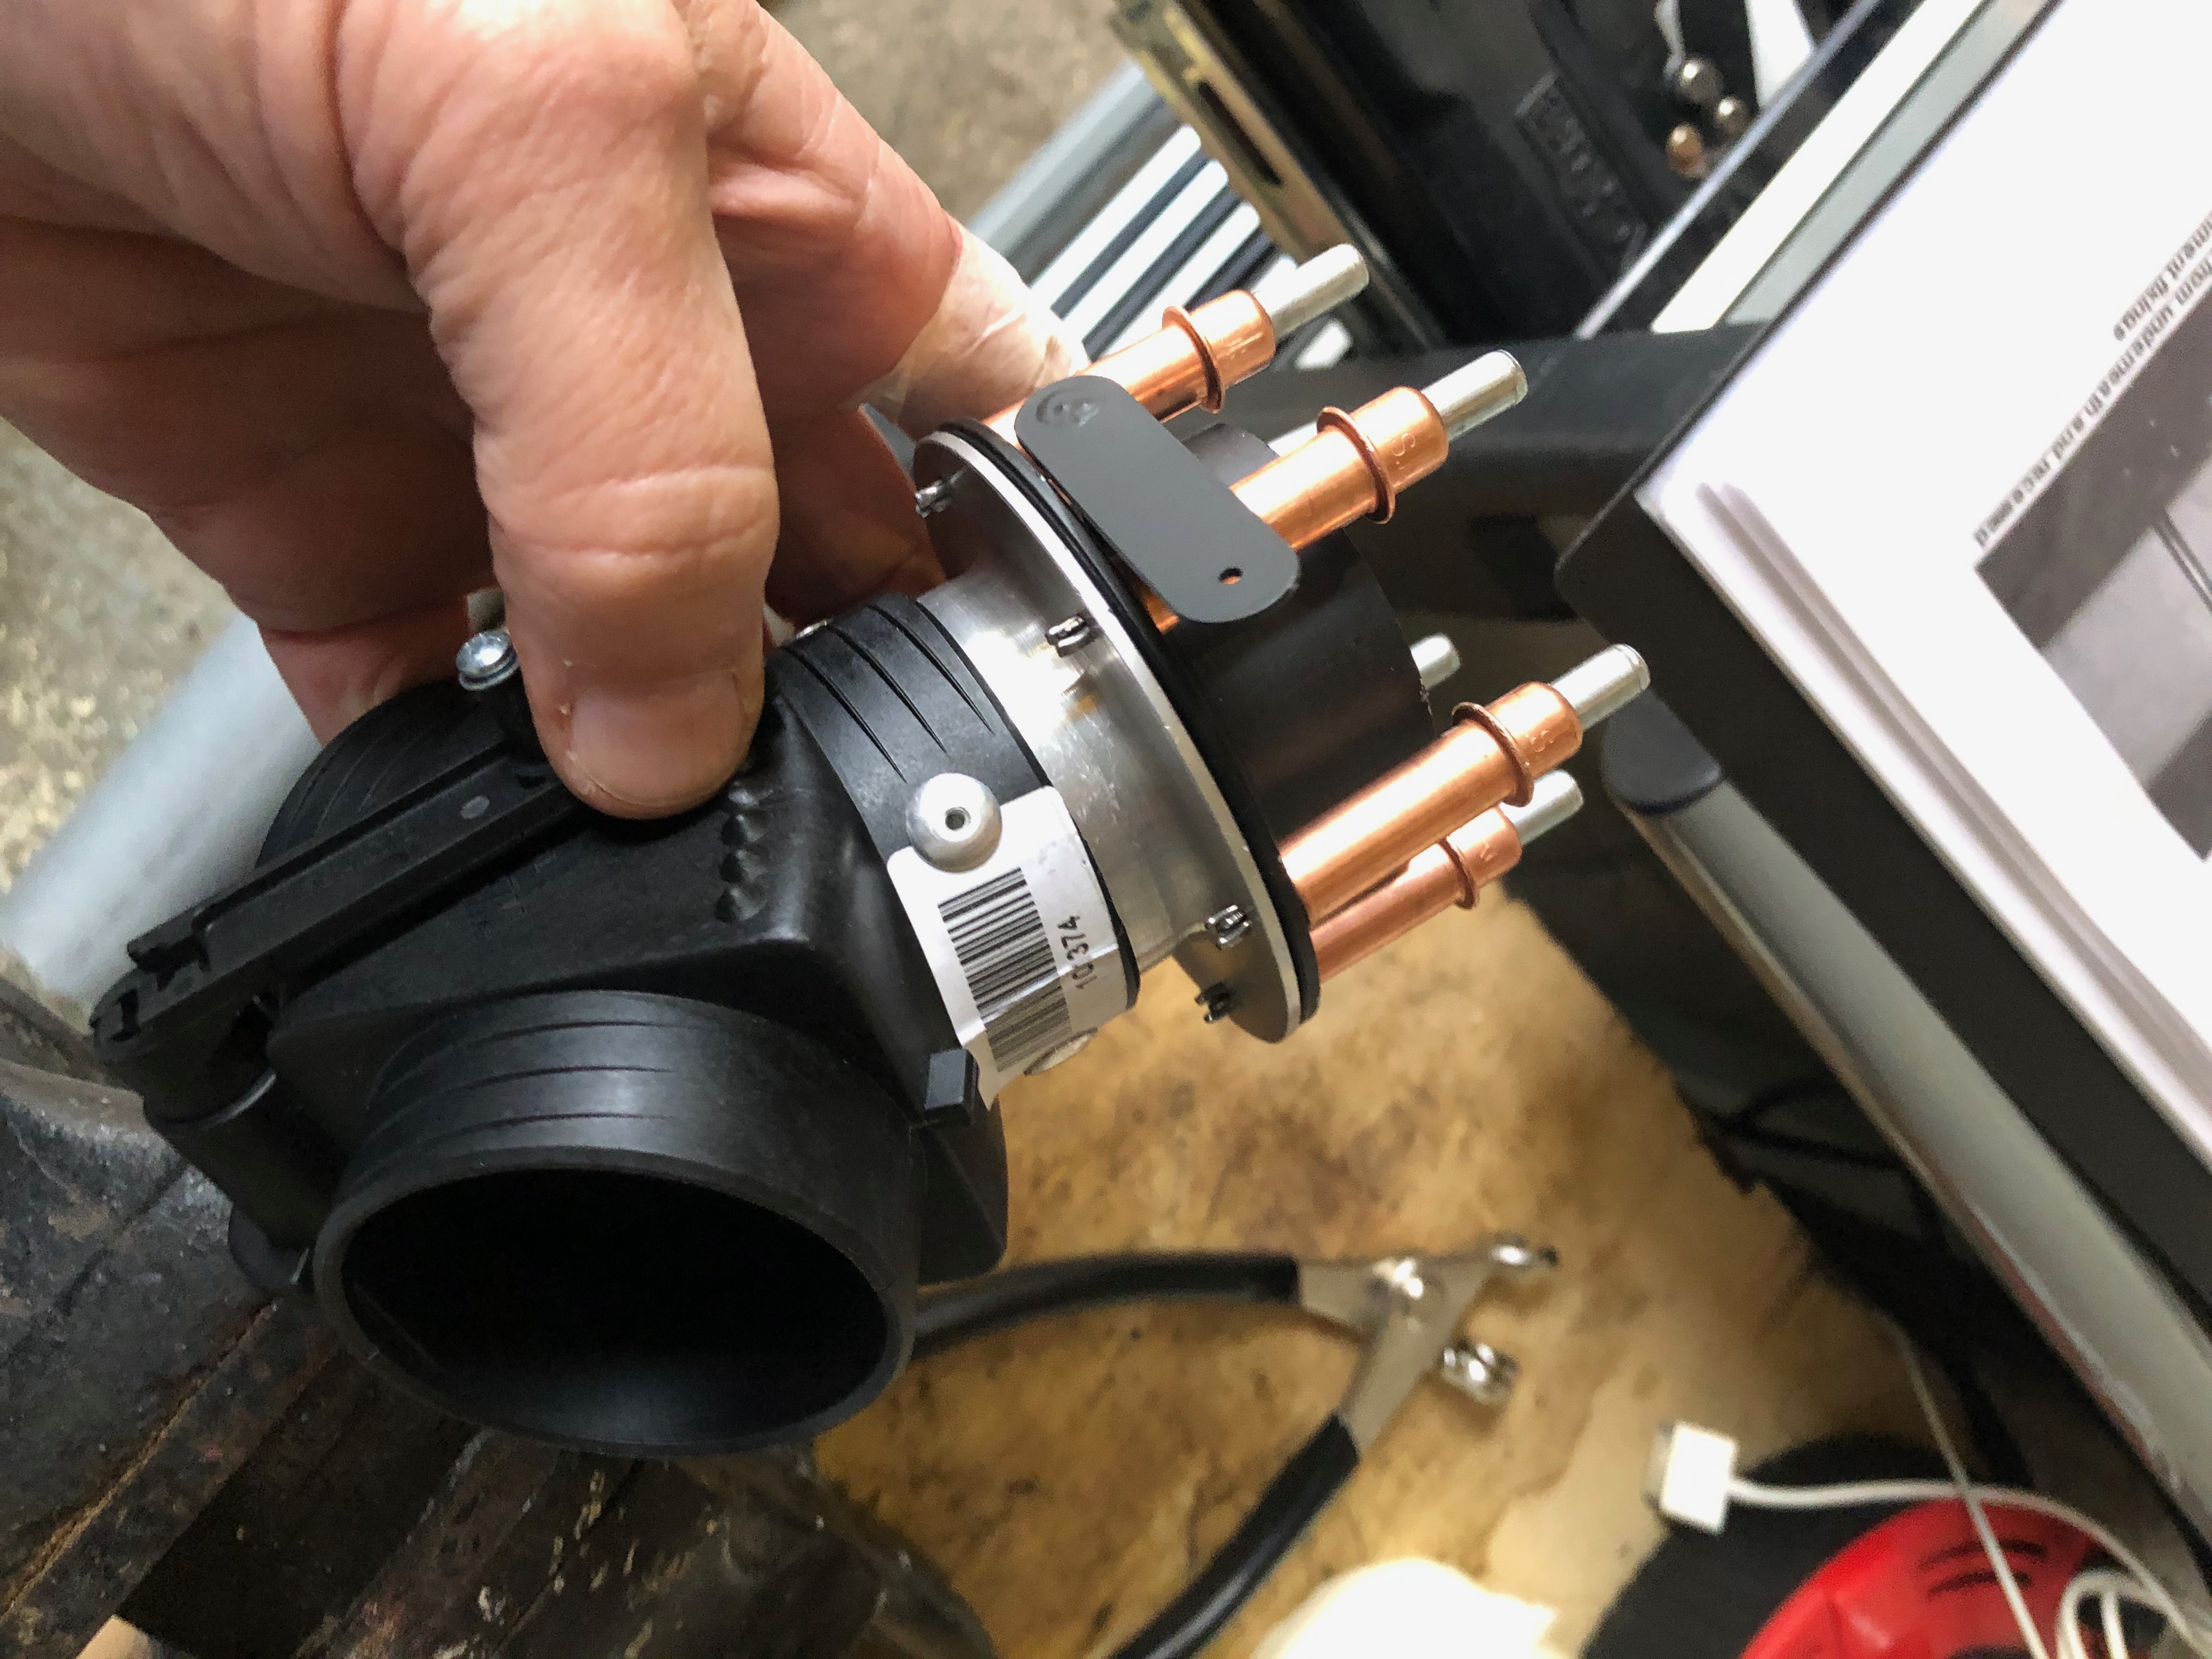
One quick job this morning now all the other pipes have been fitted is to run a piece of piping from the water expansion chamber to the water bottle.
I have been given templates for the insulation so I can cut them to size without too much effort.
Some notches, cuts and holes need to be made to make sure it sits properly on the firewall.
It’s a tight fit behind the rudder pedals which makes it difficult to handle once the backing paper has been removed.
The final pieces are fitted around the heated inlet.
The finished insulation, hopefully this should reduce noise from vibration of the firewall and the engine.
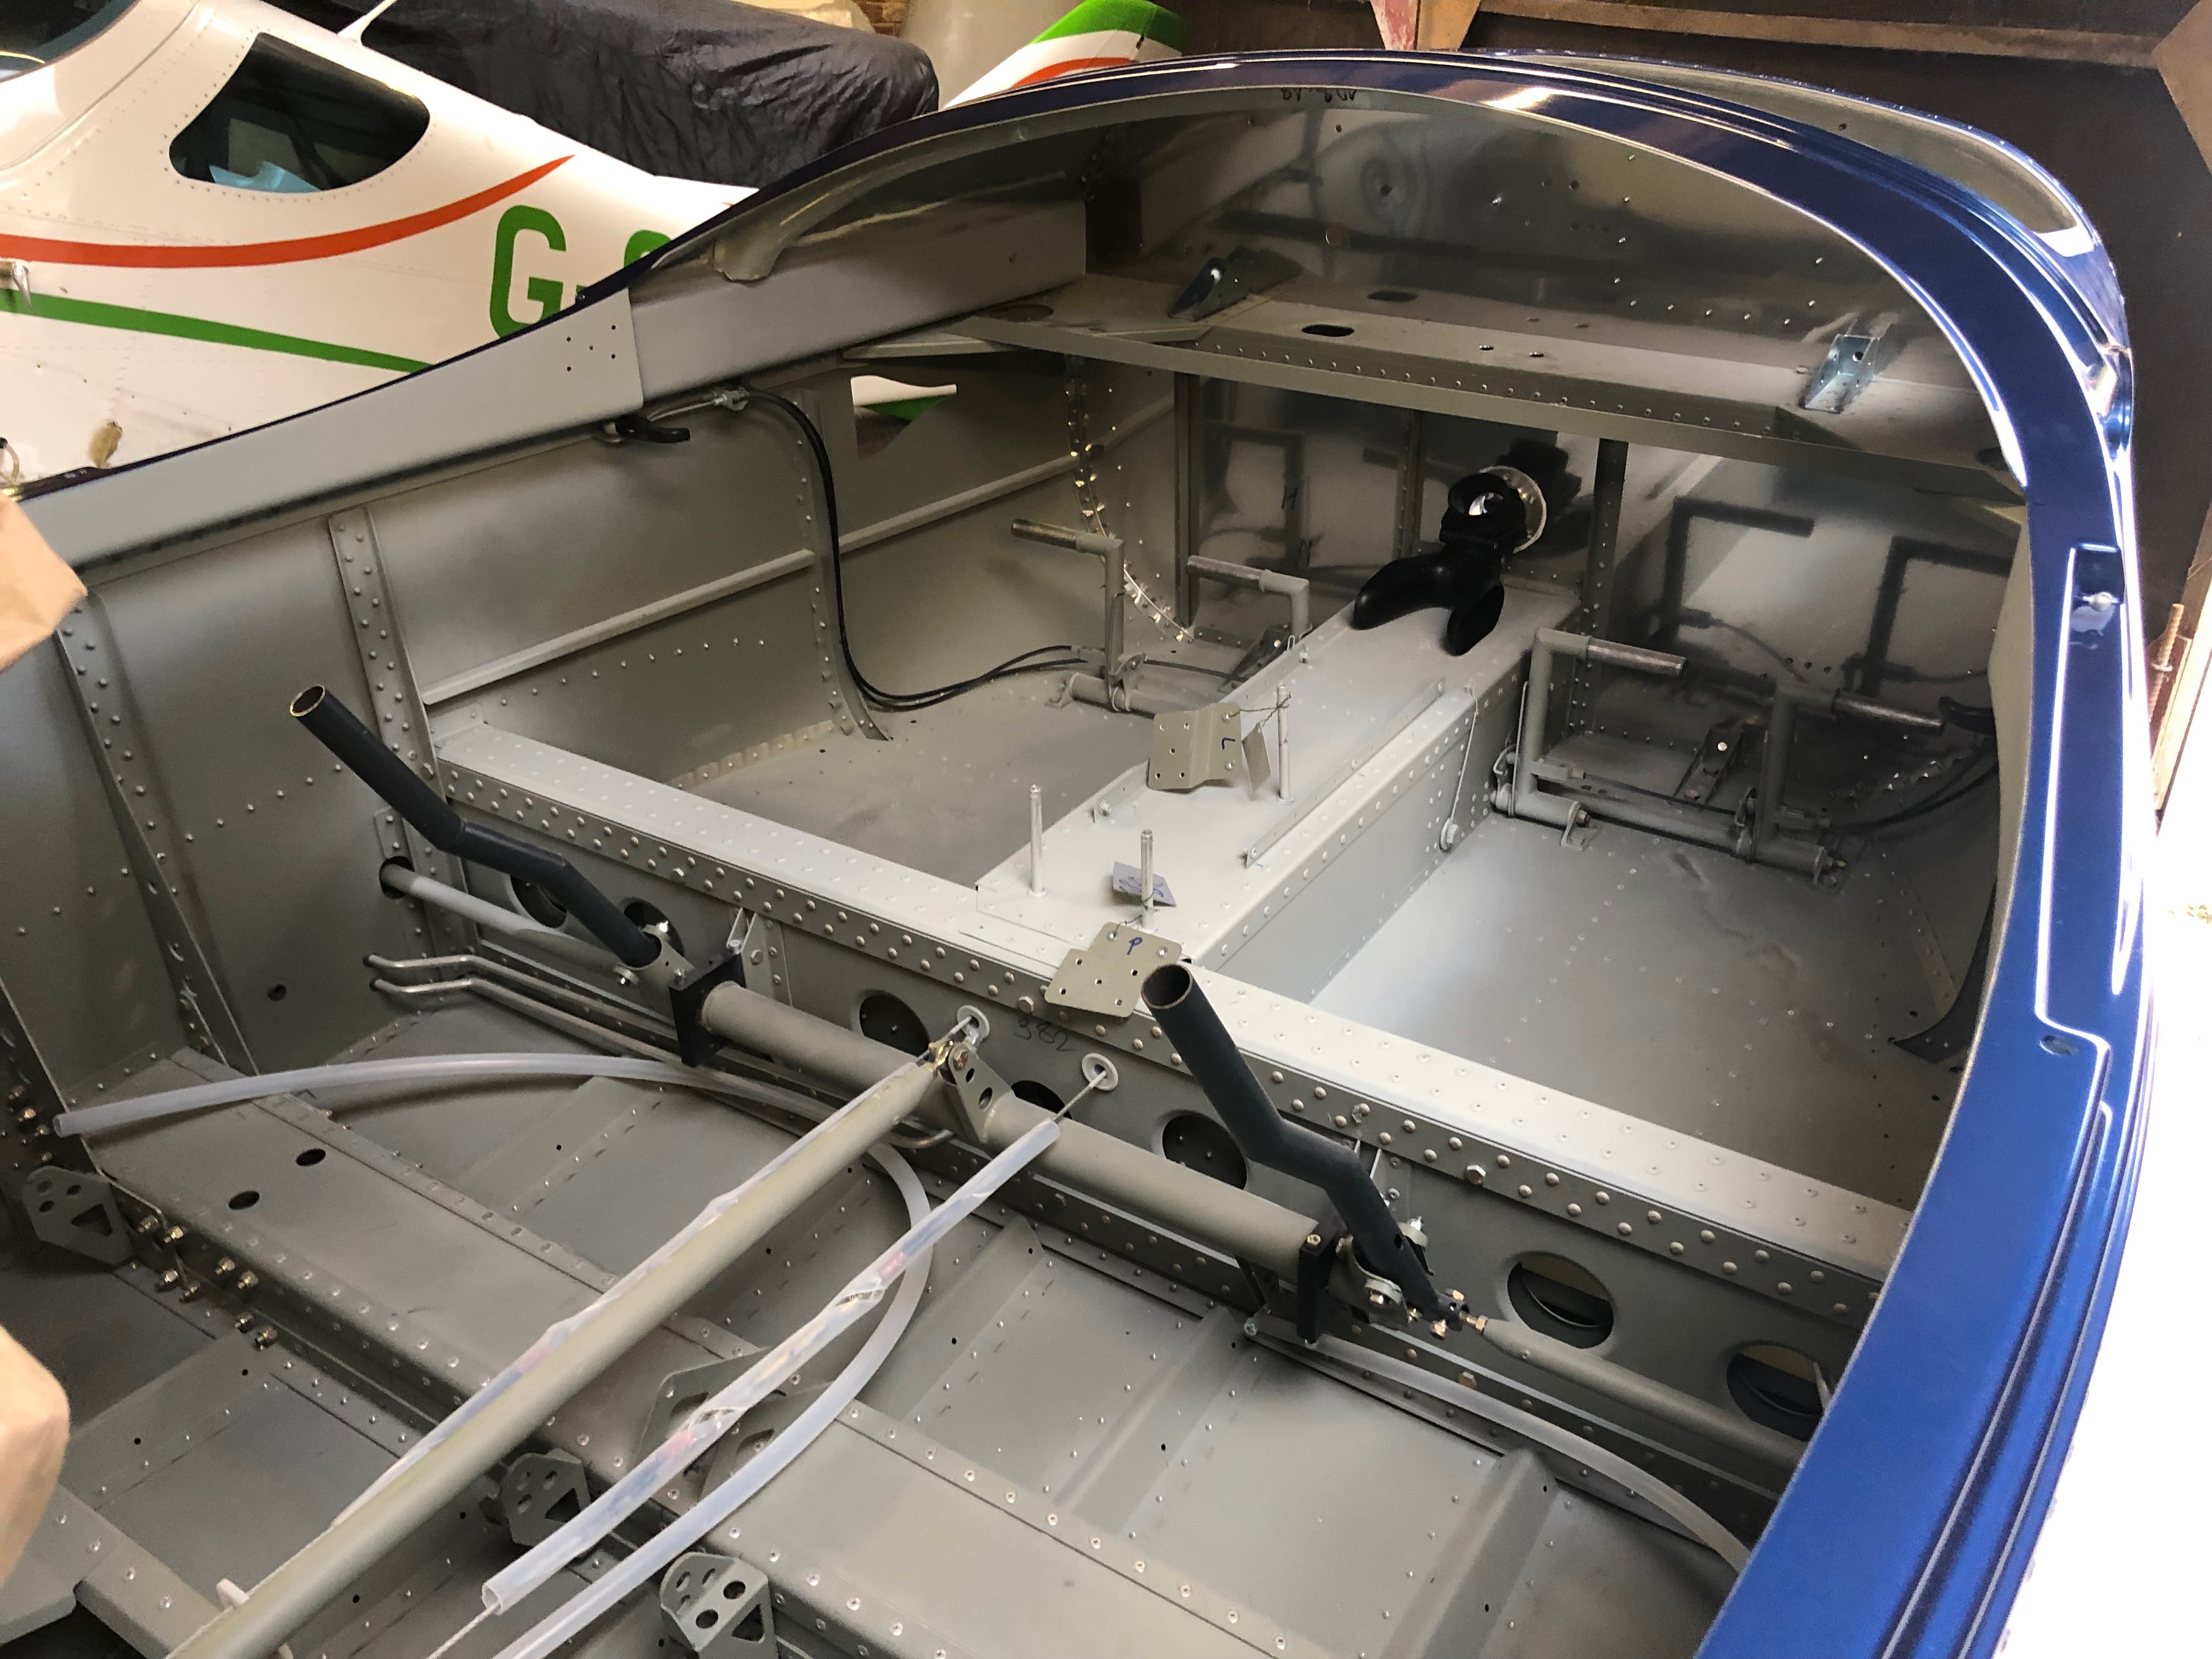
Now the servos brackets are in position the servos can be fitted. First the roll servo.
It’s very fiddly and would have been much easier to fit the servo to the bracket whilst it was out of the aircraft.
The pitch servo with the movement limiting bracket fitted which stops the motor running over centre. I still can’t finish the installation as there were items missing from the kit supplied to me – very frustrating as I can’t refit the controls until I fit the roll servo arm.
A first fit of the centre console in readiness for the fuel selector. Need to check with the instrument panel in place to check that the flap control cable is long enough to fit on the panel otherwise is will need to be mounted here instead which I would like to avoid.
After fitting the insulation need to reconnect and tighten the brake hoses before filling.
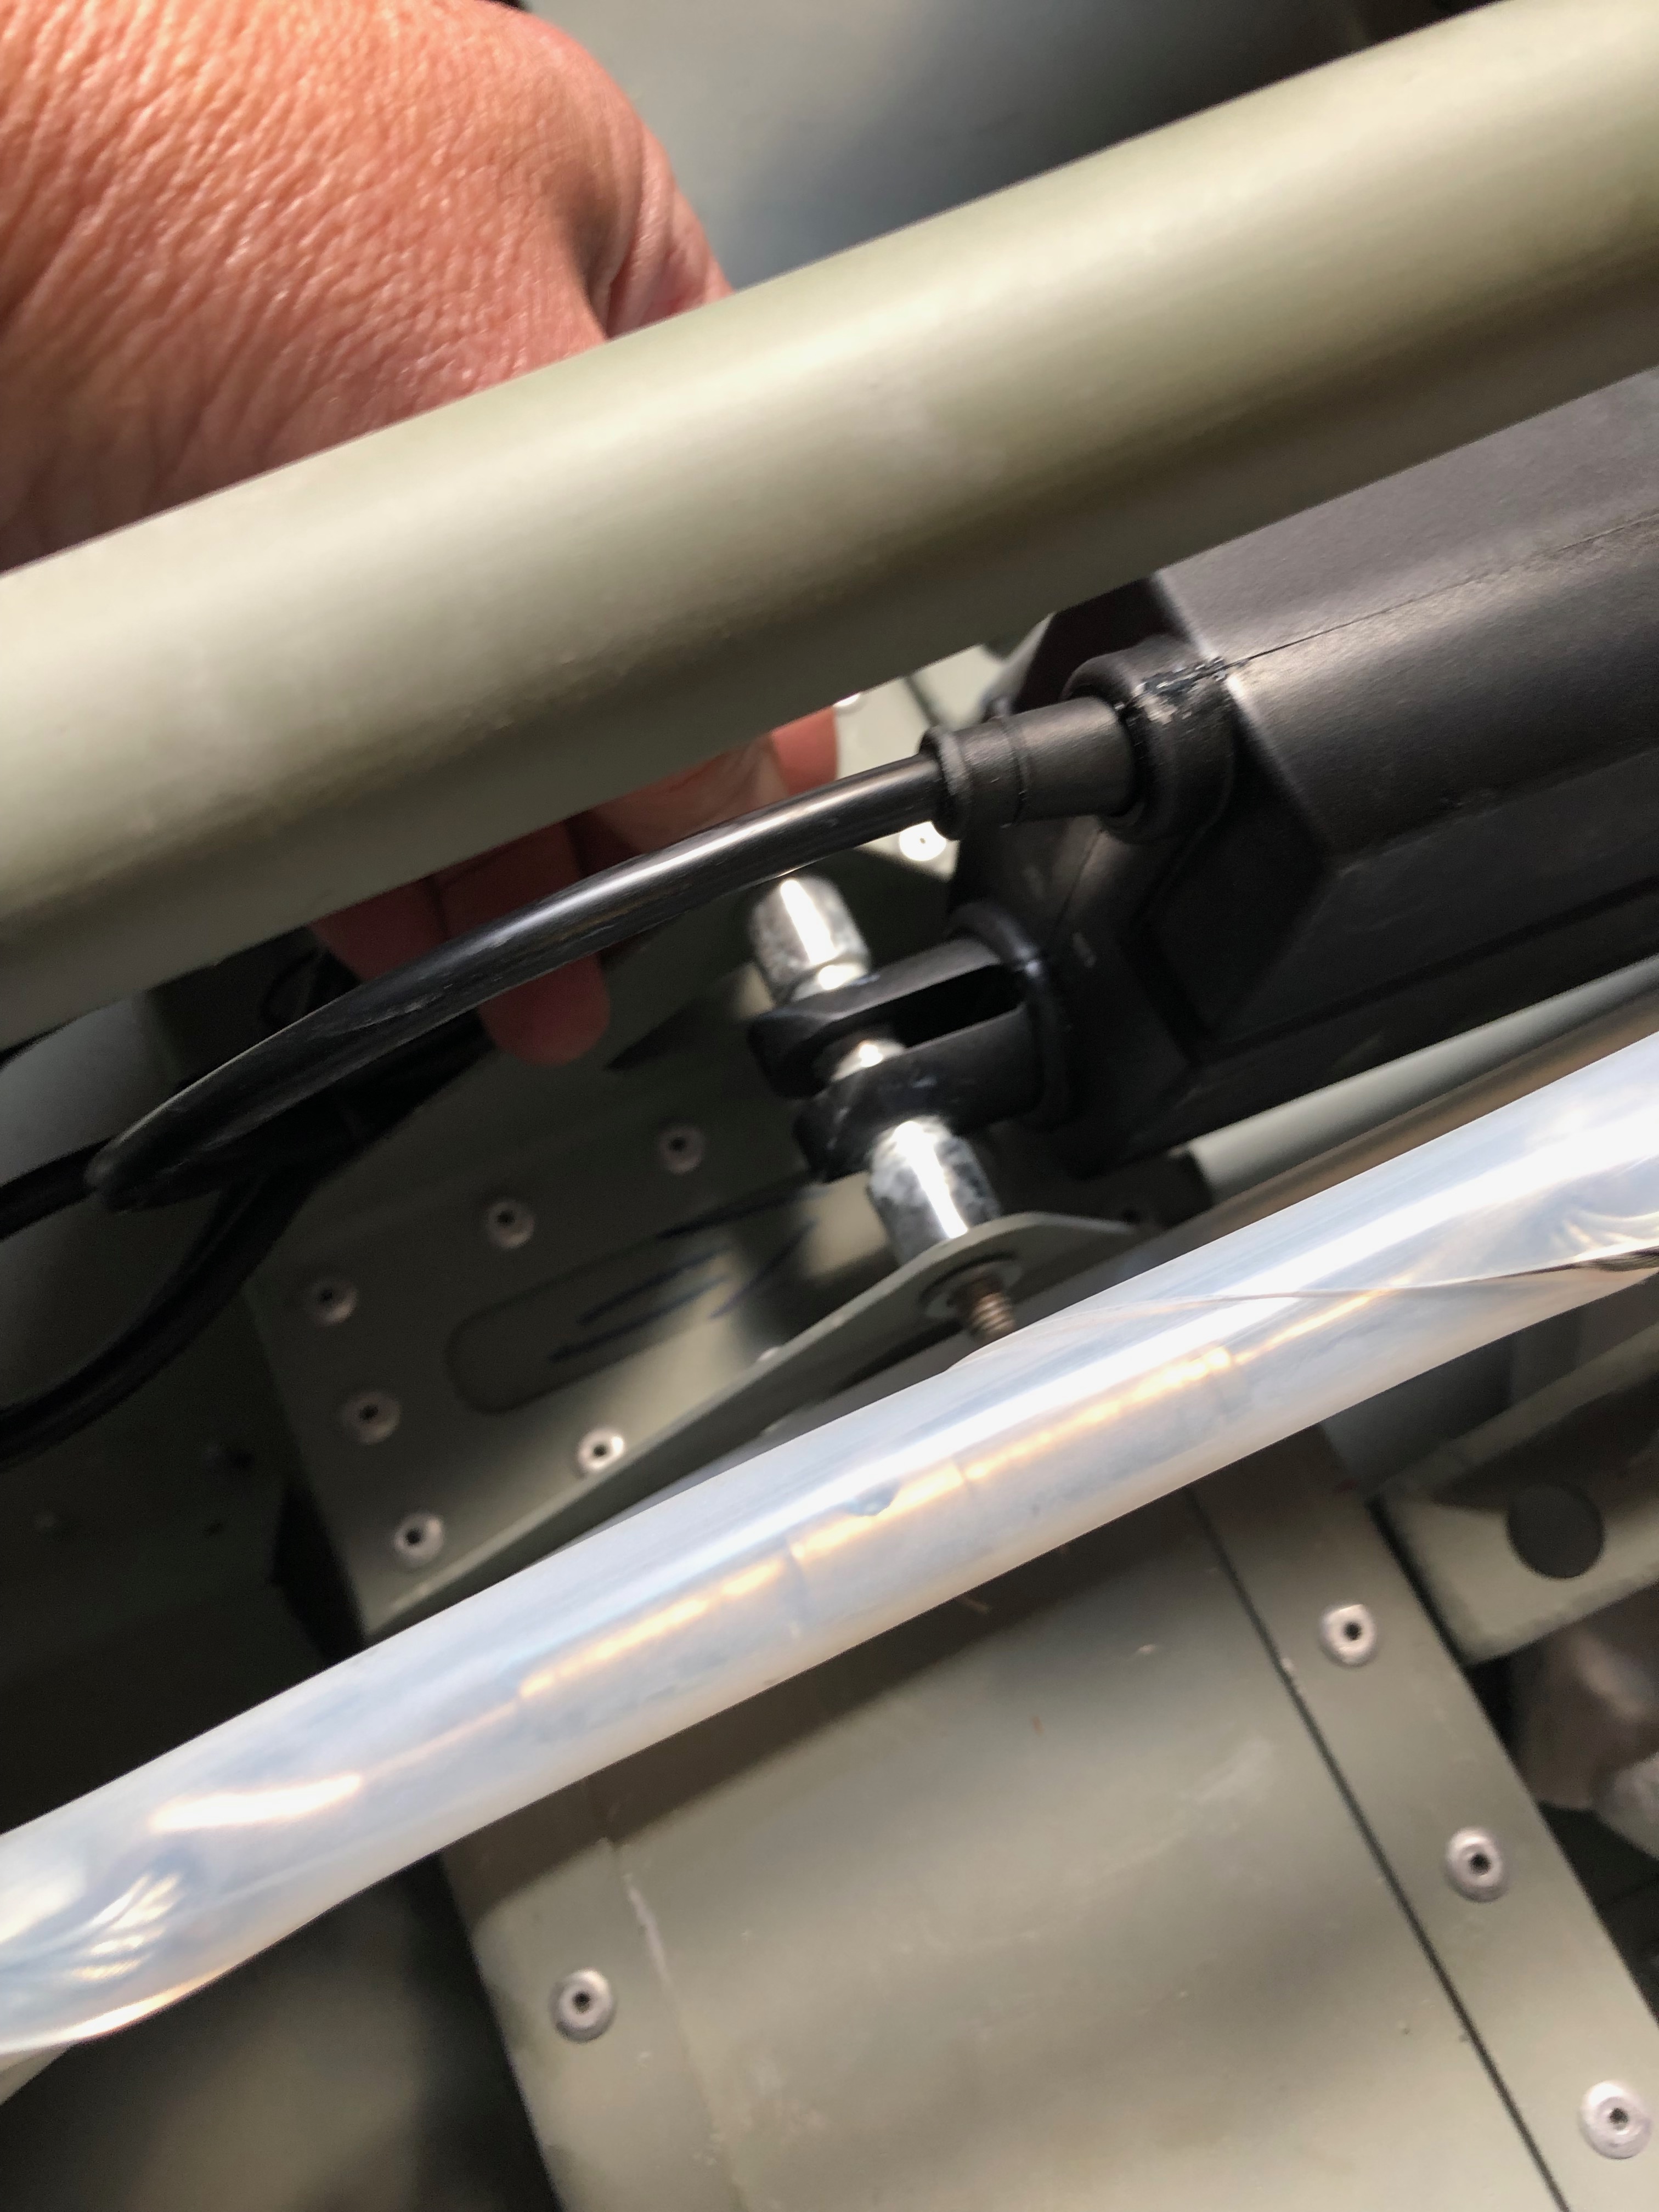
The brake fluid is filled from the bottom so some plastic pipe is wire locked onto the brake calliper nipple so stop it slipping off. The nipple is unscrewed to allow the fluid to flow into the calliper.
An oil can that has been thoroughly cleaned is filled with Aero Shell 41 and the plastic pipe is fitted to the nozzle.
The filling commences after releasing the park brake valve.
When the fluid reaches the brake oil bottle the brake calliper nipple is tightened and the process is repeated for the lefthand side brakes.
Filling complete but some air bubbles are present. They will need to be purged before use otherwise the brakes may not operate properly.
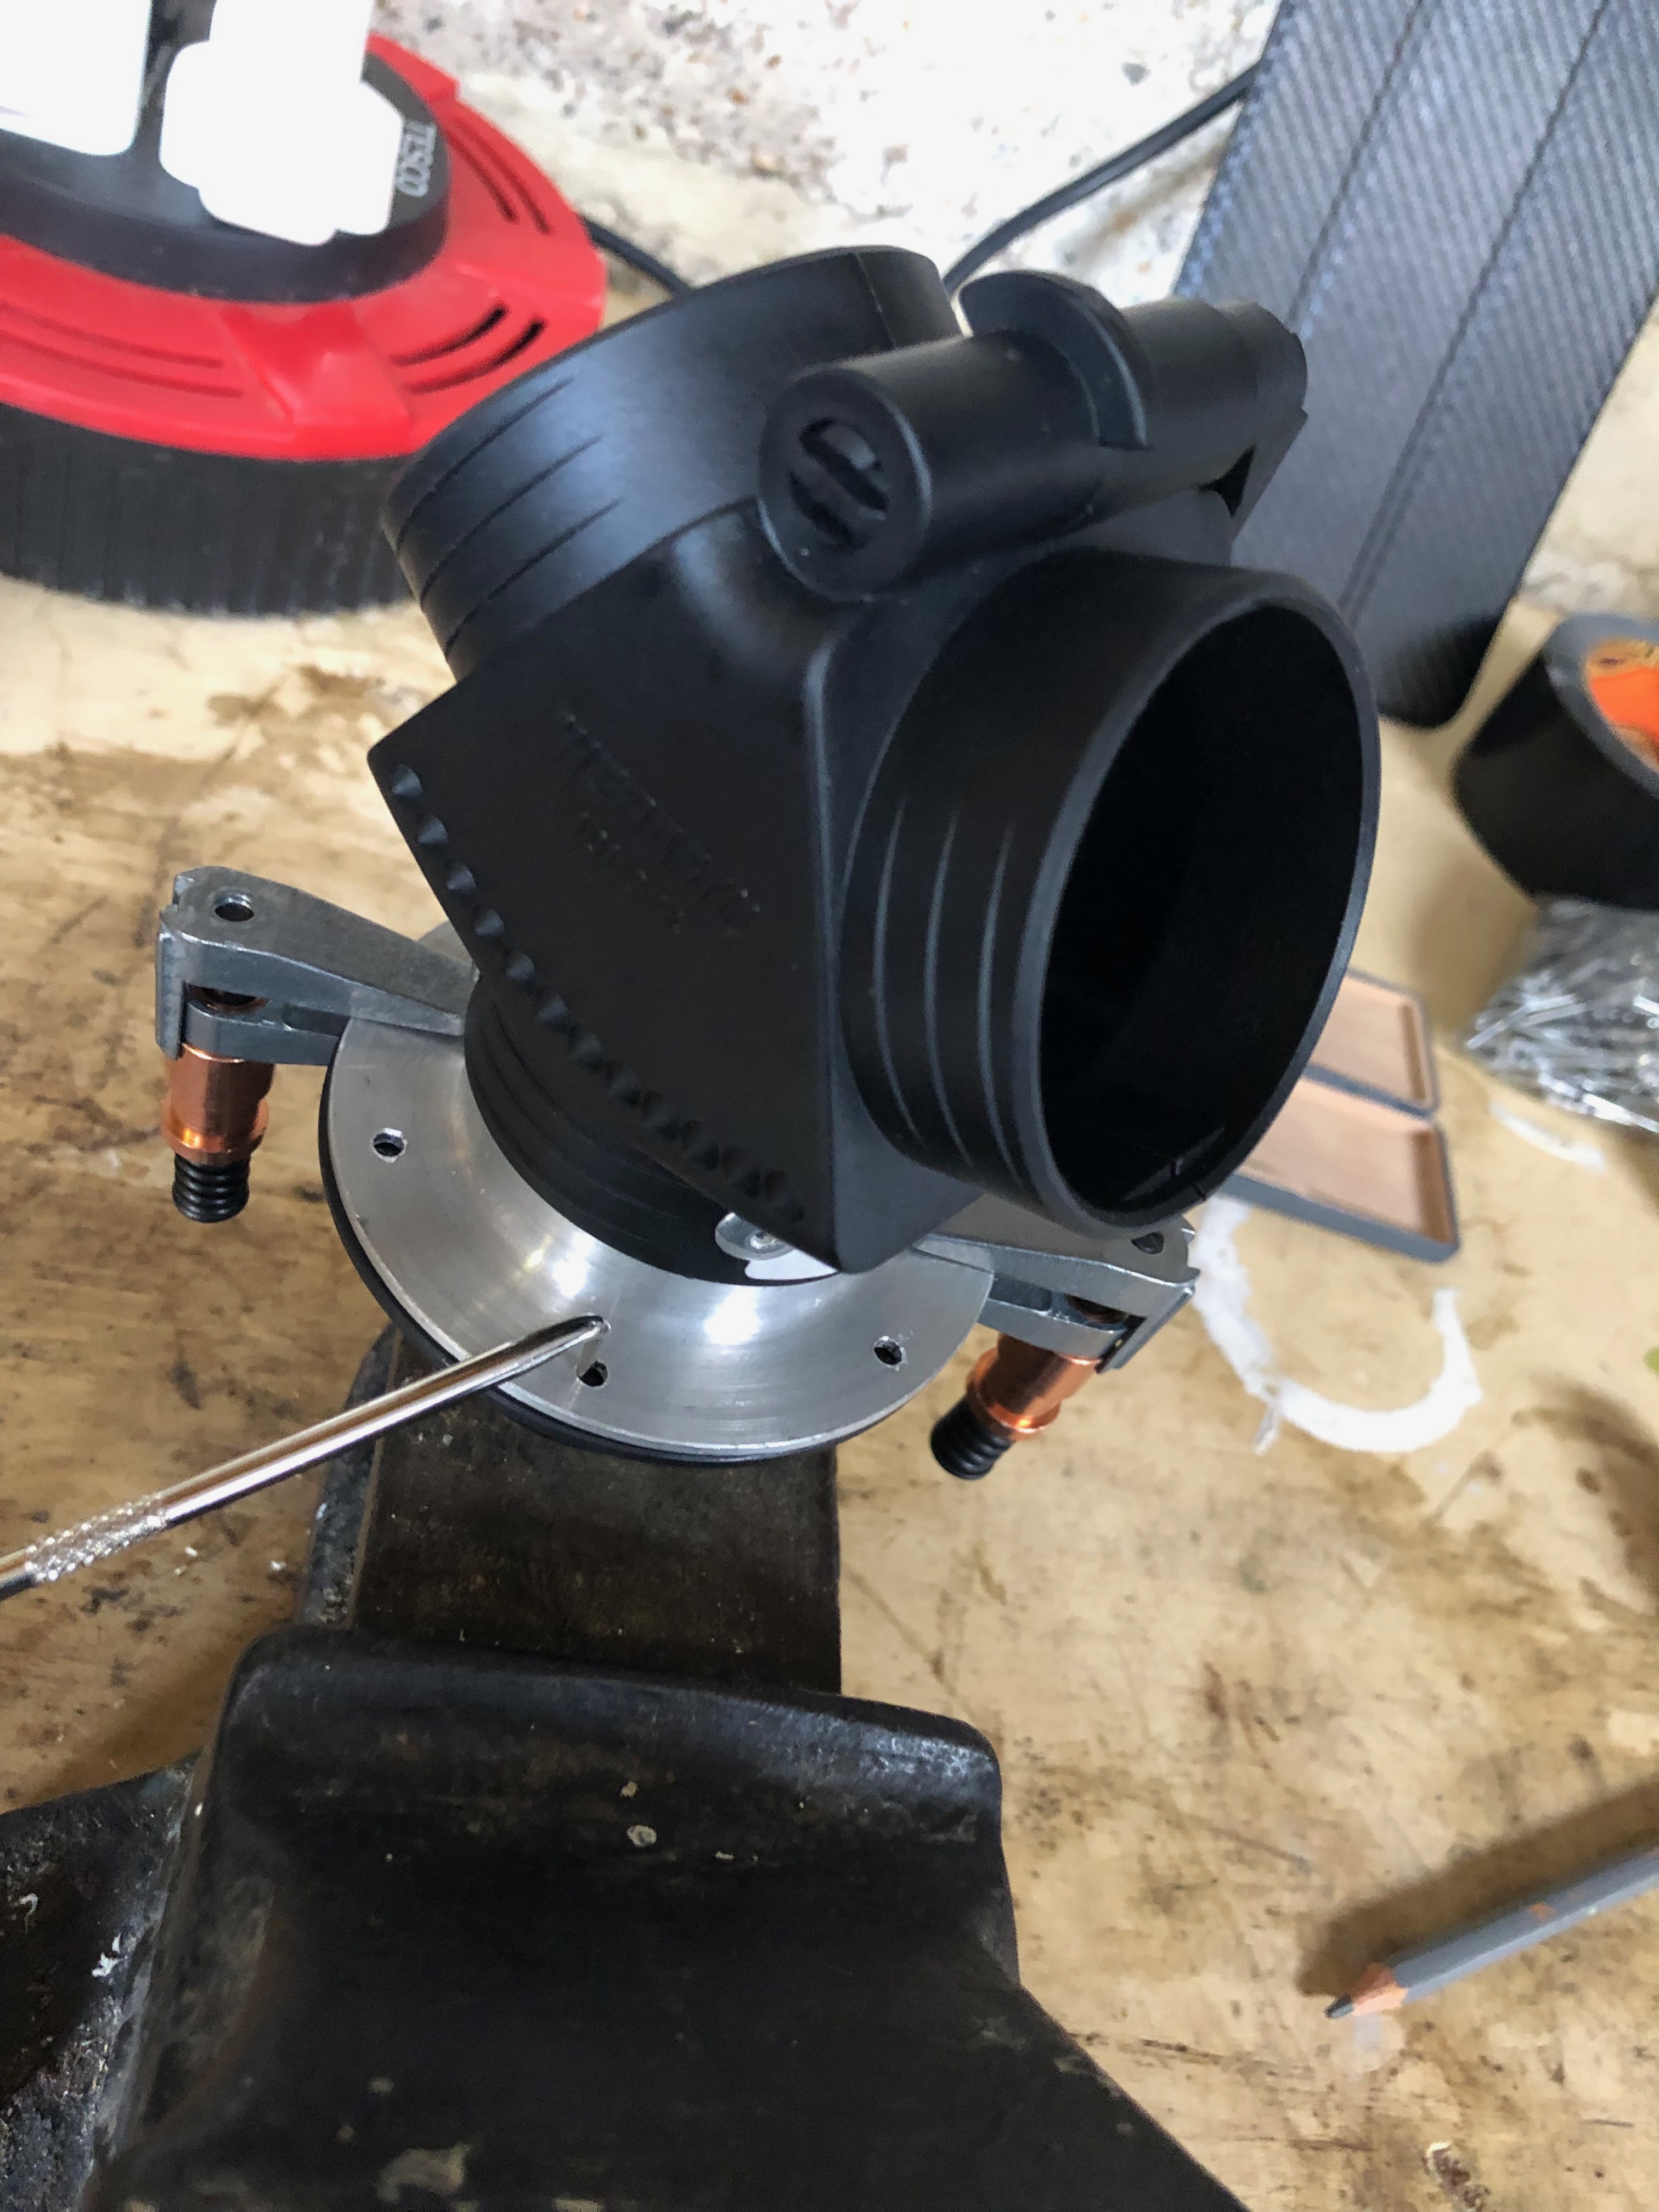
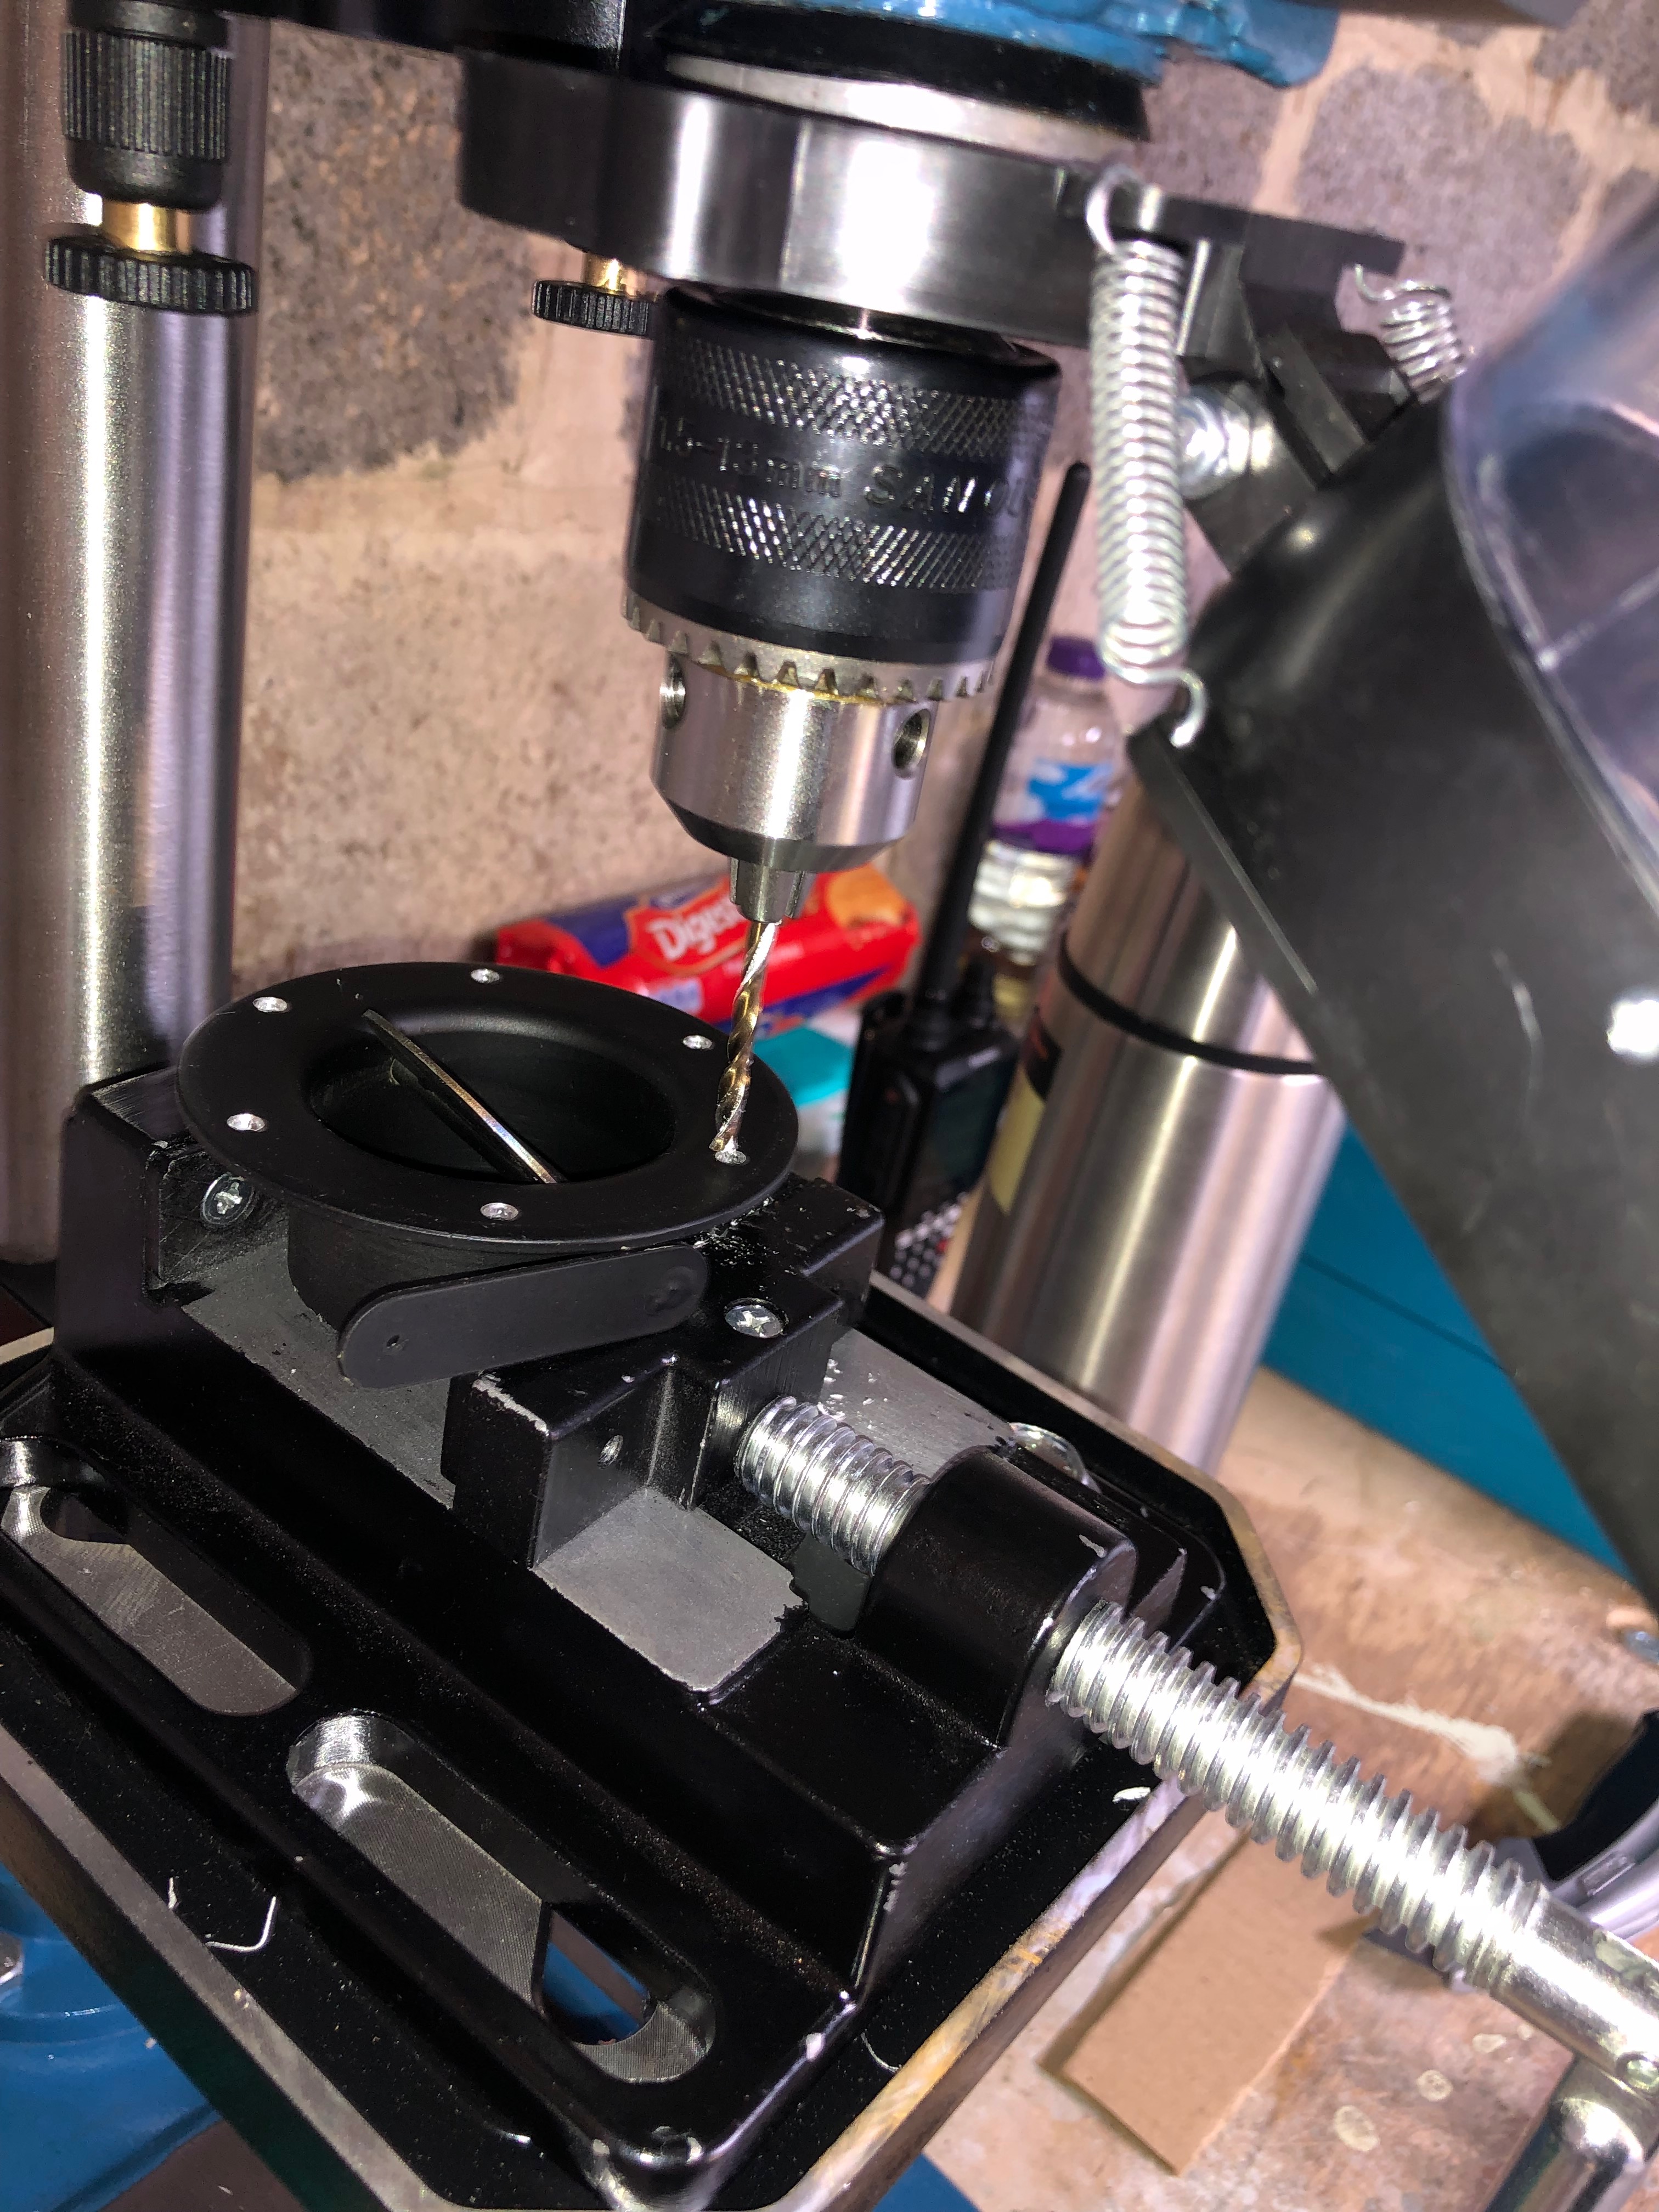
Due to limited space I couldn’t drill the second set of holes for the retention system. Luckily Ian had a 90 degree attachment the allowed me to drill the holes.
The holes for the rivets that will secure the bracket.
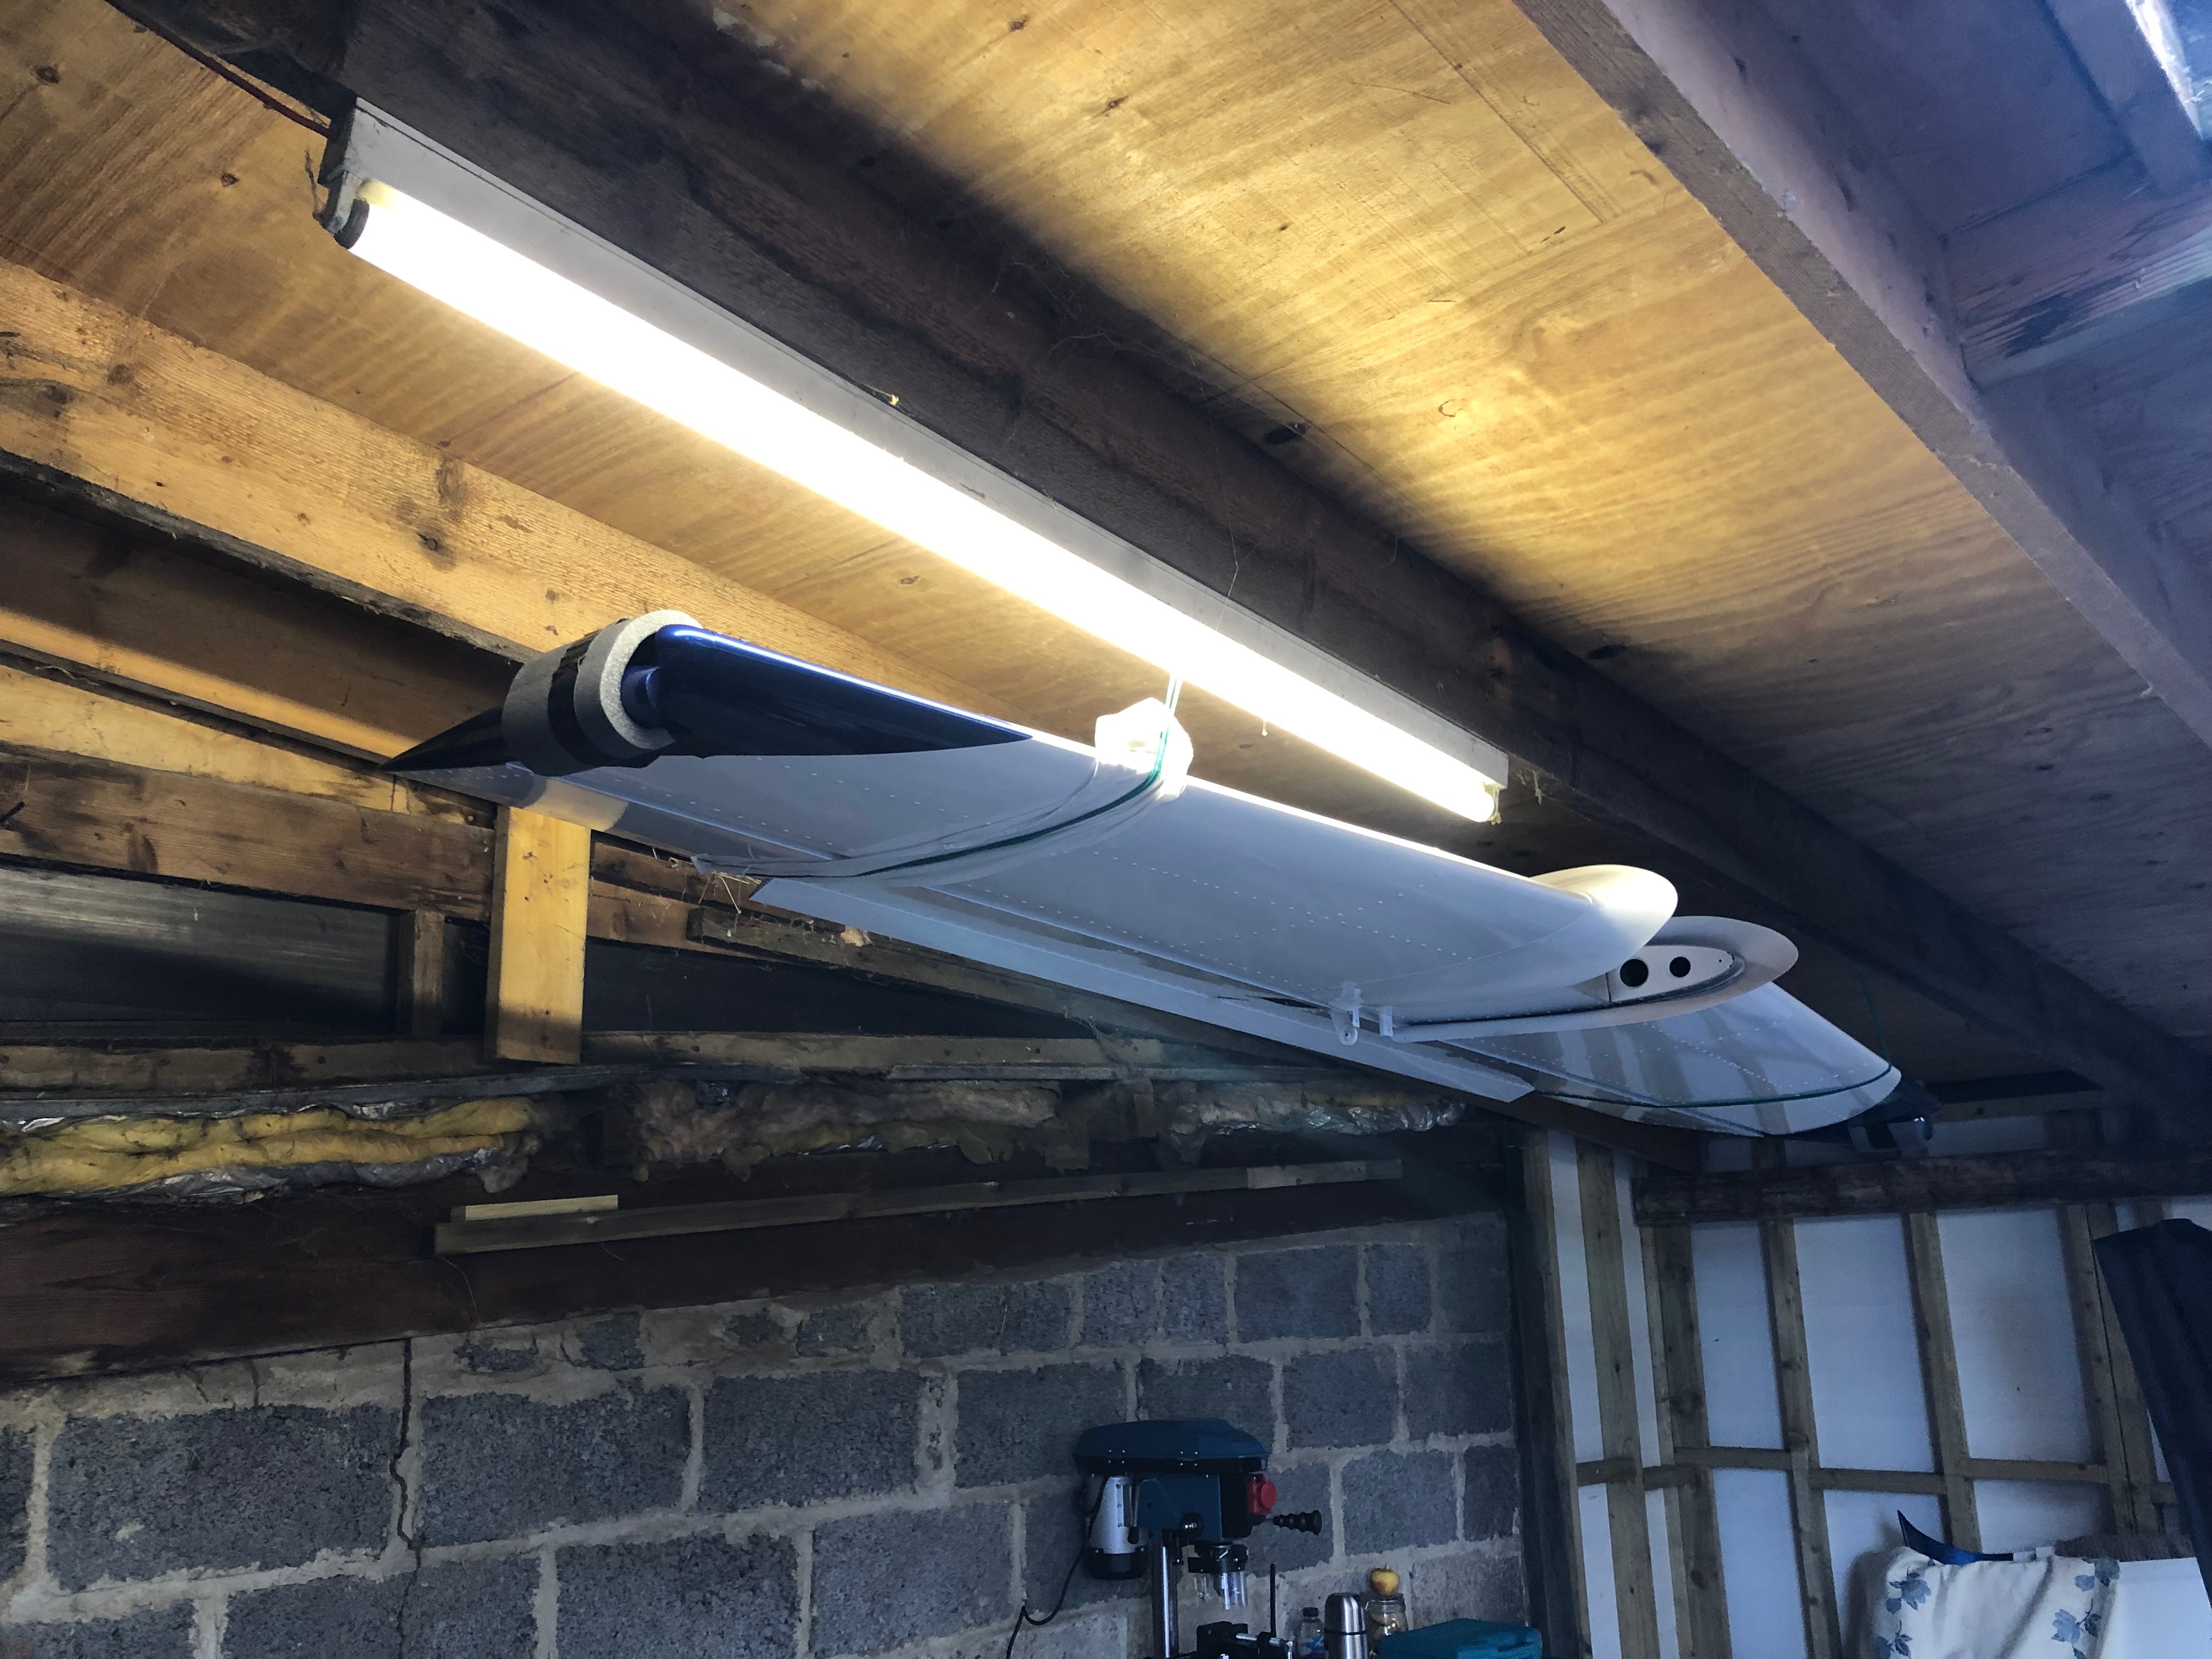
Sometimes you have to leave certain jobs because an immediate opportunity comes up for someone to help you swap wings. This is what happened when I had starboard wing up on the stand so I didn’t get chance to fit the strobe light. So today’s the day to do it.
Once the holes are drilled they need to be countersunk otherwise the strobes won’t fit flush.
Some Loctite 243 on the screws and then they are pinched up, not too tightly, otherwise they will disfigure the rubber mount.
The finished job, let’s hope it matches the other wing!
A job I kept forgetting to do is to add a breather pipe to the oil tank.
Now they can be secured with the drip tray and air intake breather tubes that Andy fitted yesterday.
I wanted to try to reduce the amount of vibration and droning from the firewall and noise from the engine. I purchased some sound & vibration deadening heat resistant foil back foam that will do the job.
After cutting to size, I’ve made the service holes to match the firewall and added grommets to make it a neater job.
I used some thinners to remove the printing on the foil before fitting. Looks a good fit.
I now need to undo some of the work I’ve done on the brakes and fit the front lower panels so I can fit sound deadening on the firewall behind the rudder pedals but run out of time today so will finish this job Monday.
Time to install the flap motor. The bushes need to be sprayed with Lithium grease and then installed.
Fairly easy install but just a bit fiddly to install. You must connect the flap motor arm to the flap actuating arm first as you can’t get the bolt in after.
Motor installed.
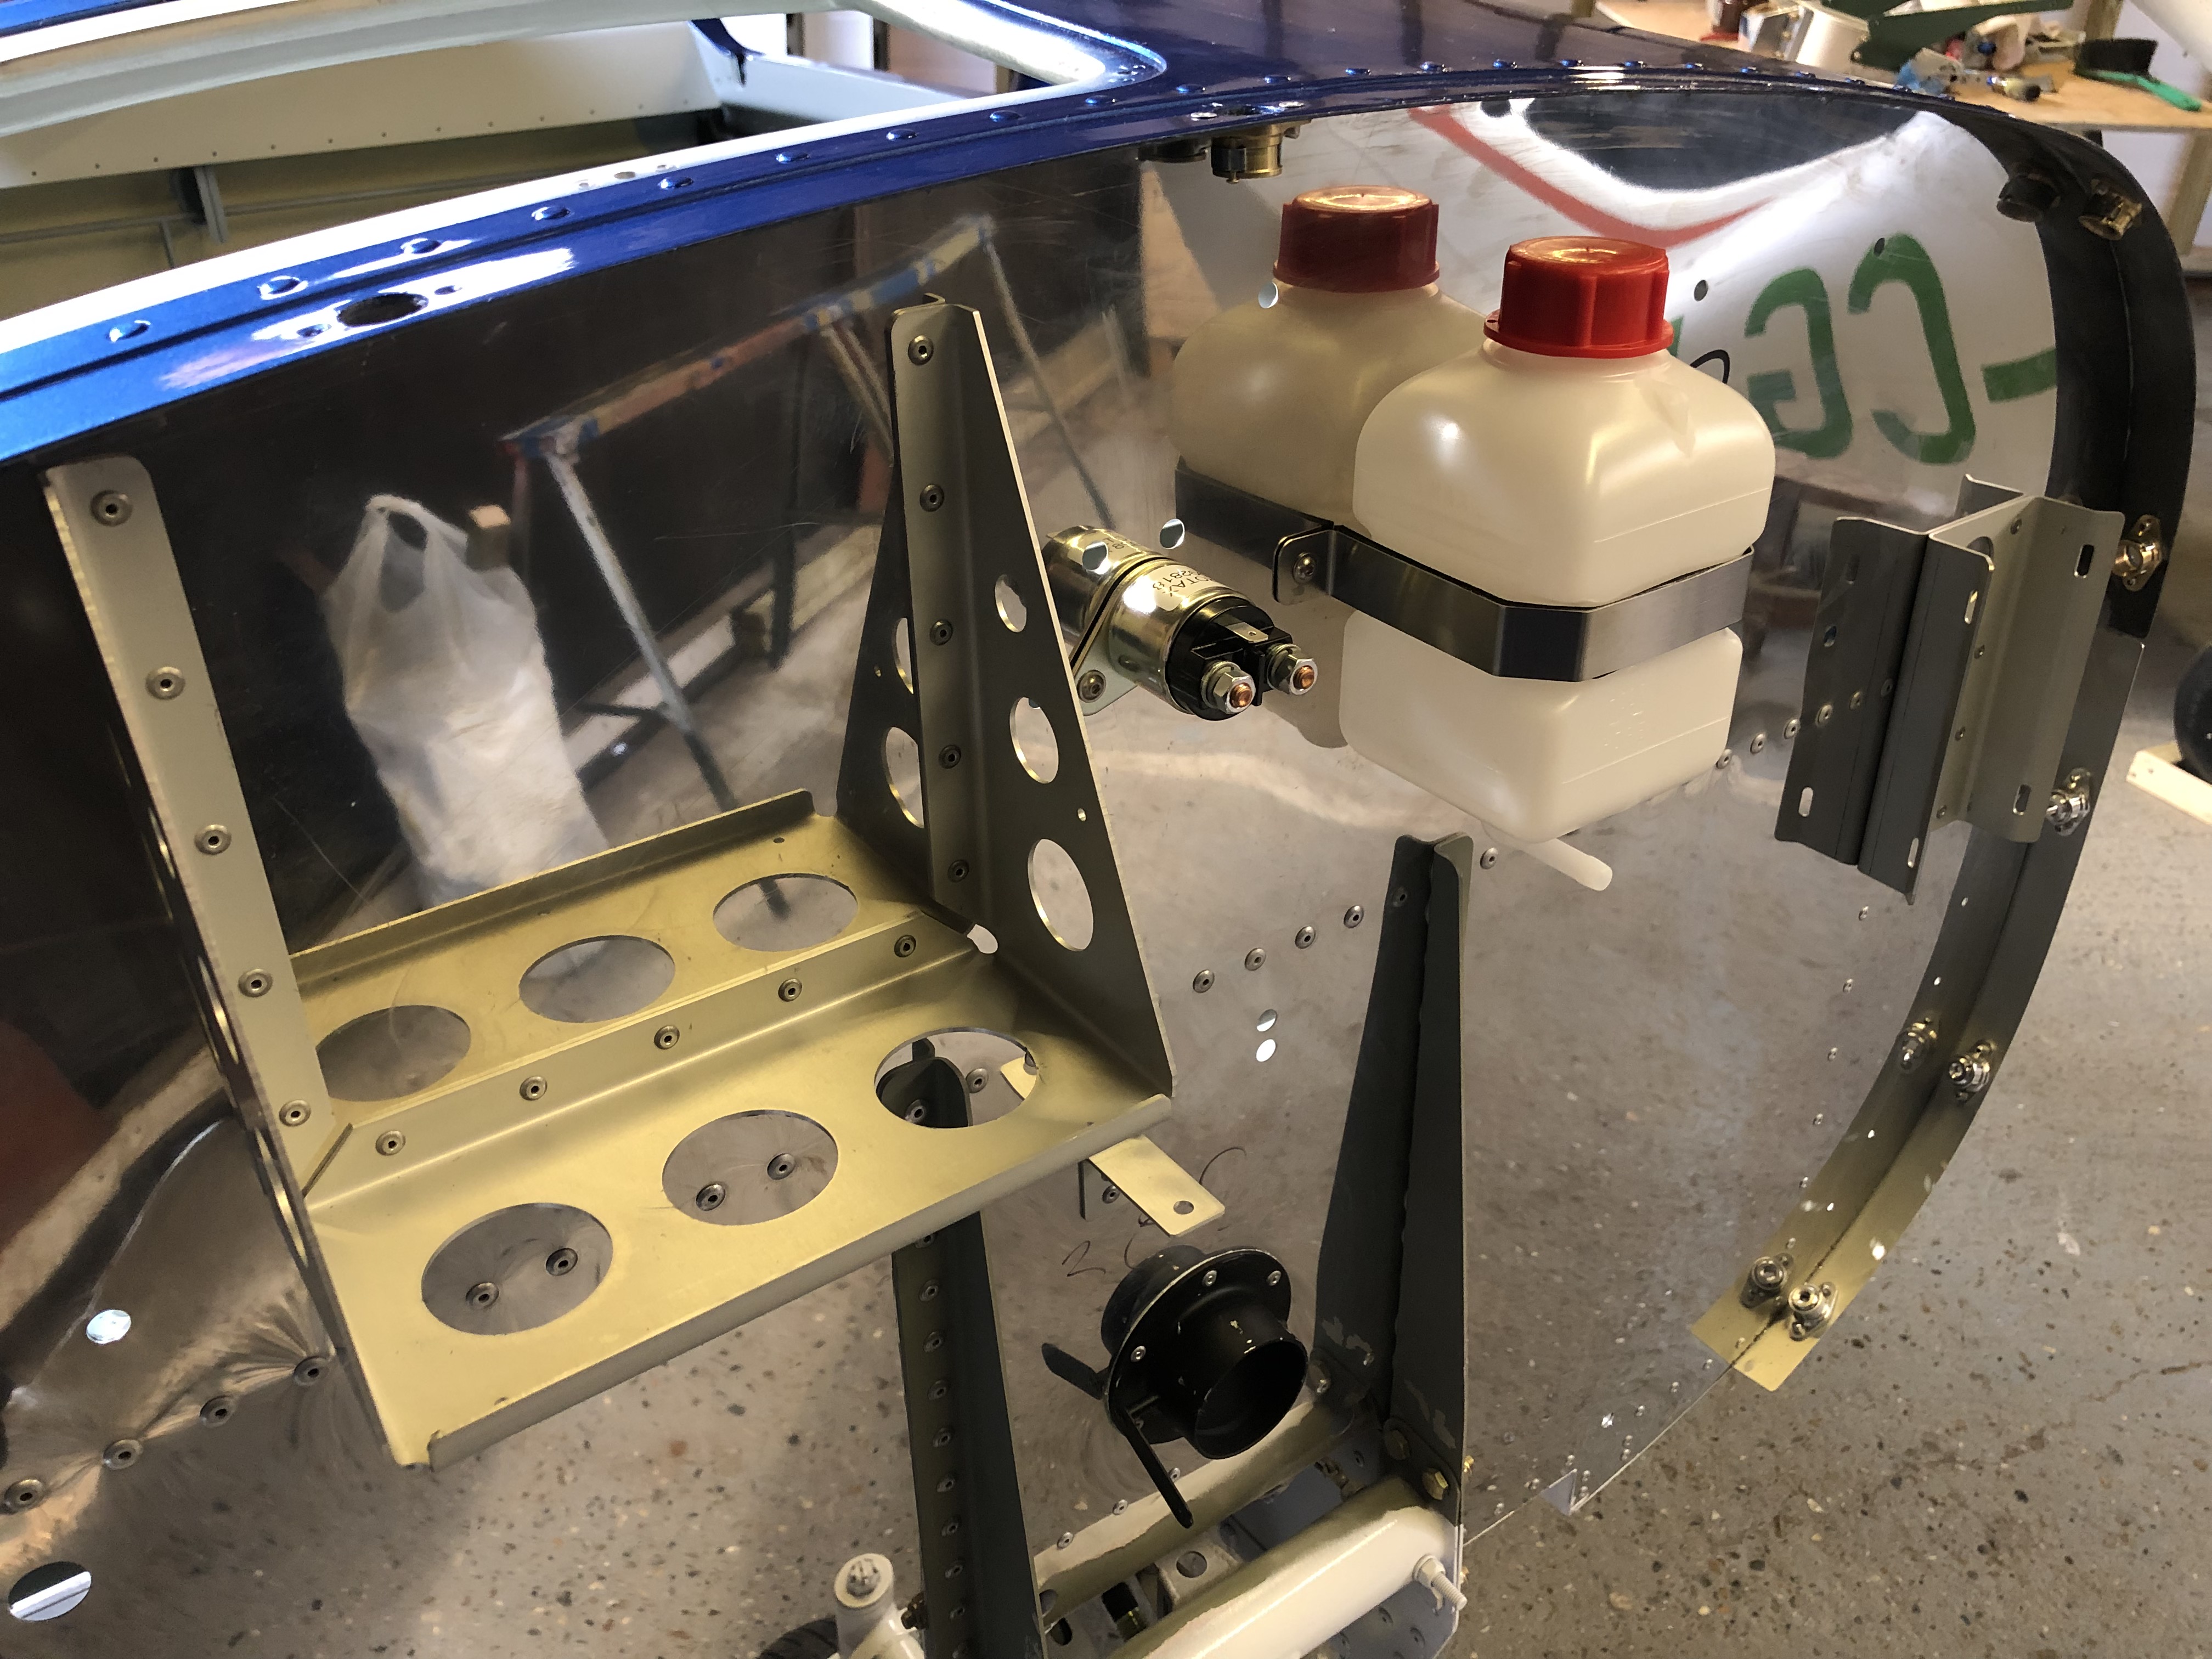
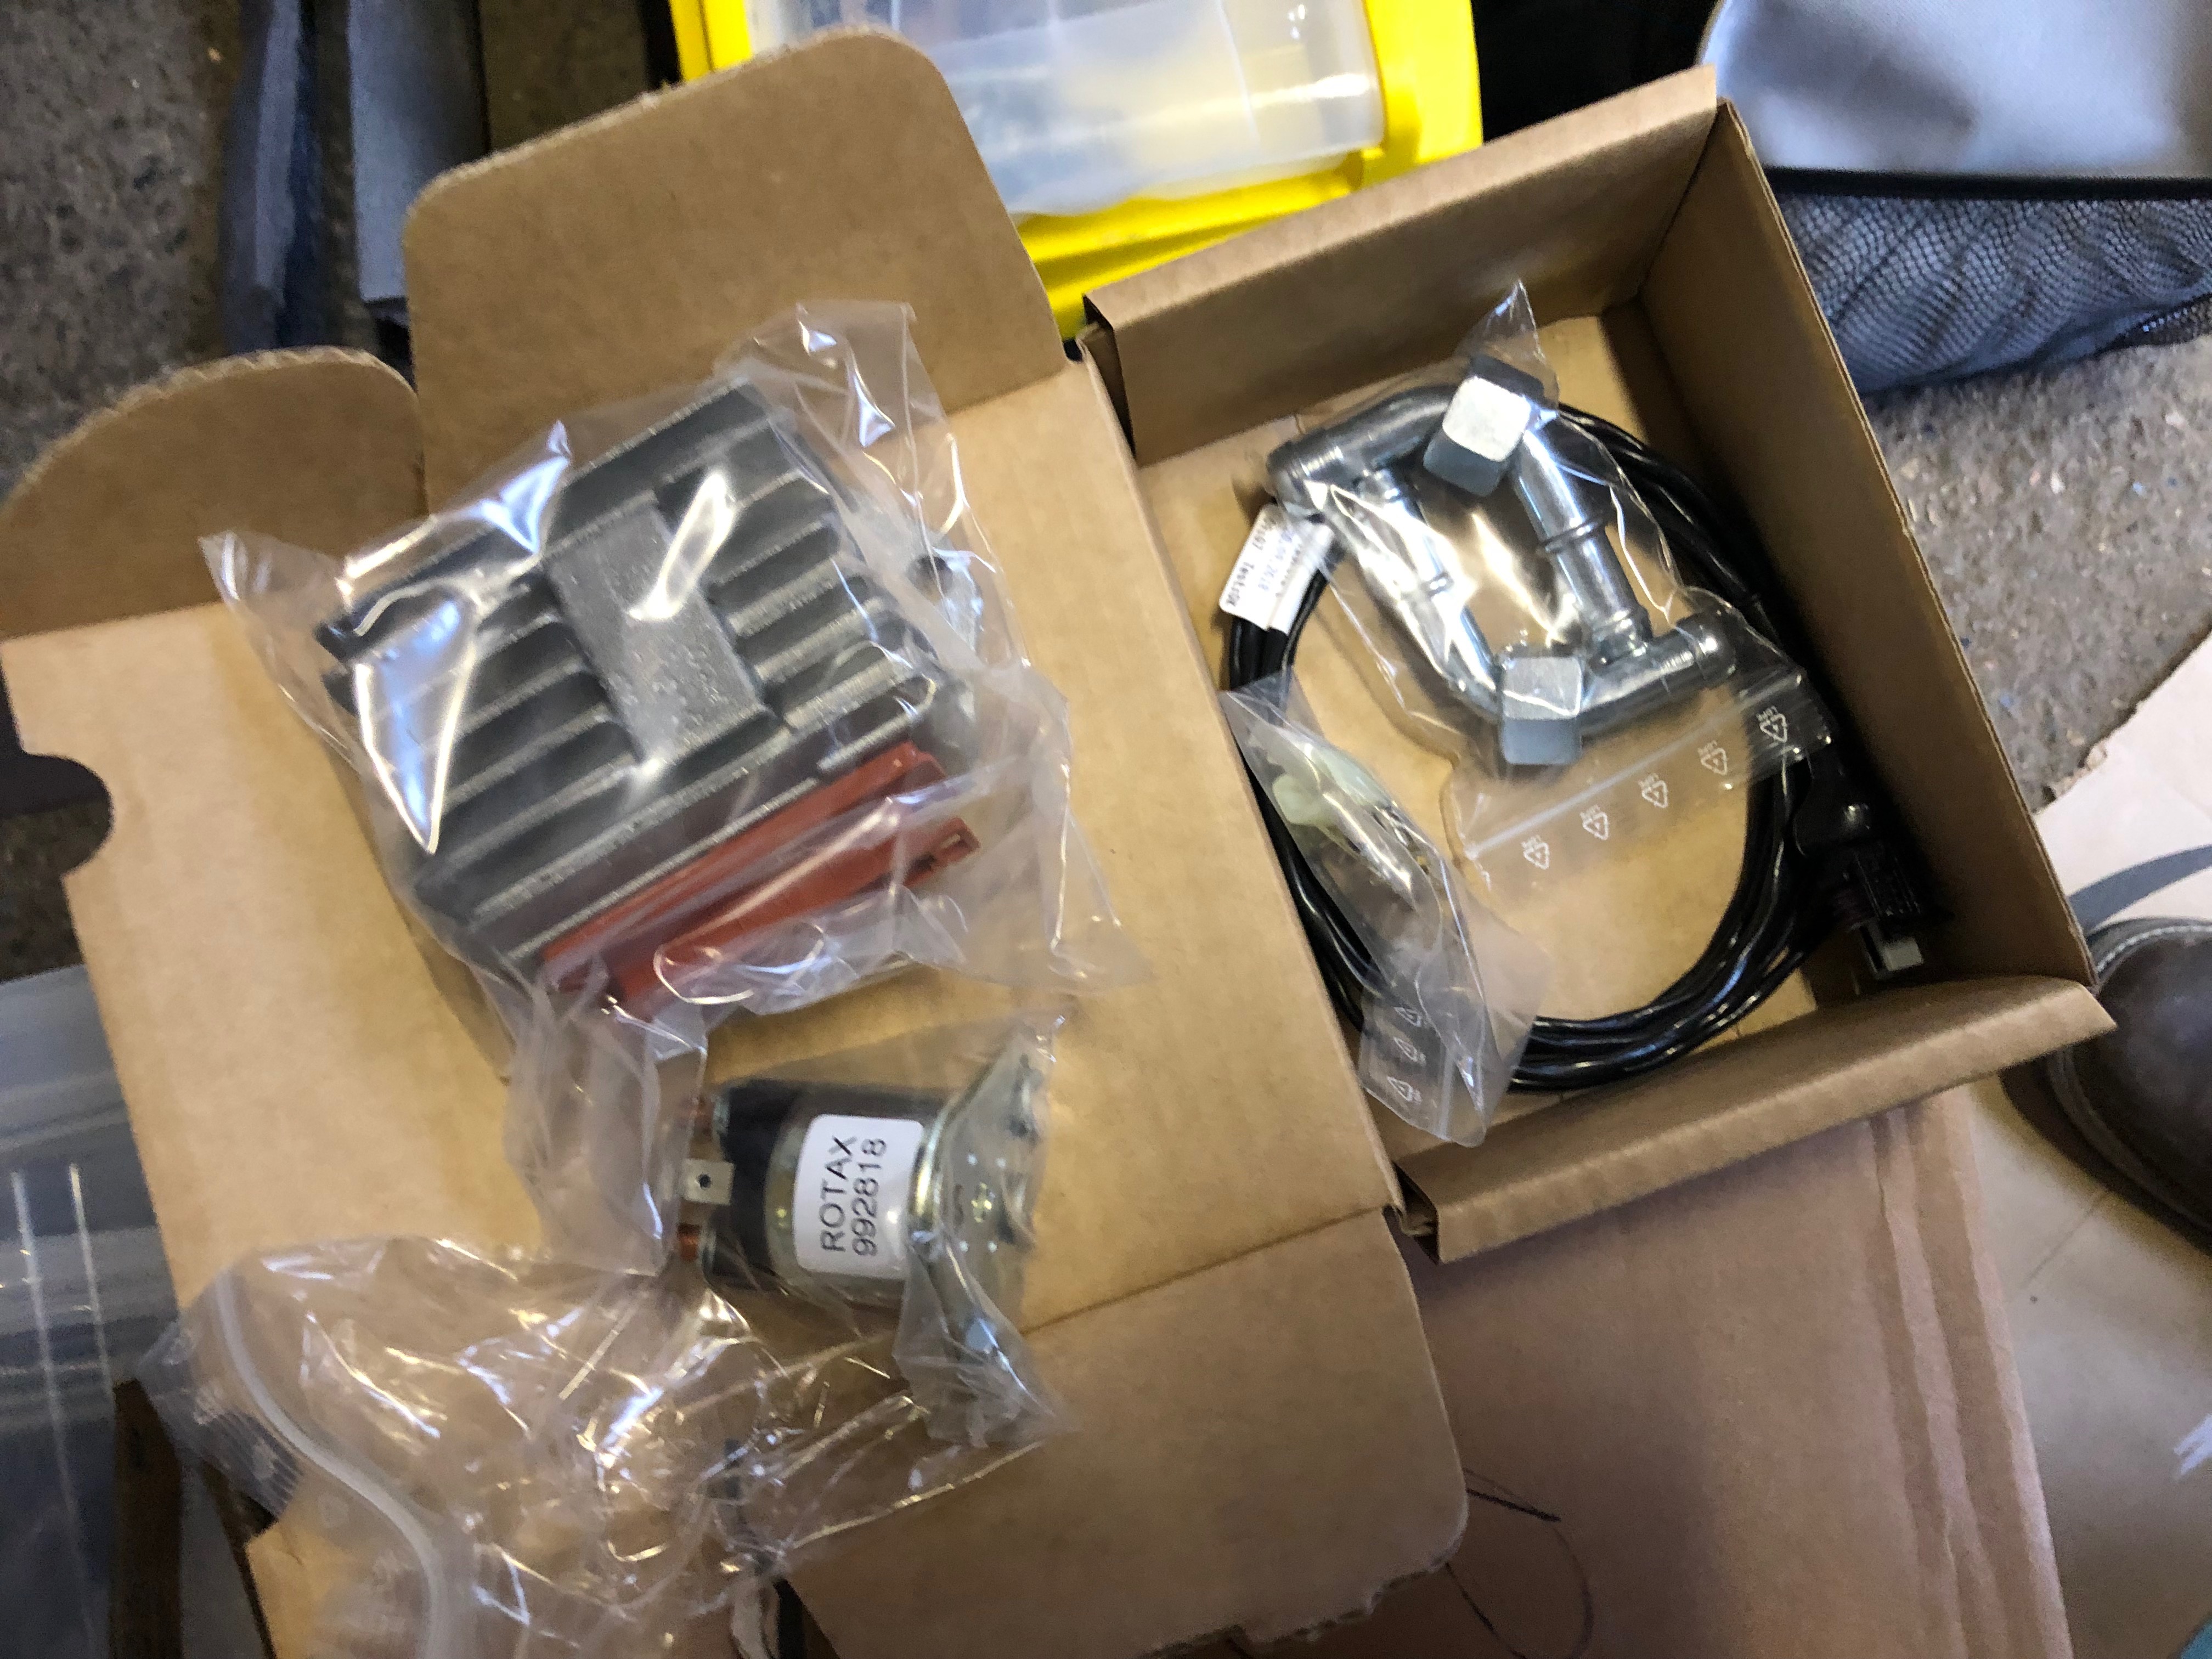
Next to be installed is the starter solenoid. A couple of M4 Rivnuts are installed with hex top screws to fix.
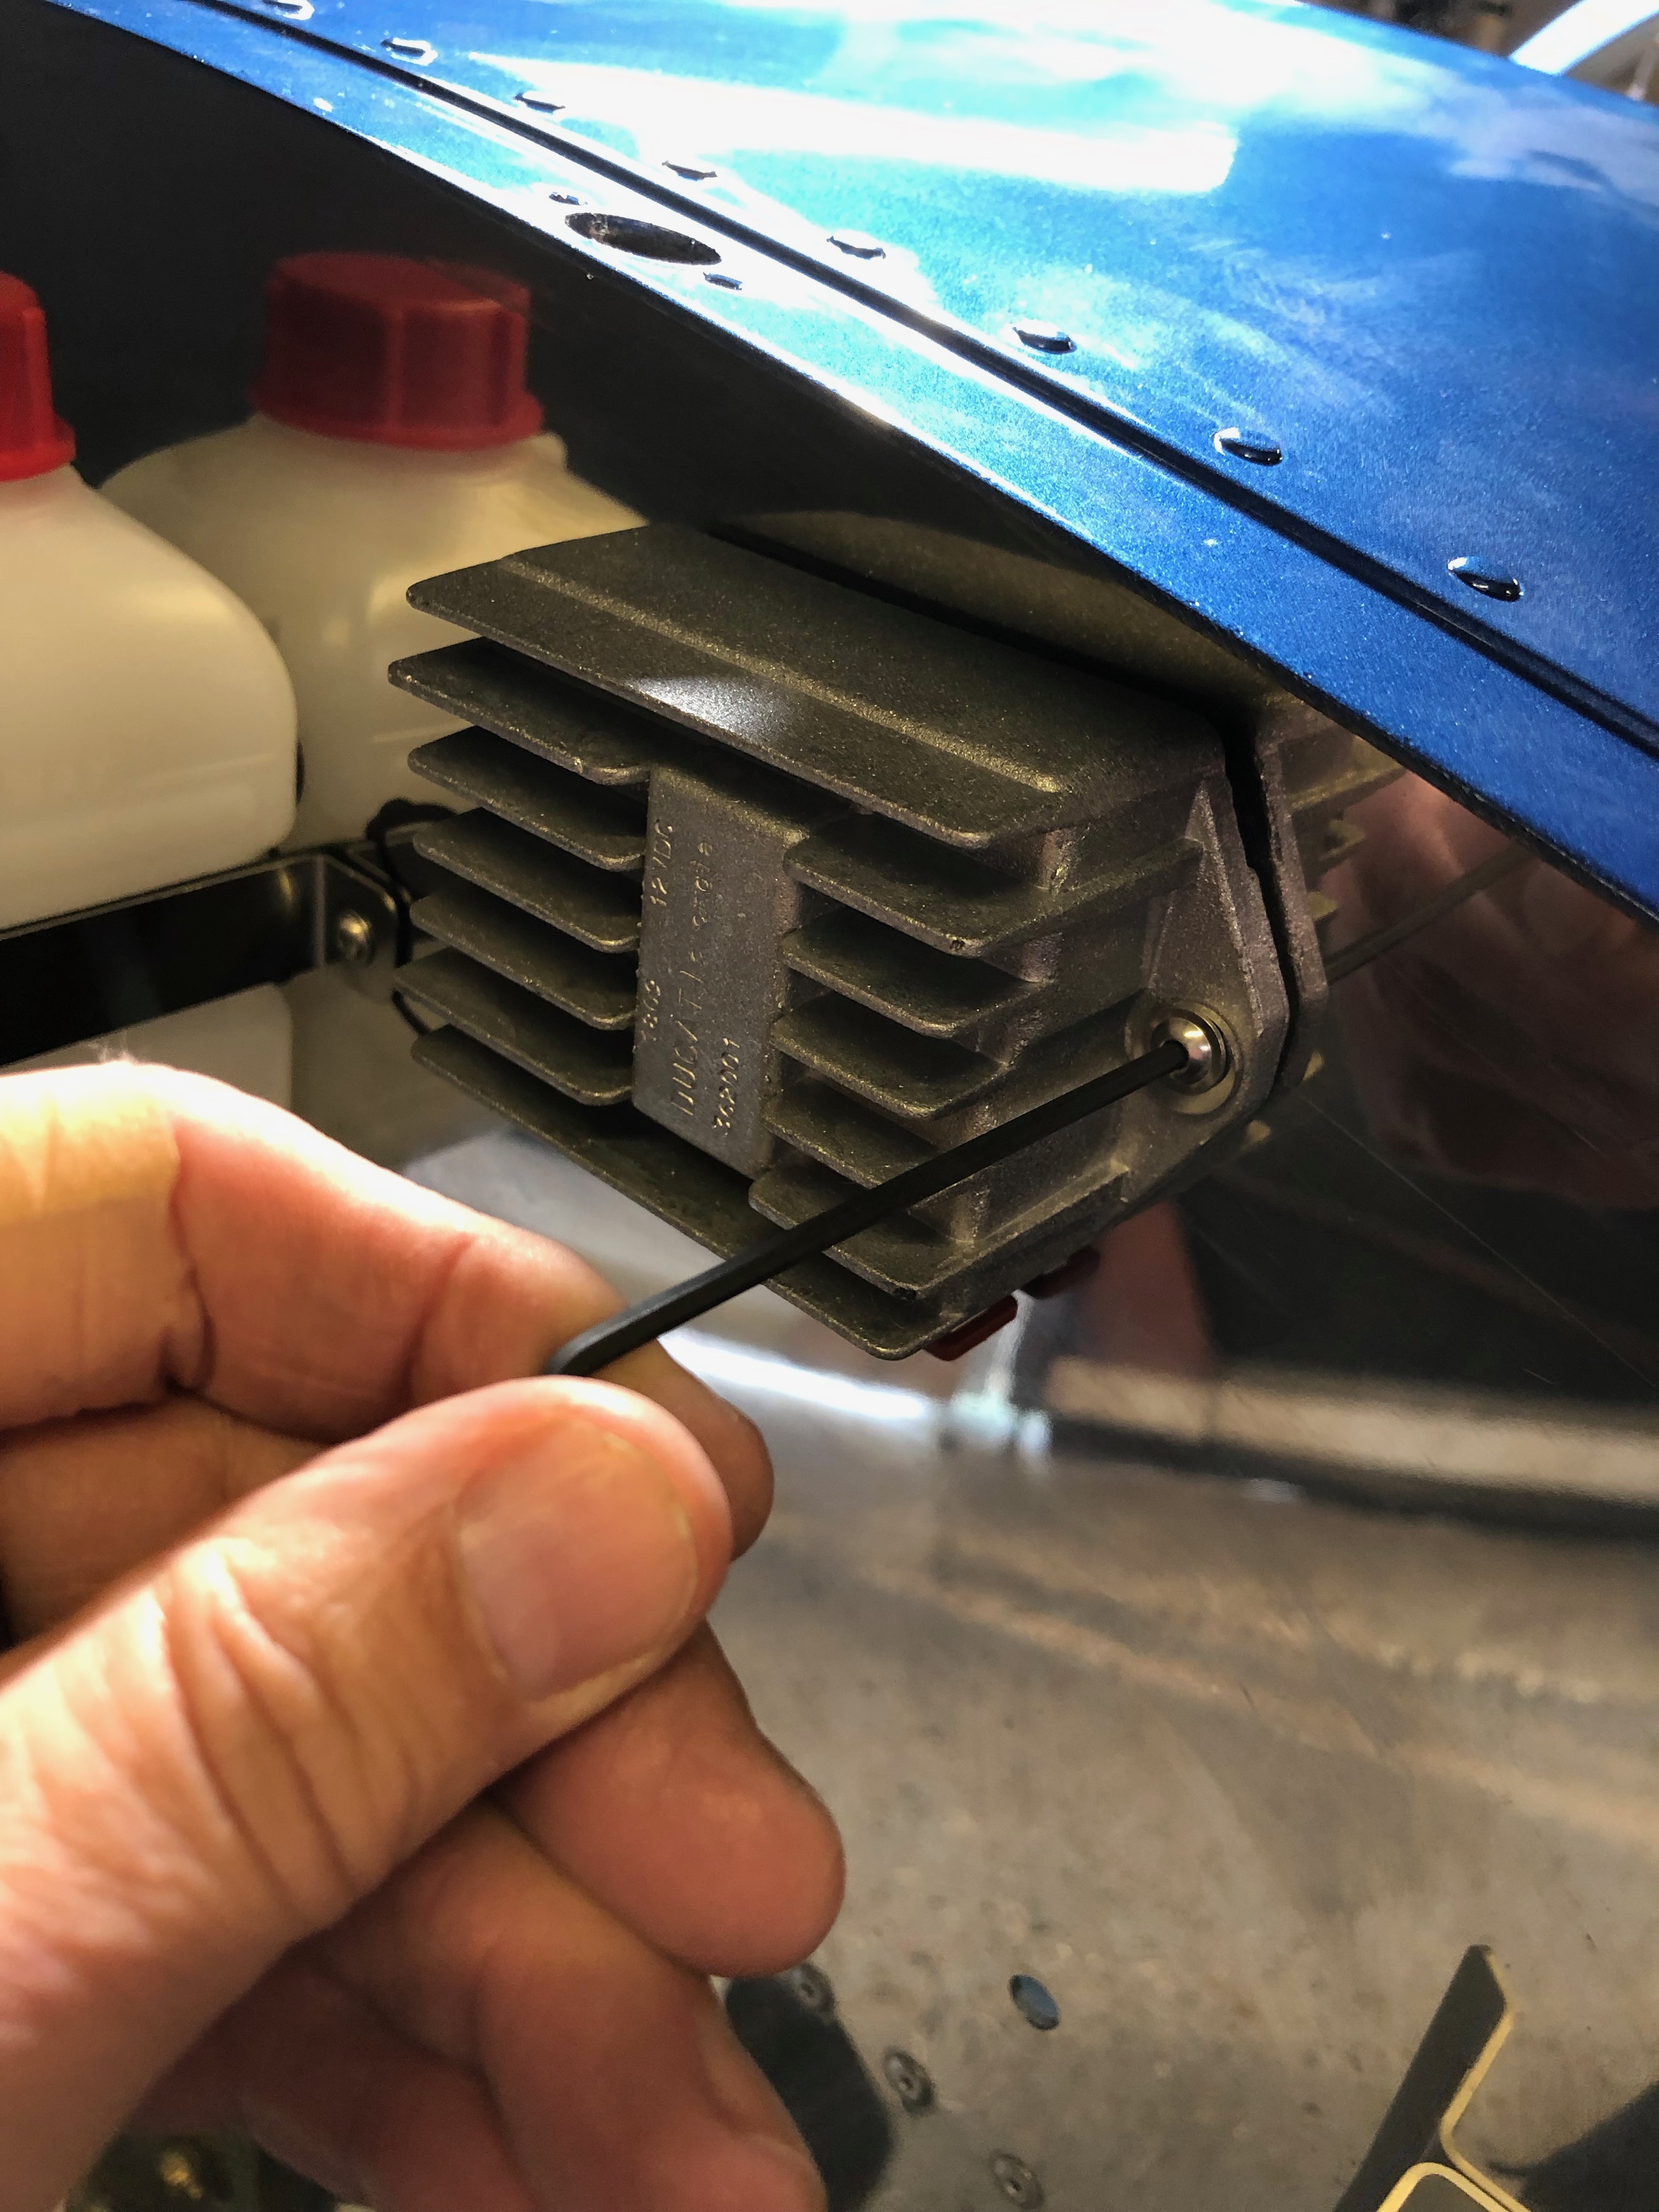
Now the Rotax control unit is installed using Rivnuts and screws.
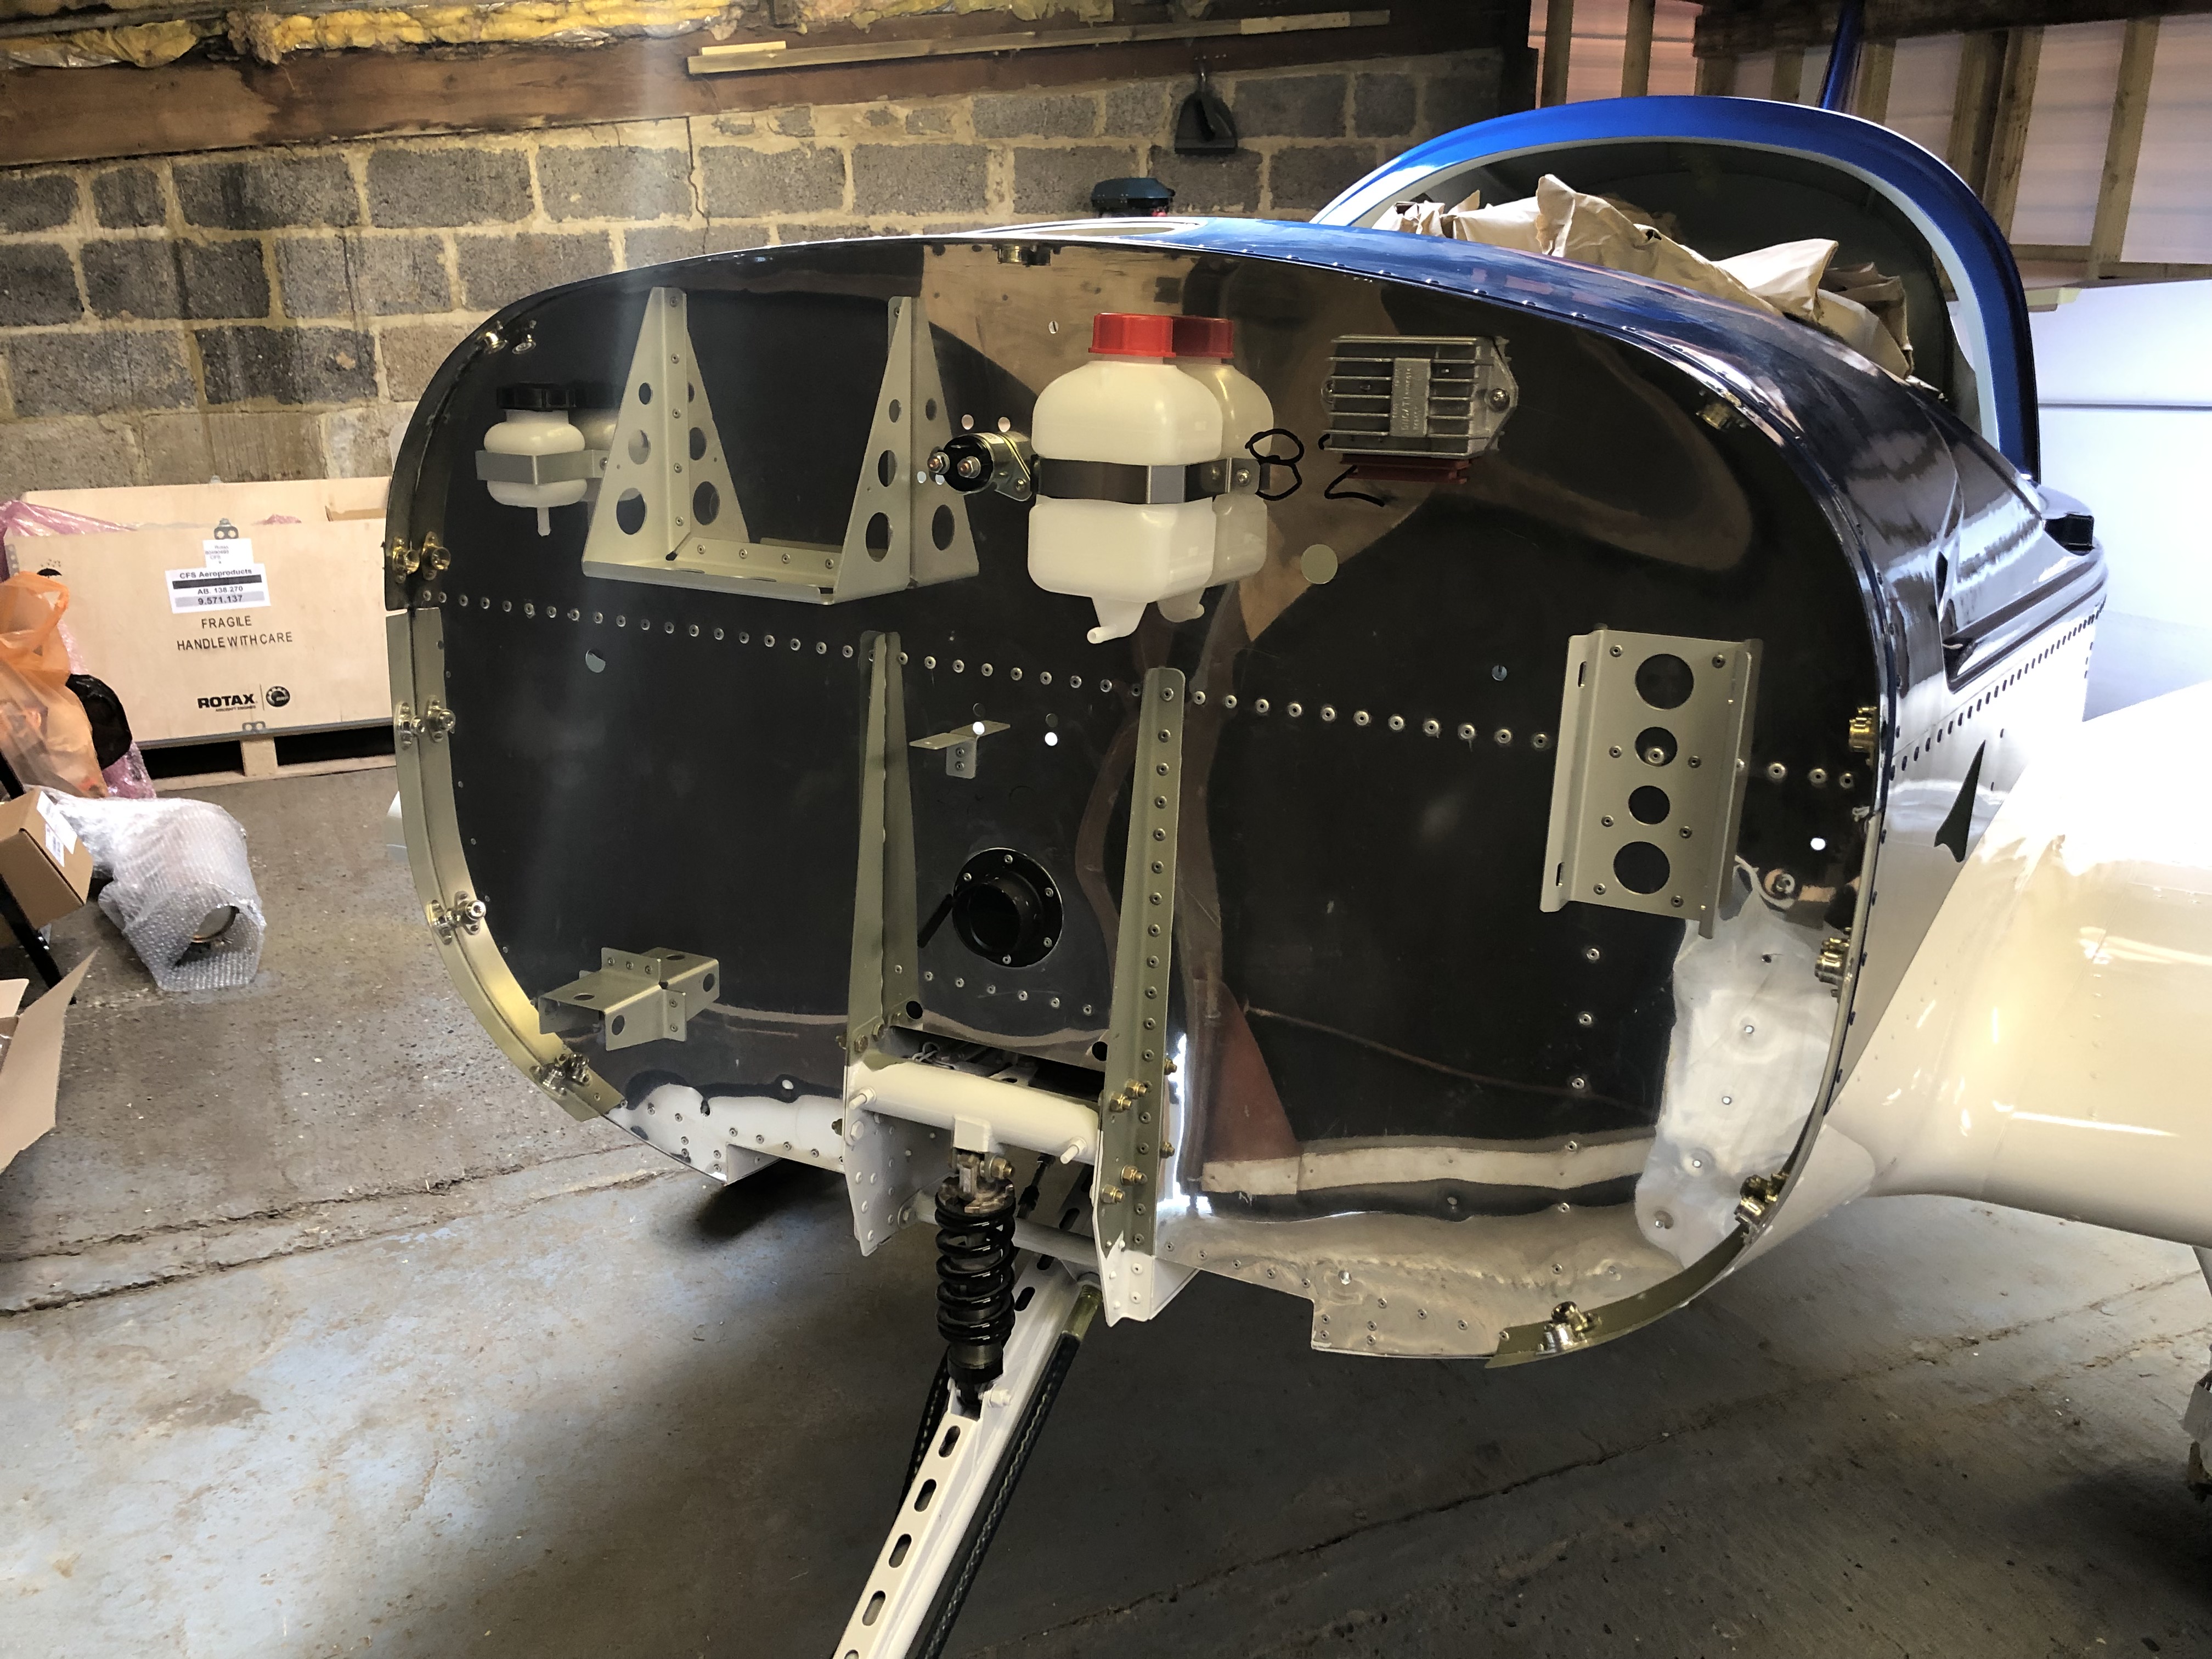
The Firewall at the end of the day.
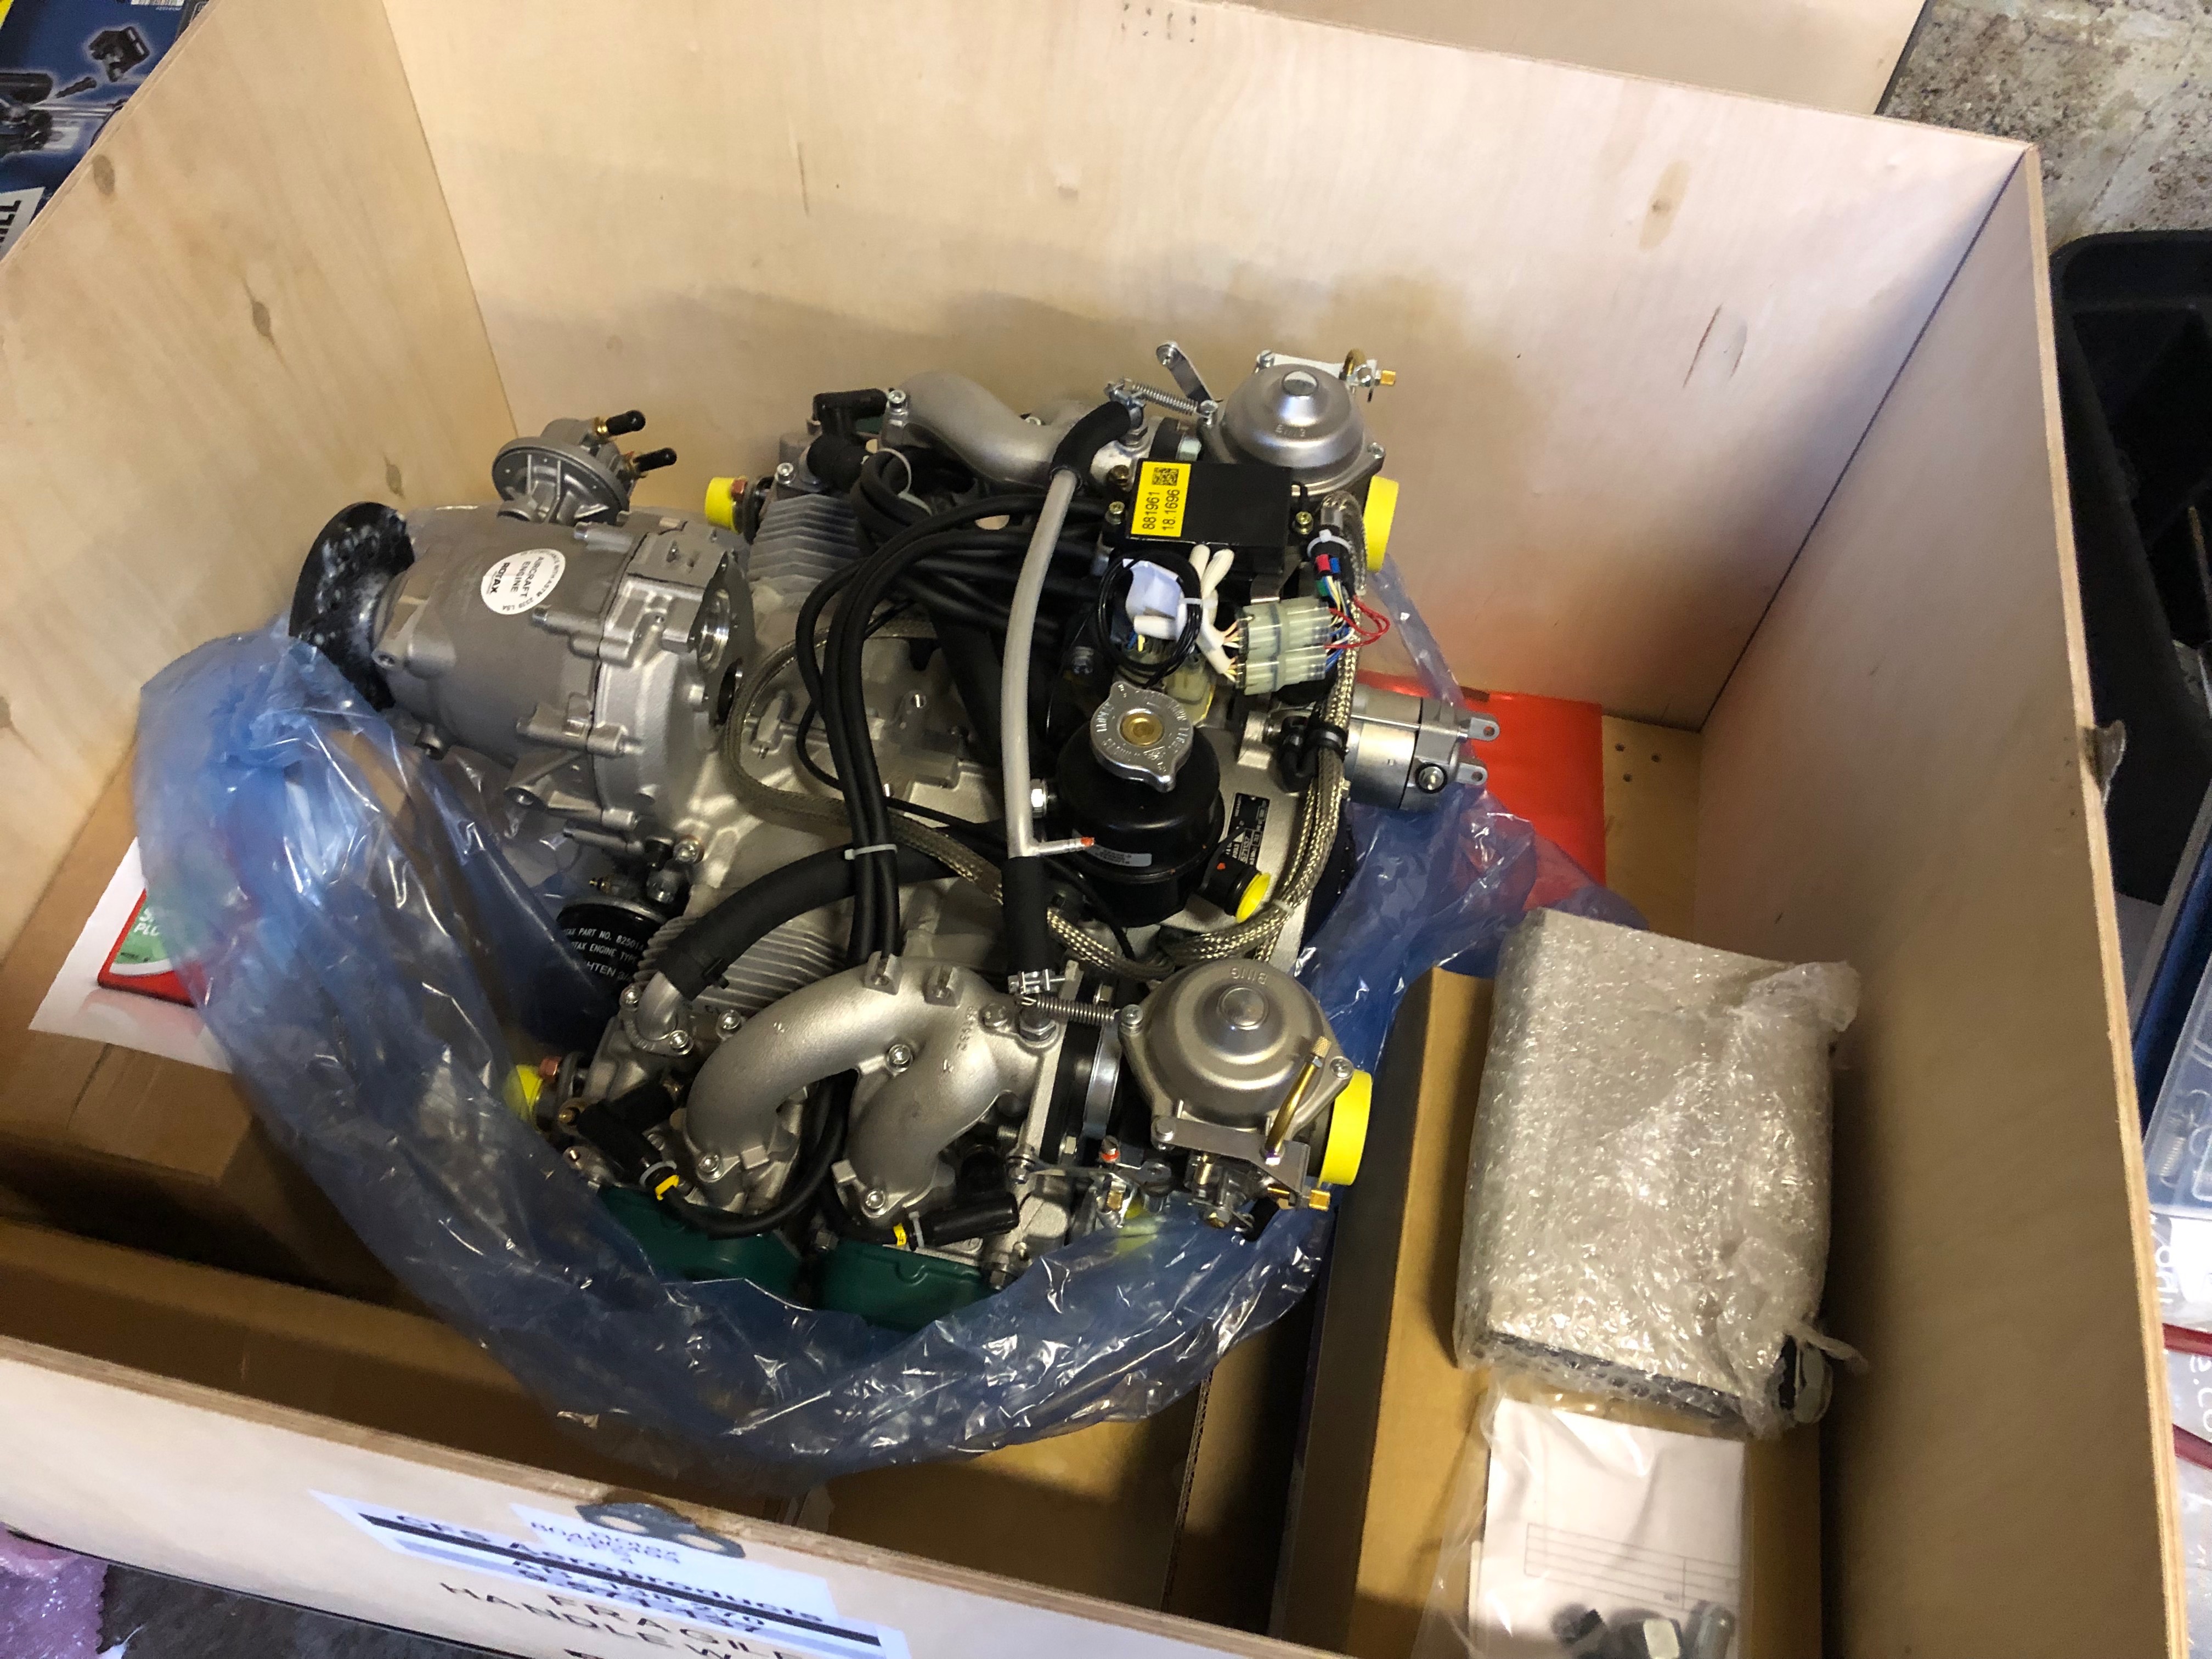
The engine needs to be lifted out of the crate and suspended whist the water pump is modified and engine mount is attached.
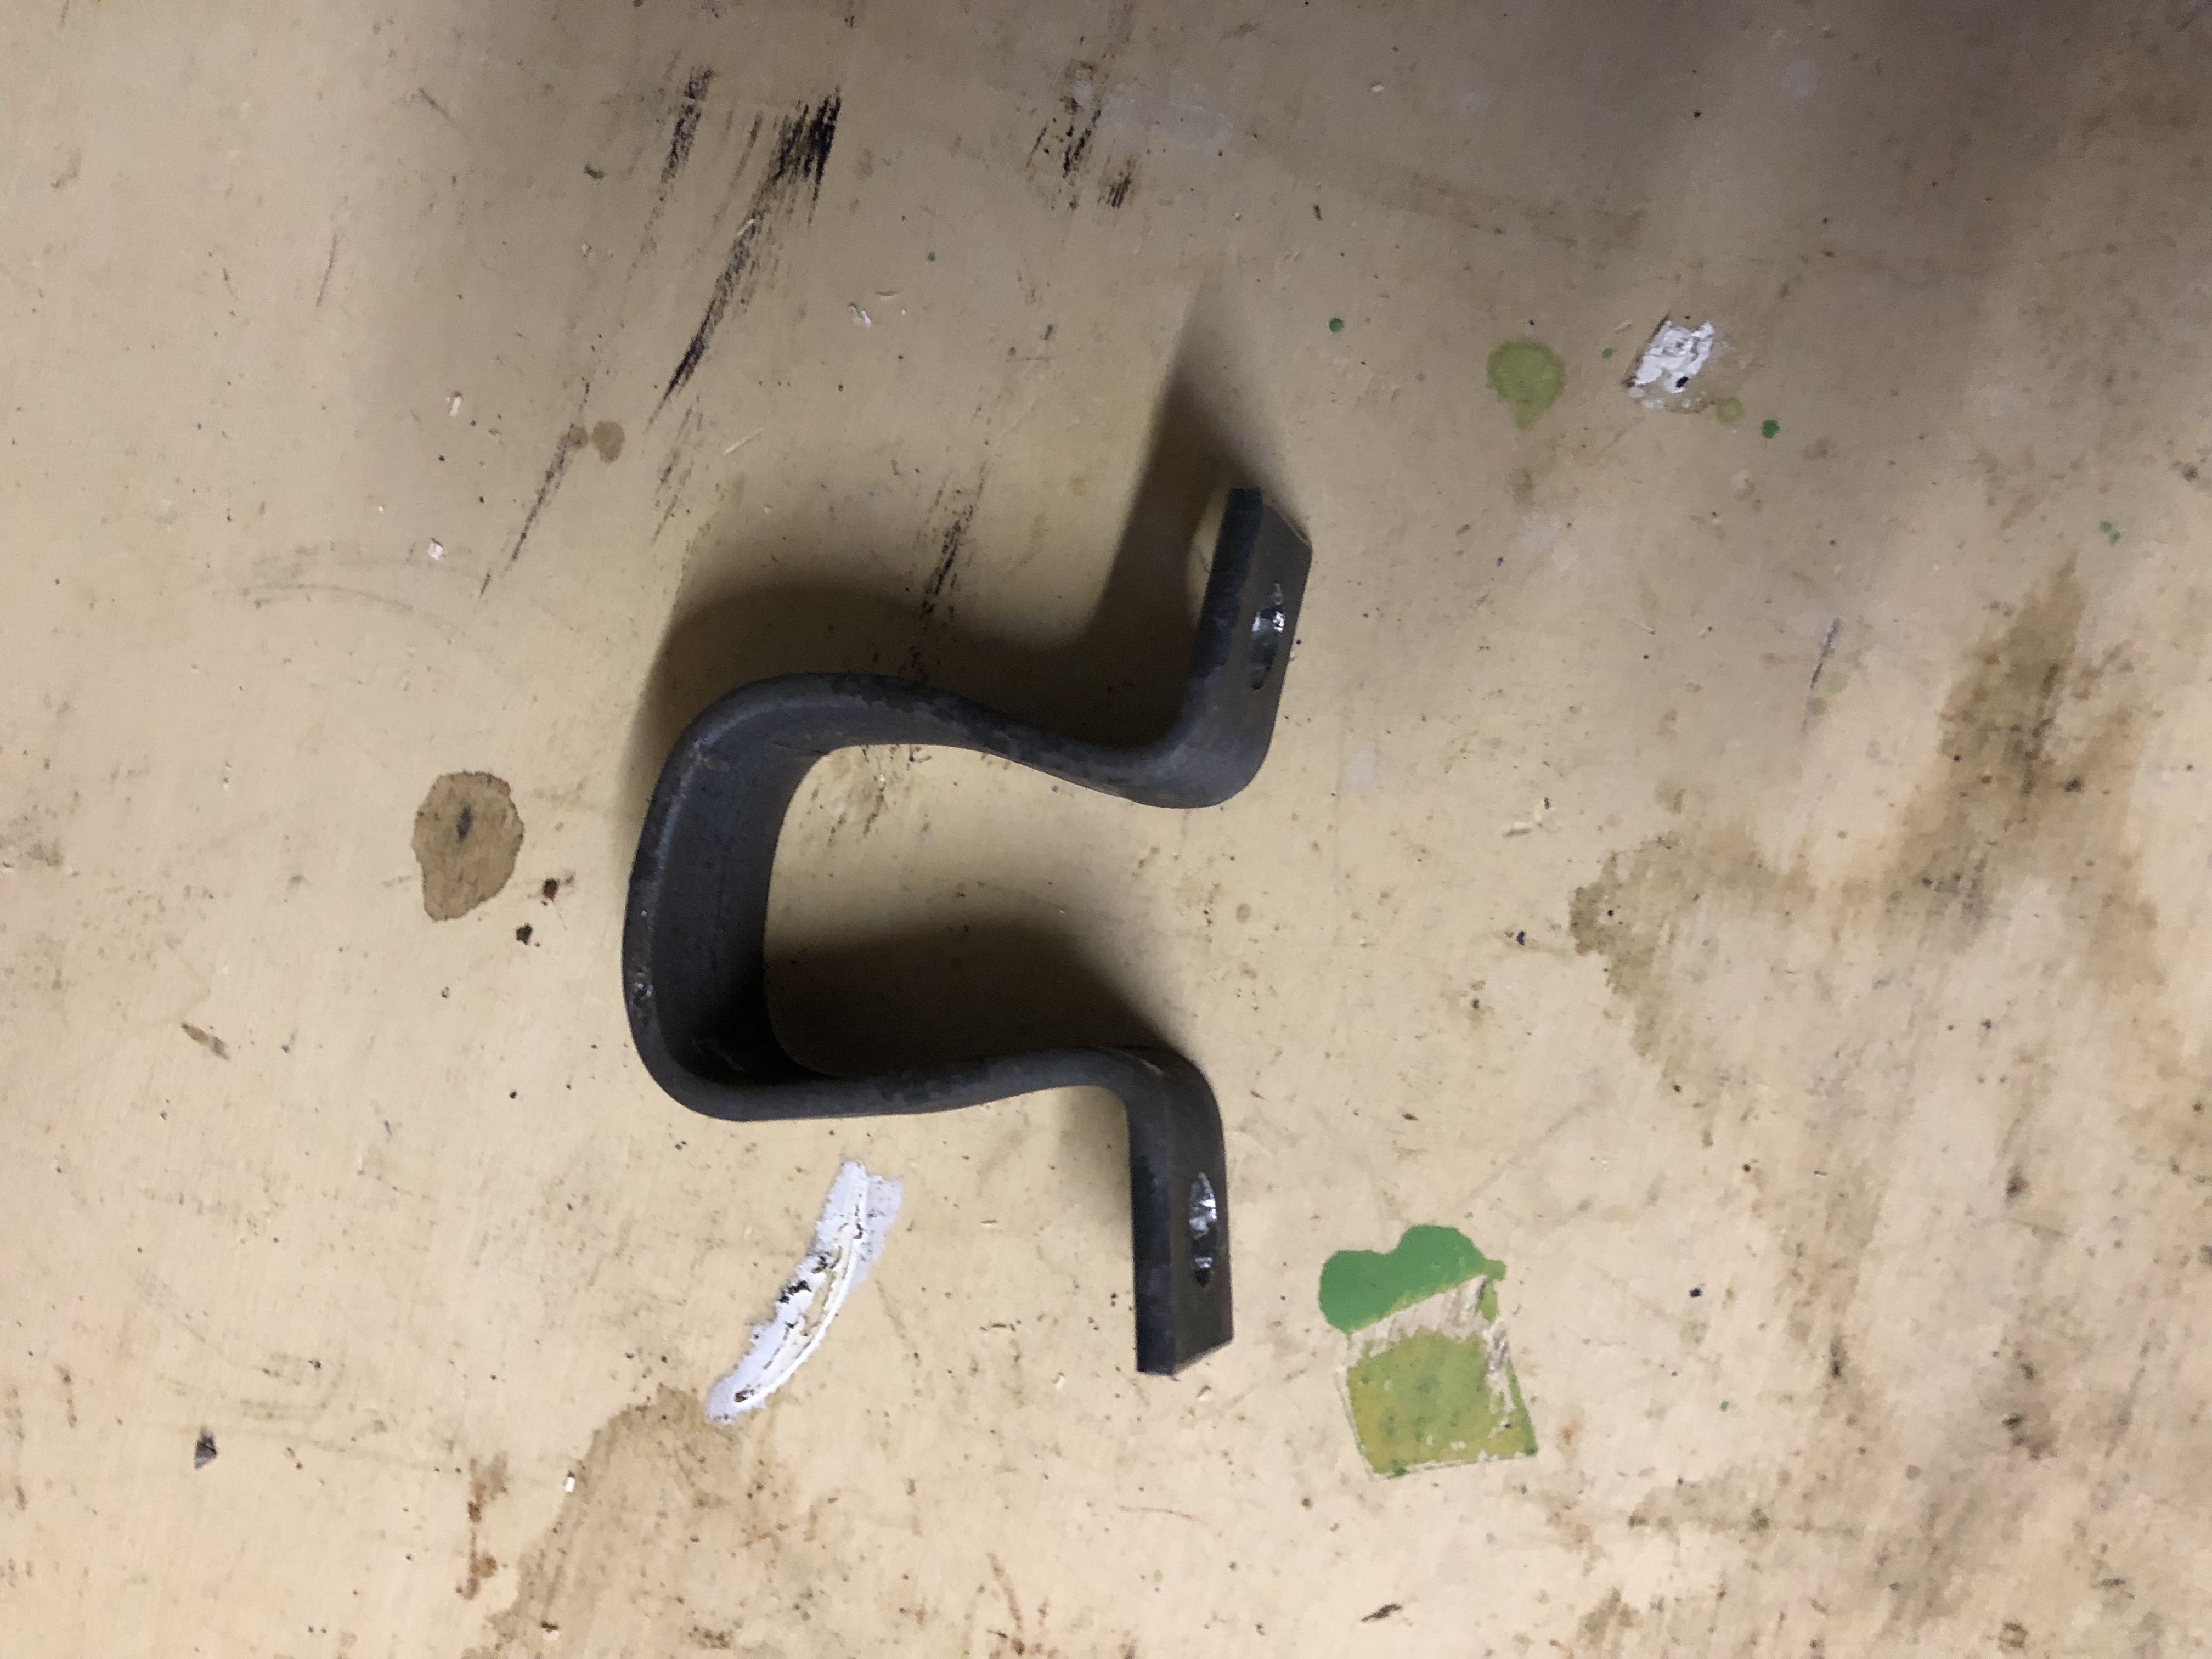
A bracket needed to be made from steel bar so it can be used for lifting.
Oil tank bracket. I’ve decided to use a different rivet gun which helps speed up the job
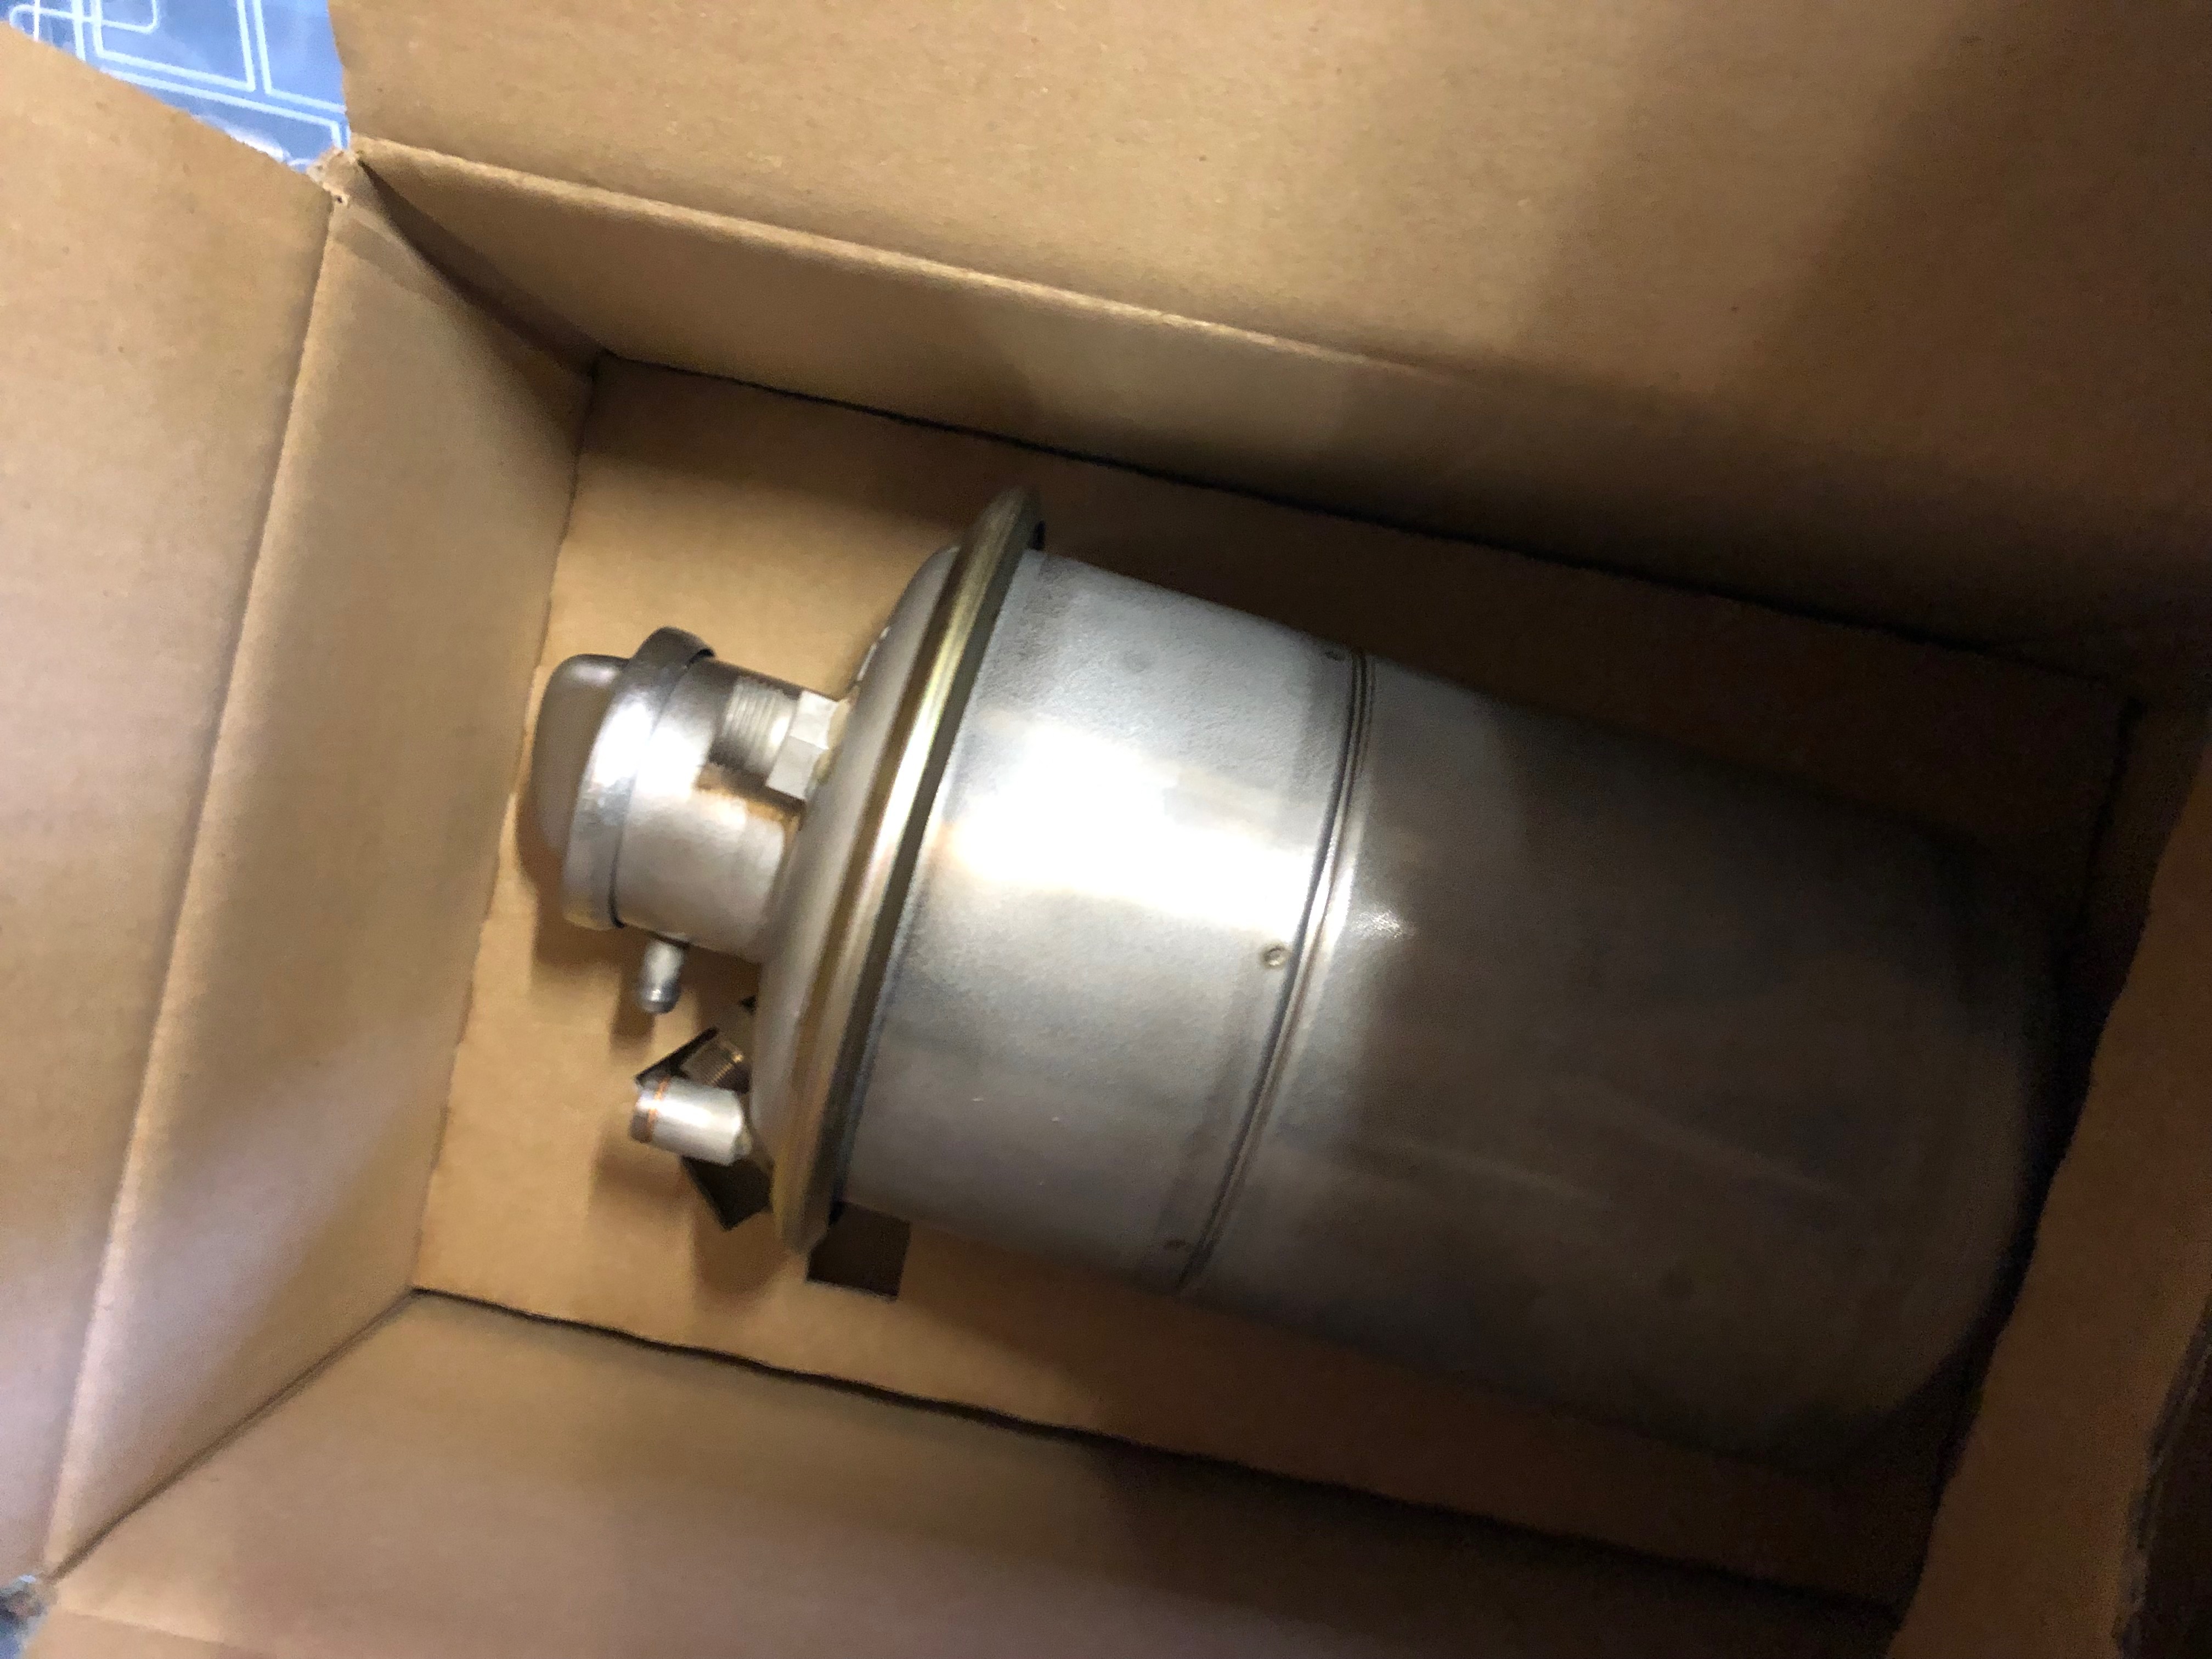
Gascolator bracket
Heater control cable bracket
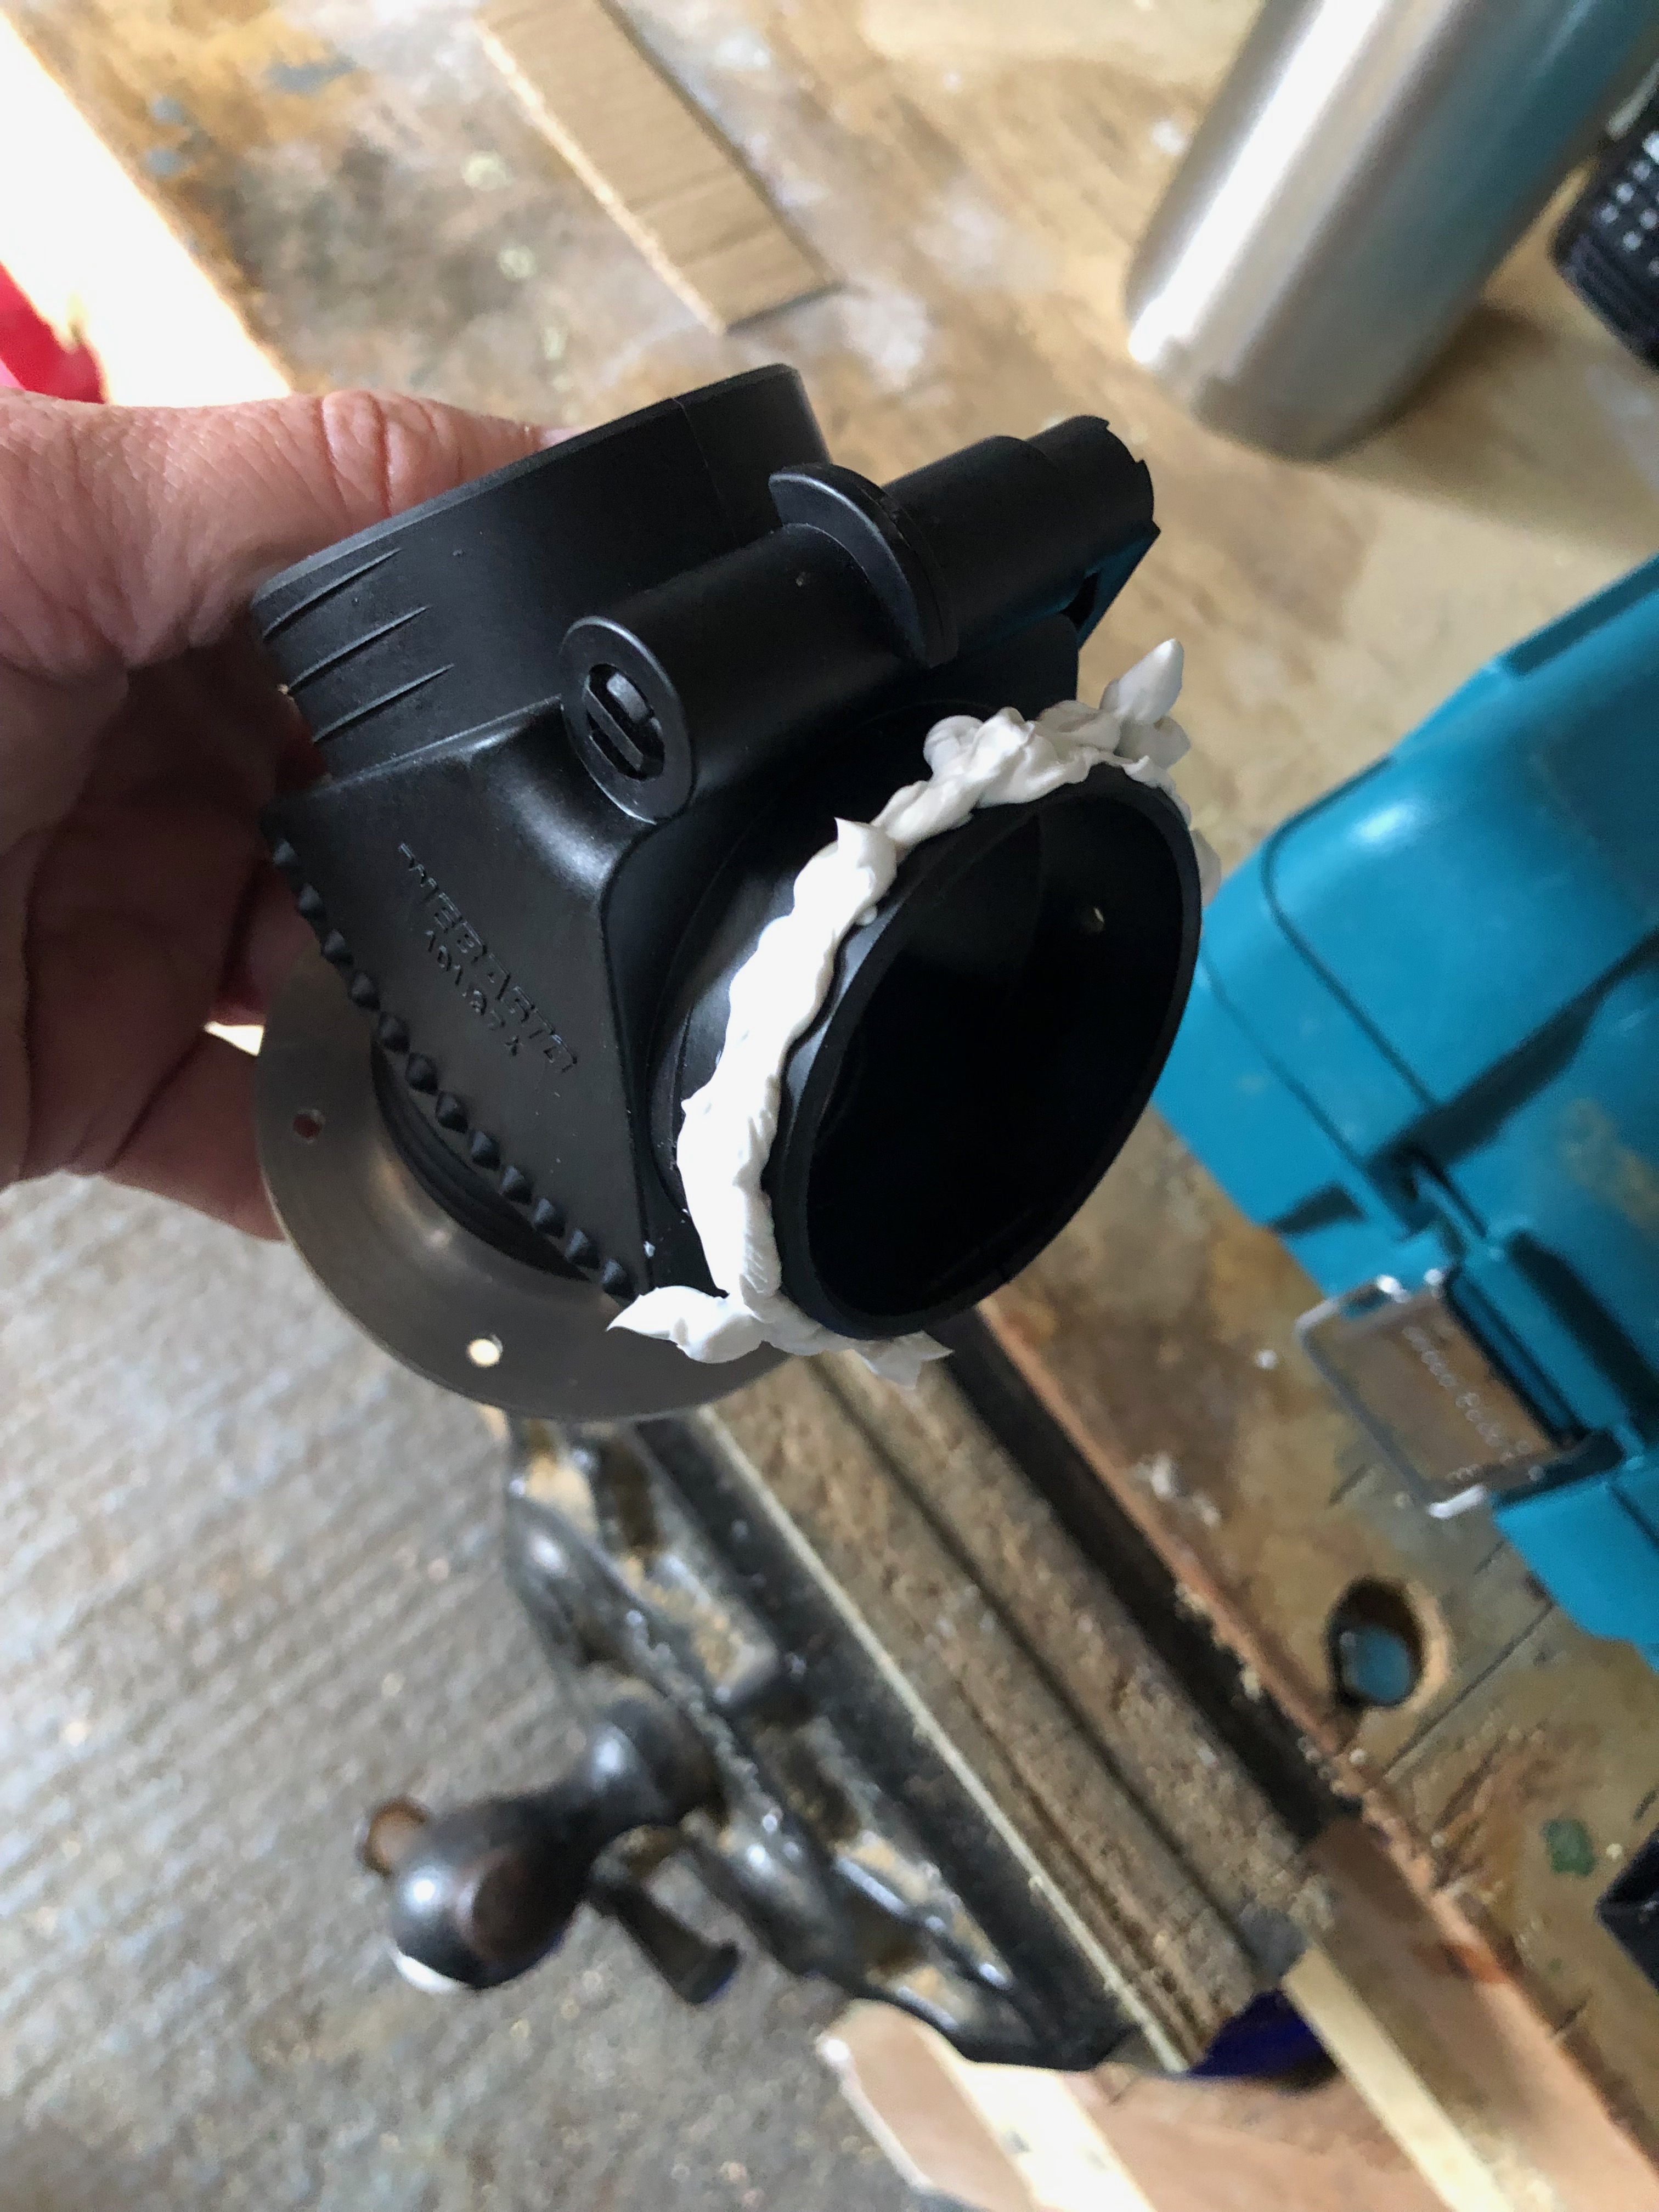
The fuel pump and firewall air ducts are next to be fitted once the canopy is removed
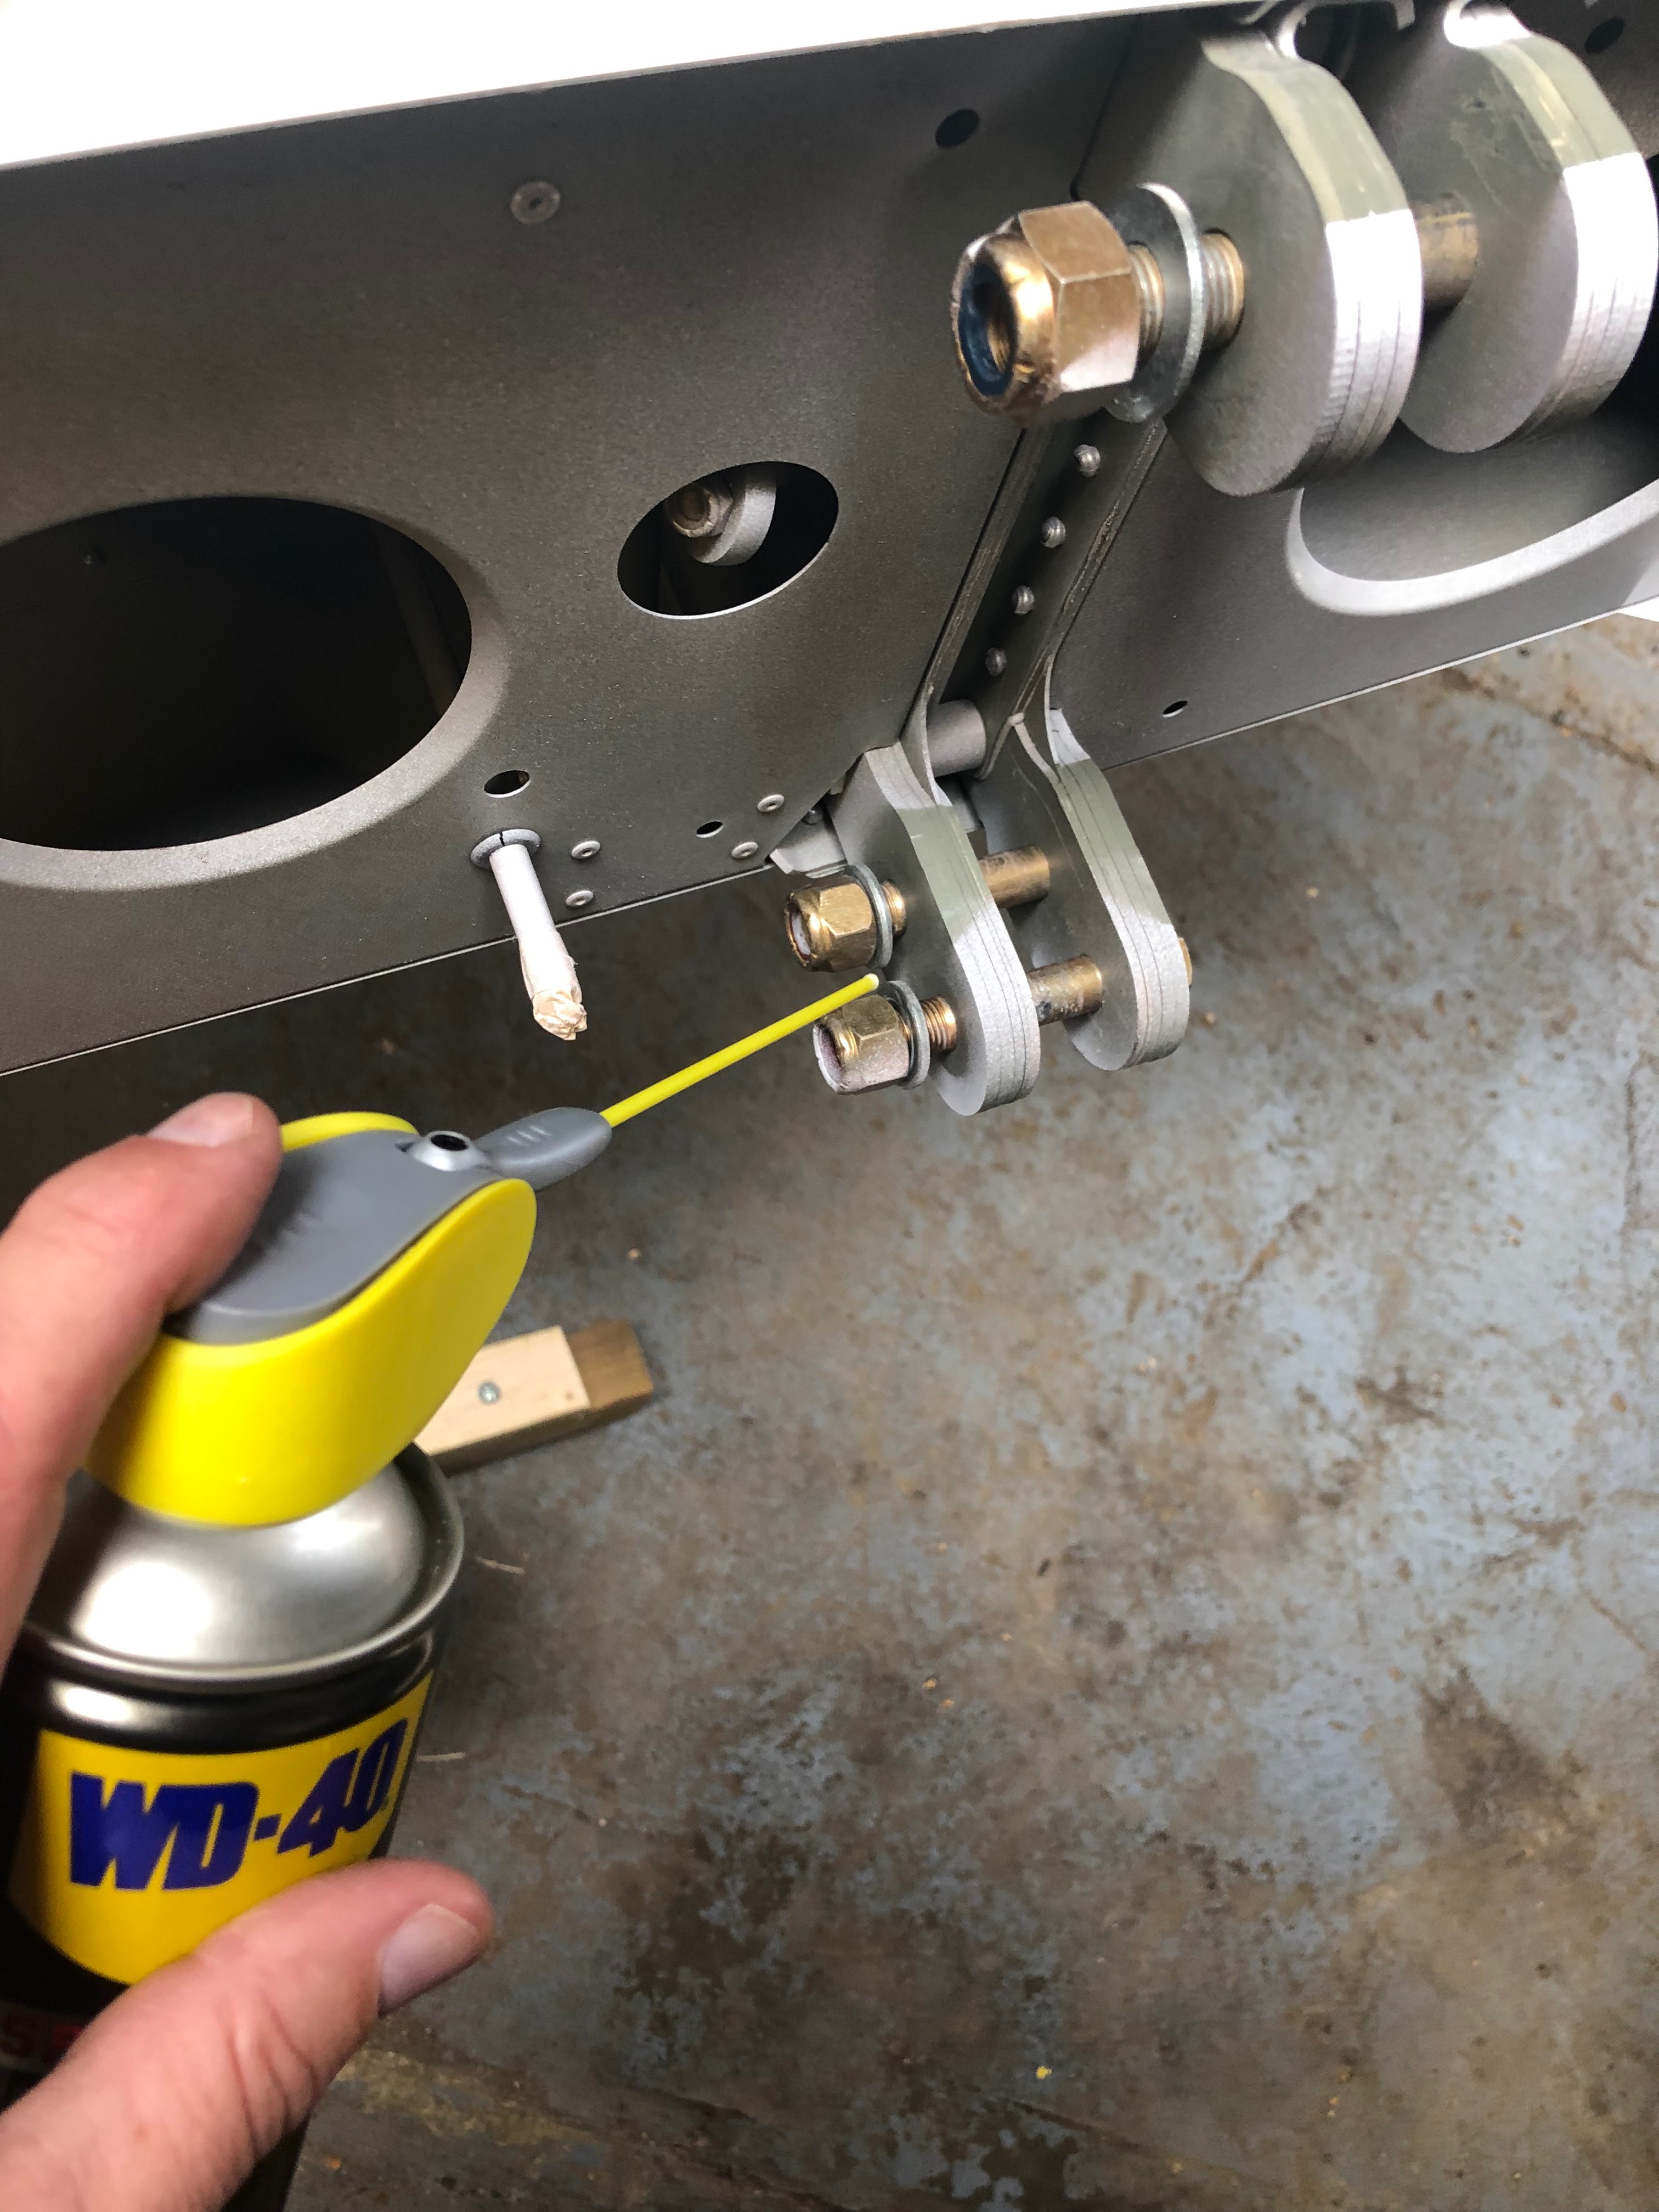
To ensure the wing root bolts don’t rust some lithium grease was sprayed on them
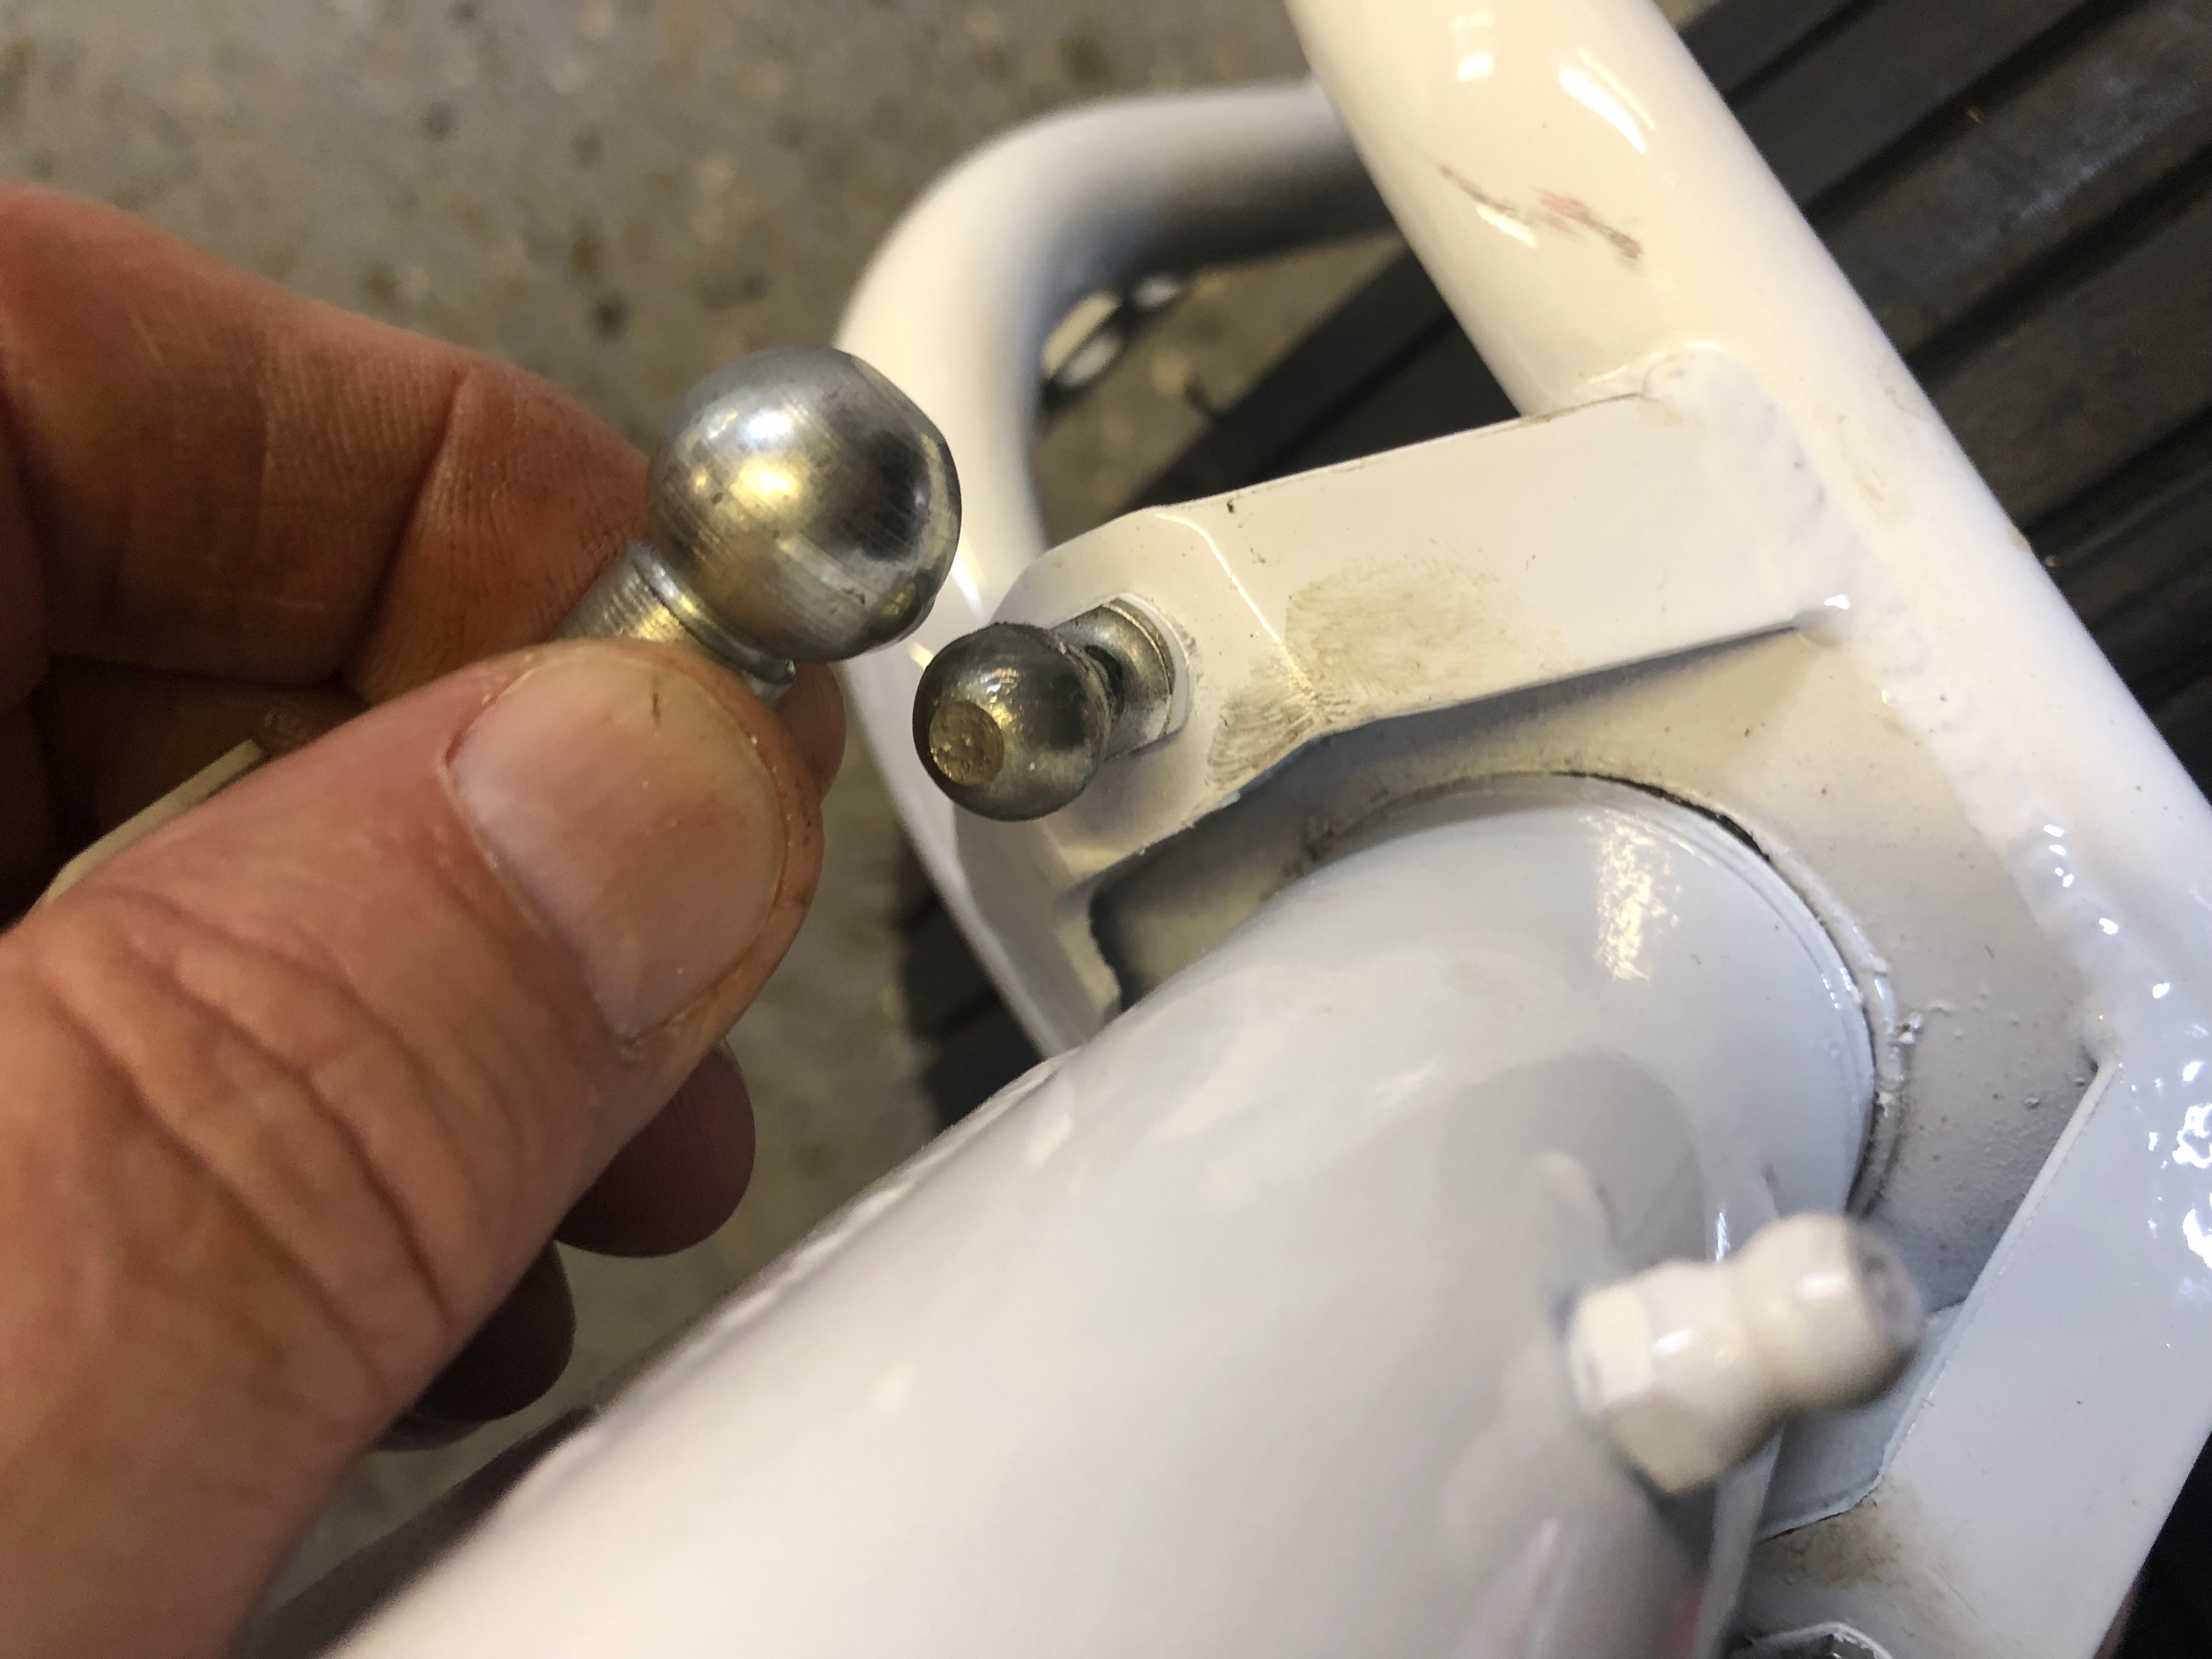
Steering cable ball connectors were removed, greased and refitted
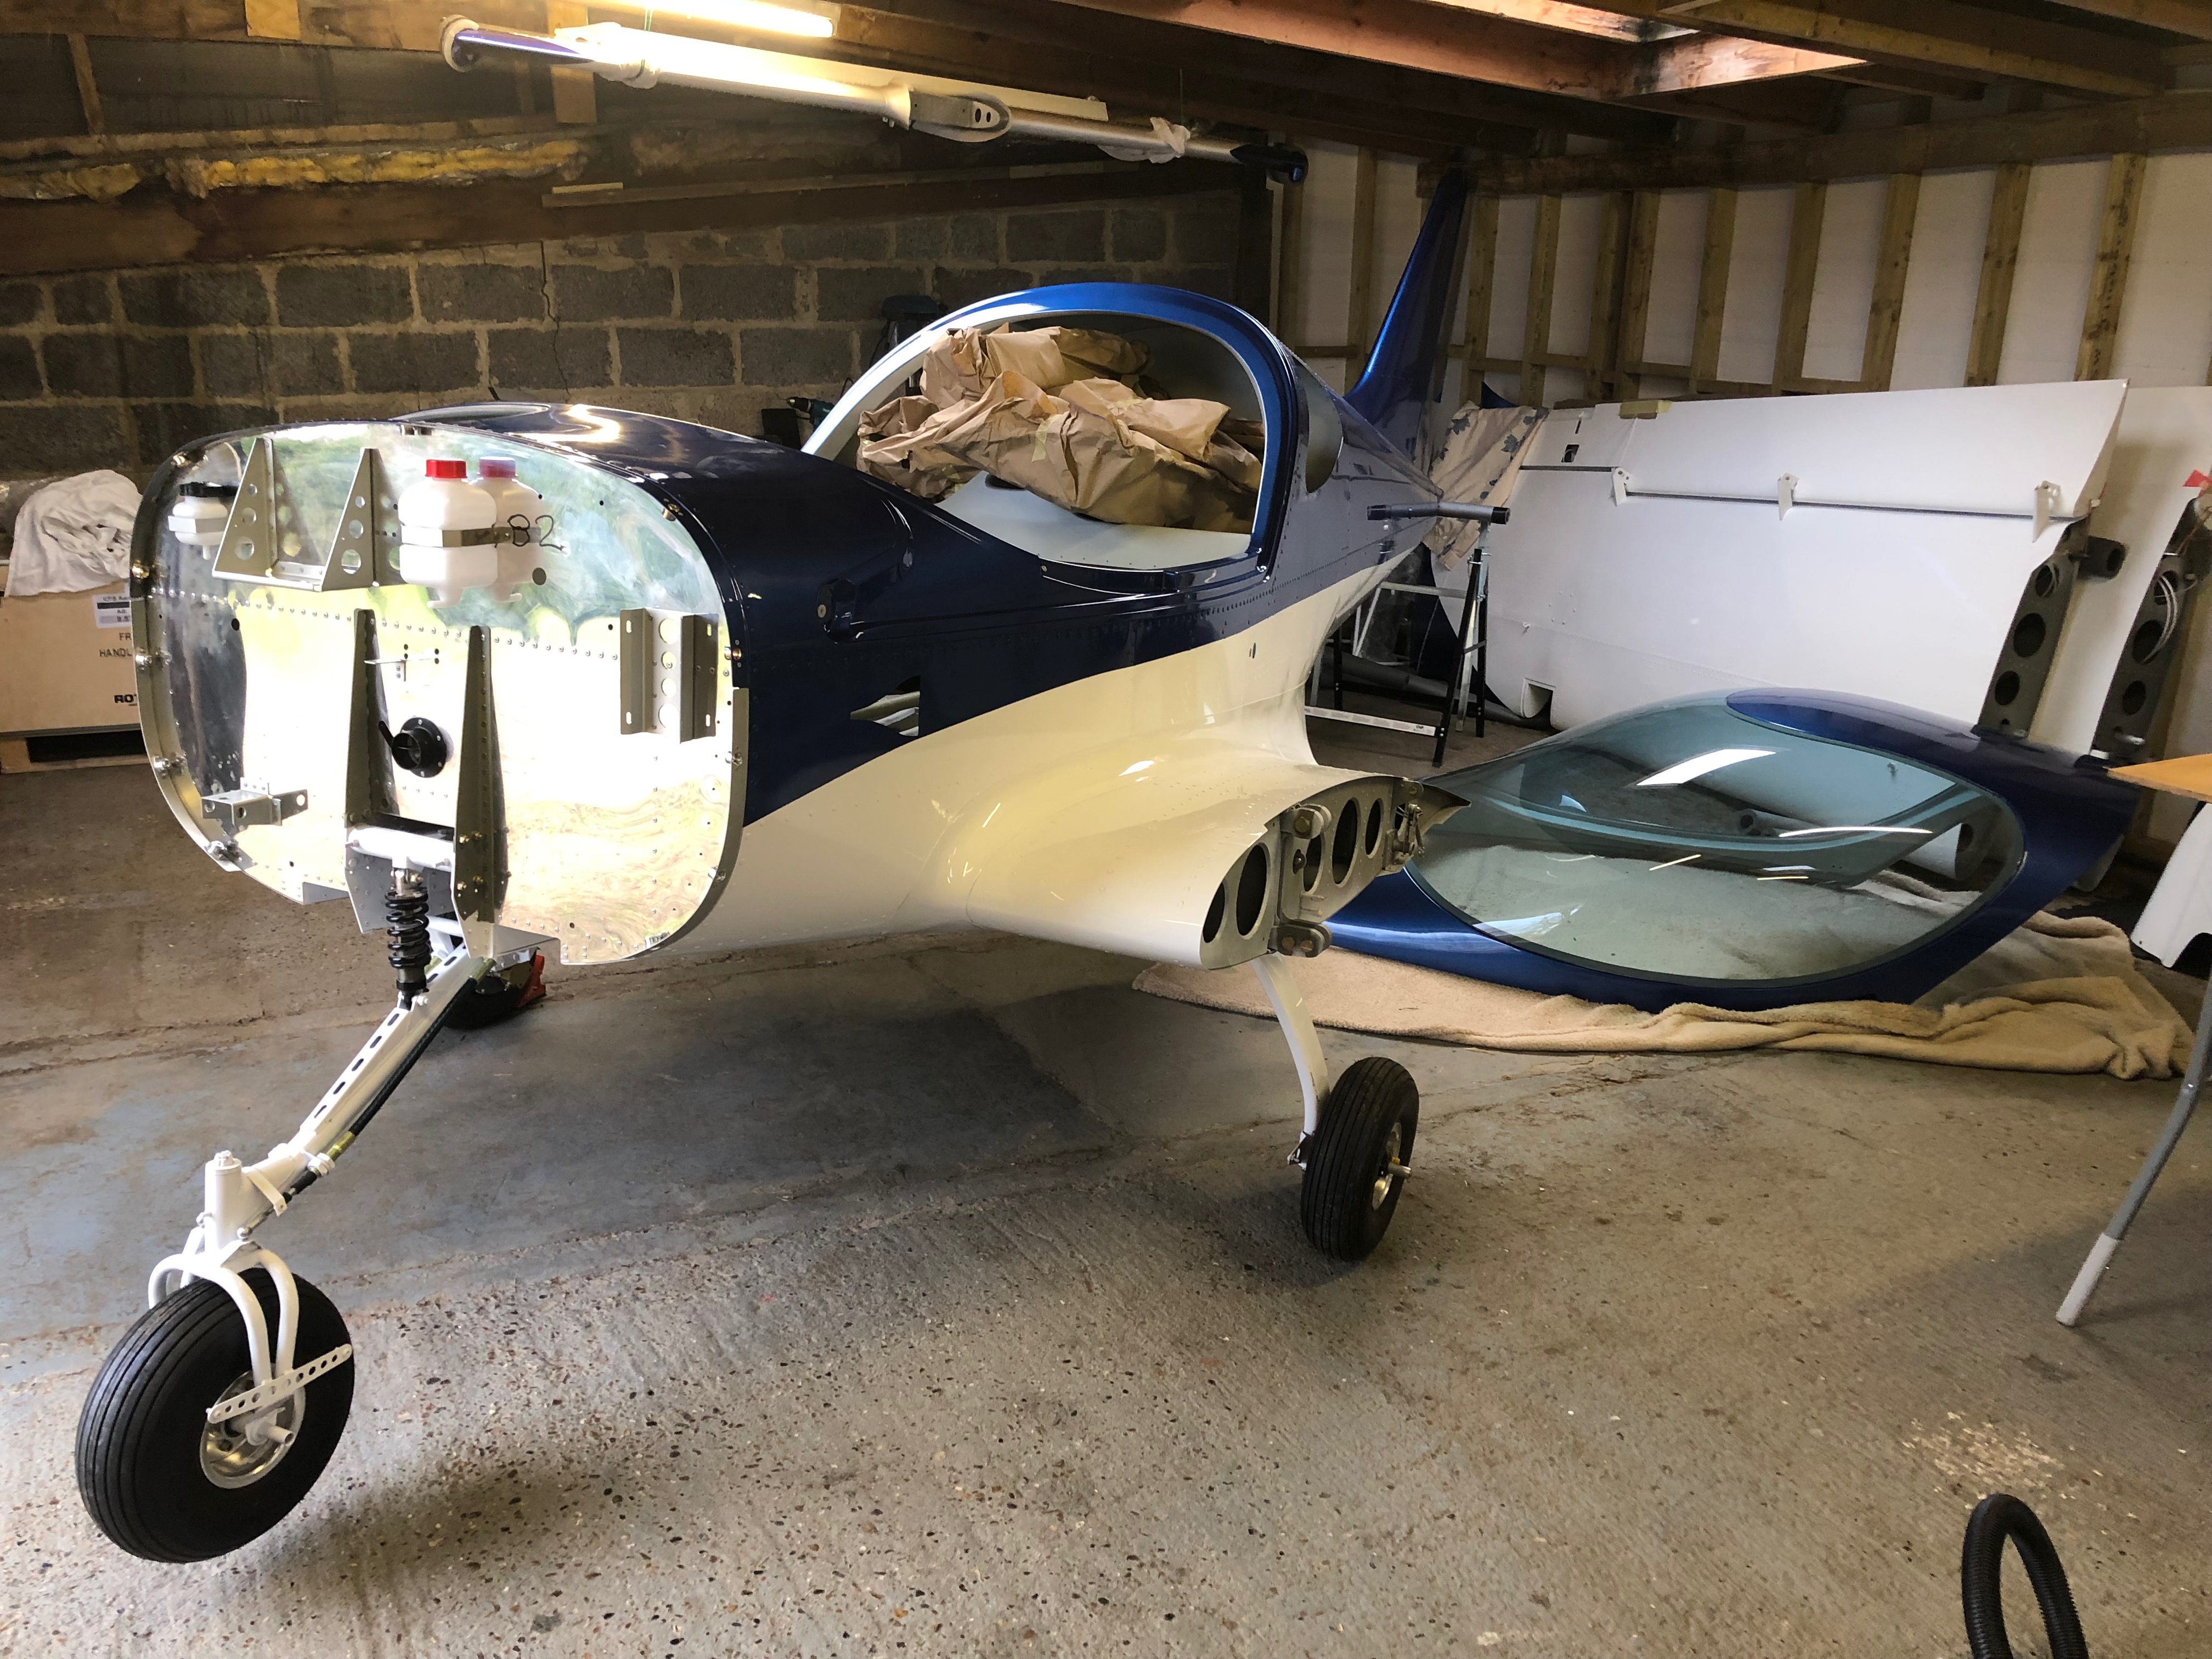
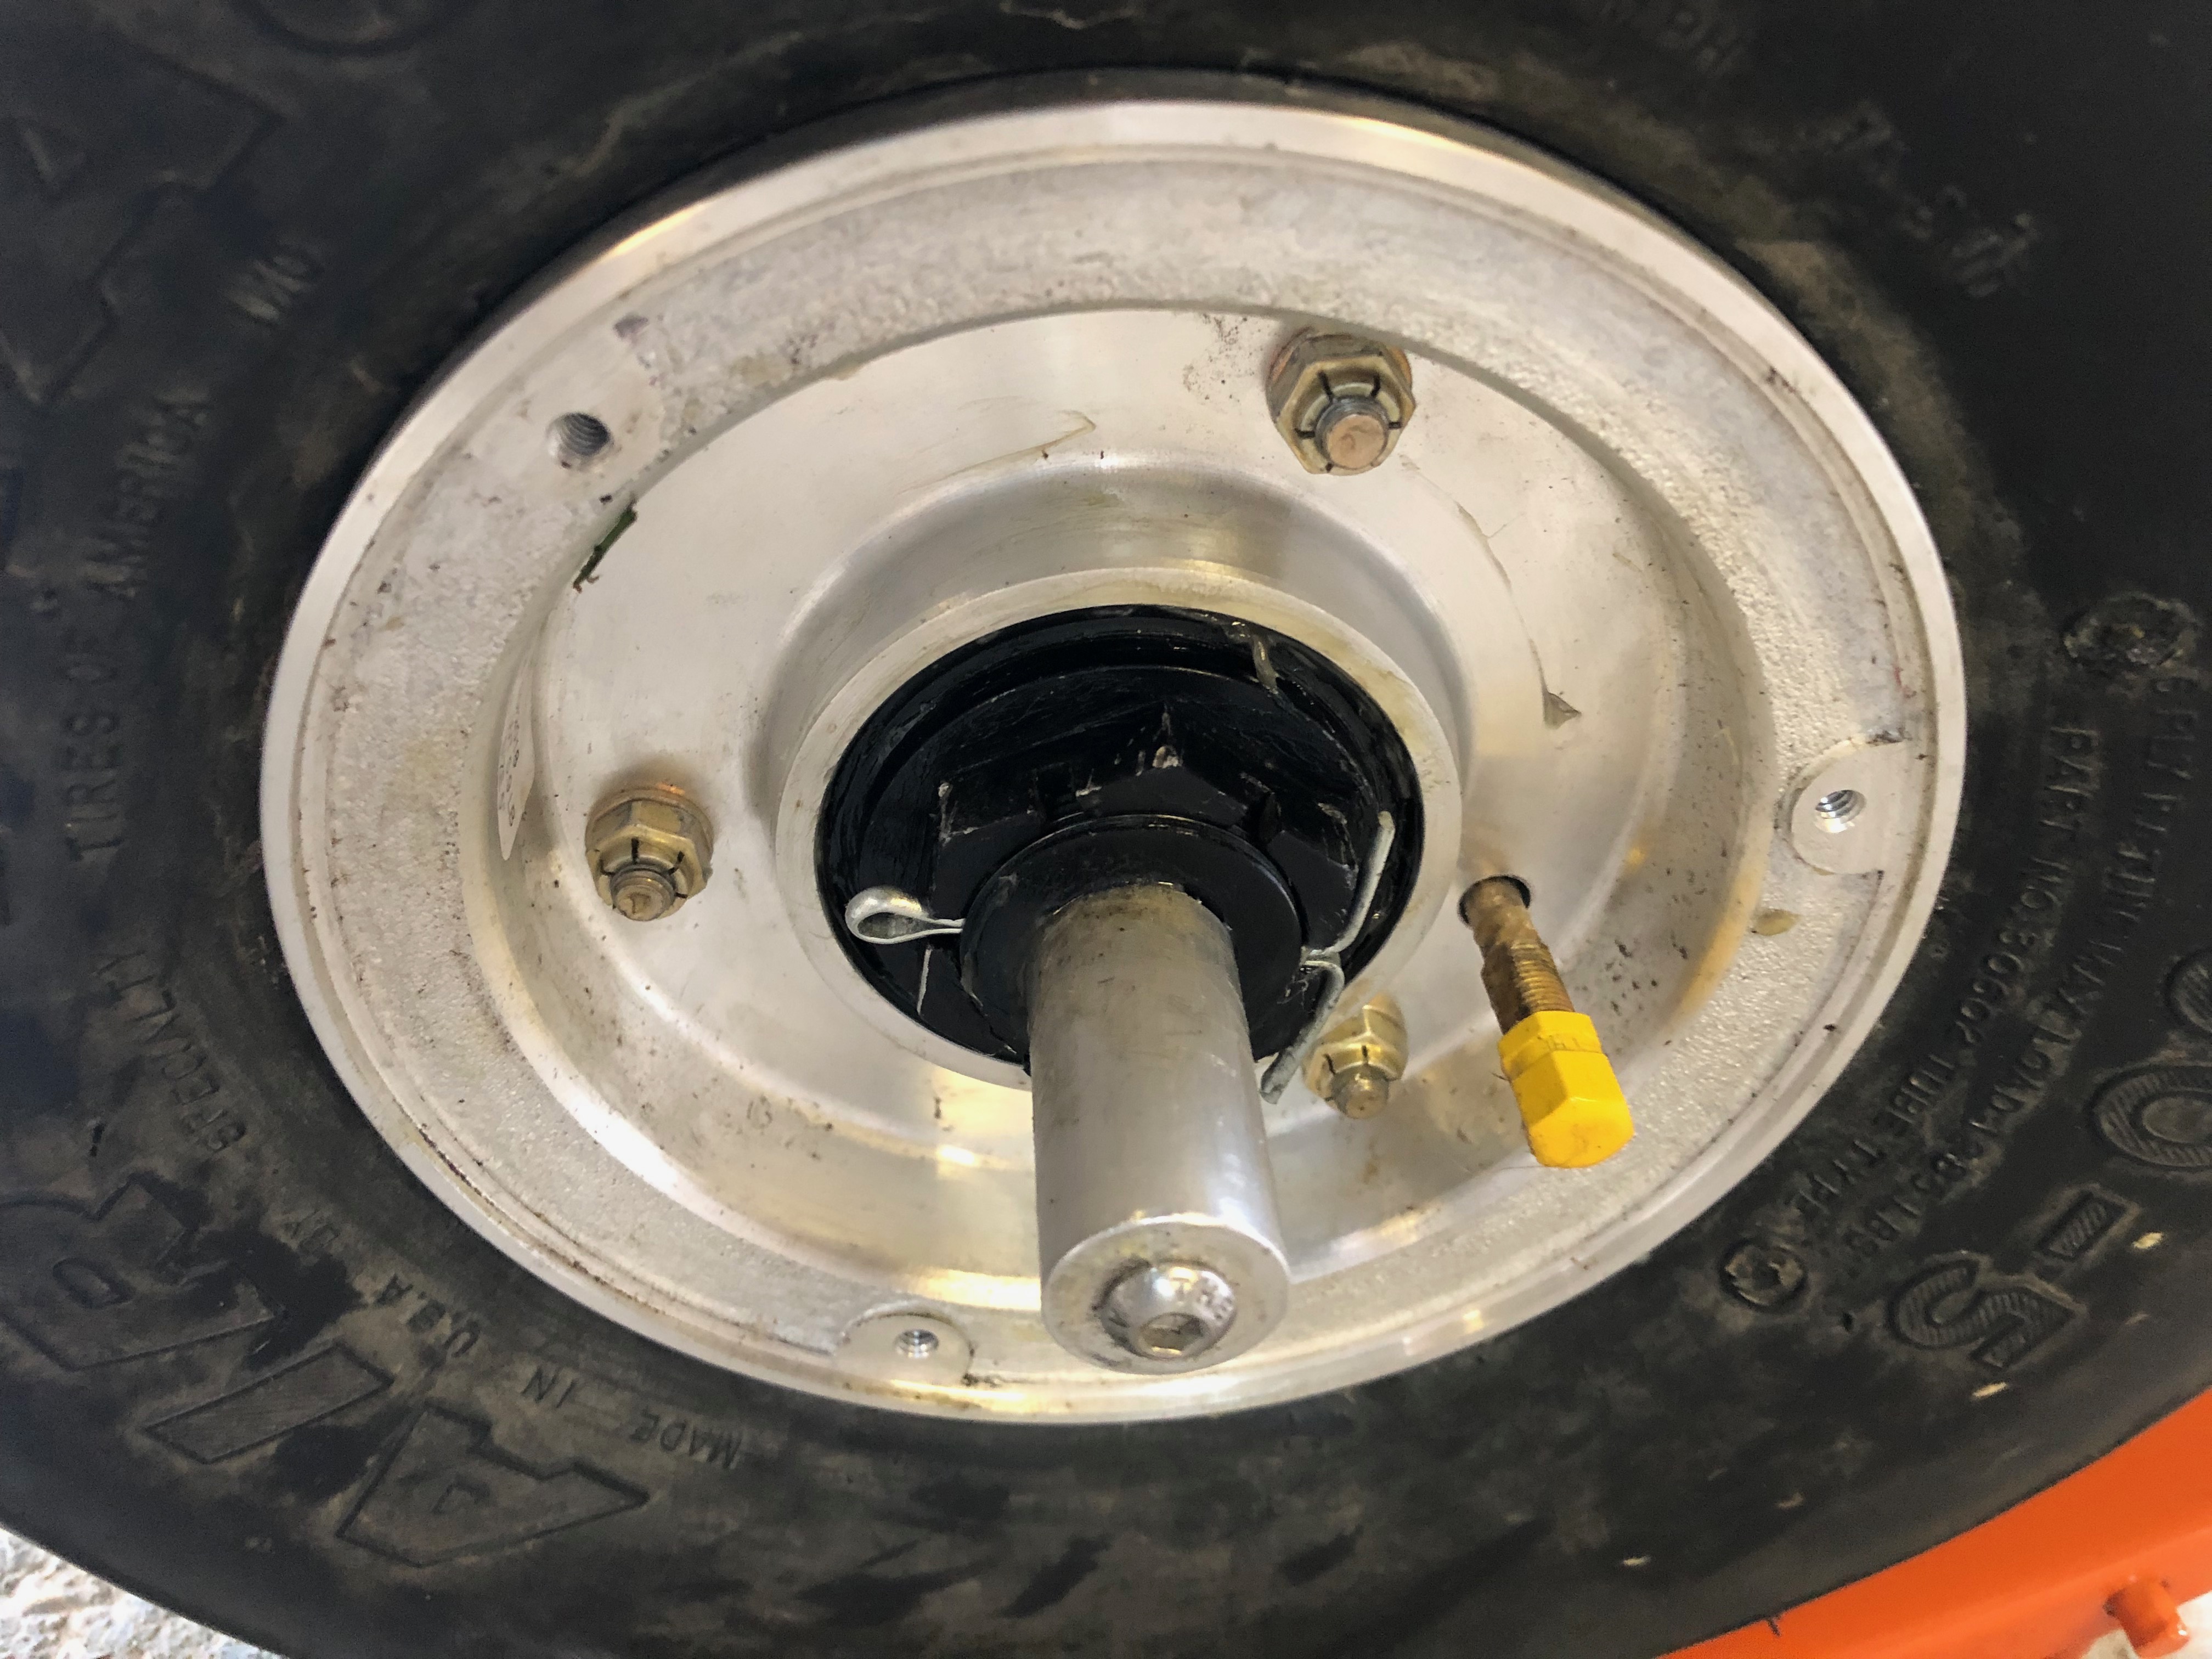
The kit comes with the wheels, hubs and brake callipers fitted to facilitate transport and movement but are not final fit so need to be removed, greased, checked and refitted ensuring all bolts are correctly torqued.
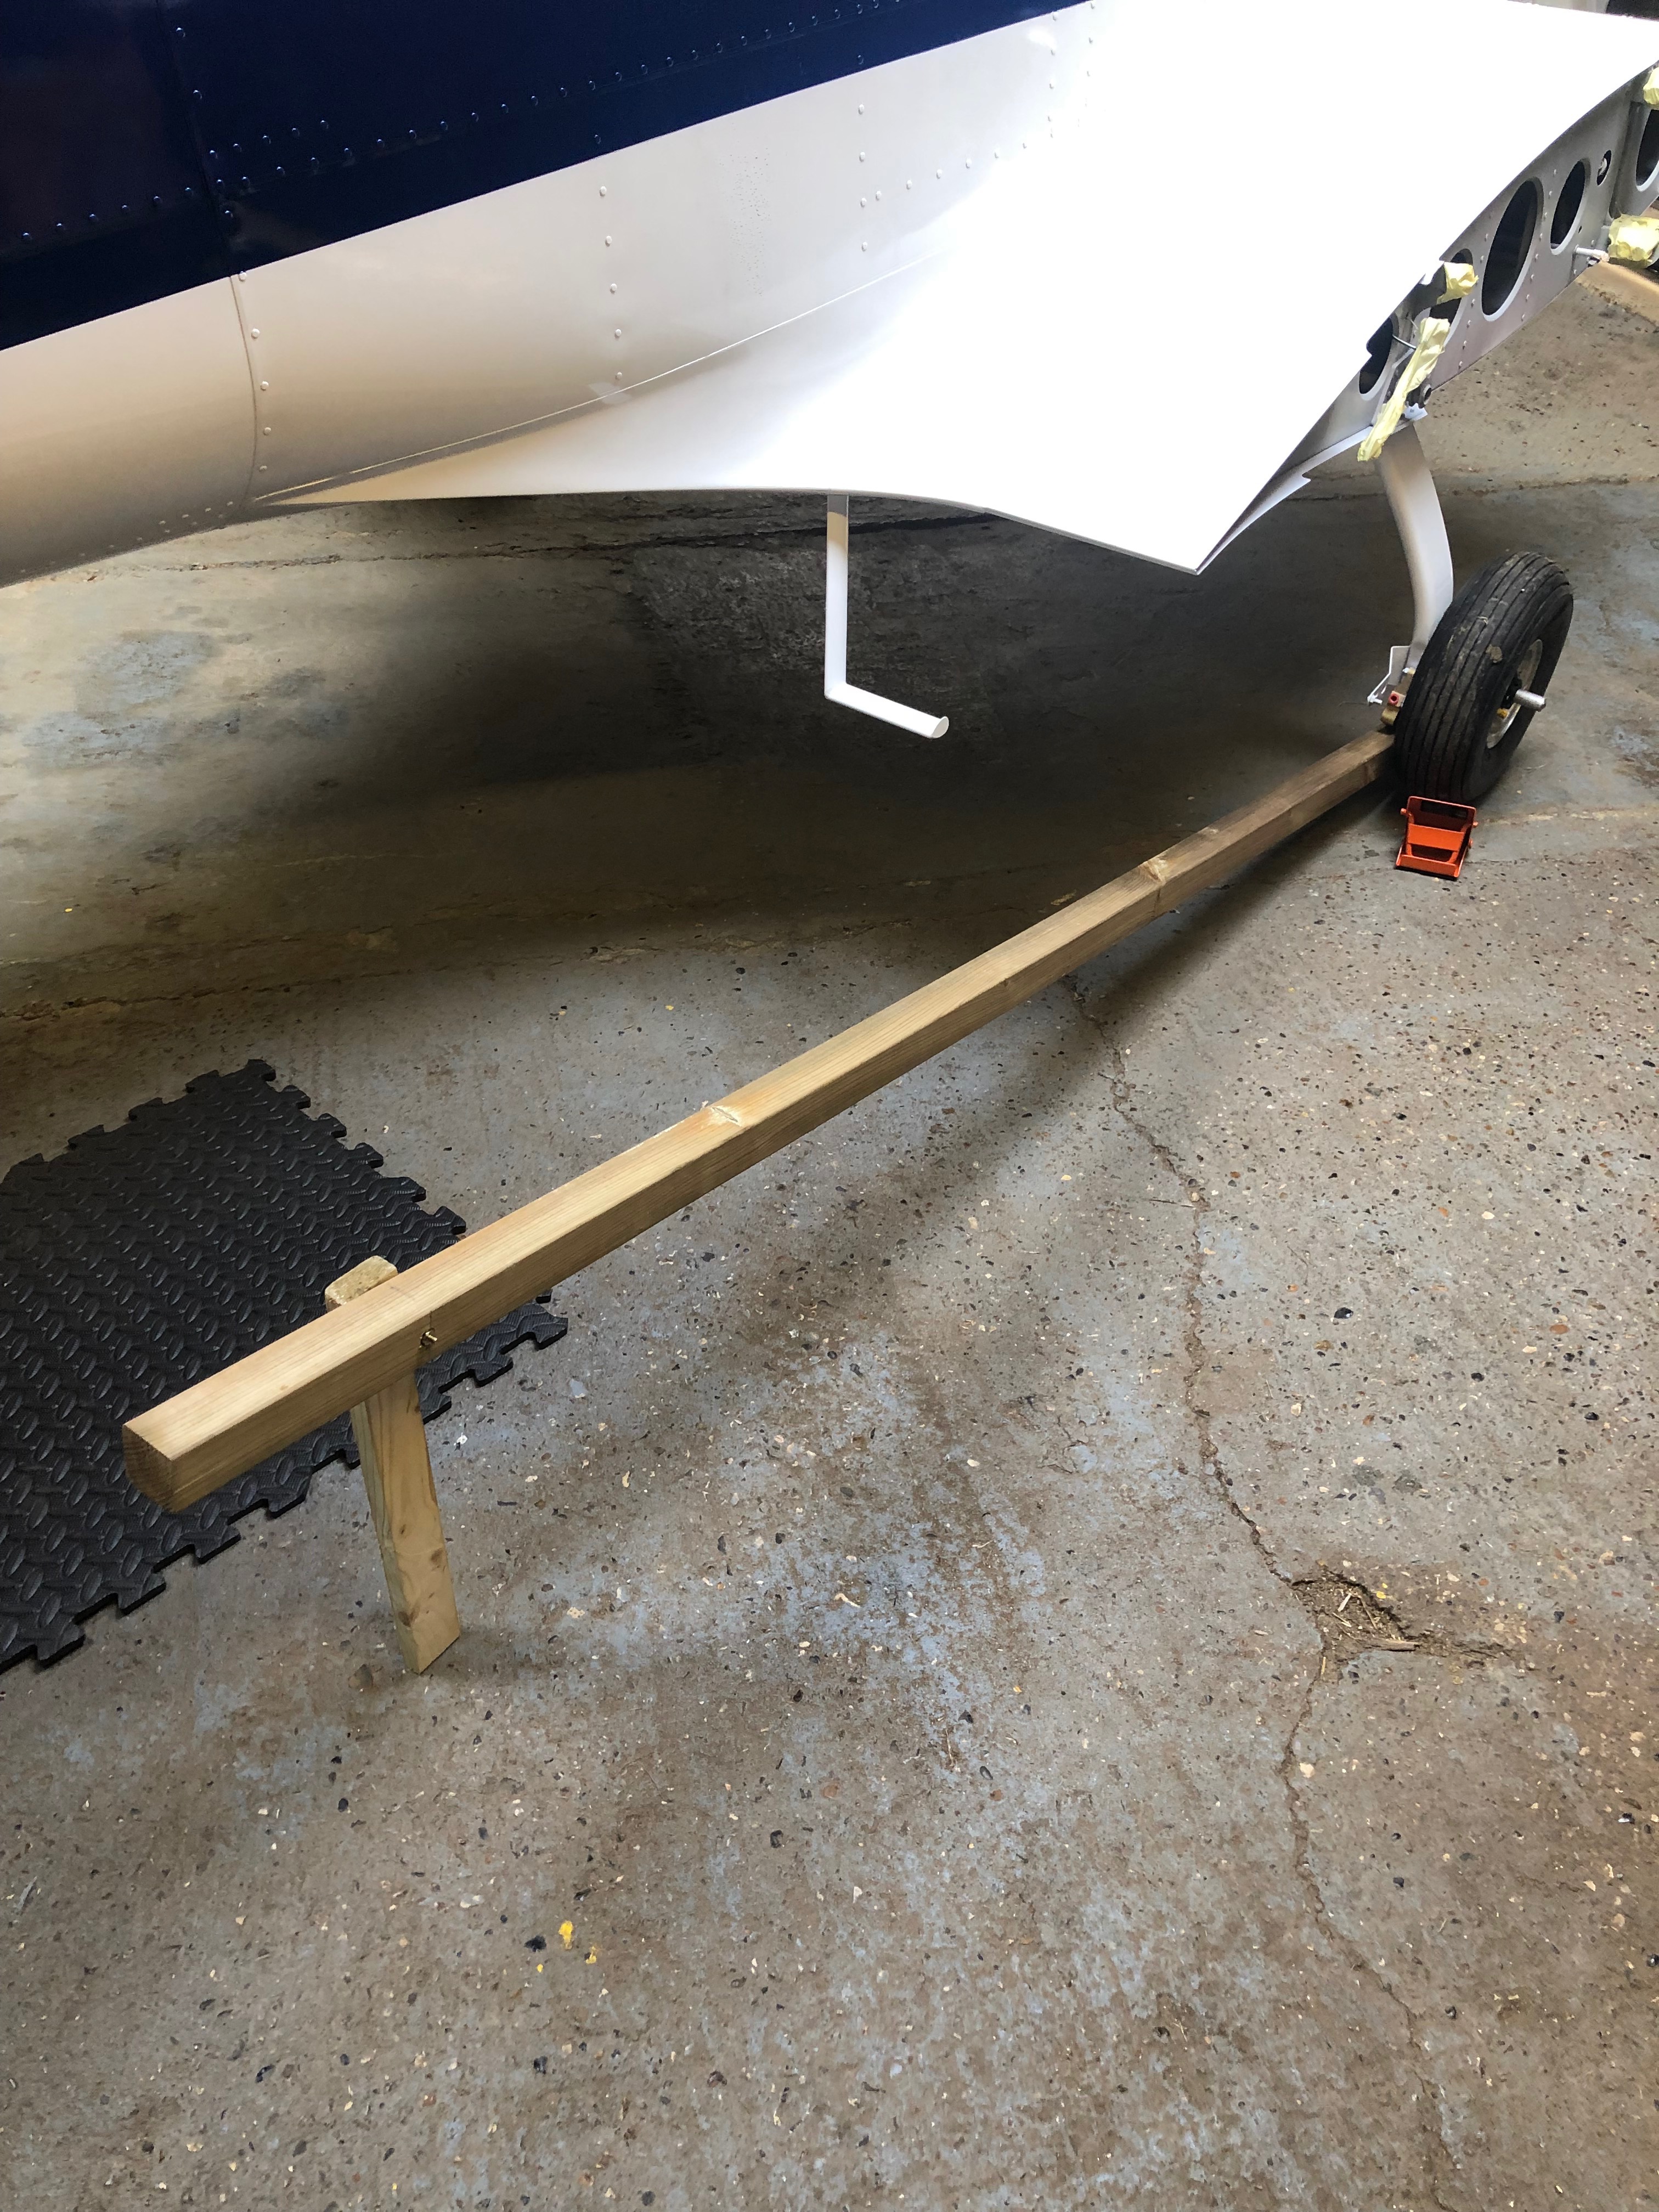
To jack the aircraft so the wheel bearing can be removed and greased a simple wooden jack is made.
To help lift the wheel off the ground a suitable ‘jack’ was made from a length of 2″ x 2″ wood.
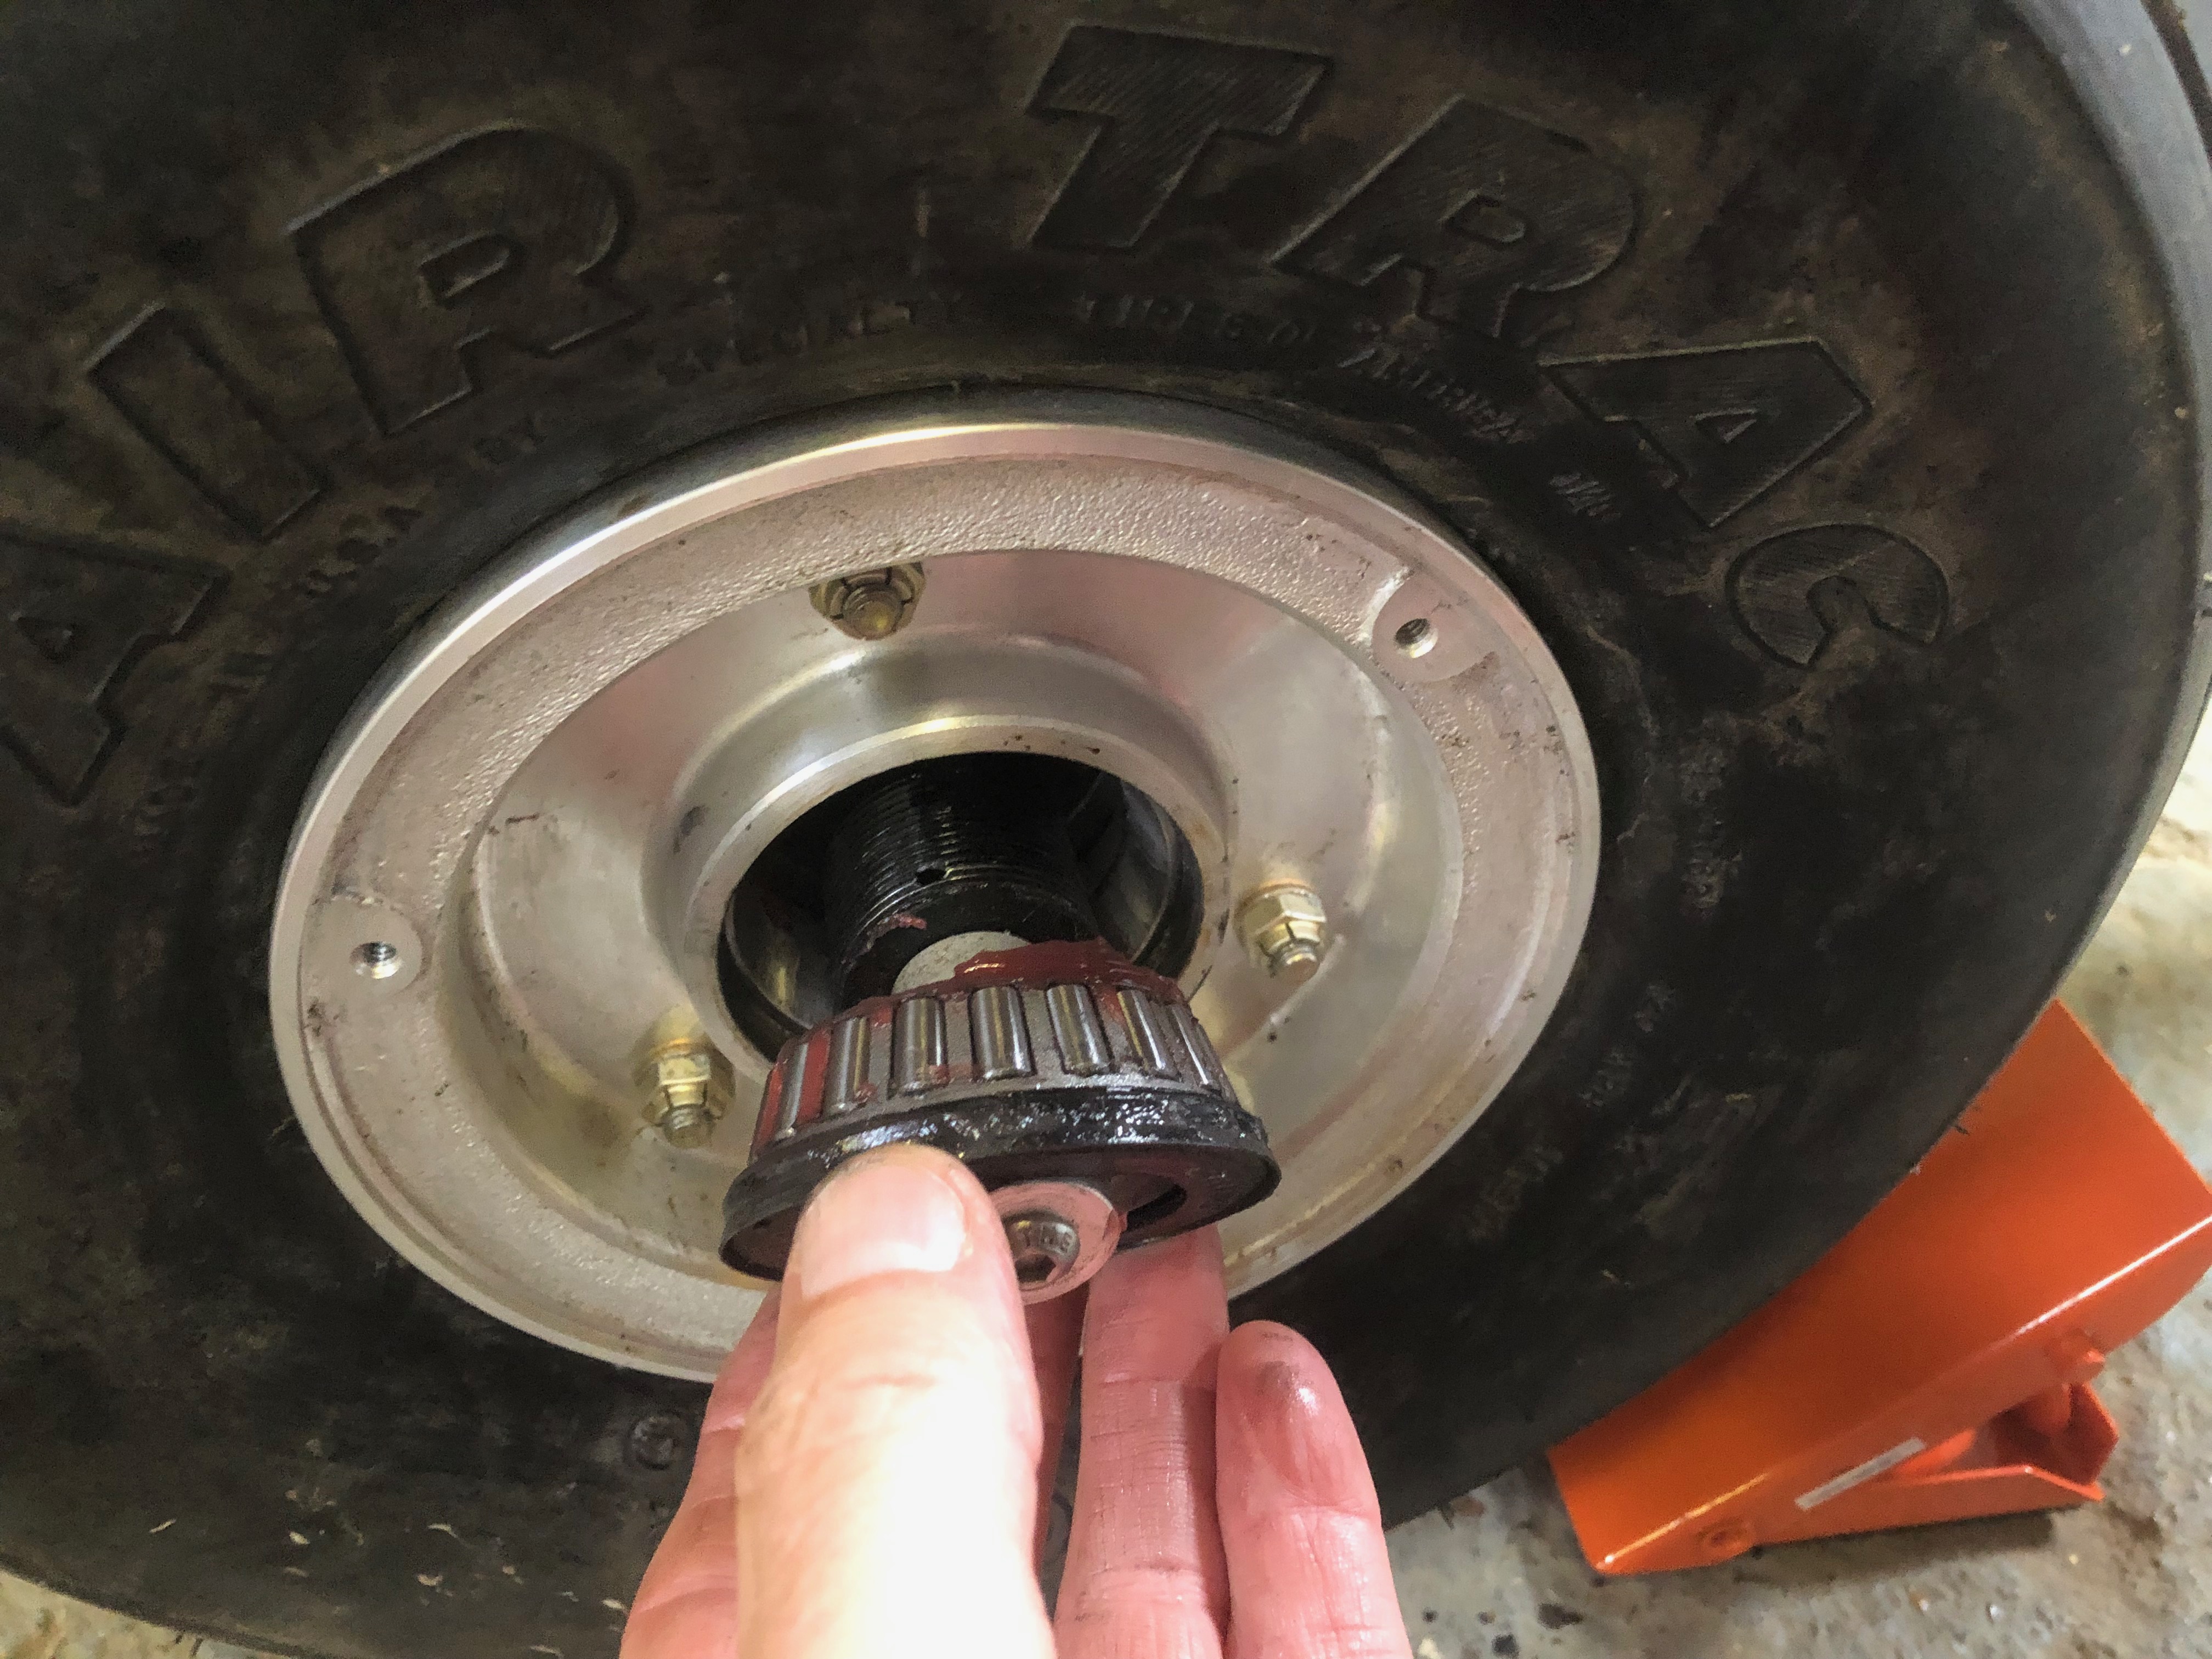
Once the wheel is clear of the ground the bearings are removed
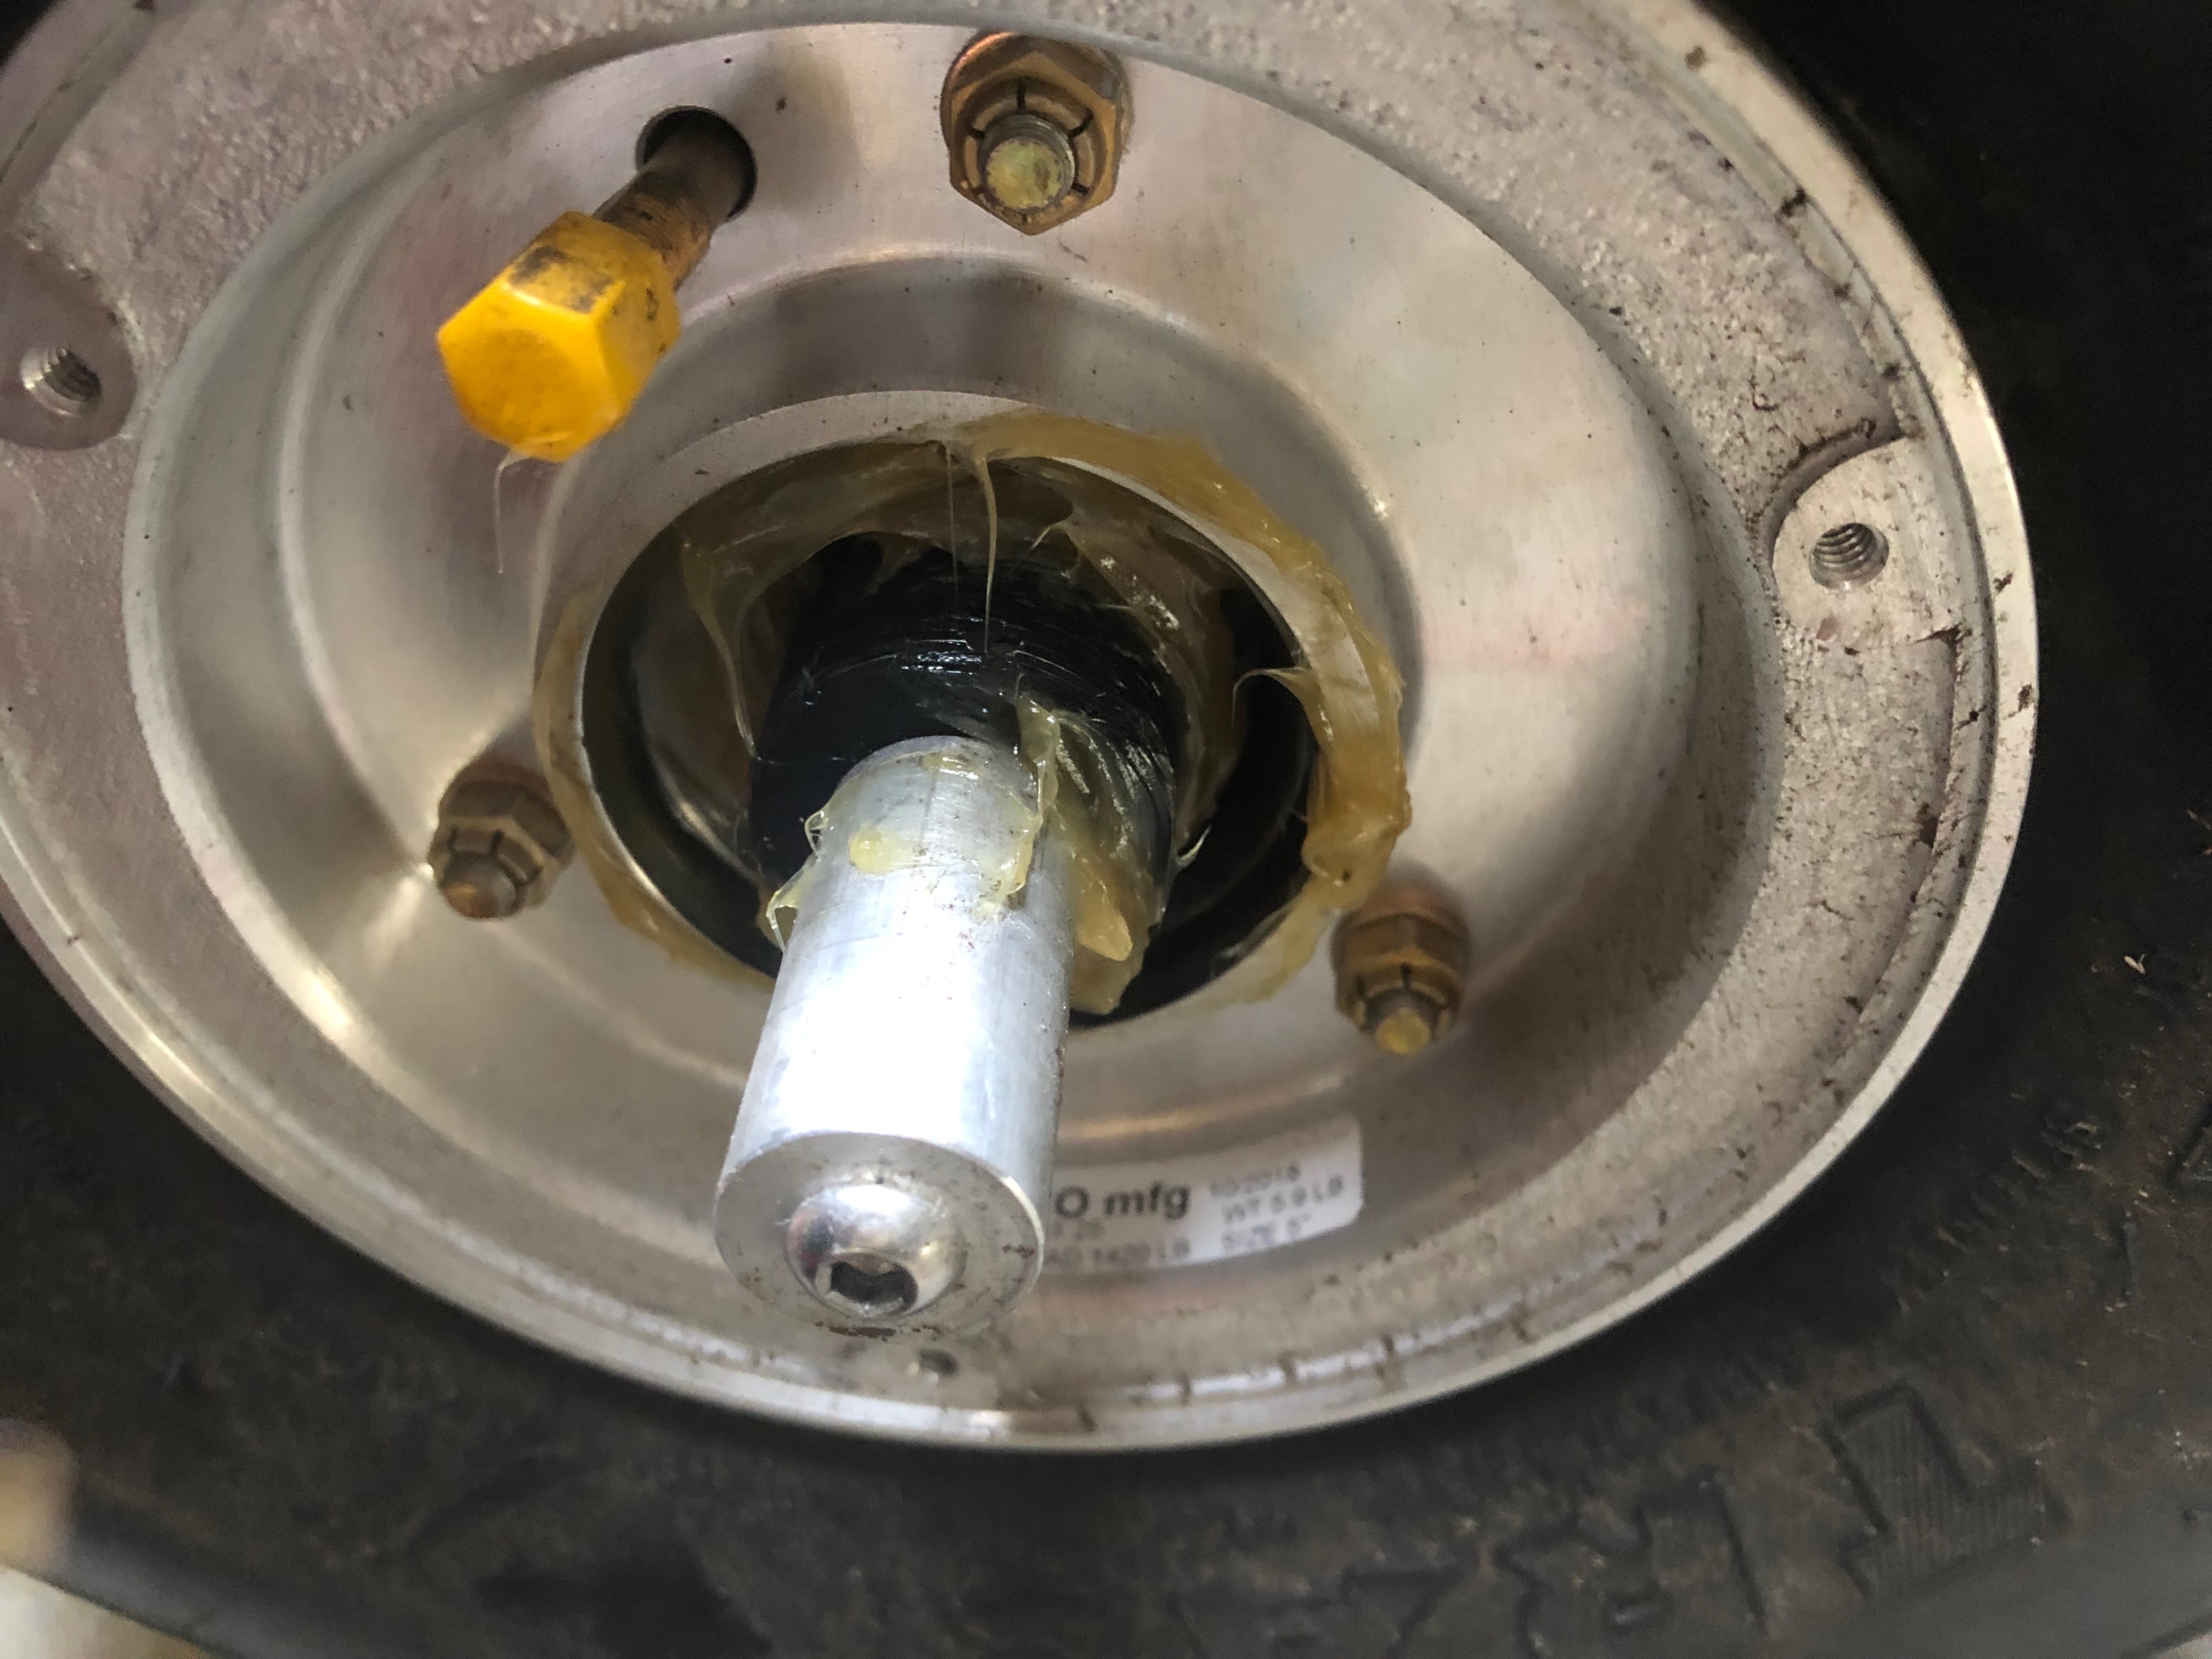
Recess packed with grease.
Wheel bearing is refitted, the wheel nut is refitted, tightened and a new split pin fitted.
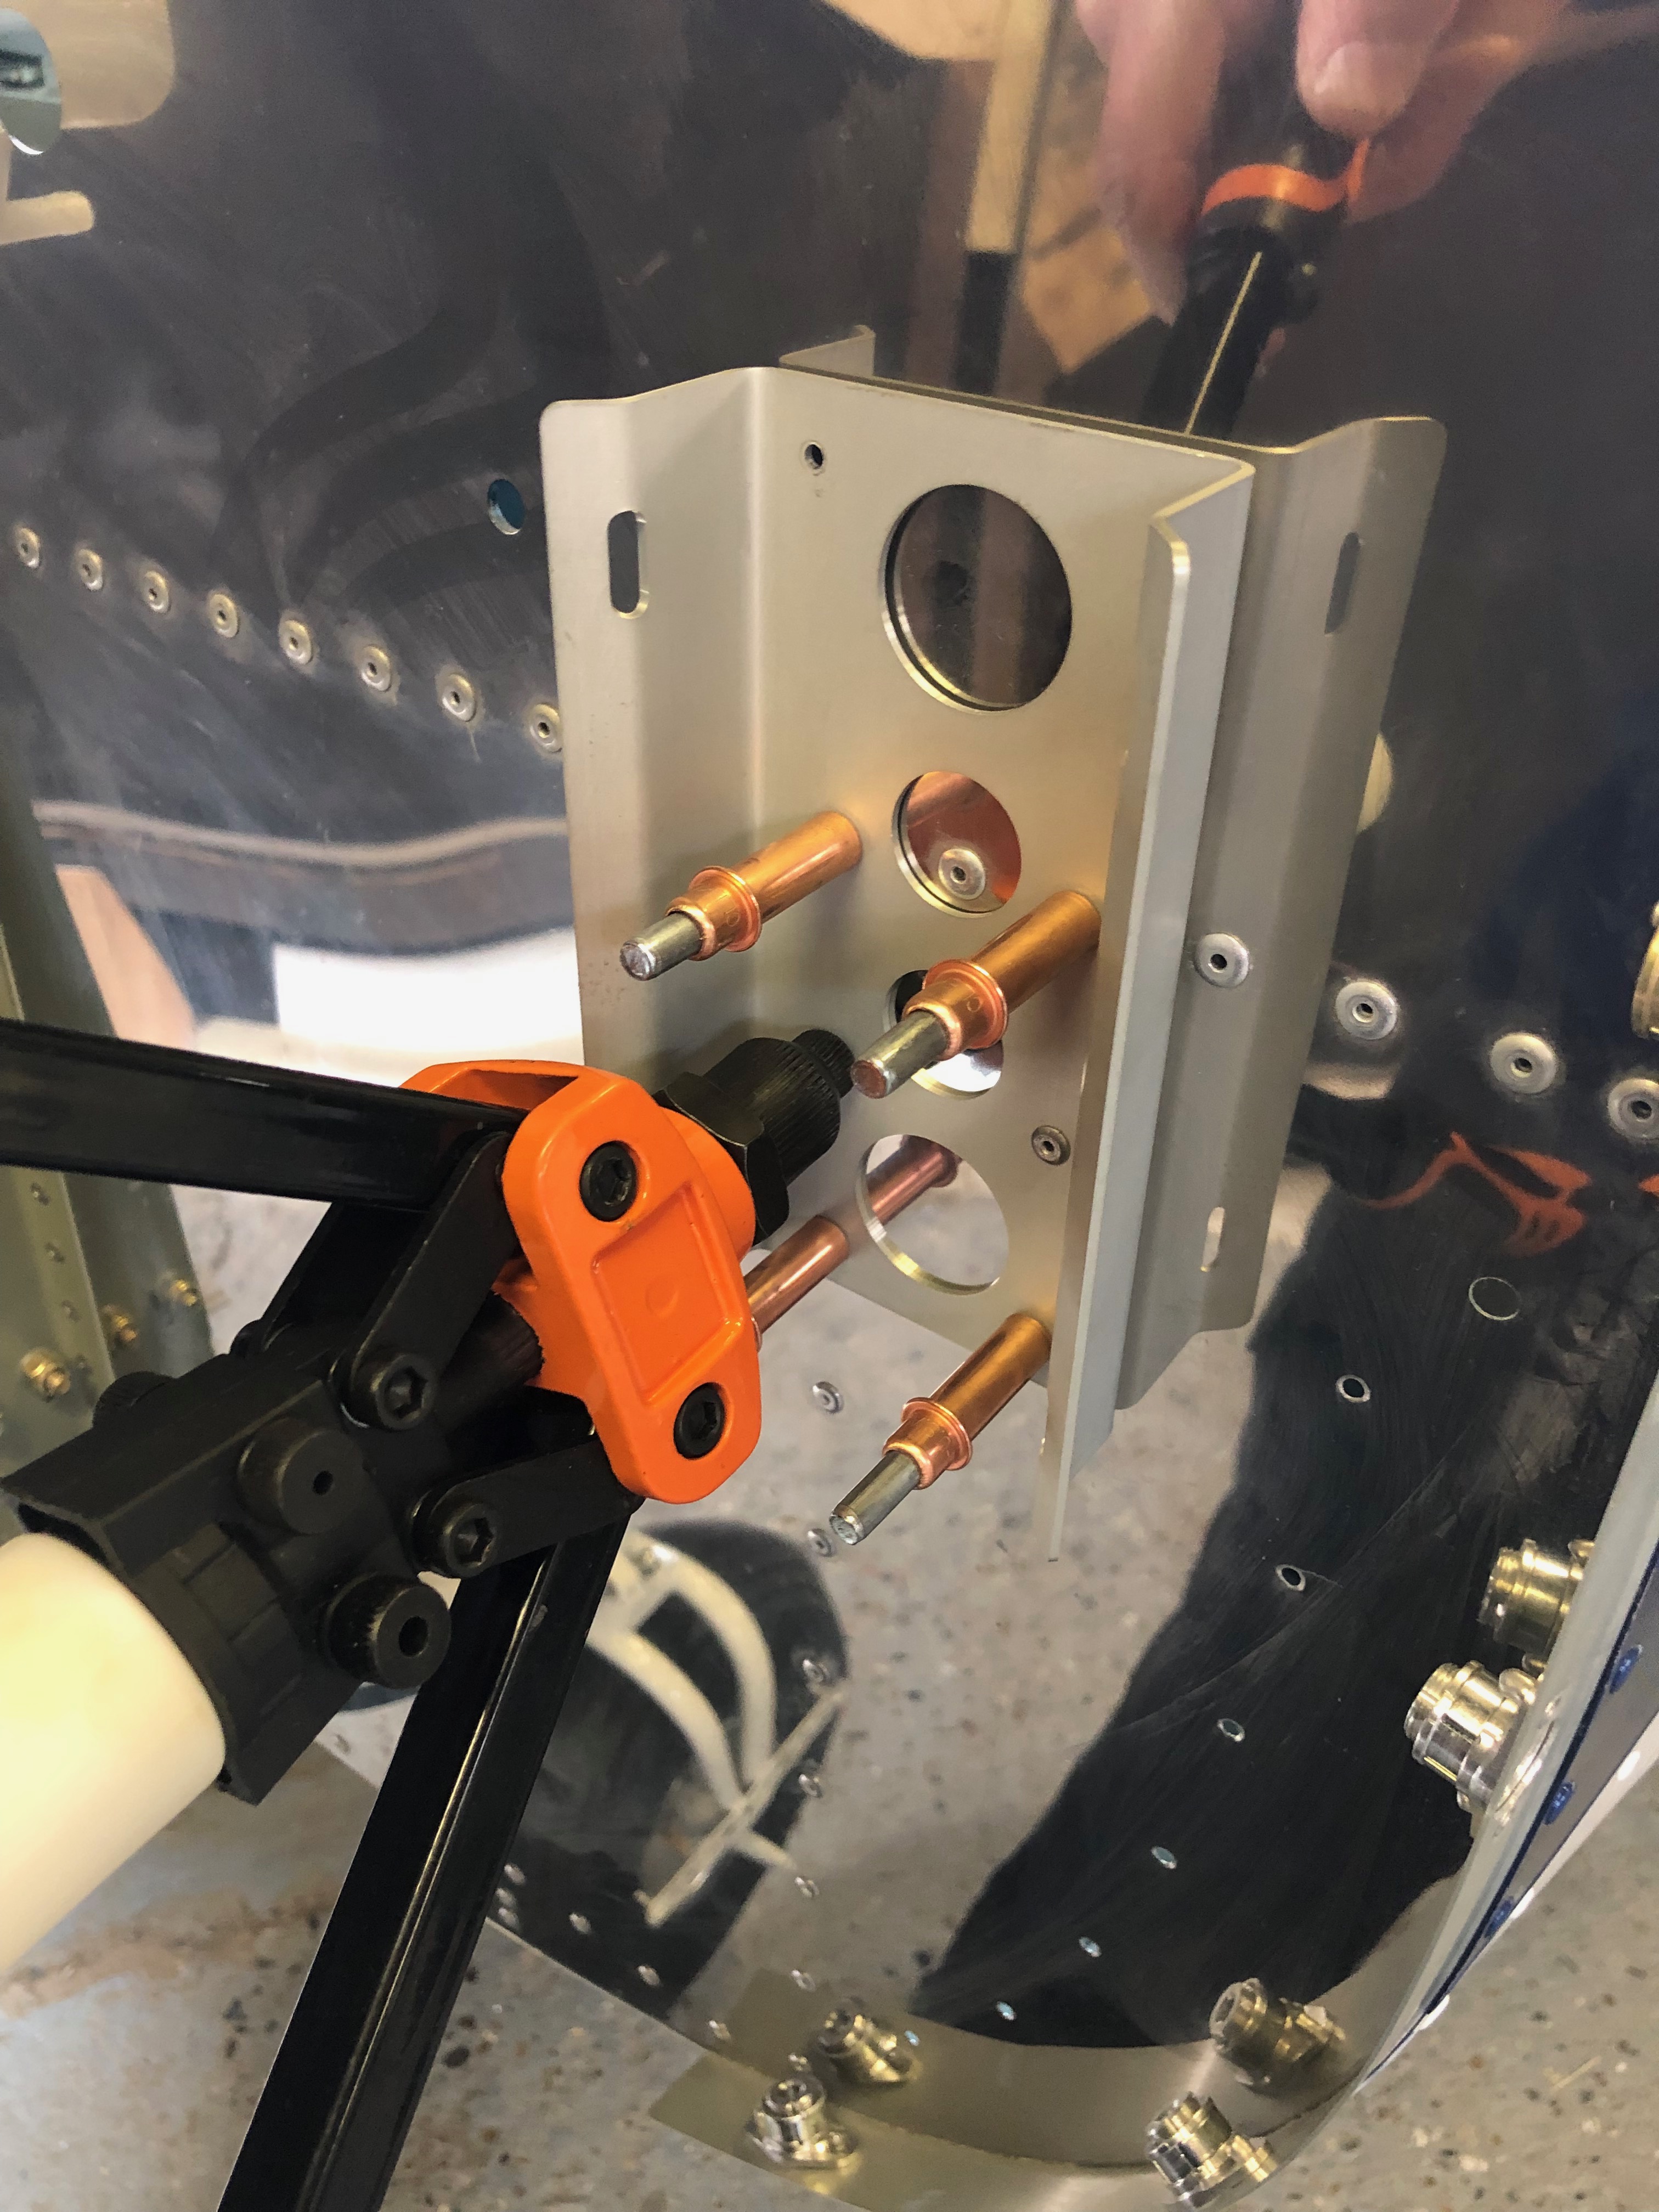
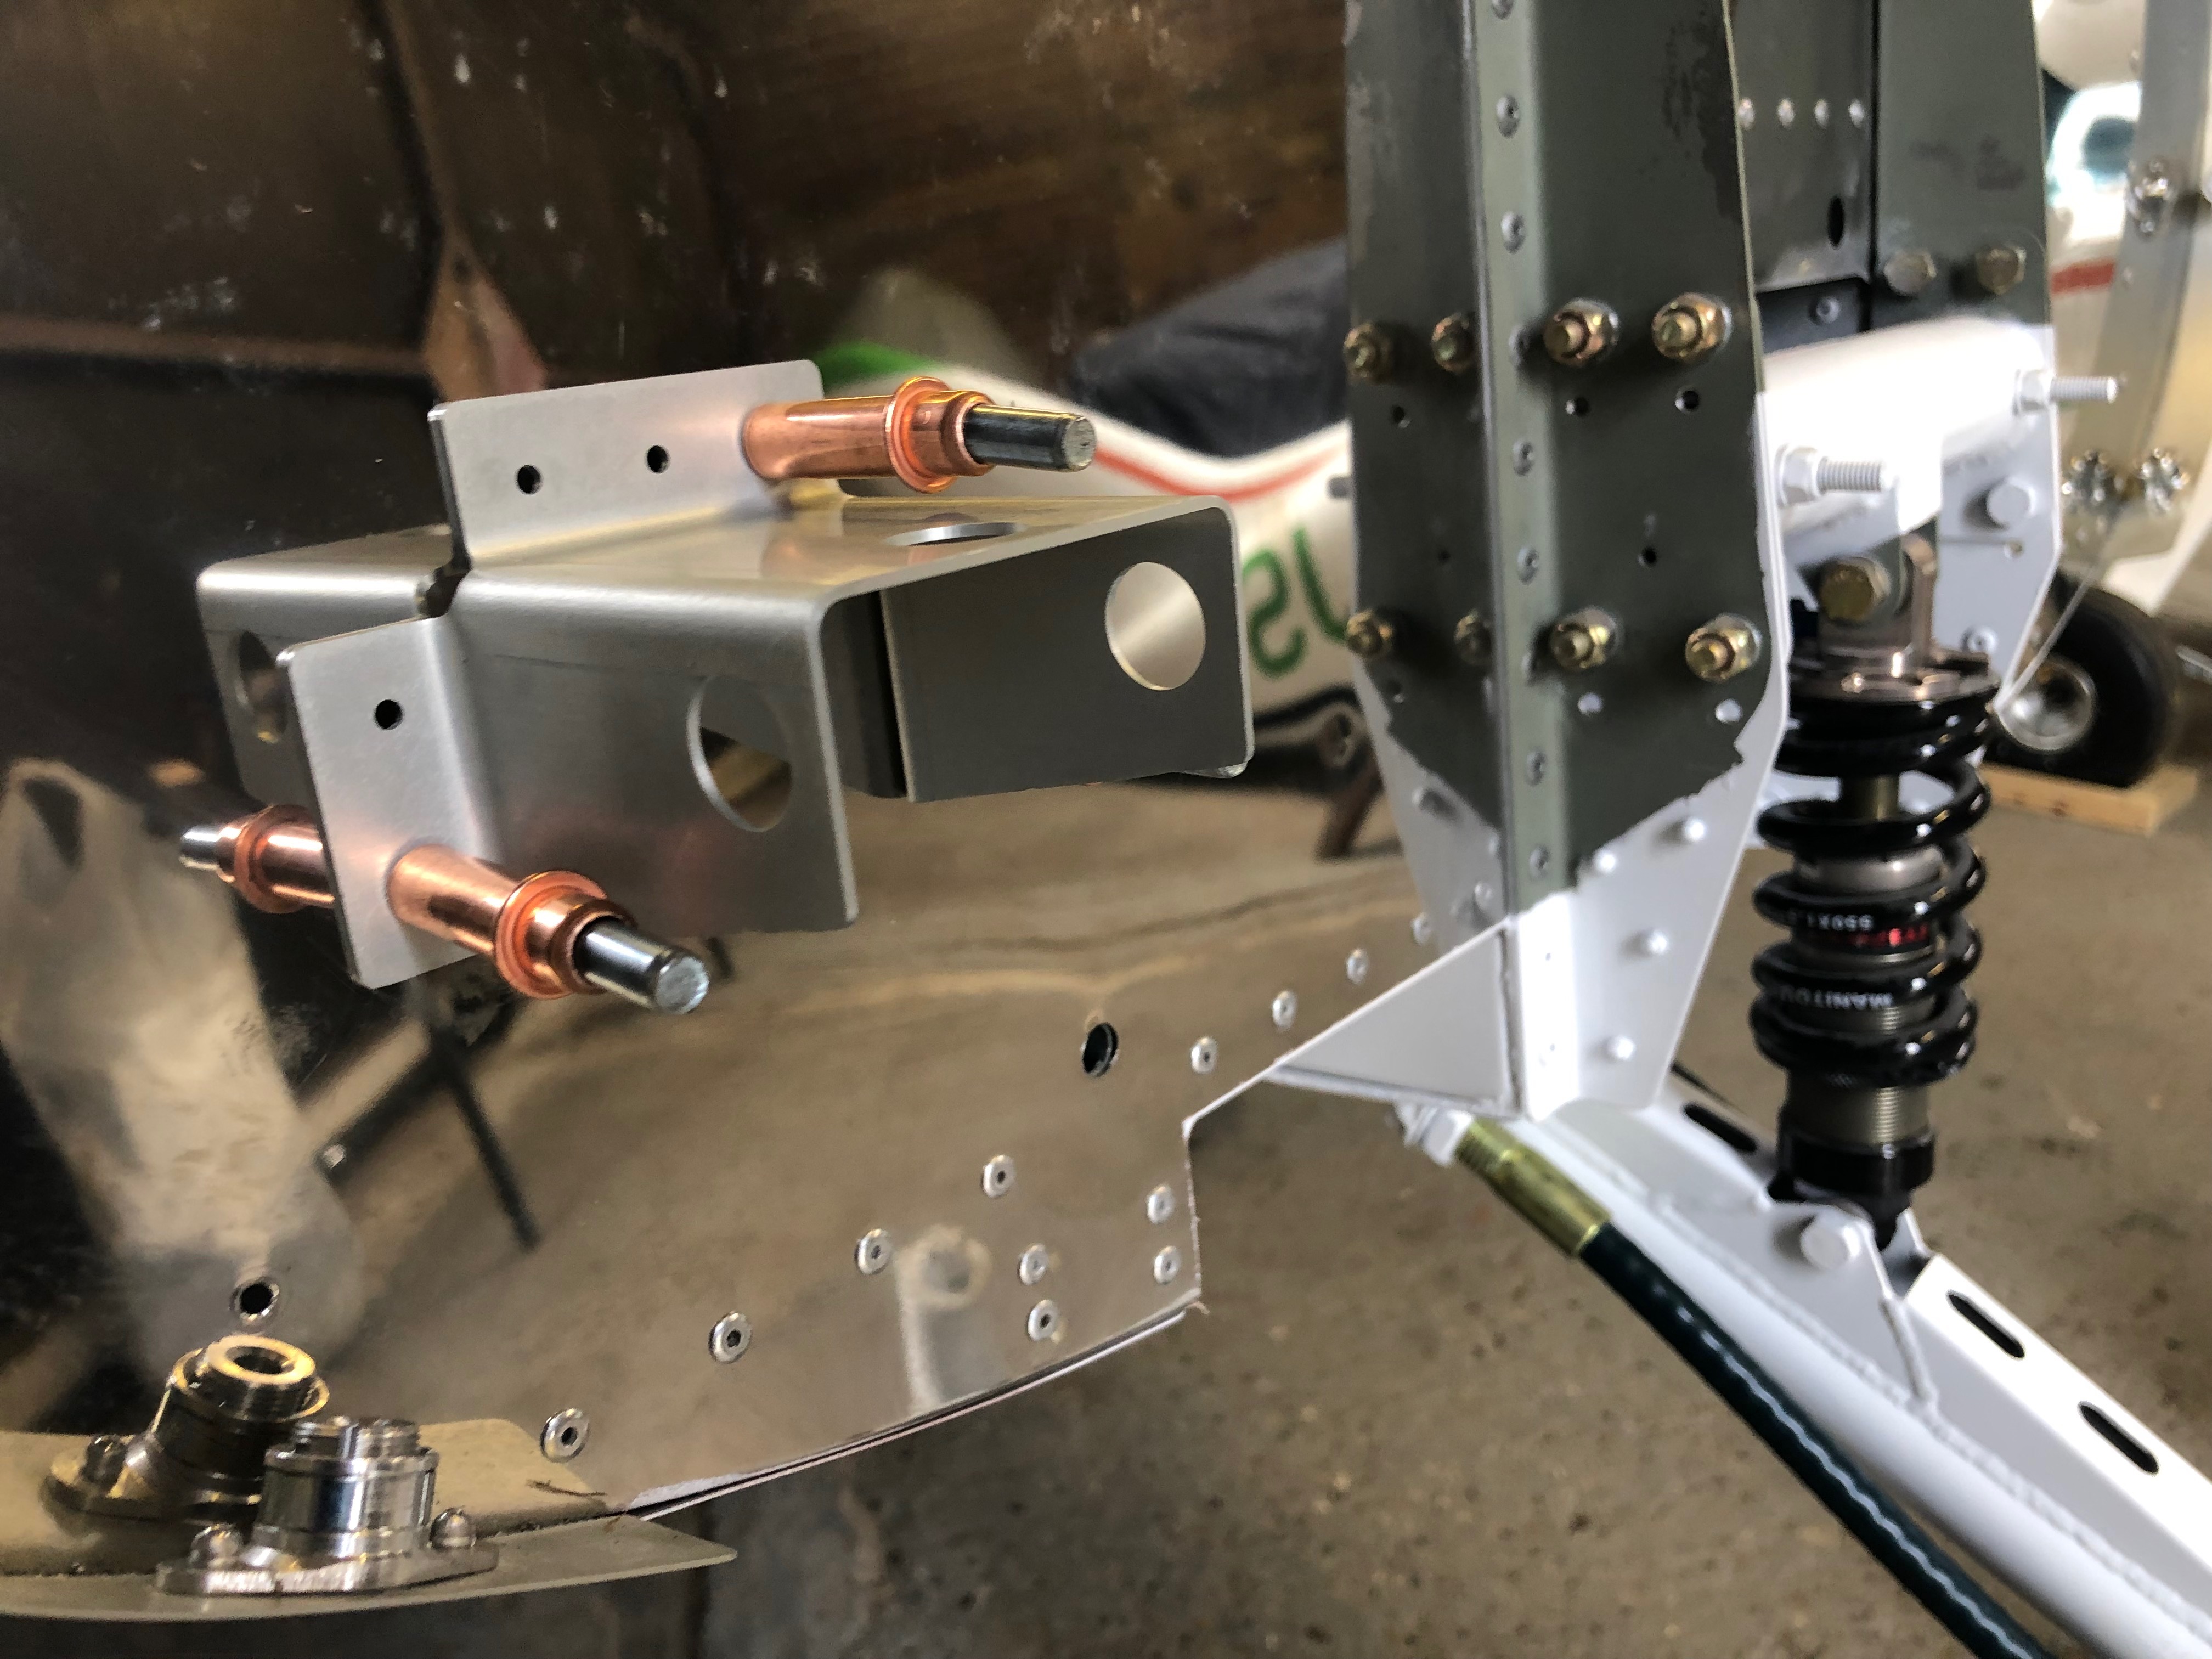
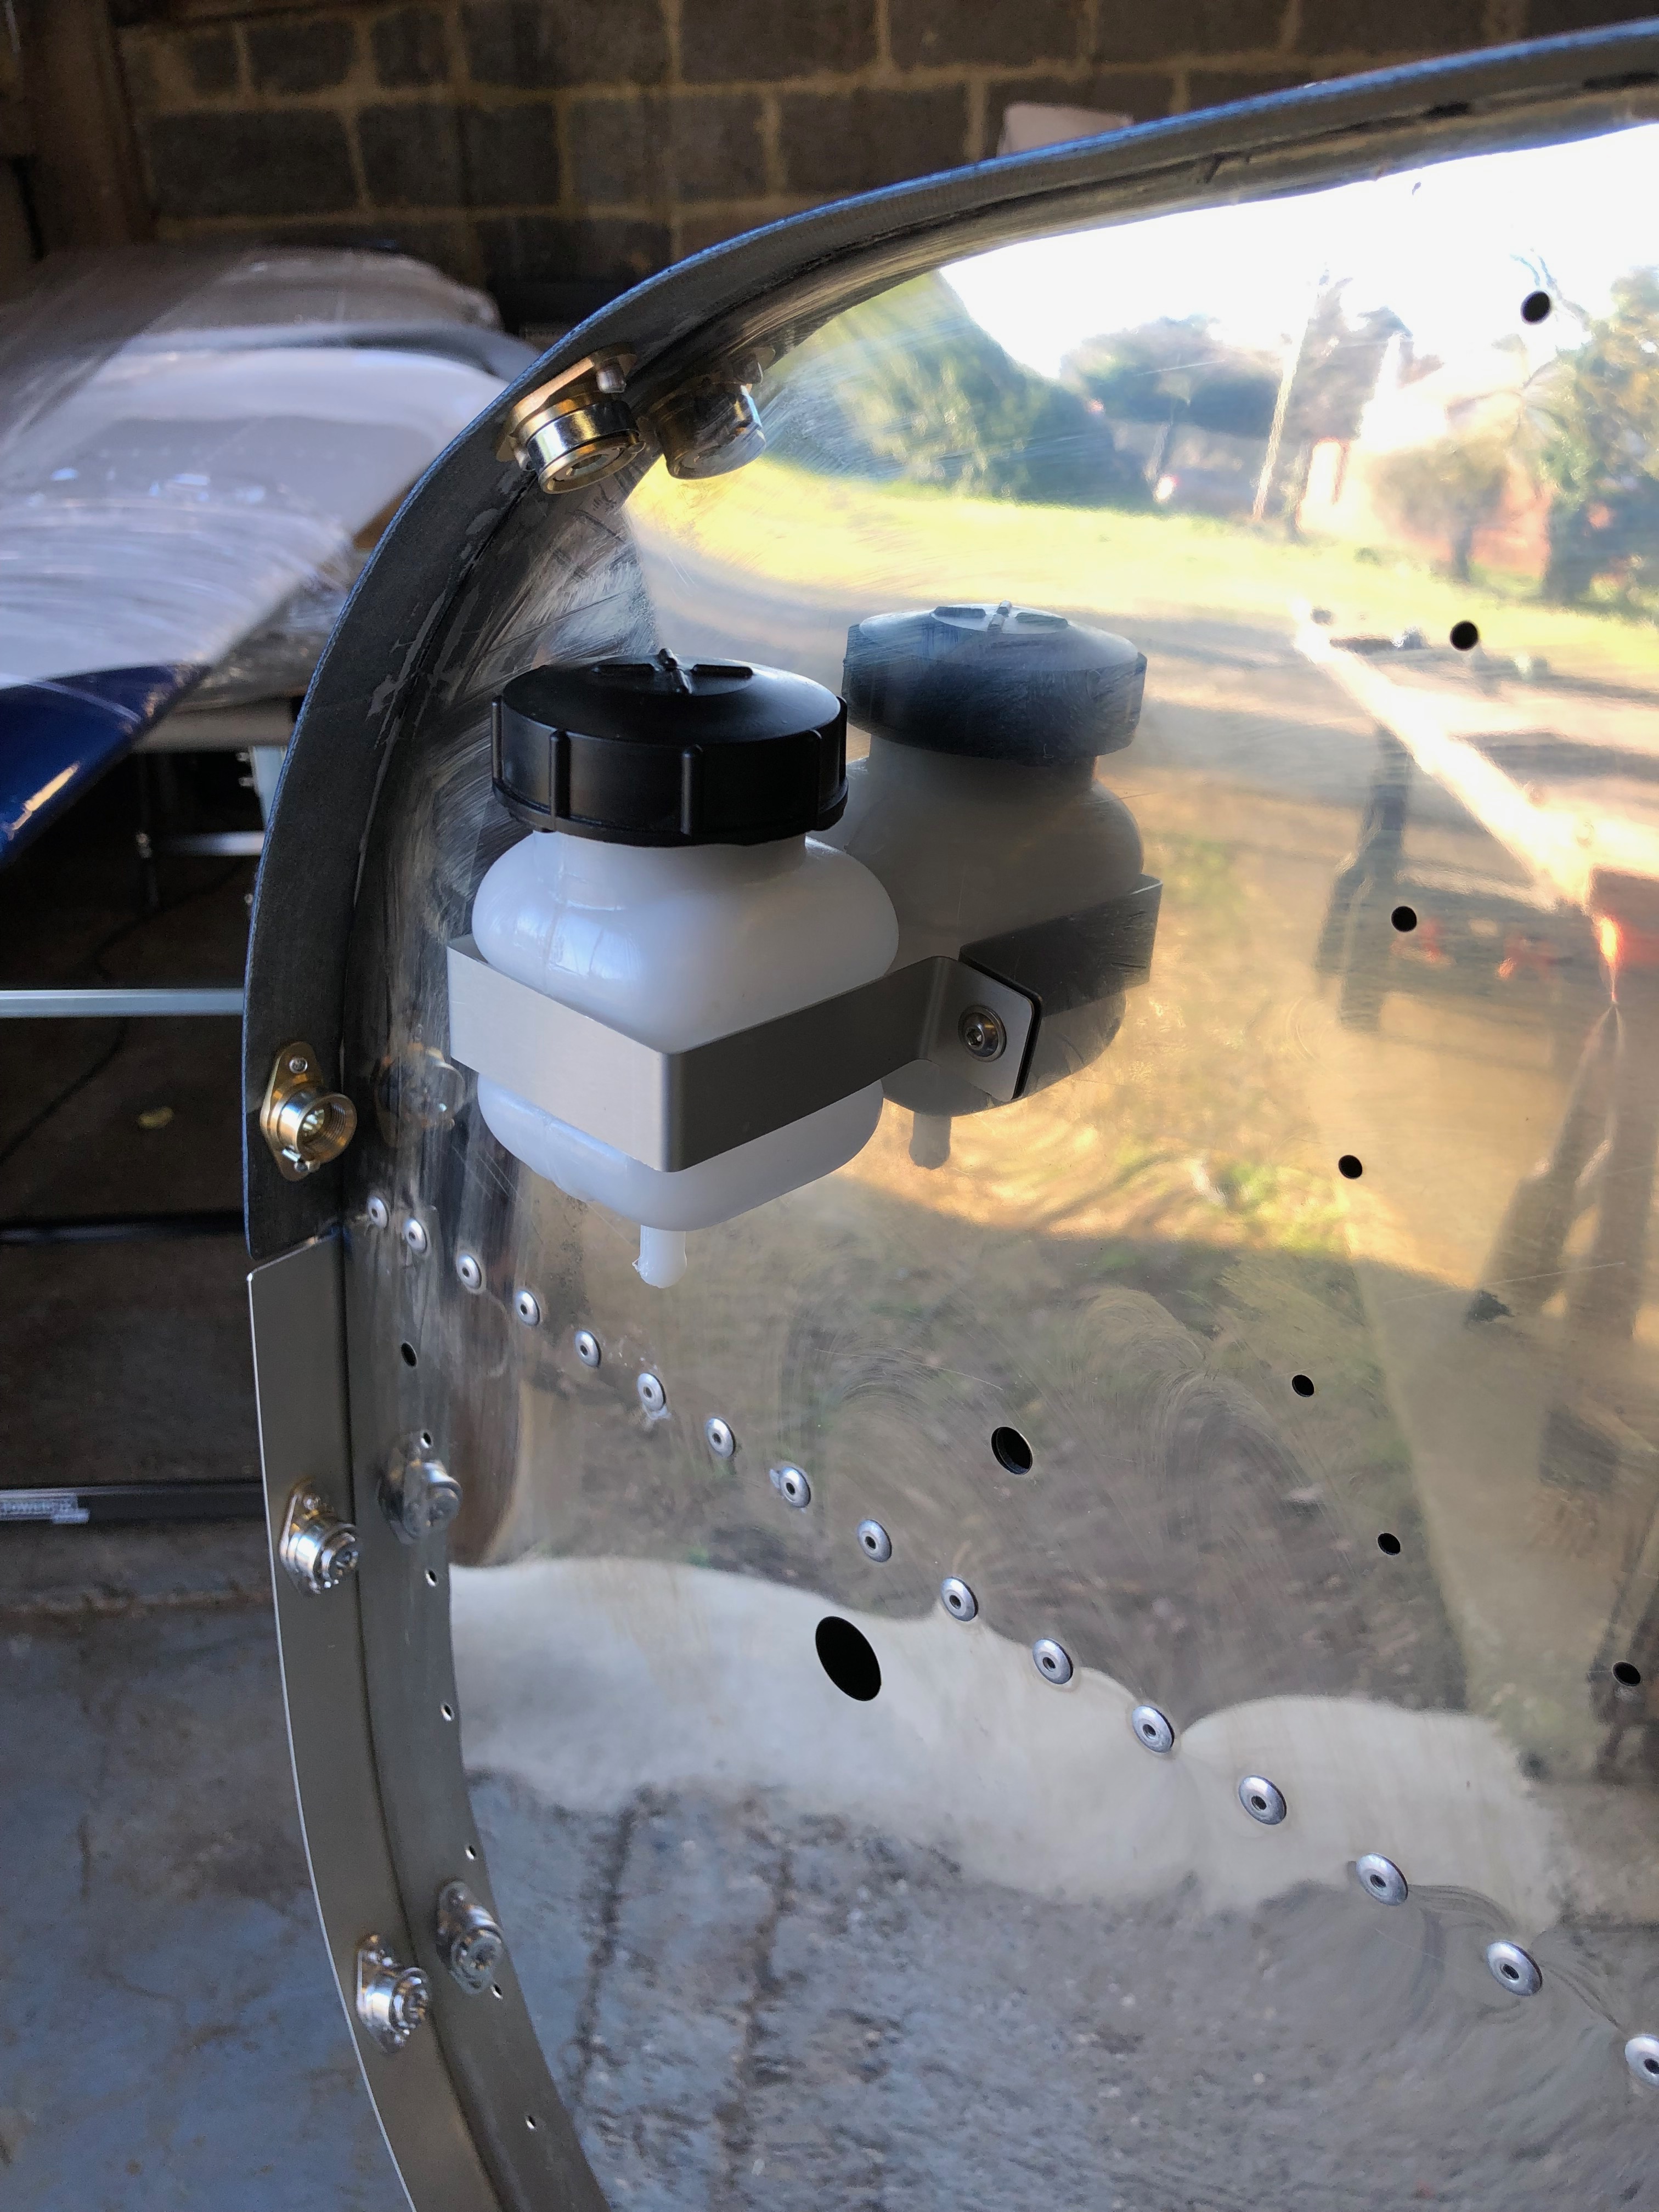
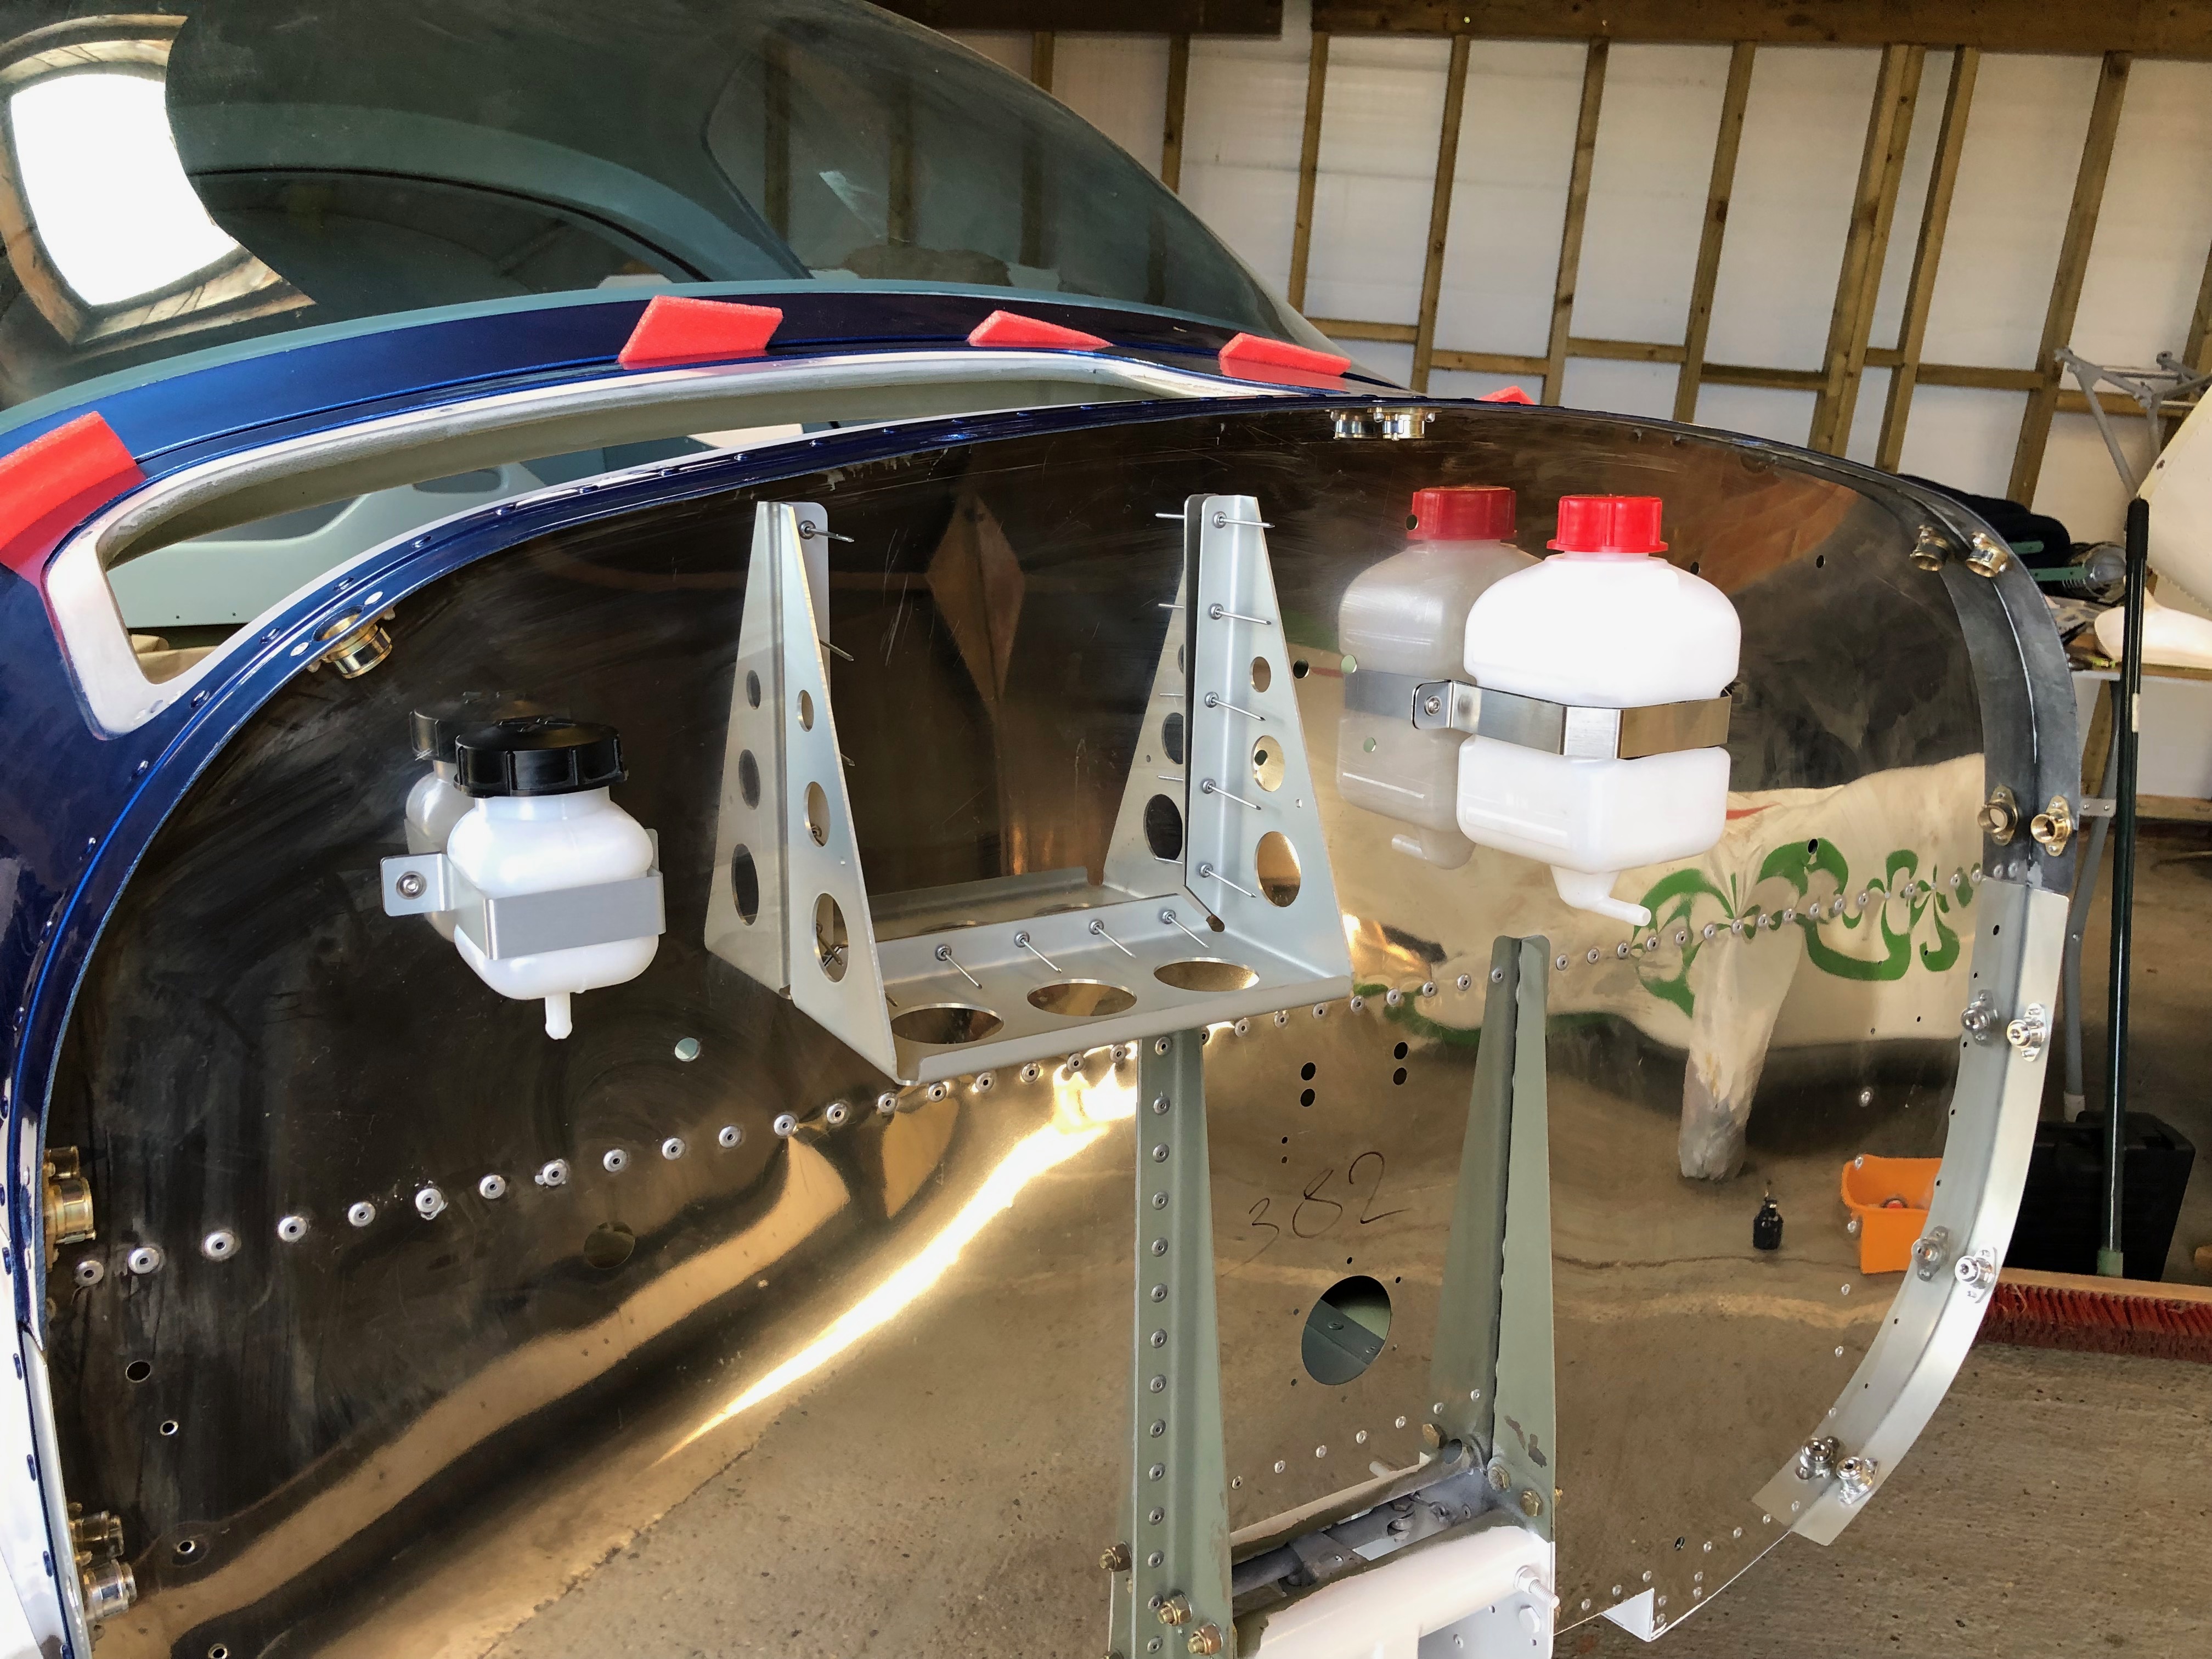
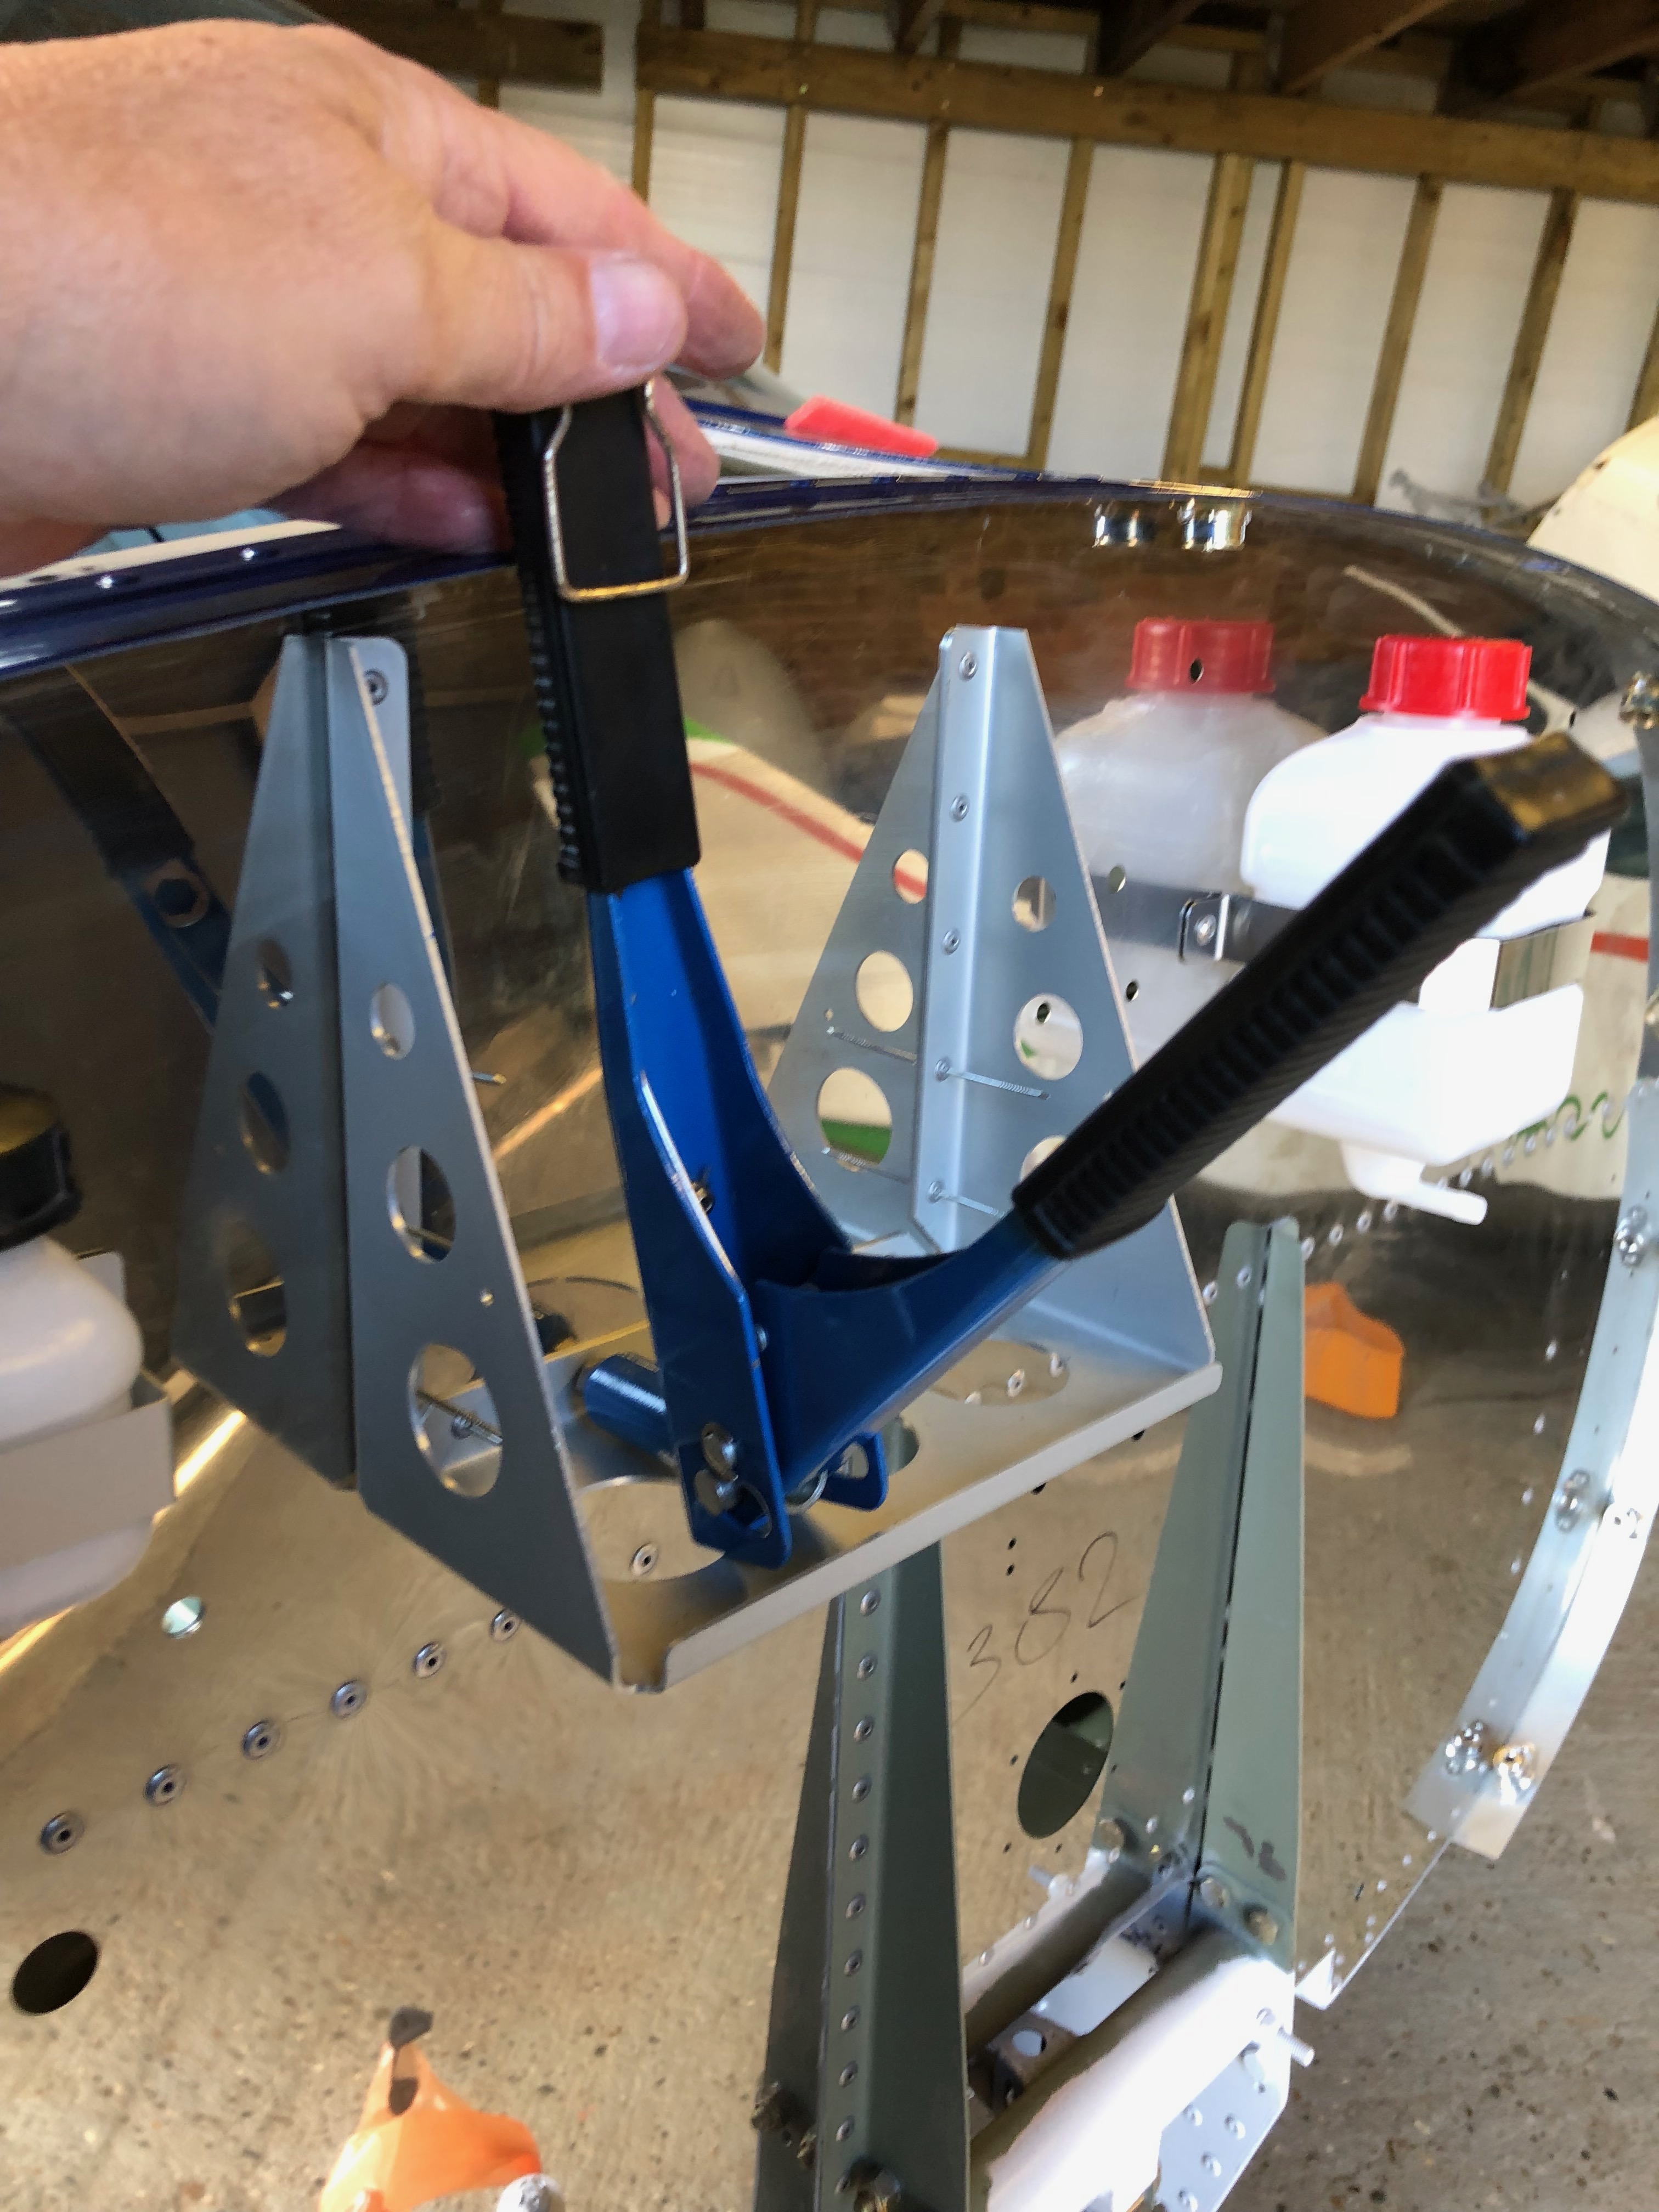
A number of brackets, bottles and components need to be installed before the engine is hung as it’s far easier to gain access to it. Some are just riveted onto the Firewall but other items need to be removed for servicing so Rivnuts are used with hex screws.
Setting an M4 Rivnut
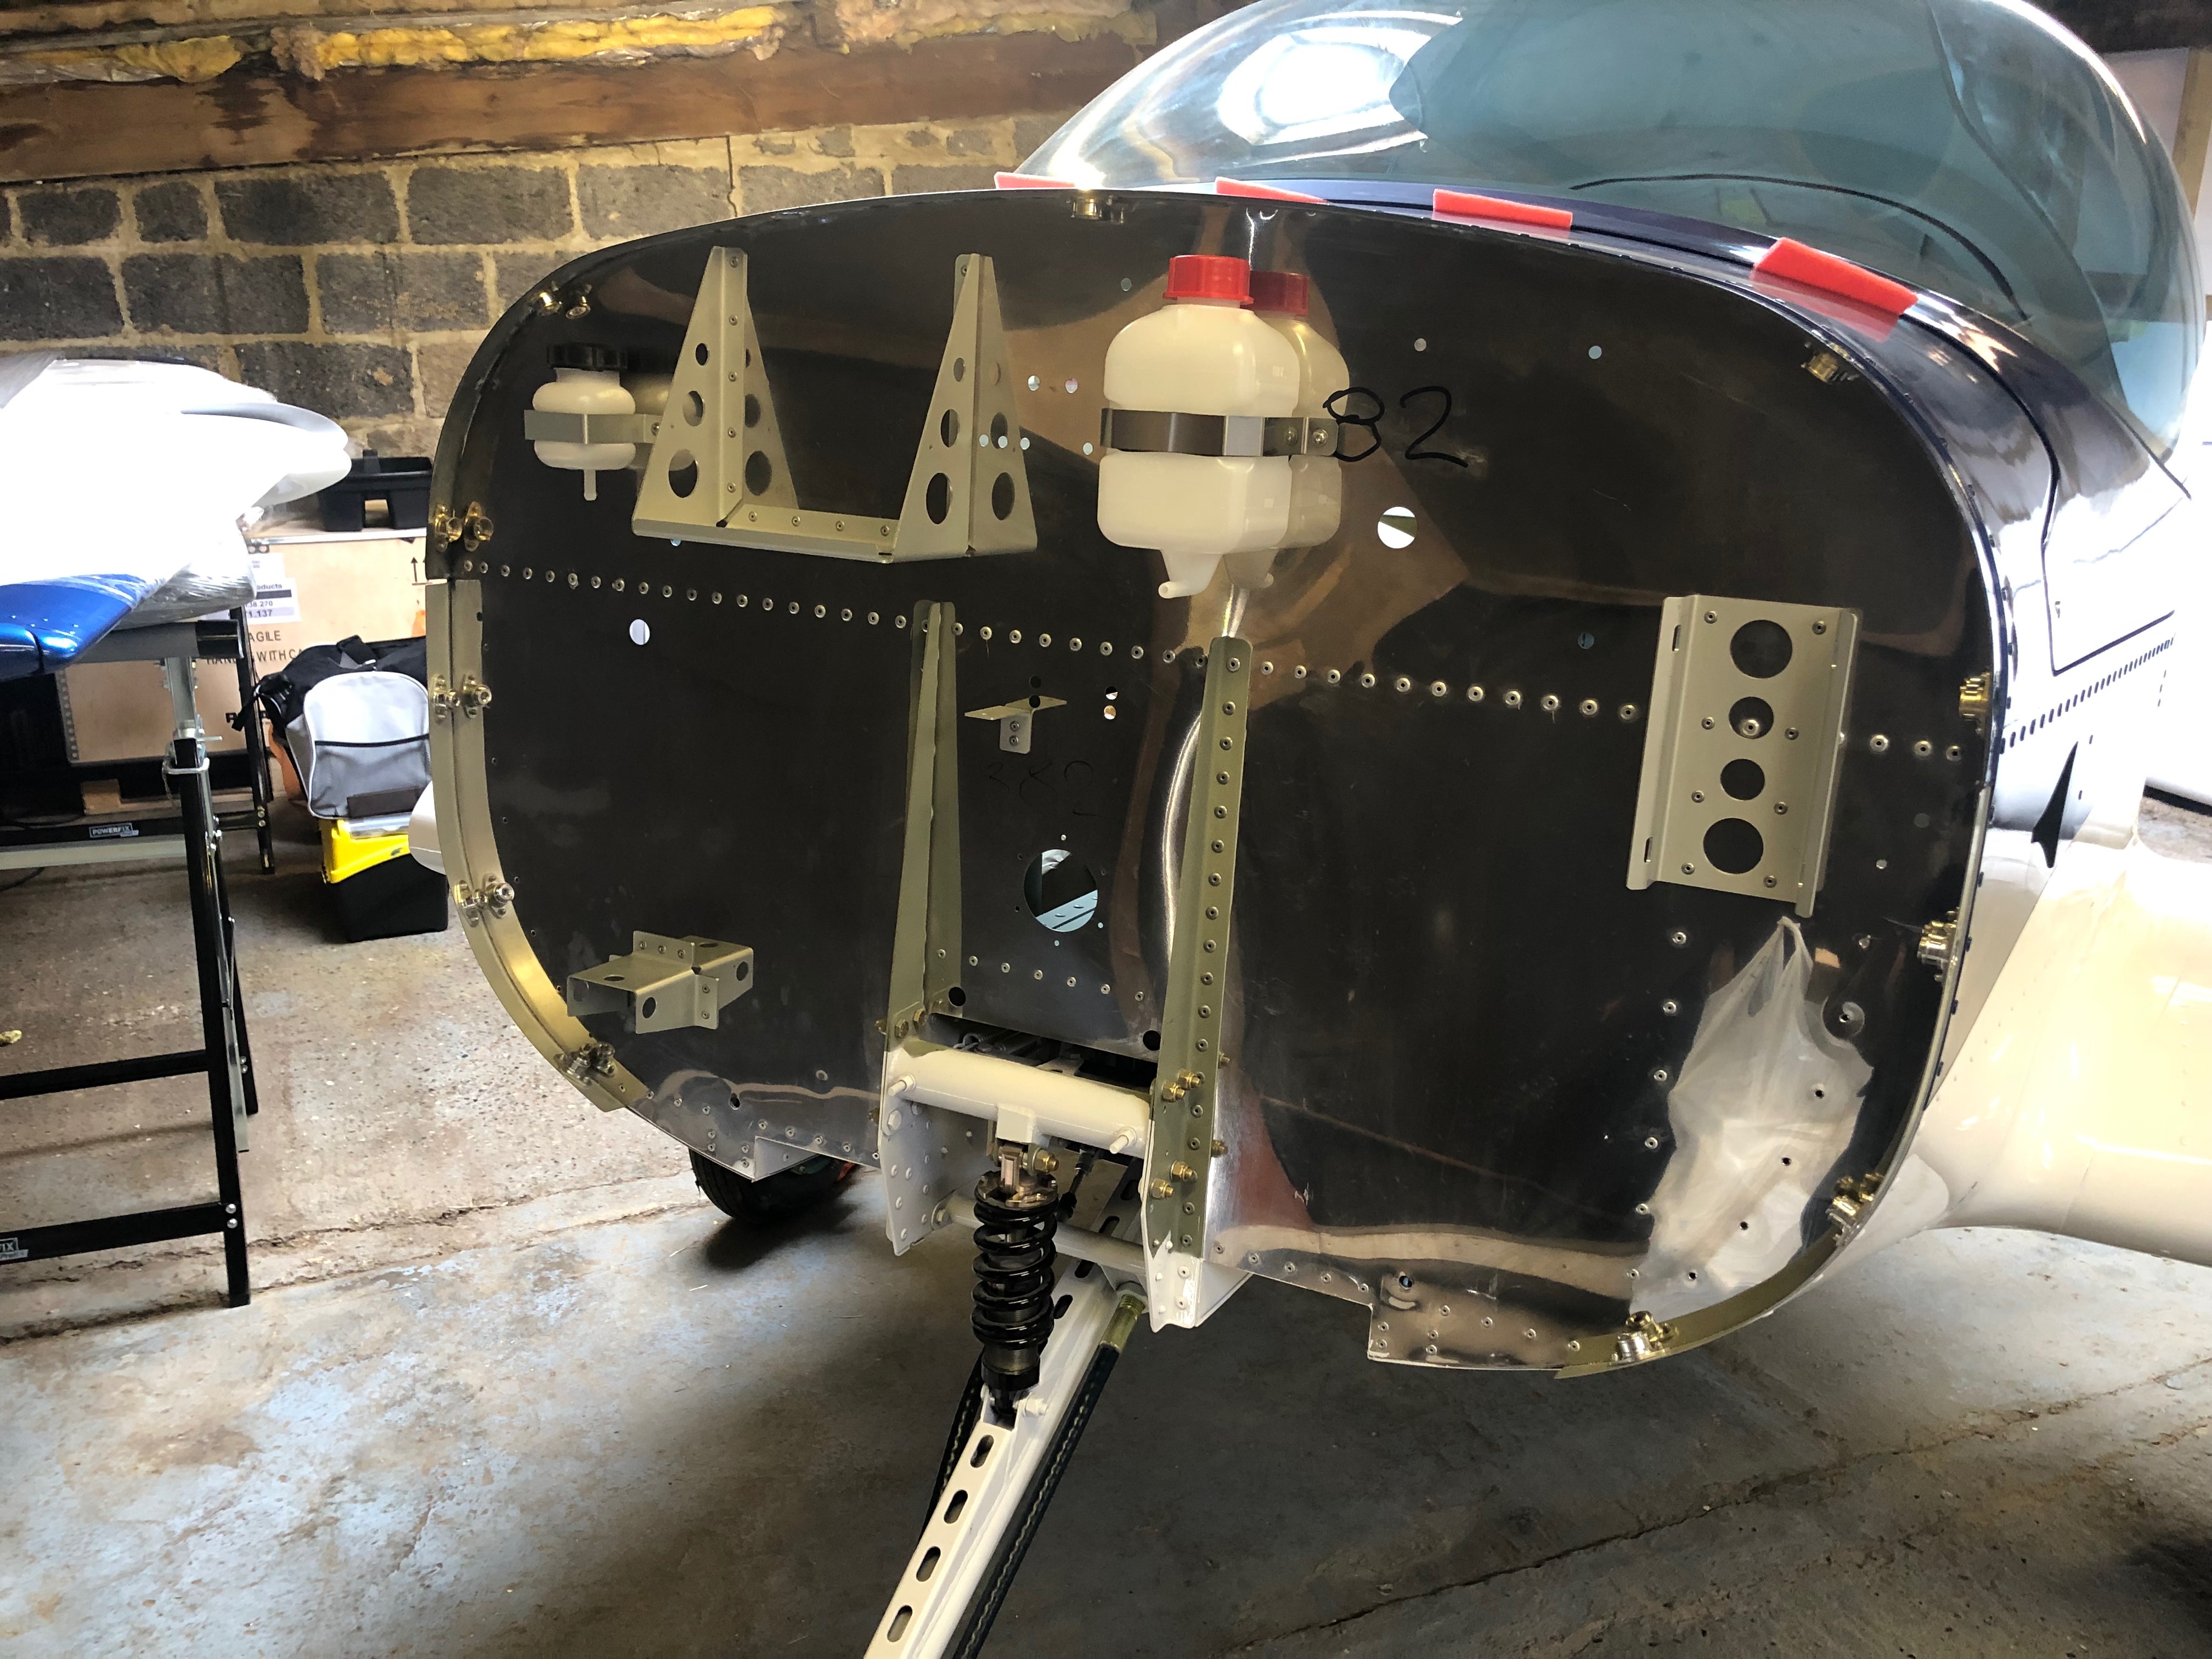
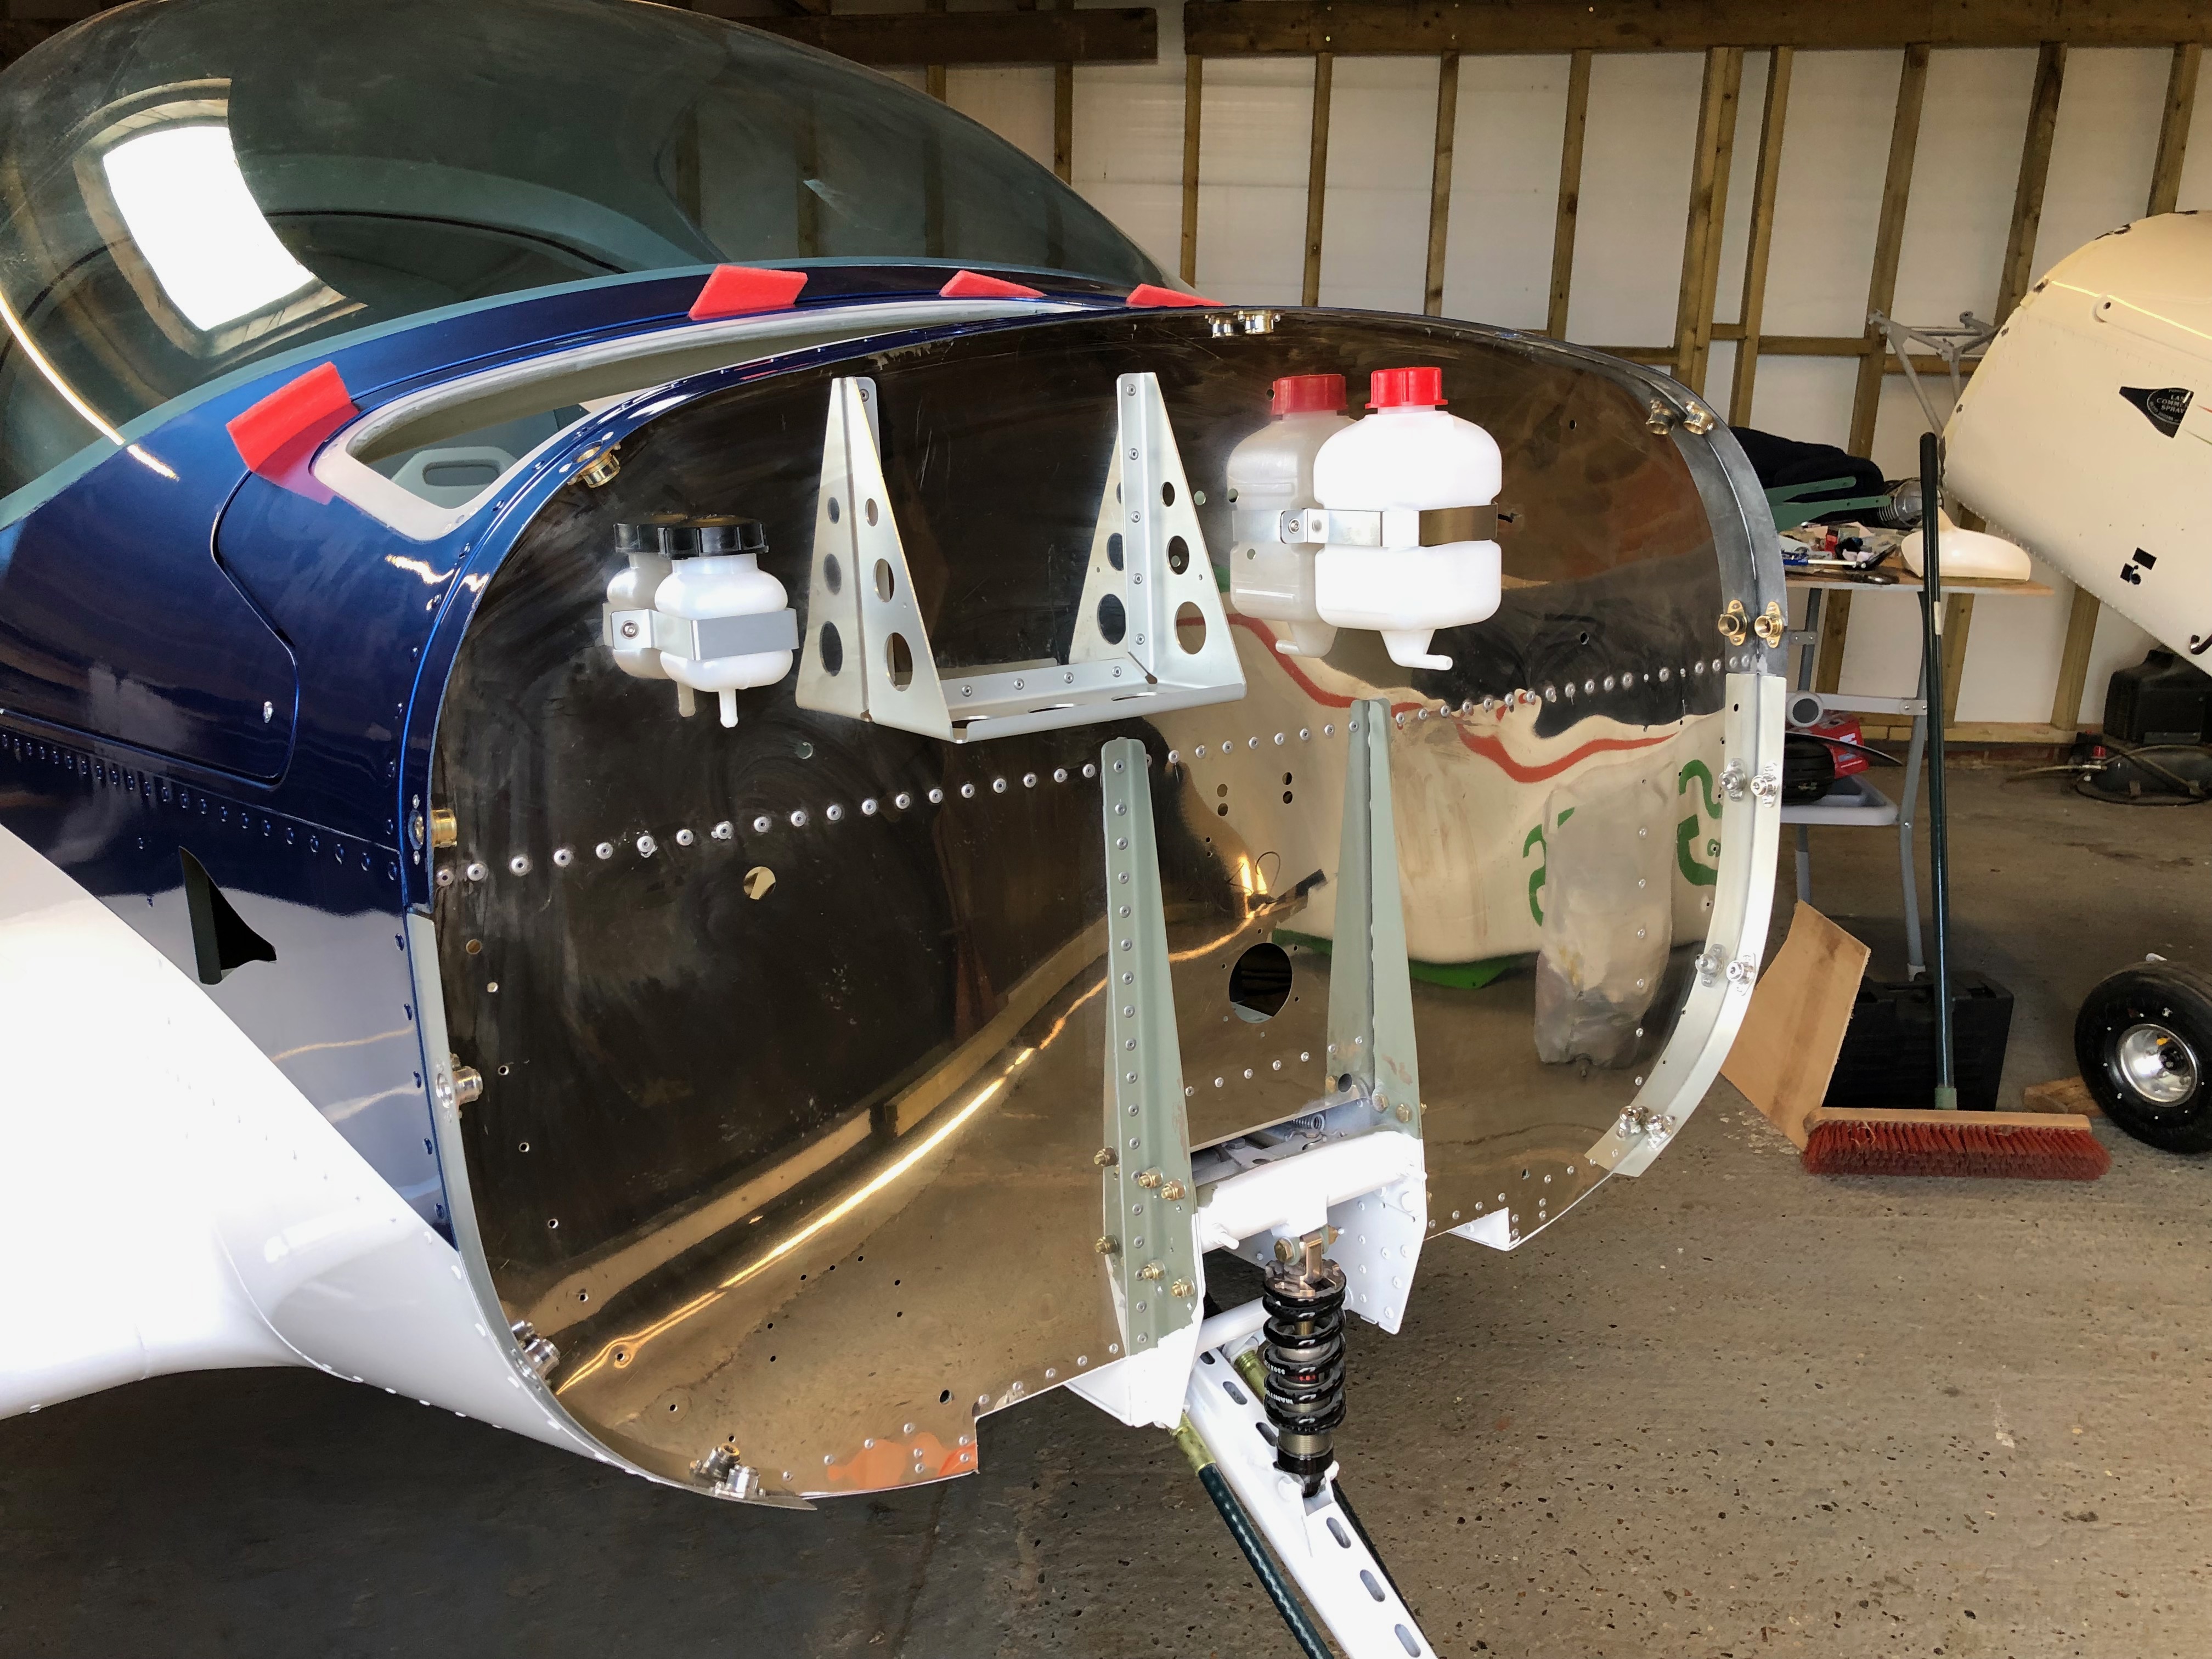
Brake Oil bottle installed
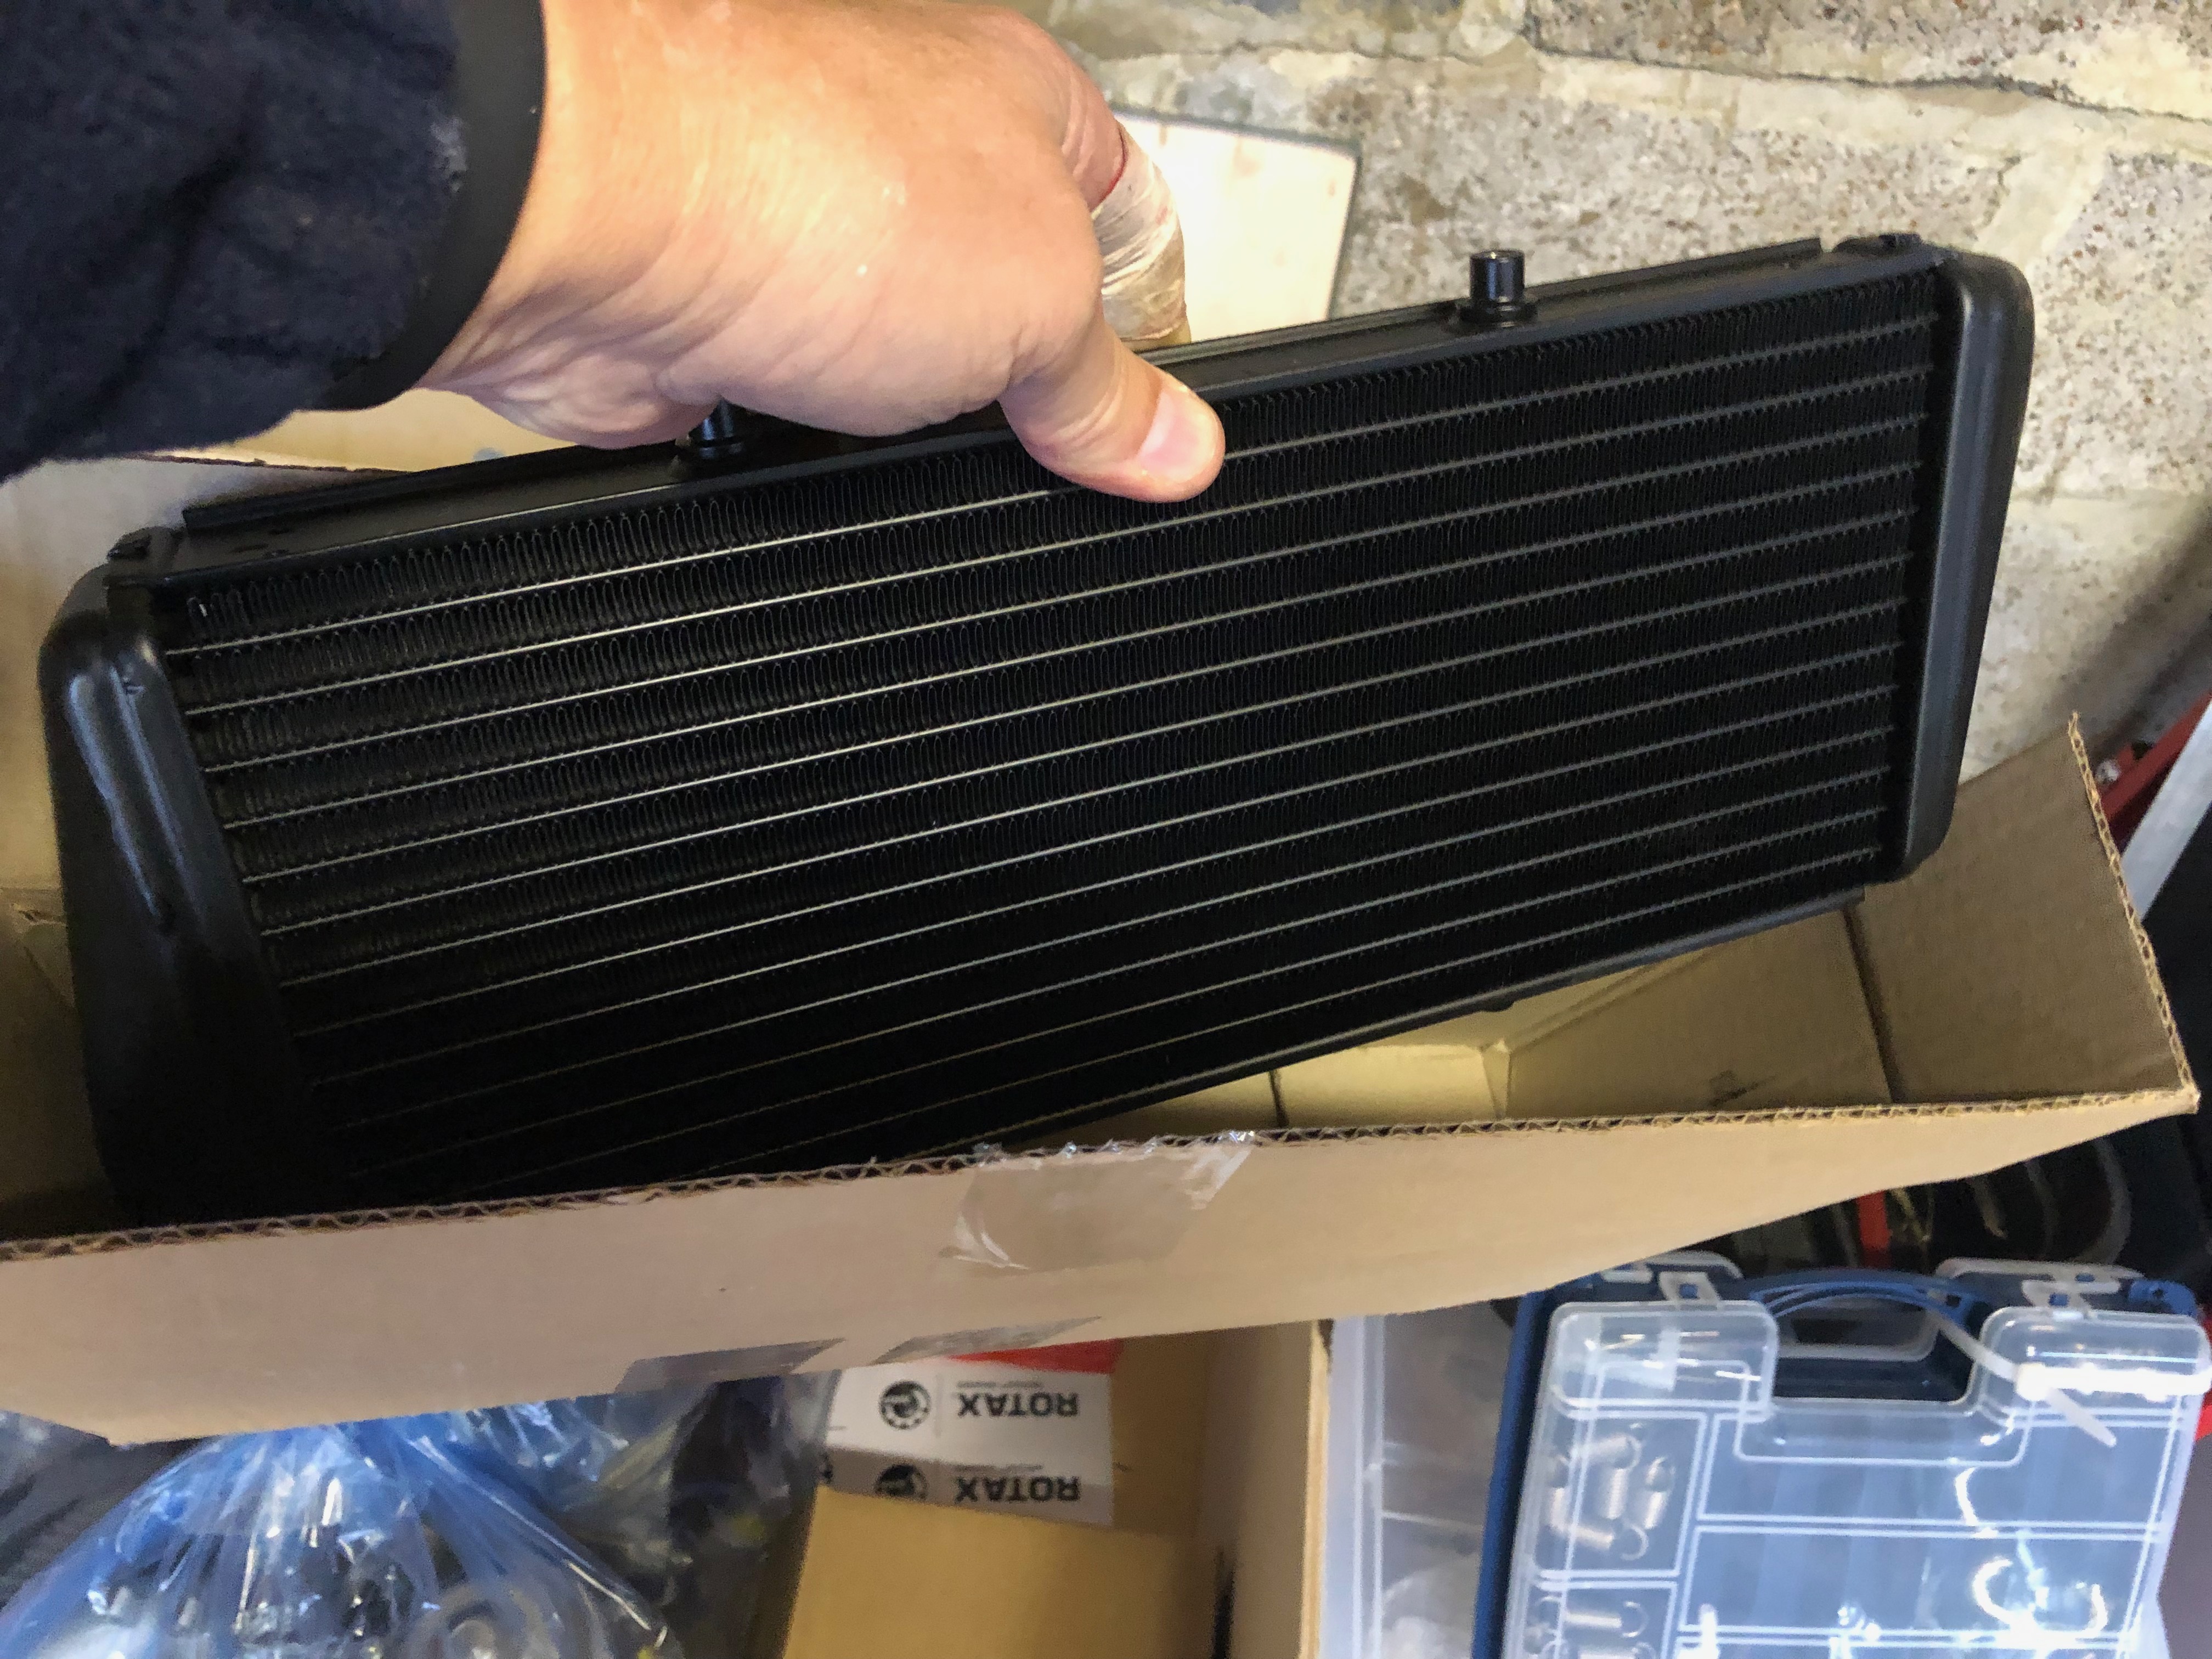
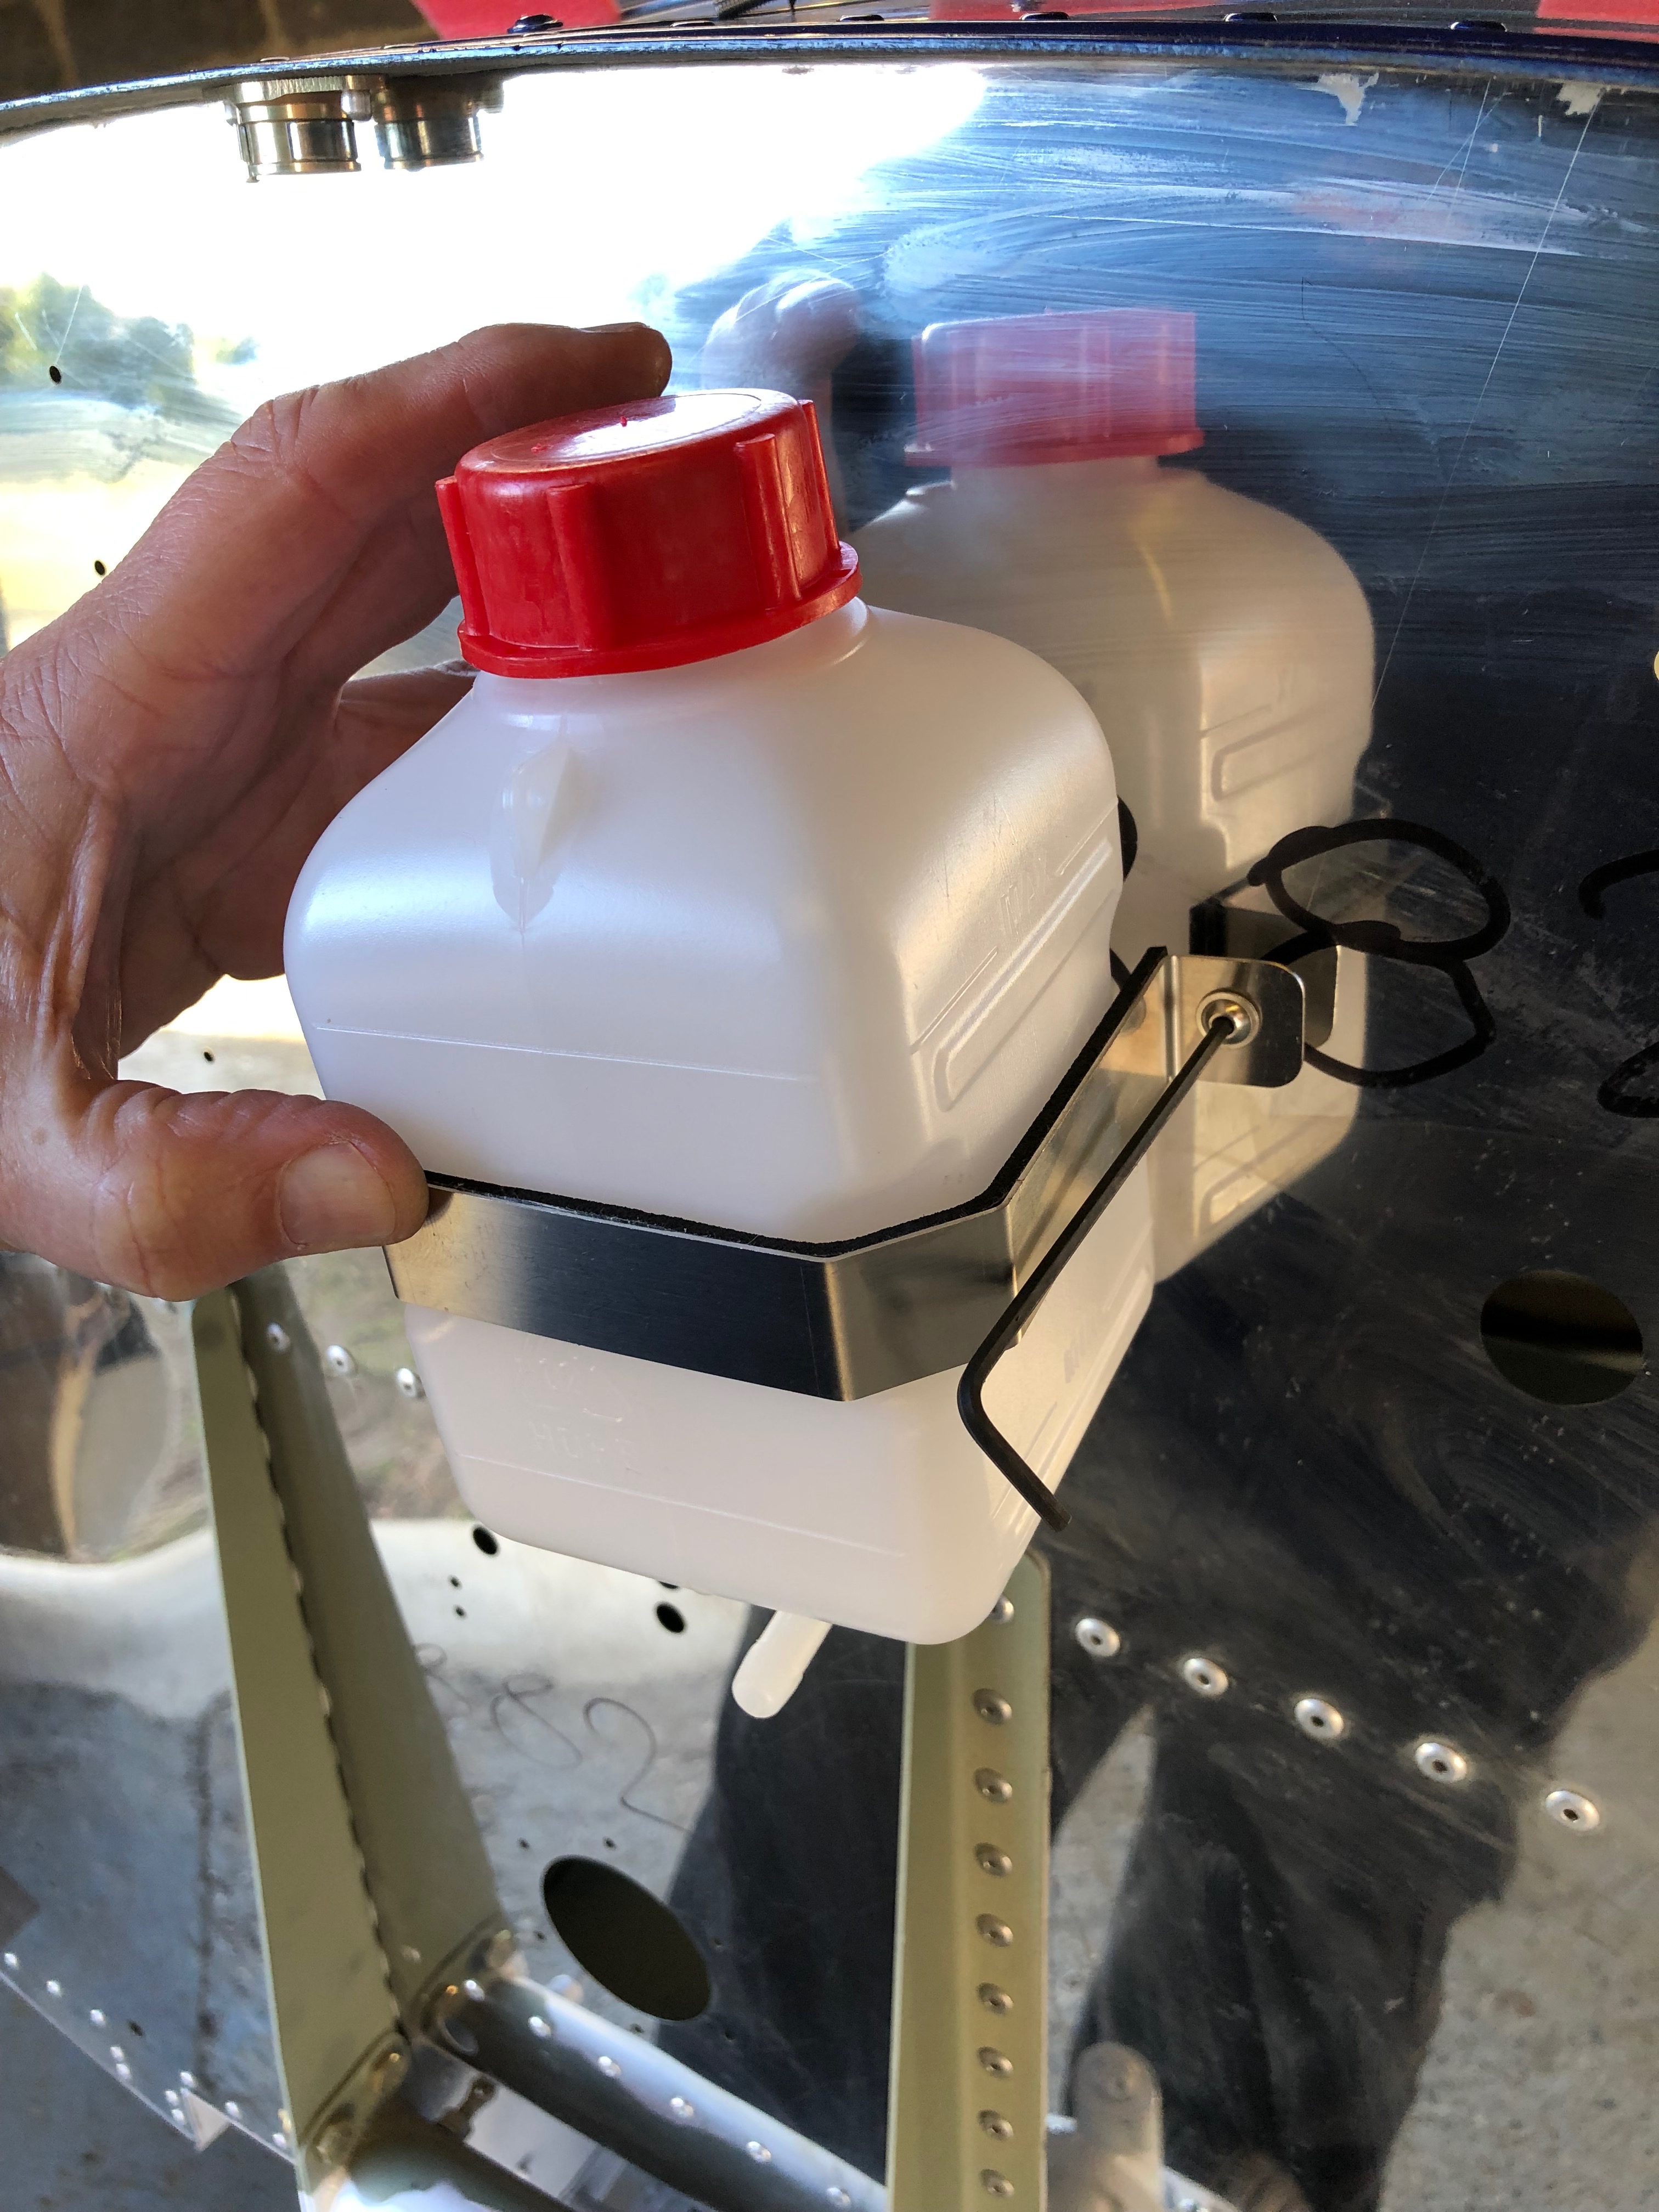
Repeating the procedure for the Rotax water expansion tank
As the battery holder is predrilled I was able to rivet without the use of Clecos.
Riveting the battery holder
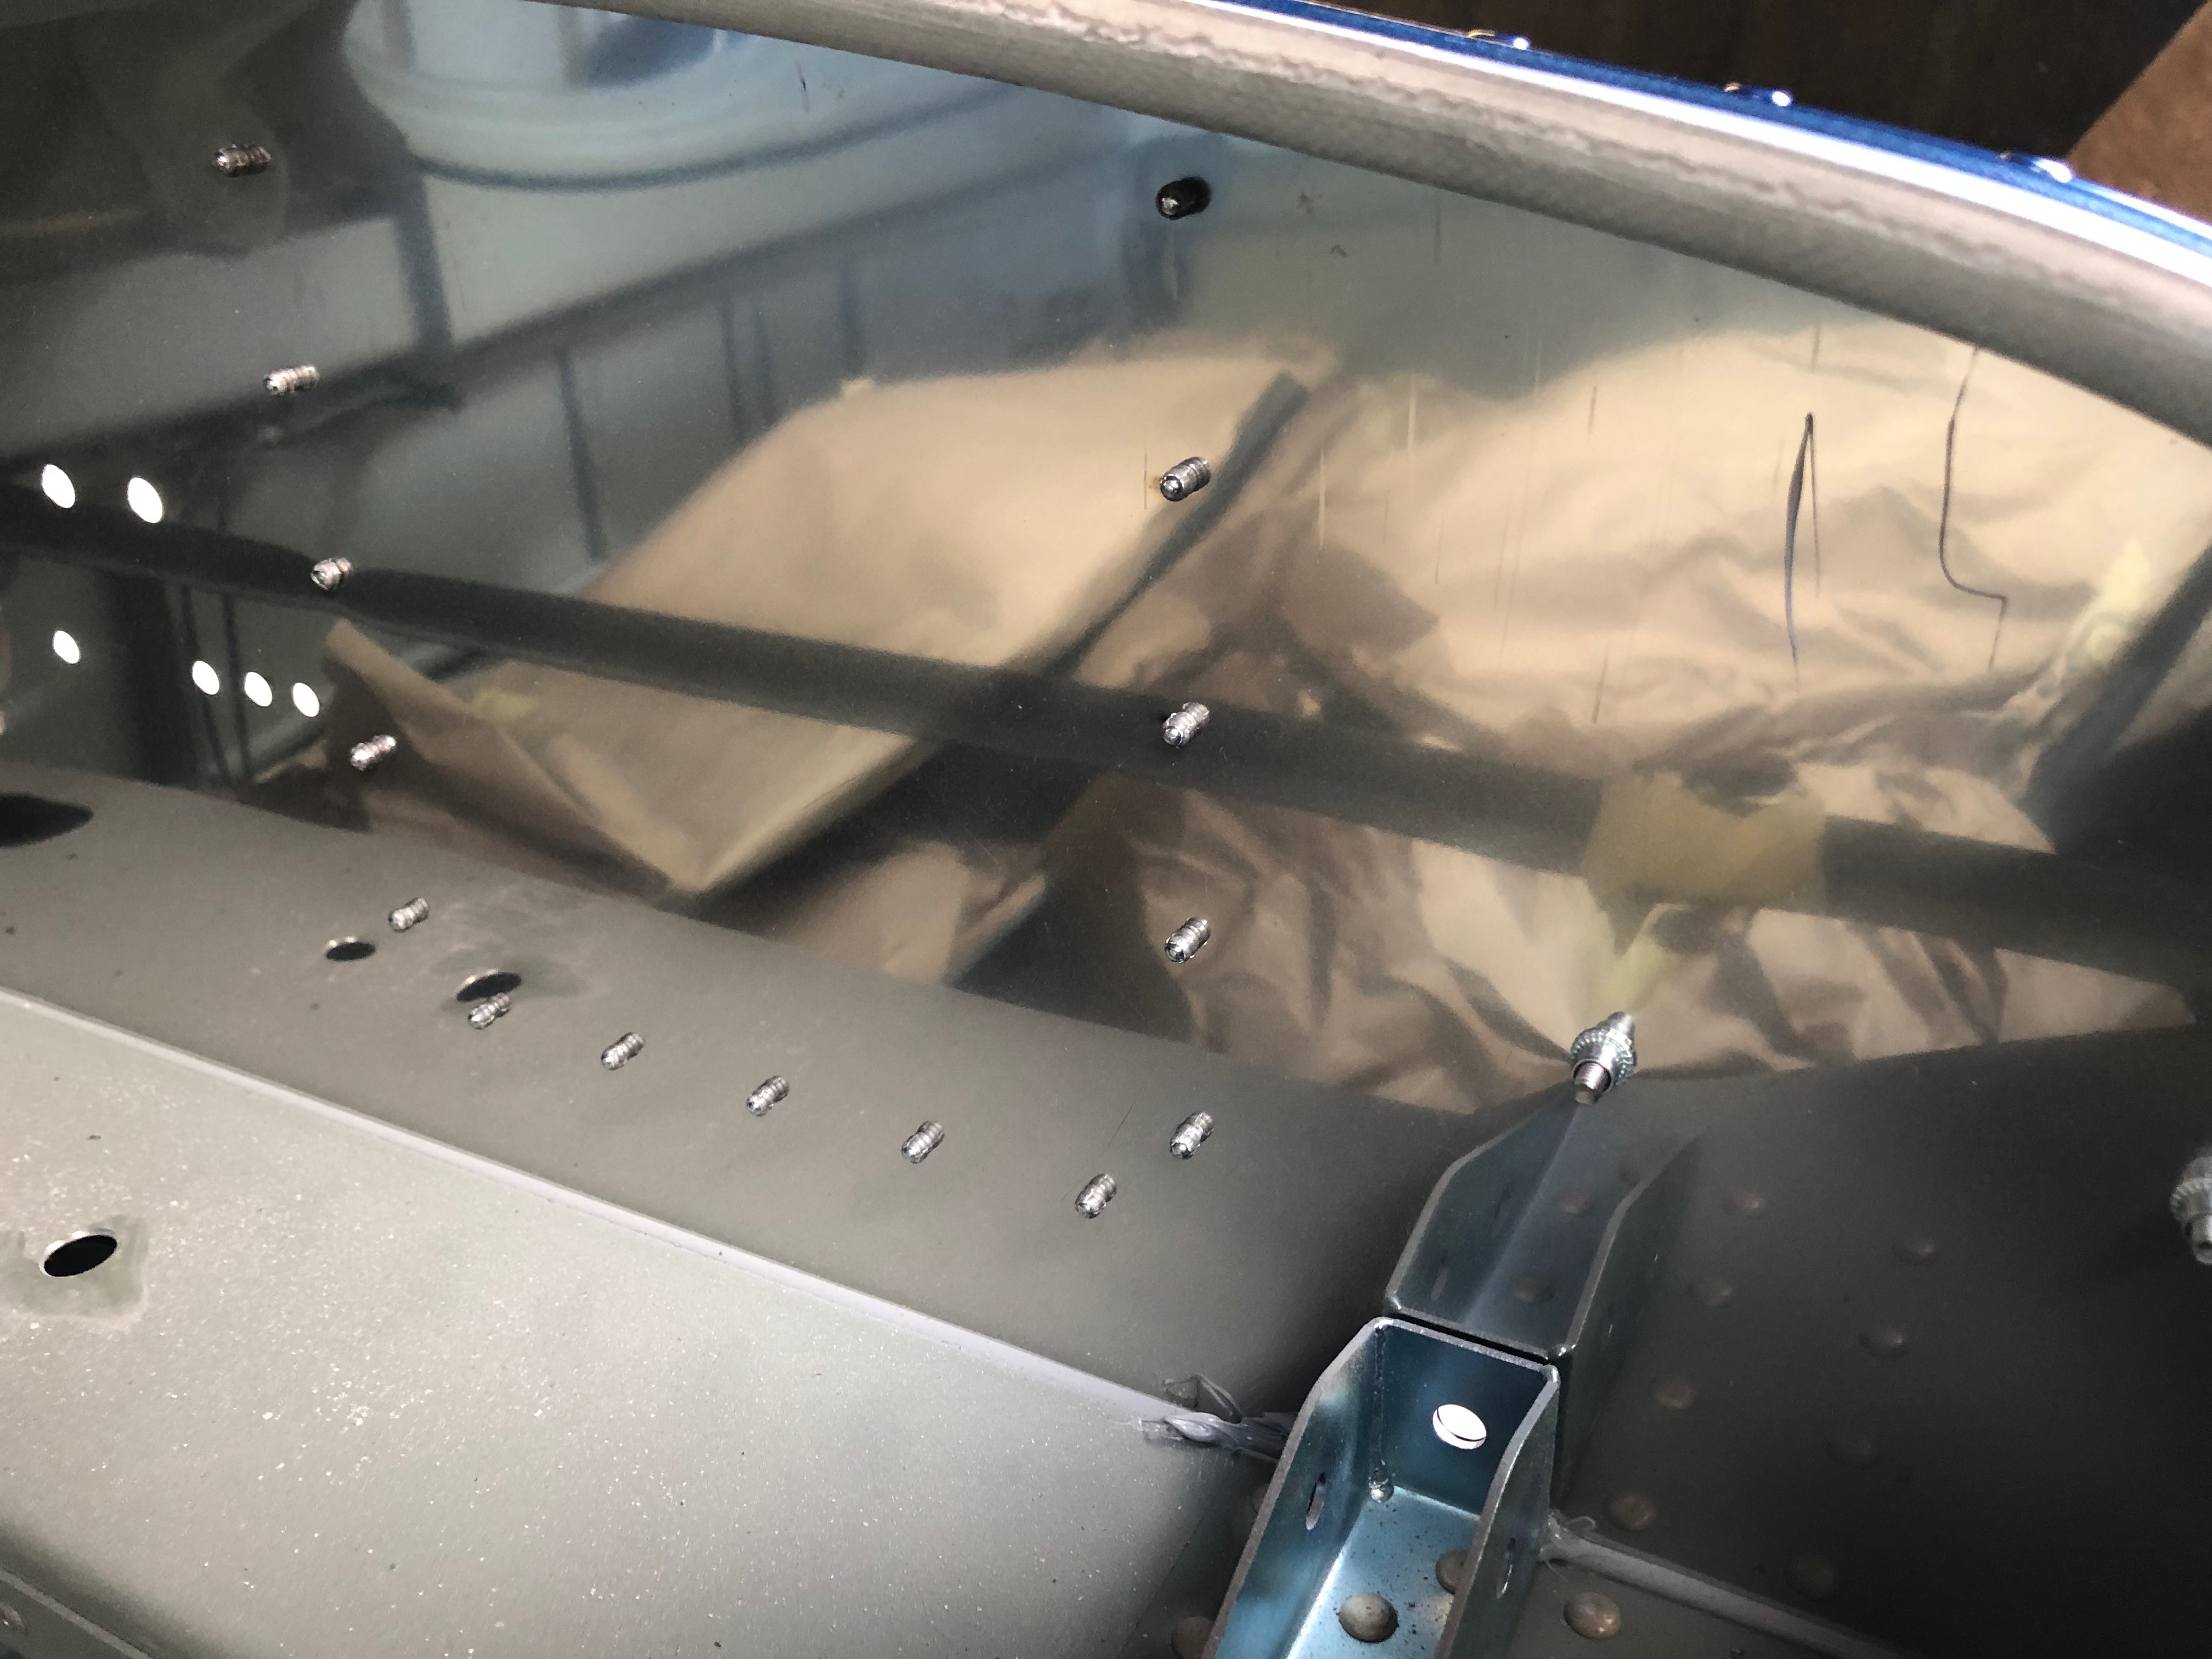
A check of the rivet at the back of the firewall
The work for today completed
Following the build of my Bristell NG5 Kit No. 382 Registration G-MLSY