
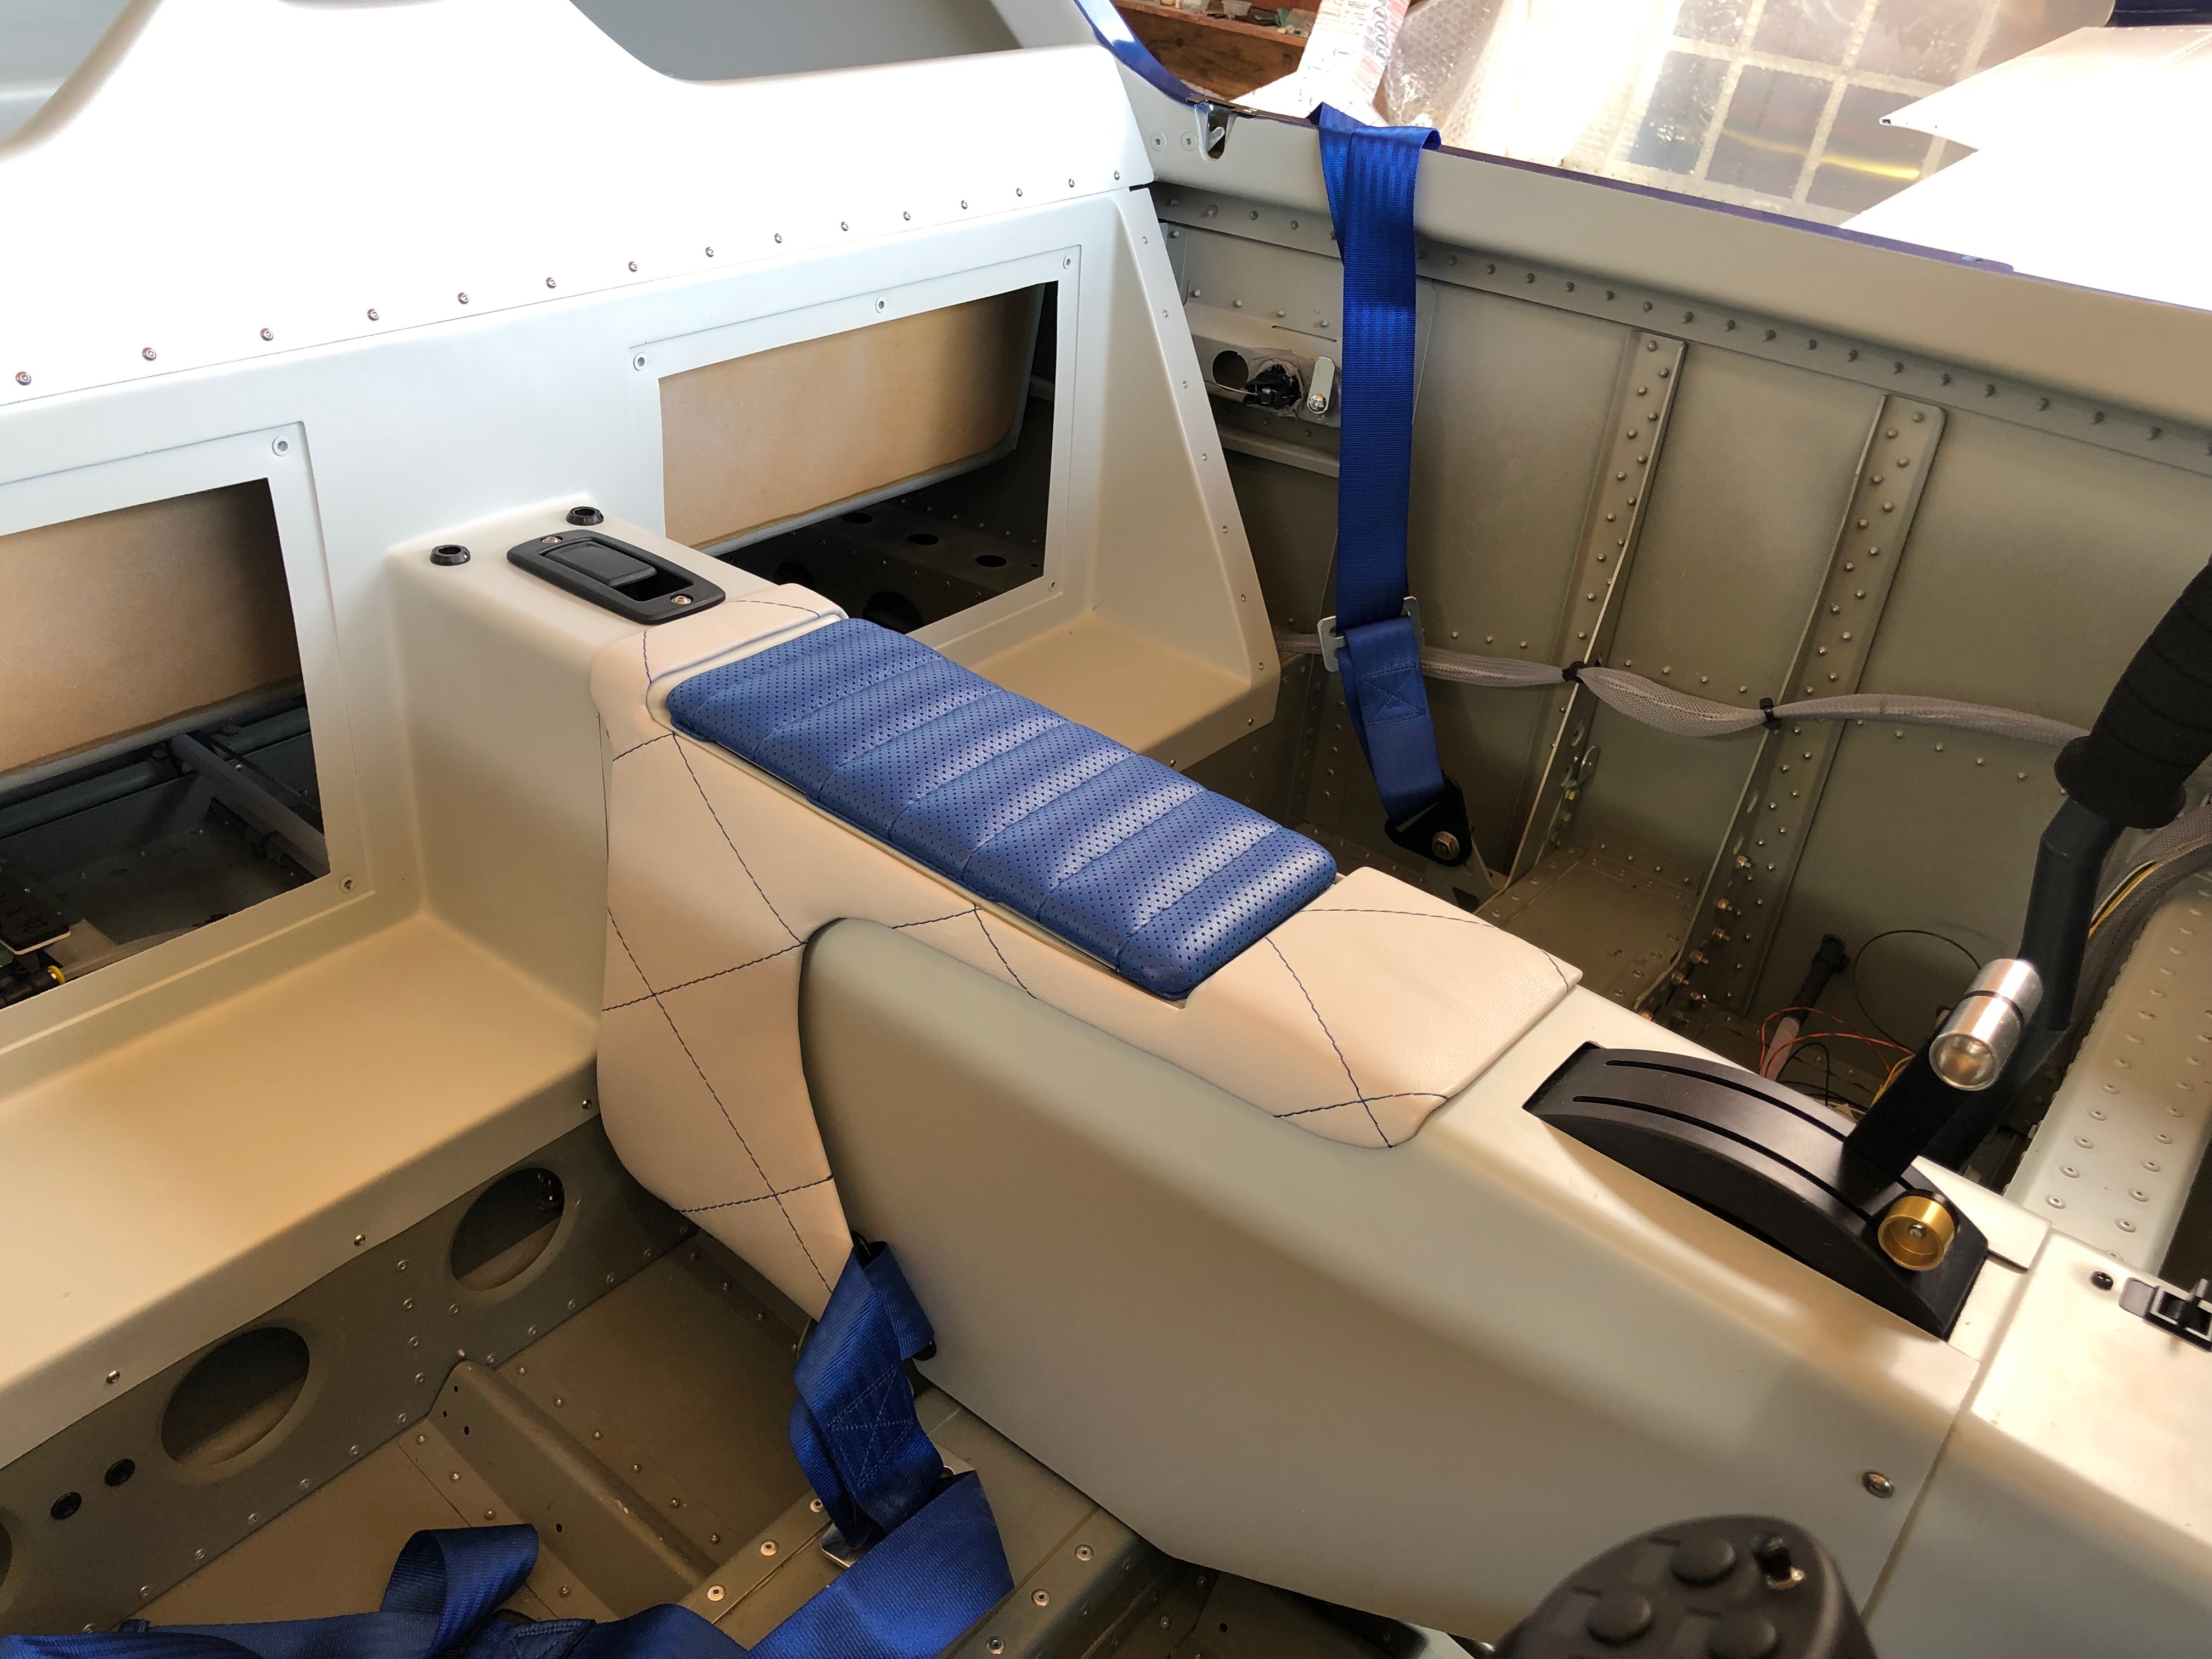
Whilst waiting for the permit to fly to hit the doormat I can complete a few jobs that didn’t need to be done before the flight testing. This includes fitting the wheel spats, applying the internal leather trims and other miscellaneous jobs.


Whilst waiting for the permit to fly to hit the doormat I can complete a few jobs that didn’t need to be done before the flight testing. This includes fitting the wheel spats, applying the internal leather trims and other miscellaneous jobs.
Tuesday was a non event as I was ill with some stomach bug which left me very lethargic.
Back to full strength Wednesday but there are less and less jobs to do as the days pass. It’s very windy today so will leave the engine runs and associated tests until tomorrow. Looking to do final inspection before first flight next week. The original chap can’t do it until after the LAA rally at the end of August which is of no use to me as I’m off to Llanbedr for a couple of weeks Gliding. Luckily Ian has managed to arrange for someone else to do it for me.
I spent the day today doing some ‘little’ jobs.

Music: None today
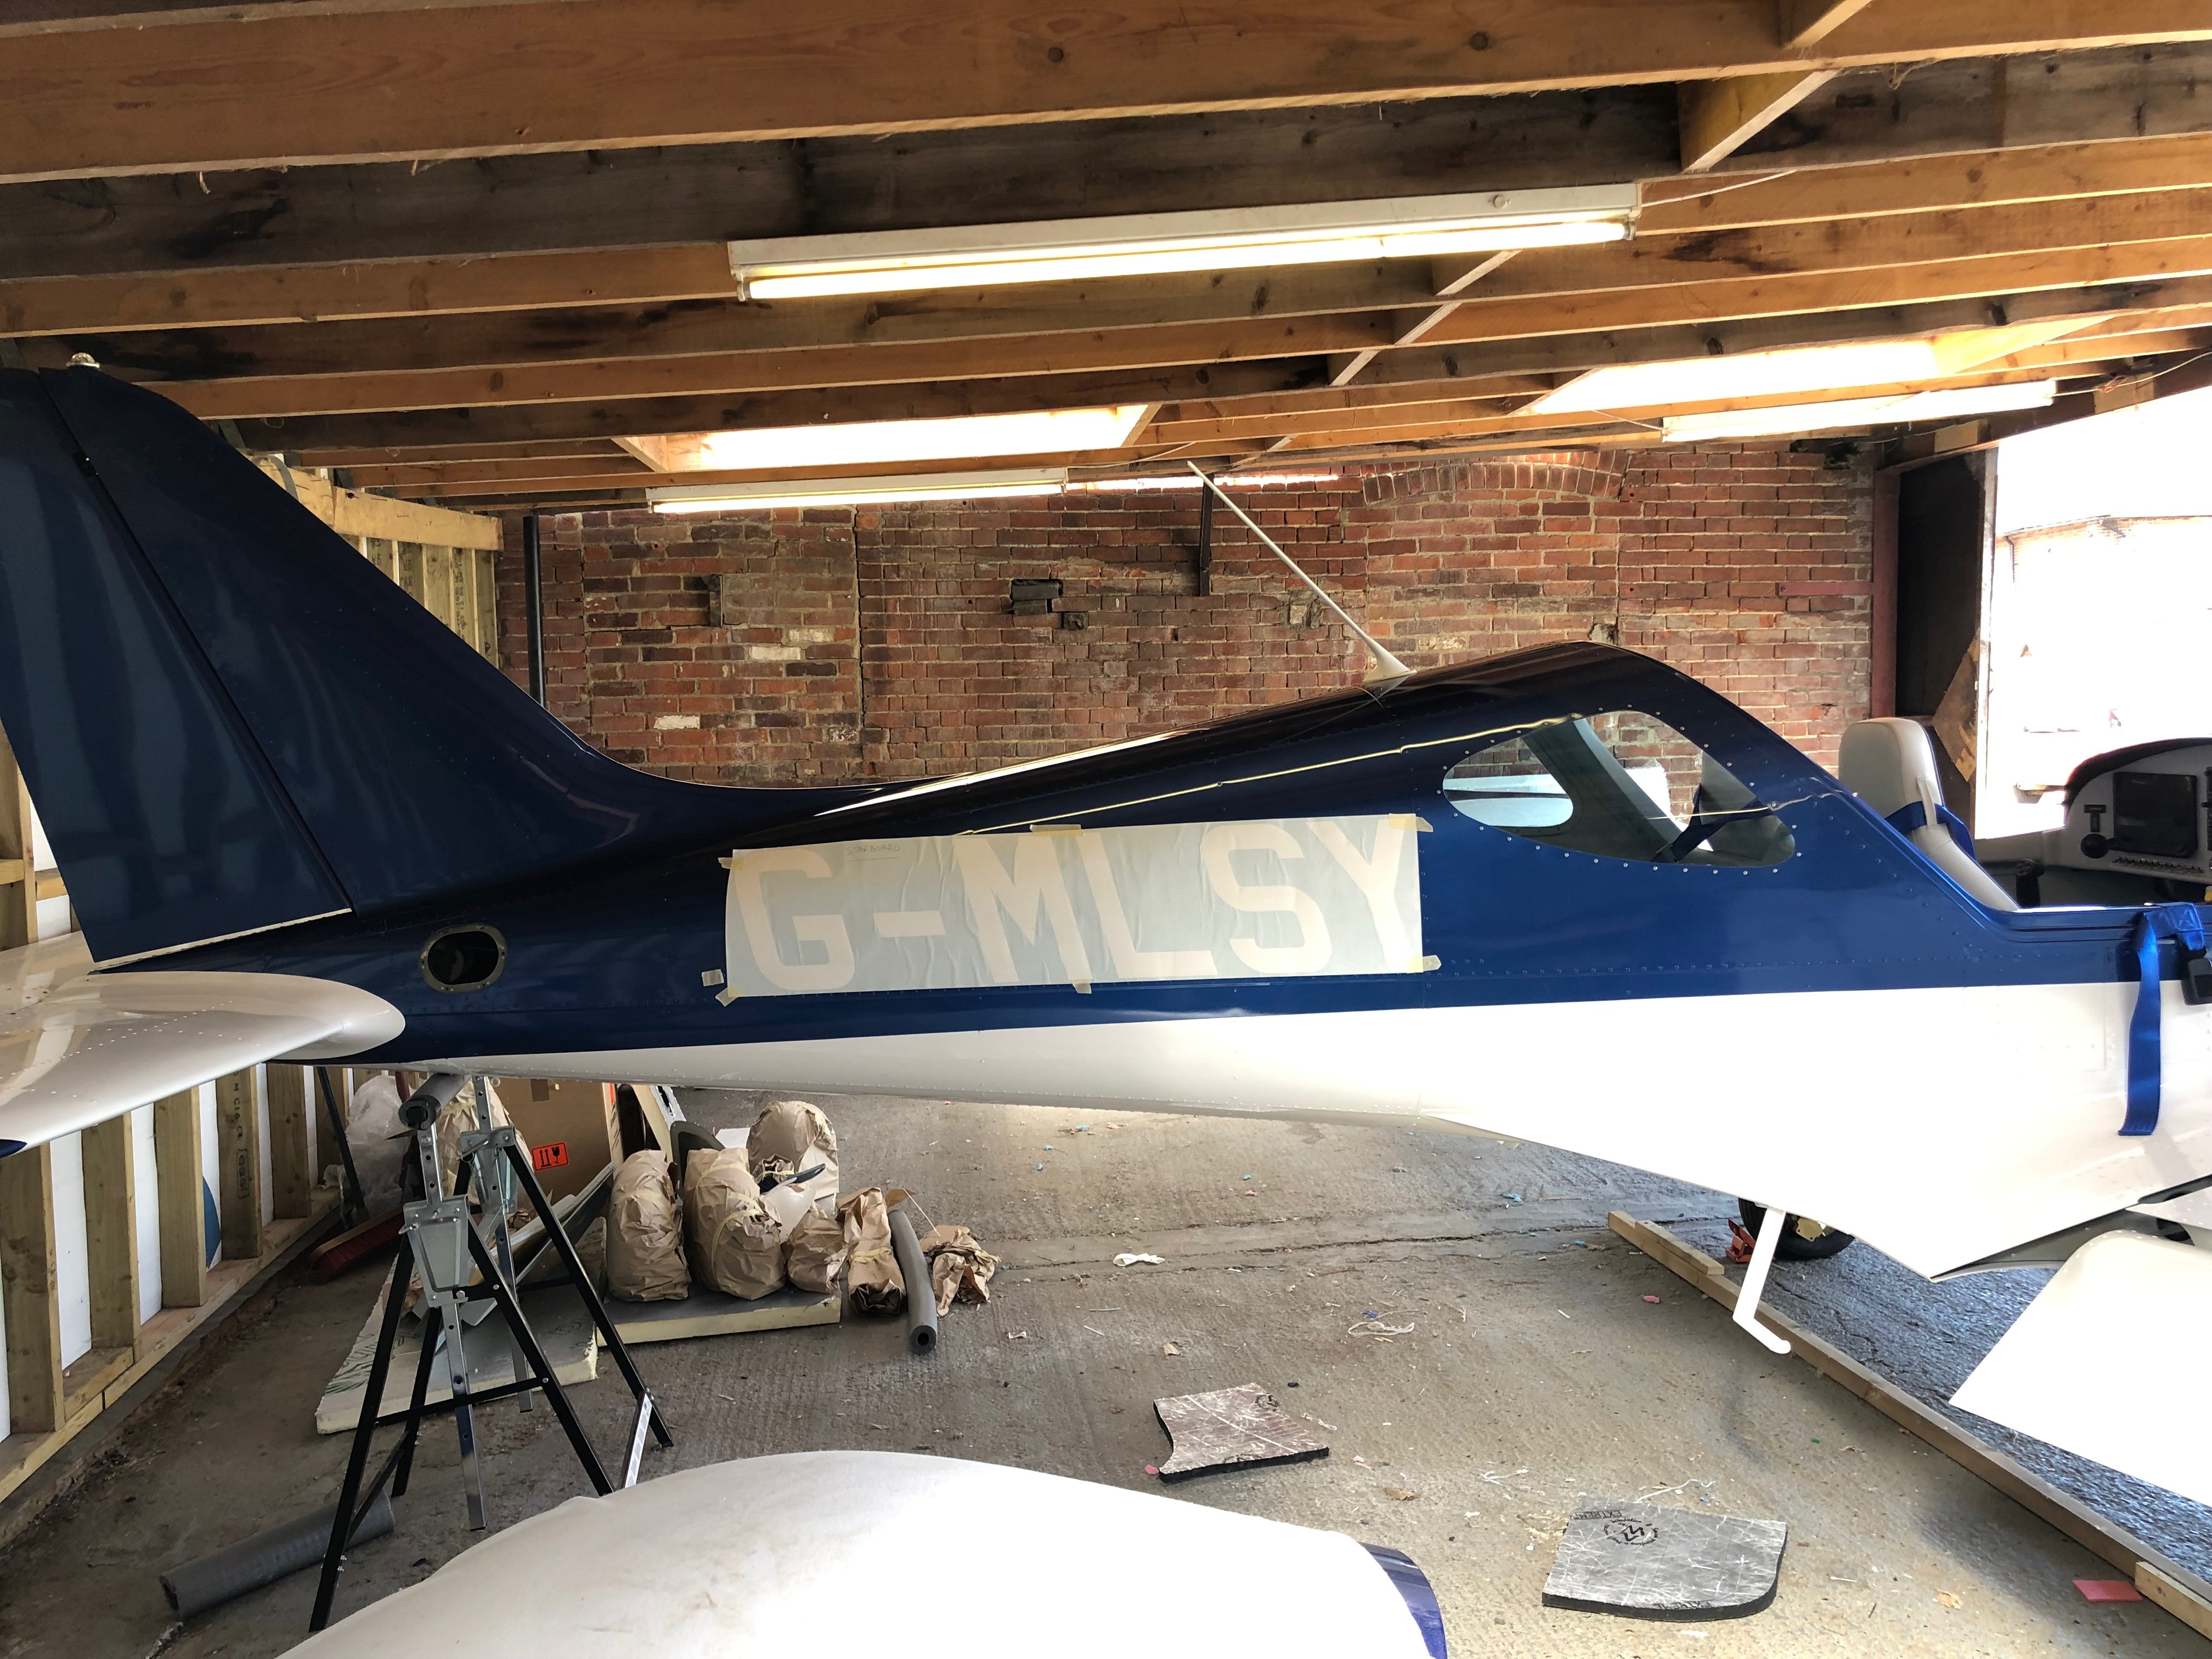
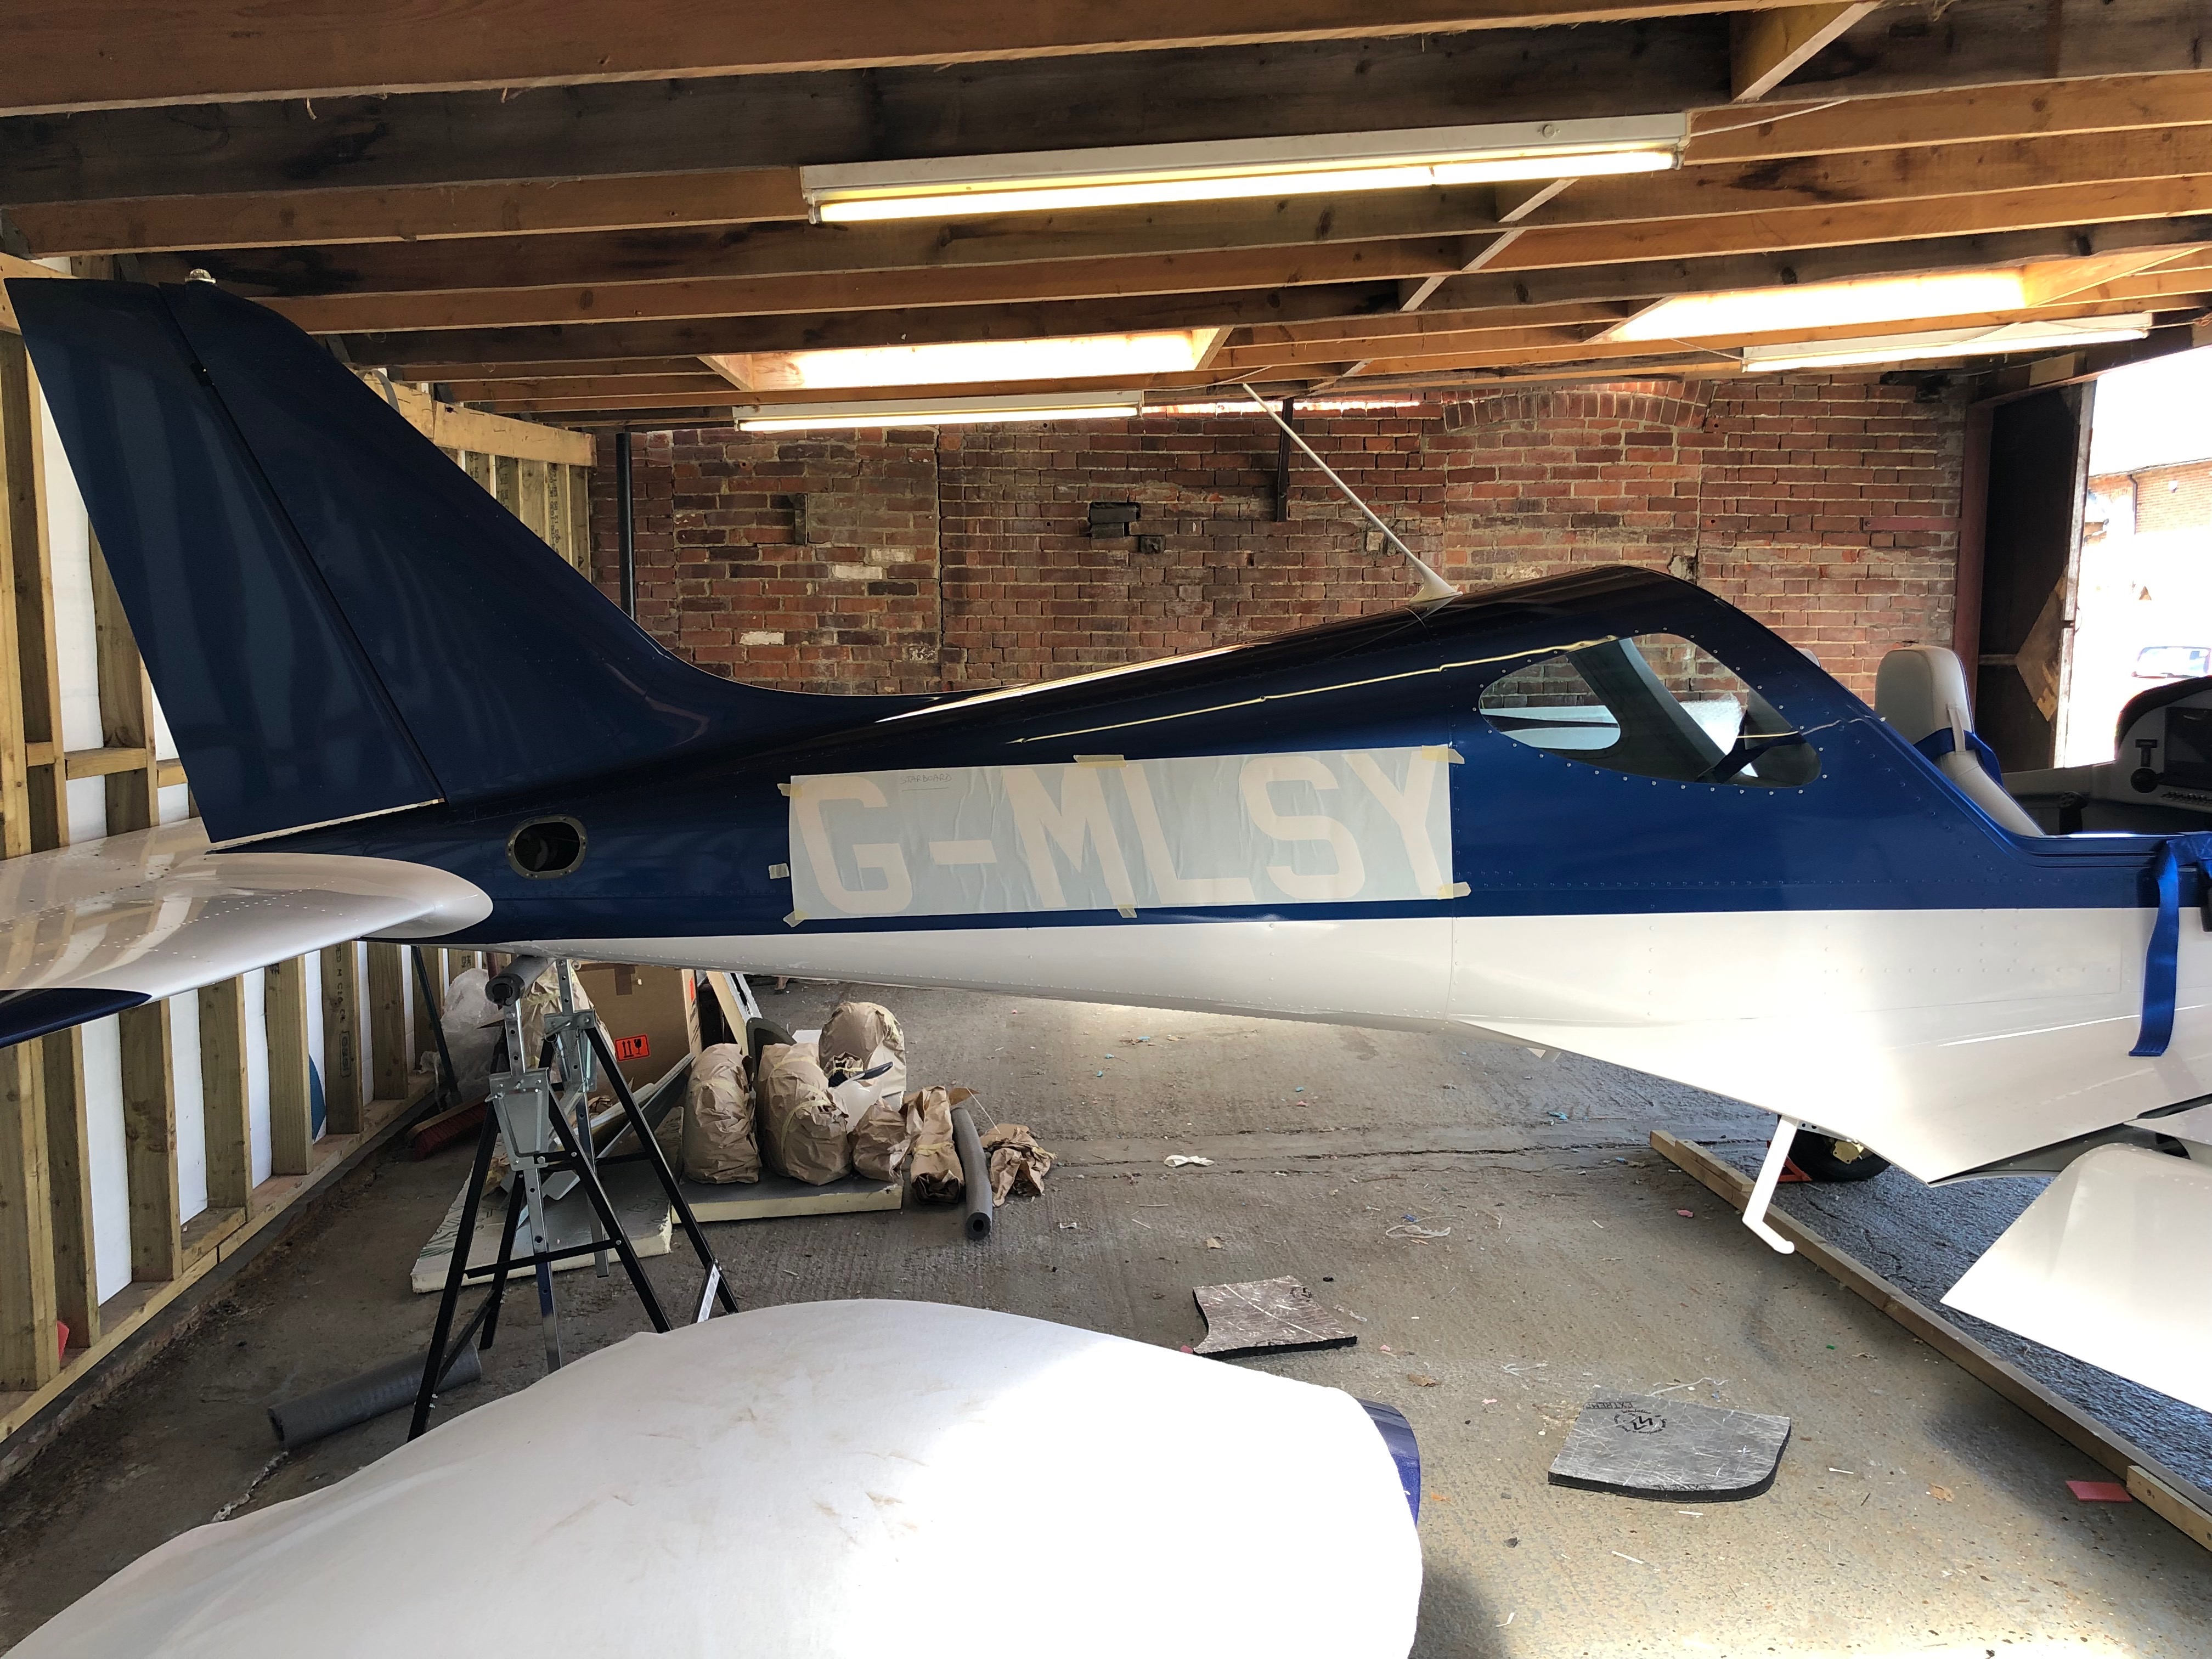
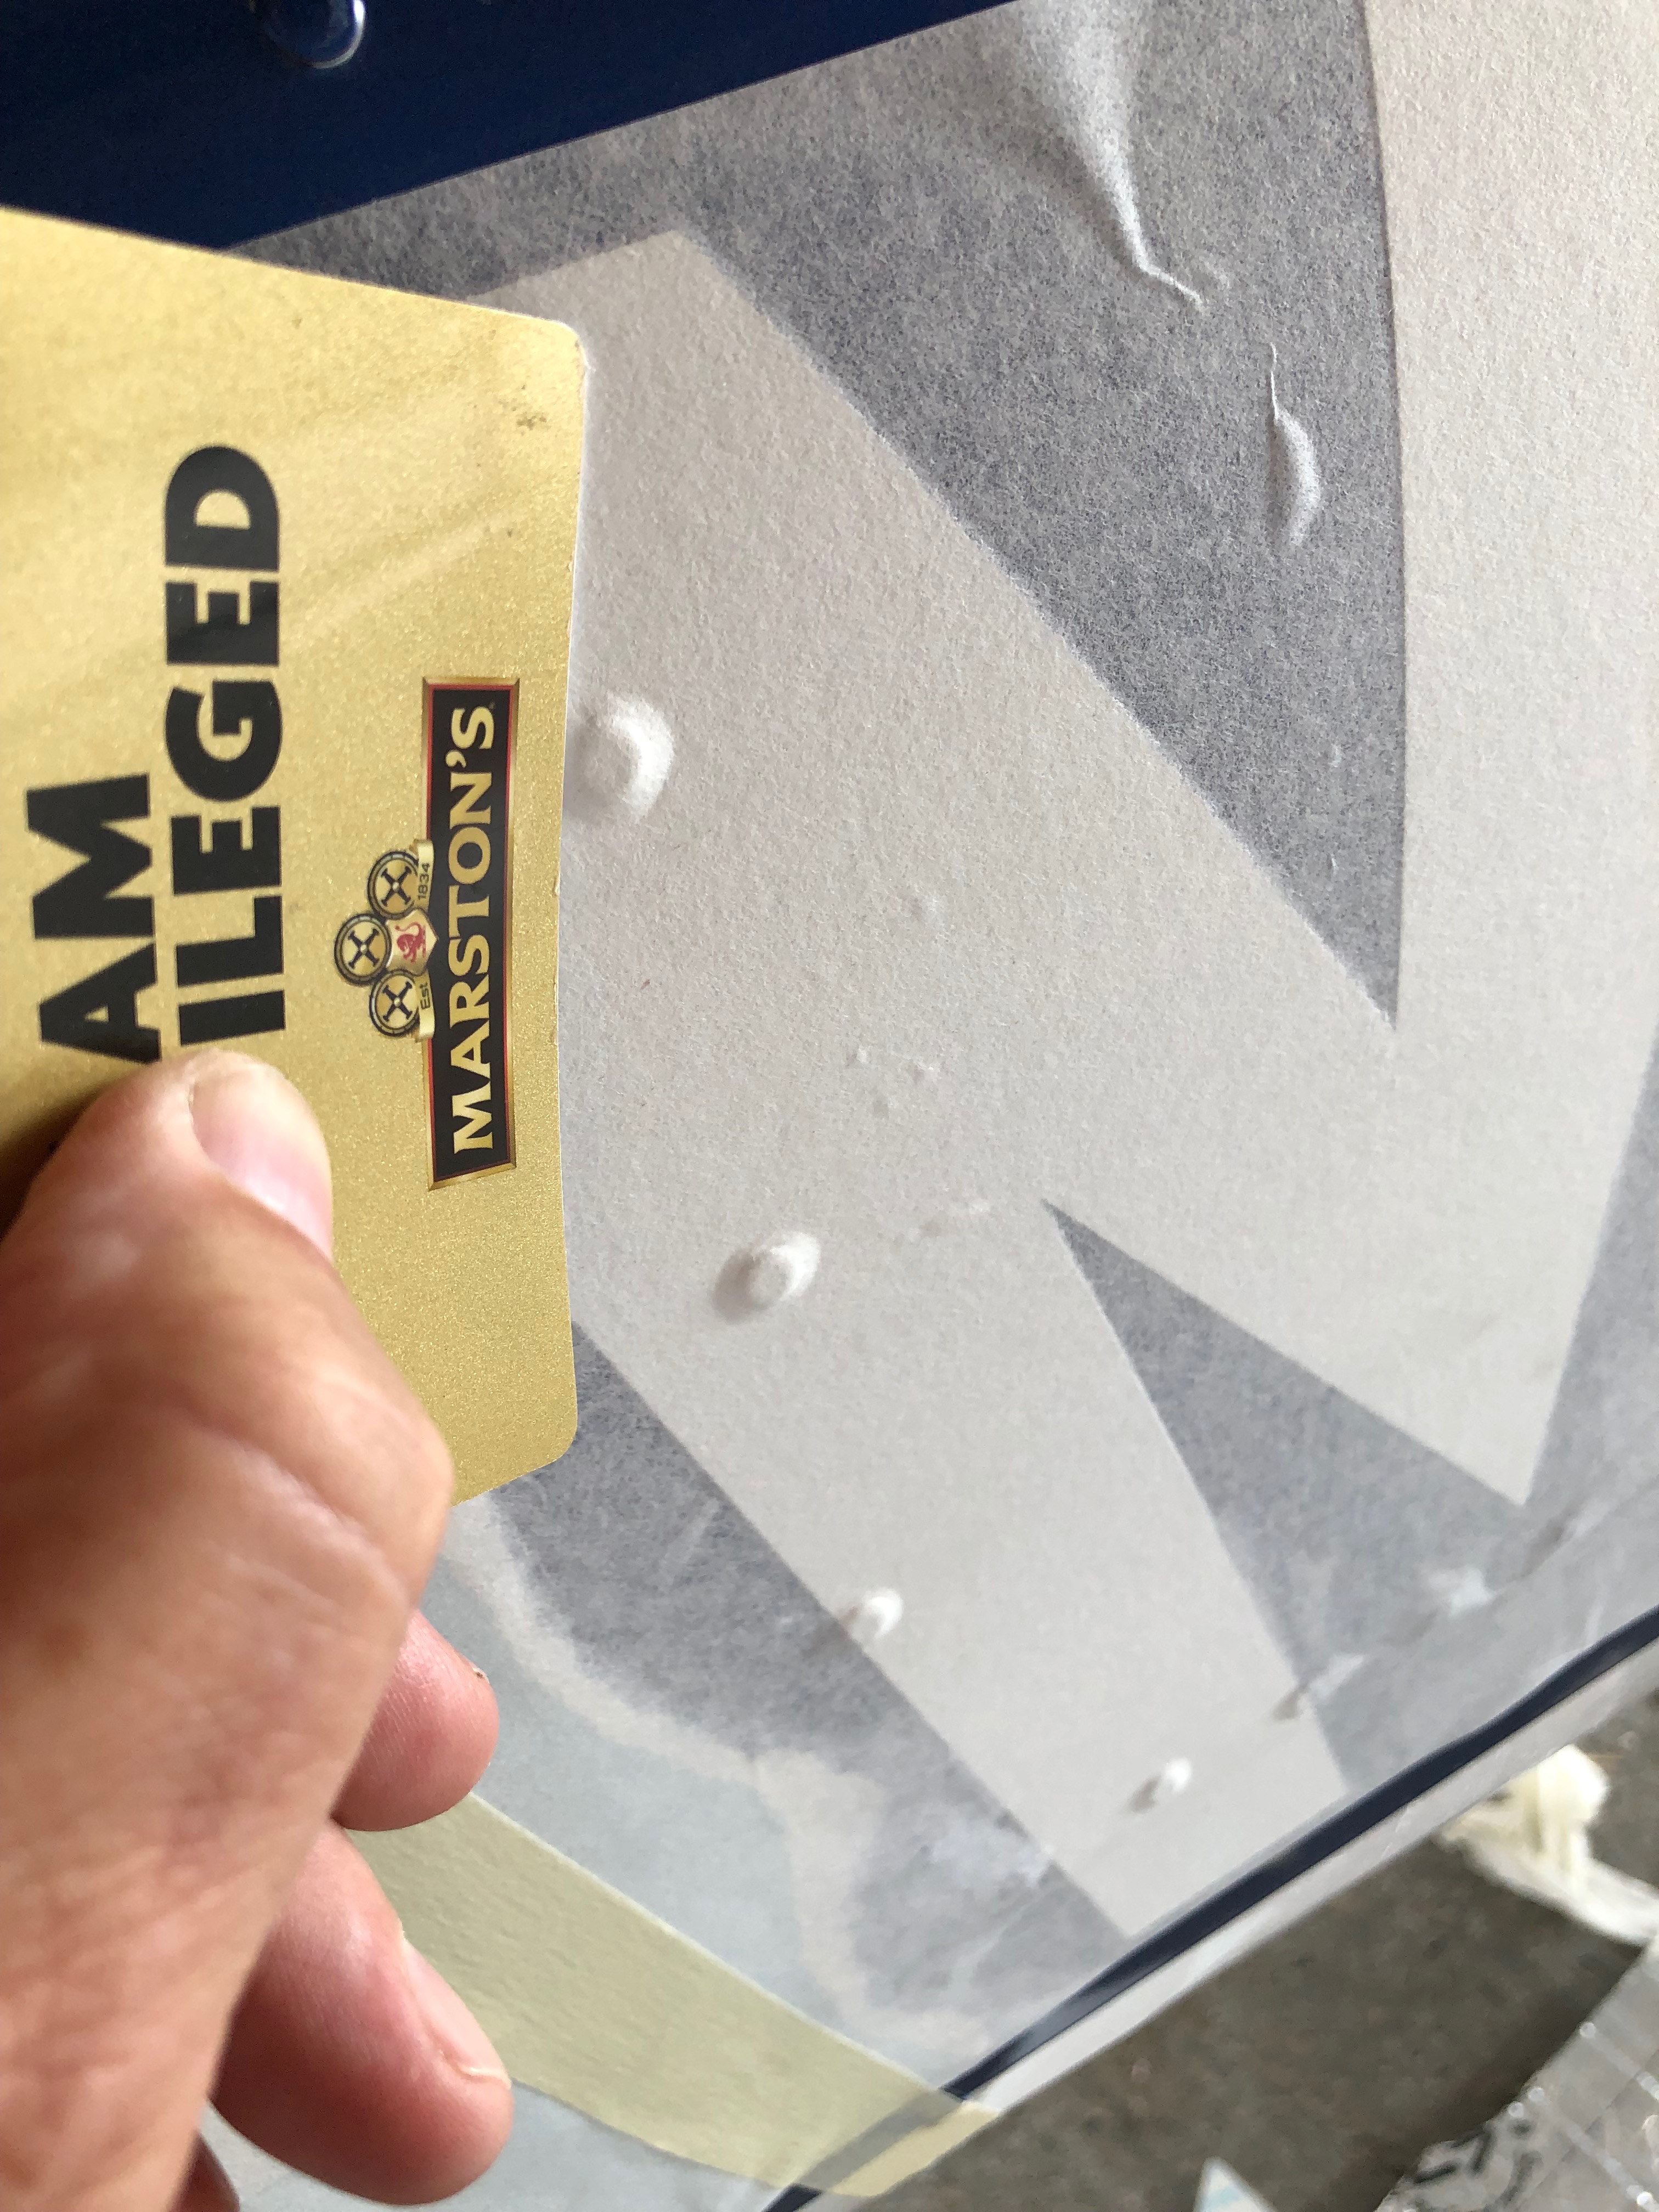
Karen came to the airfield today to help get rid of the little air bubbles around each of the rivets on the wing, did a sterling job as well. We tried several positions for the side registration to see which would look better. Pete Thomas, a friend from the London Gliding Club is coming down on Monday to do the weight and balance so I started to add all the bits and pieces that need to be on the aircraft from the weighing.


Music: Black Eyed Peas
A couple of things to do today including fitting the rear windows, ordering the stainless steel identification place and fitting the glare shield.
Unfortunately my hay fever was so bad/annoying that I really couldn’t get into the grove today and wasn’t very productive at all.


Music: Reverend And The Makers
Short day today so just a couple of items. The first thing for today was setting the trim speed so it falls within the acceptable stop to stop time limits for the LAA followed by fitting the fuel pipe between the wing tanks and fuselage and finishing off by driving the holes for the LEMO plugs for the Bose headsets and fitting the rear trim panel. Also called CFS to see if my floats for the Rotax engine need changing as there has been a fault that’s been affecting them for 5 years now. You’d think they’d have sorted it out by now eh?
Music: Elton John and Dire Straits
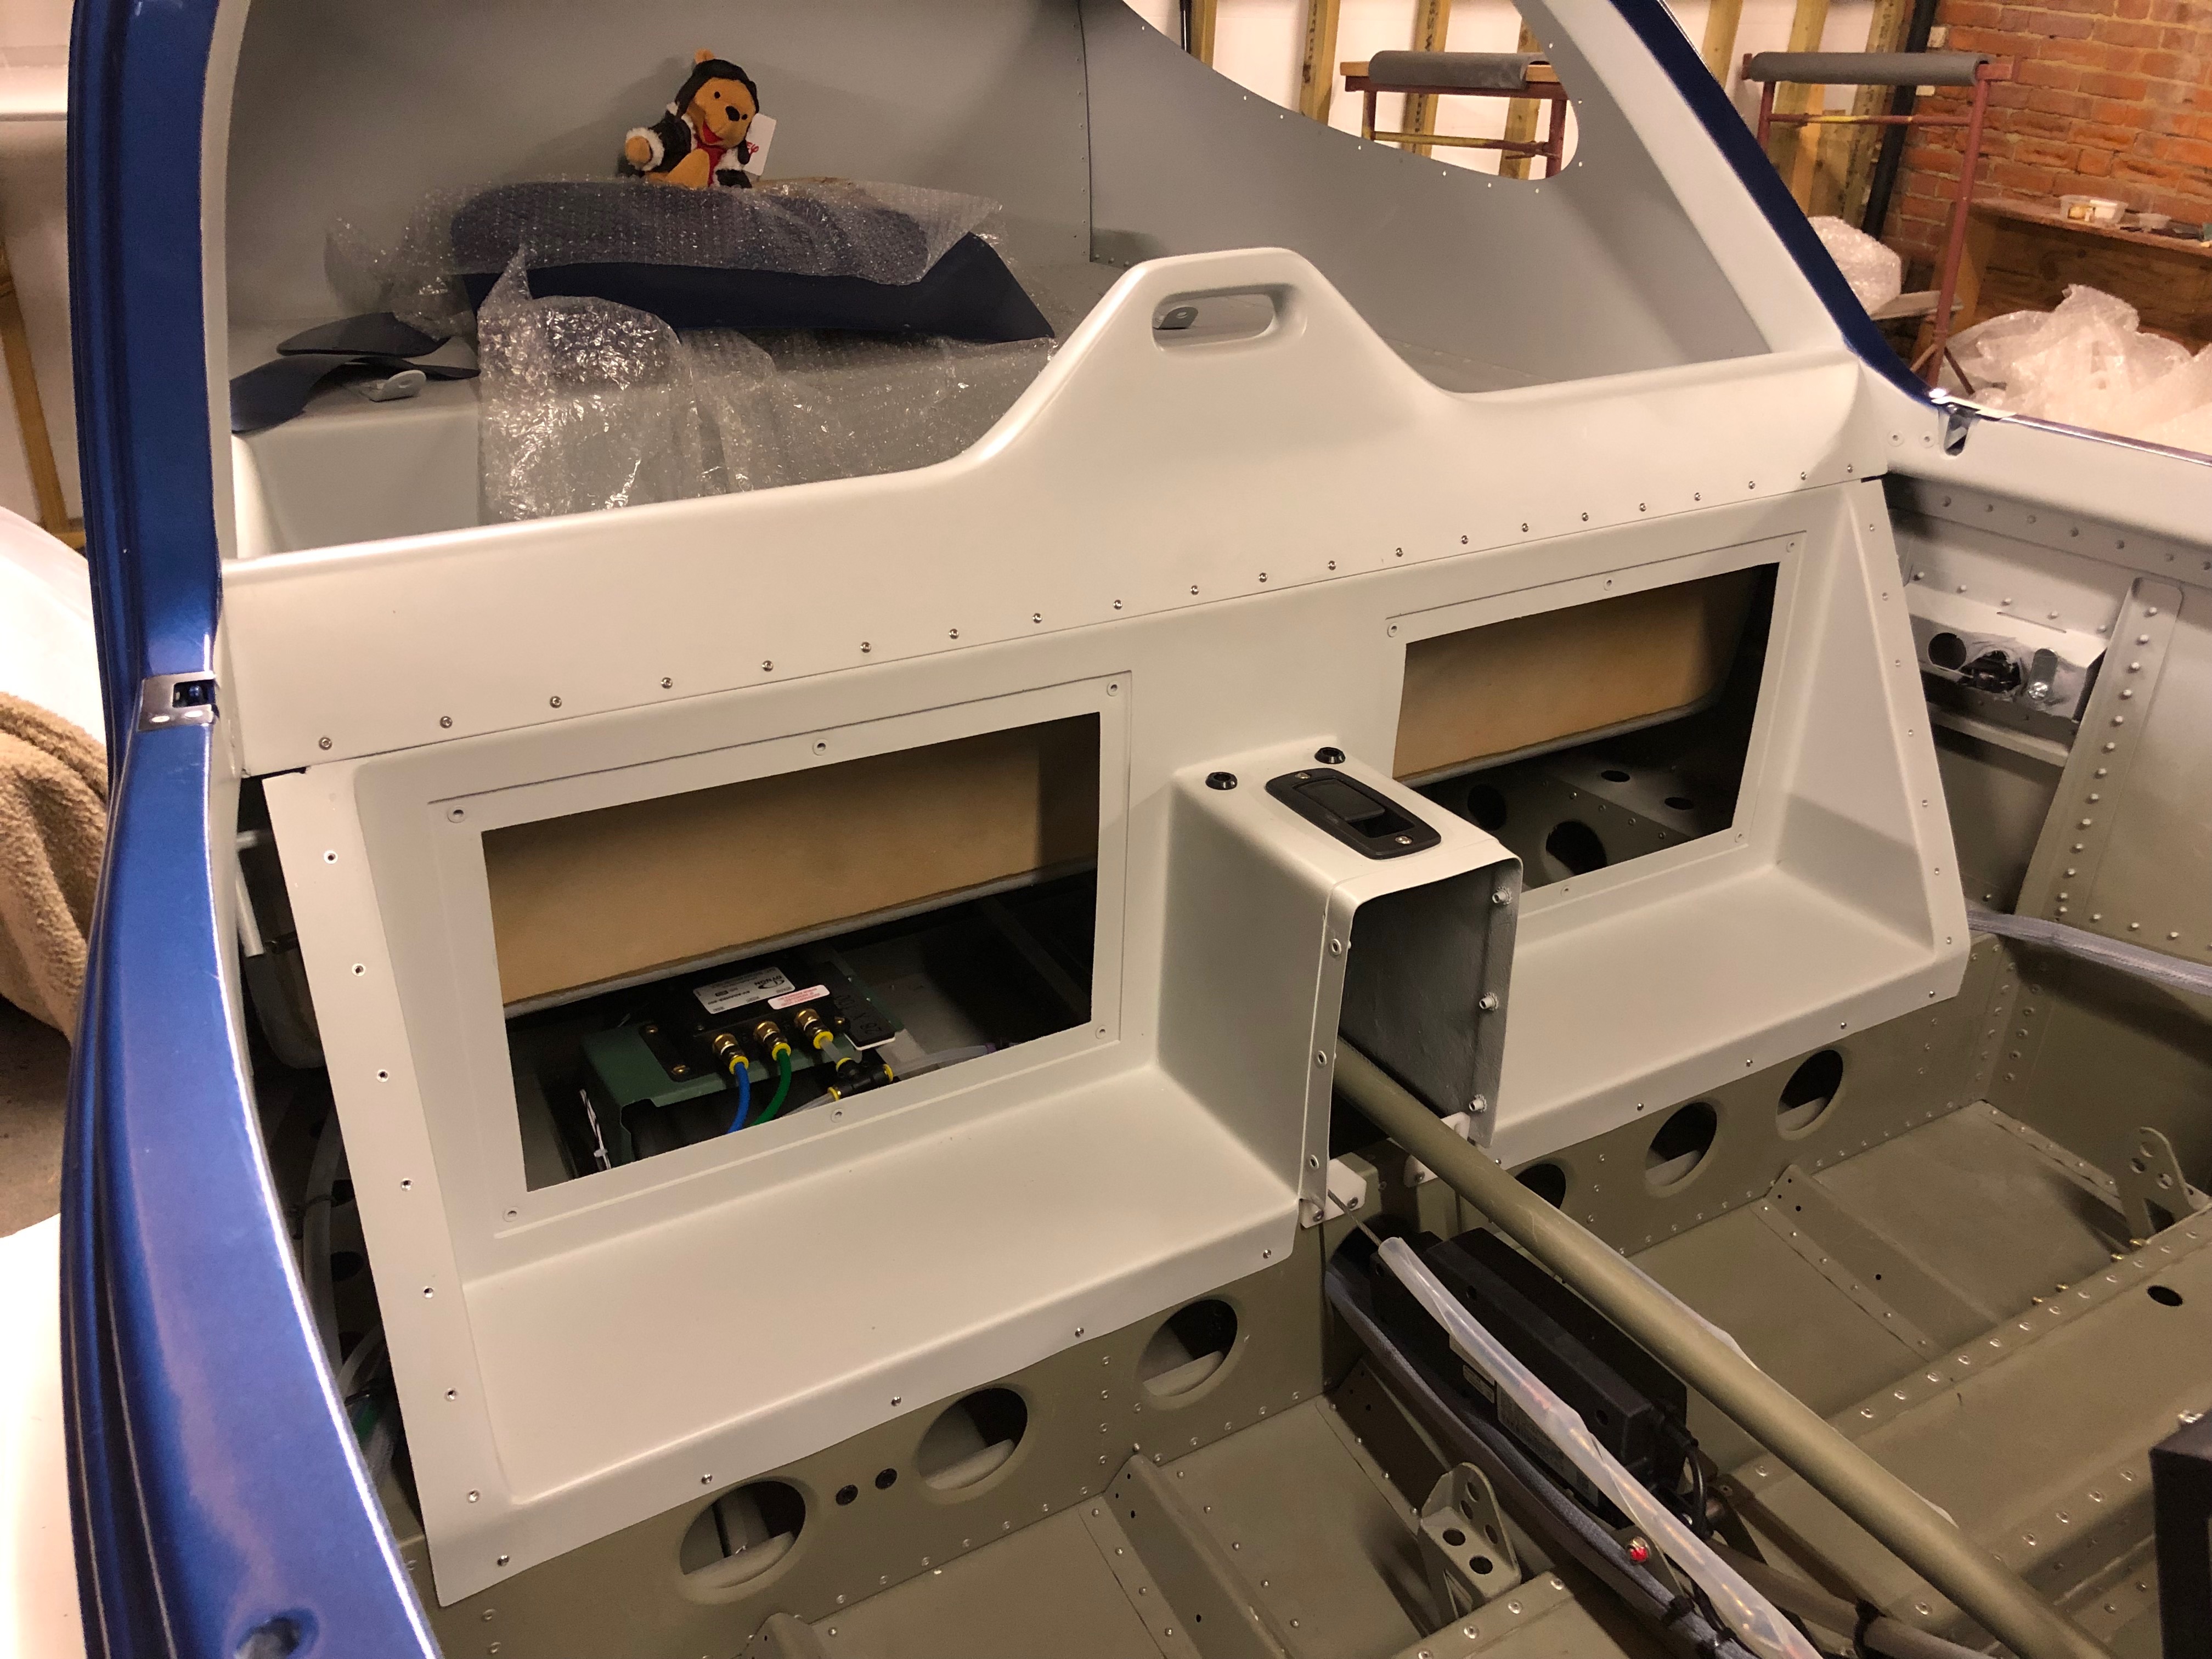
I received two pieces of good news today. The first was the dispatch notification of my Airmaster propellor which will be delivered on the 4th June. And the second was that the ignition switch that I ordered 5 days ago was arriving from Germany today! With Chris here for a couple of days he can give me a hand to do some of the jobs that I haven’t got round to like installing the rivnuts for the interior panels and fitting the wing locker seals. I continued preparing the panel for the instrument fit and working out how best to install the centre console.


Music: Snow Patrol
A few jobs whilst Andy is still here to help including the internal trim panels, OAT sensor, bleeding the brakes and pitot system installations.

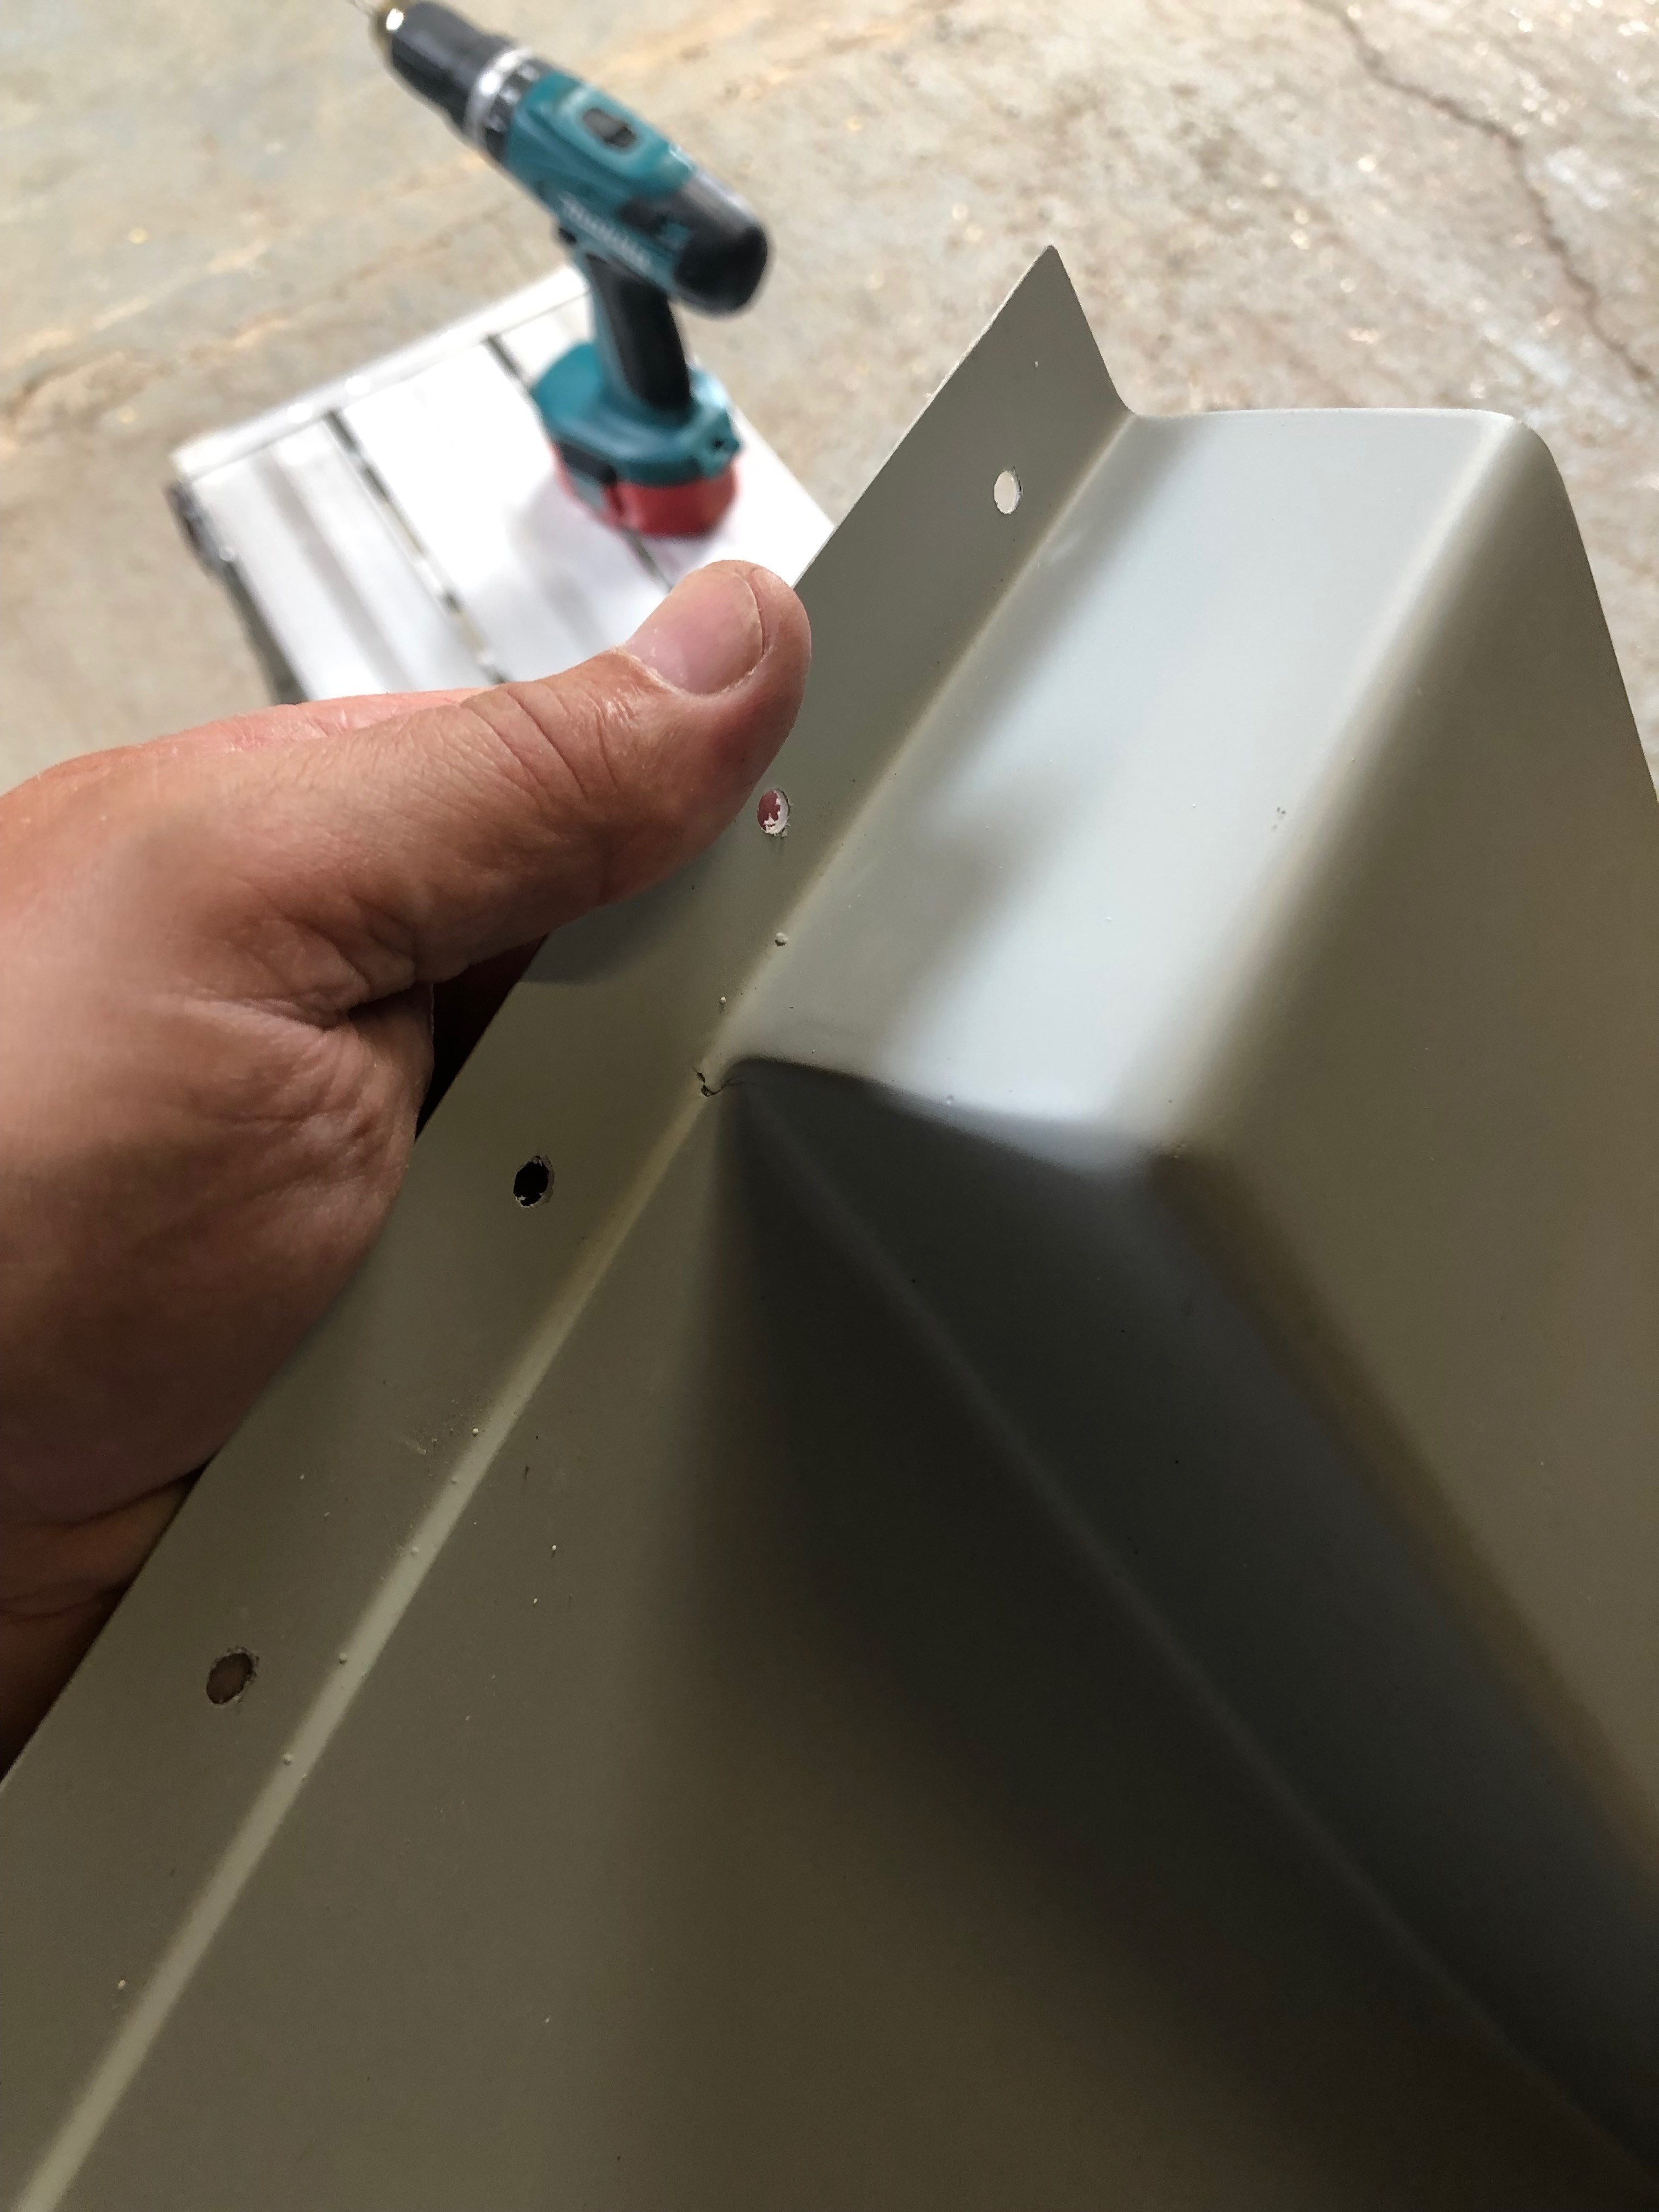
The rear panel in normally riveted into the aircraft and has two access panels cut in with covers. I thought it would be a better idea if it was removable so decided to use 3mm screws and rivnuts to secure it instead. First job drill the 5mm hole for rivnuts.

The install the 37 rivnuts in the rear panel…

and 8 along this panel.
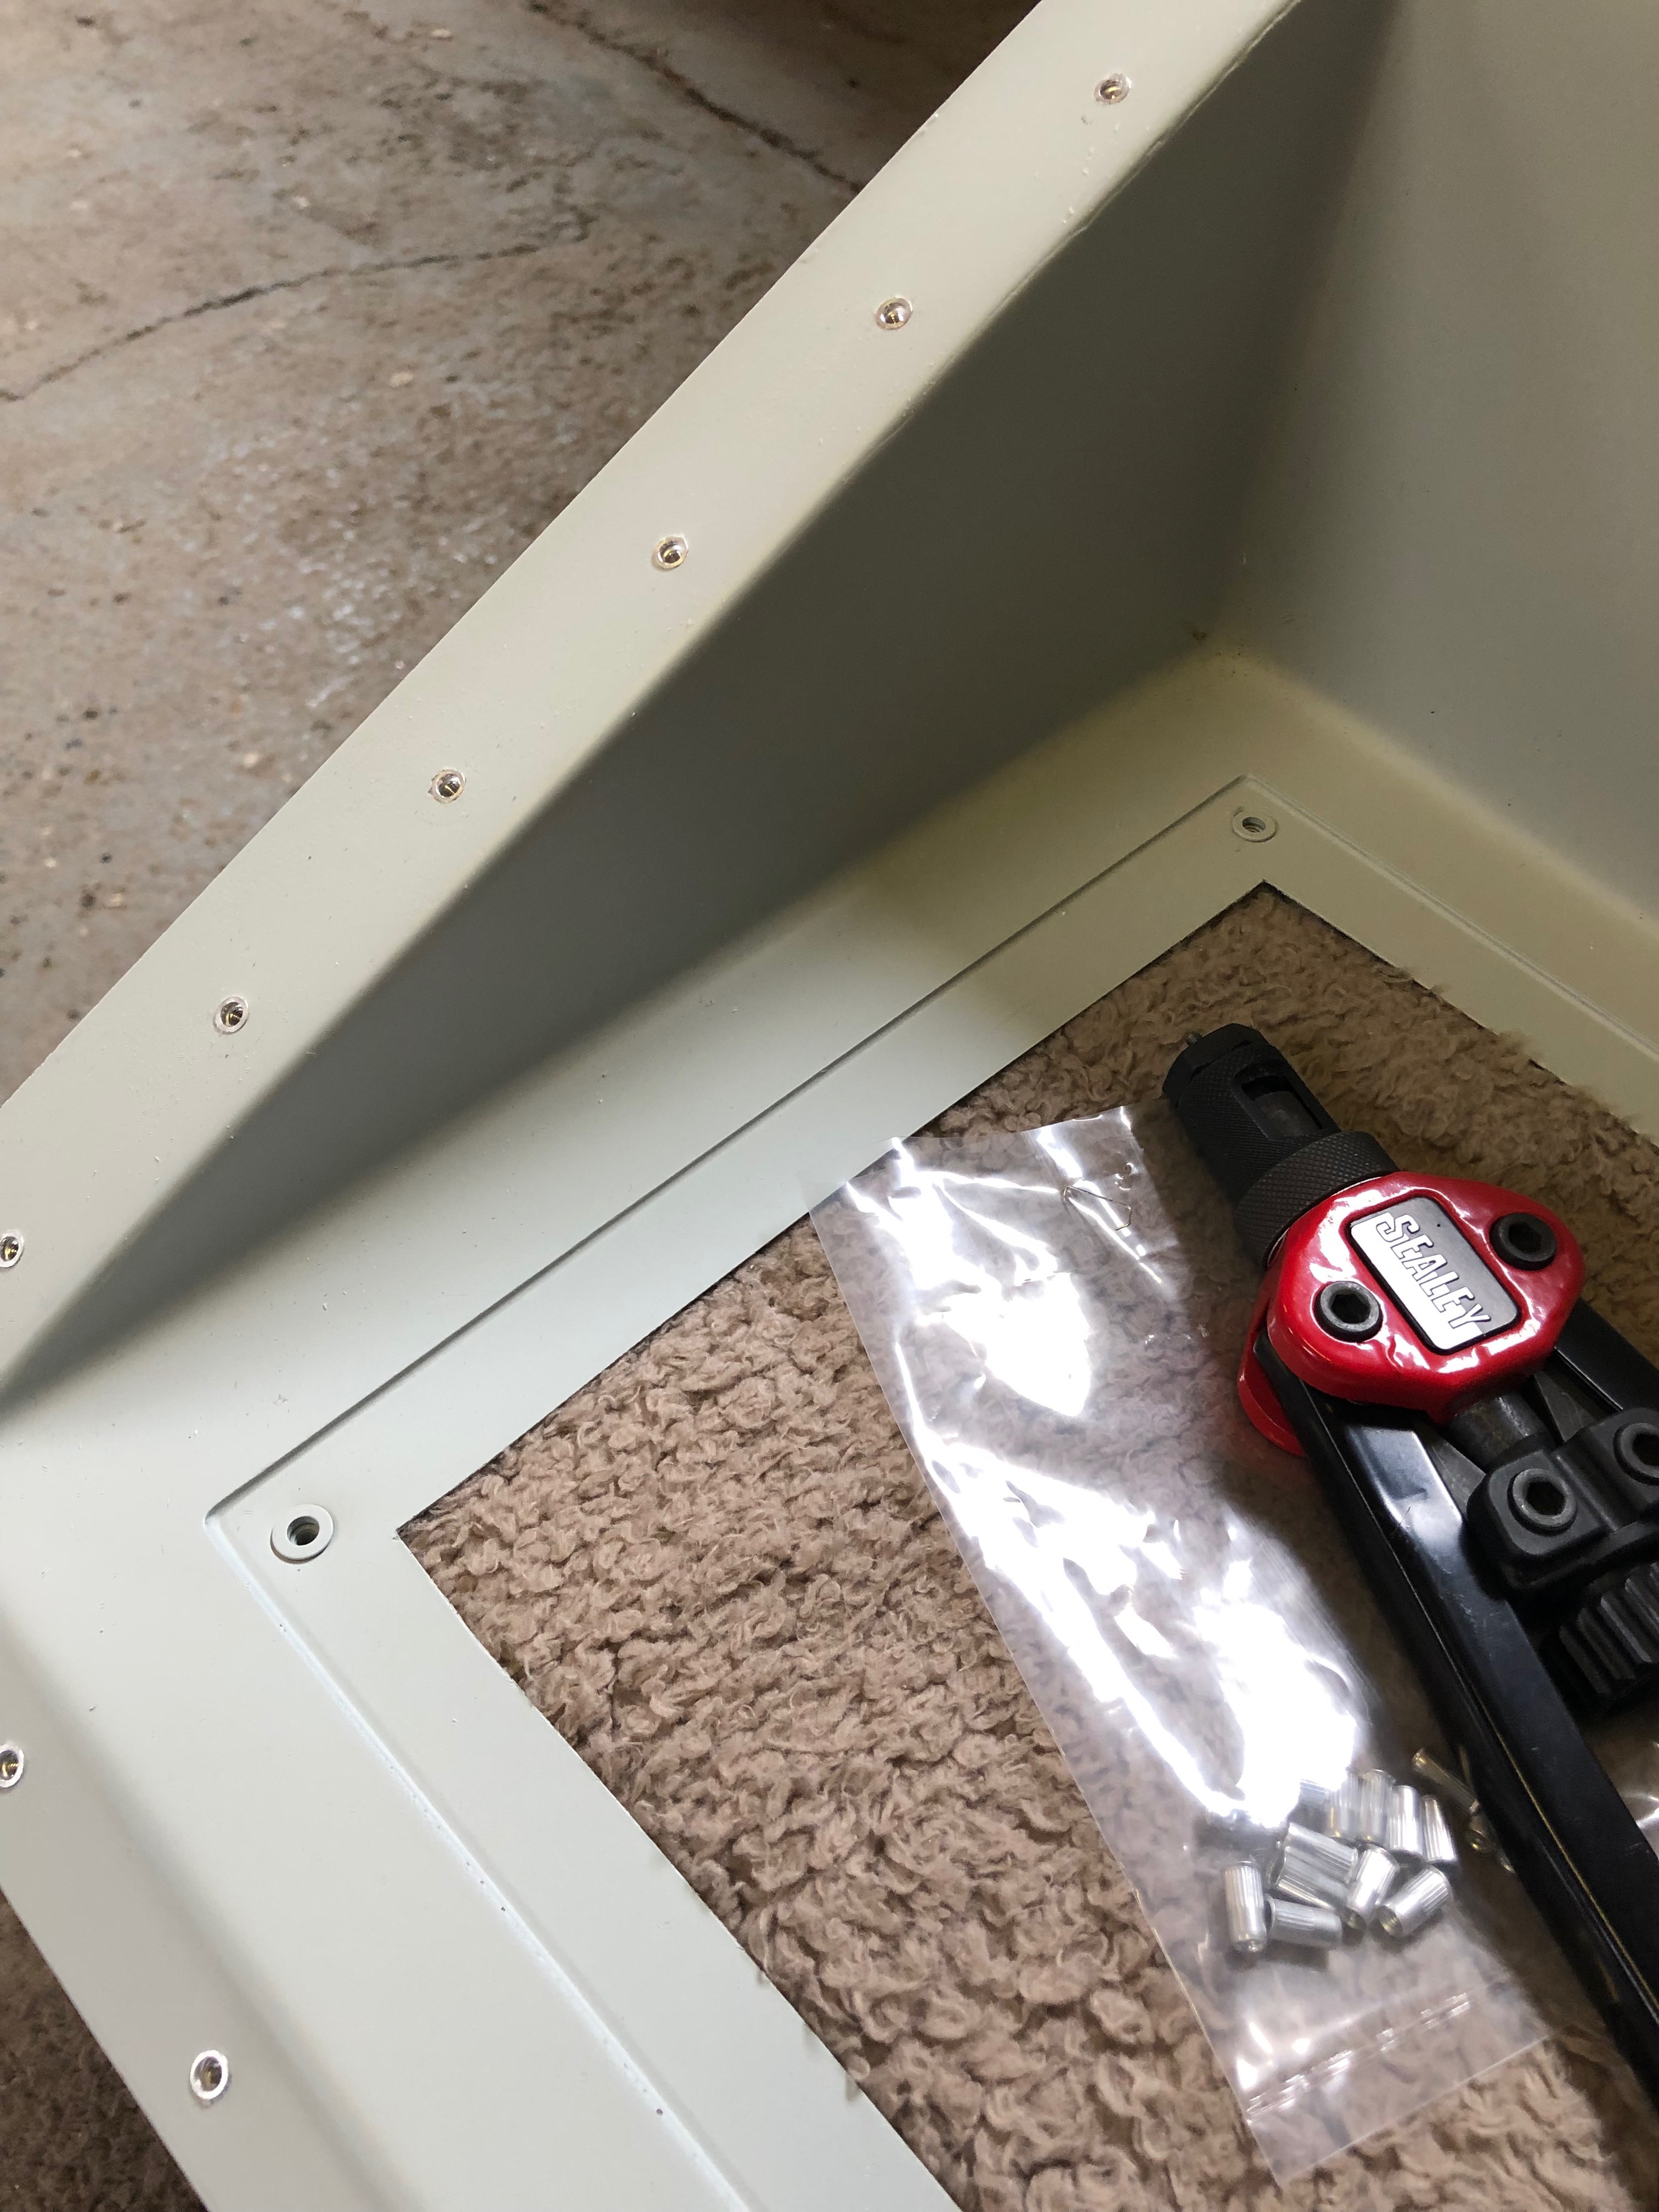
The finished job which looks quite good.

The supplied OAT cable is several metres long but I’ve decided to mount it close to the ADAHRS unit so I shortened it out by cutting some wire out of the the middle of the cable and soldered together which removes the need to crimp new ends on.

The OAT sensor is fitted from below and secured with a nylon nut and washer. I’ve used a bit of silicon to make it even more water tight from below before fitting.

The finished installation needs to be within 2 degrees of level in all planes so once the aircraft is finished I may have to shim the unit.

After bleeding the brakes I have two very small air bubbles left in the brake lines that need to be purged. The normal method didn’t work so thought using an electric pump might work. The whole thing turned into a disaster. The first attempt resulted in the electric pump sucking in air. The second attempt resulted in the pump forcing off the pipe. Then on the third attempt the pump failed after 5 seconds of continuous use. I gave up! will try again another time…

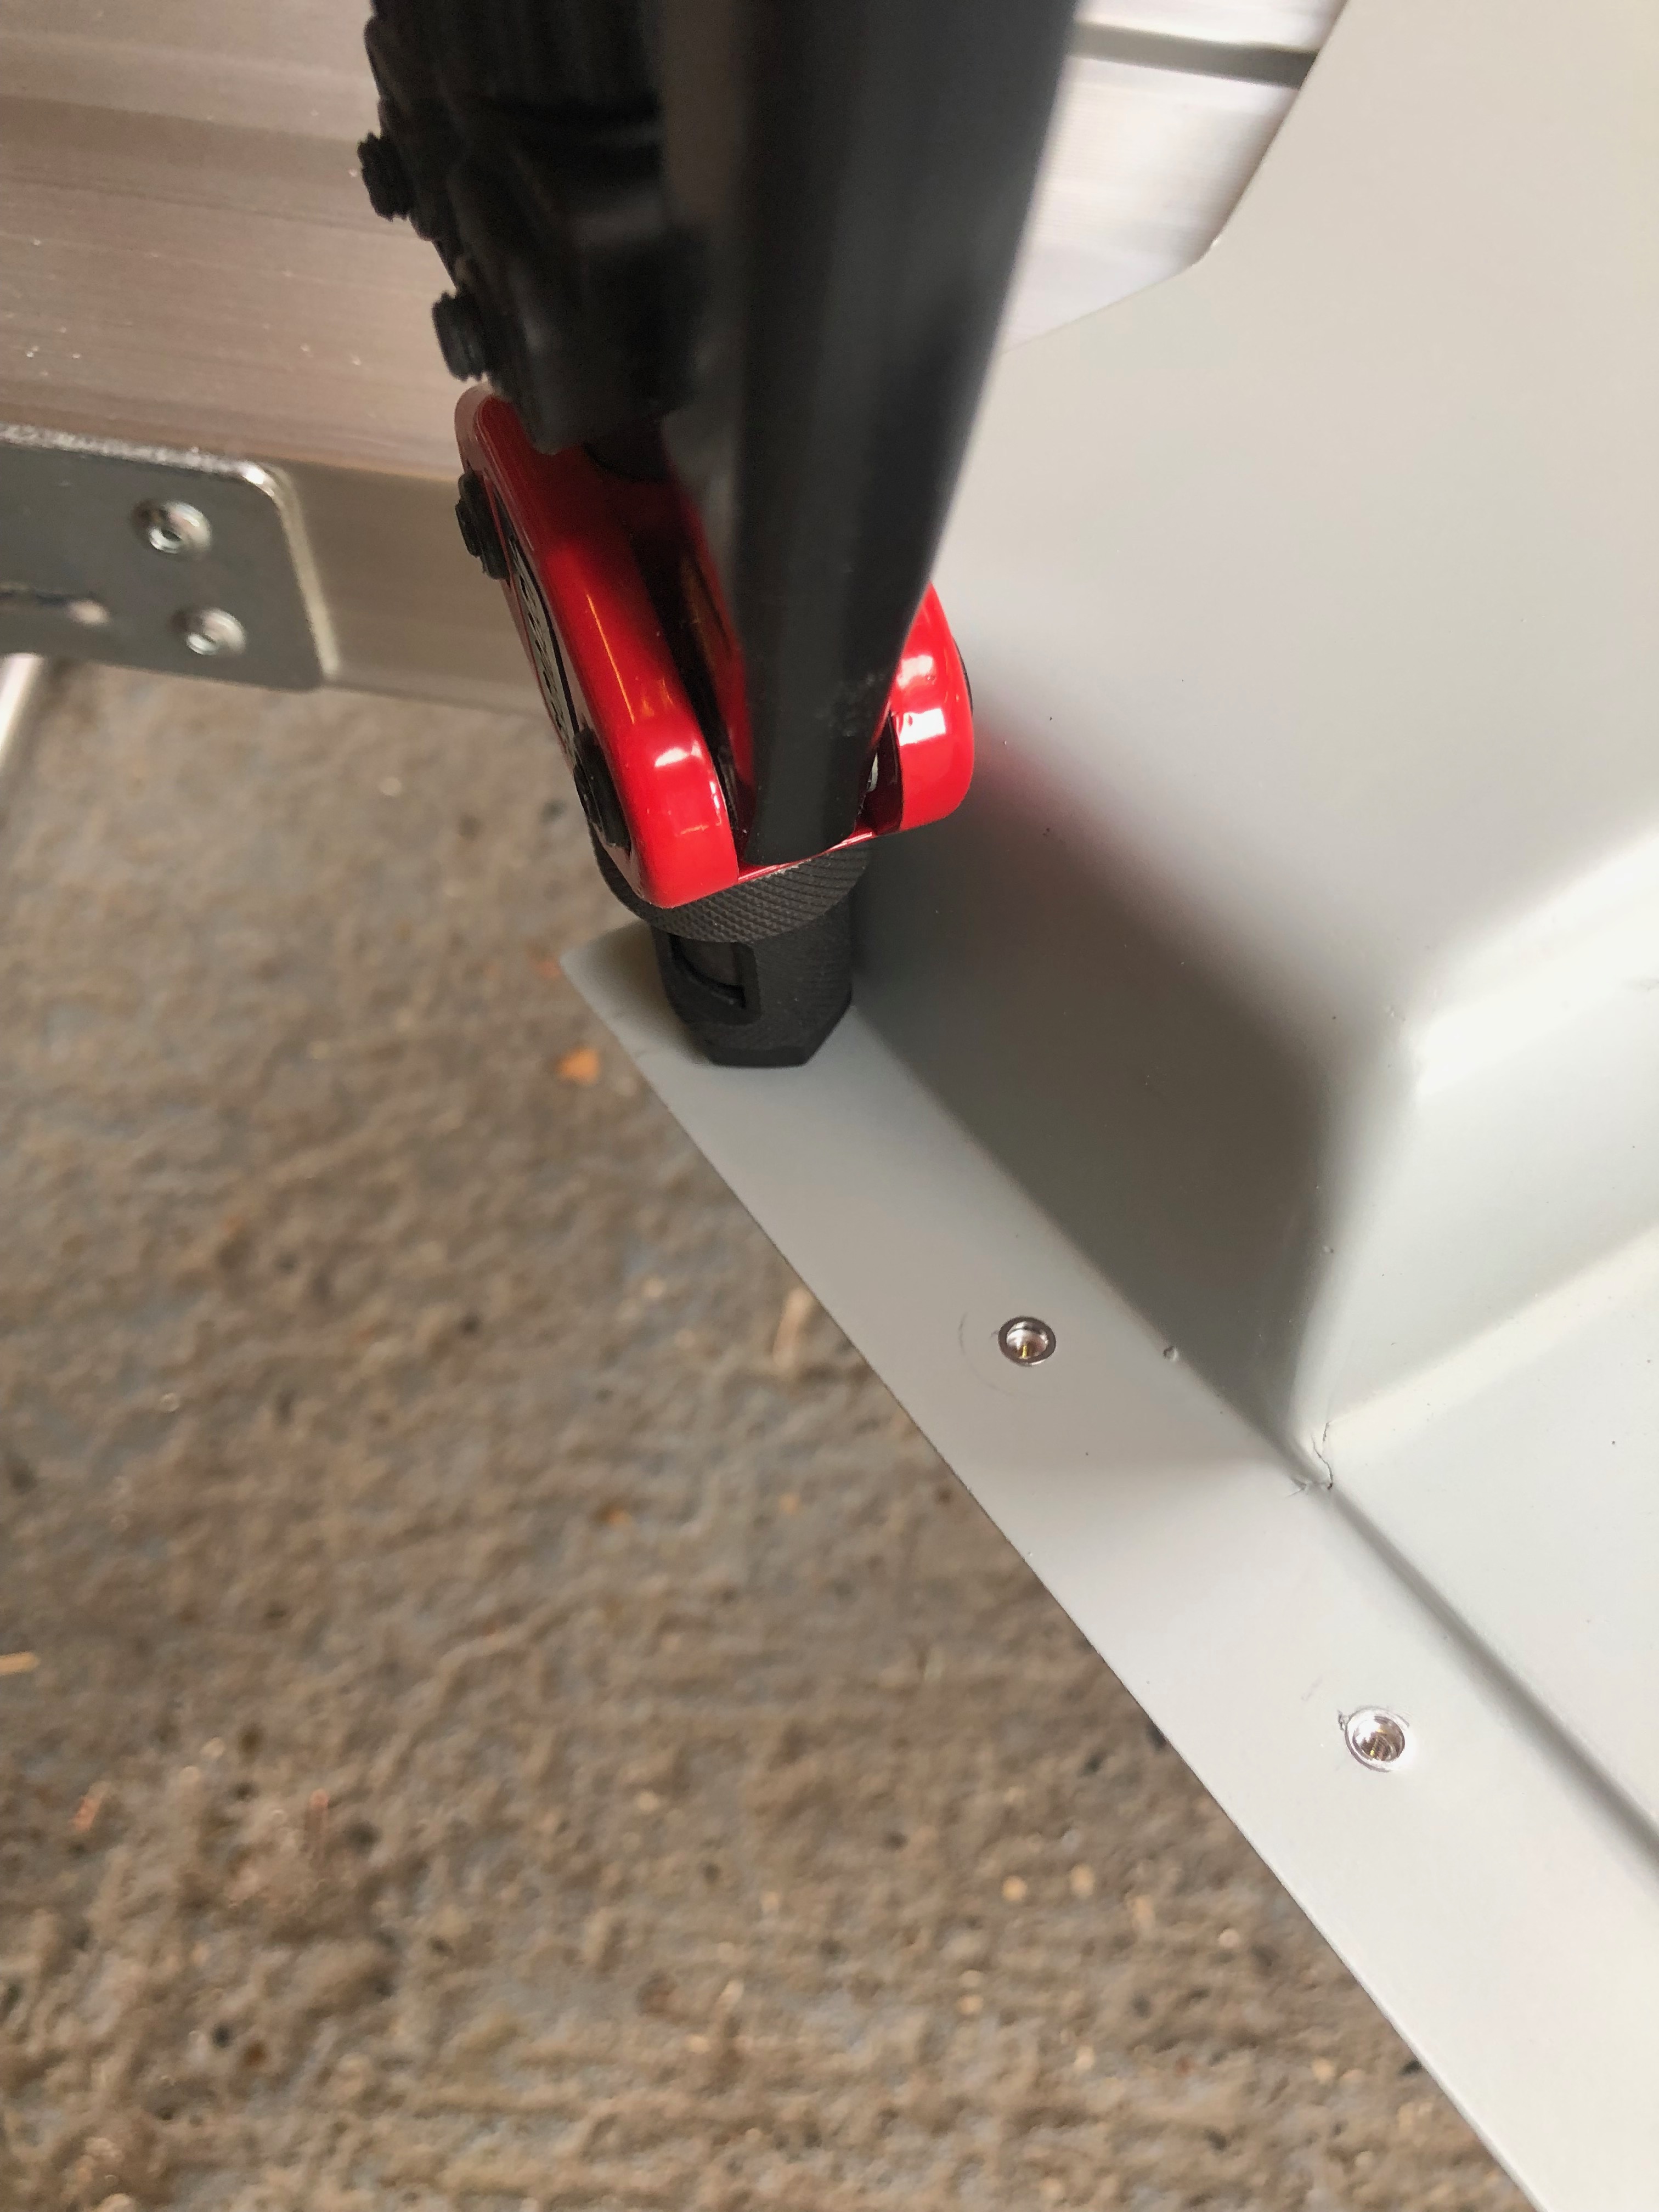
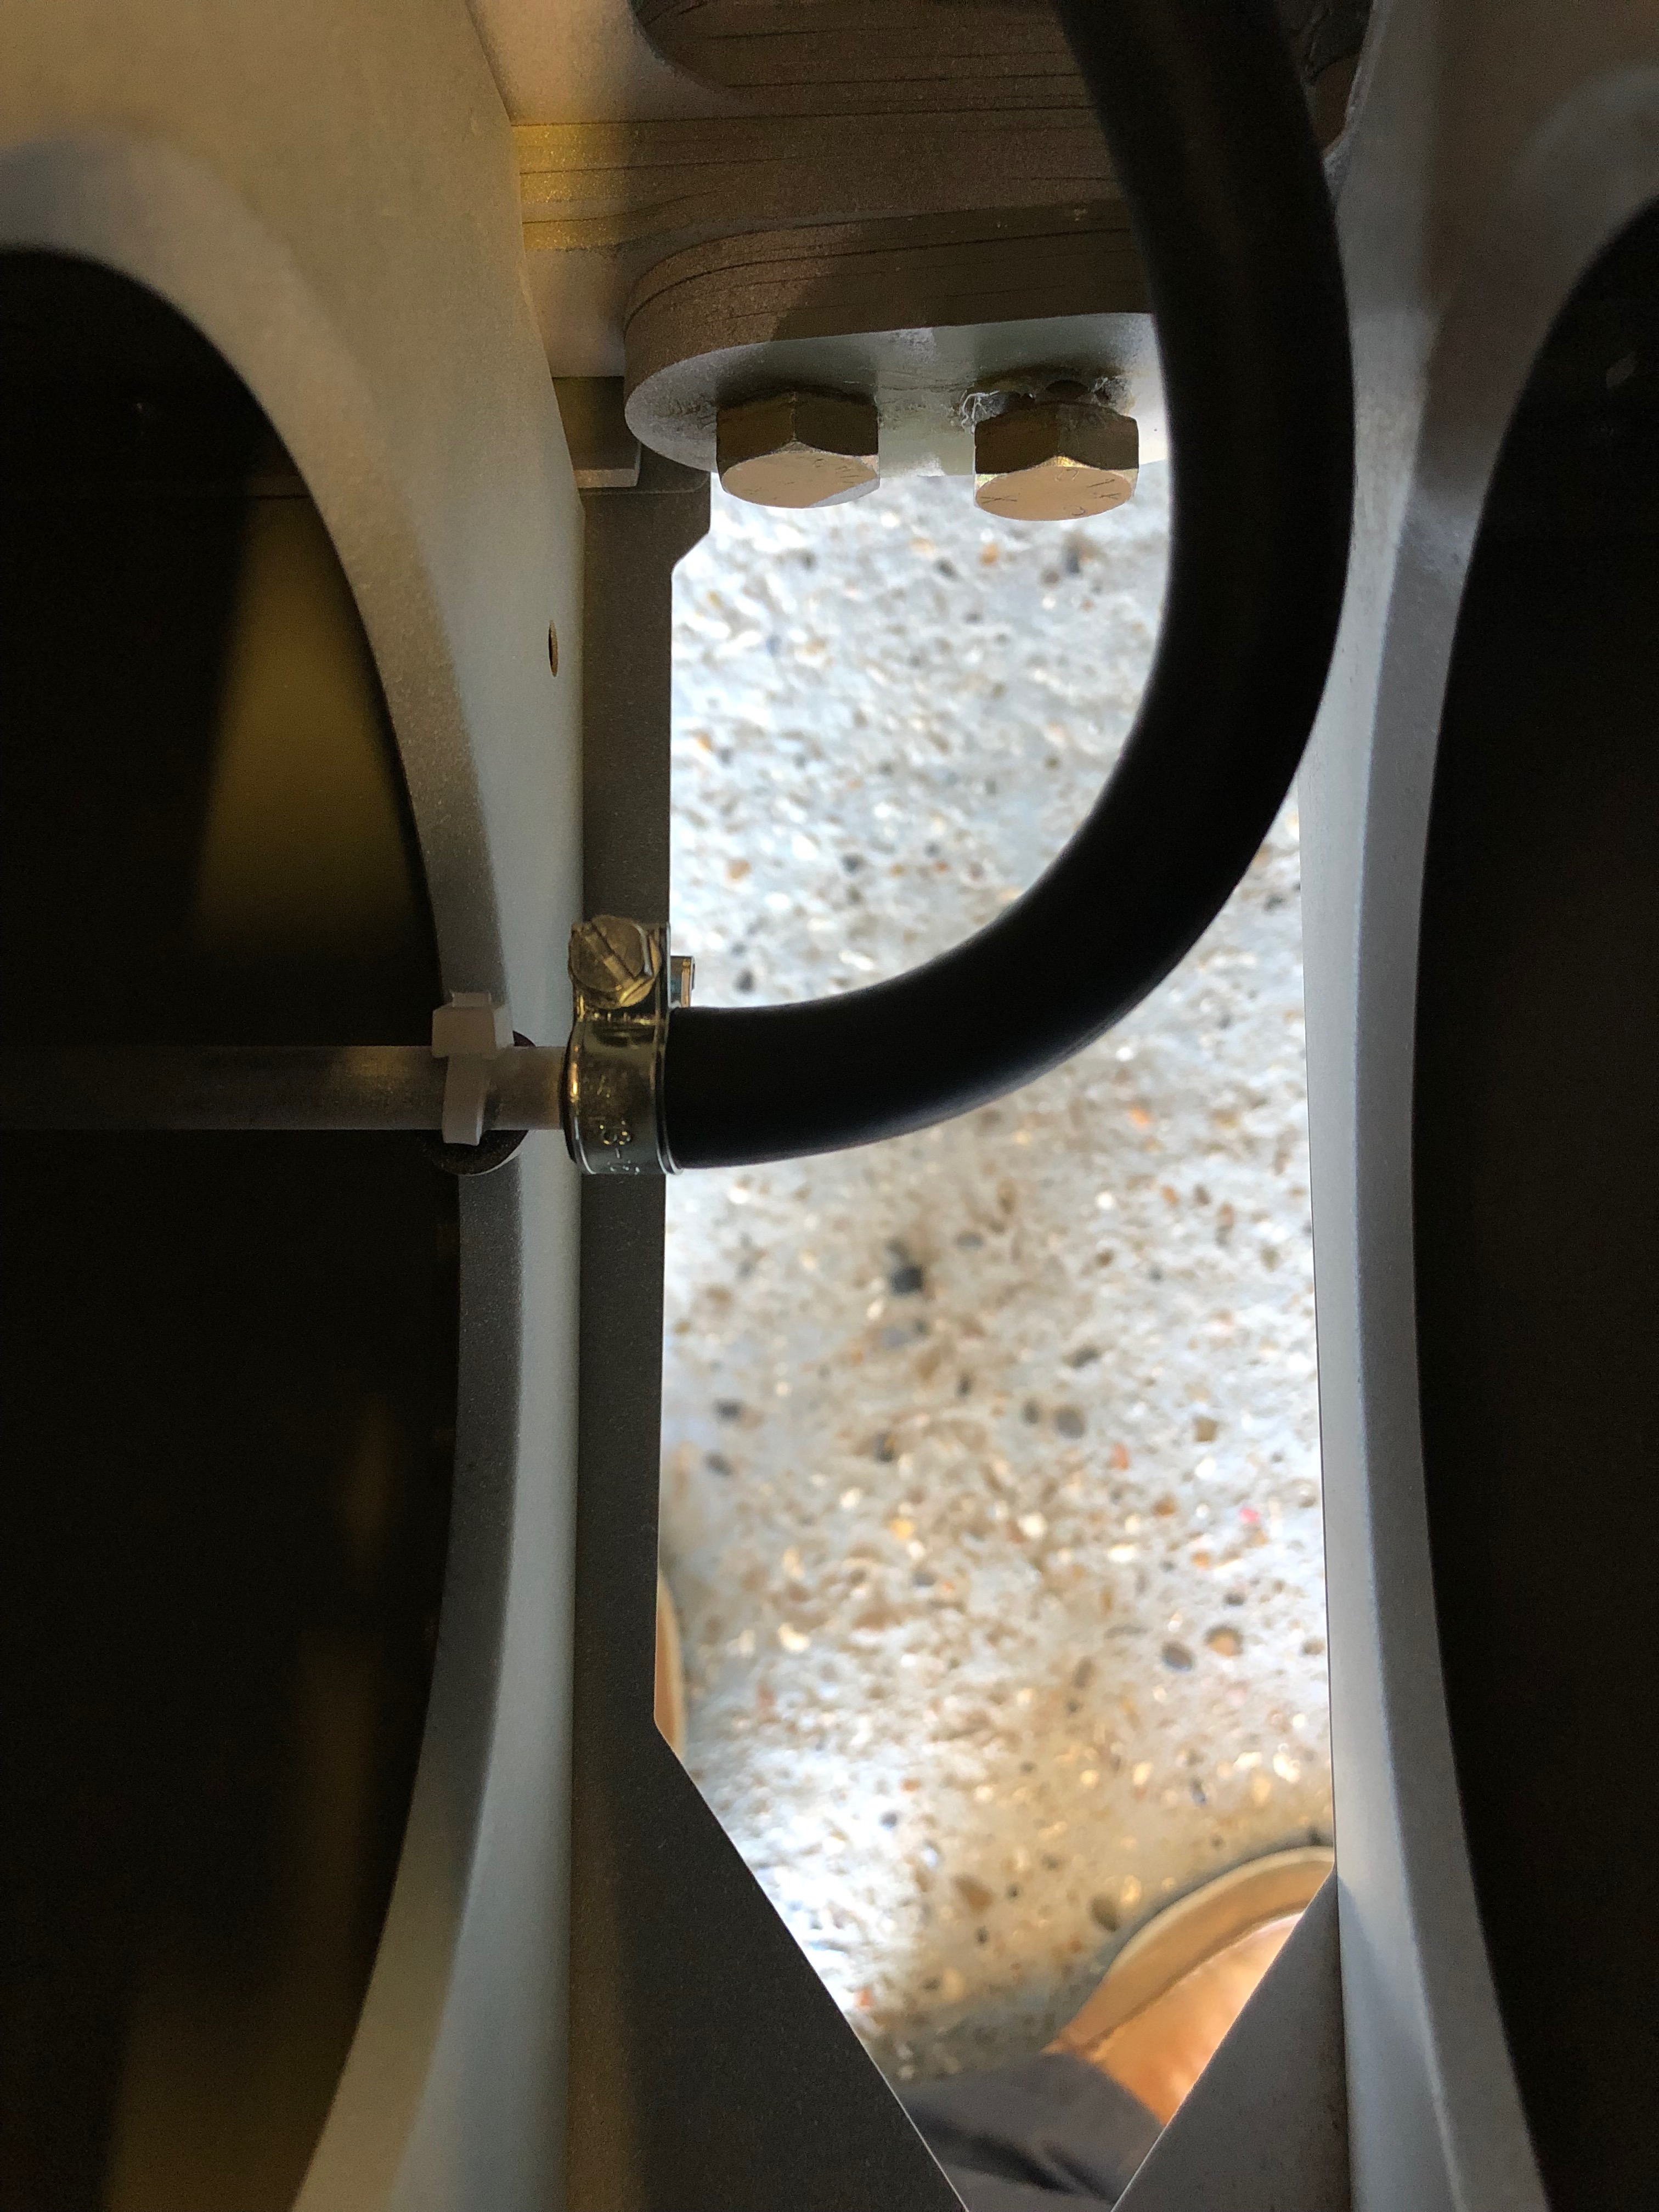
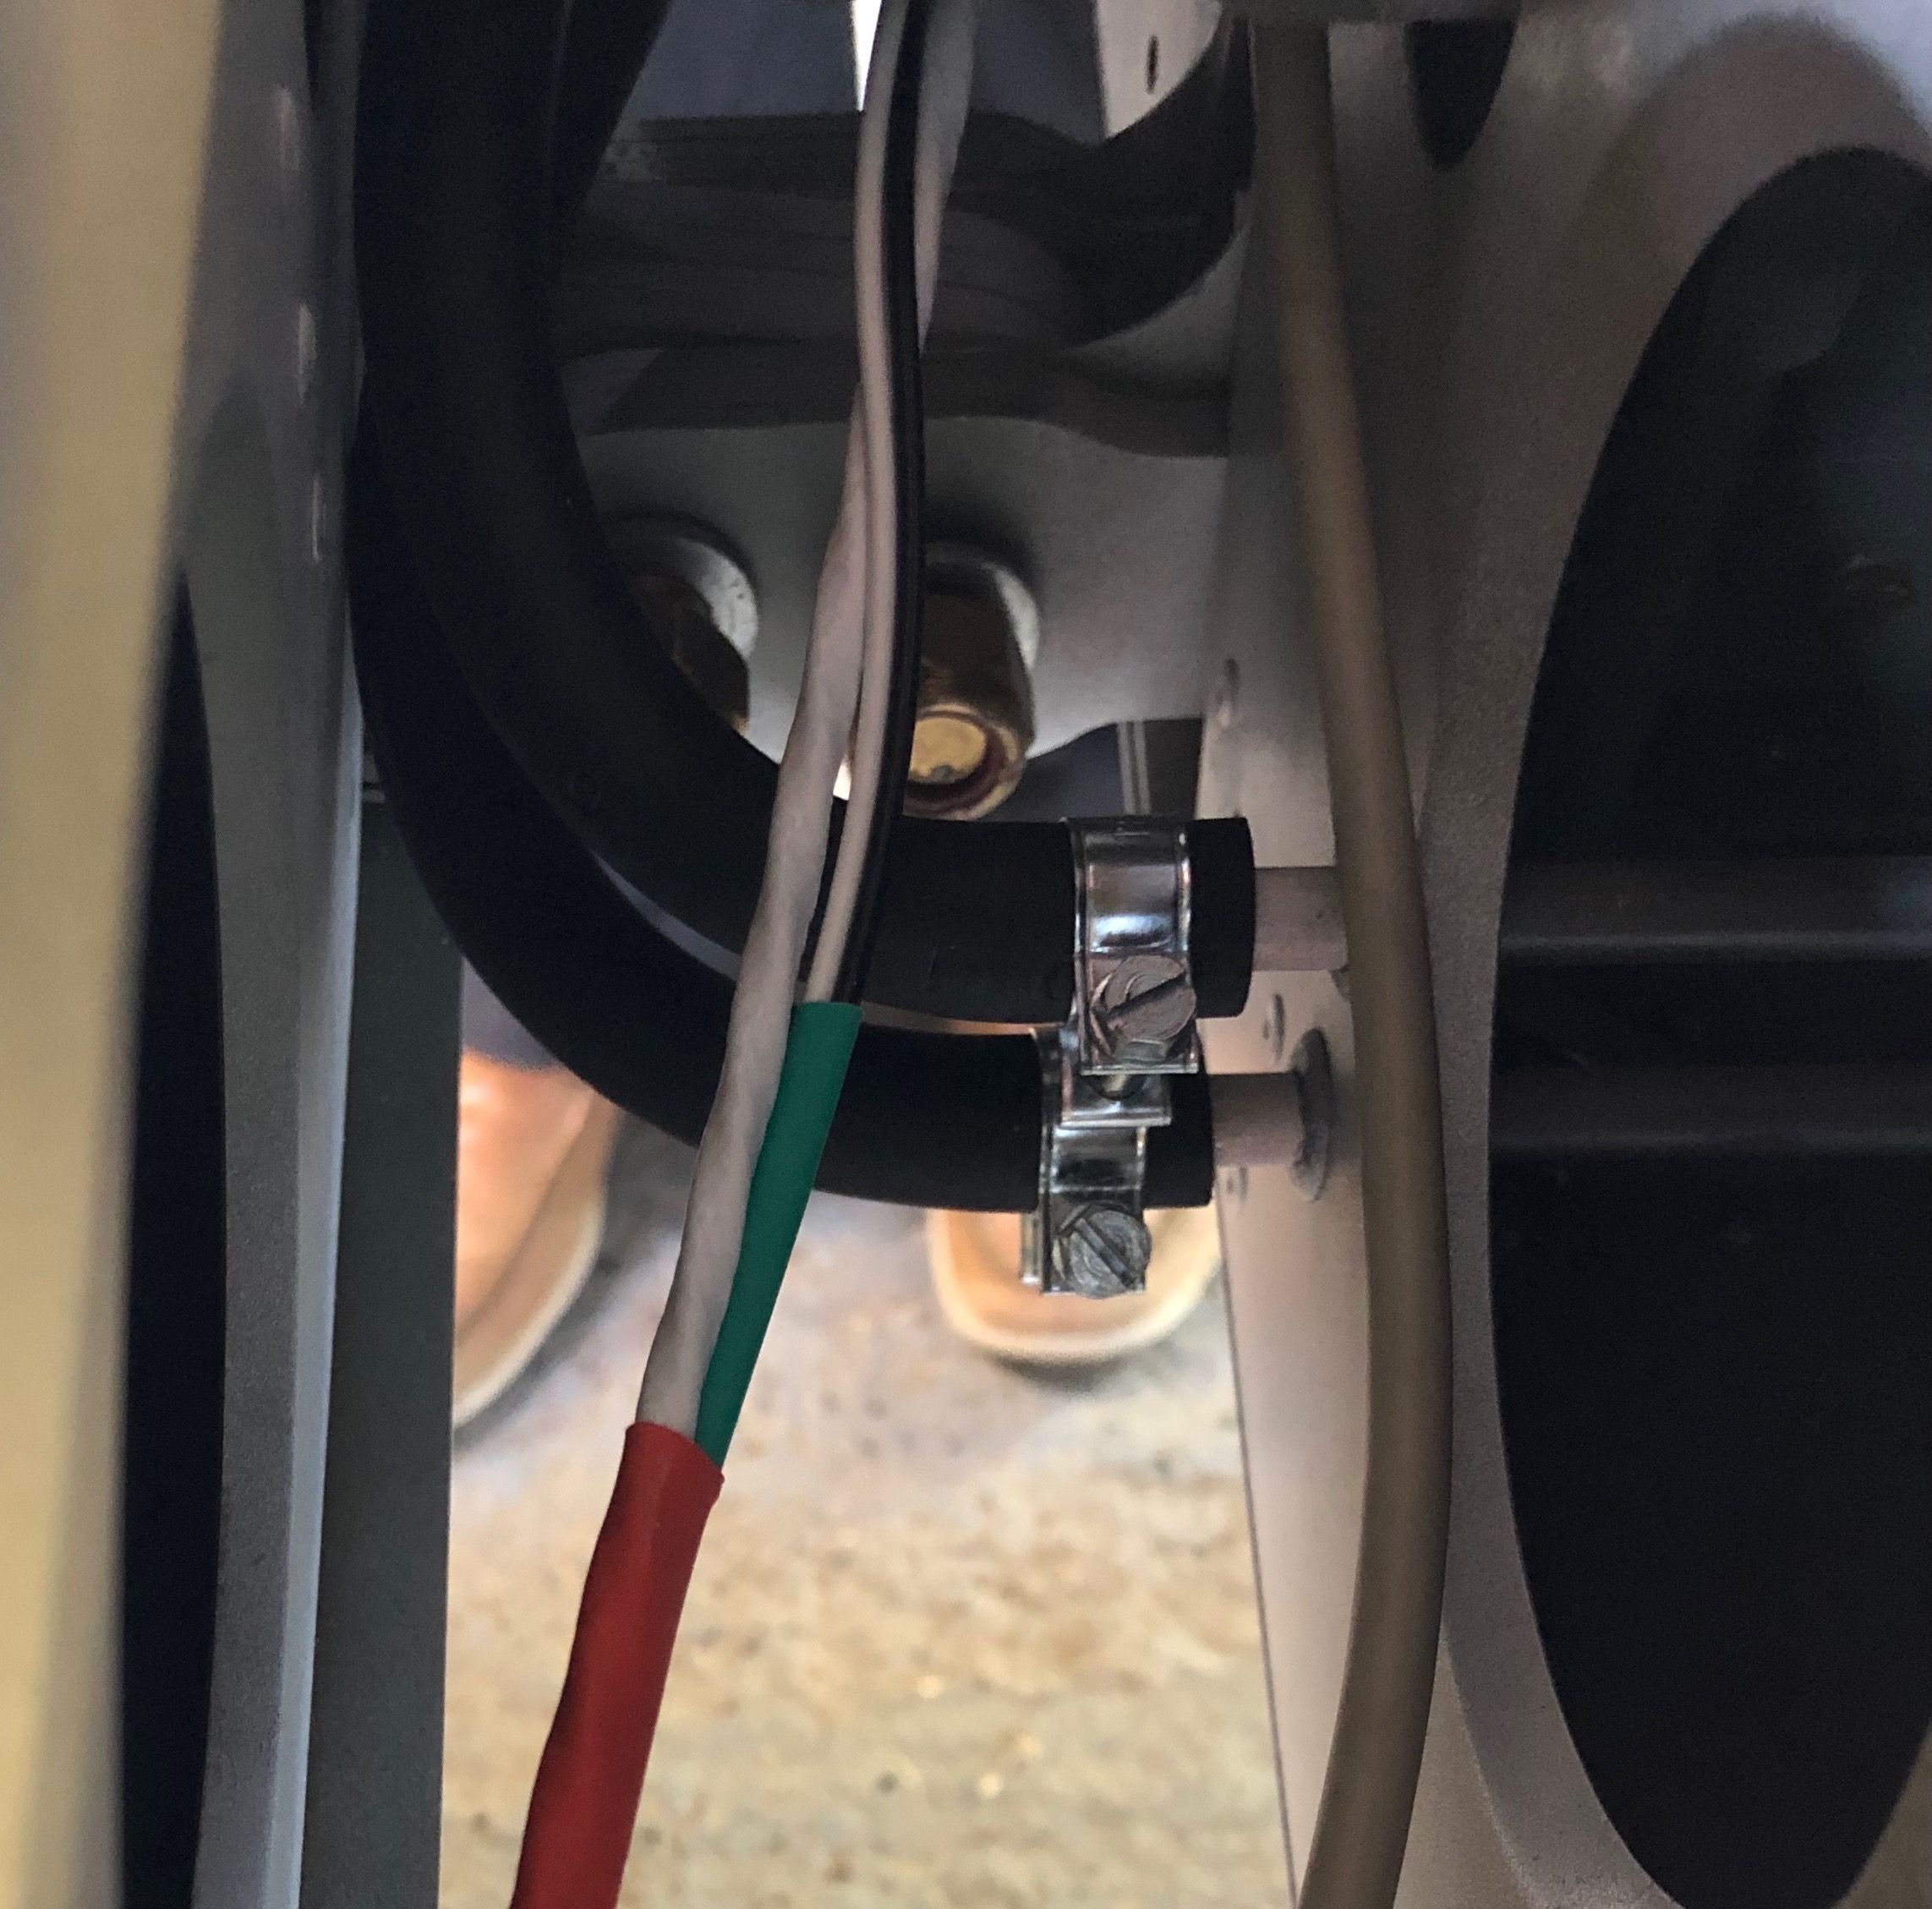
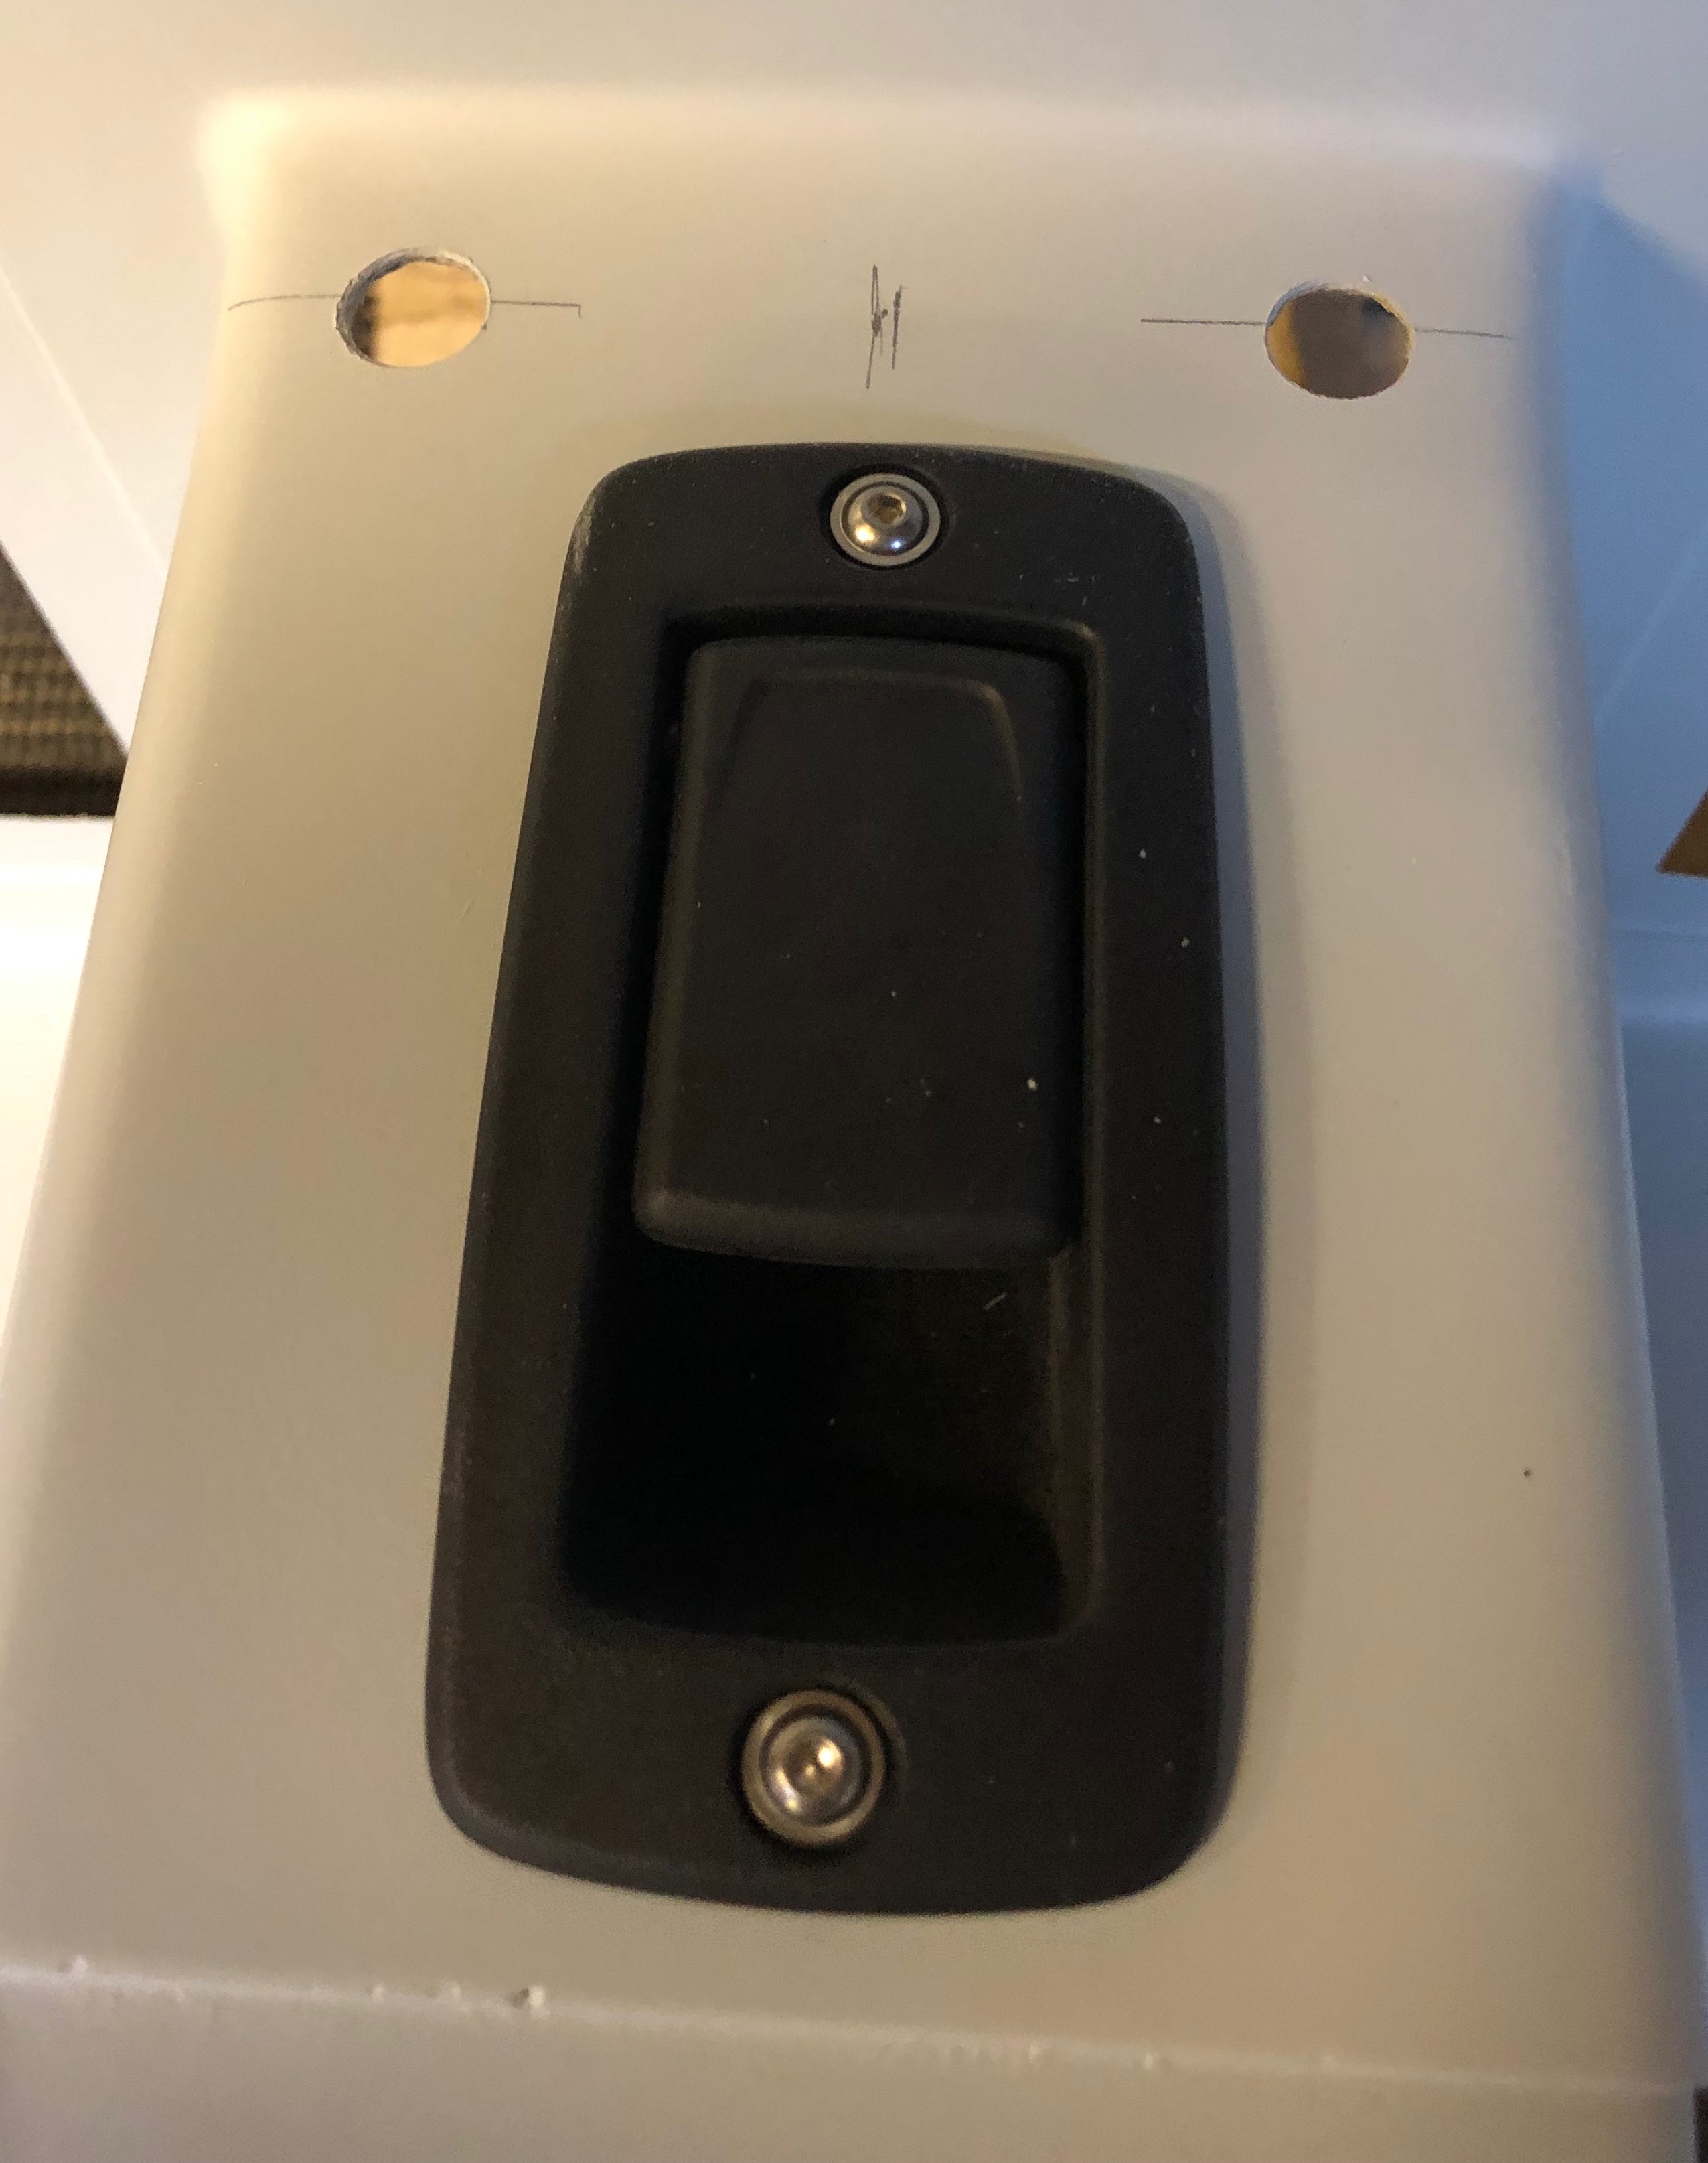
Moving onto the pitot installation. I’ve purchased an electrically headed pitot that needs power to it so I need to run power to the unit. There is conduit in the wing so will use this but it’s difficult to get to.

The only place I can easily mount the heater power unit is on access cover but the unit is just little bit big for the access hole so I had to cut the corners of the mounting bracket.

It’s secured onto the of the access panel with M4 screws, washers and nylocs.

It’s a perfect fit..

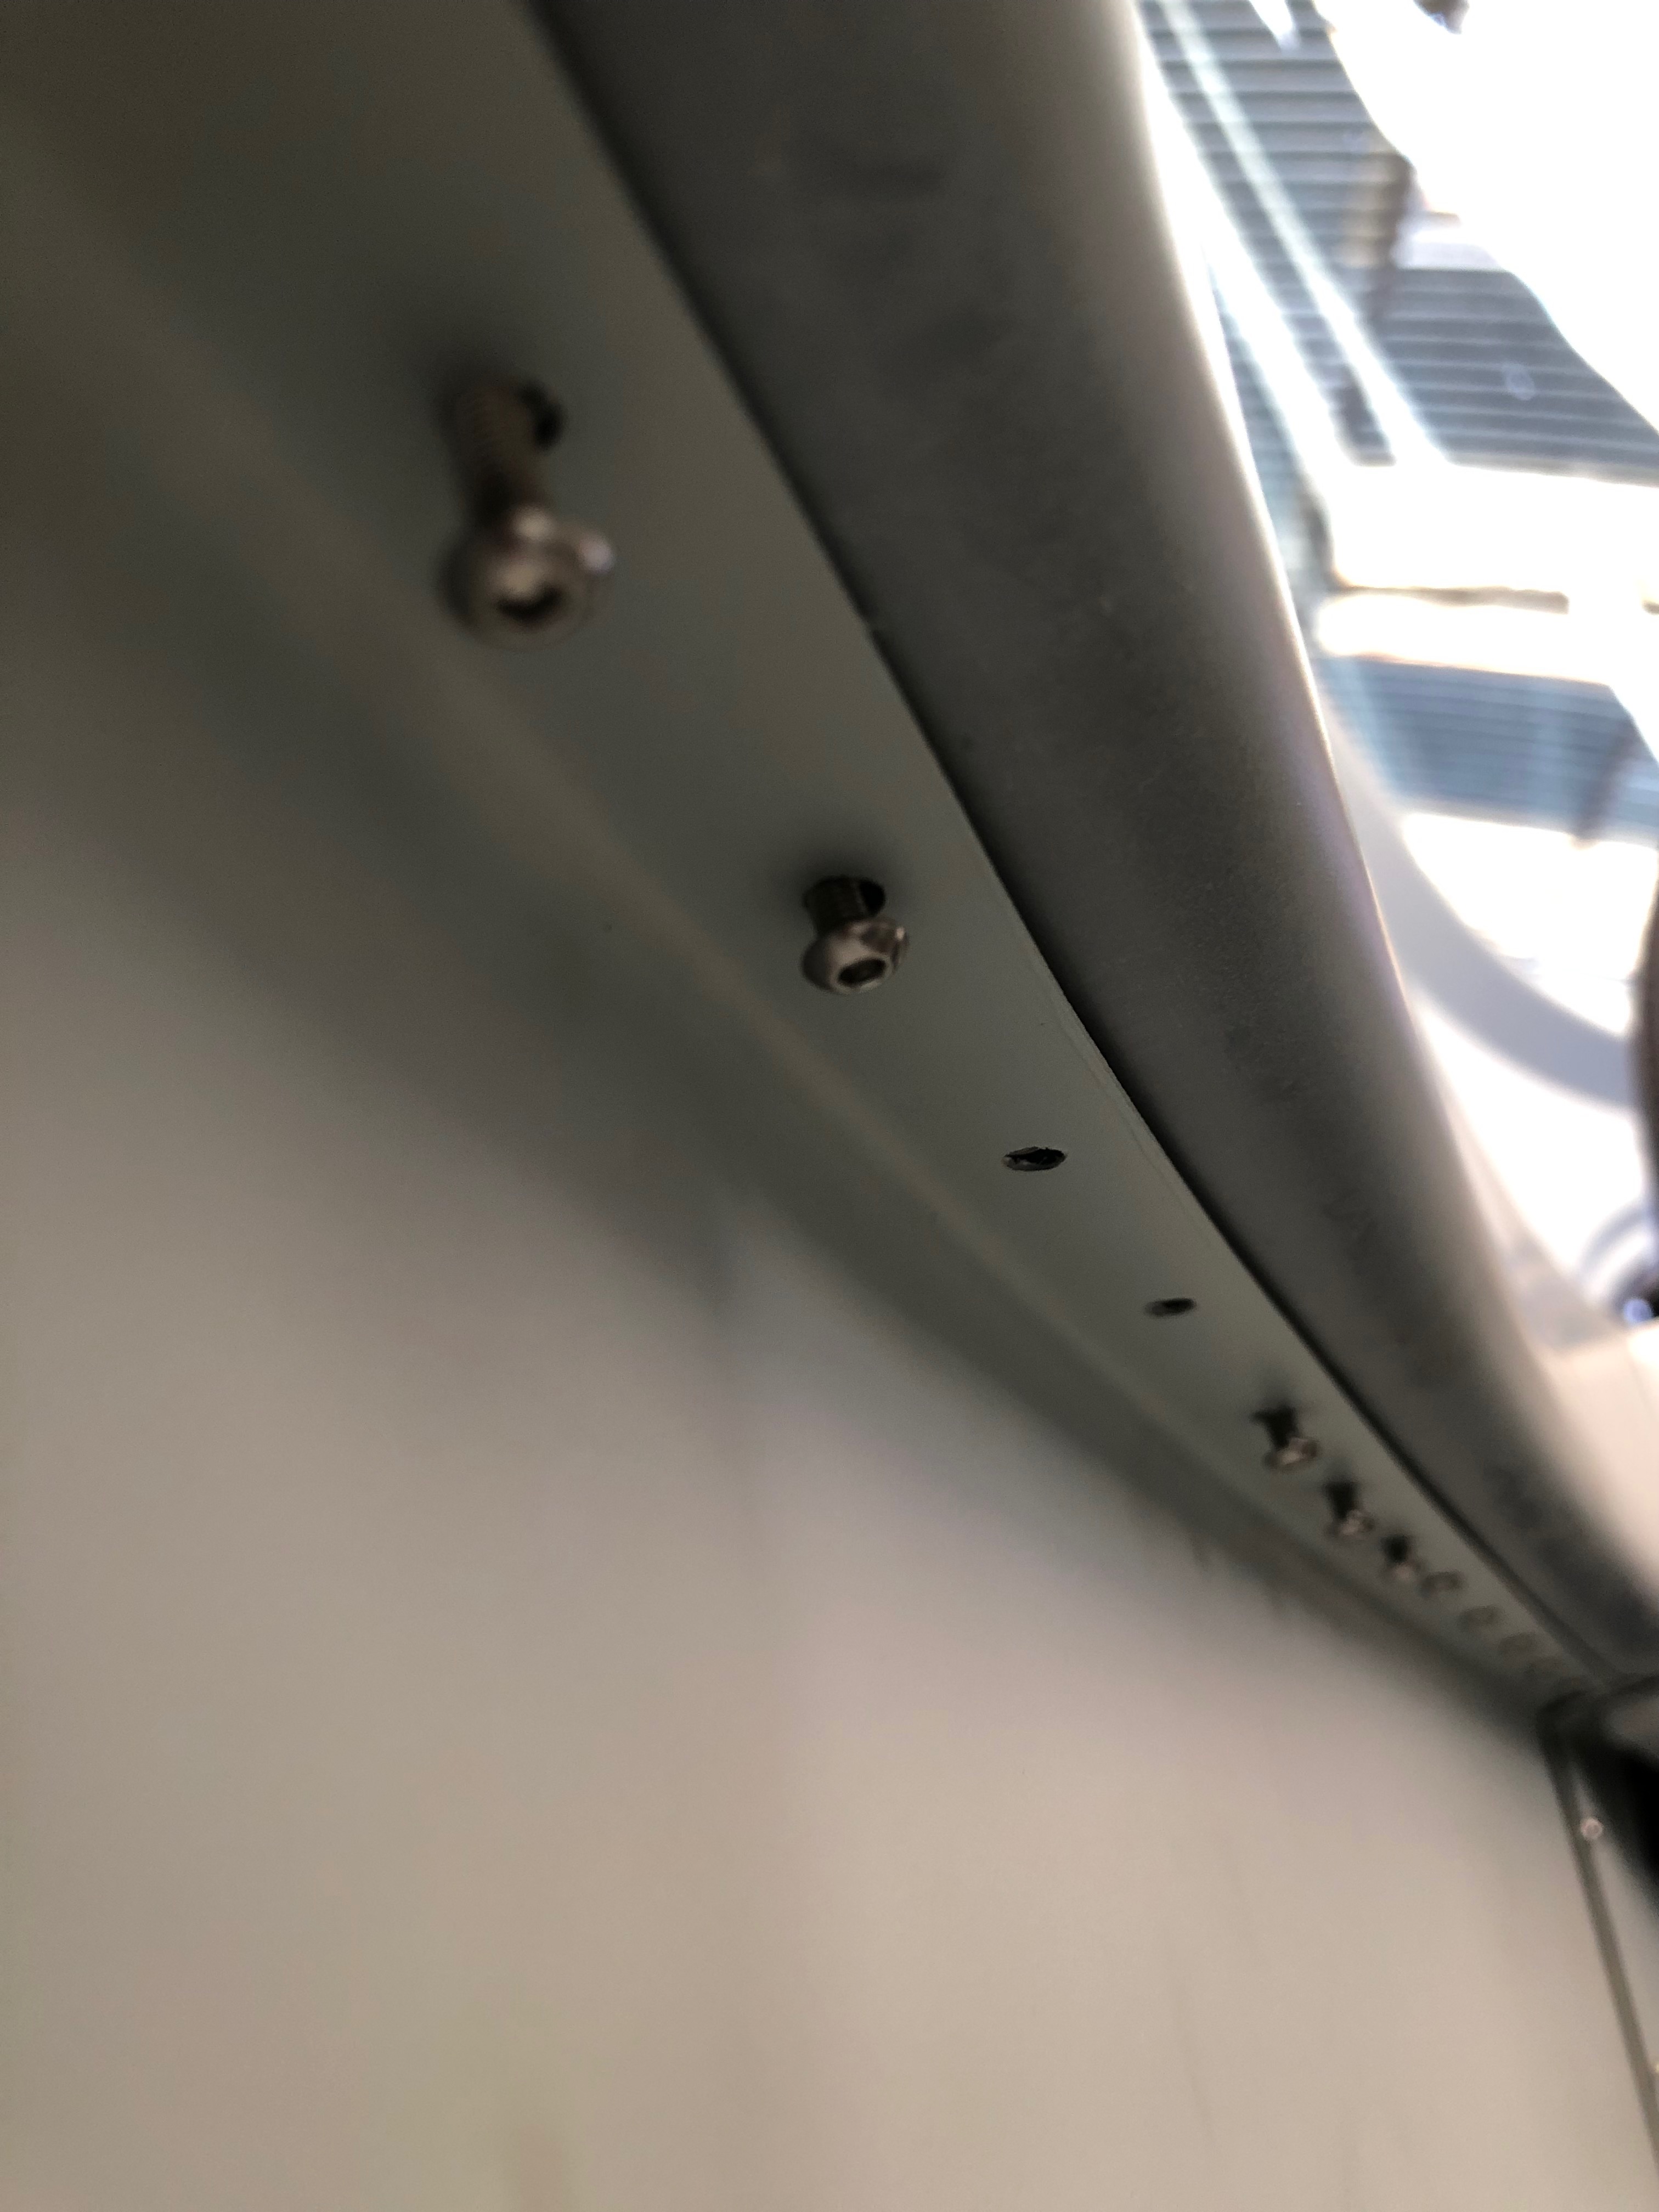
The view from the underside.

just needs to be connected and wires run up the conduit.

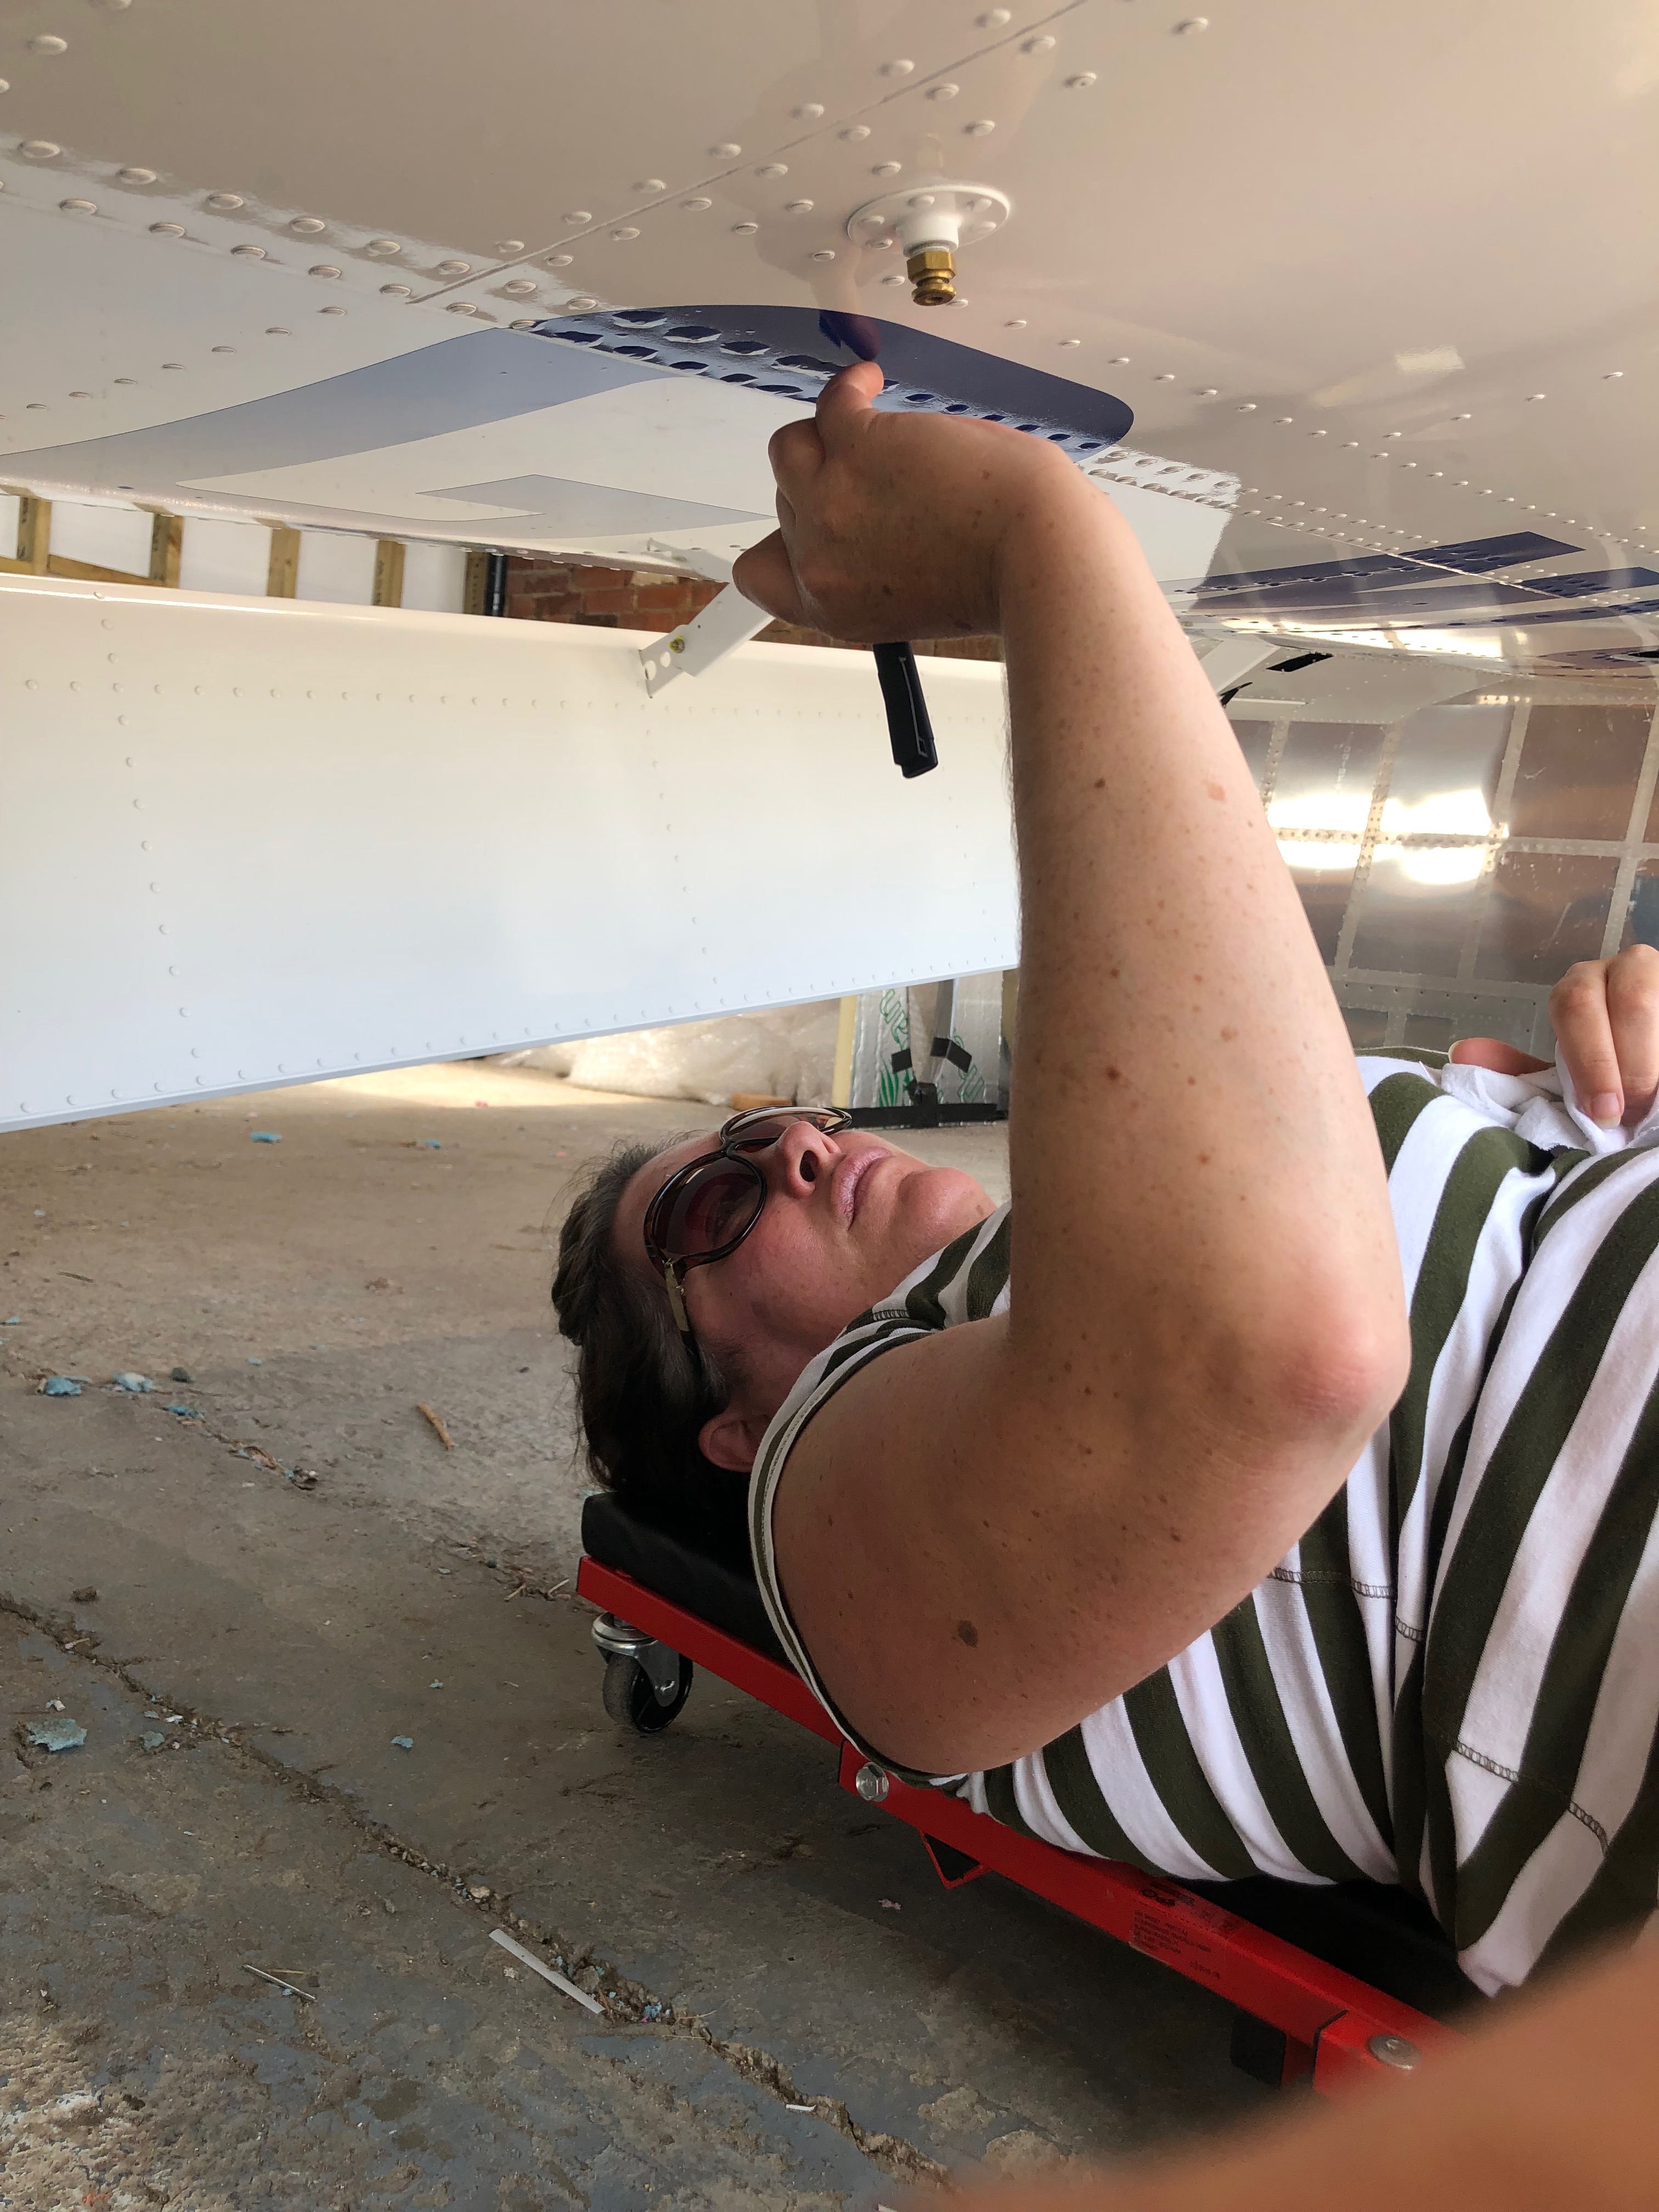
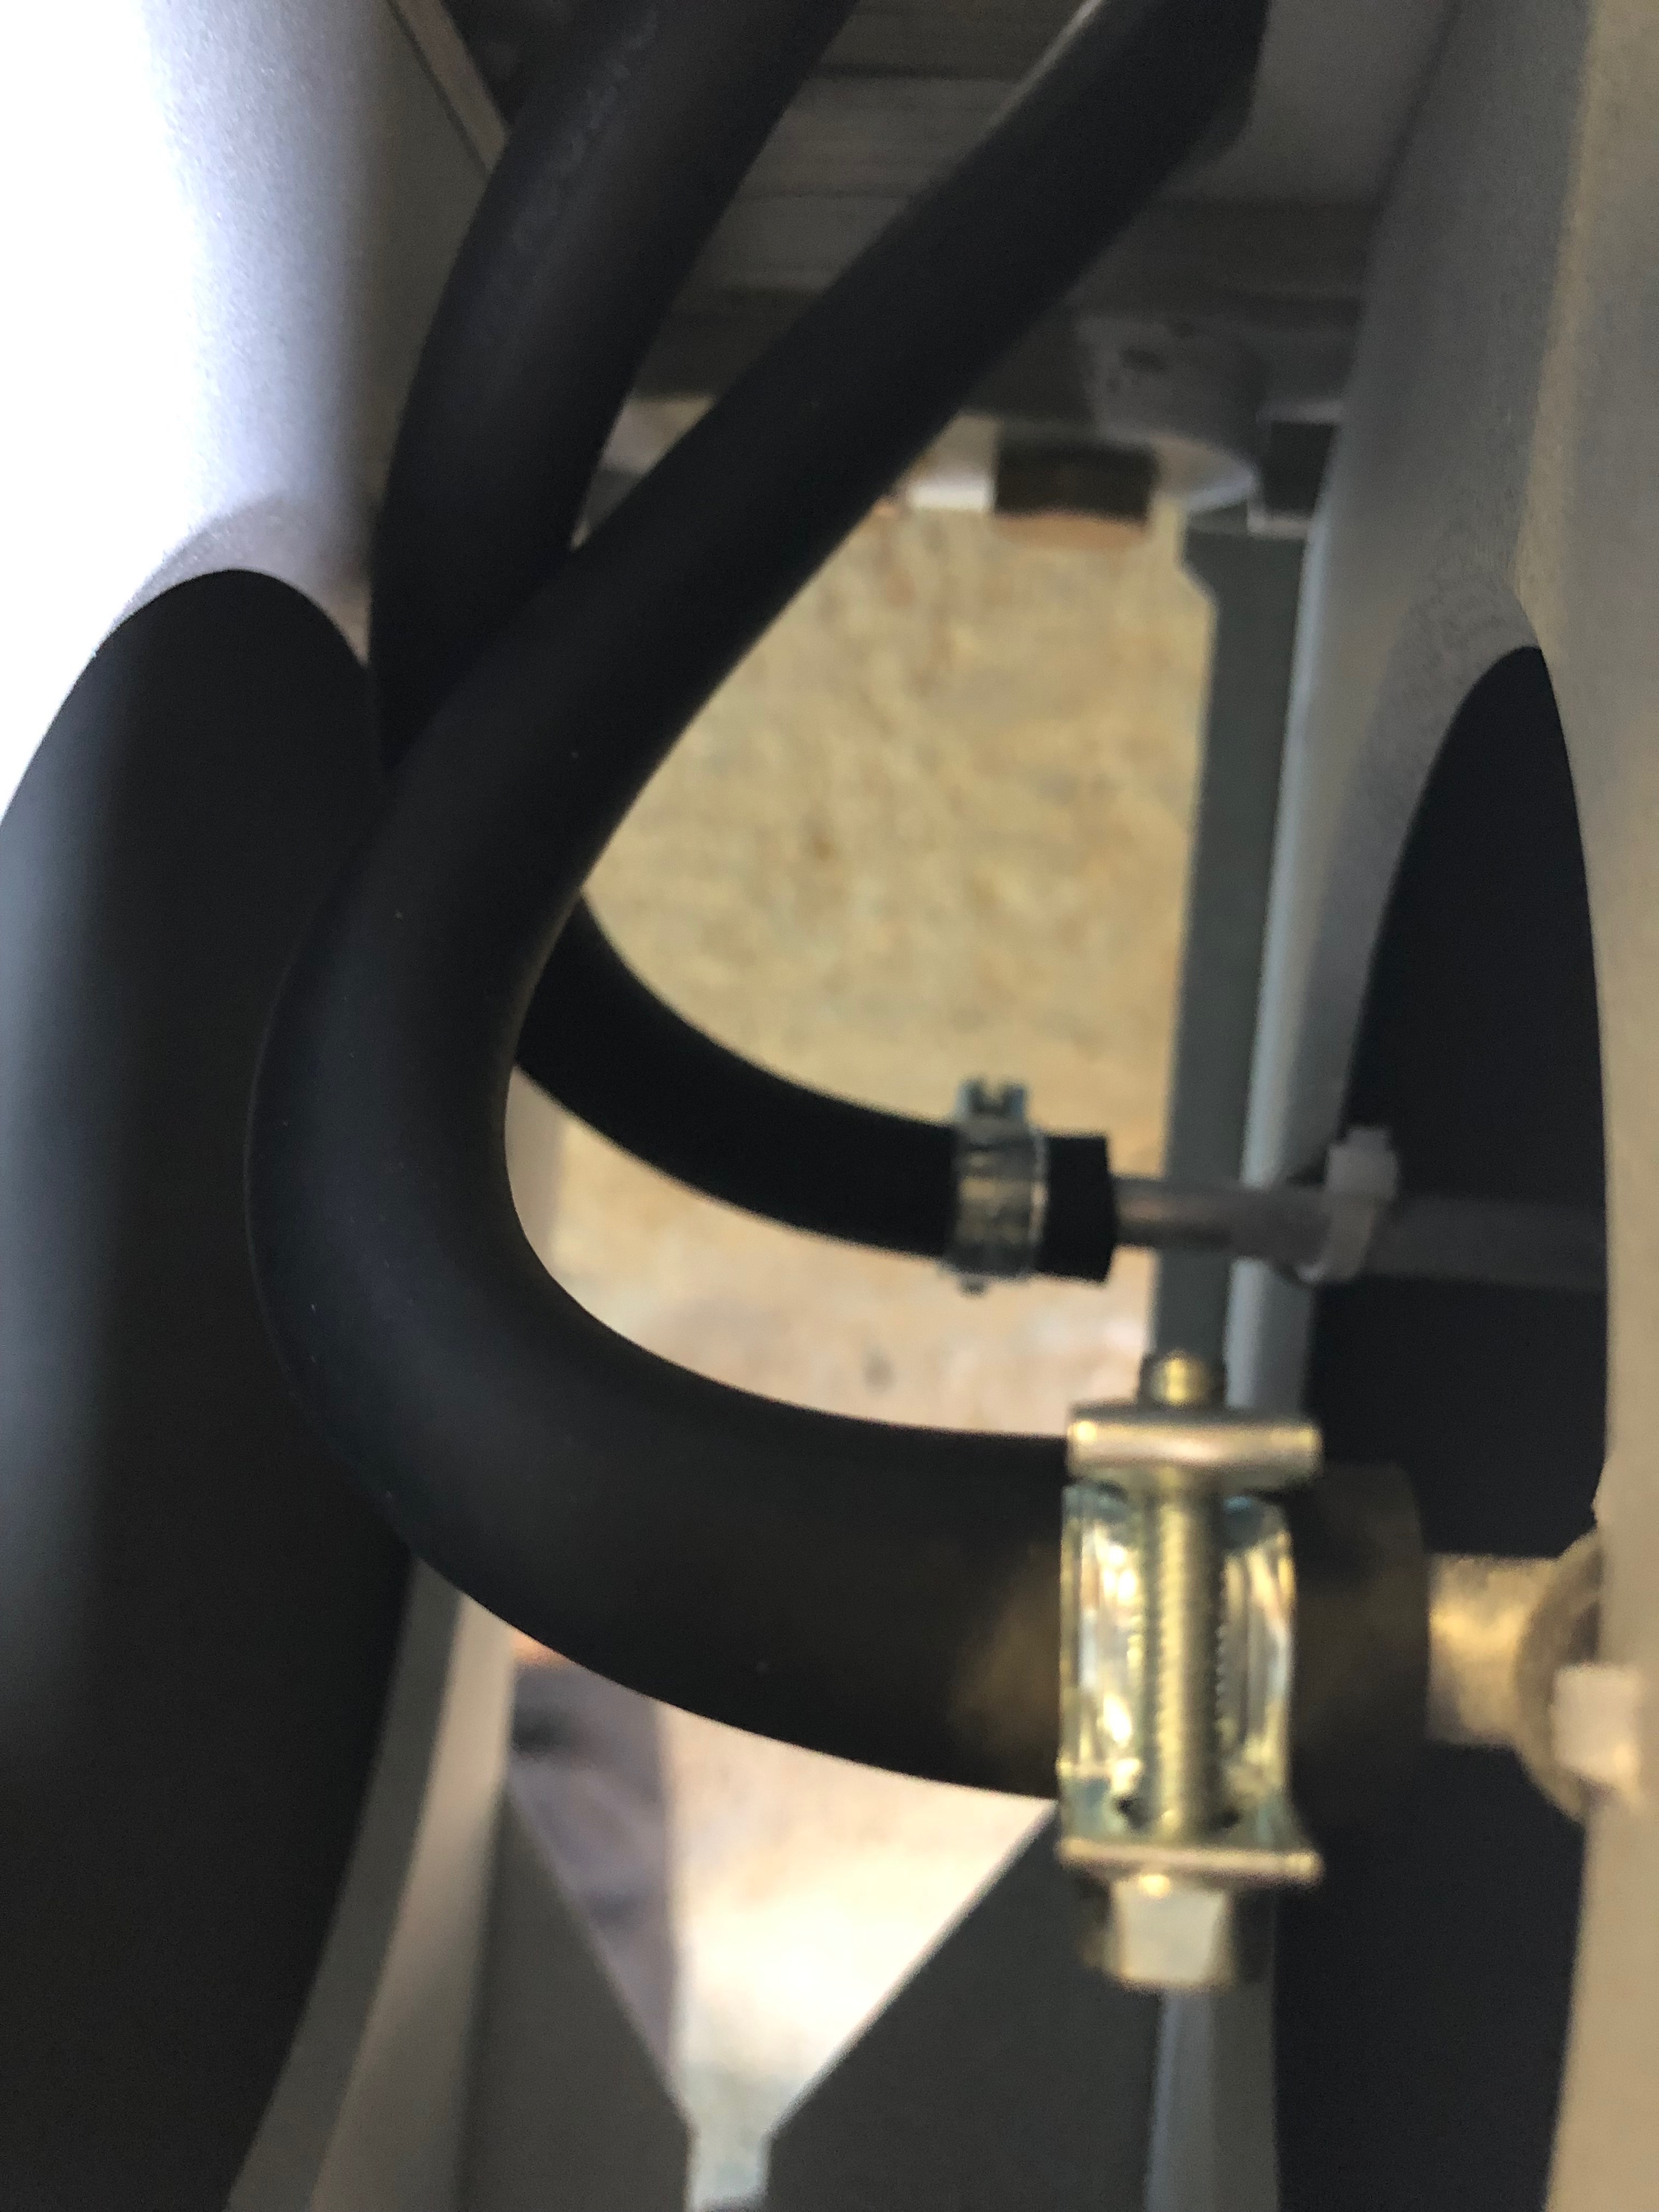
It’s a very tight fit but need to get my arm into the access panel to get to the conduit.
I took delivery of the servo brackets and wing locker fittings after a lengthy wait. Unfortunately bit were missing, again. The servo arm, bolts, washers and some rivets were missing from the servos mounts and the nuts, washers and large screws for the locks were missing from the wing locker kit. It can be very frustrating and delays the build.
Despite this at least I was still able to mount the servo brackets. During the install I found myself like a contortionist whilst I installed the brackets and front trim panels with an air rivet gun.

I spent some time this morning making sure that I can get to all the screws once installed. The cut outs are for the EFIS backup batteries. The insulation is fire resistant and will provide sound proofing too. It is secured into position by a self adhesive backing.

The install consists of 2 brackets one for roll and one for pitch. To install them I will need to remove the controls.

There’s quite a few nuts and bolts to remove including those holding bearings.

The control assembly, sometimes it feels like you’re dismantling the aircraft instead of building it when you have undo some of the work you’ve already done.

Now the area is clear I can start to install the brackets.

The bracket is positioned and 4mm holes drilled through the floor of the aircraft.

From underneath 3 holes are drilled which will further secure the bracket.

Ian Daniels has kindly lent me his air rivet gun and compressor which should make installation a little easier.

Once the holes are de-burred, and anti corrosion jointing compound is applied the bracket is cleco’d in place and riveted from below.

The final bracket installation. Once I have the rest of the missing bits I’ll be able to complete the roll installation.

To enable the installation of the pitch servo bracket 3 rivets need to be removed. The first thing to do is knock the centre hardened pin out…

and then drill the head of the rivet off and then know the rivet out.

The bracket is placed and checked that it’s positioned correctly.

One of the rivet holes don’t quite line up which is surprising but will need to be drilled out to enable it to be riveted.

Ian Daniels come to the rescue again as he lent me this 90 degree drill attachment that allows me to drill the hols for the rivets. There isn’t enough space to drill the holes without this.

The pitch servo riveted in place. Quite please with the bracket installations but they take a lot of time and I’ve still got to re-install the controls!

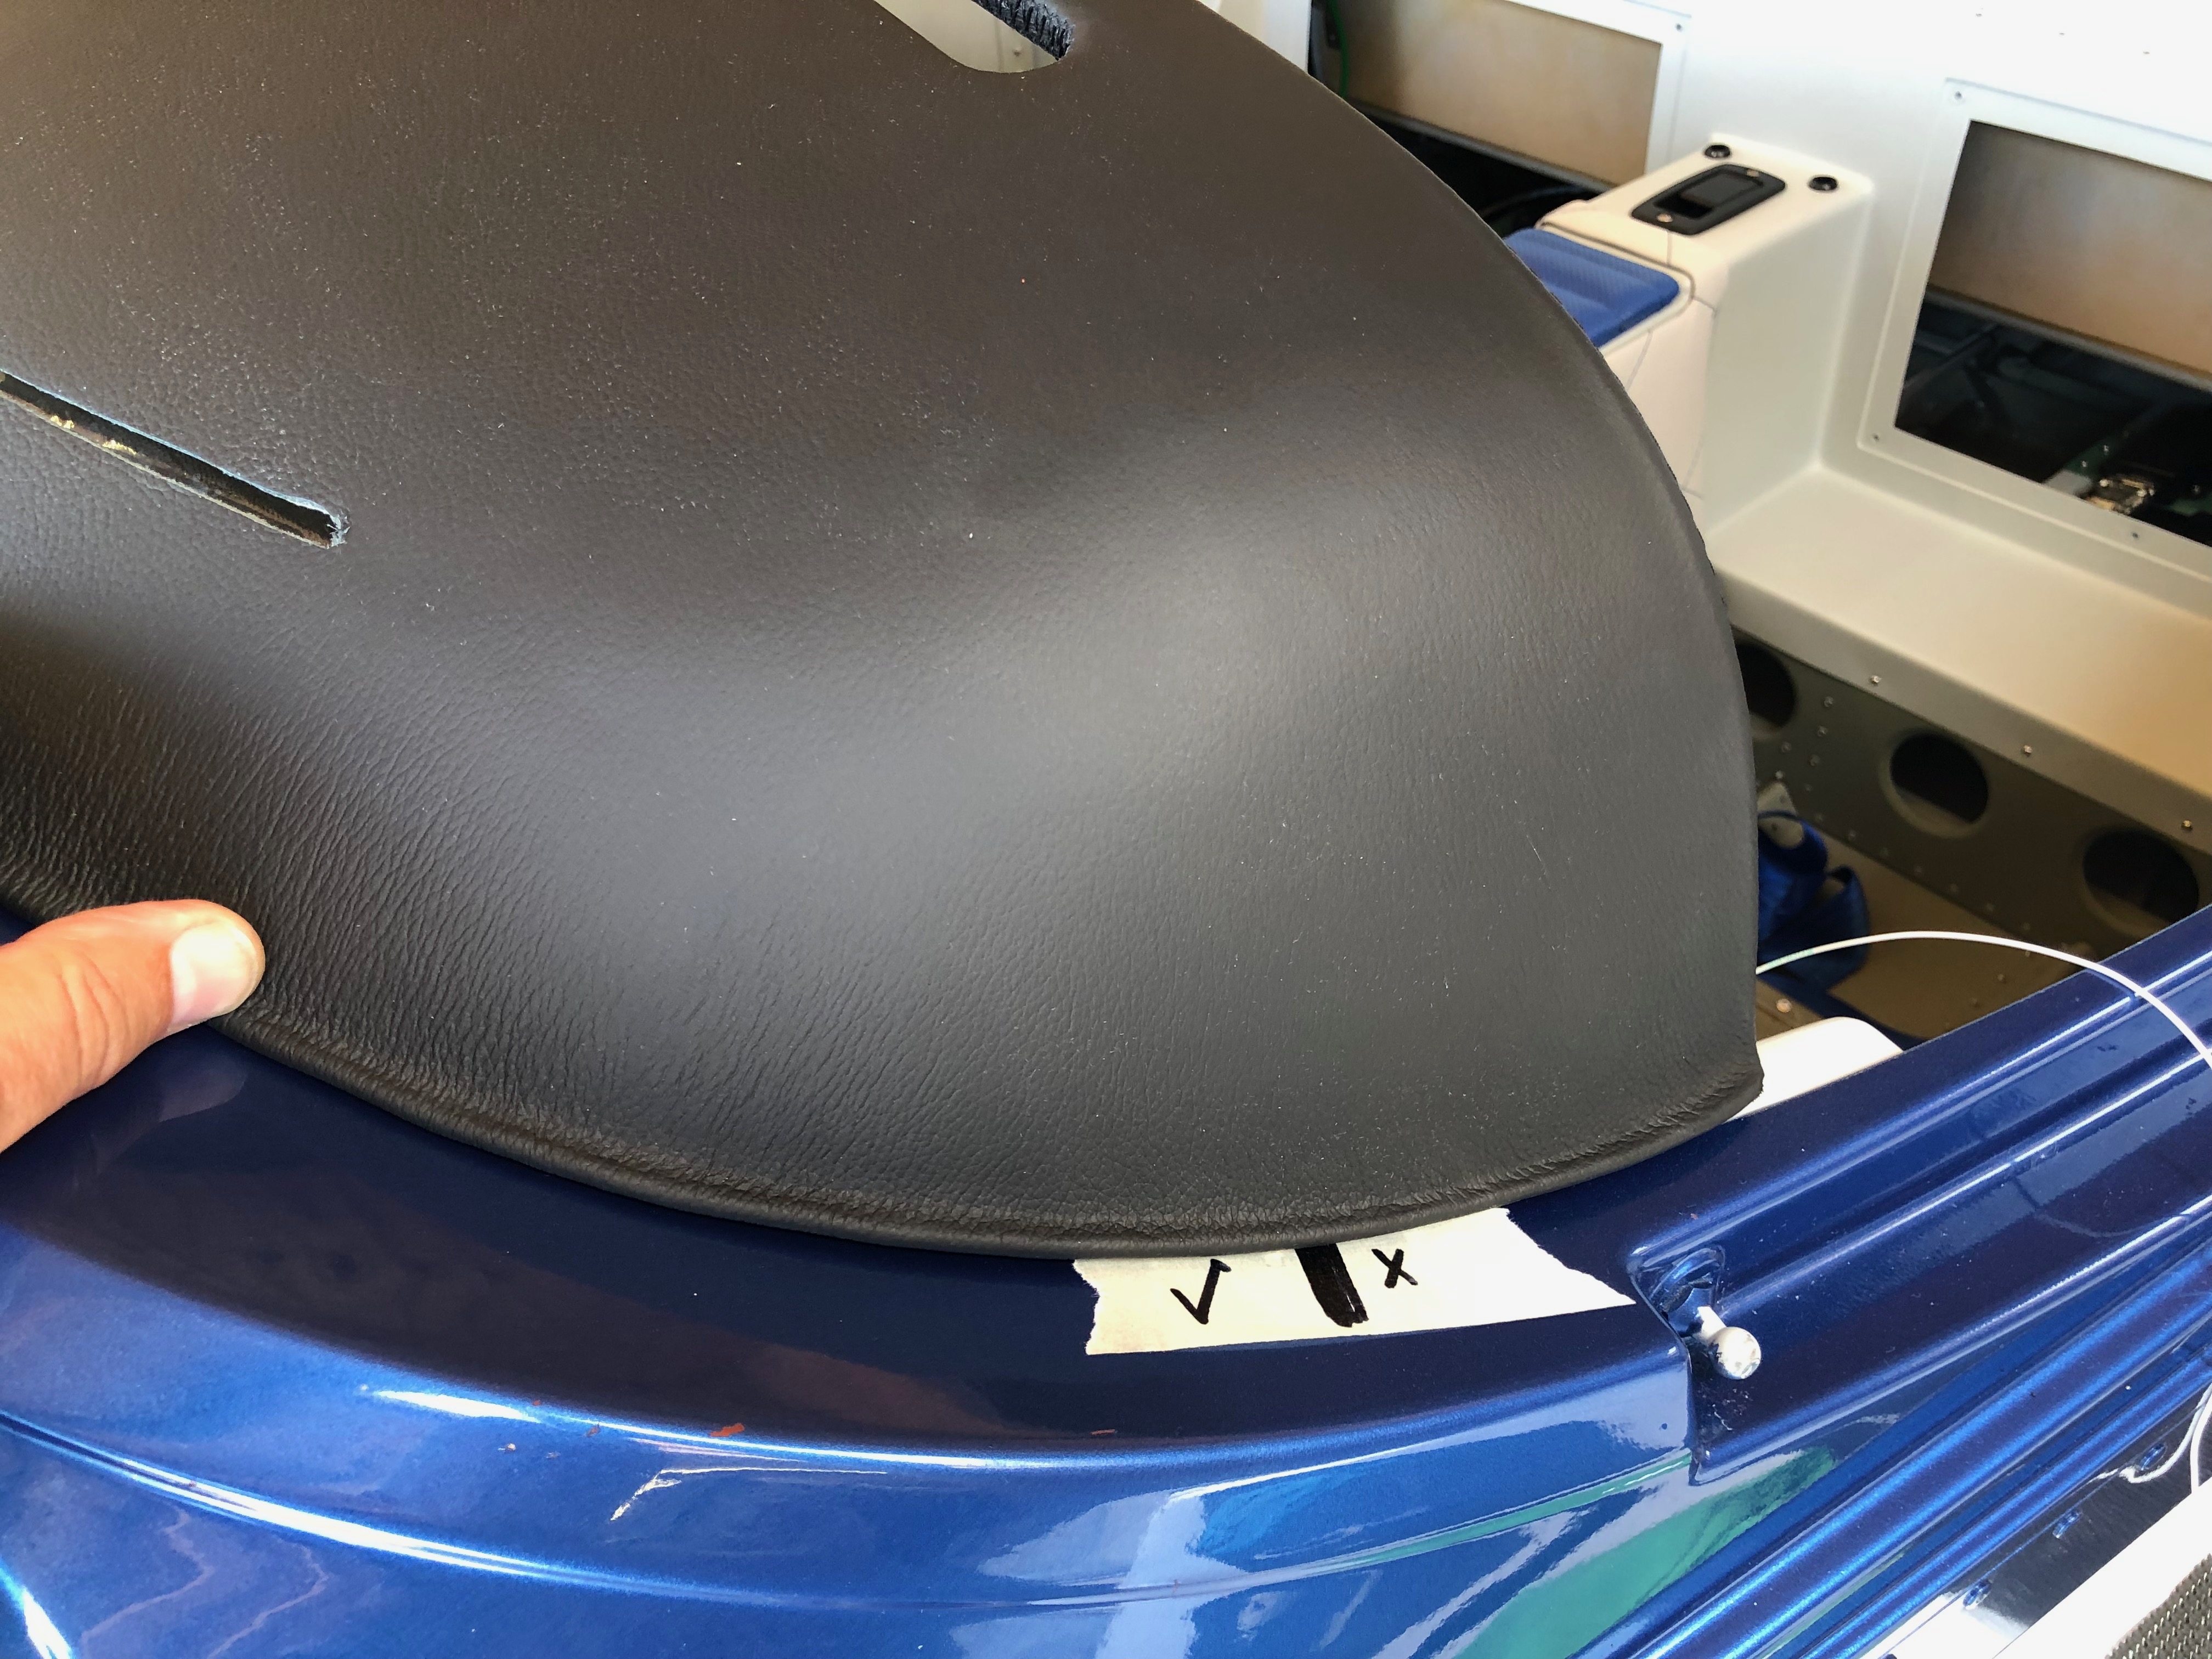
So I can install the insulation in the door wells I need to install the forward trim as they are riveted in place. It’s a tight fit behind the rudder pedals but they can’t be fitted until after the rudder pedals are fitted as there is insufficient room.

The air rivet gun makes it easier to get to the rivets but because it’s size I won’t be able to use it for all the rivets…

So for some I need to use the hand rivet gun but it’s very awkward to use in such a tight space.

It took some time, longer than expected however the left panel is in…

and so is the right. Tomorrow I will refit the controls.
