Category Archives: Spats

Friday 8th November 2019 – Fitting the Spats

Whilst waiting for the permit to fly to hit the doormat I can complete a few jobs that didn’t need to be done before the flight testing. This includes fitting the wheel spats, applying the internal leather trims and other miscellaneous jobs.

The leather interior trim was very easy to fit but required the seats to be removed. The last thing to do here is to fit the centre storage cover where ‘Pilot Pooh’ normally sits so he will need to sit somewhere else when the cover is fitted. The centre storage box can be removed so this allowed me to put an ’emergency release’ in for the canopy just in case the main release mechanism fails.
The main spats have one hole predrilled but the other four holes on each spat have to be precisely measured and drilled to ensure that they are level and inline with the airflow to reduce drag. What seemed to be a very straightforward job took quite sometime to get right.
Fitting the nose leg cover was very straightforward. The nose wheel spat took about the same amount of time to fit as the main gear but the result is a much cleaner and streamlined look. Hopefully it will give an increase in cruise speed as well!
To reduce weight I decided to add a Lithium Iron battery. The battery is normally charged when the engine is running and can also be charged with a normal low amperage battery charger. If the battery runs flat or requires a top up it would normally mean that the top cowling would have to be removed to attach the battery charging leads which is quite a clumsy arrangement. Shorai sell a battery charger that is specifically designed to charge / condition the battery. They also sell a charging lead that can be permanently attached to the battery so I purchased one and run the lead to the oil inspection hatch. This allows me to keep the battery topped up when it’s not used for a period of time. Quite a neat solution.

Saturday 20th July 2019

Music: None today

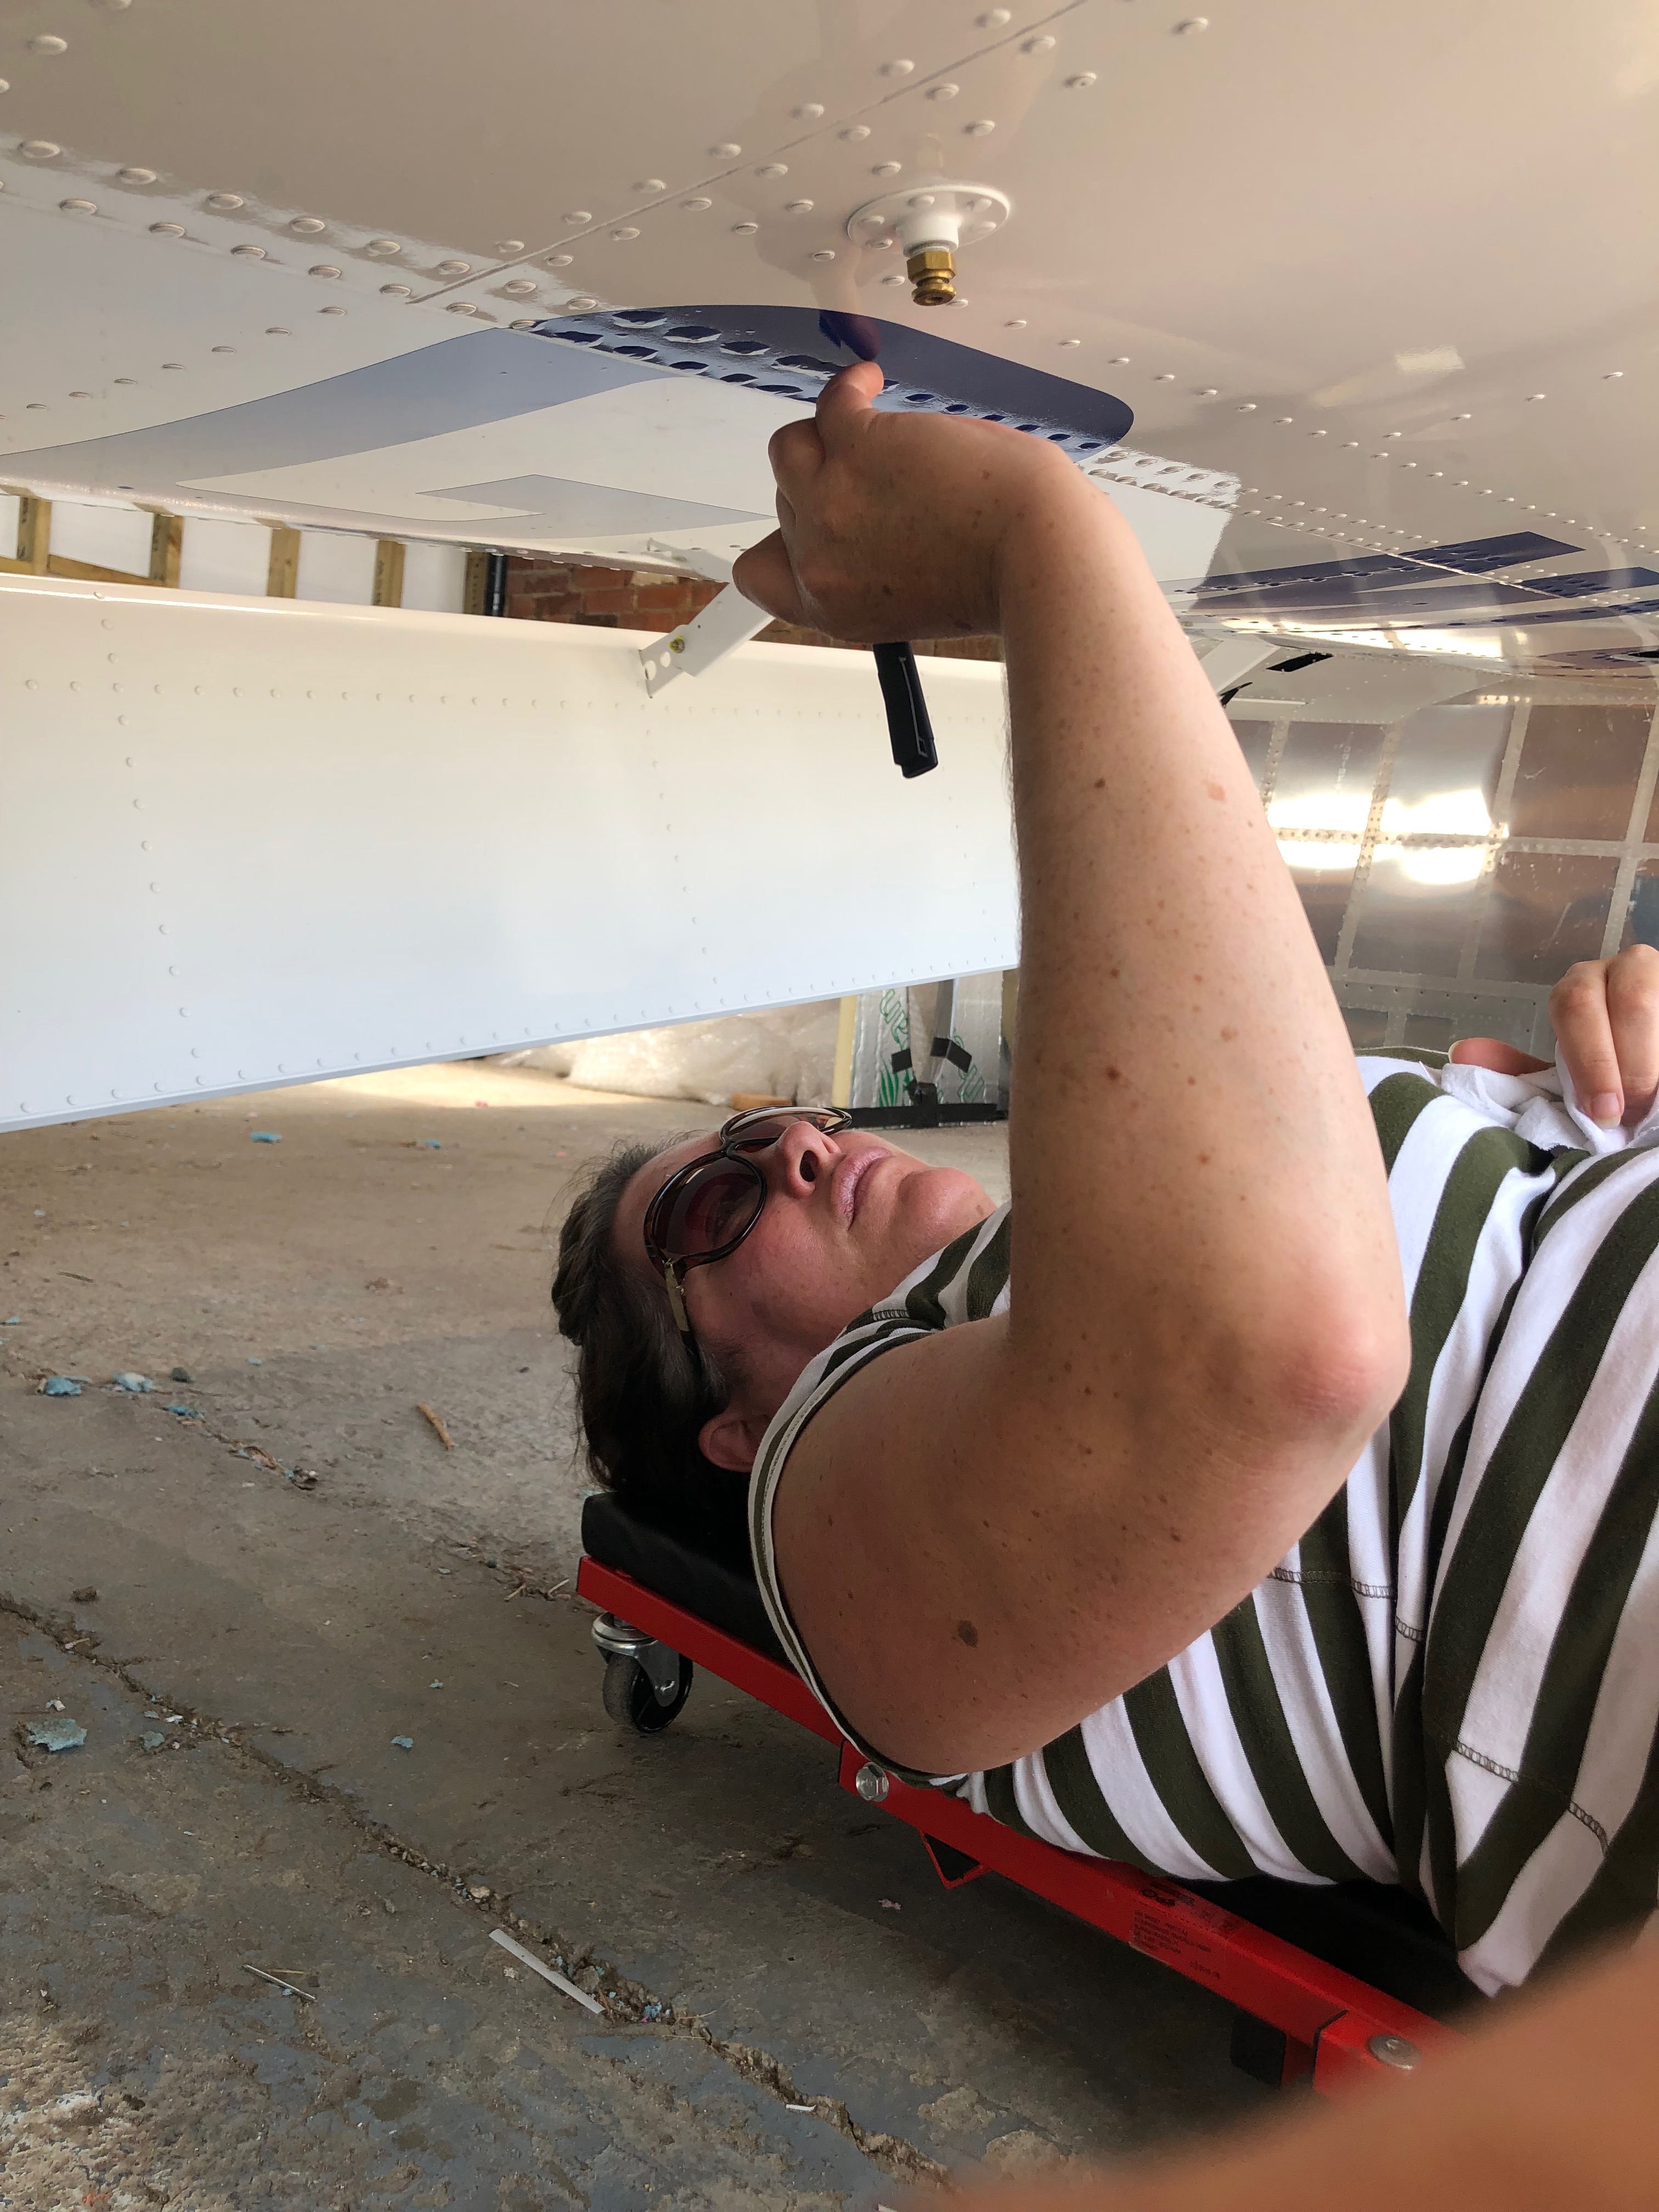
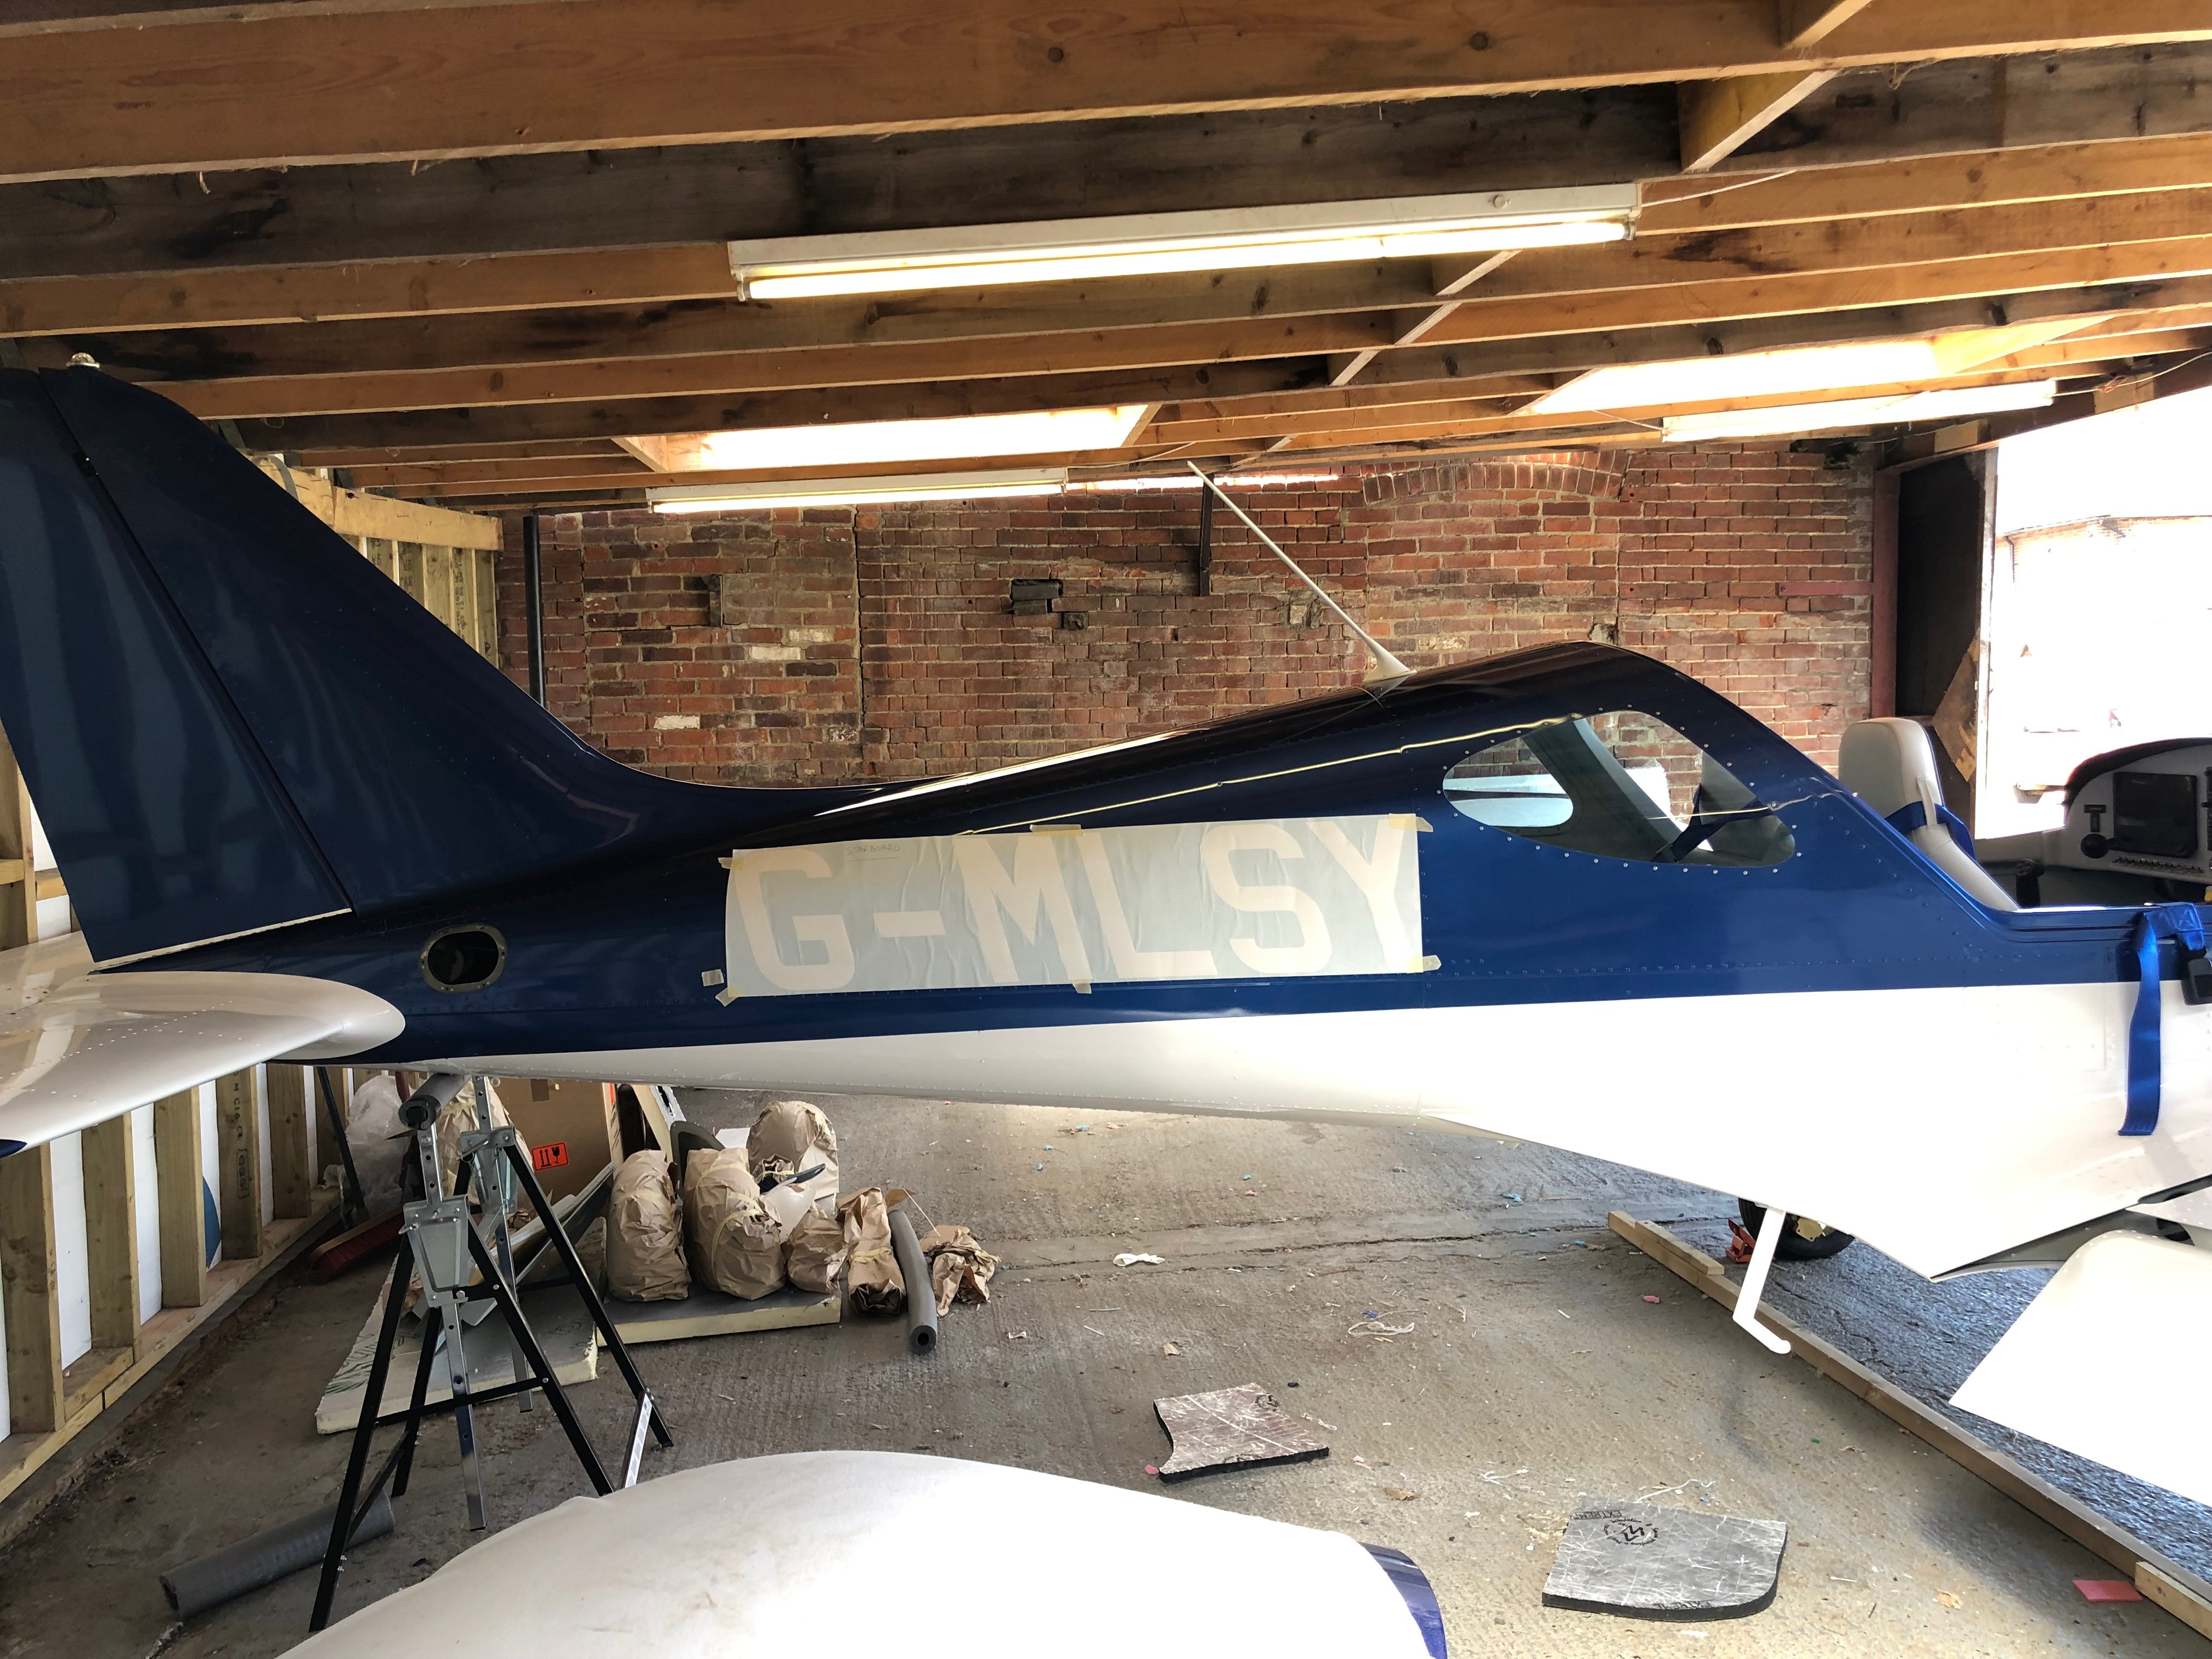
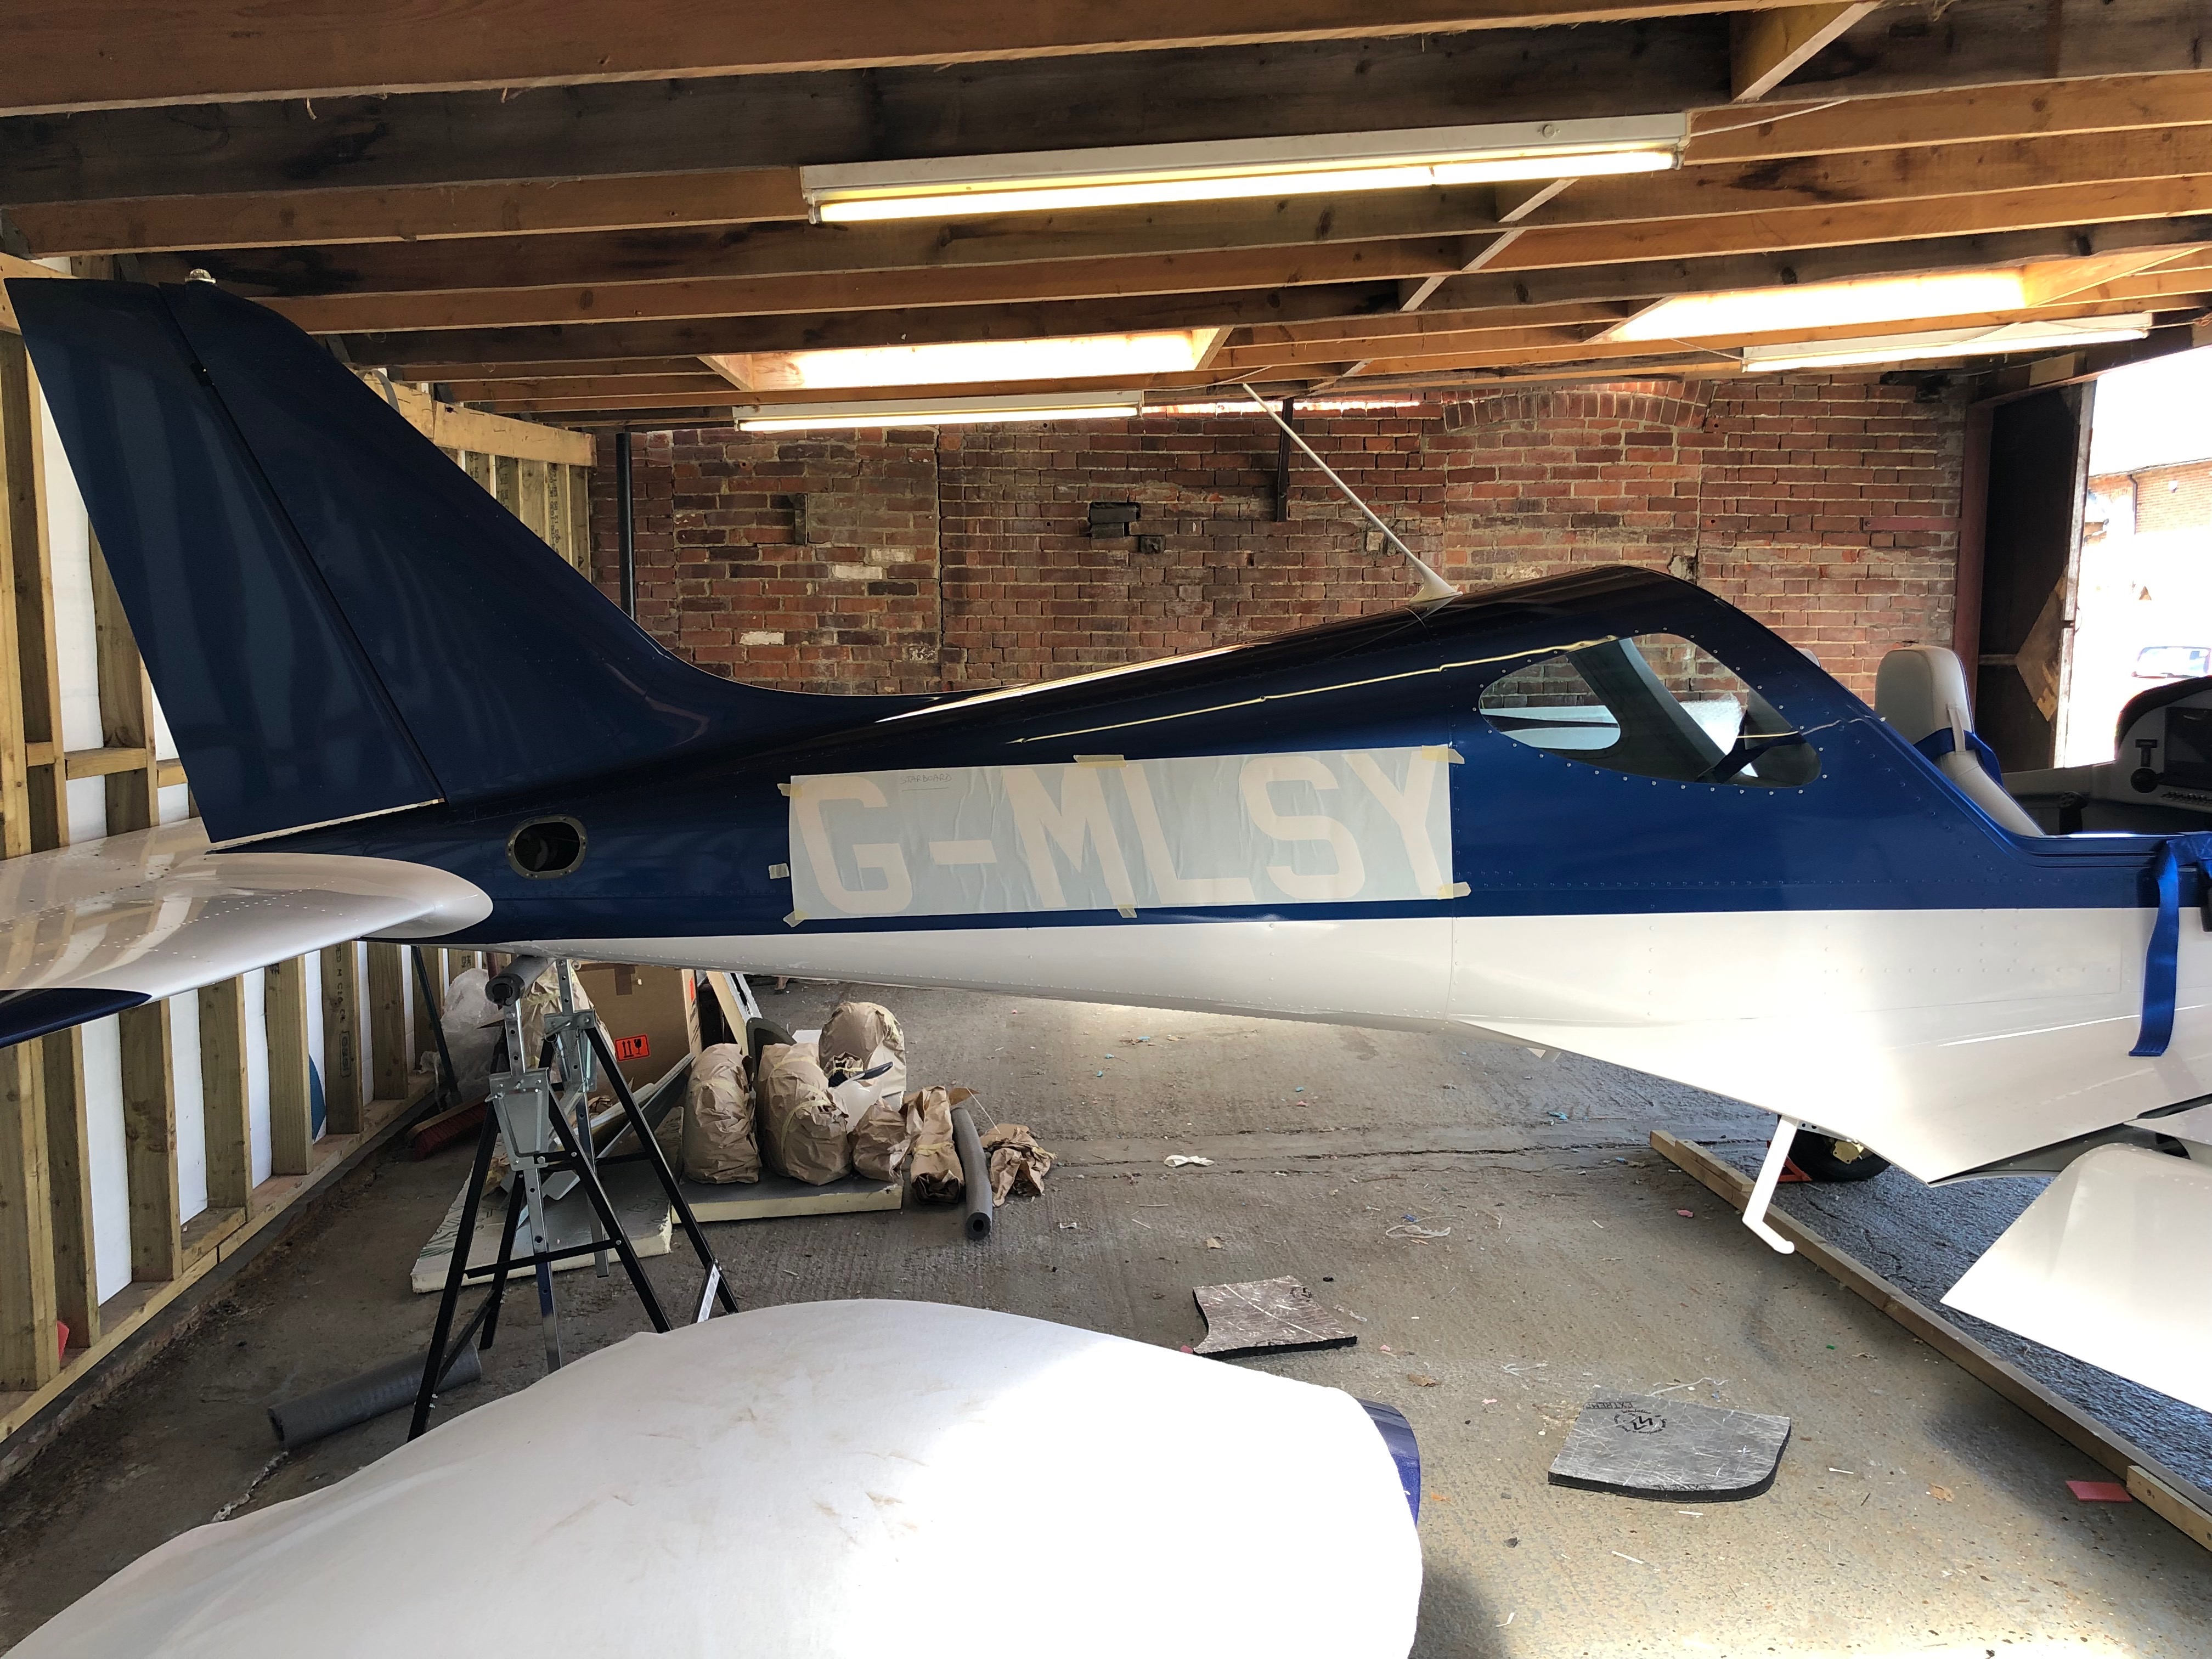
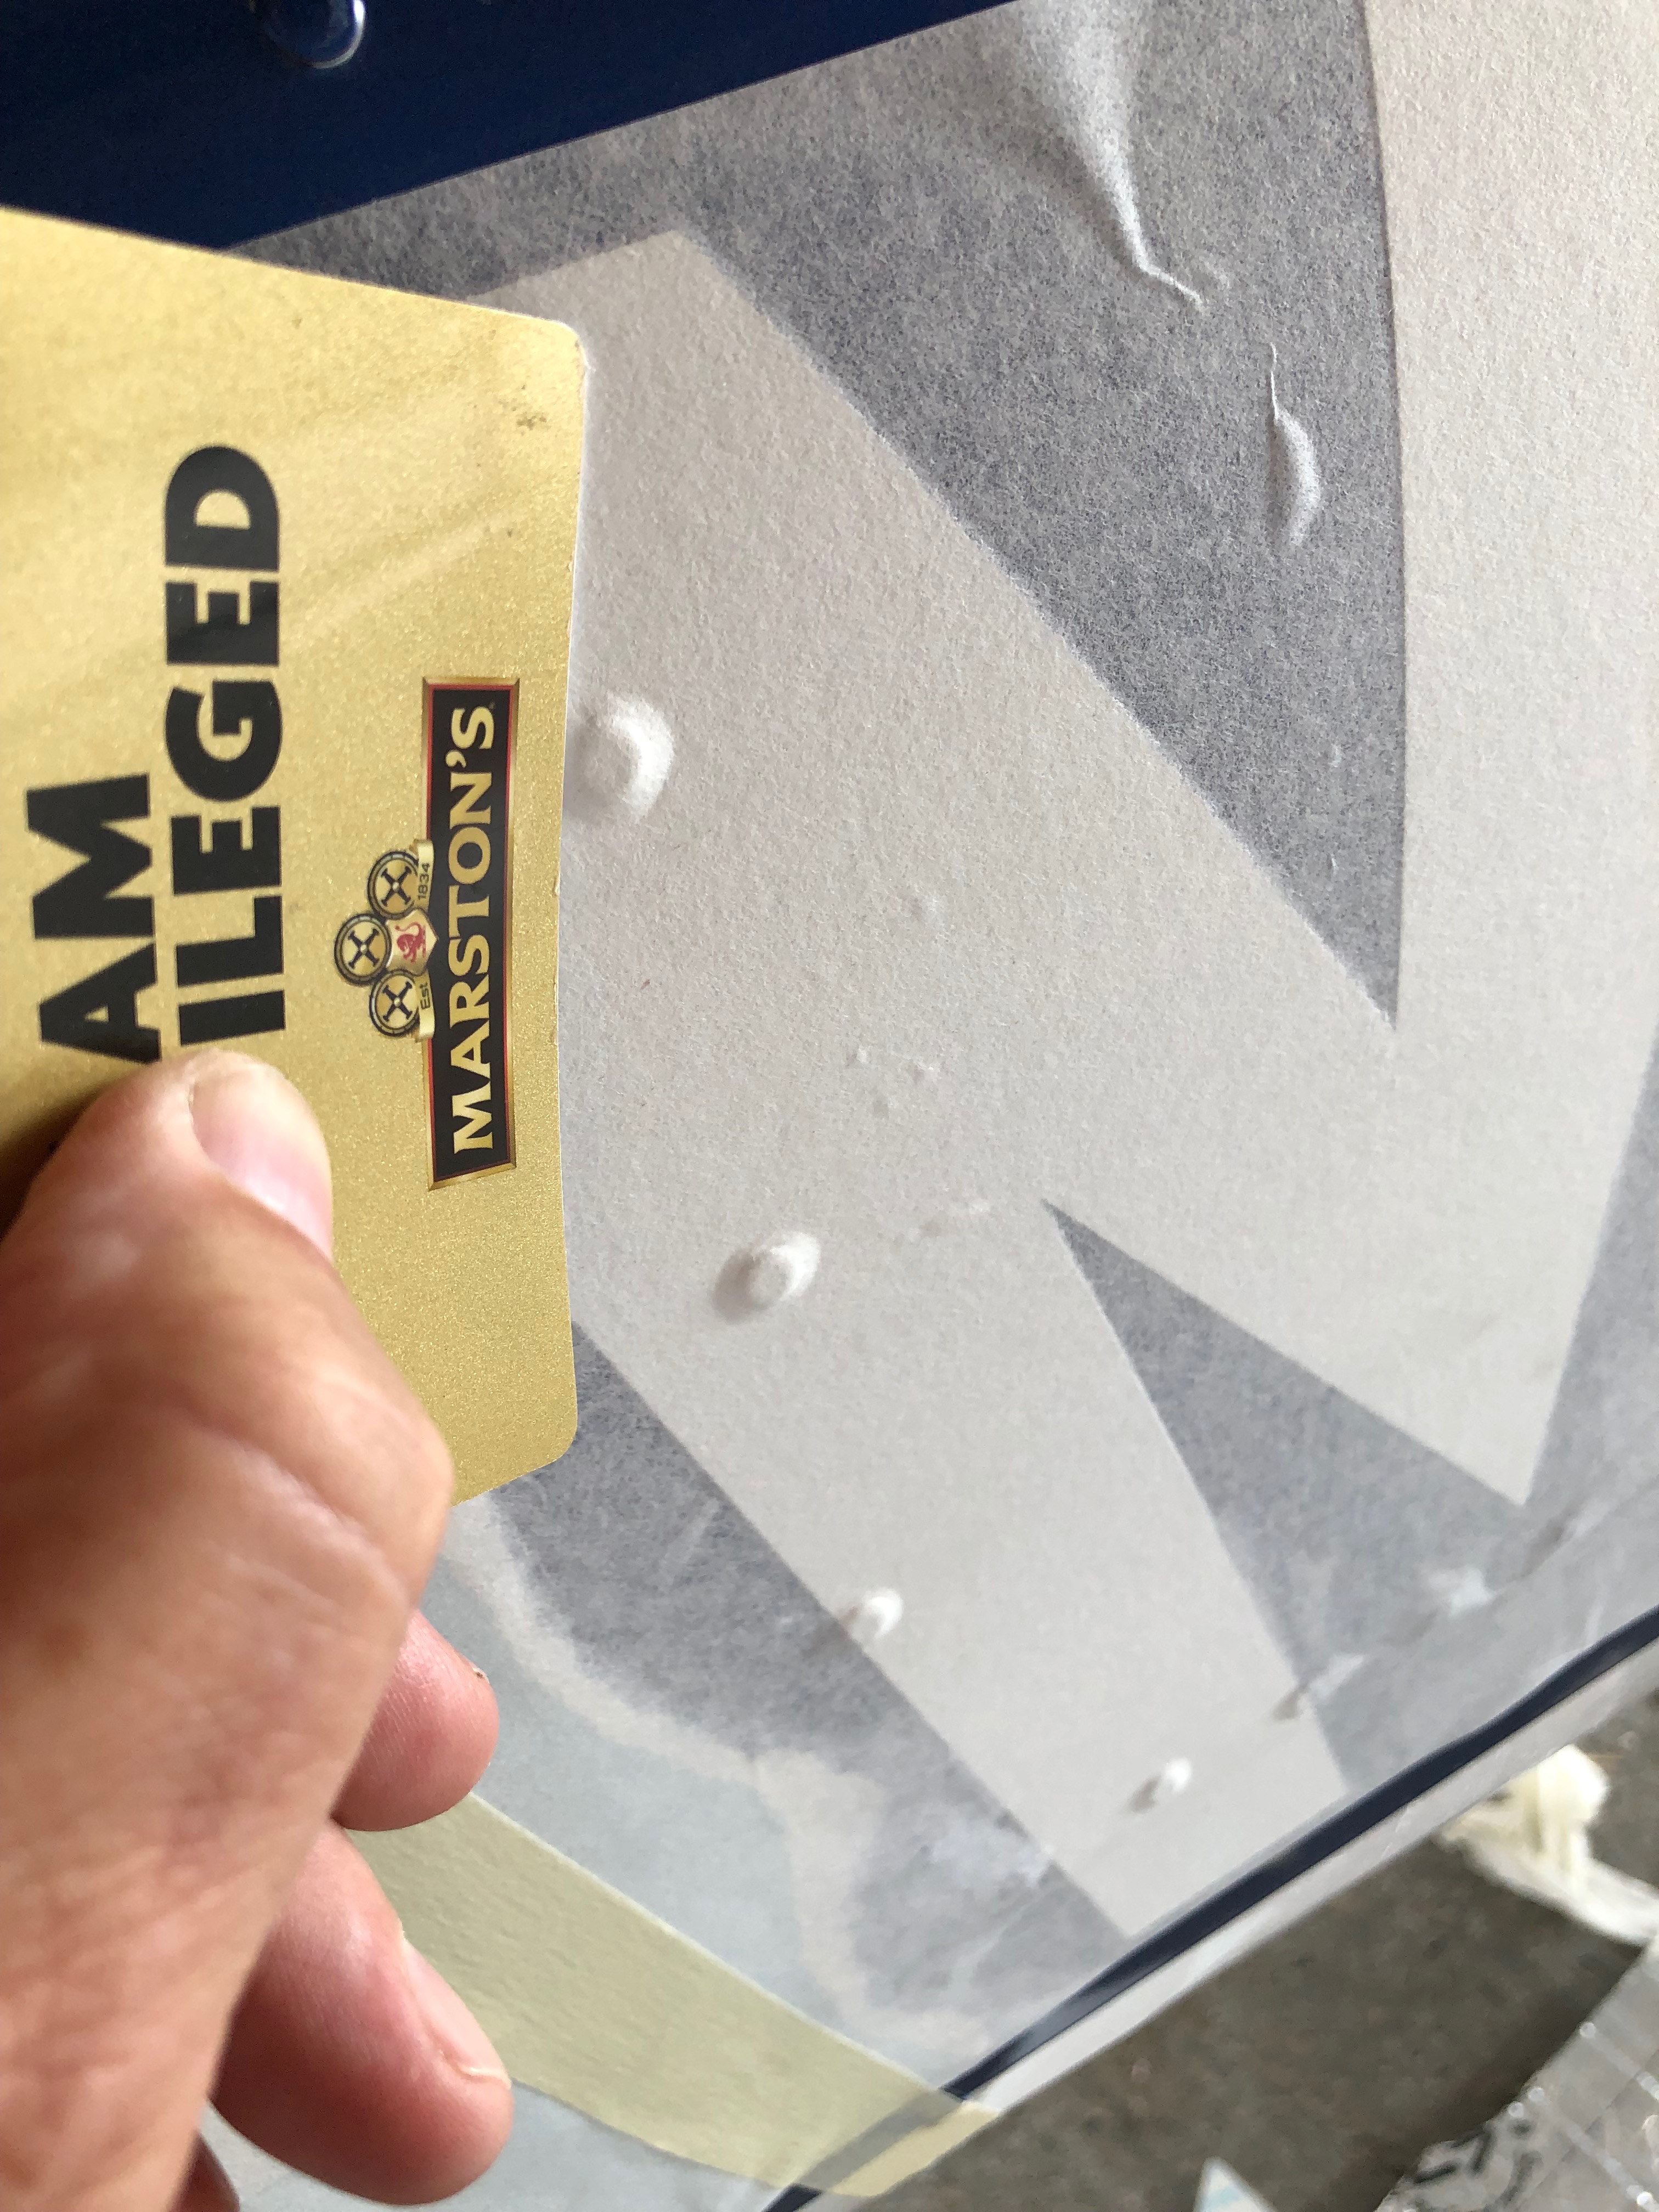
Karen came to the airfield today to help get rid of the little air bubbles around each of the rivets on the wing, did a sterling job as well. We tried several positions for the side registration to see which would look better. Pete Thomas, a friend from the London Gliding Club is coming down on Monday to do the weight and balance so I started to add all the bits and pieces that need to be on the aircraft from the weighing.

The vinyl registration doesn’t sit well around each rivet that it covers. A little air bubble is present on nearly every one of them. Karen used a fine point to pierce the vinyl and then gently pressed out the air. The result was fantastic and a big thanks to Karen giving up some her weekend to help me.
Which looks better? aligning with the rivet line or …
…the paint line. We both decided that the paint line was a better option so the decision is made.
The spats need to go on as does the spinner and cowlings ready for weighing on Monday.
Application of the registration starts. Not many pictures here on how to do it as I was worried about mucking it up.
Part way though and it’s looking good. The next bit is to take a little of the spacing out between the ‘G’, ‘-‘ and the ‘M’ as it’ll look a bit better. I should have asked Pete from Mirage Signs to do that for me but I forgot!
The final look. Very pleased with the result.
A picture shows the inside of G-MLSY with all the seats and trim in place and a very happy me!