Wiring continues! Most of the time it takes is making sure that the routing will work for the circuits concerned, keeping it tidy and labelling the wires. Hopefully I’ll be finishing the landing lights, nav lights and pitot circuits if my delivery of wire arrives today. but most of its done now.
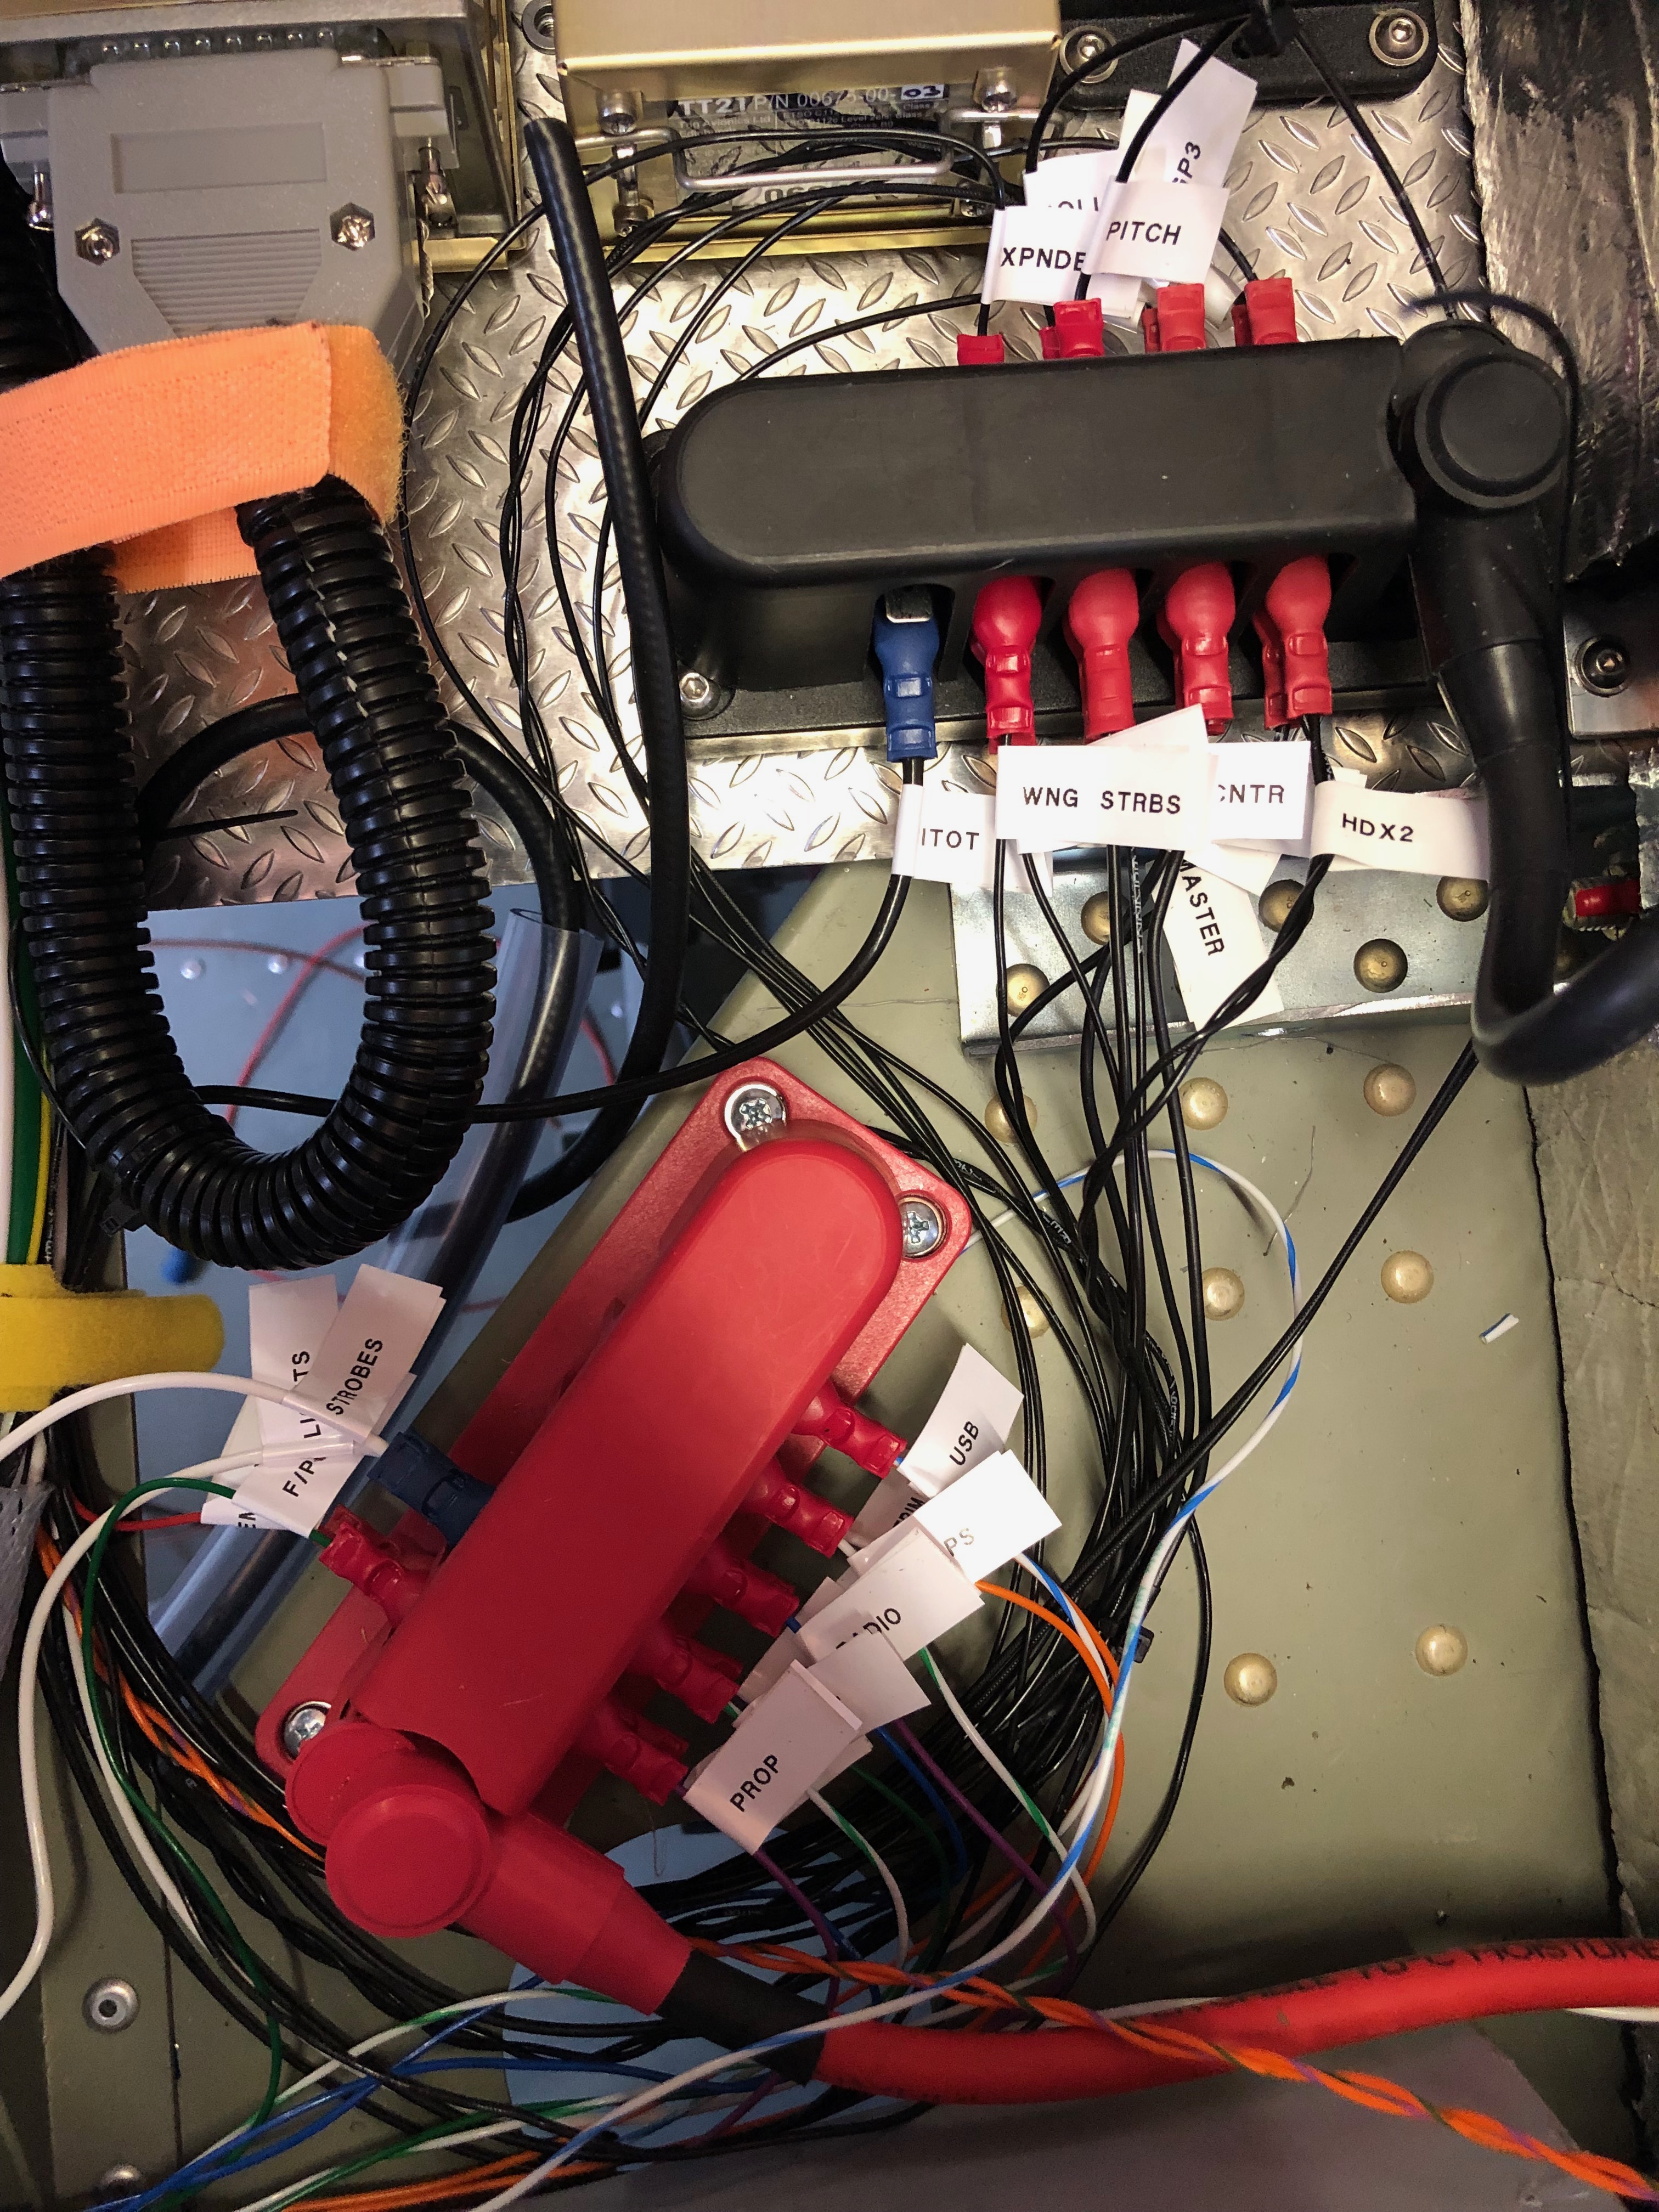
The documentation that came with the Rotax engines didn’t have the information on the soft start module. Luckily I’ve found some information on a web site that gives me the information that I needed. Unfortunately I haven’t received the wire that I’d ordered so I diverted on other tasks.I I’ve had a proactive day, completing all the tasks that I’d set myself. The lack of photos is because there’s only so many pictures of wires you can take!The power and ground distribution units are filling up nicely! and all the switches apart from the Alternator switch have been wire. Work resumes on Monday after a day instructing tomorrow and a rest day Sunday!
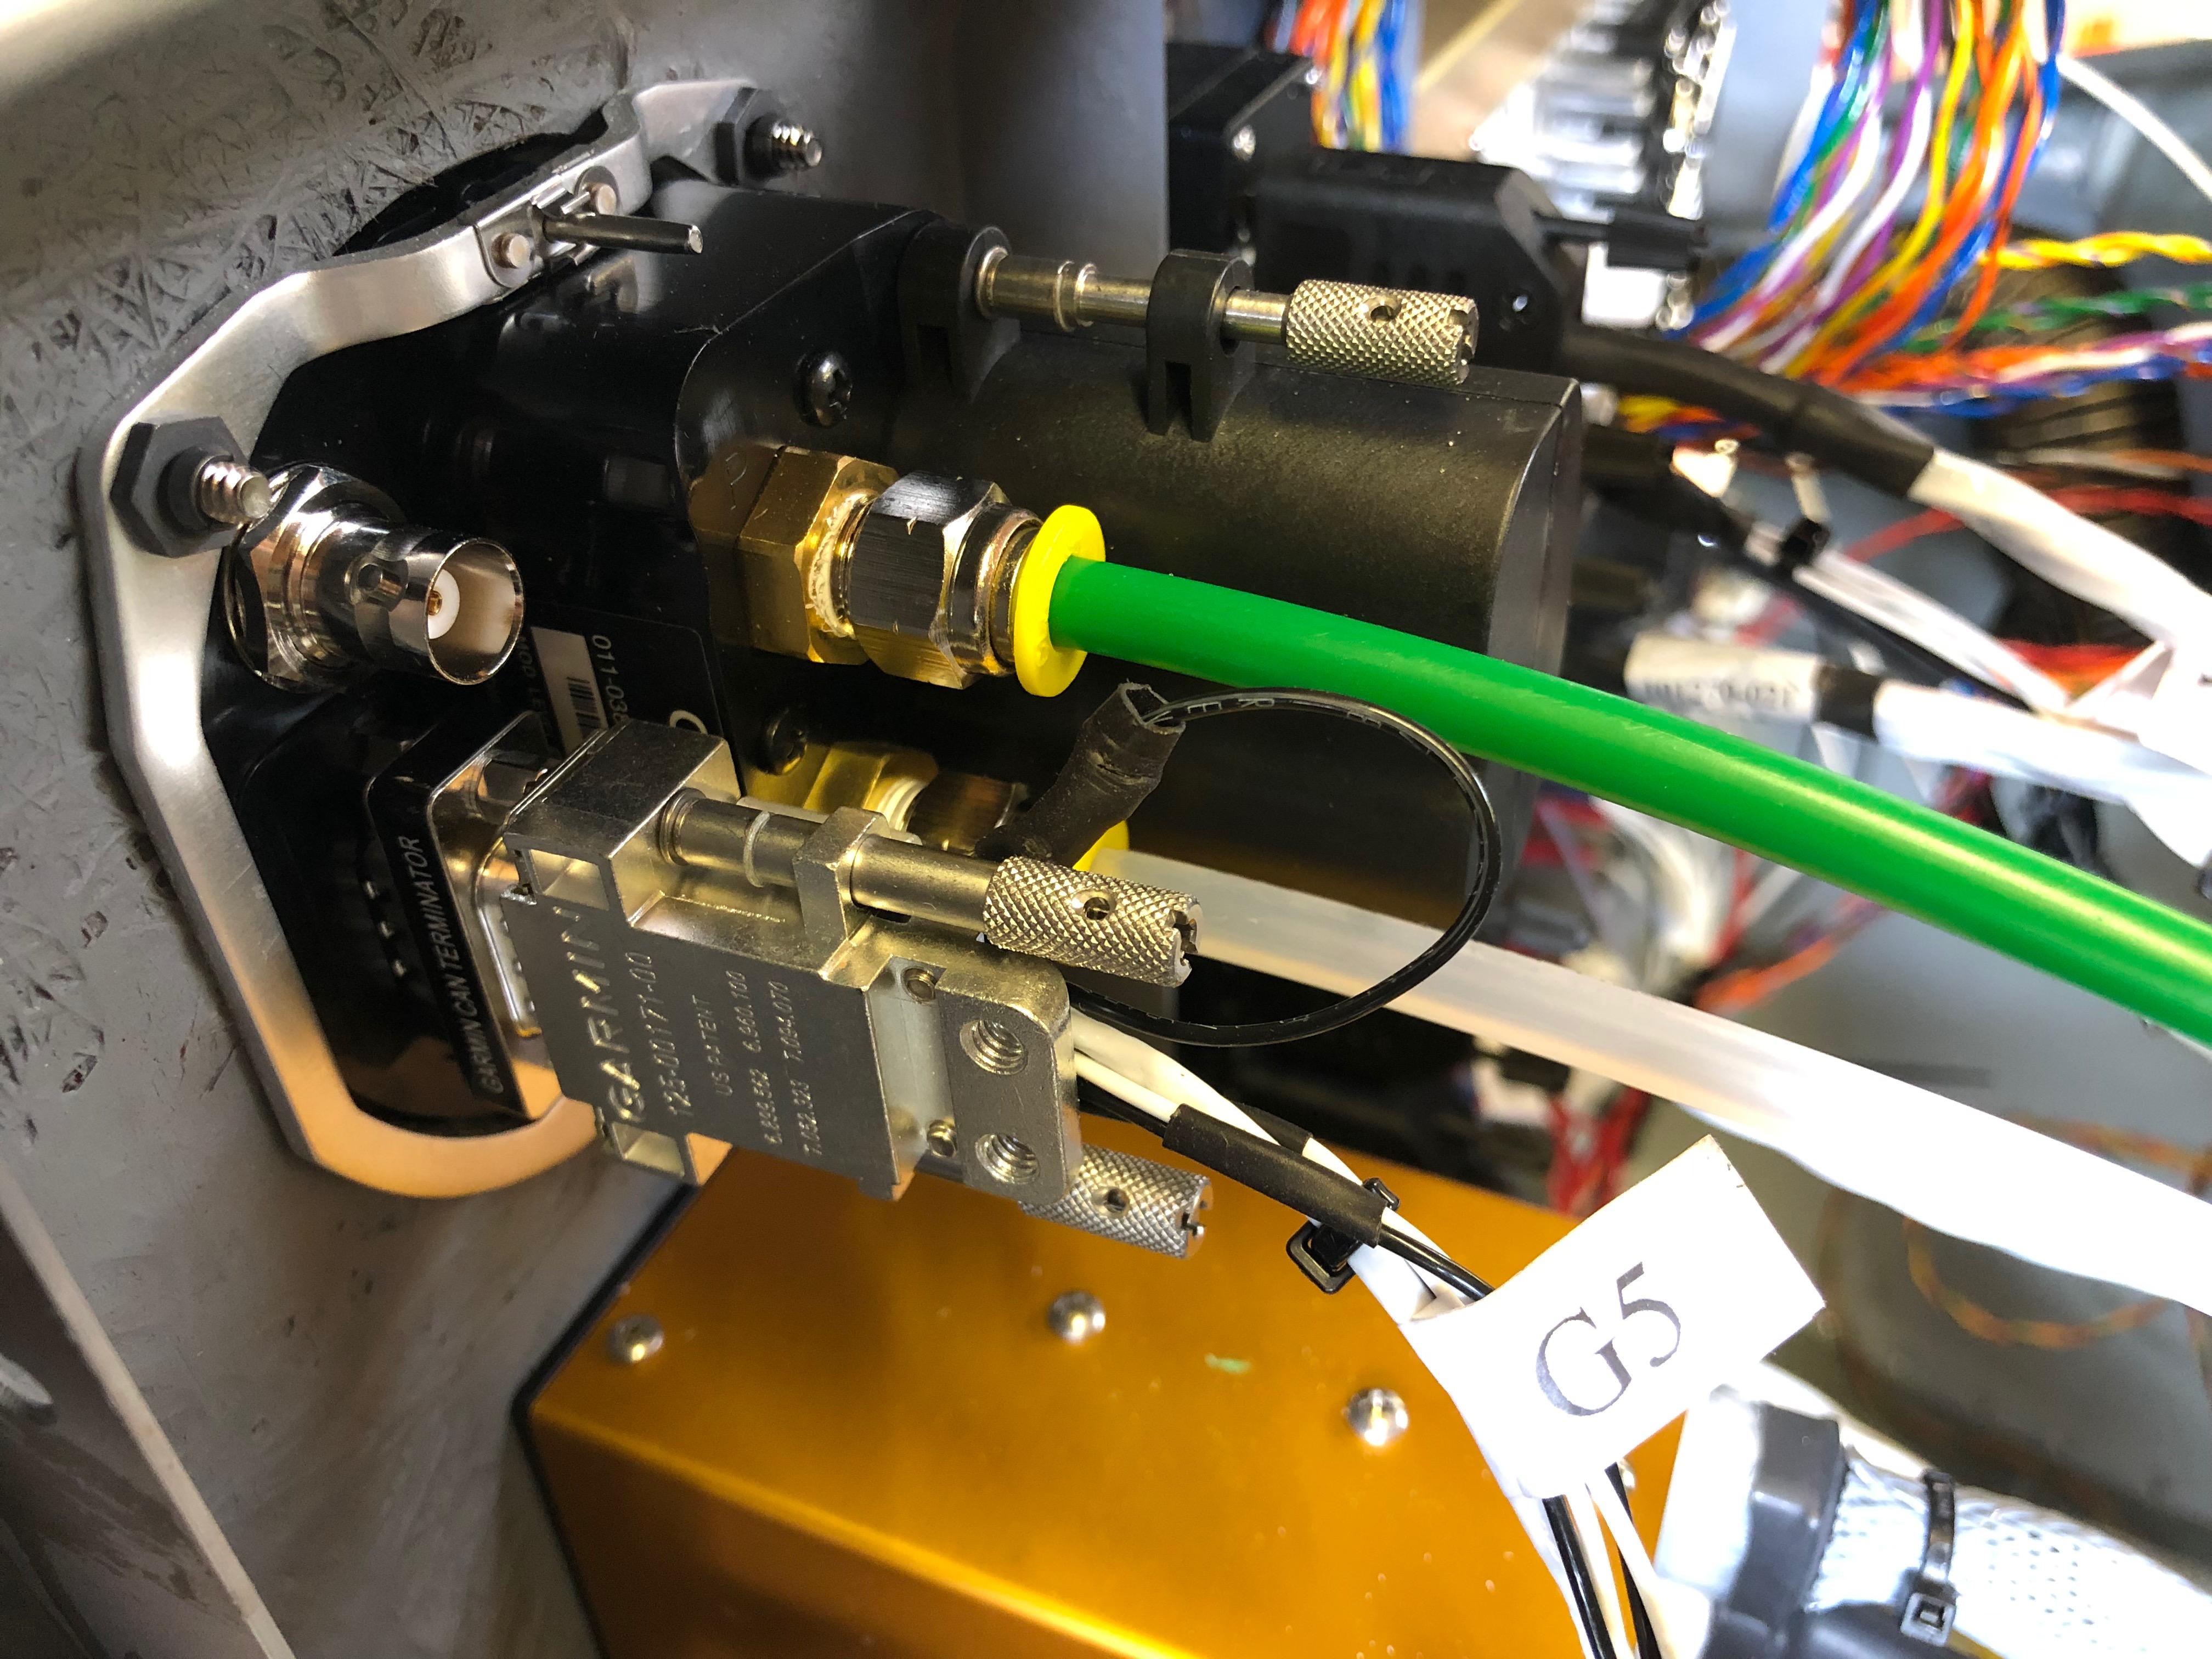
The wiring continues today with a couple of other items that I had put on the back burner. The tail strobe circuit was completed and wing strobe wiring started. One being the wiring of the extension wire for the elevator trim and the other the pressure plumbing for the G5.
After shimming the ADAHRS unit last night I replumbed the pressure system to make it tidier……allowing me complete the plumbing to the G5. I thought I’d start on the trim motor wiring but unfortunately DPD failed to deliver the wire I’d ordered so will do that another day! One of the jobs that I had been diverted from was the wiring up of the elevator trim so first thing is to solder them together and make sure that the colours match what I did for the aileron trim motor.
Finished off the installation of the tail strobe and pitot unit before starting work on the primary power system. Also 10 stages of the build were signed off by Ian.
First job today is to finish off the installation of the tail strobe. The strobe and wire have different colours but can be matched up logically, following the same scheme as the wing strobes.
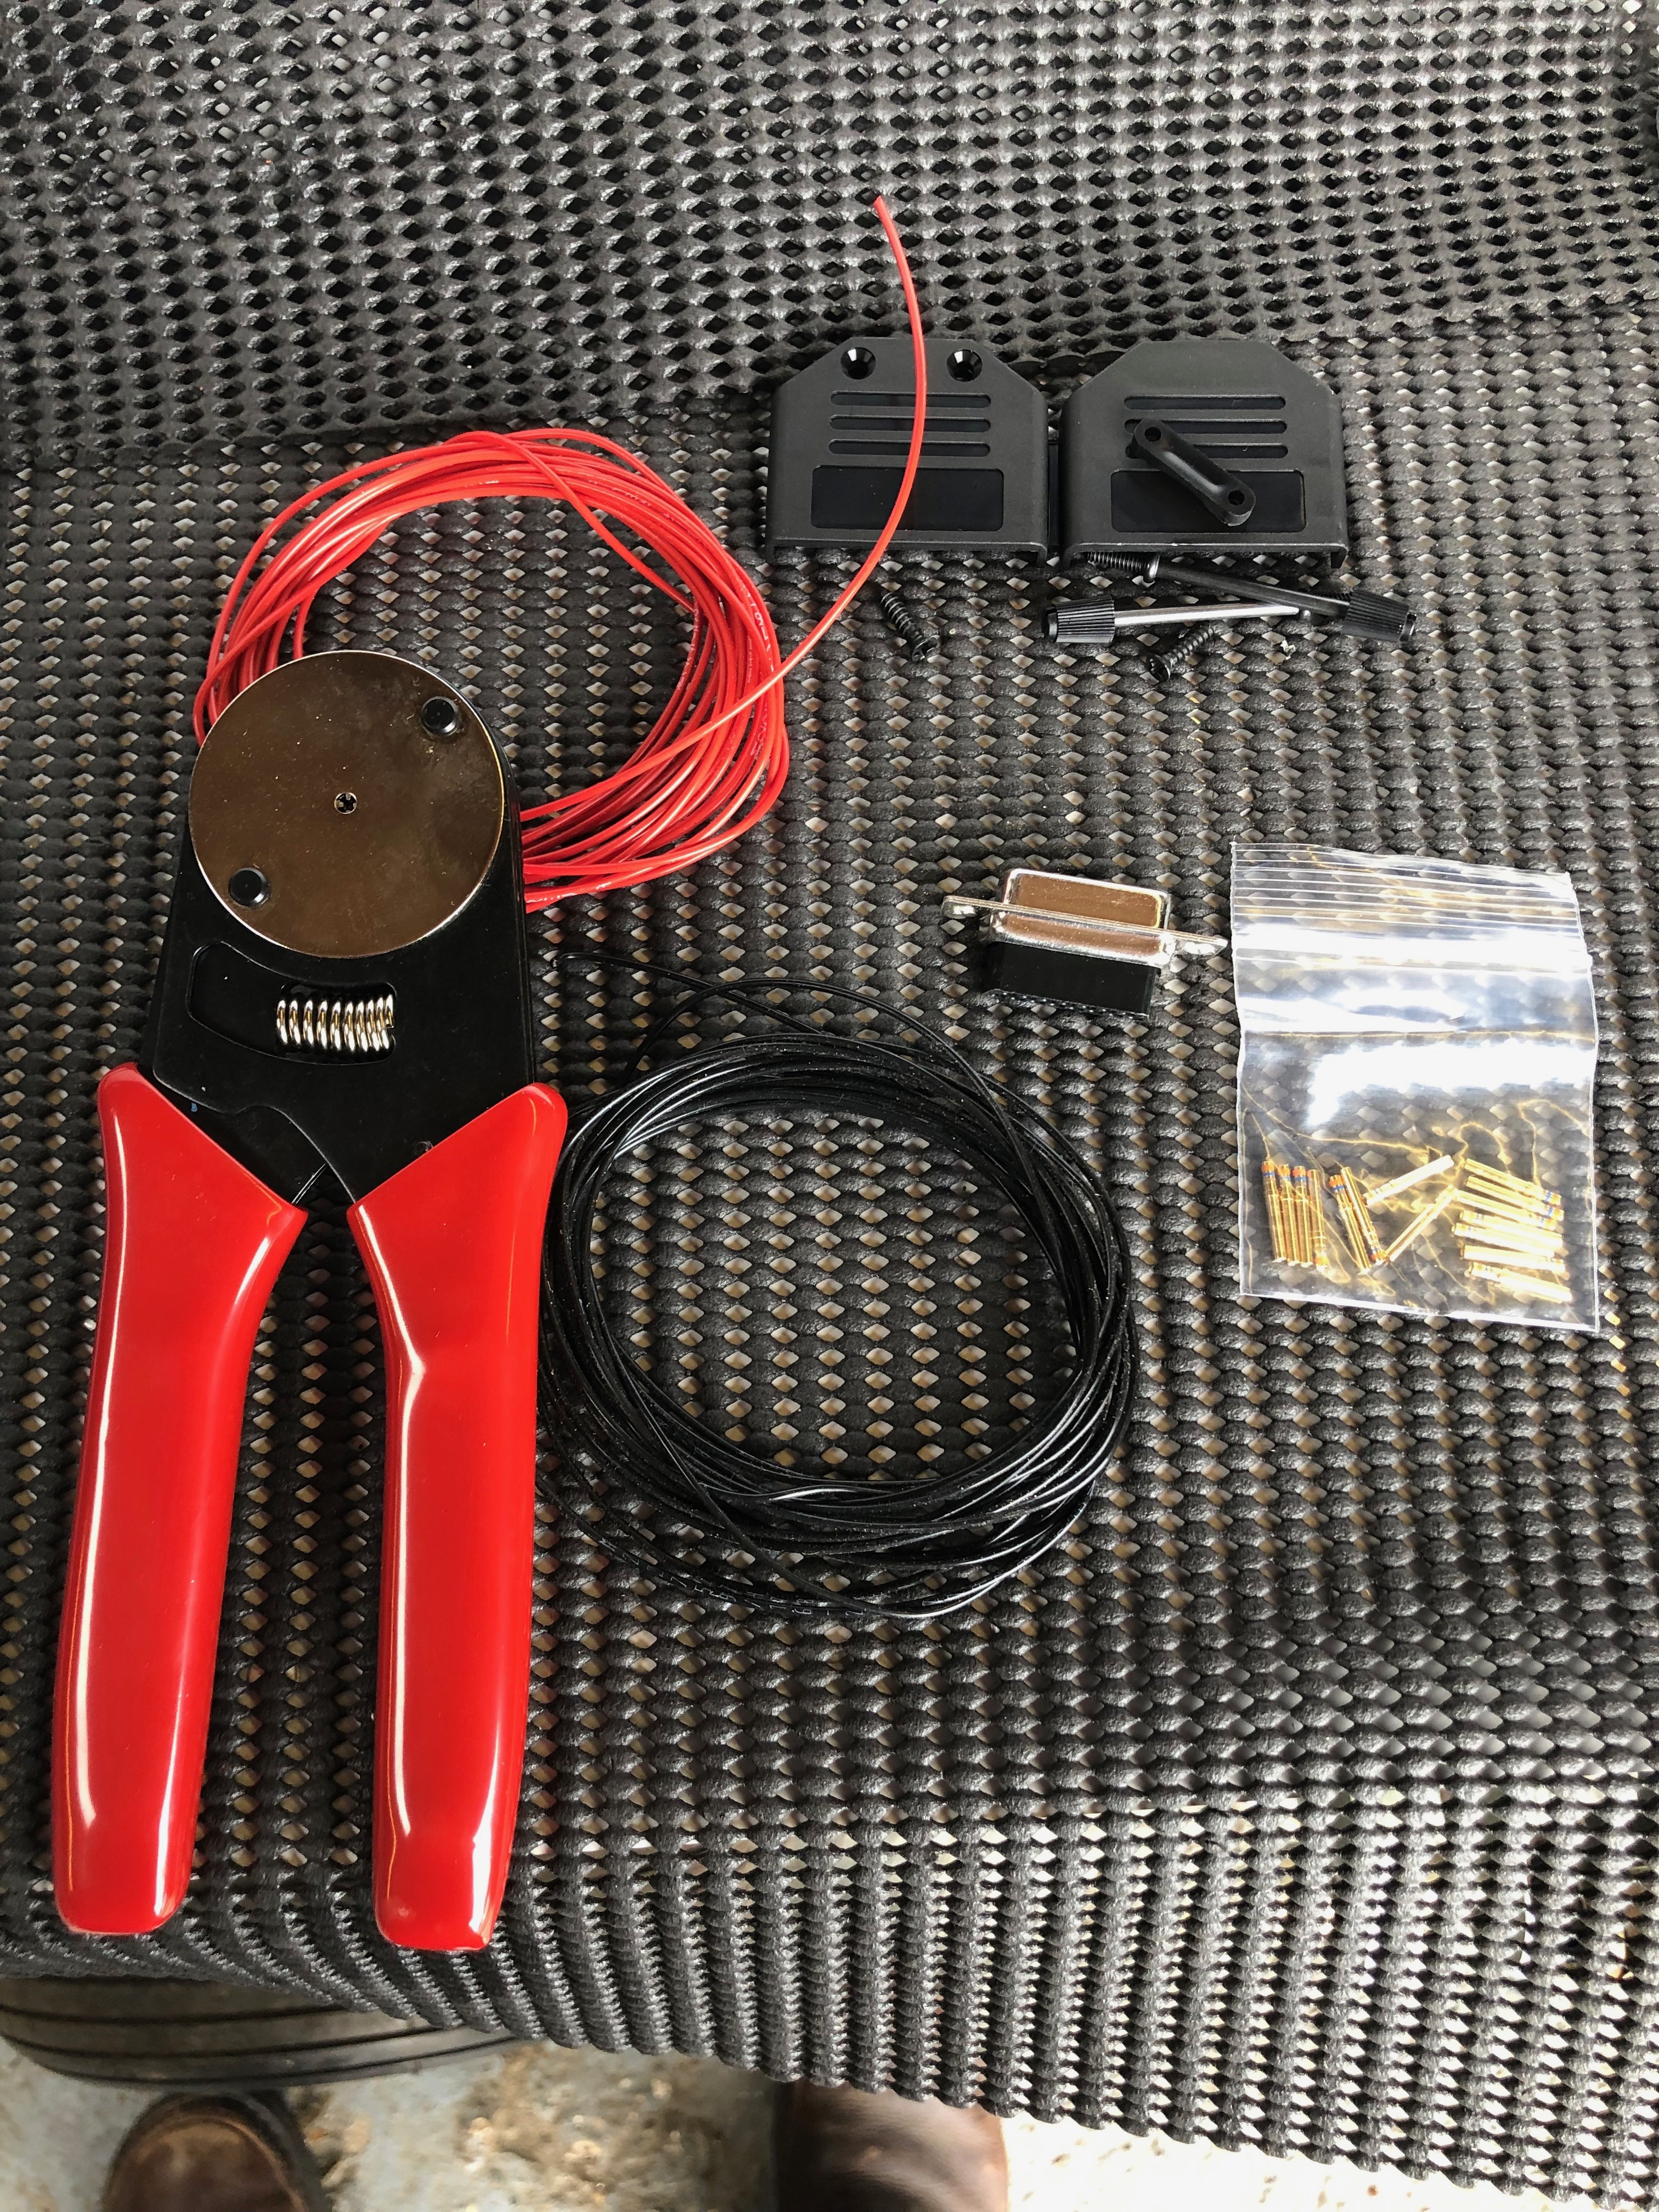
The purple and orange structure in the background is a multi arm clamp that can be used to hold wires whilst I solder them. The tail strobe wire is fed into the fin but there is no room for any slack so I put a loop in the wire by the rear inspection access hole so I can get to the strobe and solder connections if necessary.The pitot has two aluminium tube, one for airspeed and one for angle of attack. The can be connected to the nylon pipes by warming the pipe and pushing oner the pipes but a better solution is to use connectors supplied in the pitot installation kit. These need installed using a ‘Flaring tool’ to ensure the connection is air tight.I didn’t want to buy a flaring tool for just two pipes but luckily Ian Daniels came to the rescue and the result is two very nice flared pipes.The final assembly ready for fixing to the underside of the starboard wing.Some silicon seal is used to provide so weather proofing prior to riveting on.The unit is held in place with clecos whilst riveting.As shown before the power unit for the pitot heat is mounted on the access panel. The excess wires could be cut but I’ve tidied them up by coiling round the unit and using a cable tie to hold in place.The first crimps of many!The last thing to do is cut the pitot power wire to the correct length and connect them up before securing the panel in place. The only problem is I don’t have any male spade connectors so I’ll have to finish that job off when they arrive.Moving on to the primary power system I’ve decided to add a master battery relay. This allows the switching high currents from the battery to the starter and the main bus by a normal 25amp switch.Now the master relay is mounted the primary power system can be connected. I’ve decided to make my own cables up so I’ve purchased a sprung loaded crimper that uses a vice or hammer to make the crimp. First of a few cable required to be fitted.
Ian Daniels agreed to keep an eye on my build and sign of the completed stages. So that’s it for today whilst Ian inspects the work I’ve done so far.He’s a busy man with several projects on the go but came in today to inspect my work so far and sign off another 10 stages. The photo shows a build record sheet. I now have 17 out of the 27 stages signed off.
Music: Elton John who we’re seeing in Prague next week!
Haven’t got a full day today but thought I could install some of the cables that I received yesterday in the post and the tail strobe.
The Pitot power cable requires quite a heavy duty wire as it can draw up to 10 amps so for the run from the wing to the power it requires 12awg. So the power cables and sensor wires need to be made up into a simple wire loom. I’ve just used some heat shrink tubing along the length.So this needs to be run into the wing conduit.Using a draw wire to pull the wire through I’ve used a piece of heat shrink tubing to join them together.And then pull it through this conduit and hope the heat shrink works which it did.Next is to run the strobe power and sync cable from the tail to the front of the fuselage. Again there is a conduit that makes it relatively painless to do but there is a already a trim control wire running in the conduit so it’s a little tight to feed through.The is the strobe that will be put on the tail fin.The mounting holes need to be drilled using a step drill.And M3 rivnuts and cap head screws are used to secure but I’ve run out of time so will finish off tomorrow.
Due to limited space I couldn’t drill the second set of holes for the retention system. Luckily Ian had a 90 degree attachment the allowed me to drill the holes.
The holes for the rivets that will secure the bracket.
Sometimes you have to leave certain jobs because an immediate opportunity comes up for someone to help you swap wings. This is what happened when I had starboard wing up on the stand so I didn’t get chance to fit the strobe light. So today’s the day to do it.
Once the holes are drilled they need to be countersunk otherwise the strobes won’t fit flush.
Some Loctite 243 on the screws and then they are pinched up, not too tightly, otherwise they will disfigure the rubber mount.
The finished job, let’s hope it matches the other wing!
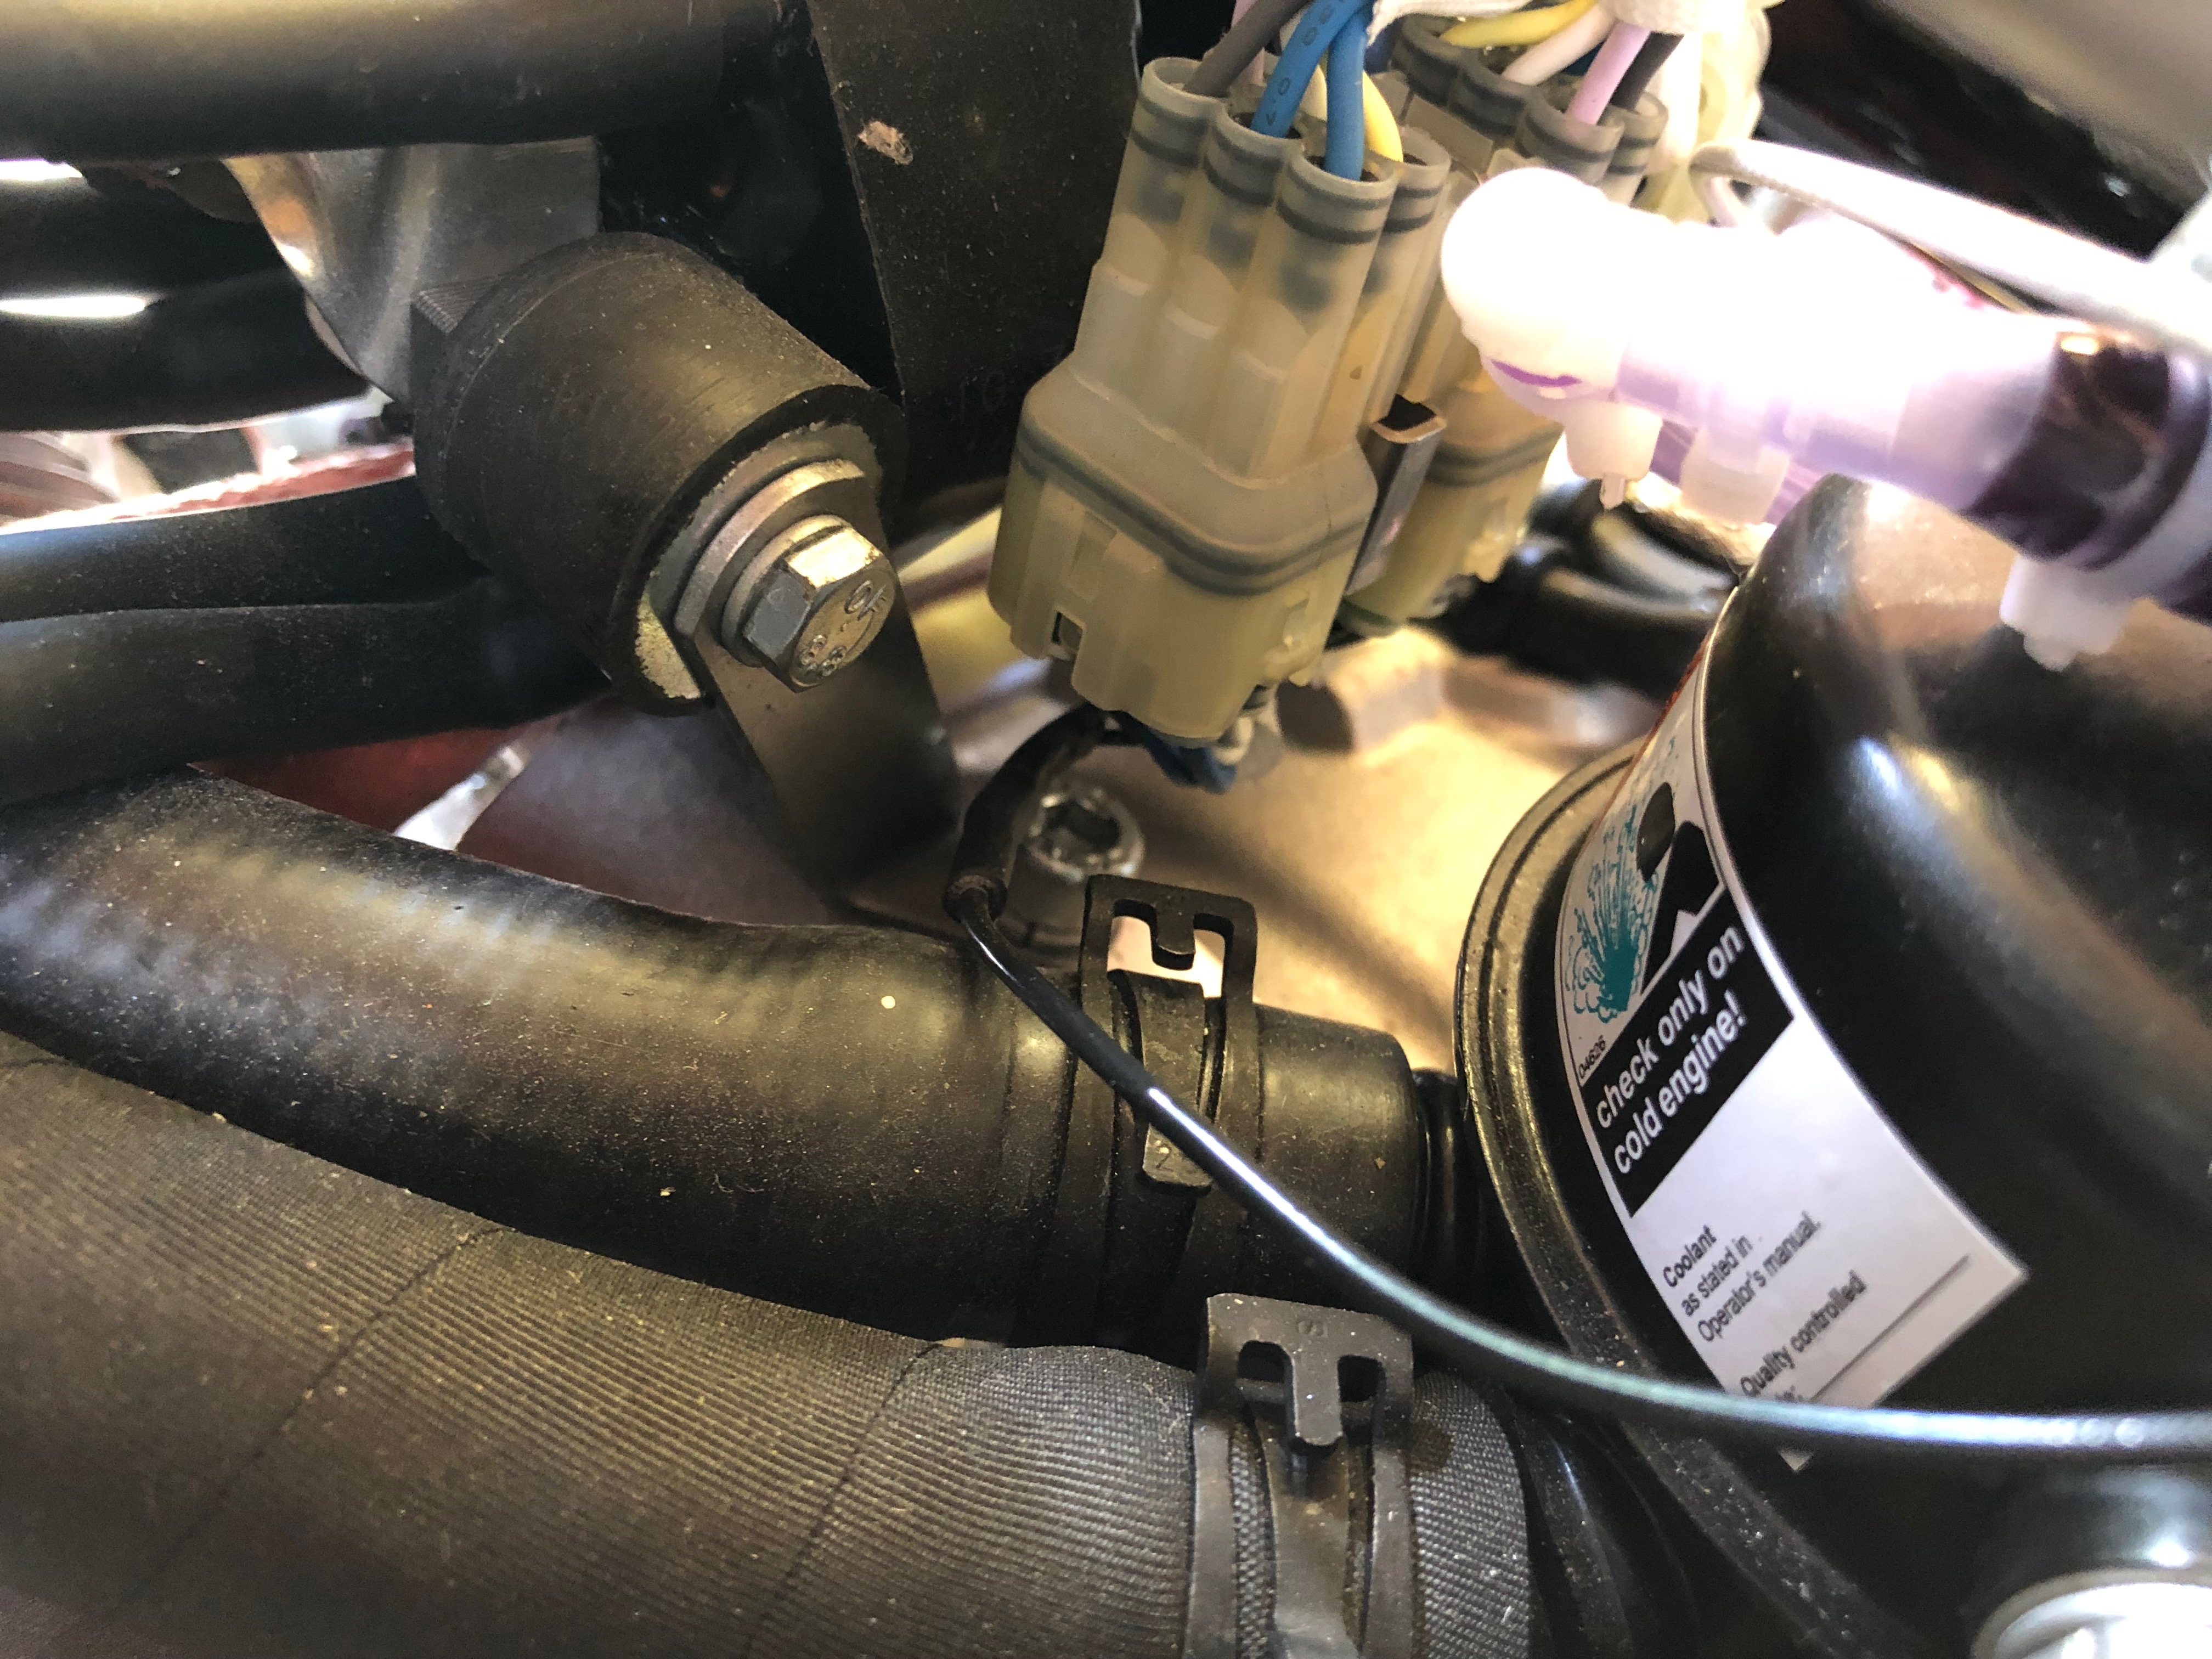
A job I kept forgetting to do is to add a breather pipe to the oil tank.
Now they can be secured with the drip tray and air intake breather tubes that Andy fitted yesterday.
I wanted to try to reduce the amount of vibration and droning from the firewall and noise from the engine. I purchased some sound & vibration deadening heat resistant foil back foam that will do the job.
After cutting to size, I’ve made the service holes to match the firewall and added grommets to make it a neater job.
I used some thinners to remove the printing on the foil before fitting. Looks a good fit.
I now need to undo some of the work I’ve done on the brakes and fit the front lower panels so I can fit sound deadening on the firewall behind the rudder pedals but run out of time today so will finish this job Monday.
Following the build of my Bristell NG5 Kit No. 382 Registration G-MLSY