
Whilst waiting for the permit to fly to hit the doormat I can complete a few jobs that didn’t need to be done before the flight testing. This includes fitting the wheel spats, applying the internal leather trims and other miscellaneous jobs.


Whilst waiting for the permit to fly to hit the doormat I can complete a few jobs that didn’t need to be done before the flight testing. This includes fitting the wheel spats, applying the internal leather trims and other miscellaneous jobs.
Today focuses on finalising some of the work I had already started but was waiting on parts.
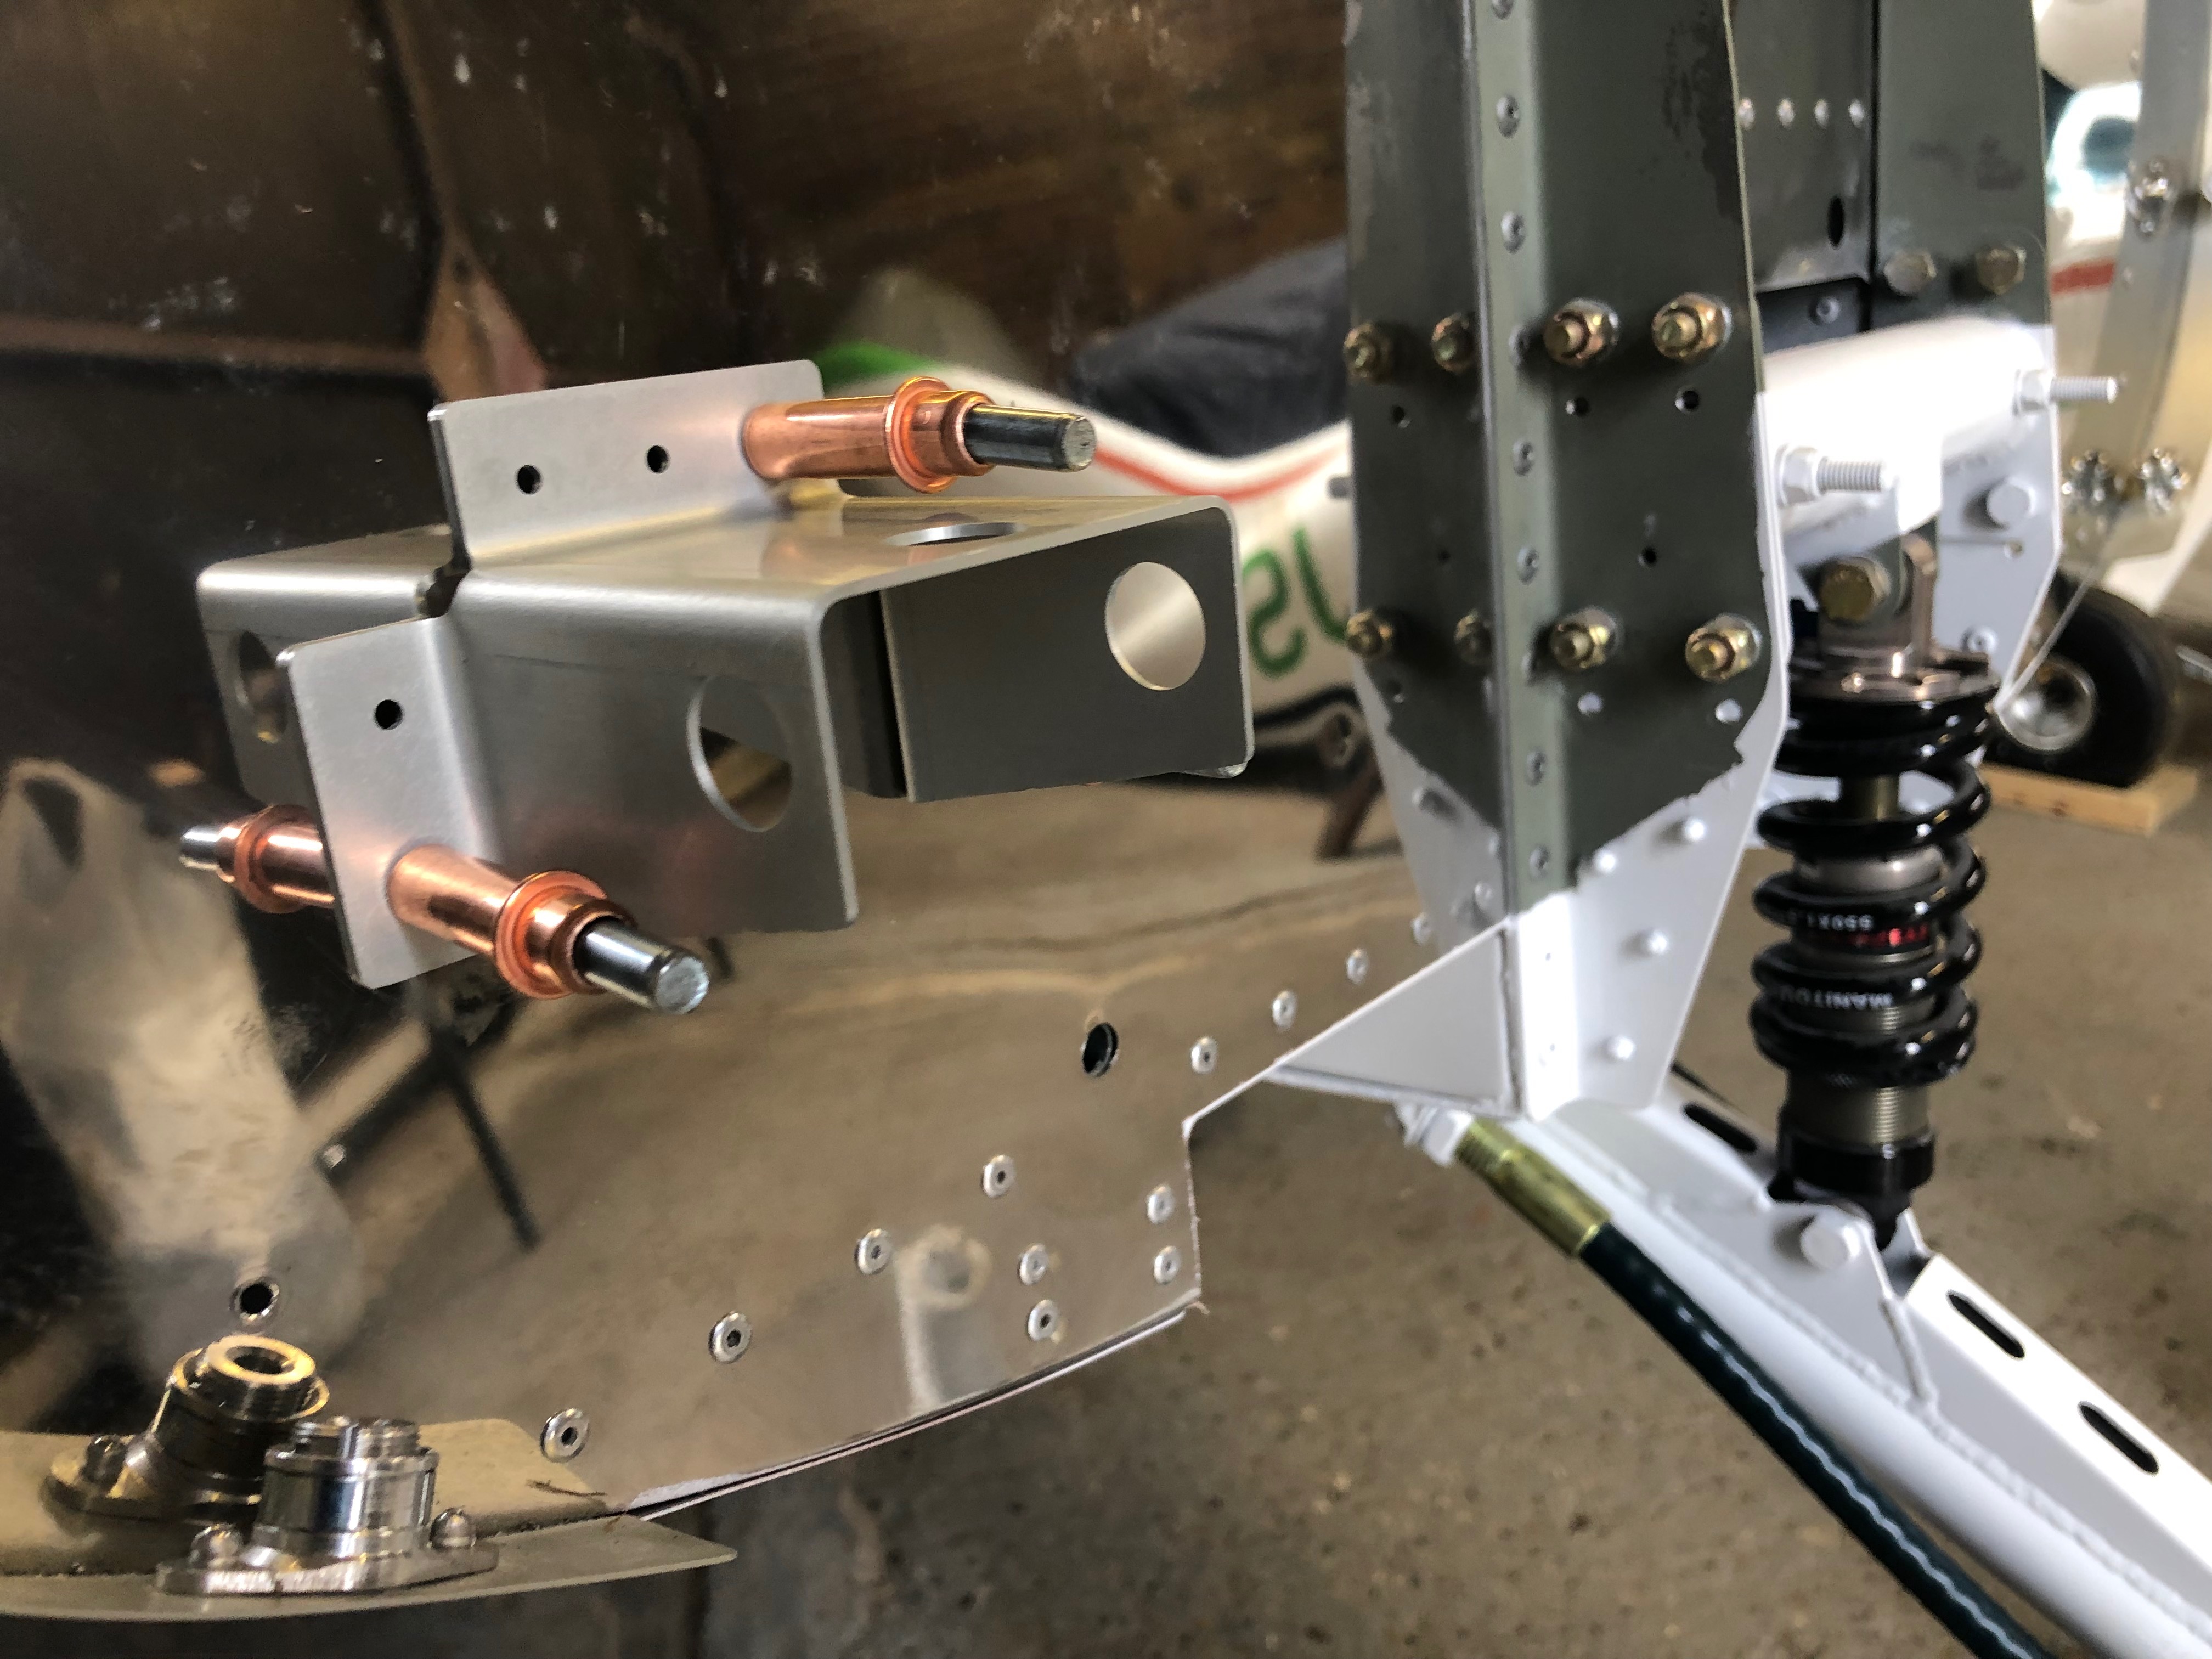
First up is to rivet the throttle into place.

A view of the throttle installation from the top.
Next is to replace the 5/16″ bolts that were found to be damaged.
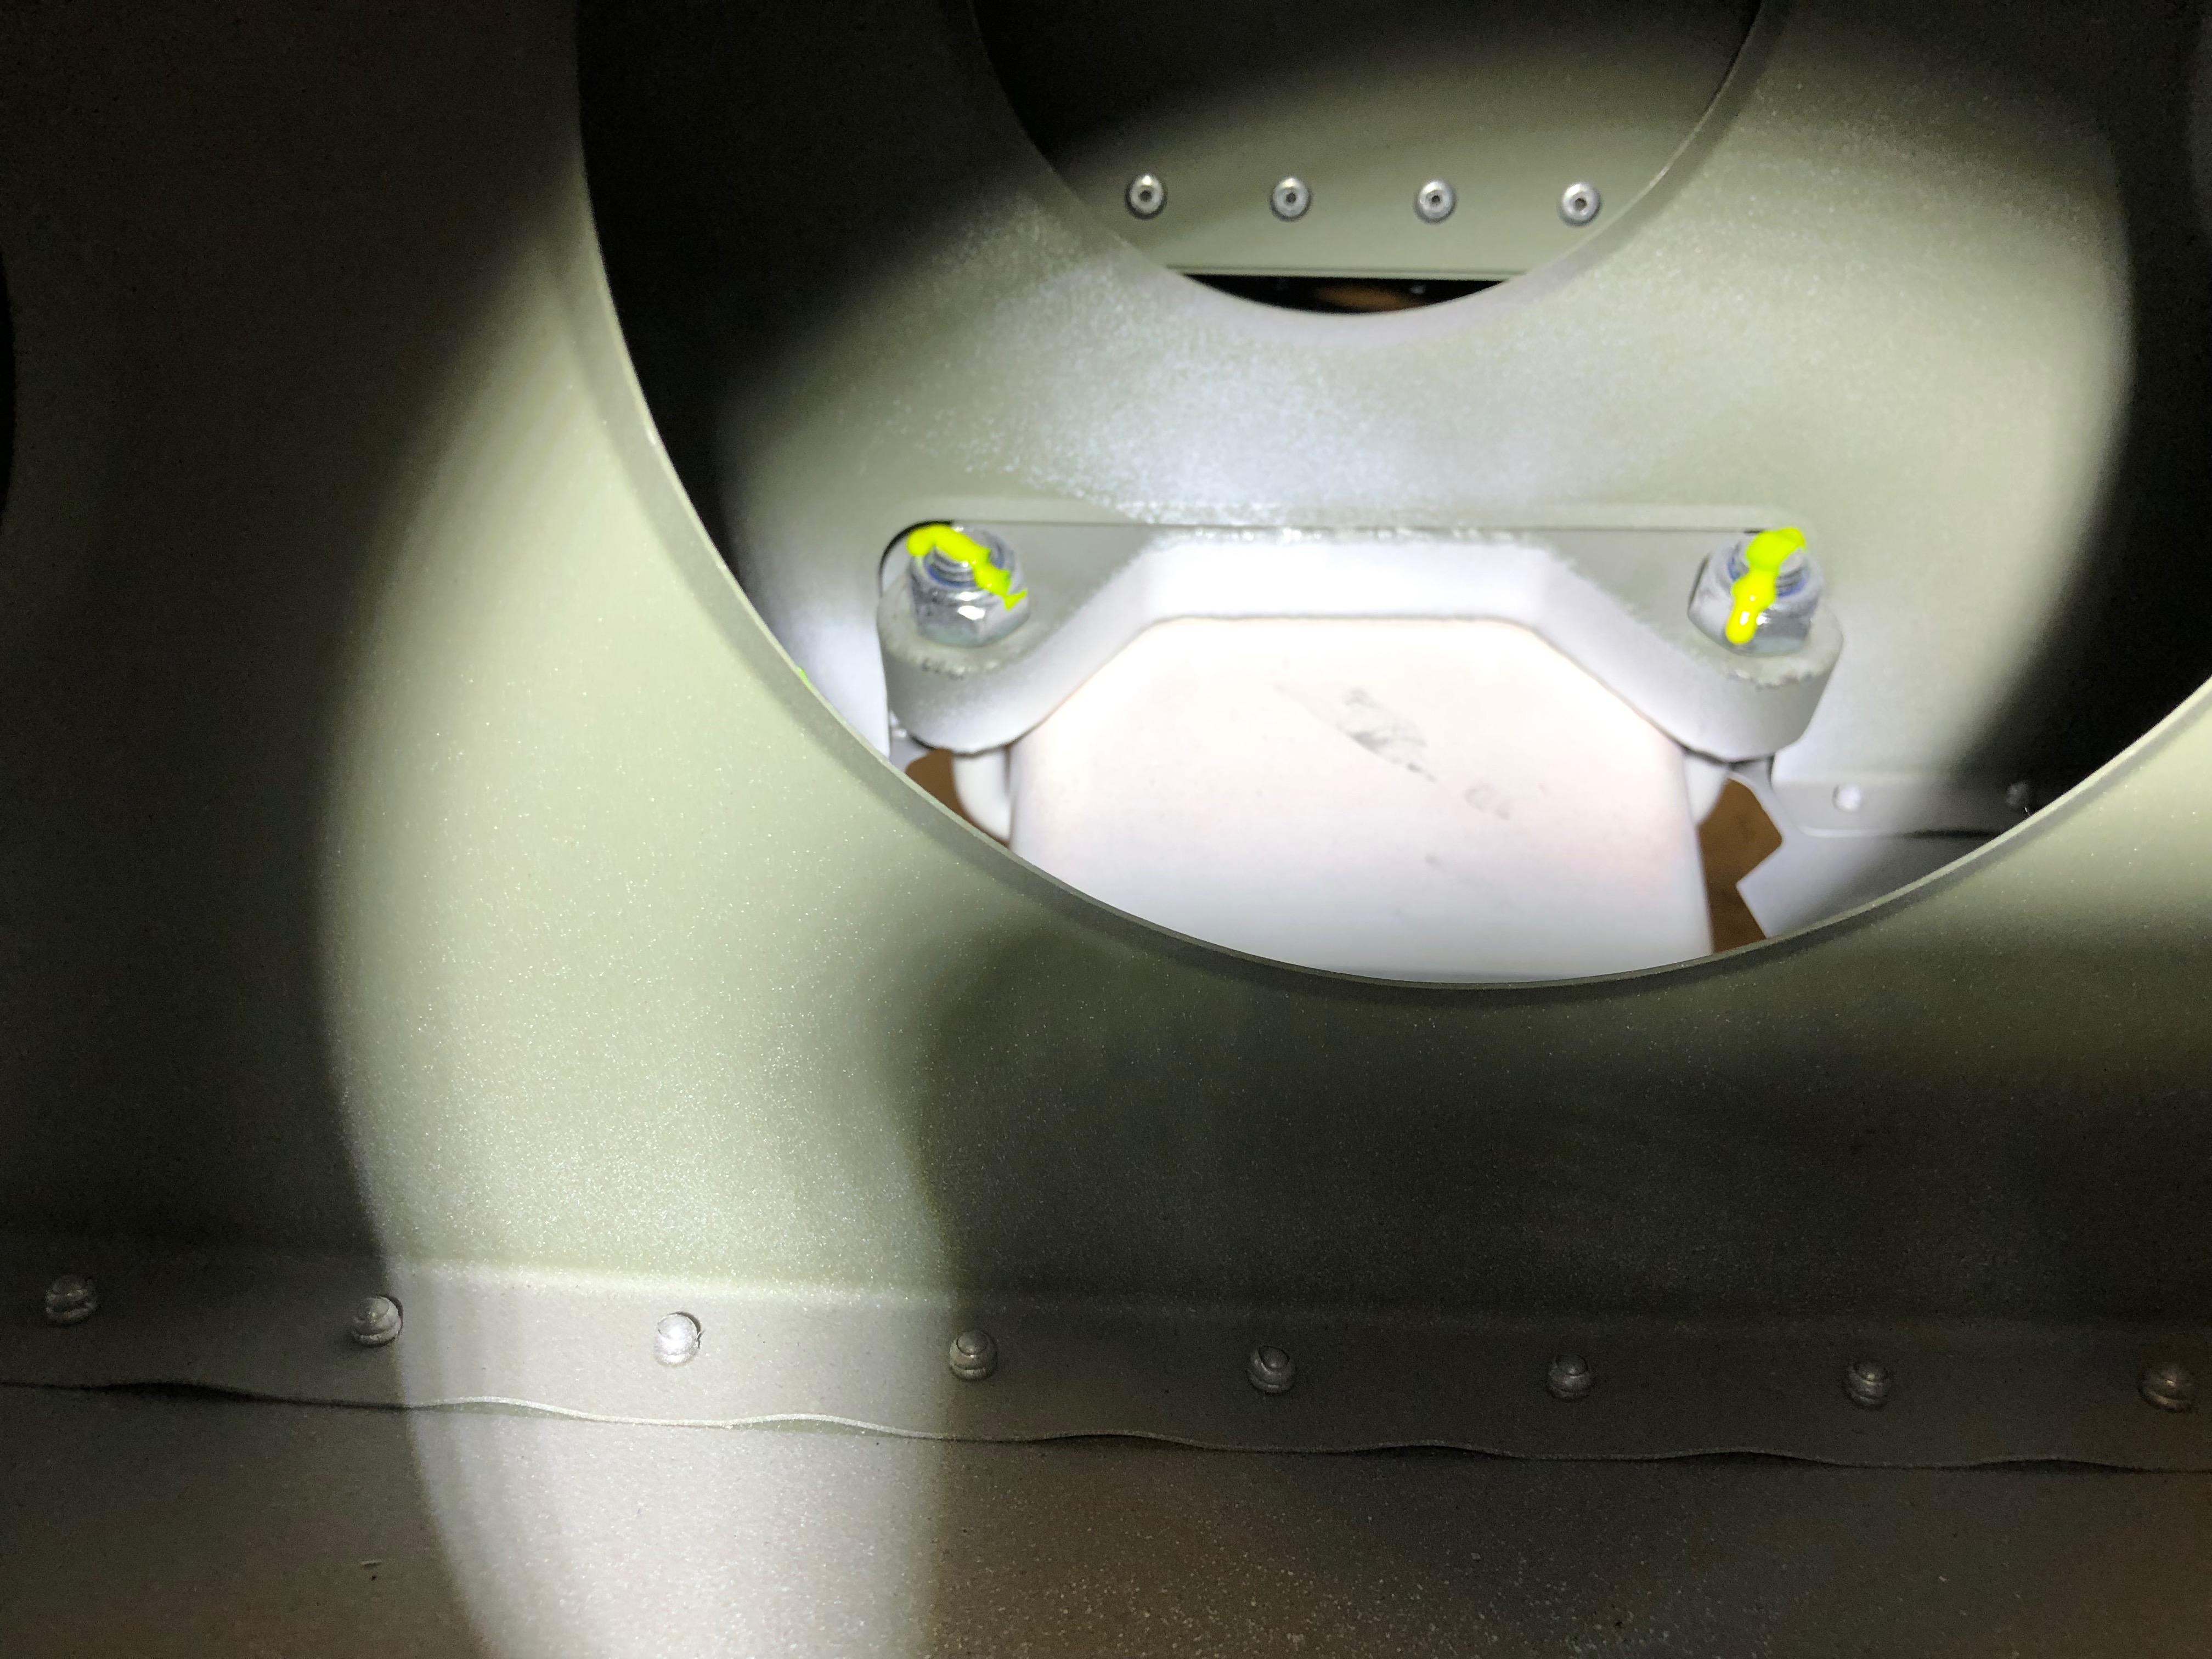
Once tightened the nuts are marked with torque seal to indicate any movement in service.

The canopy latch striker plates are riveted into place.

And the spring return plate is riveted into place and the spring connected.
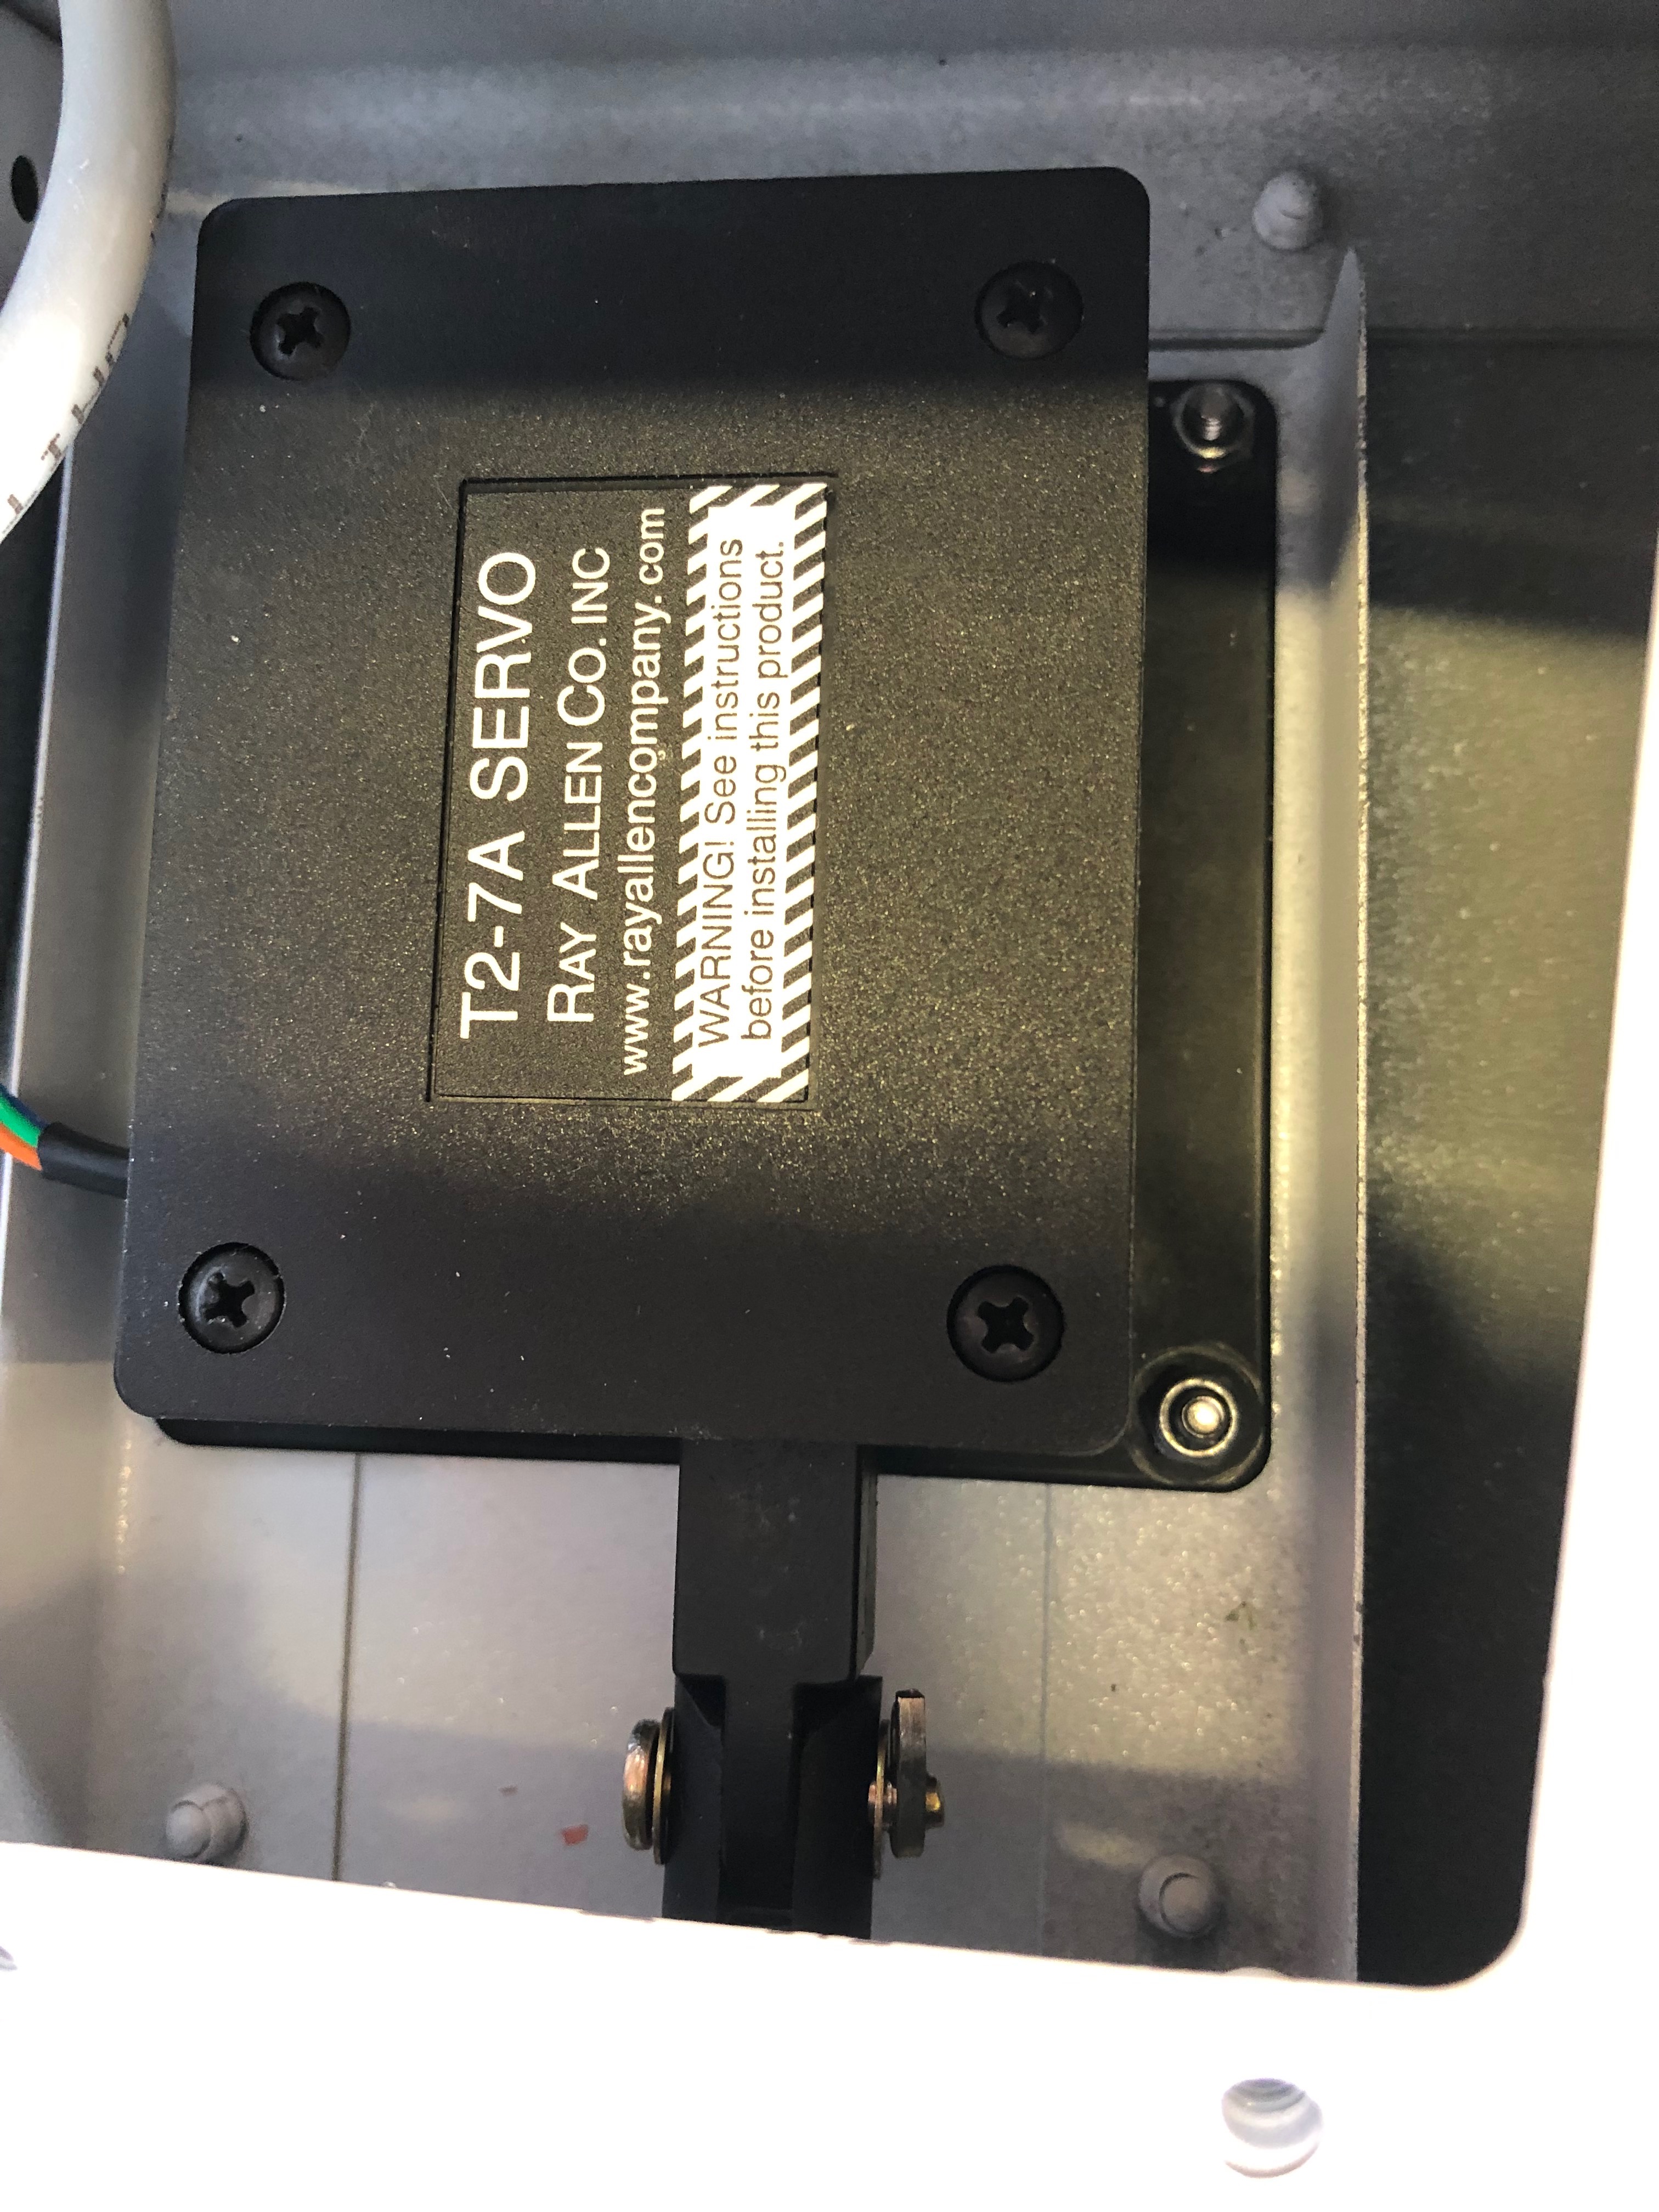
The trim motors are normally riveted into place but I’ve decided to use an M3 bolt and nyloc bolt as it will be easier to change should there be a problem.

The wiring needs to be done next but I’ll leave that for another day.
A number of jobs today including some to finalise previously started installations.

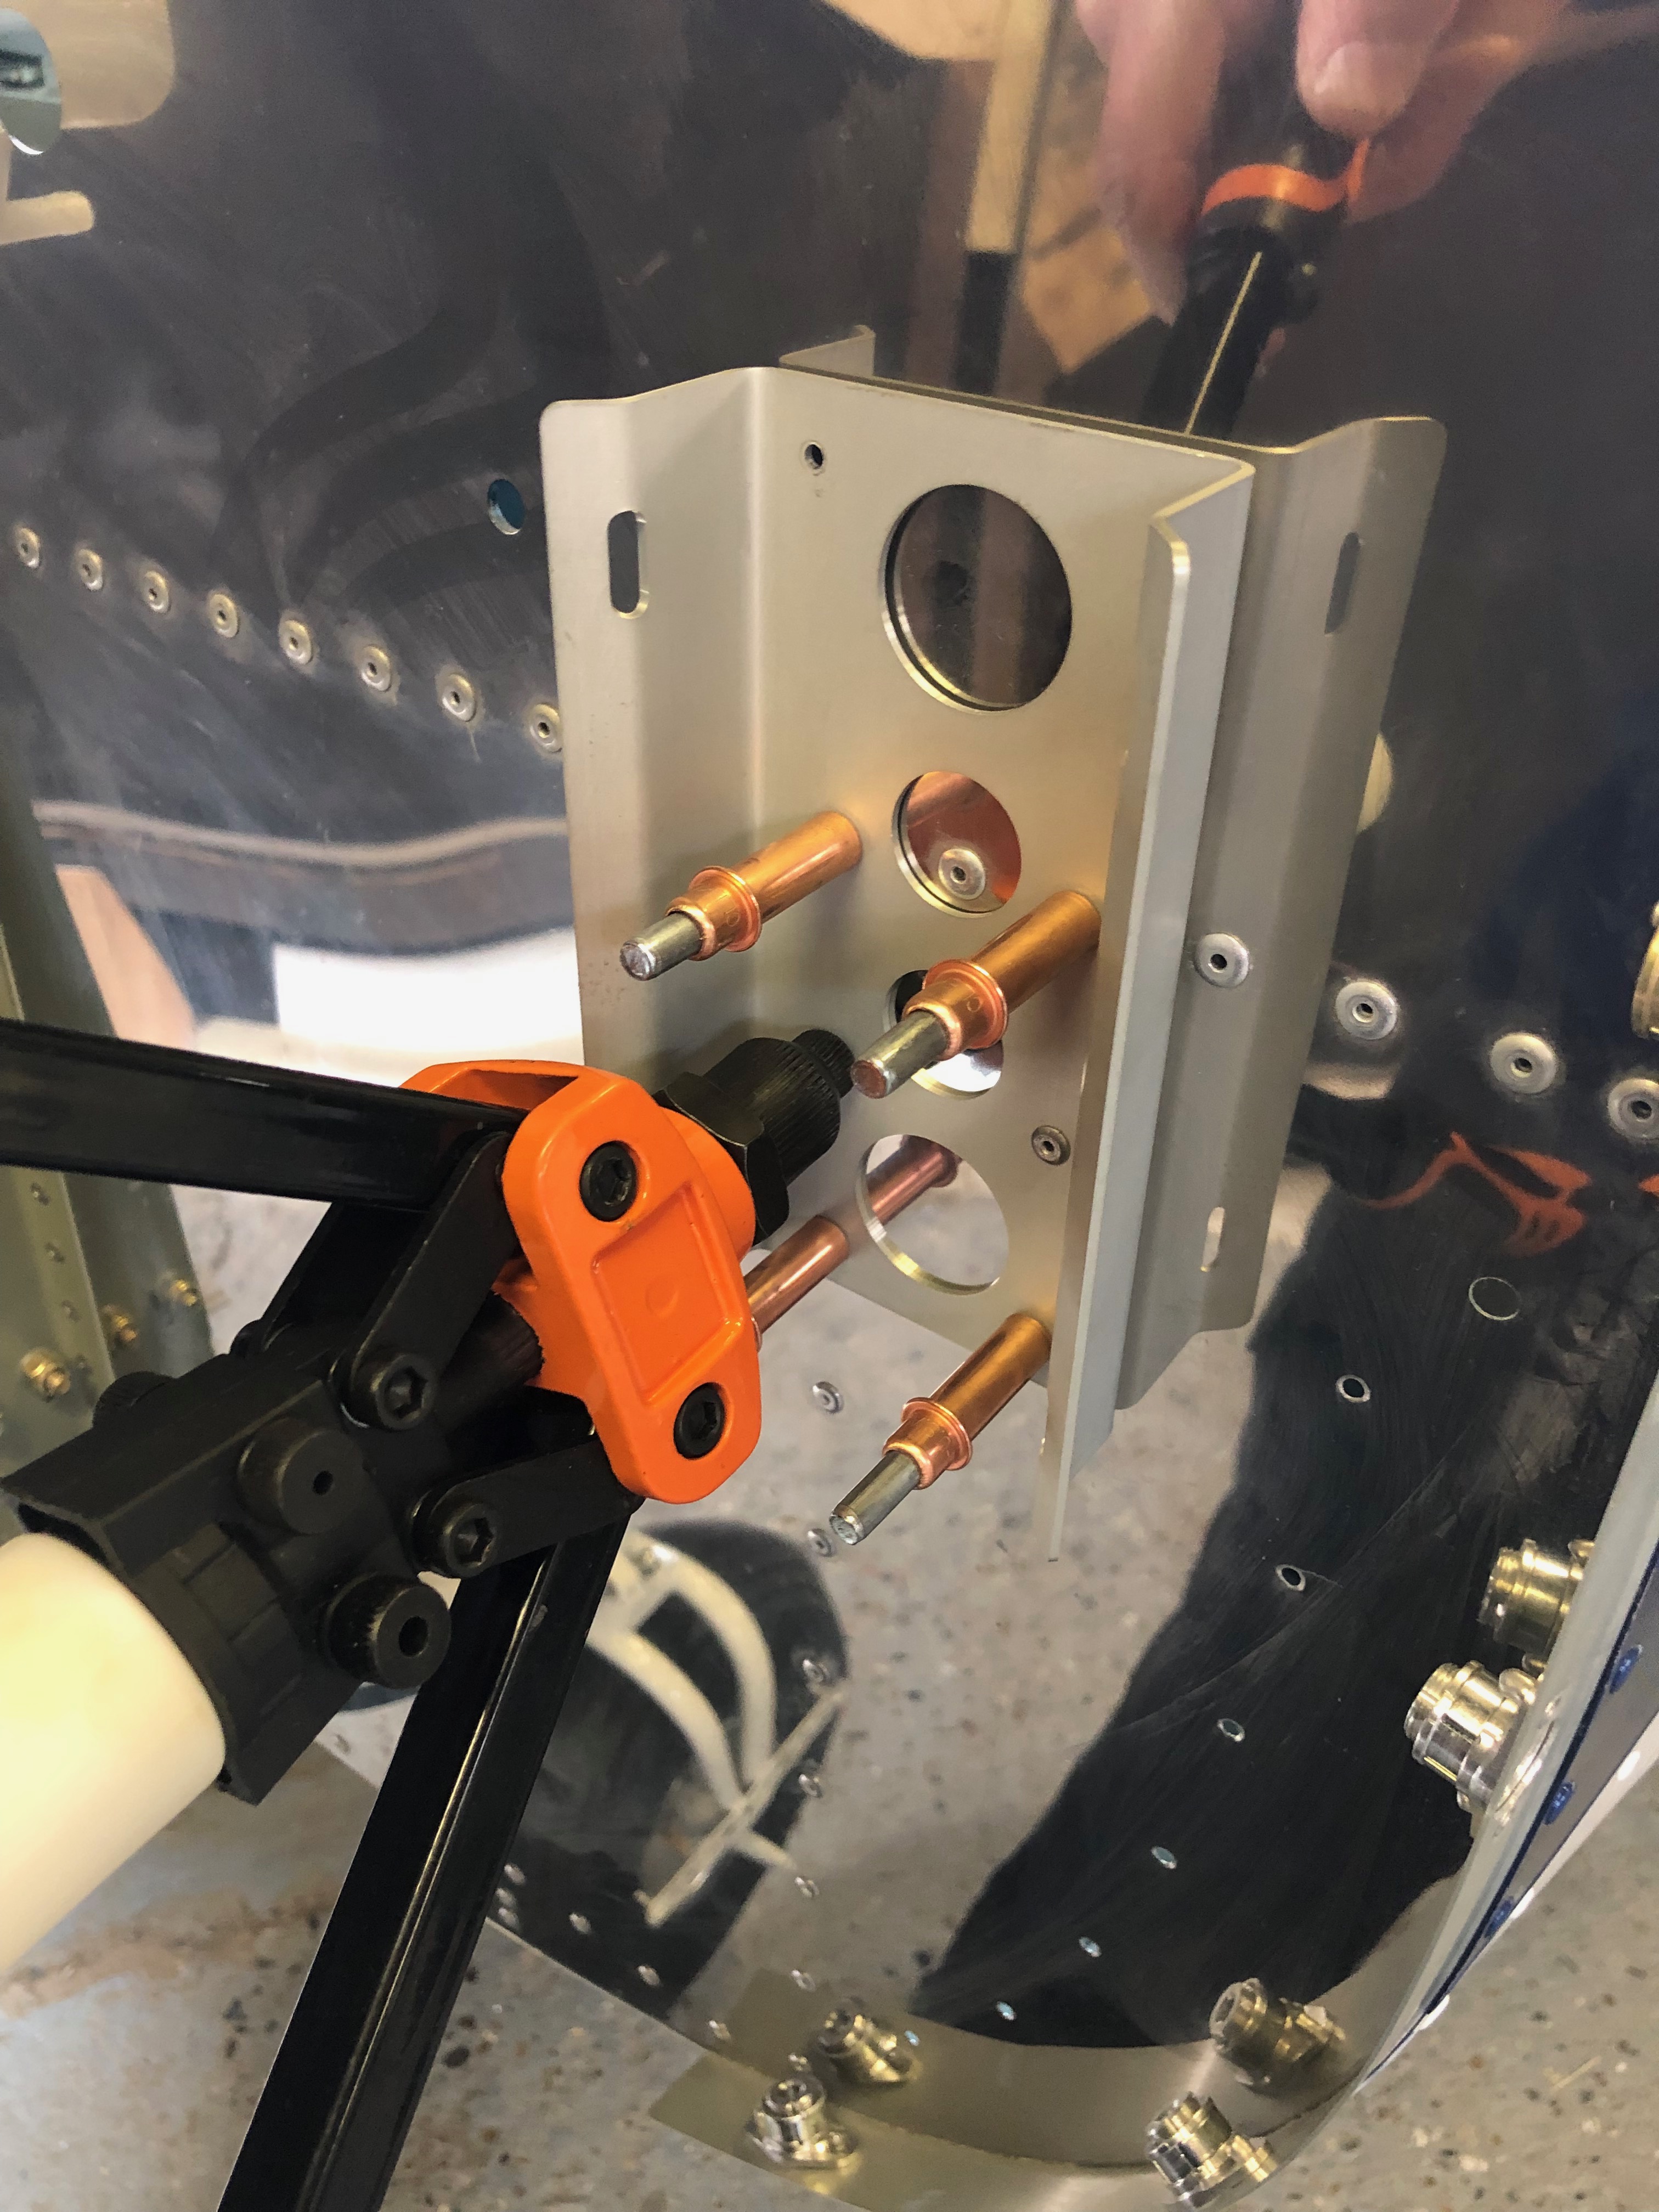
The throttle quadrant was cleco’d in position temporarily to allow the cables to be run. This needs to be riveted with 4mm x 15mm rivets which I need to purchase.

The temporary holes were 3.2mm so I’ll open them out ready for riveting tomorrow.

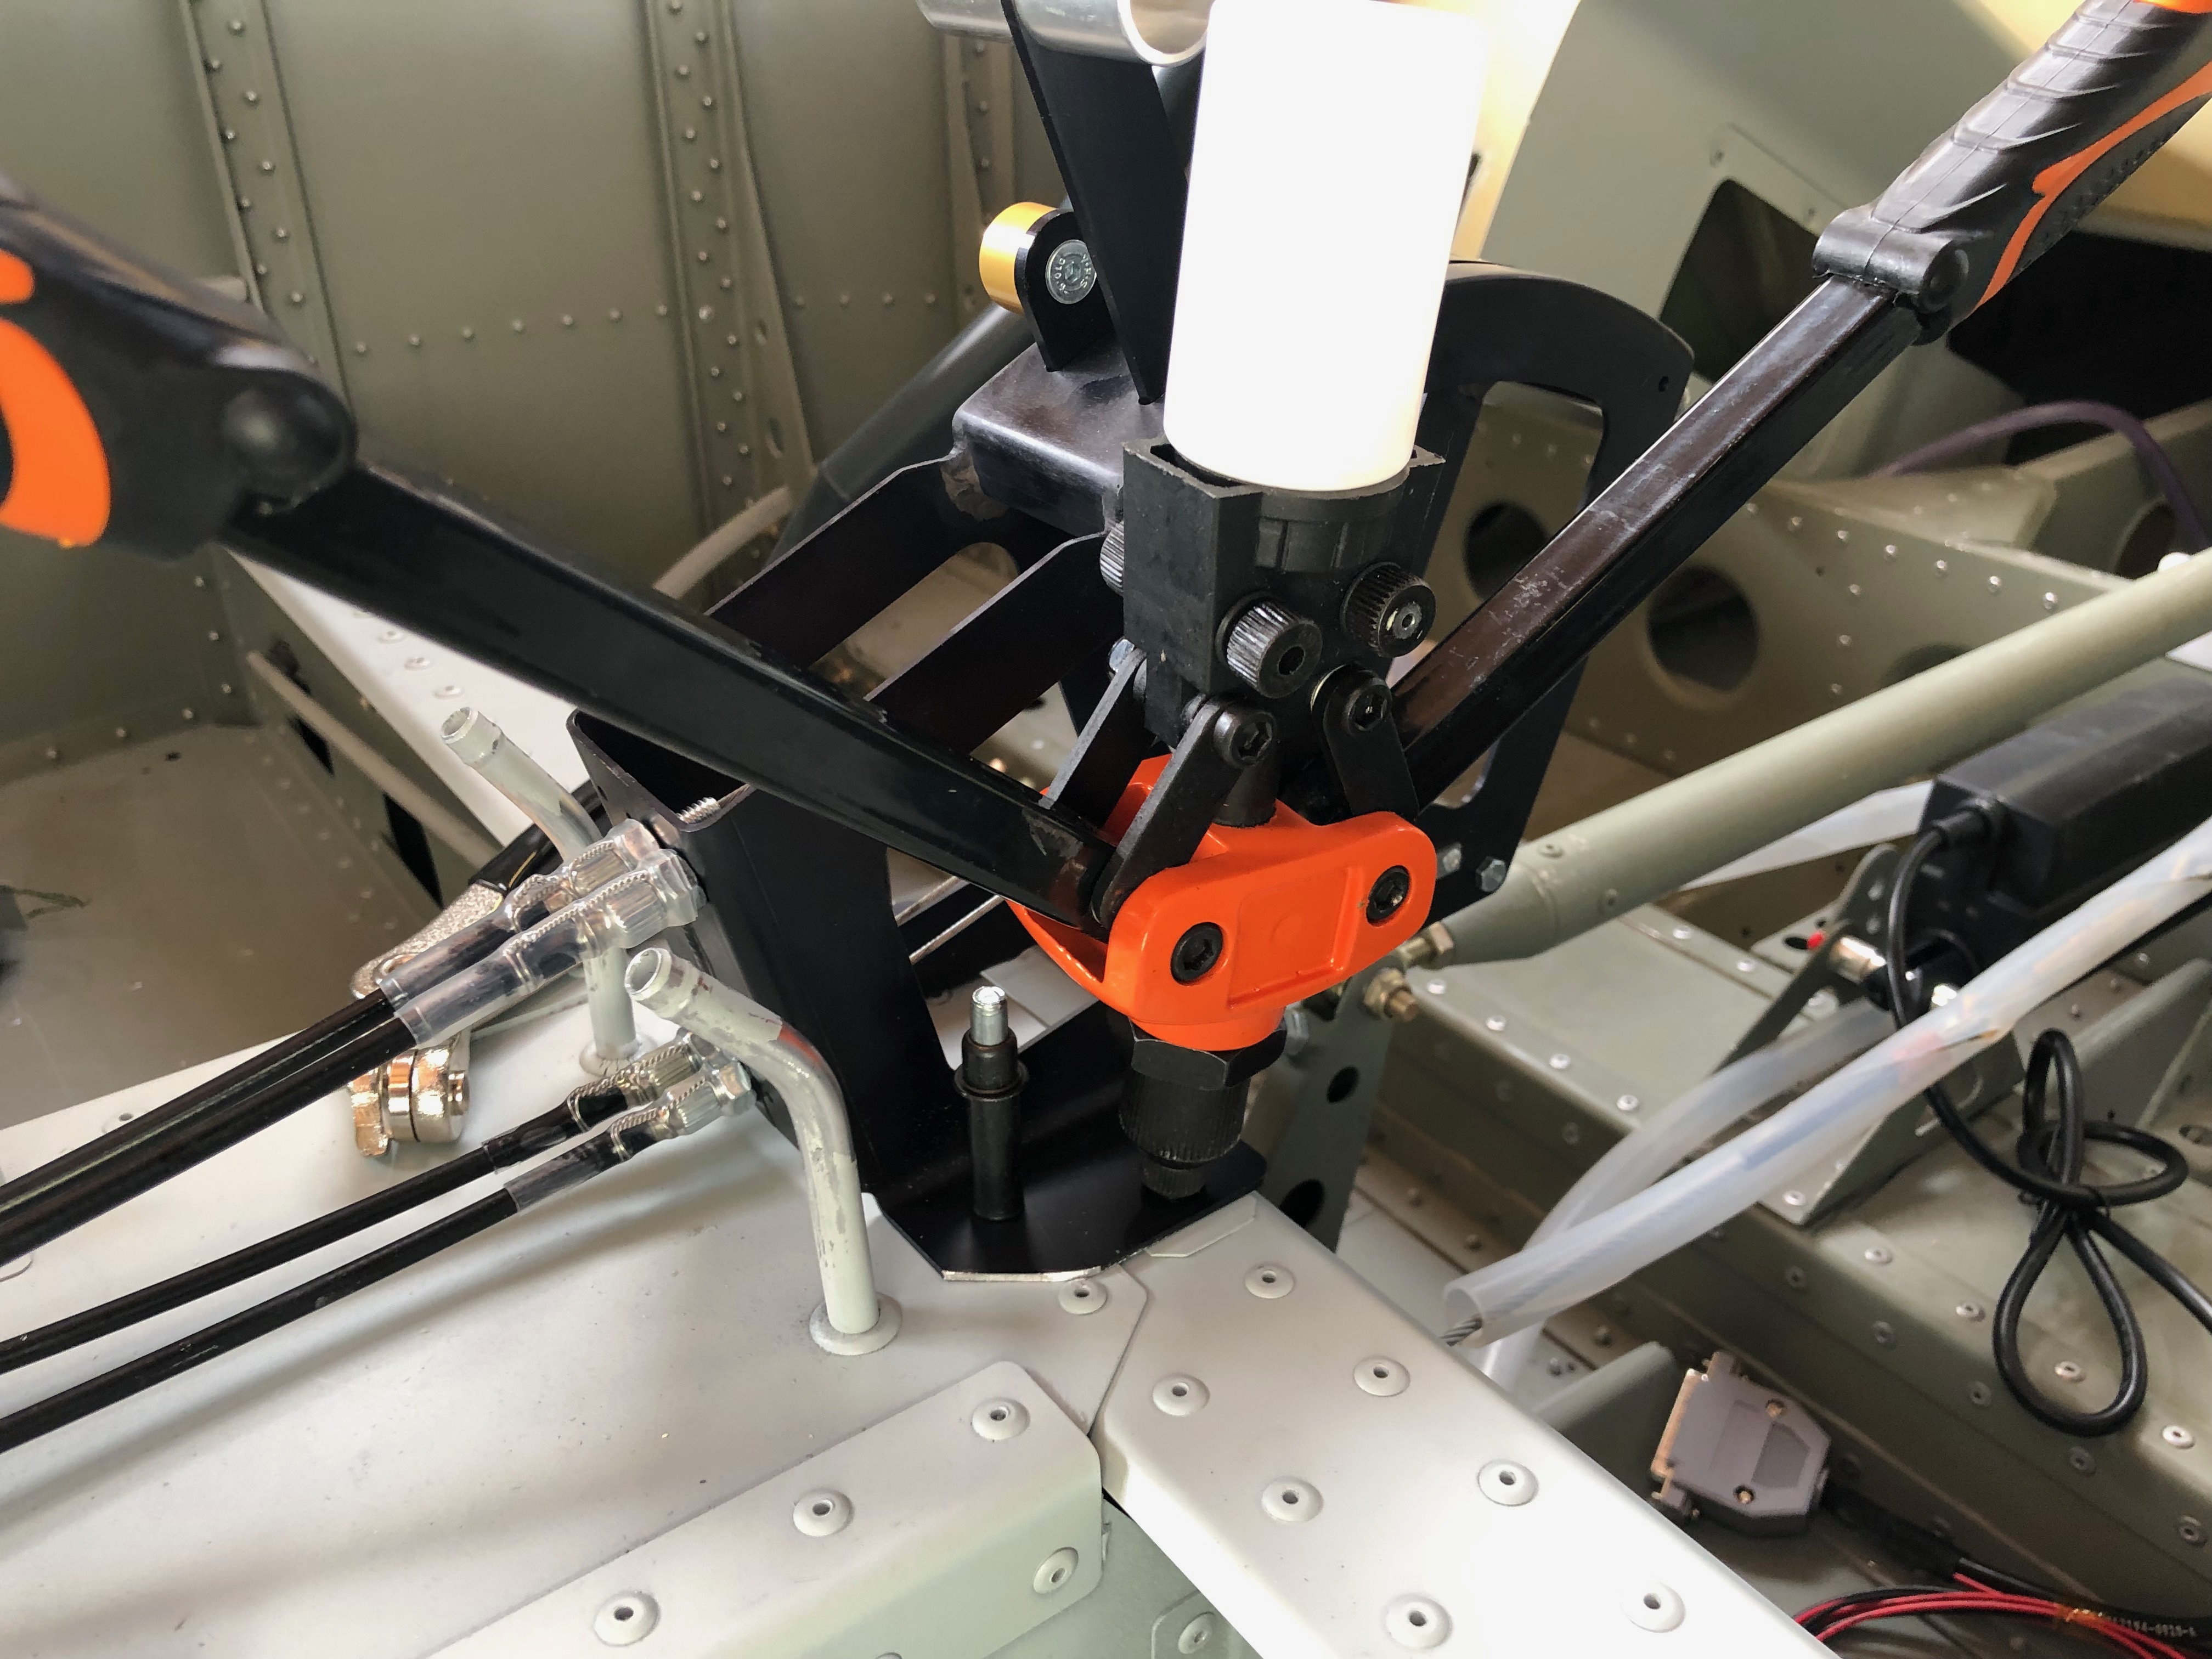
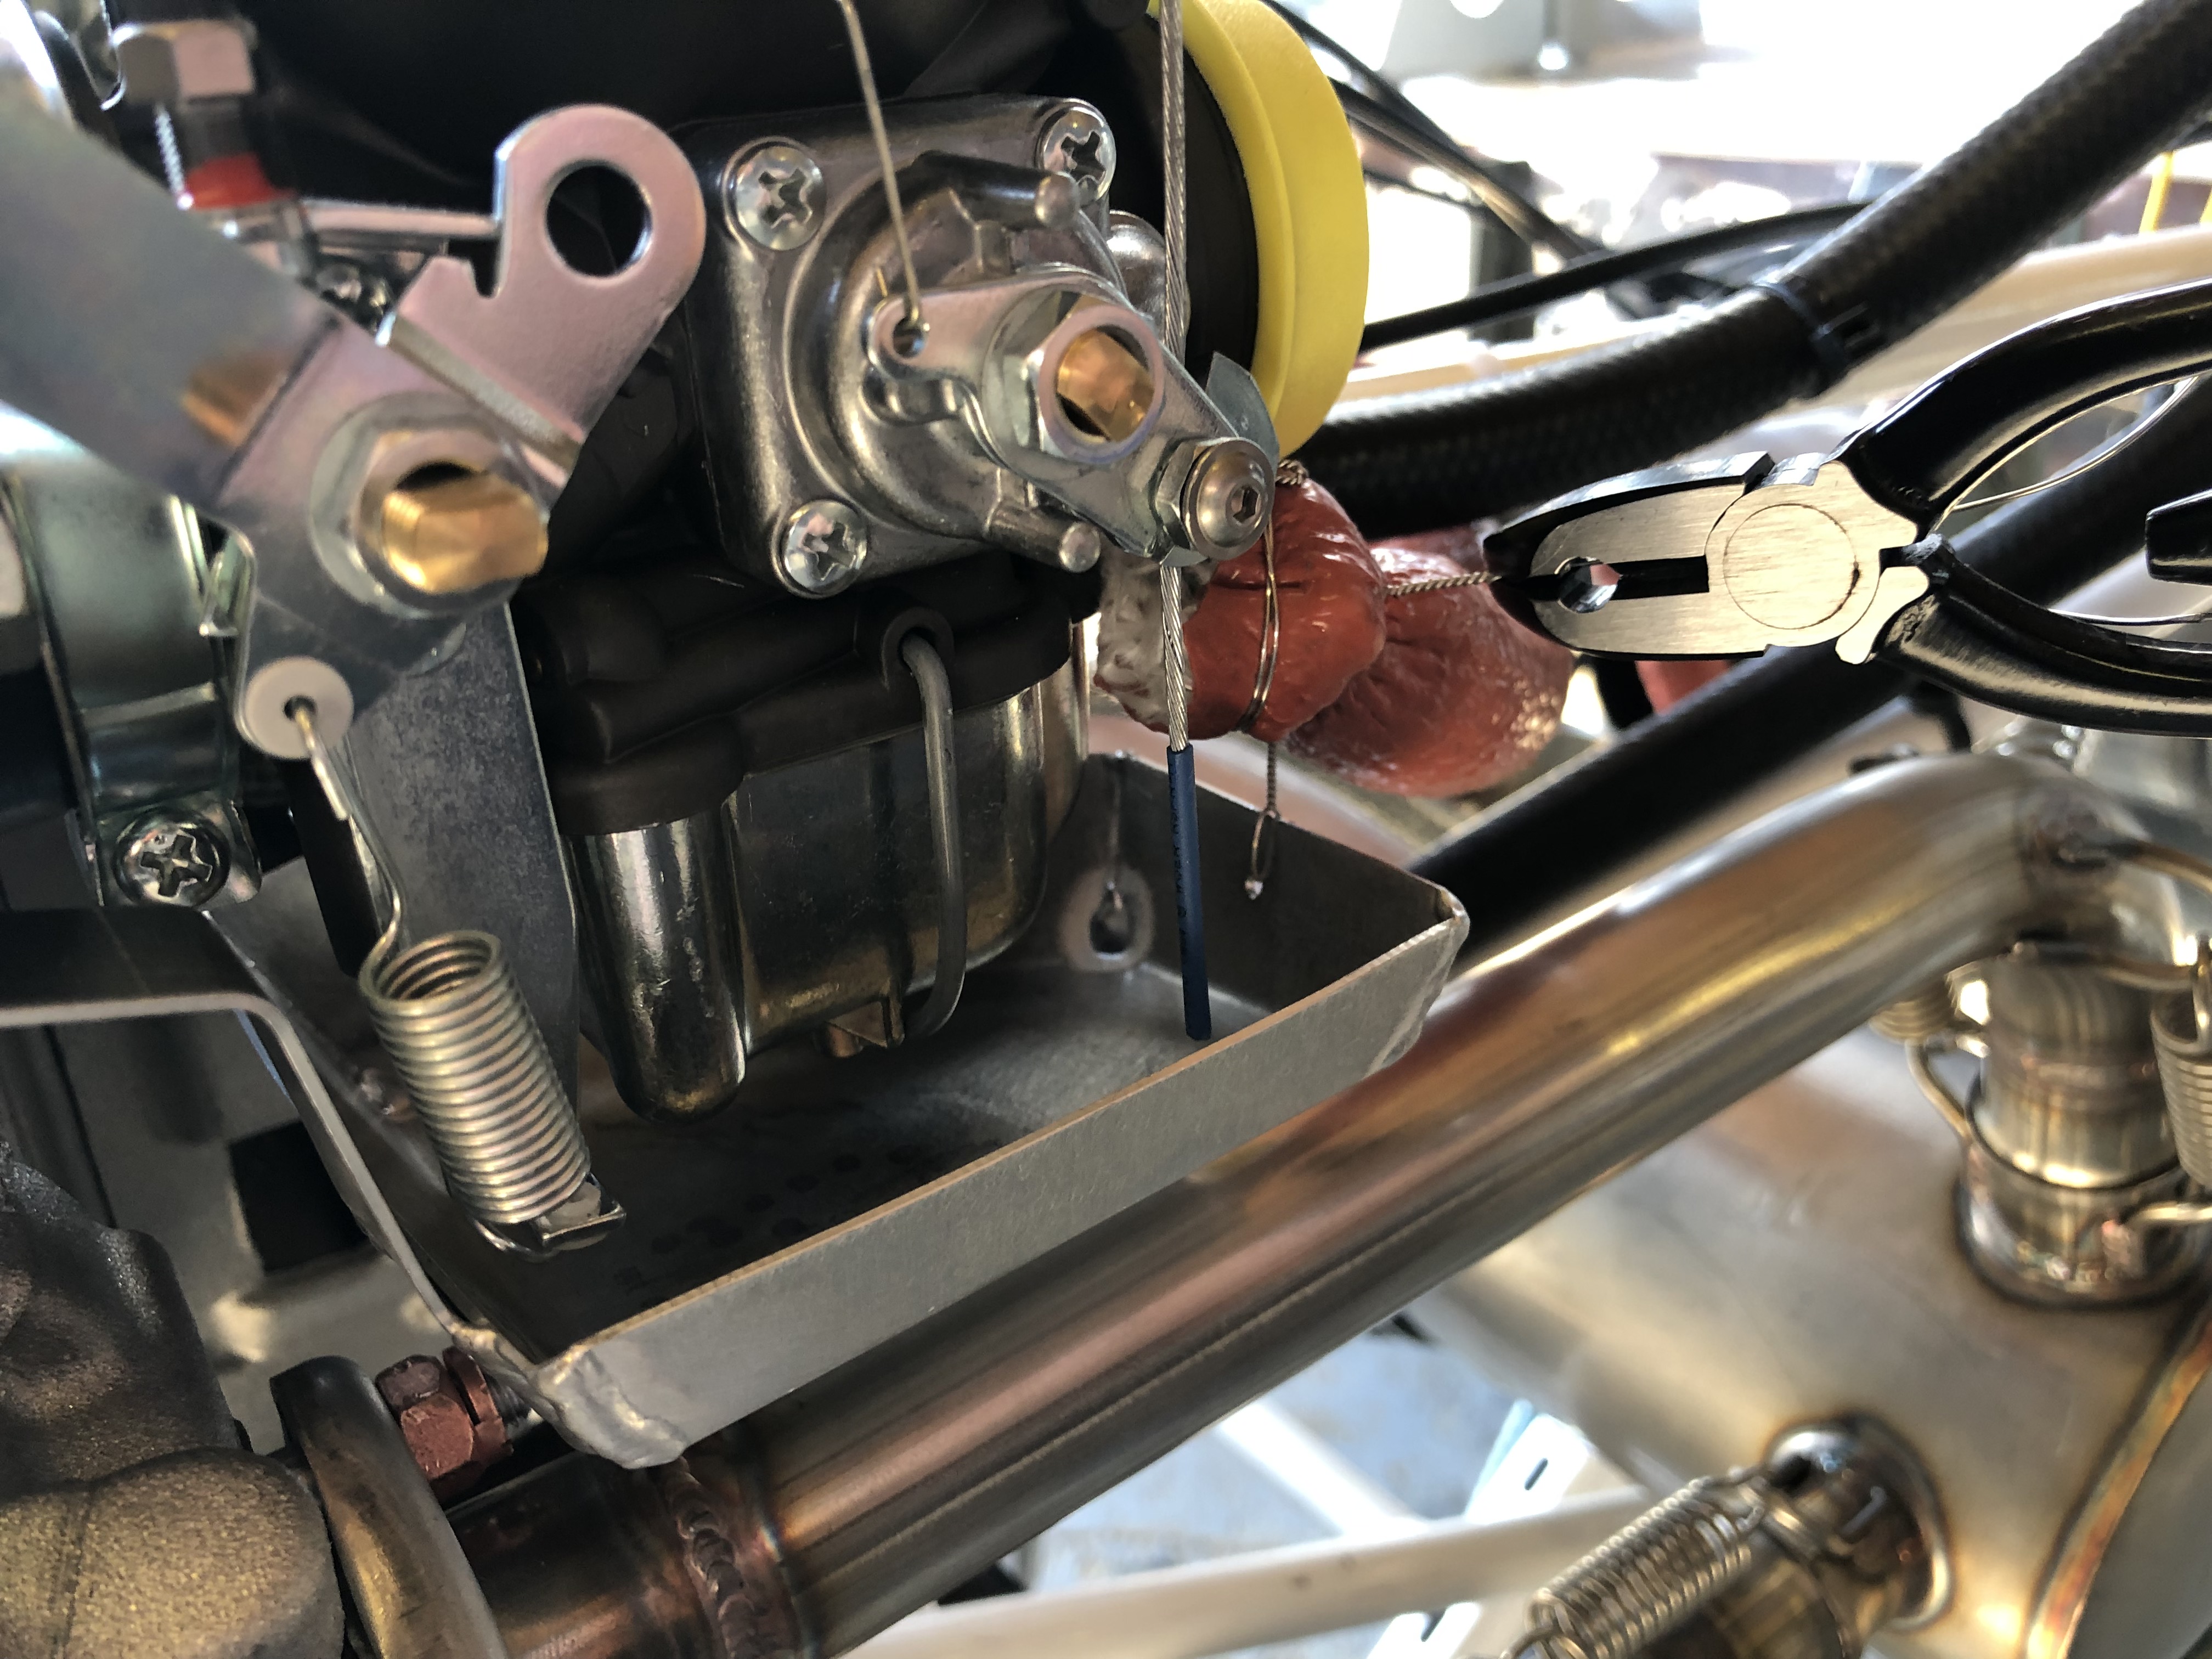
The throttle and choke cables need to be adjusted, tightened and cut to length.
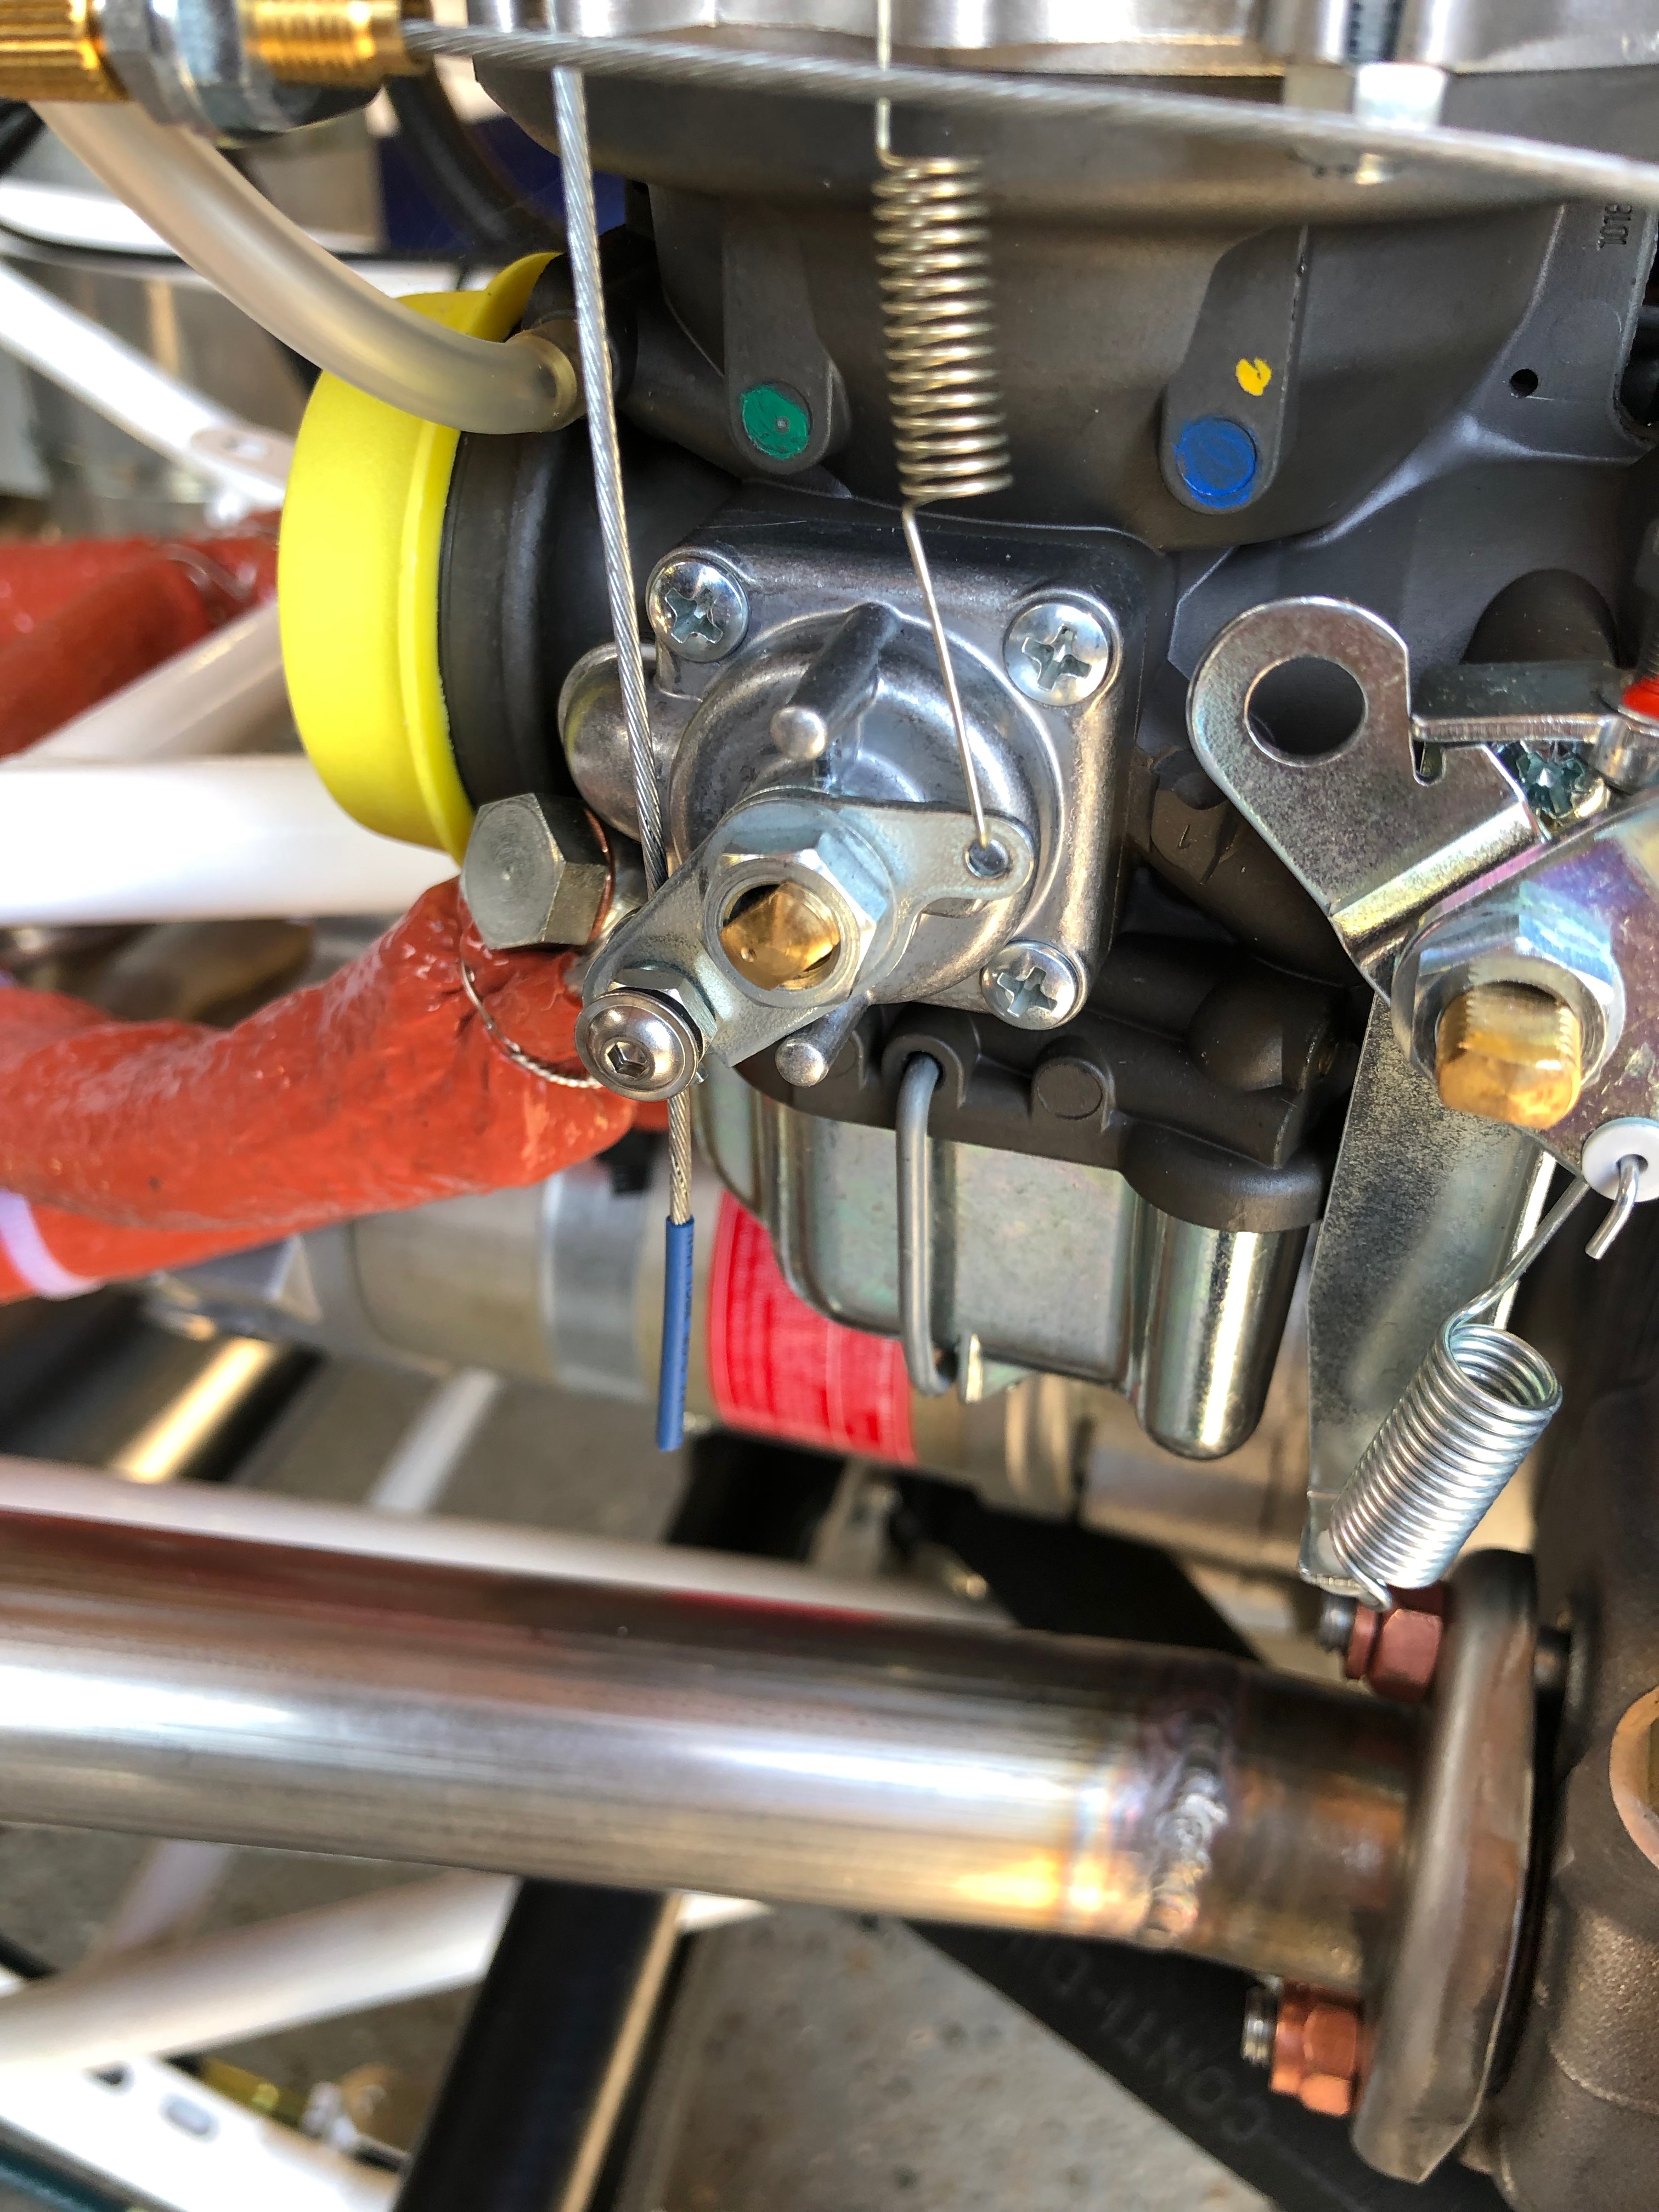
A small piece of heat shrink is put on the end to stop it fraying in service before it is cut to size.
The drip trays are held in position by a bracket at one end and a piece of wire lock at the other. A small hole is drilled in the drip tray to facilitate.
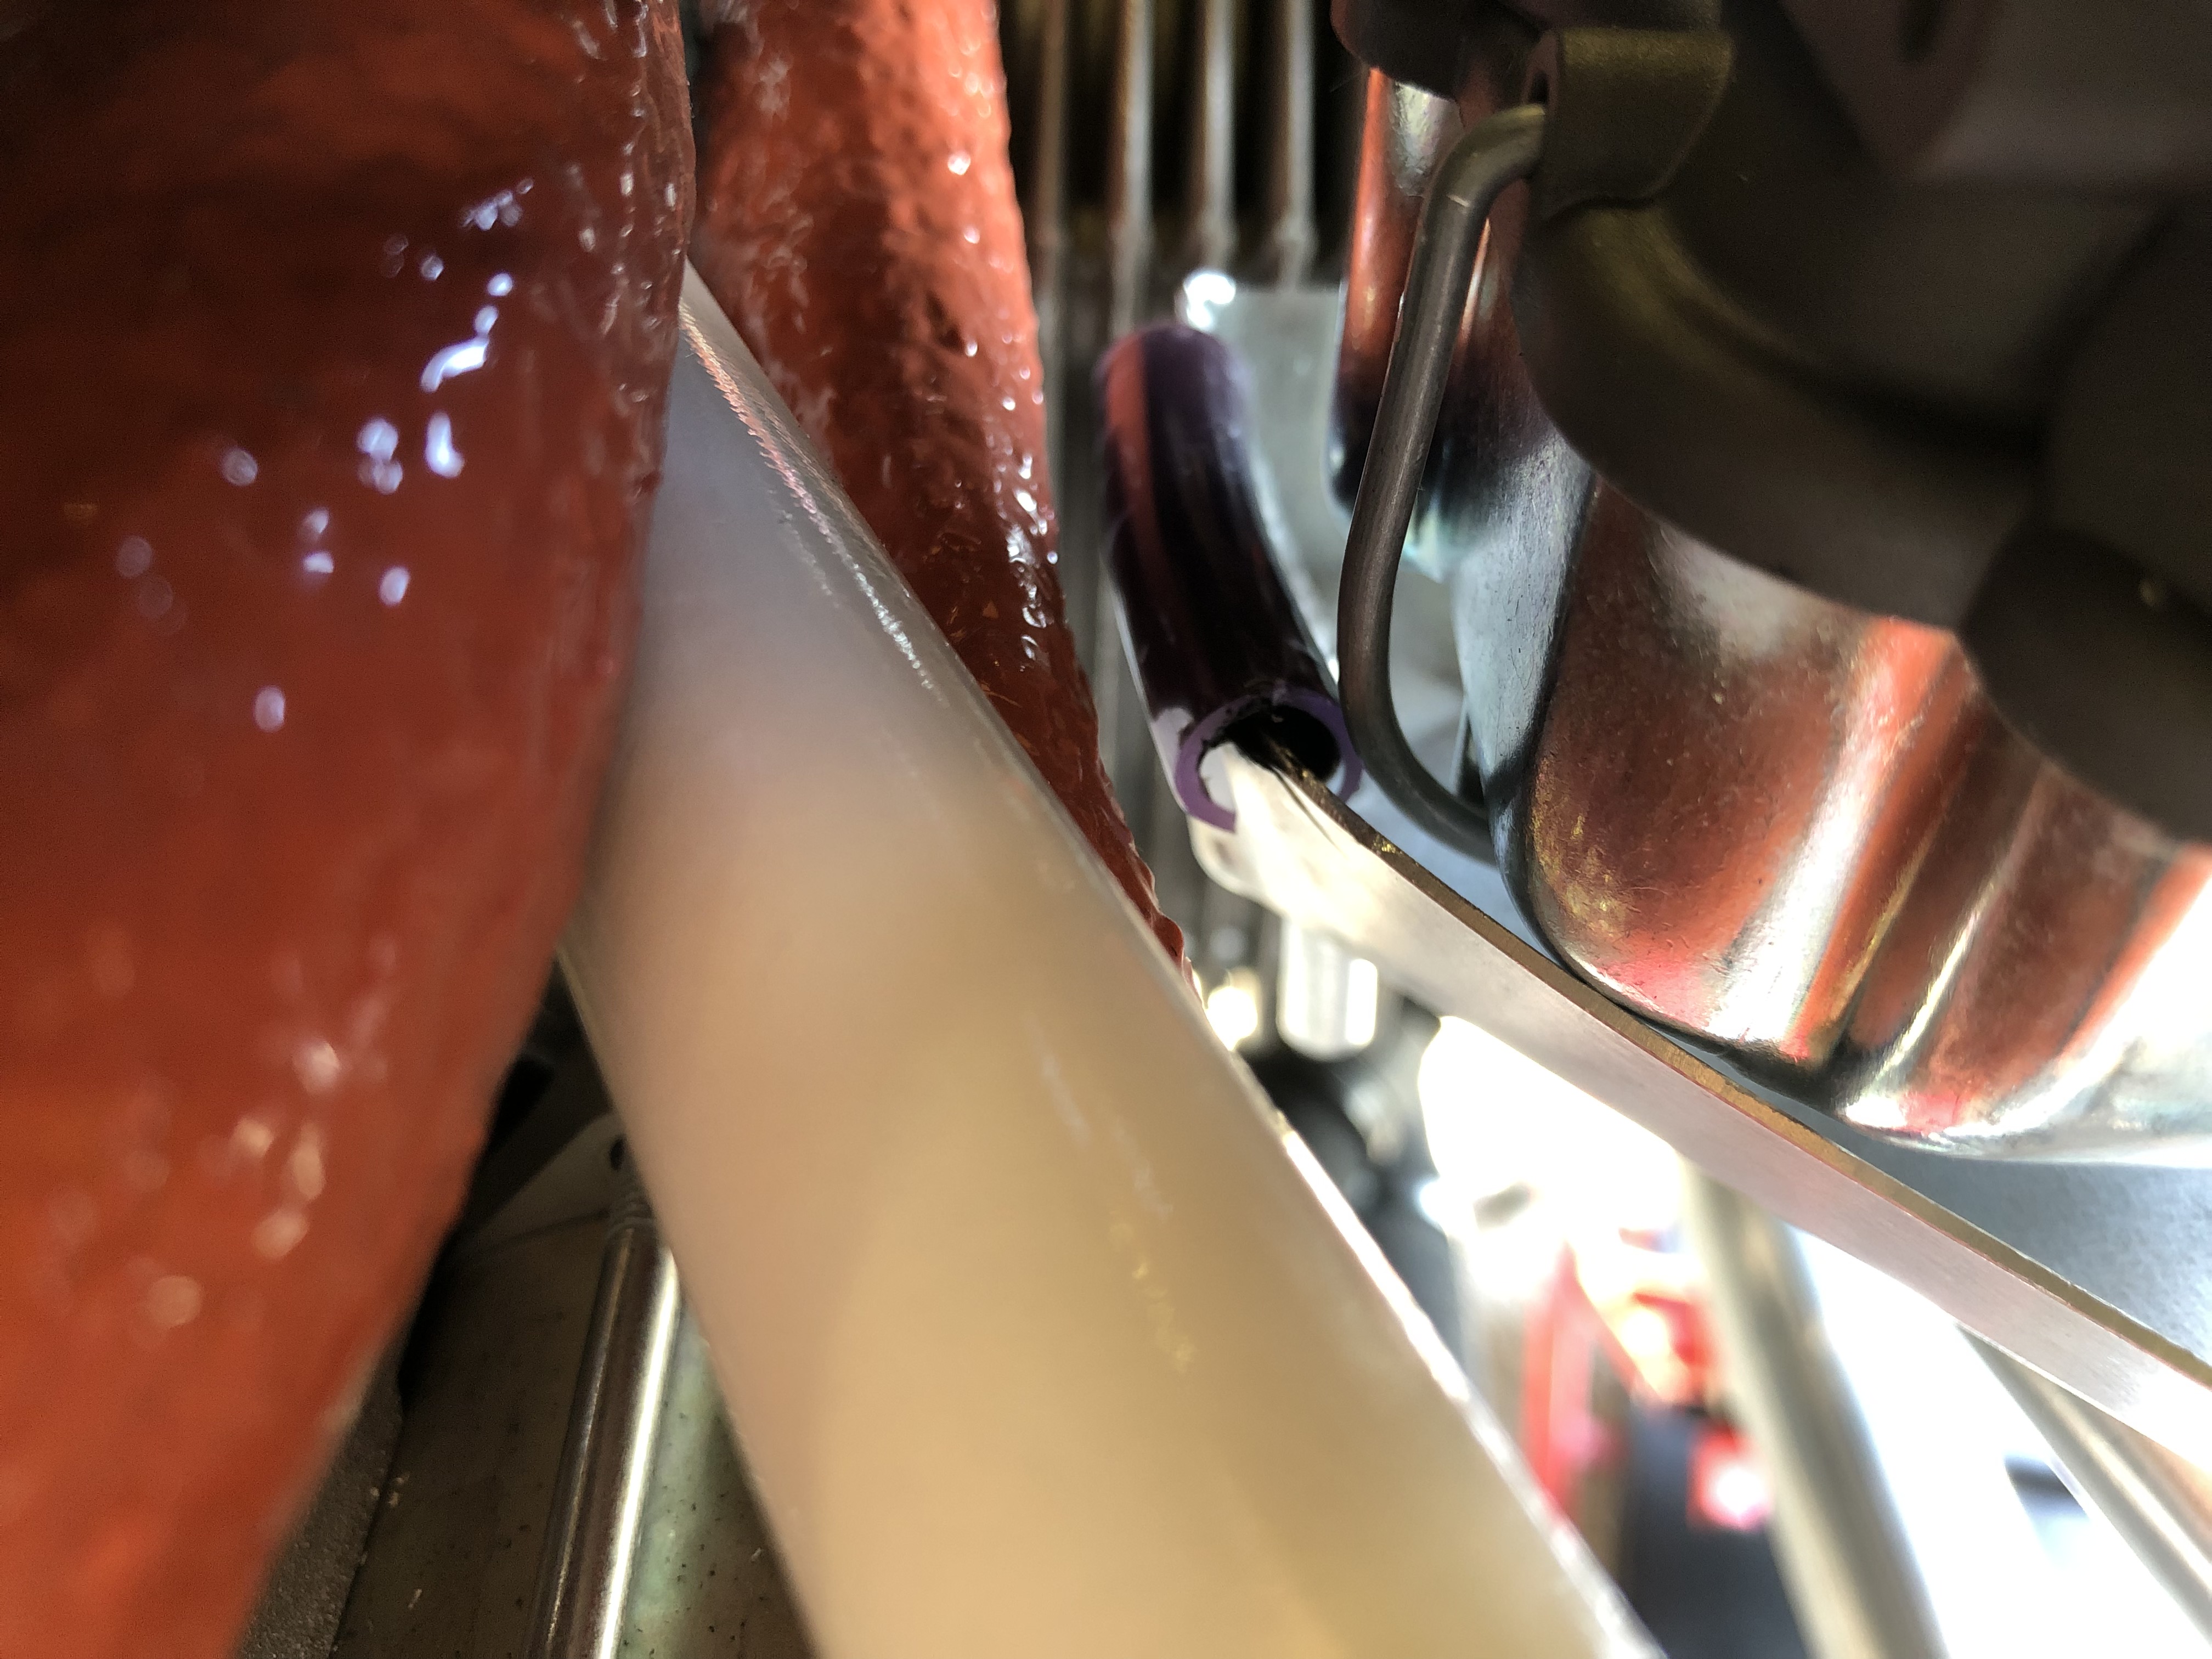
The right hand tray is quite close to the fuel line so a small modification was made to the tray itself and a small piece of plastic tubing secured on the top of the tray to stop it rubbing on the pipe.

View of the final installation.

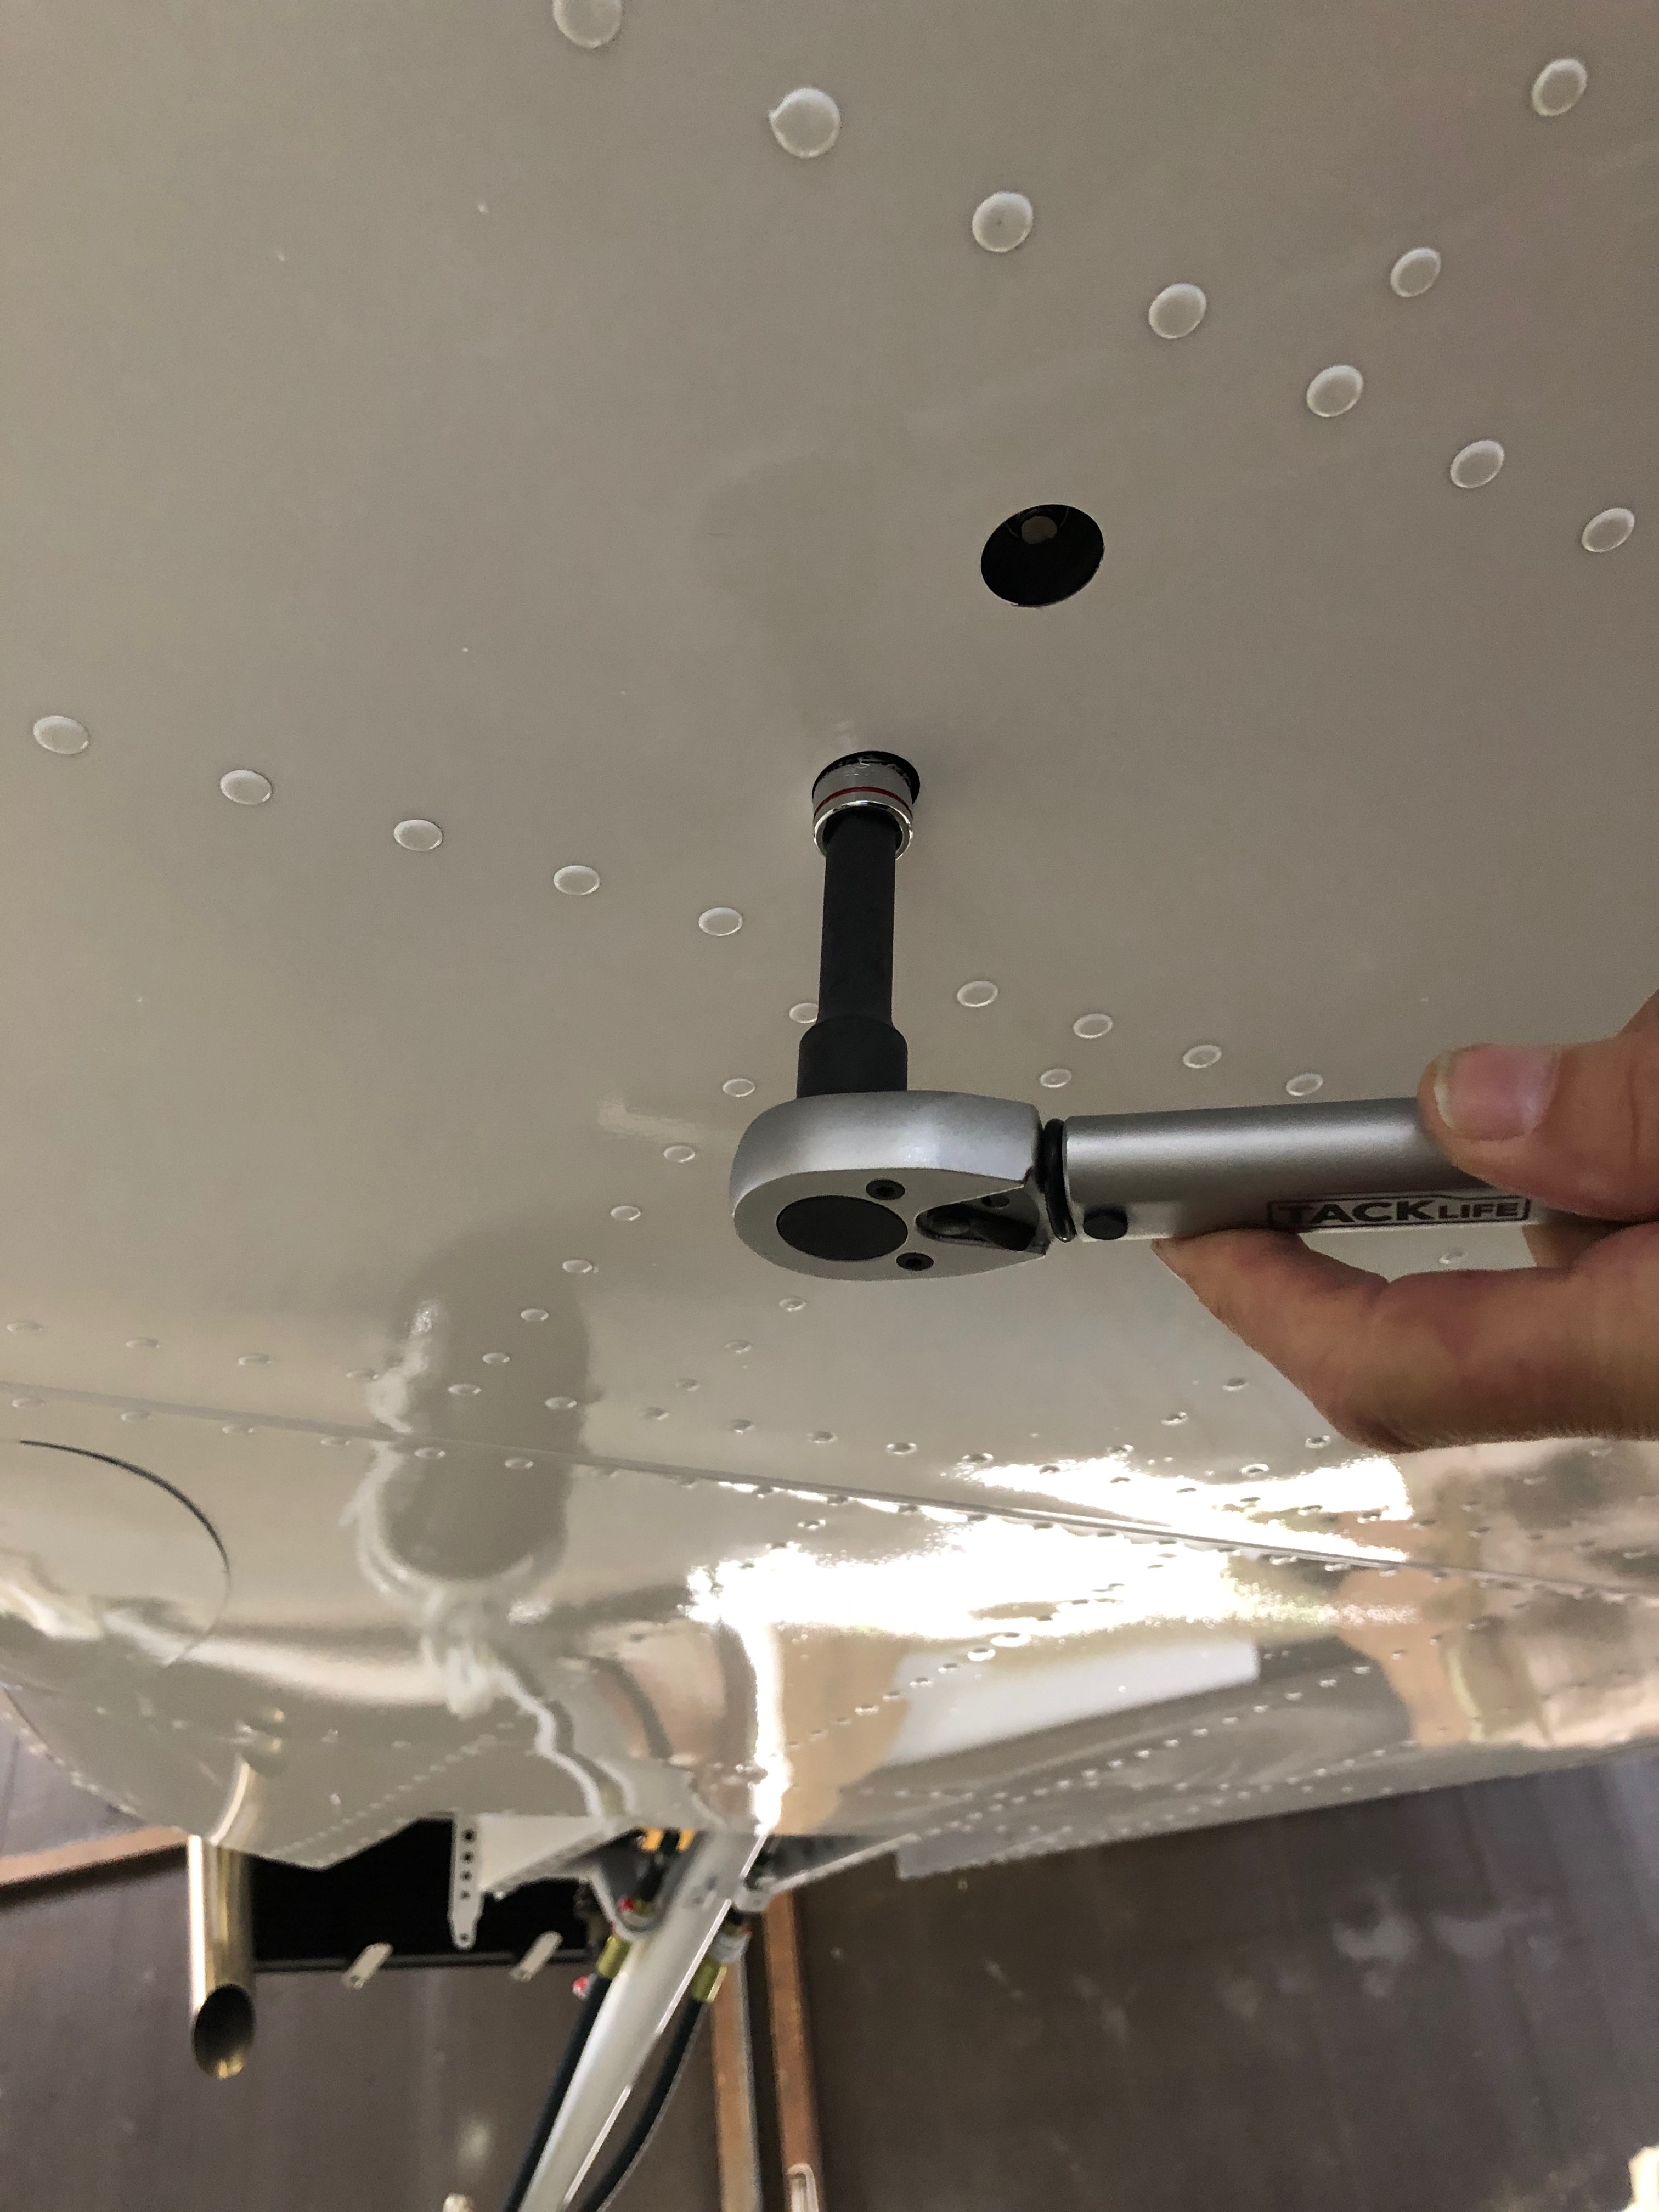
One of the jobs on my ‘todo’ list was to torque the brake disks so the wheel is jacked using a simple wooded jack.
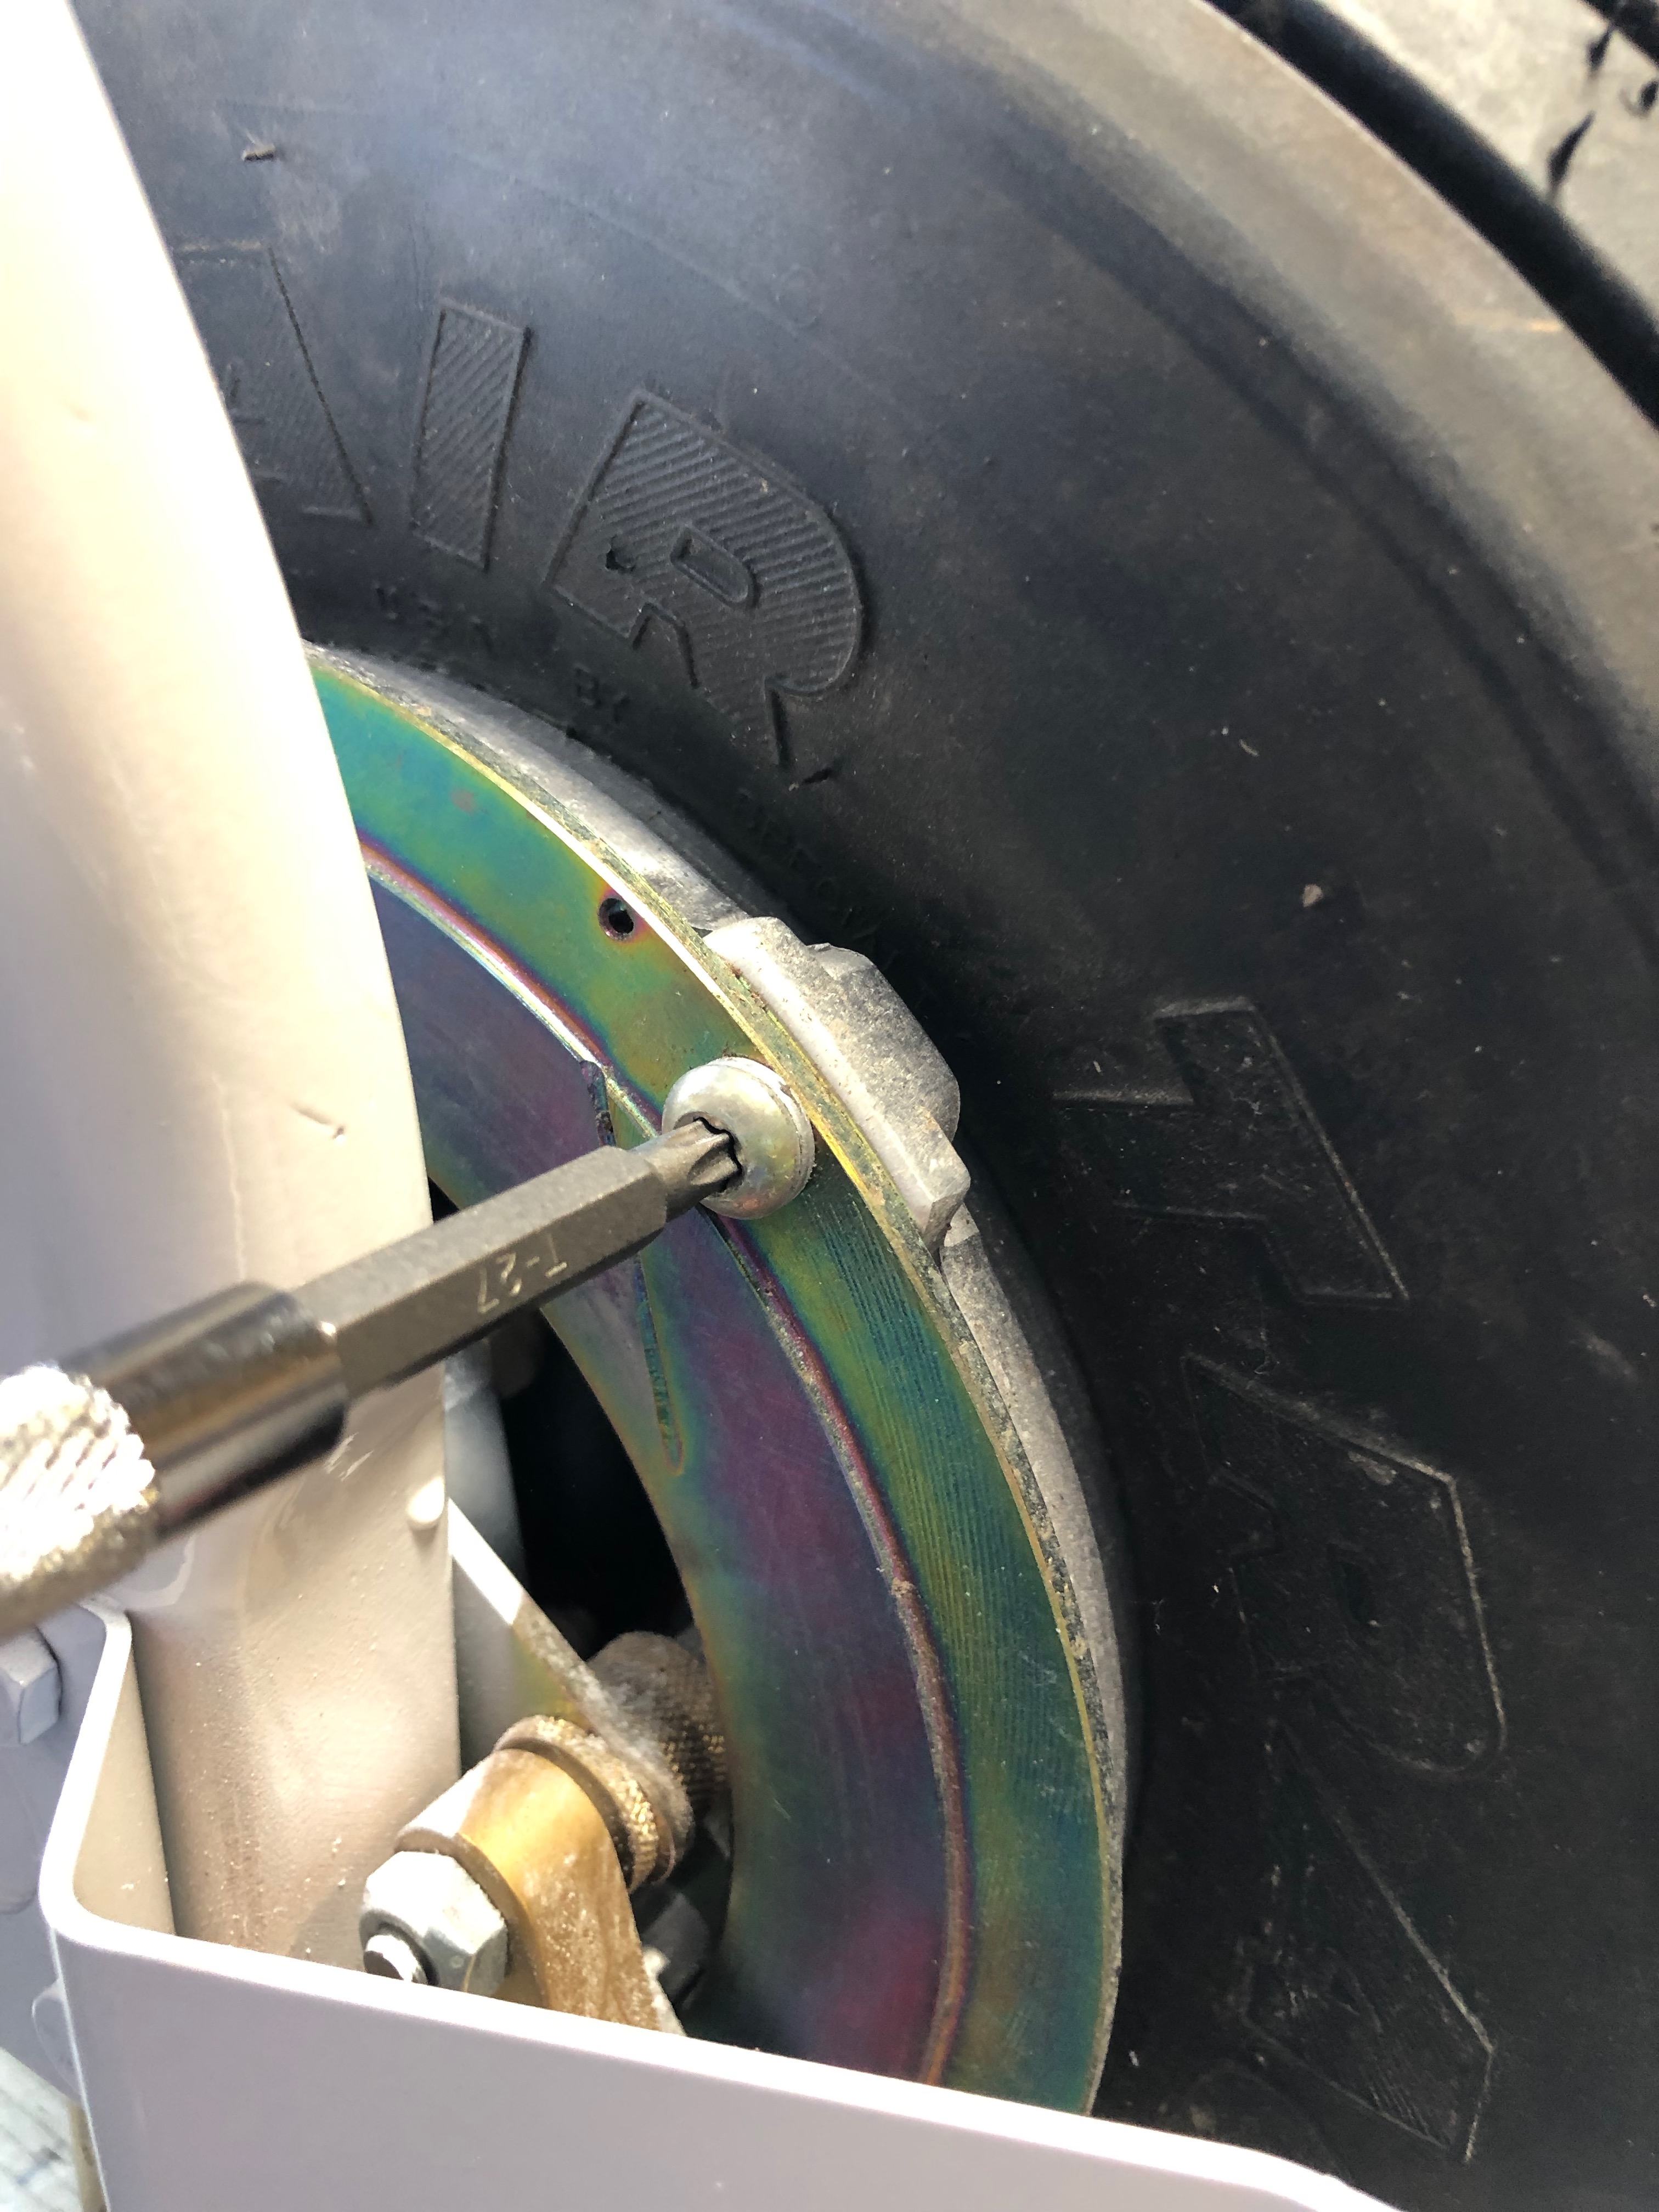
The bolts are torqued…

and marked with torque seal. This will allow me to see if there is any movement in the bolts whilst in service.
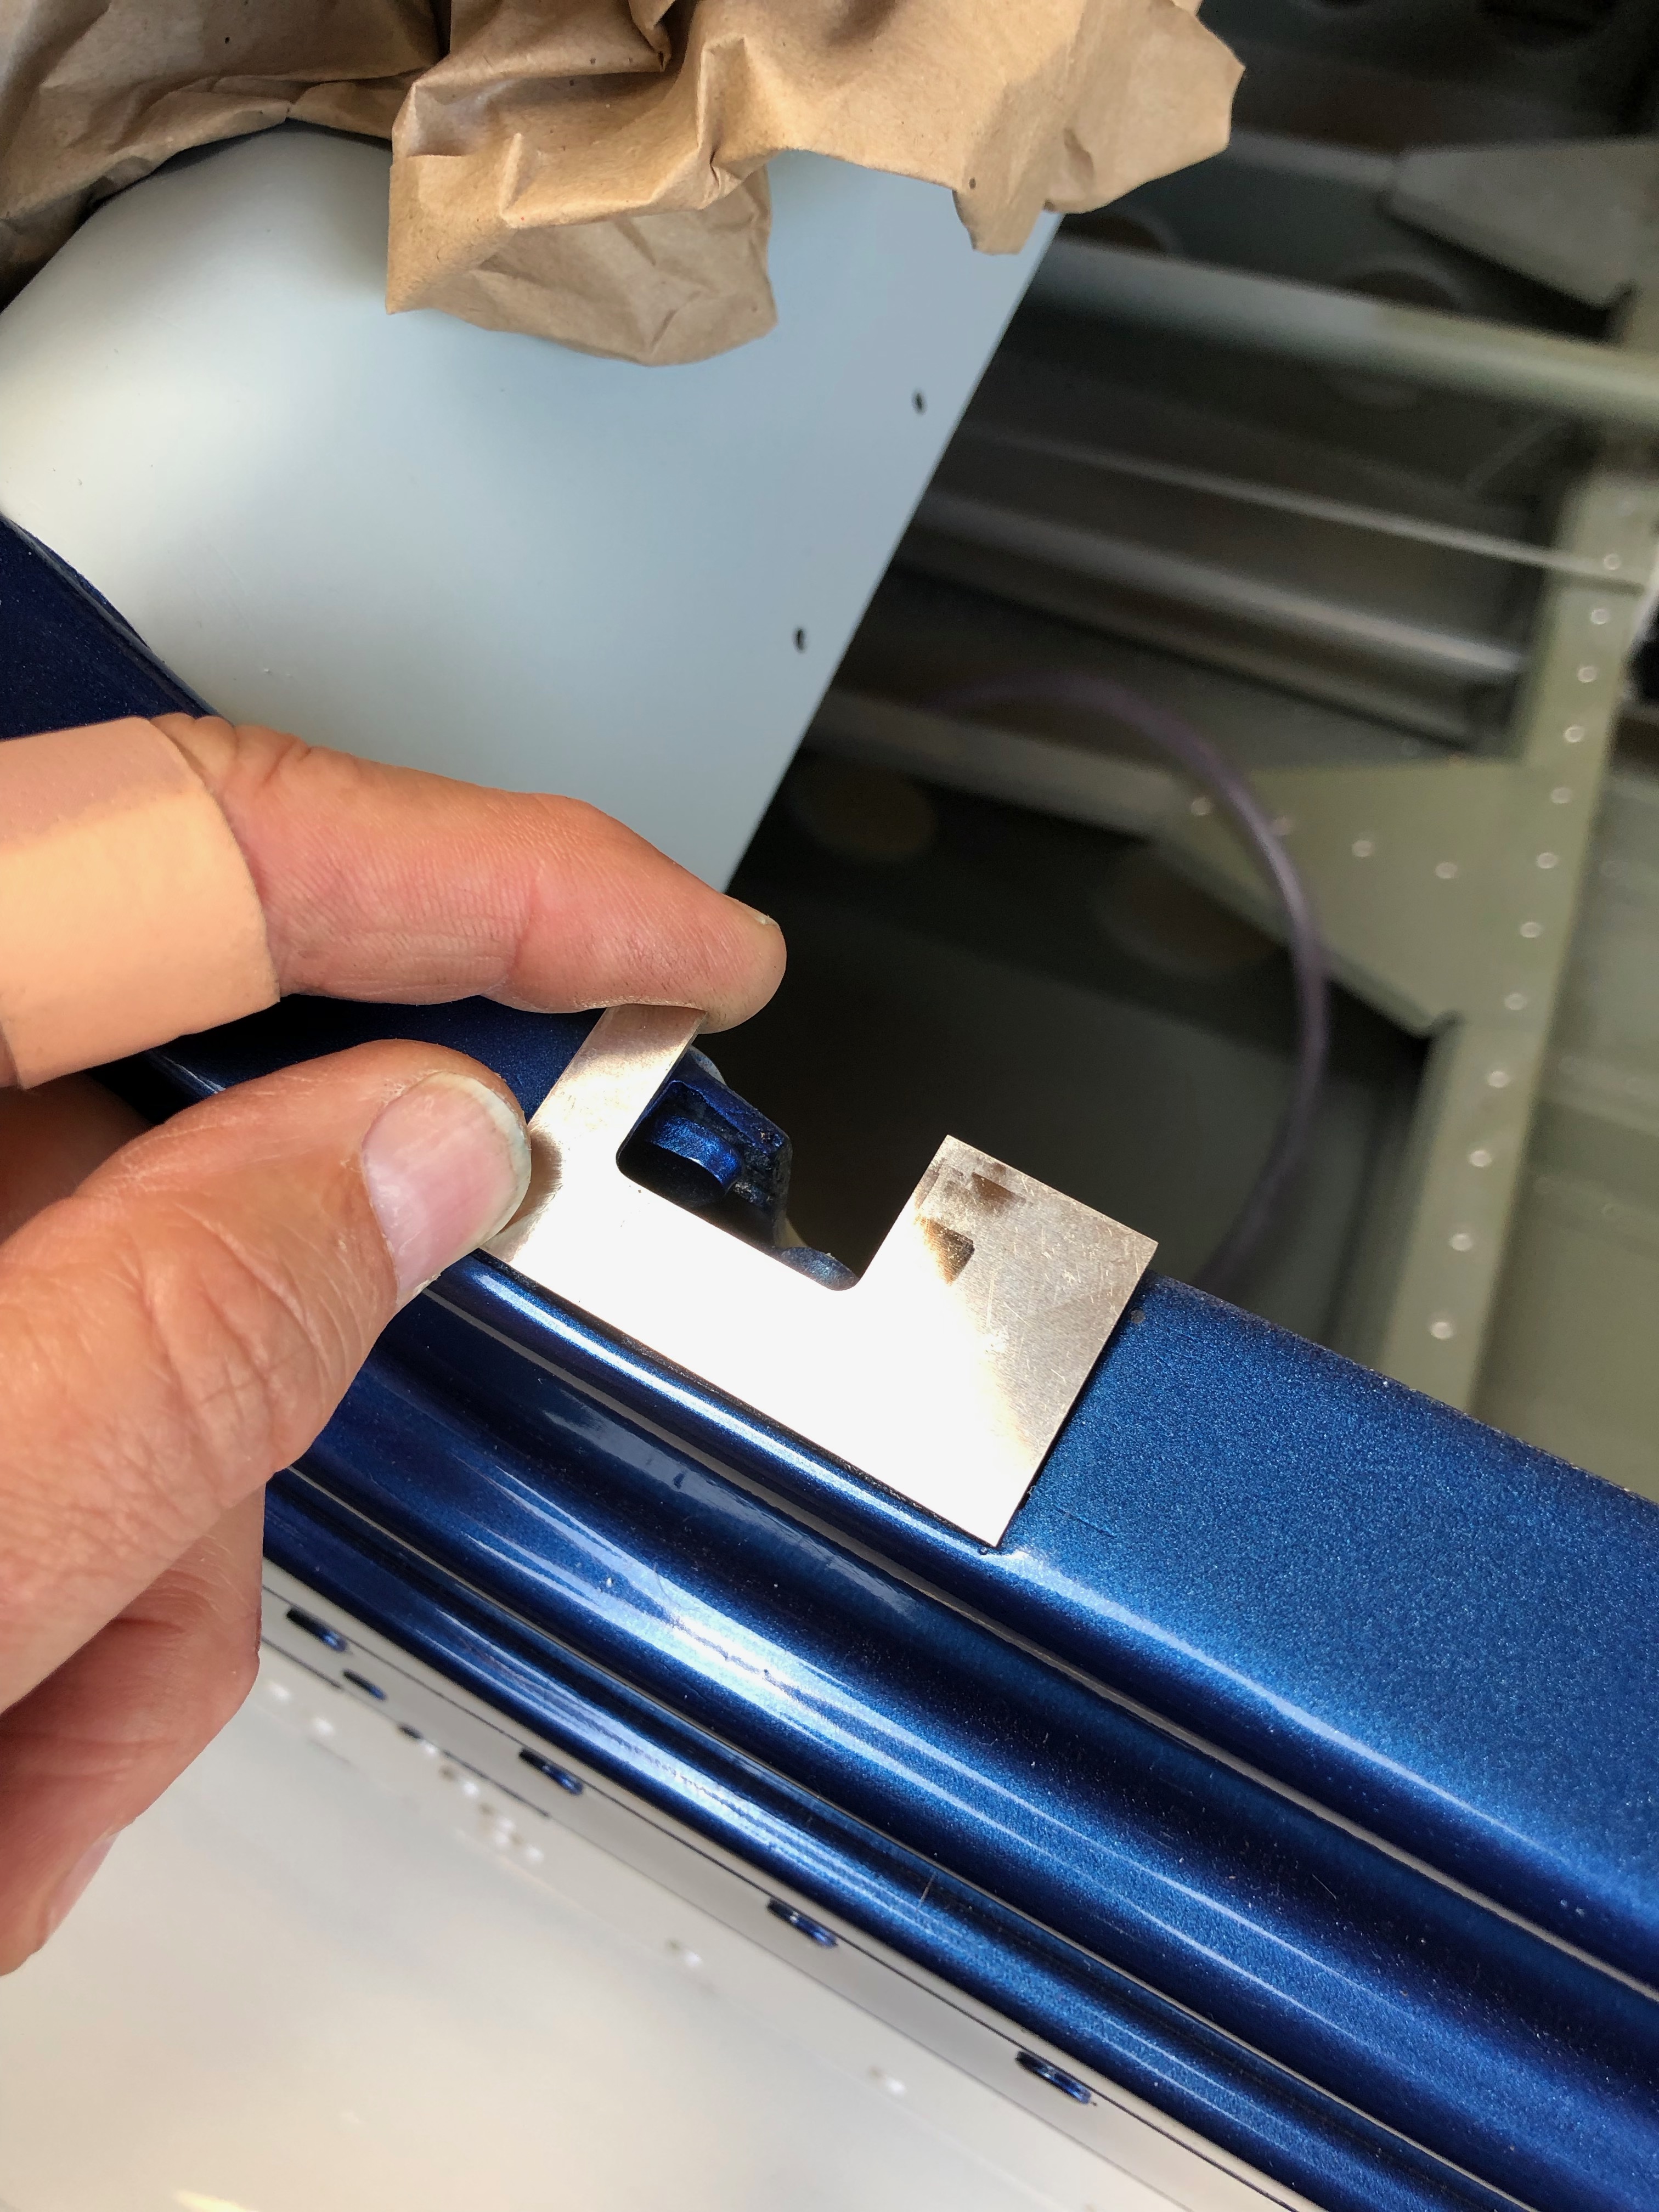
Next job to do fit the canopy locks and striker plates.

Once cut to size, holes countersunk and smoothed off they can be painted.
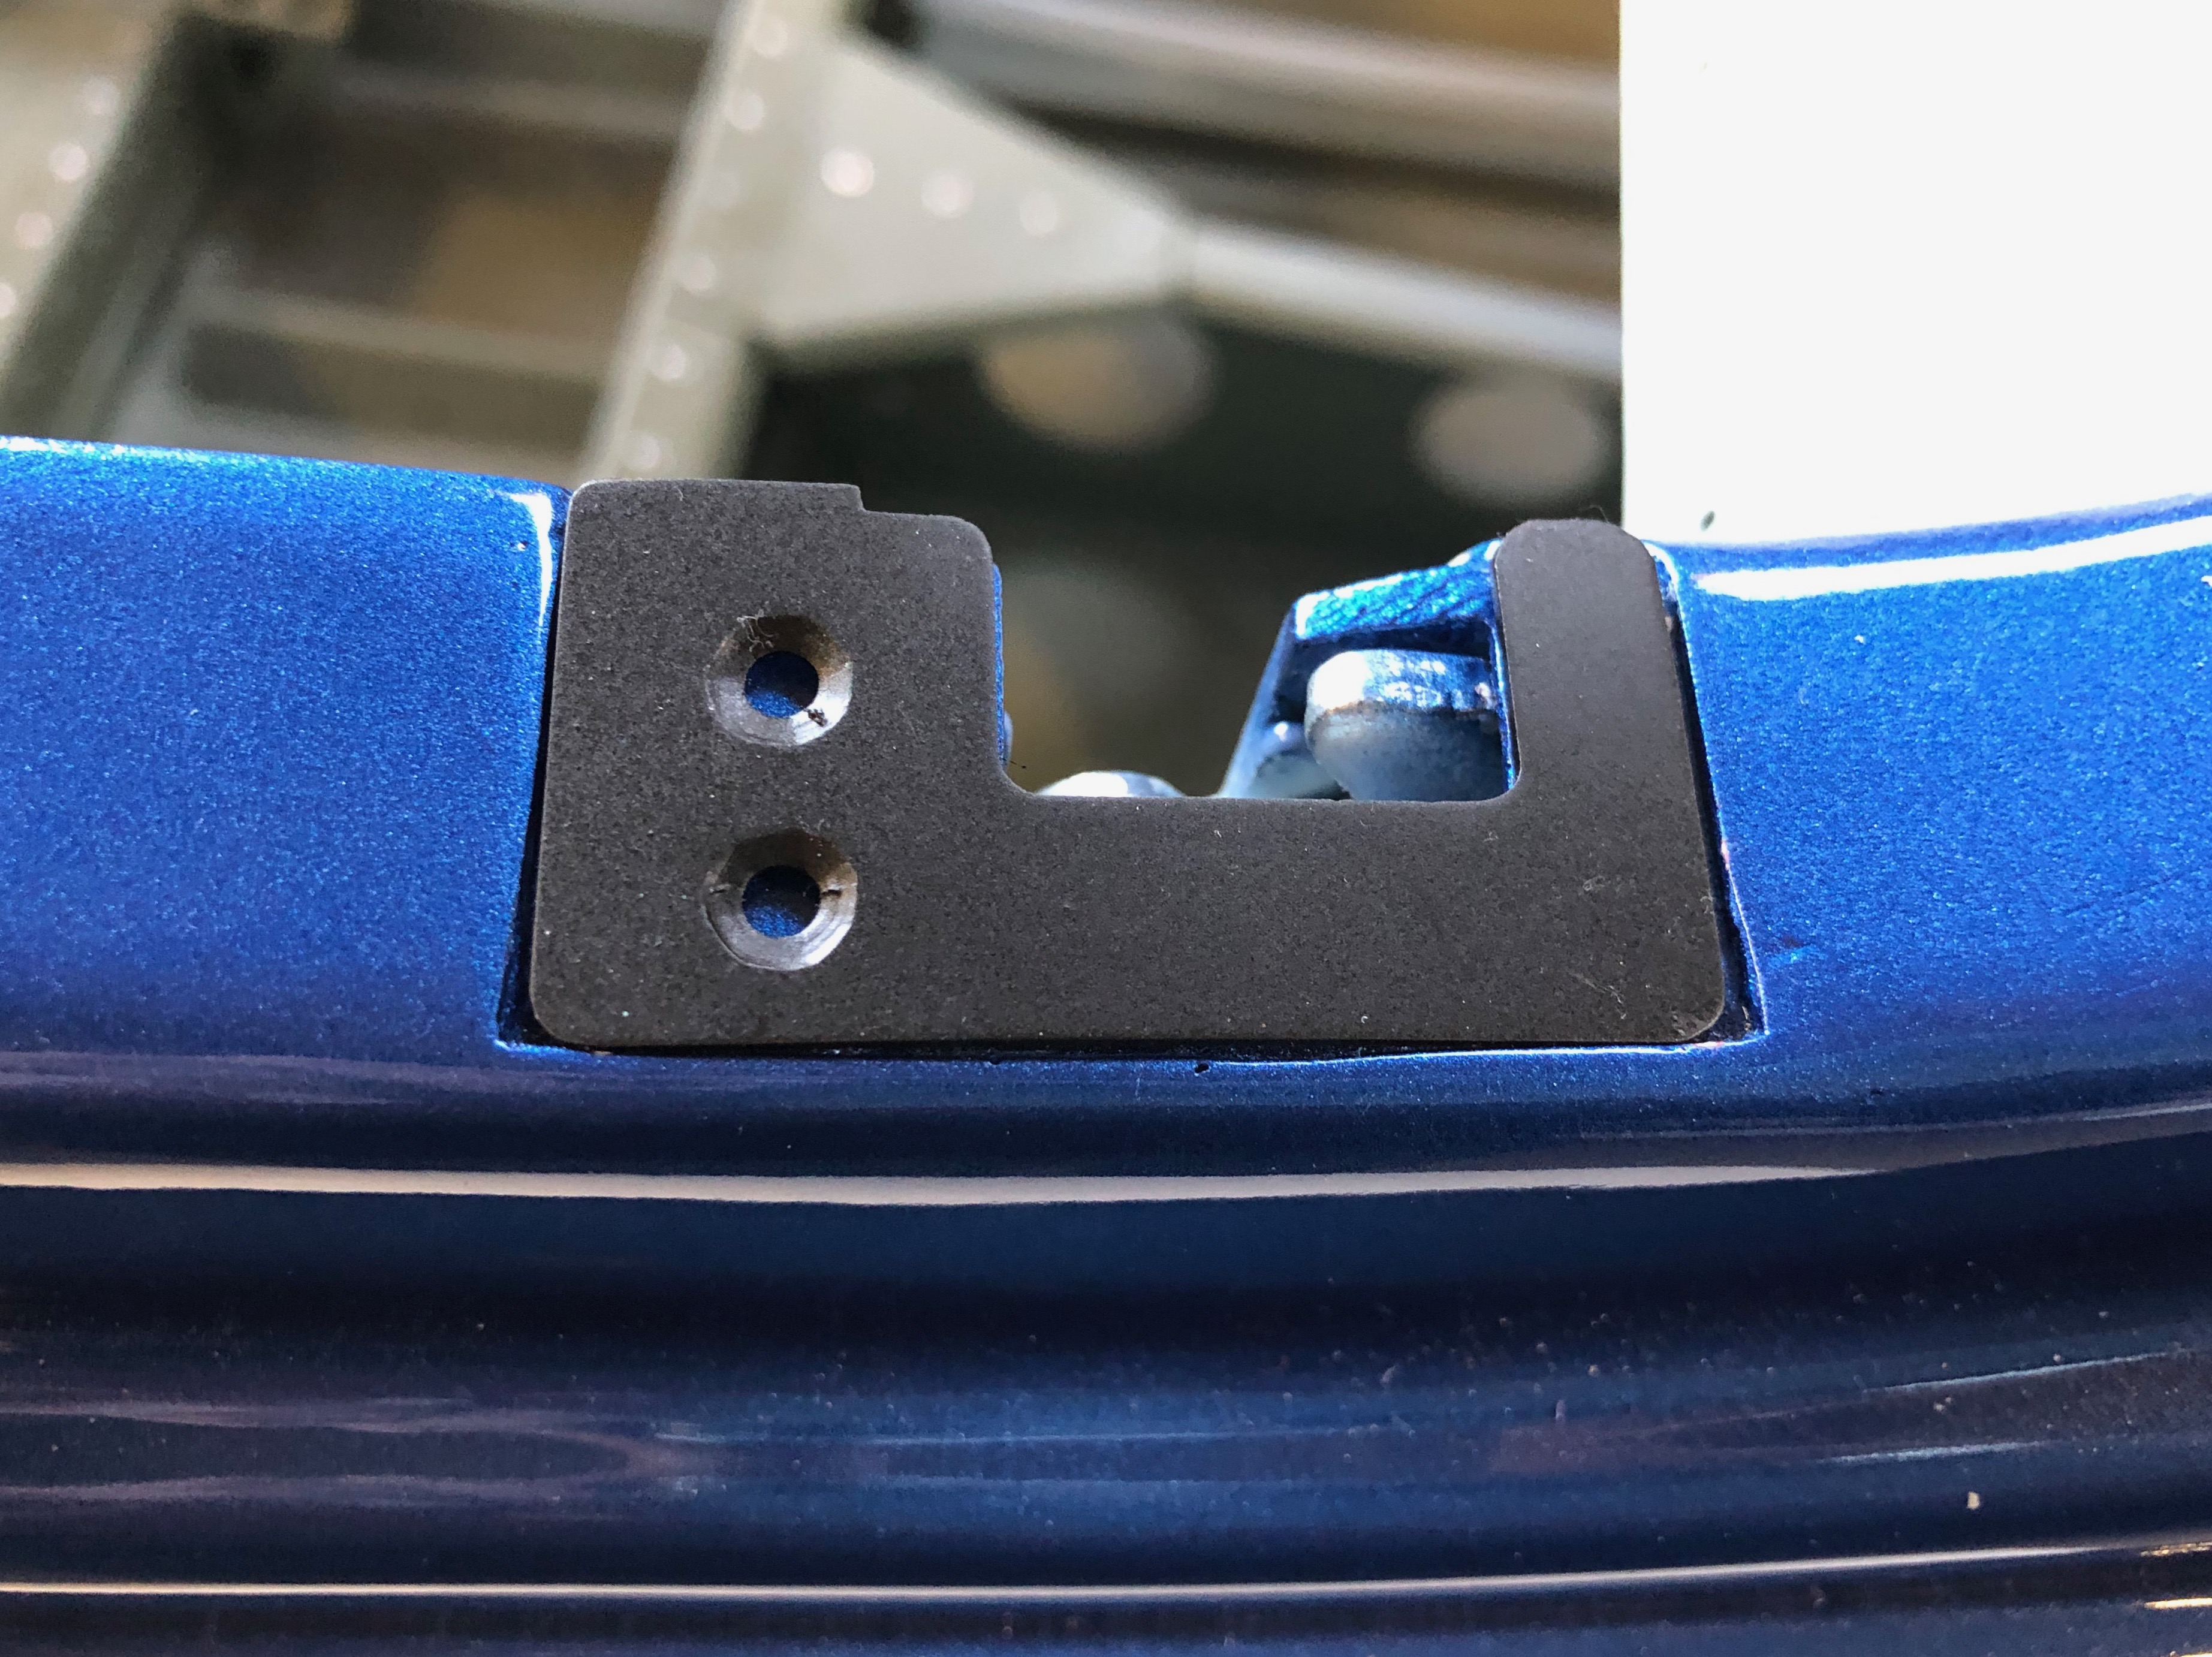
The striker plate in place ready to be riveted into place tomorrow.
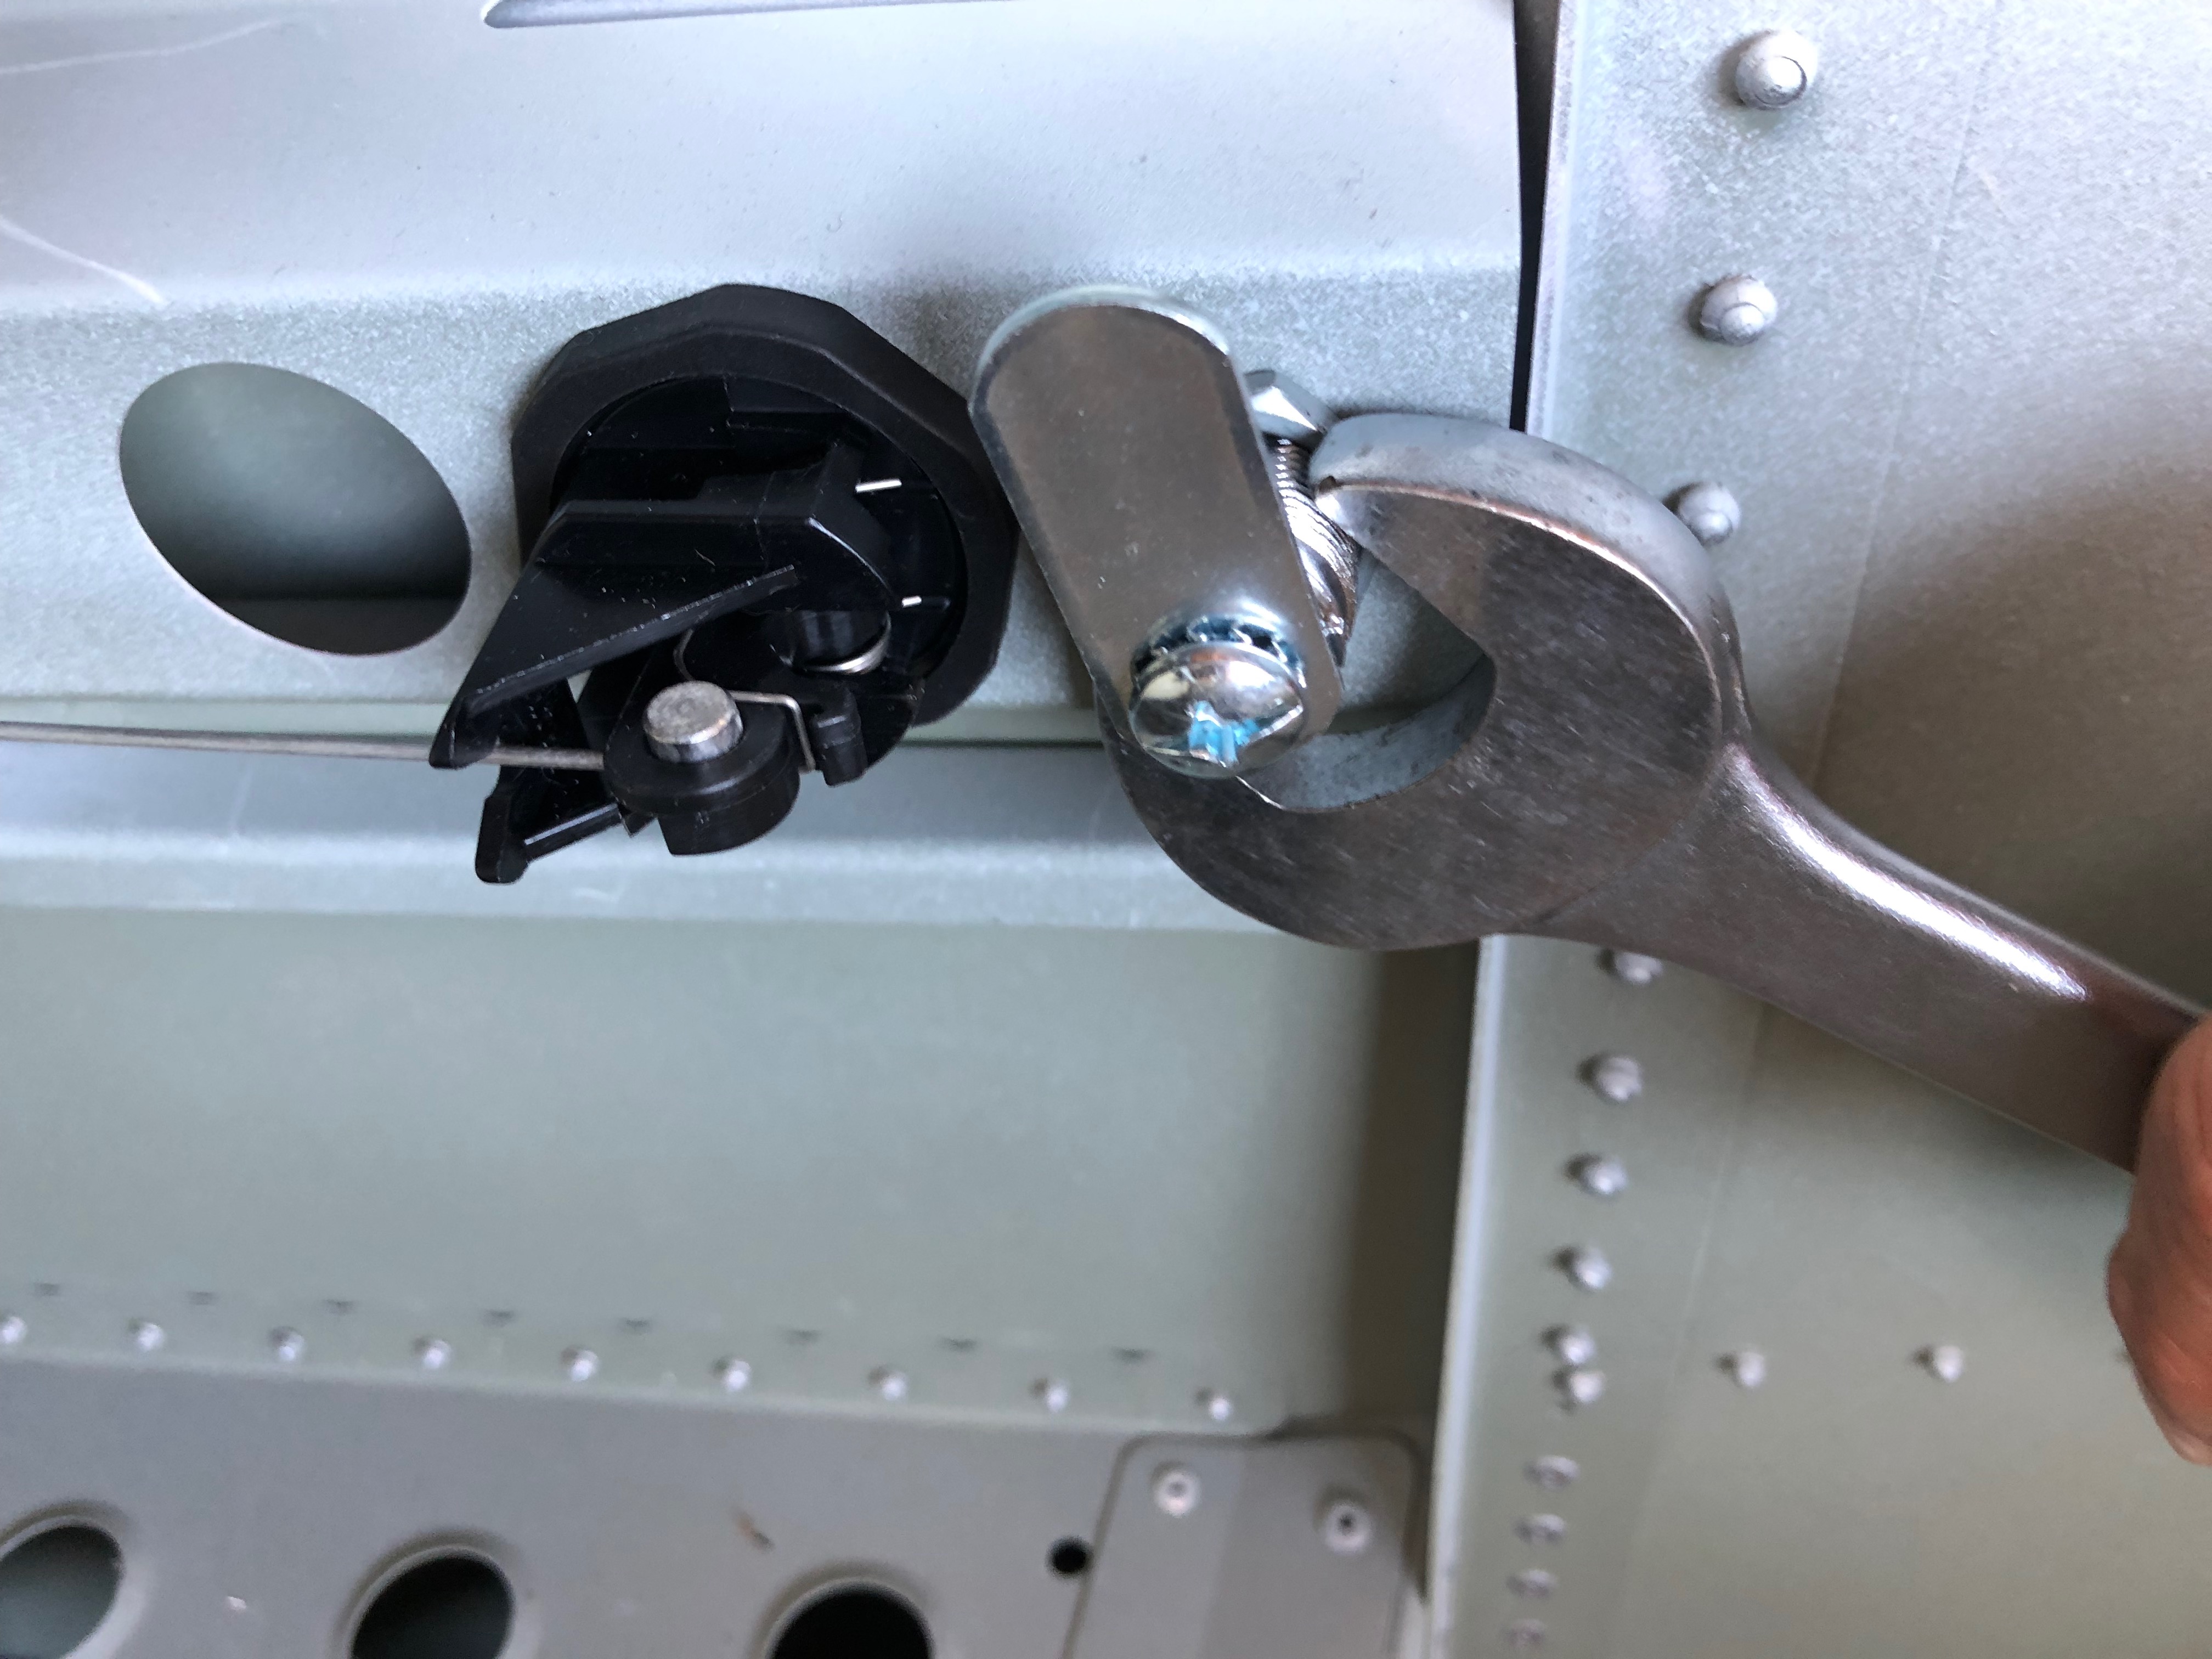
The canopy lock and release are installed and tightened.
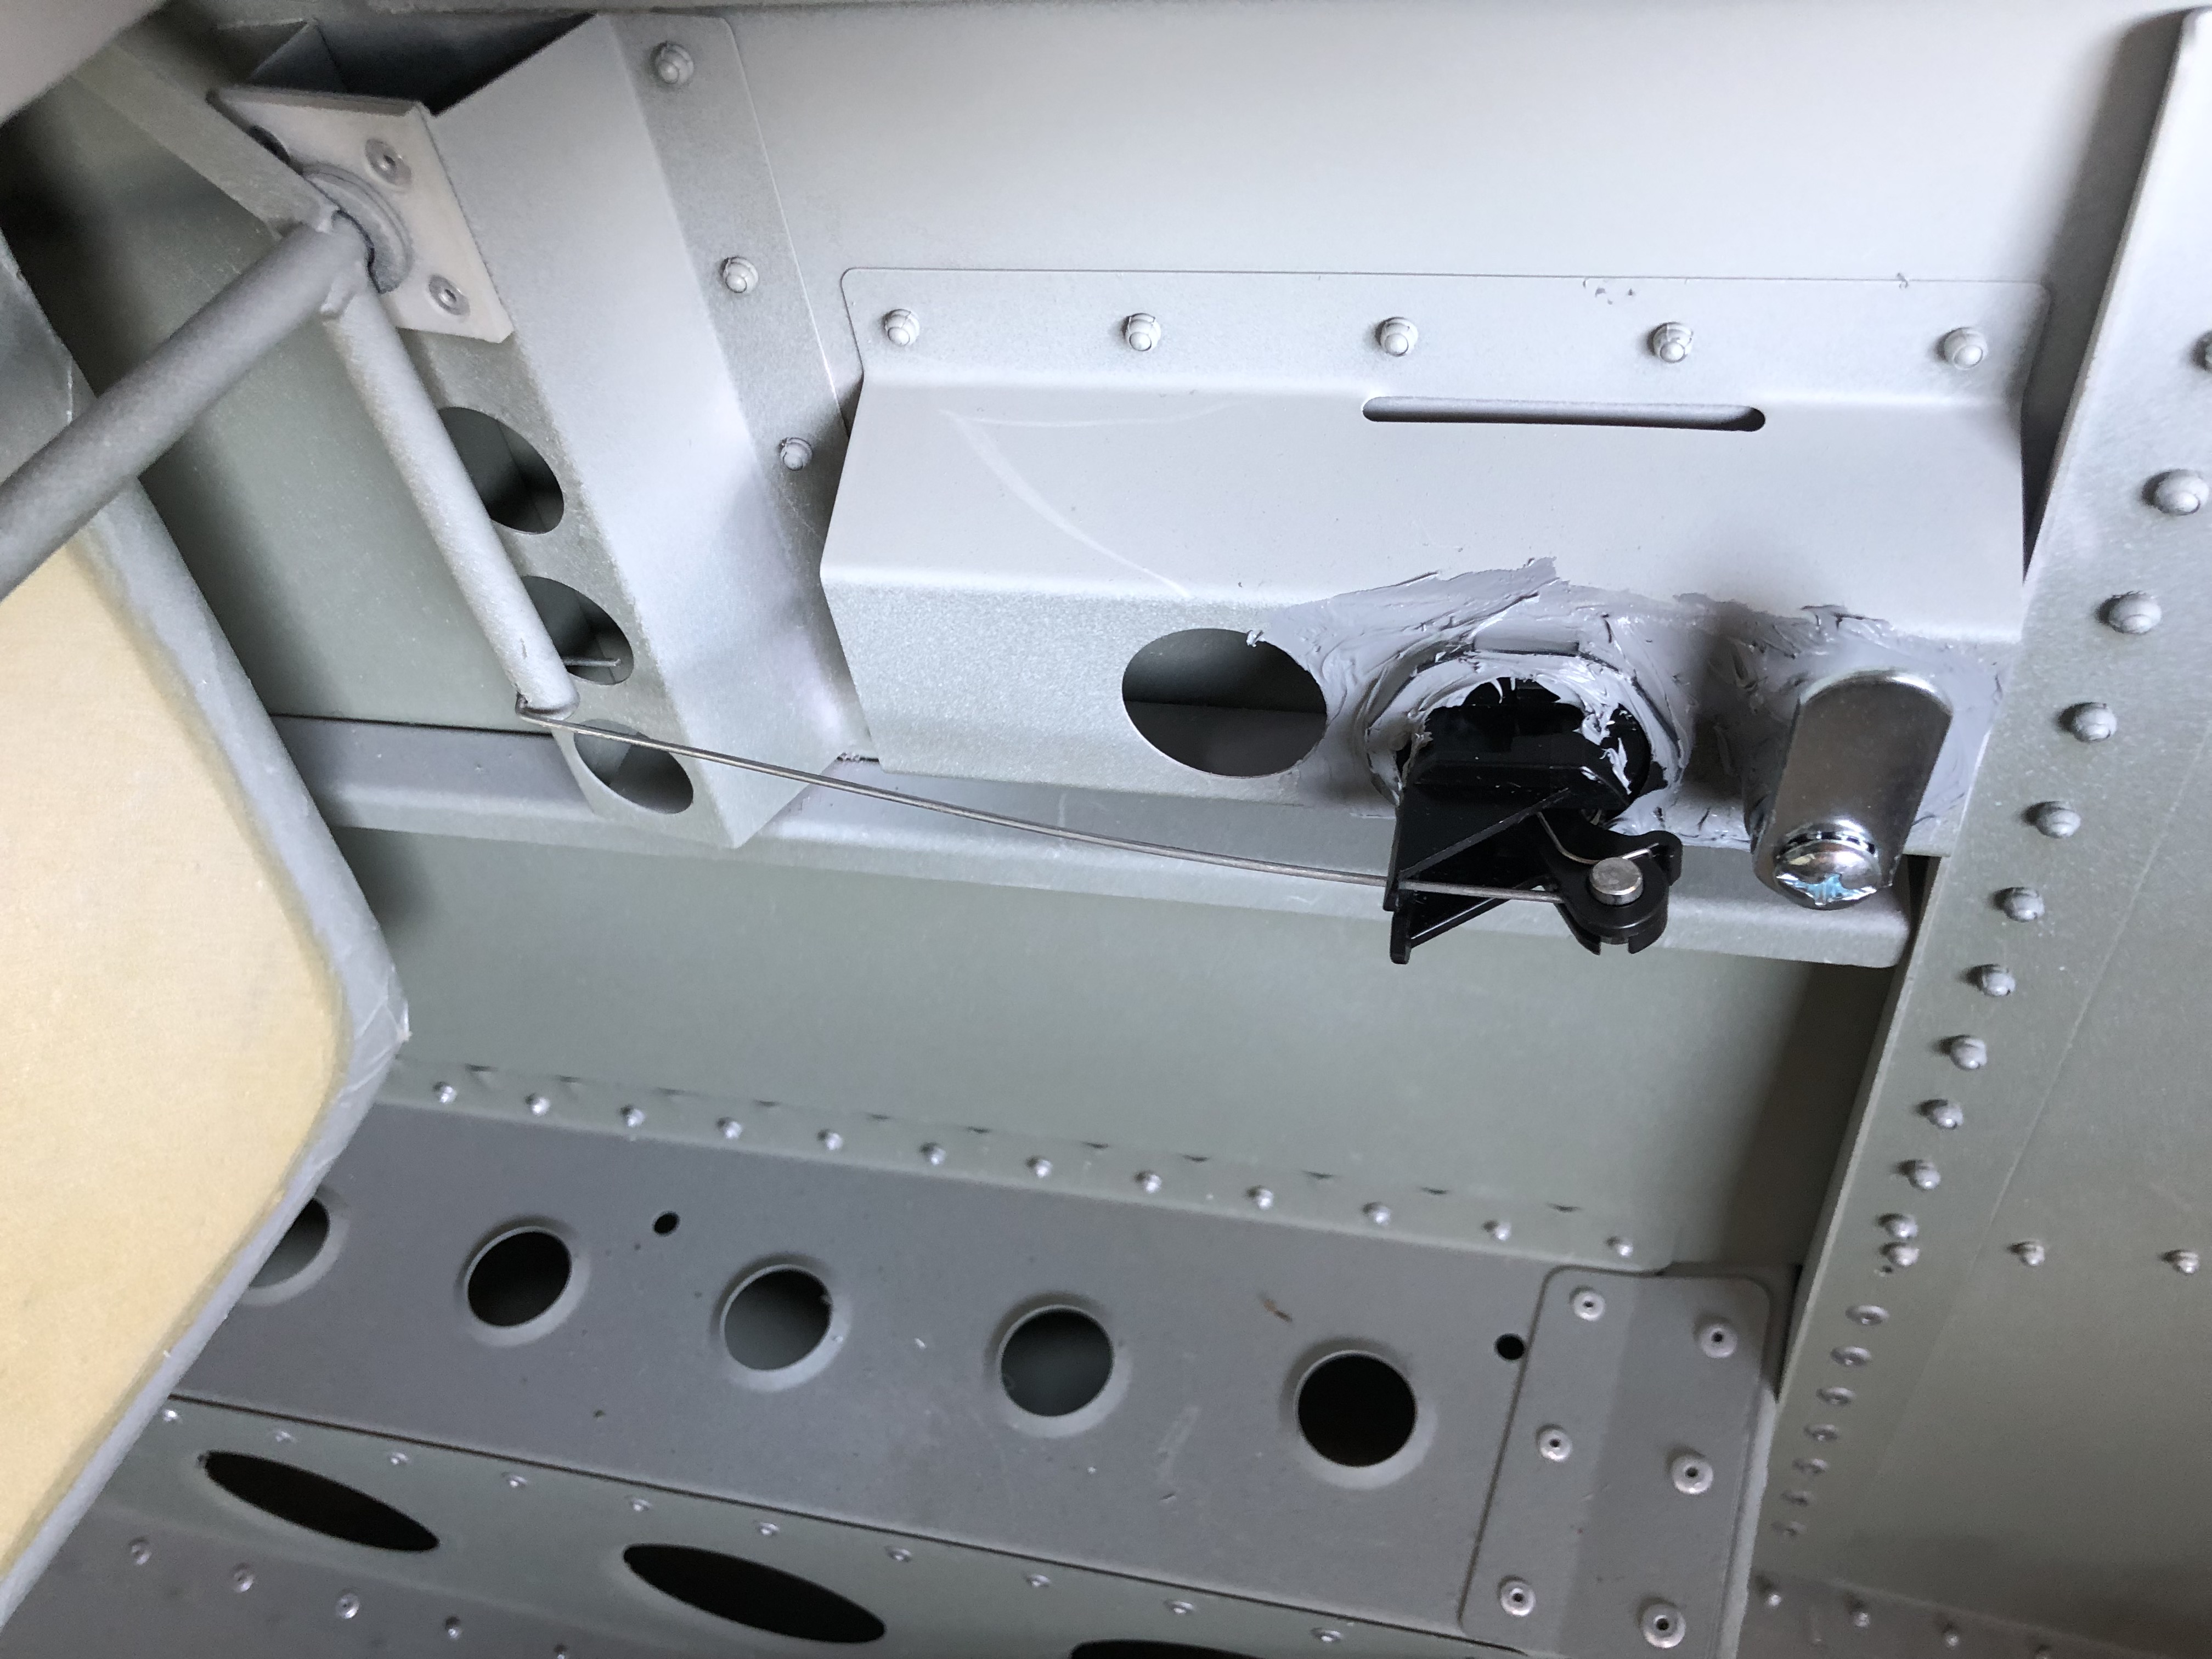
The actuating wire is cut to size and fed through the operating arm and finally the installation is sealed with silicone sealer.
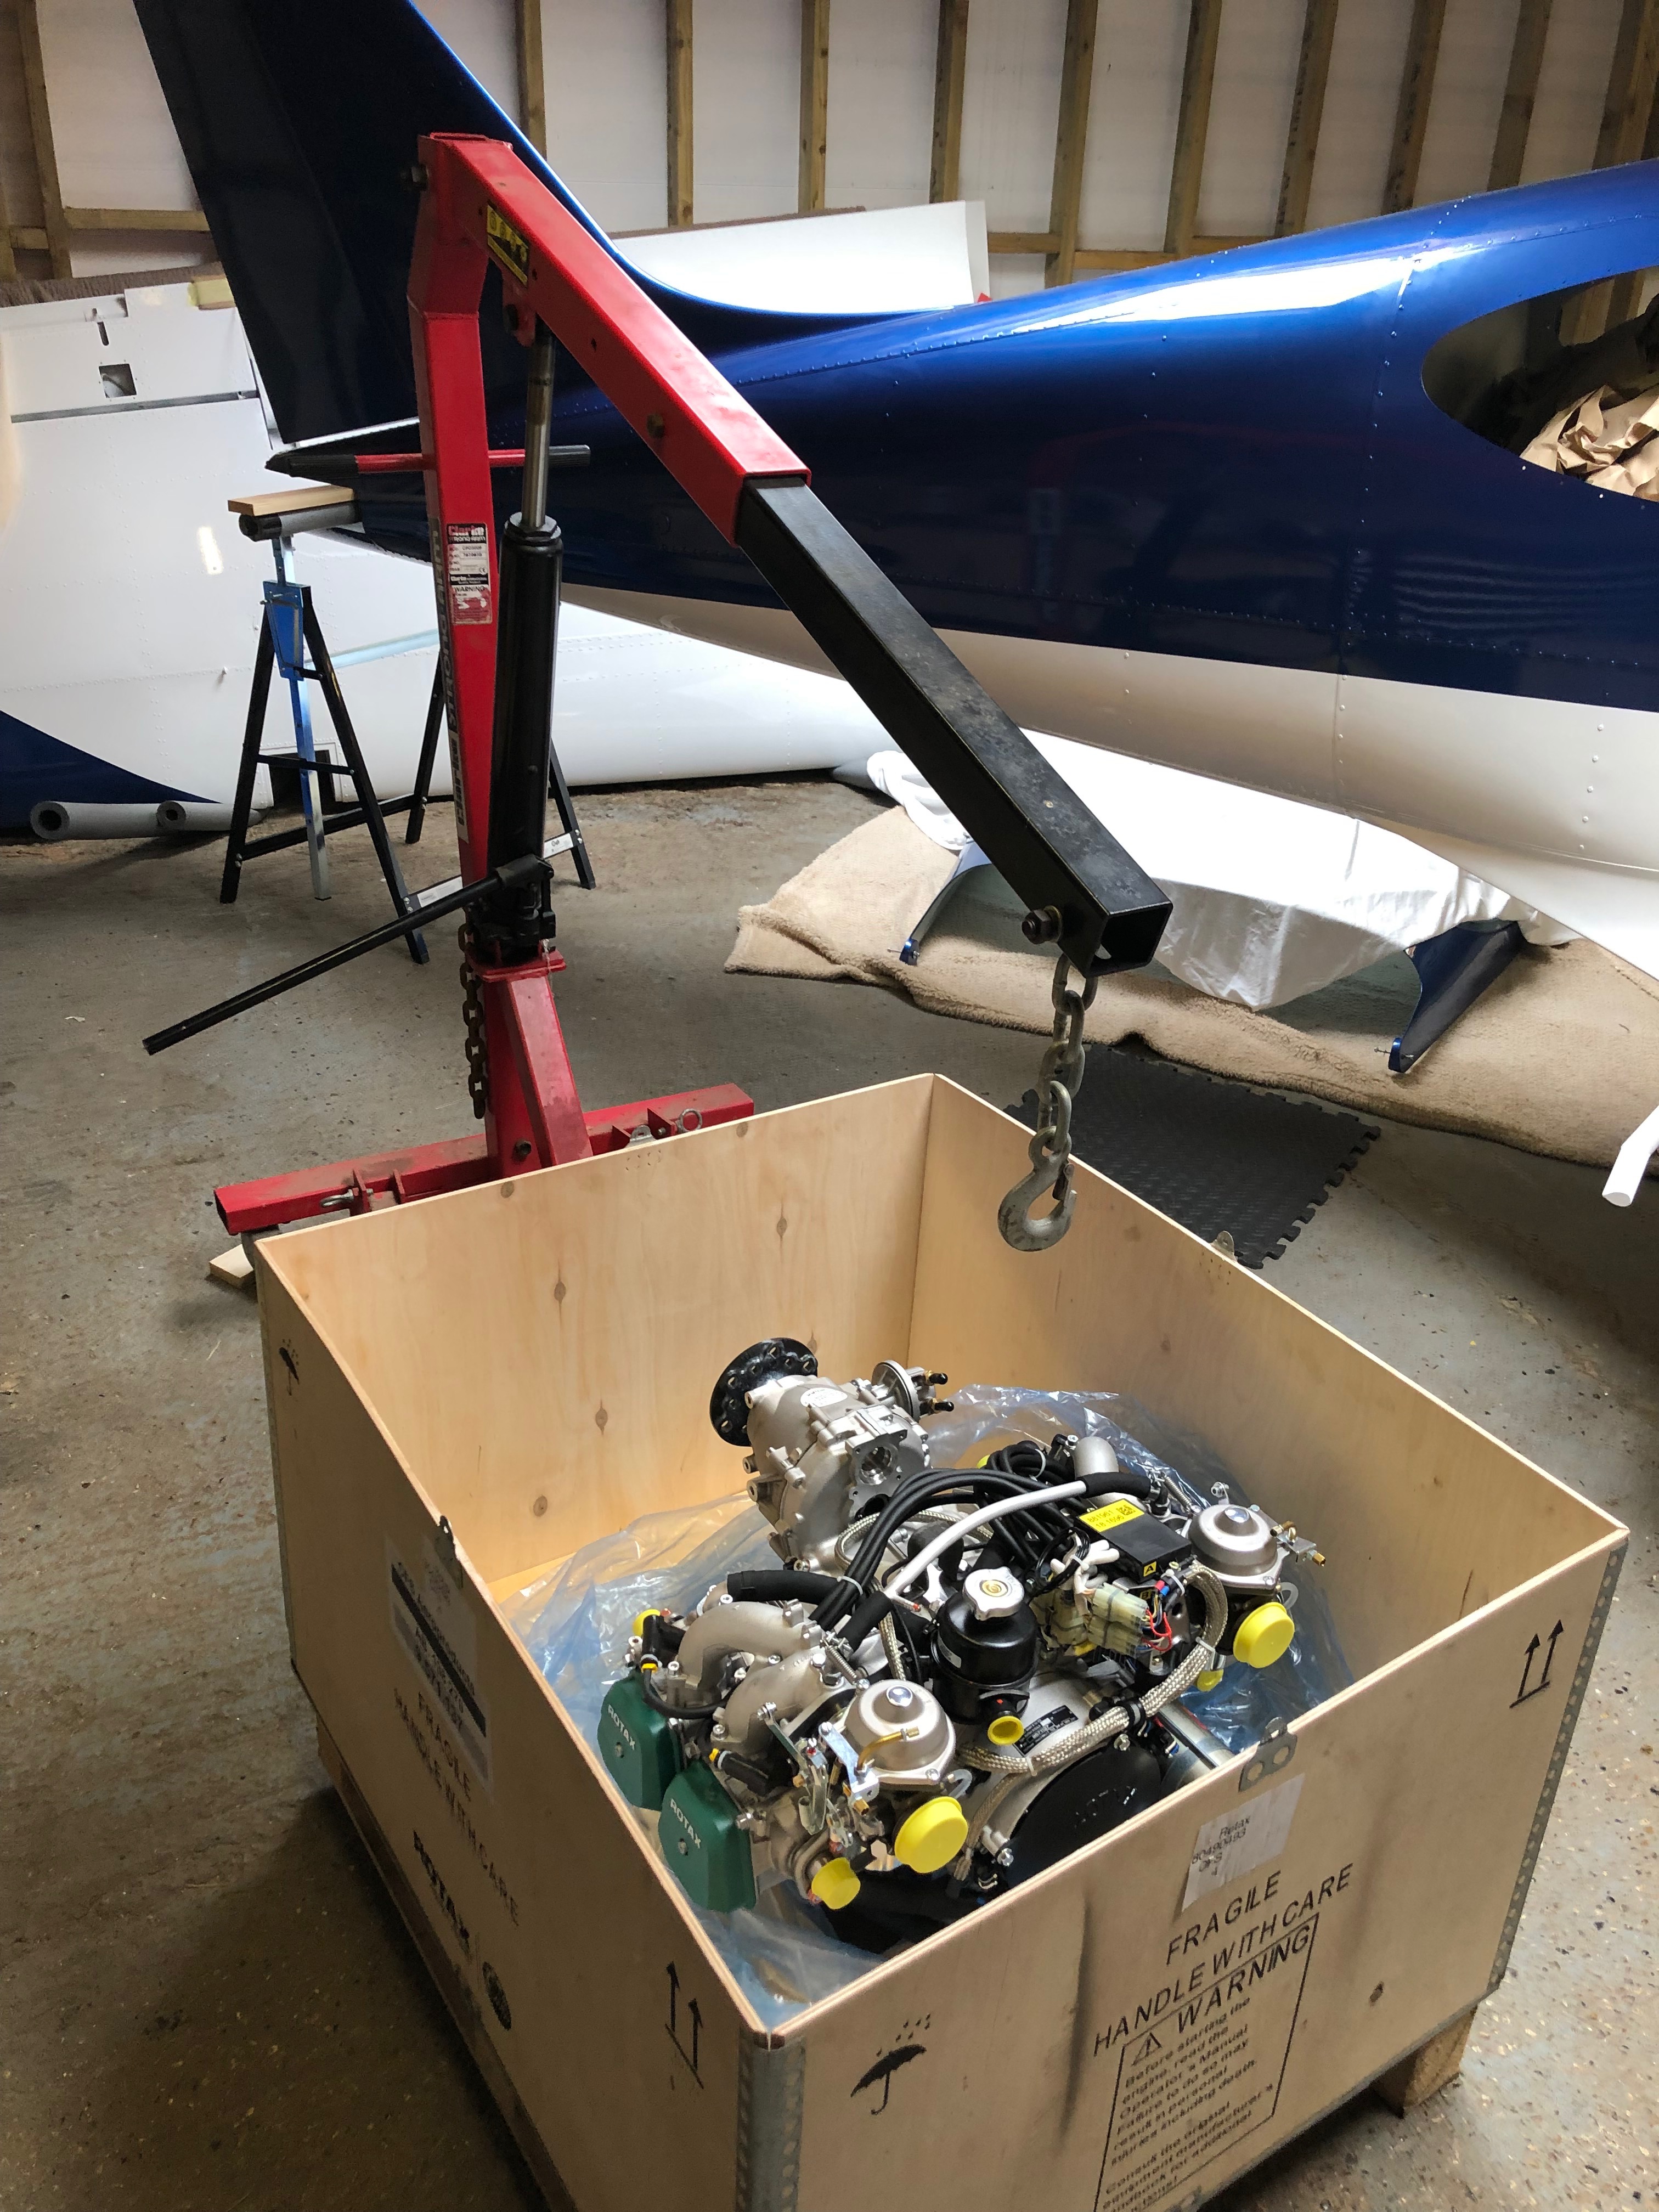
Time to lift the engine. Luckily there is an engine hoist onsite that belongs to Richard and he didn’t mind me using it.

Quite nervous about lifting the engine and and trusting the hoist and the lifting bracket that I made but it seems to be holding up ok.

As the Bristell uses its own engine mount two of the pump aluminimum pipes need to be repositioned and the other two need to be replaced with modified pipes that come with the kit.

So the pump needs to be removed.

The engine mount needs to be fitted as it’s the only way that you can position the new water pump pipes. The mount is quite tight to fit and you need to make sure that you don’t catch any cables. The top right bolt needs to be removed as that becomes one of the engine mounting bolts that are fitted later.
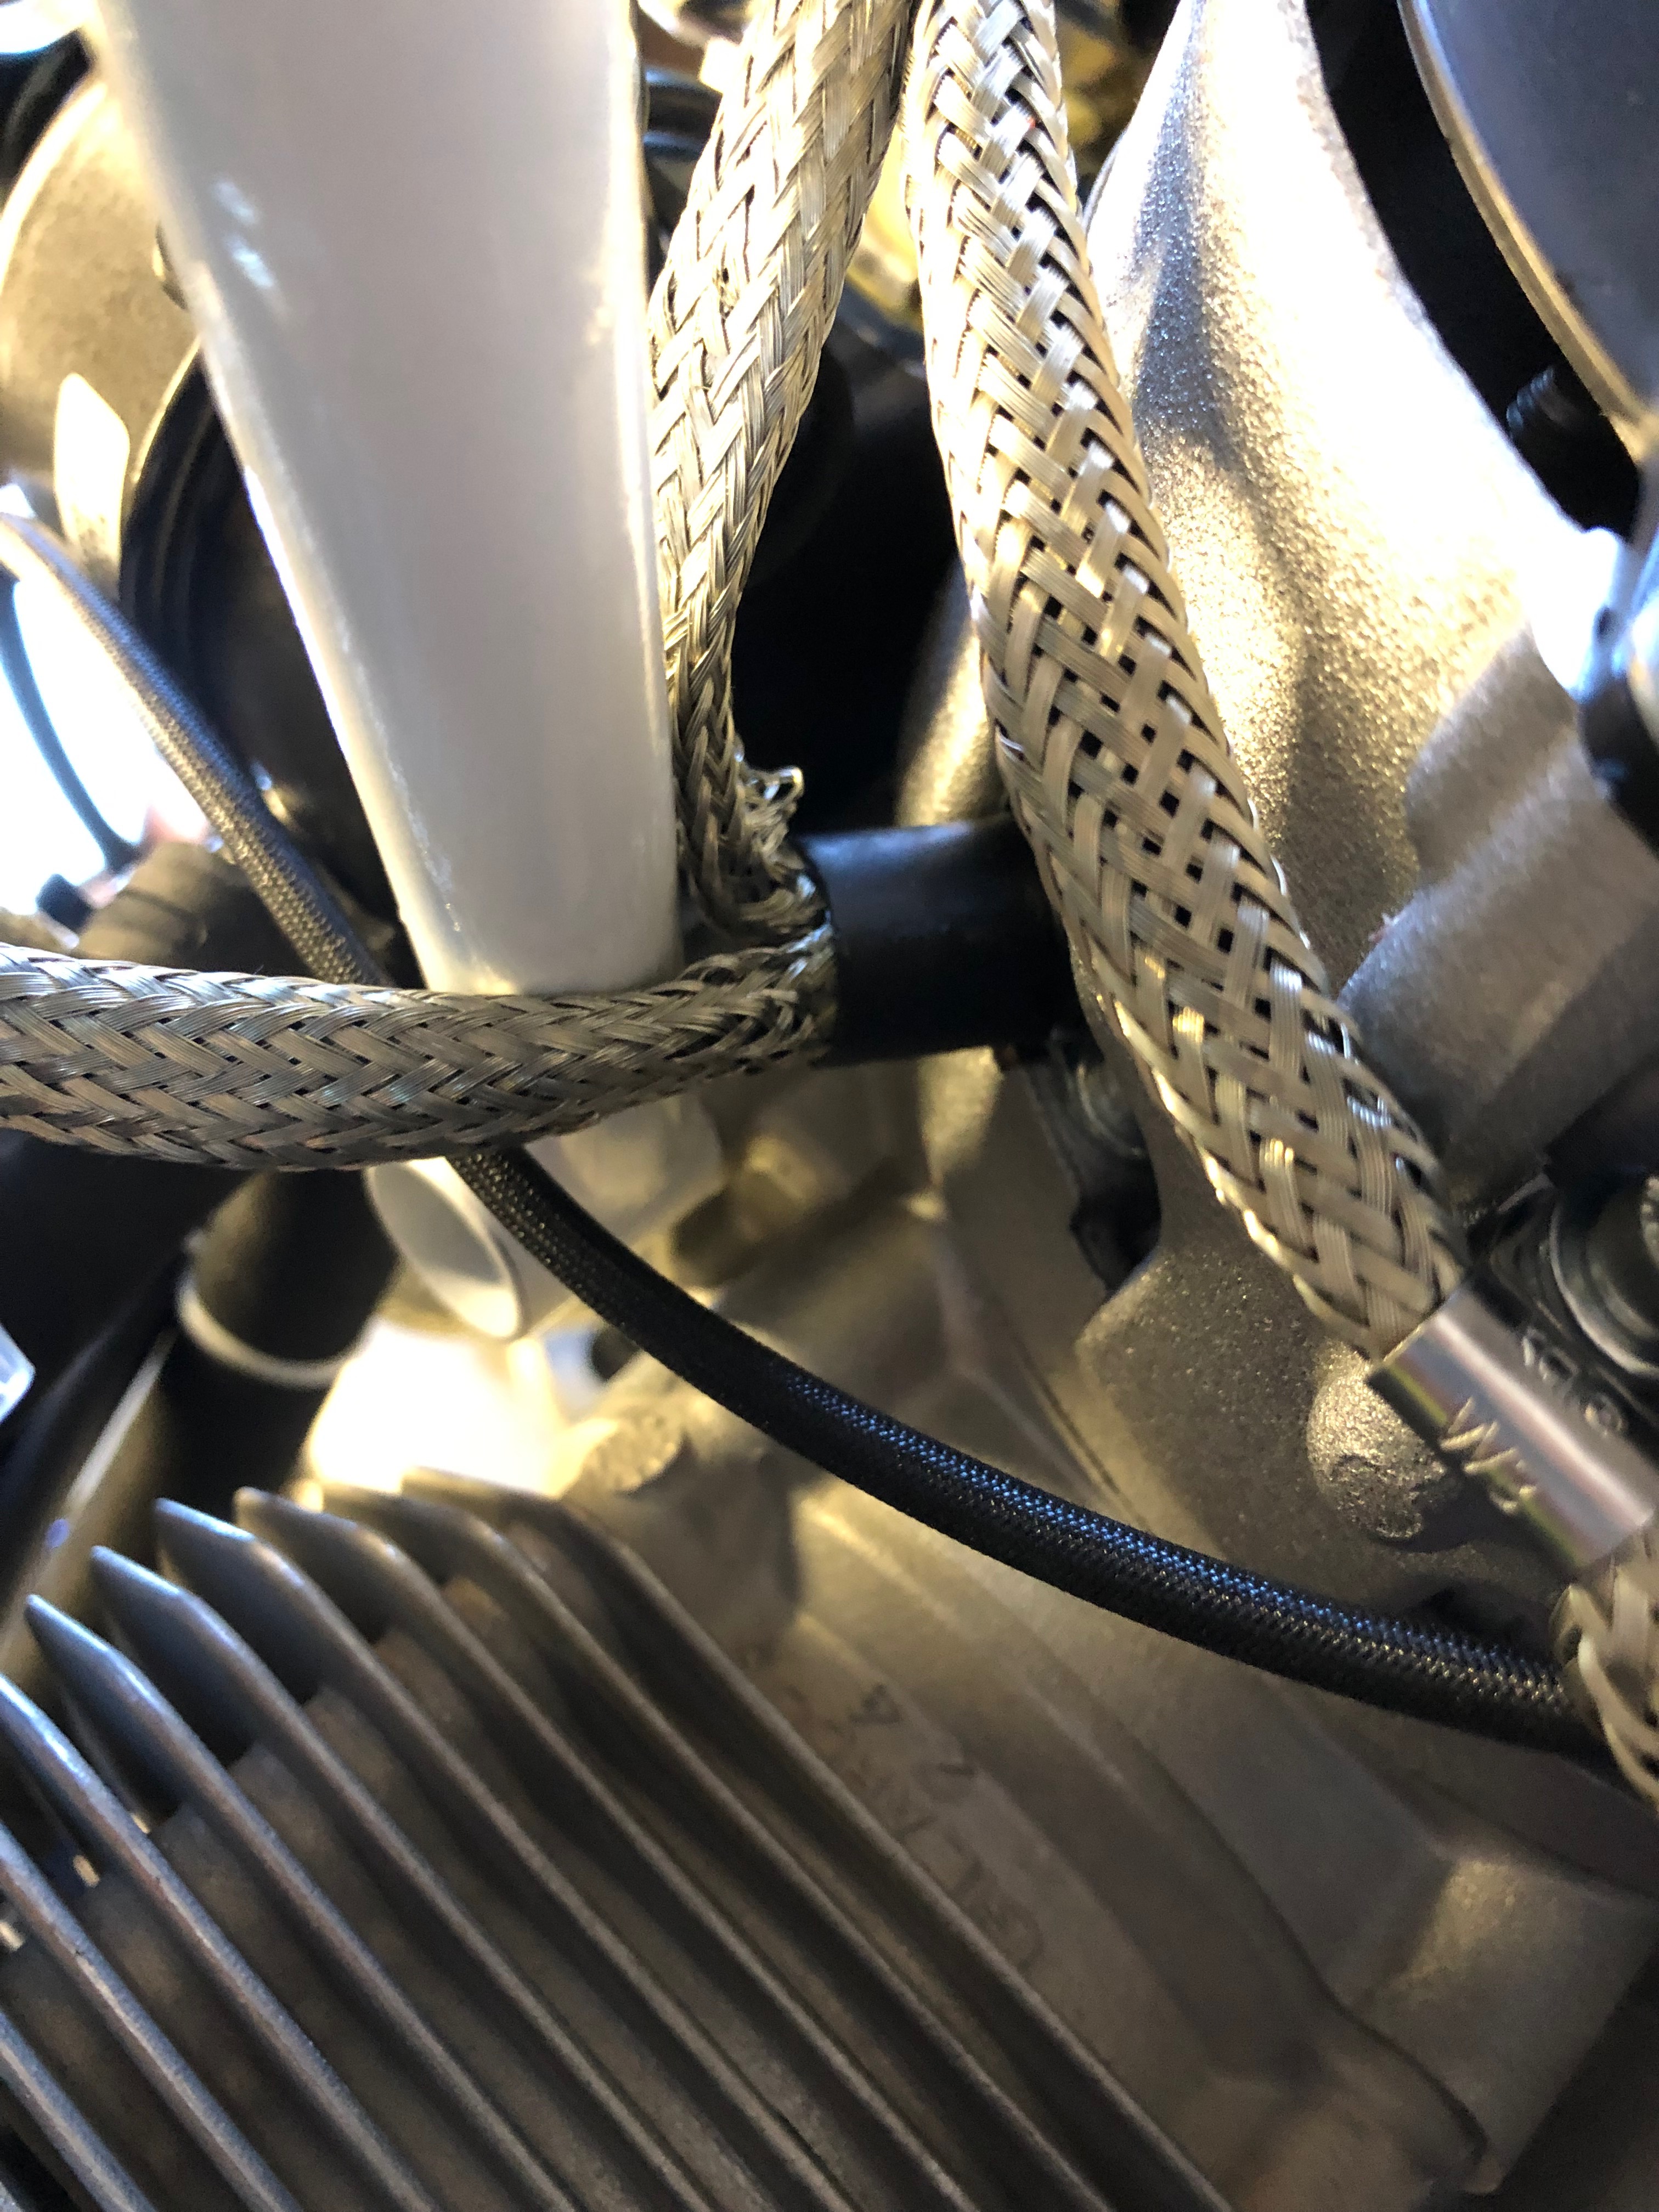
As stated above, it’s a very tight fit so care must be taken to ensure that cables don’t get damaged. They will need to be protected before the engine goes into service.
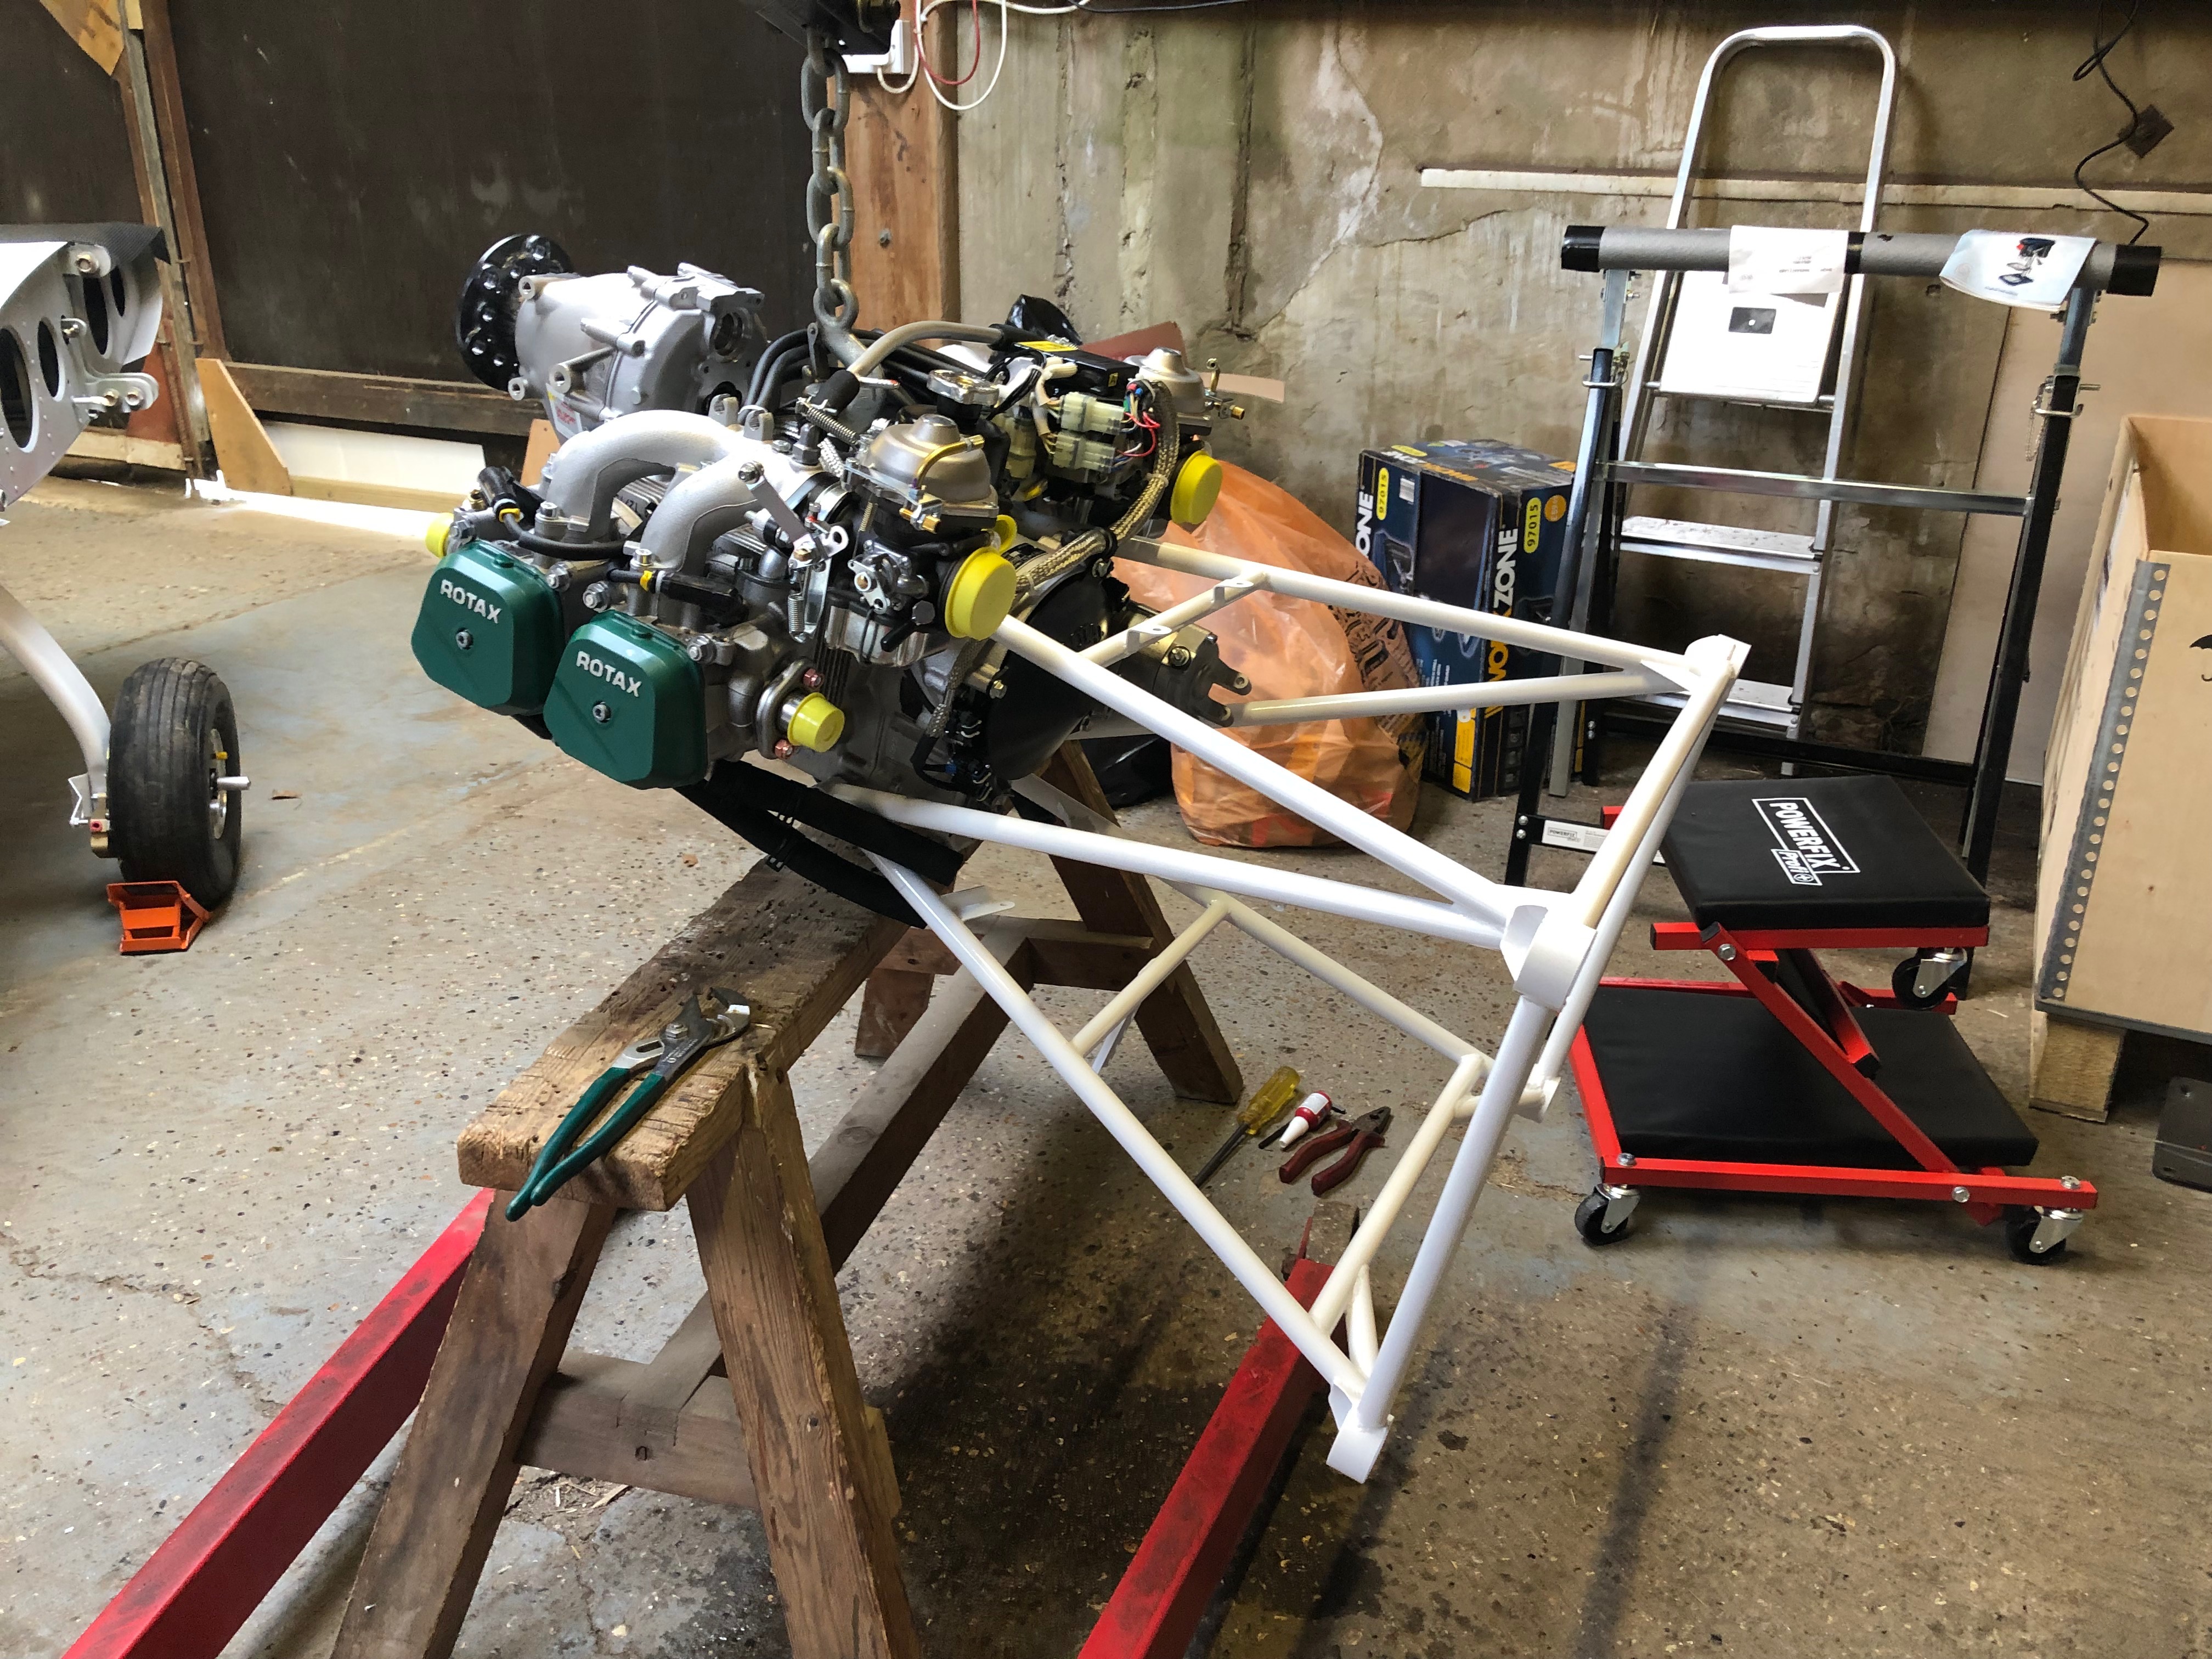
The engine mount fitted. The water pump pipes need to be removed but I decided to think it through a bit more before carrying out the work tomorrow.

Now I have my grease gun I can fill the steering bearing with universal grease.
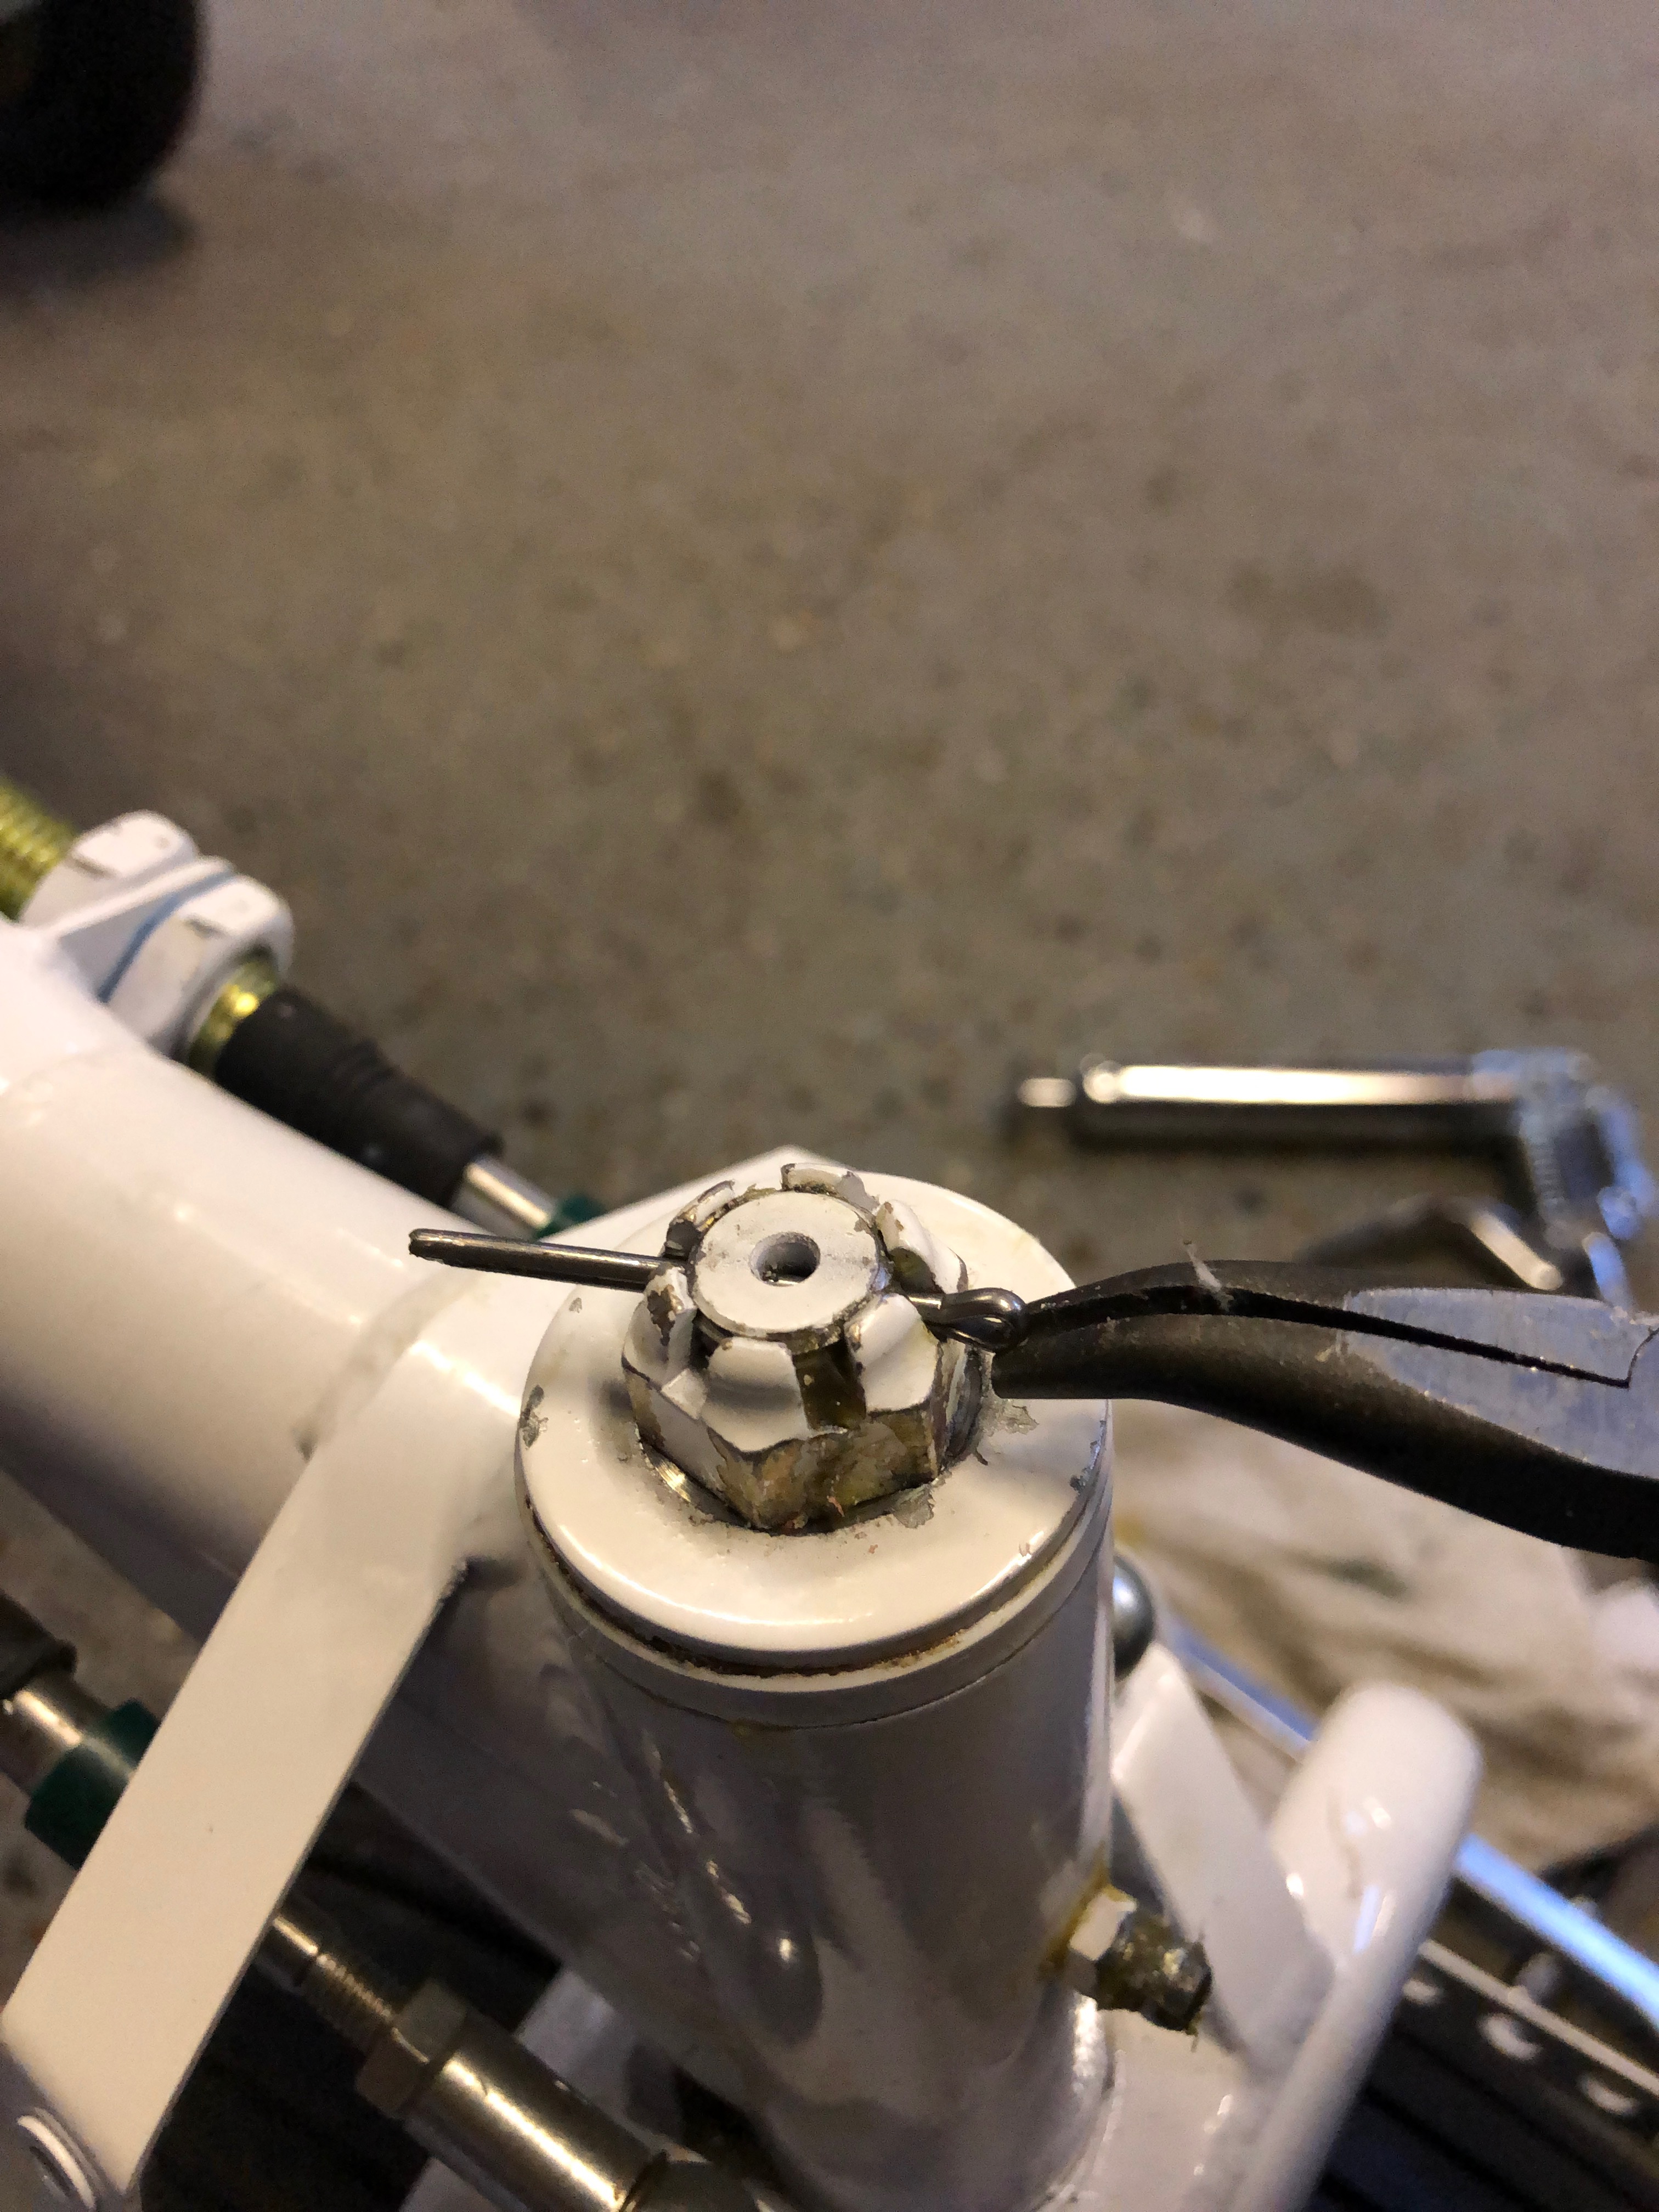
and then refit the castellated nut and fit a new split pin.

The other bearing that needs to be filled with grease is the nosebag pivot. It’s tricky to get to and once filled it’s tricky to remove the fitting from the grease nipple.

For peace of mind I’ve lowered the engine onto a beer crate and surrounded it with the packing that came with the engine so I can leave it overnight.
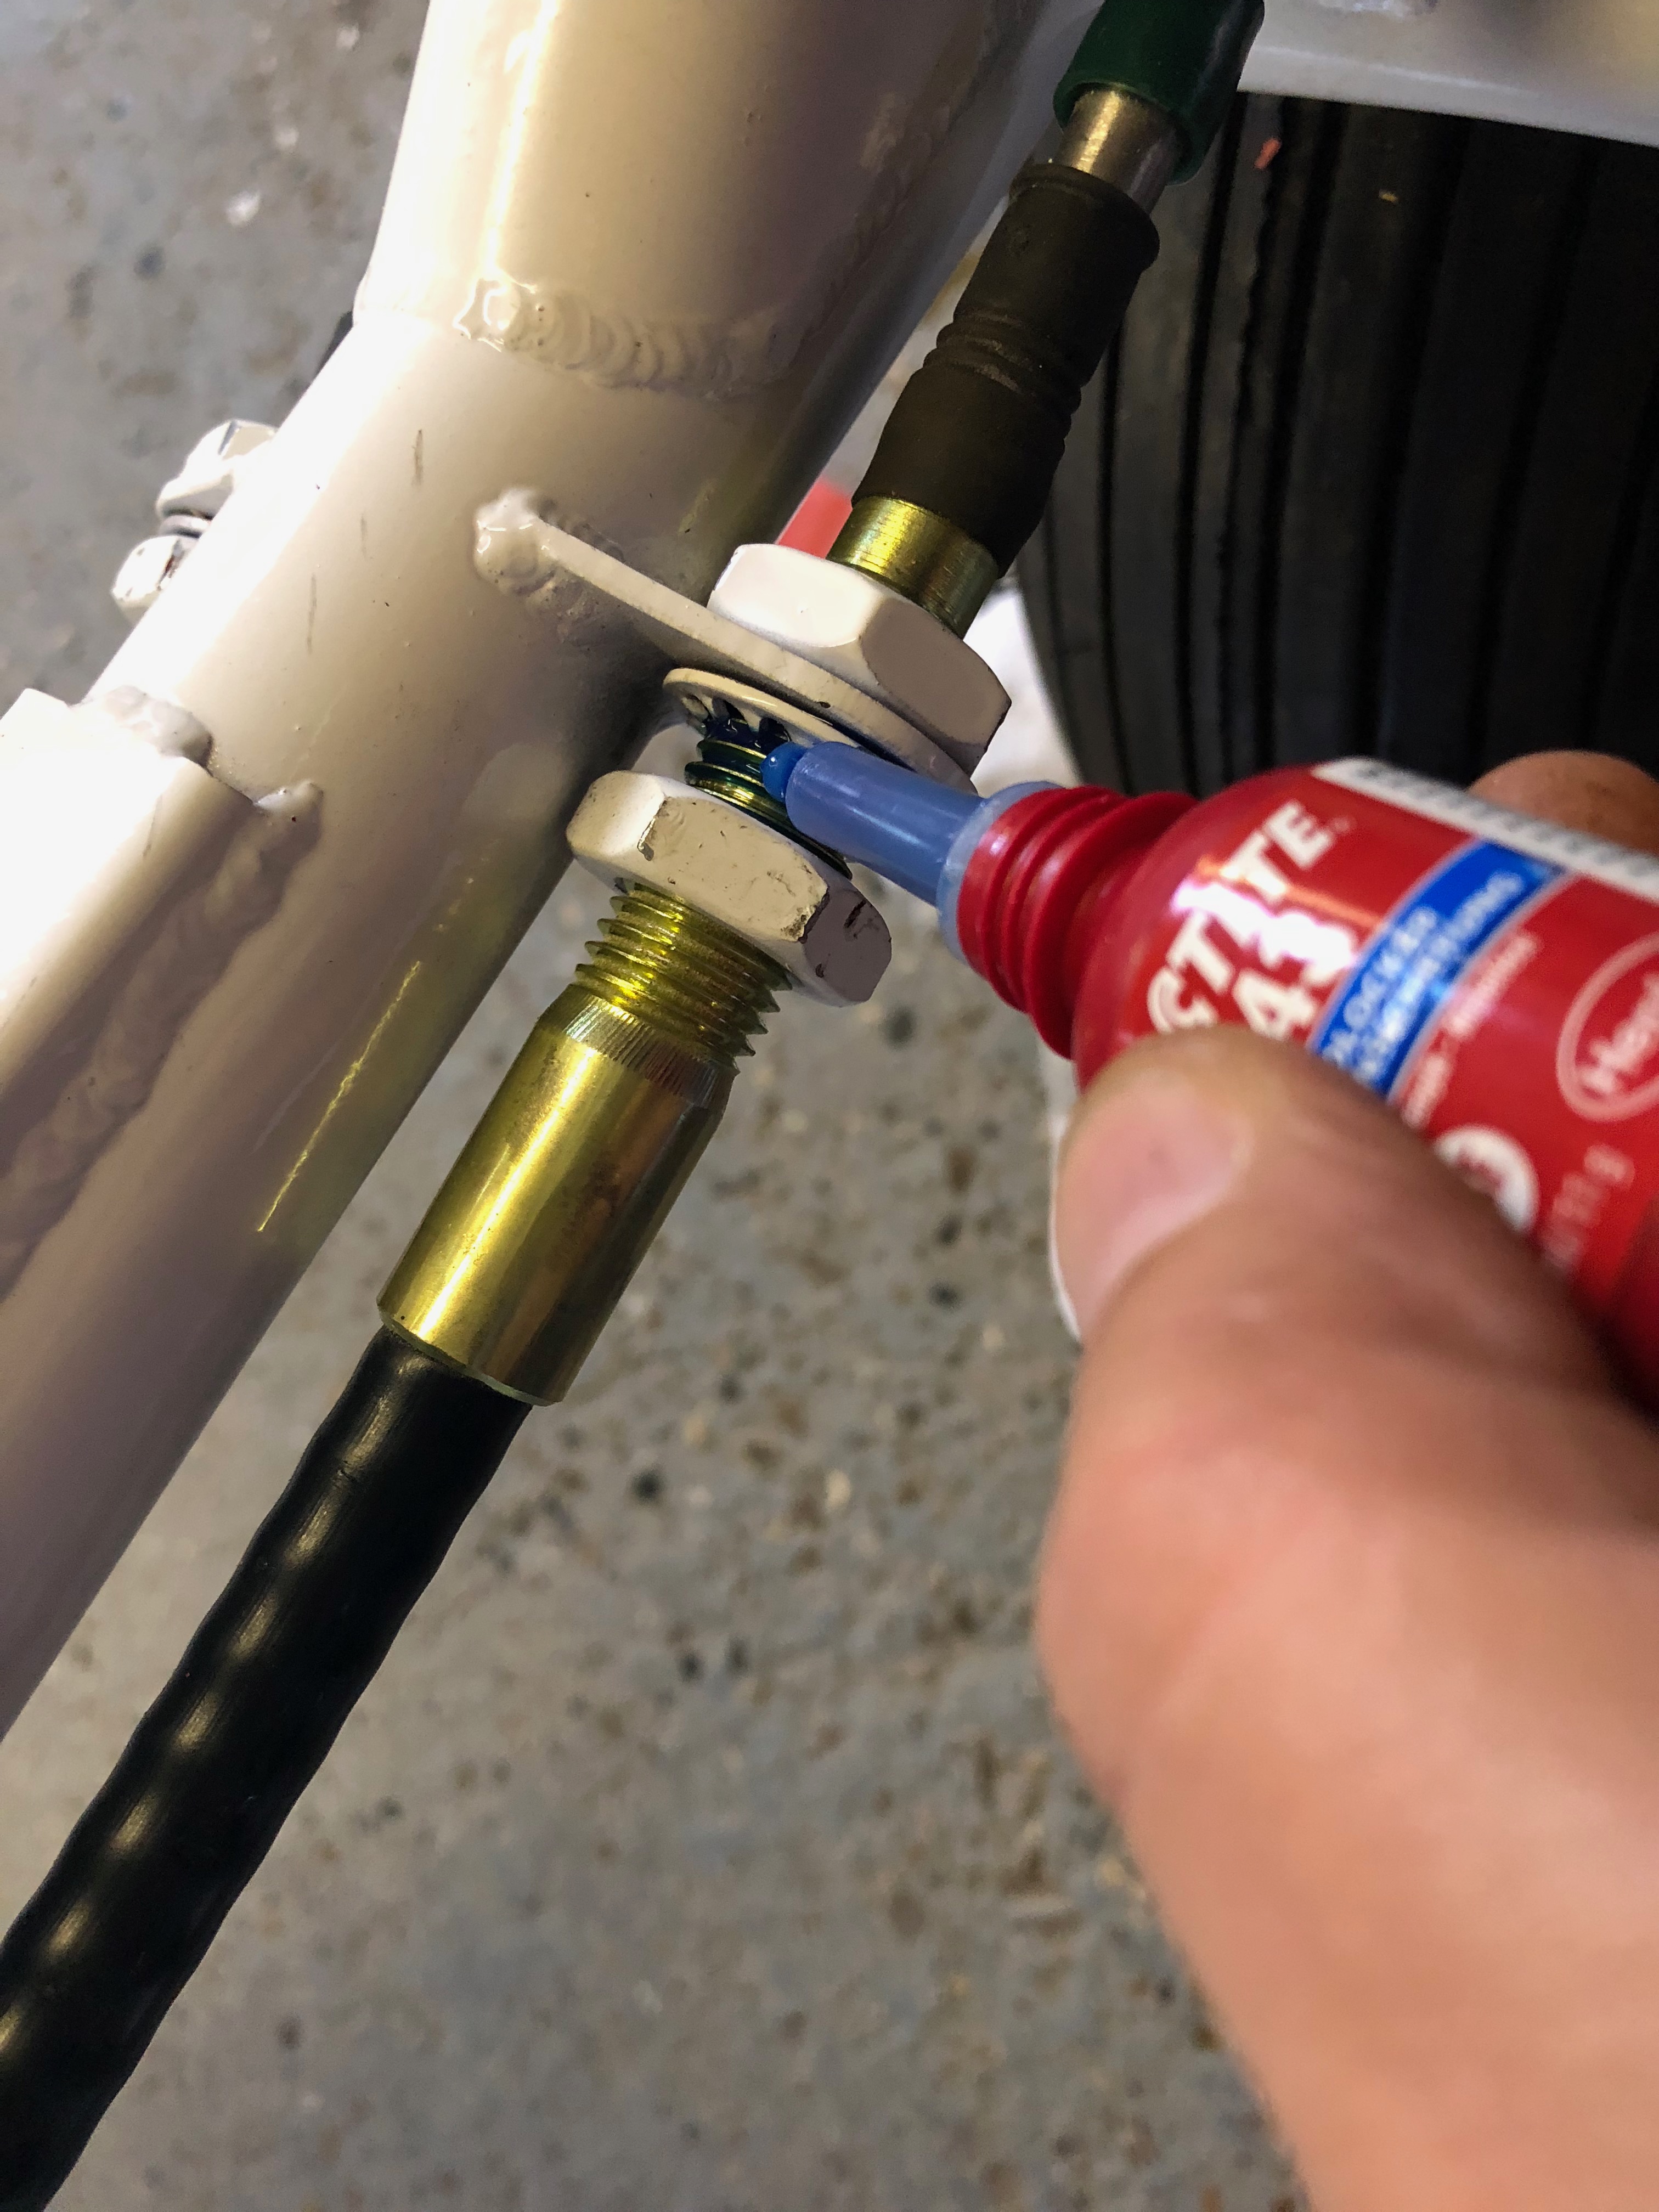
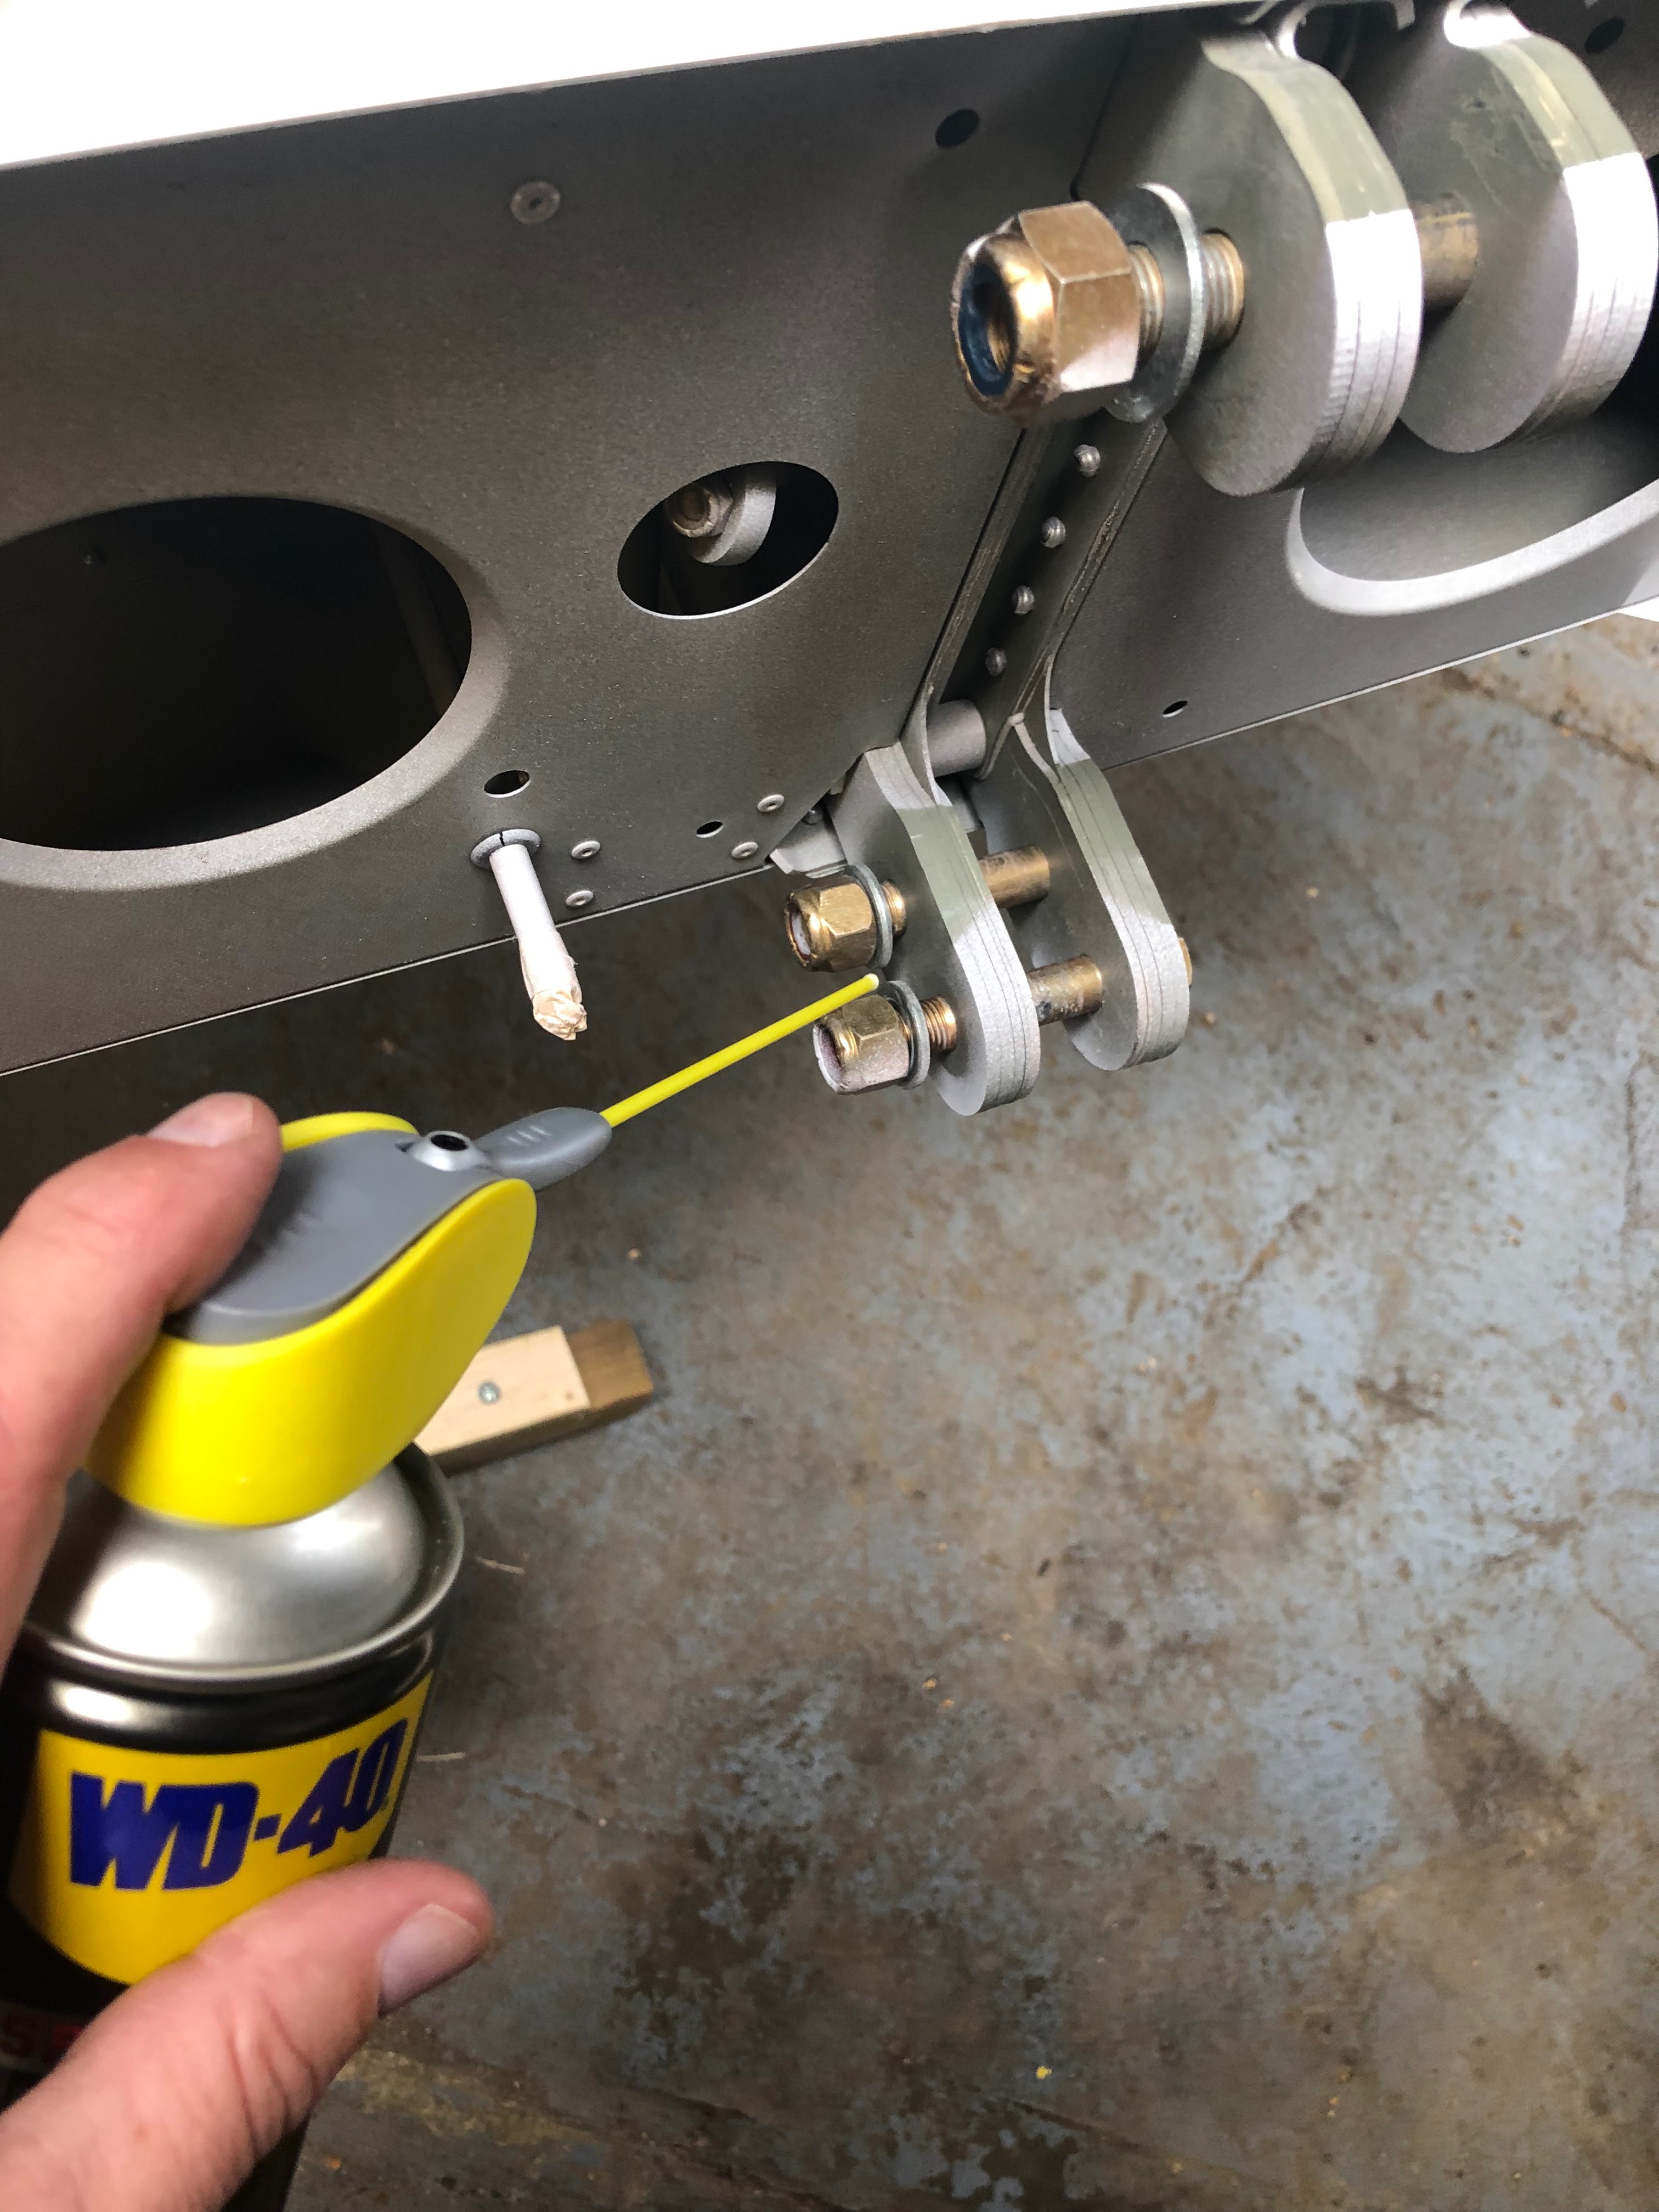
Although the Teleflex cables are already installed the nuts need to have Loctite 243 applied and retightened to ensure they don’t loosen during service.
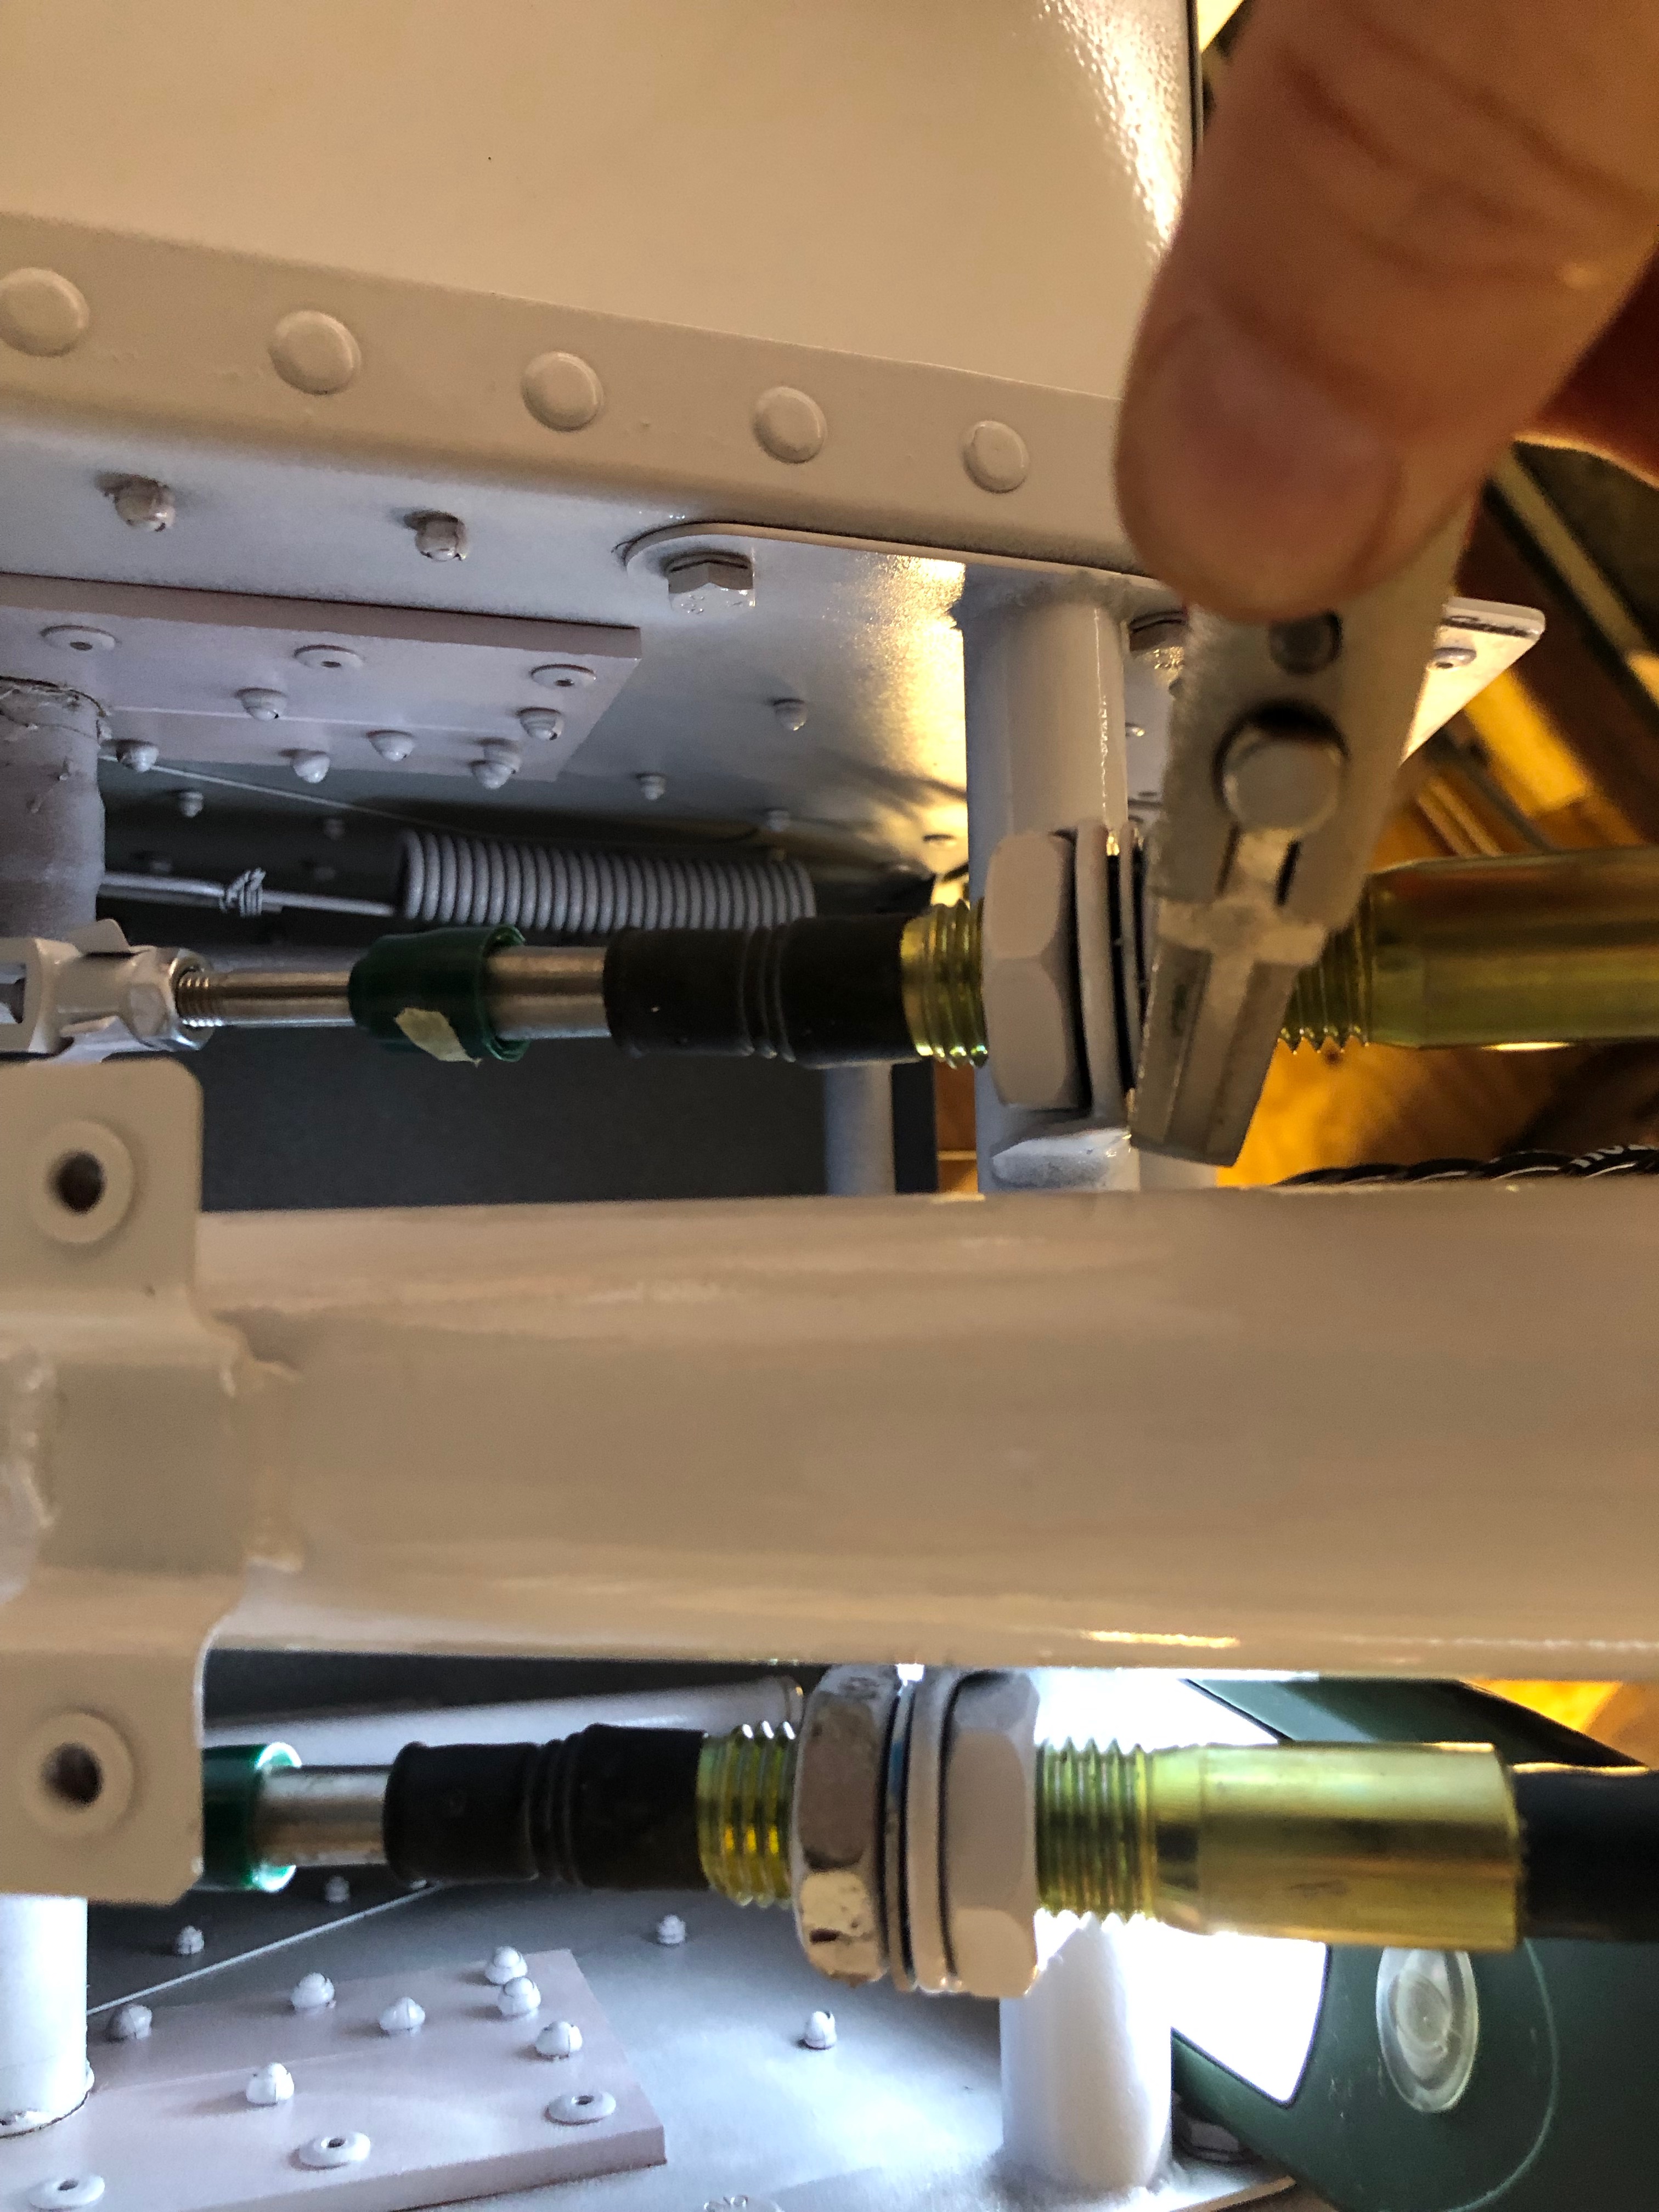
Not forgetting those underneath…
All the nuts and bolts also need to be checked.
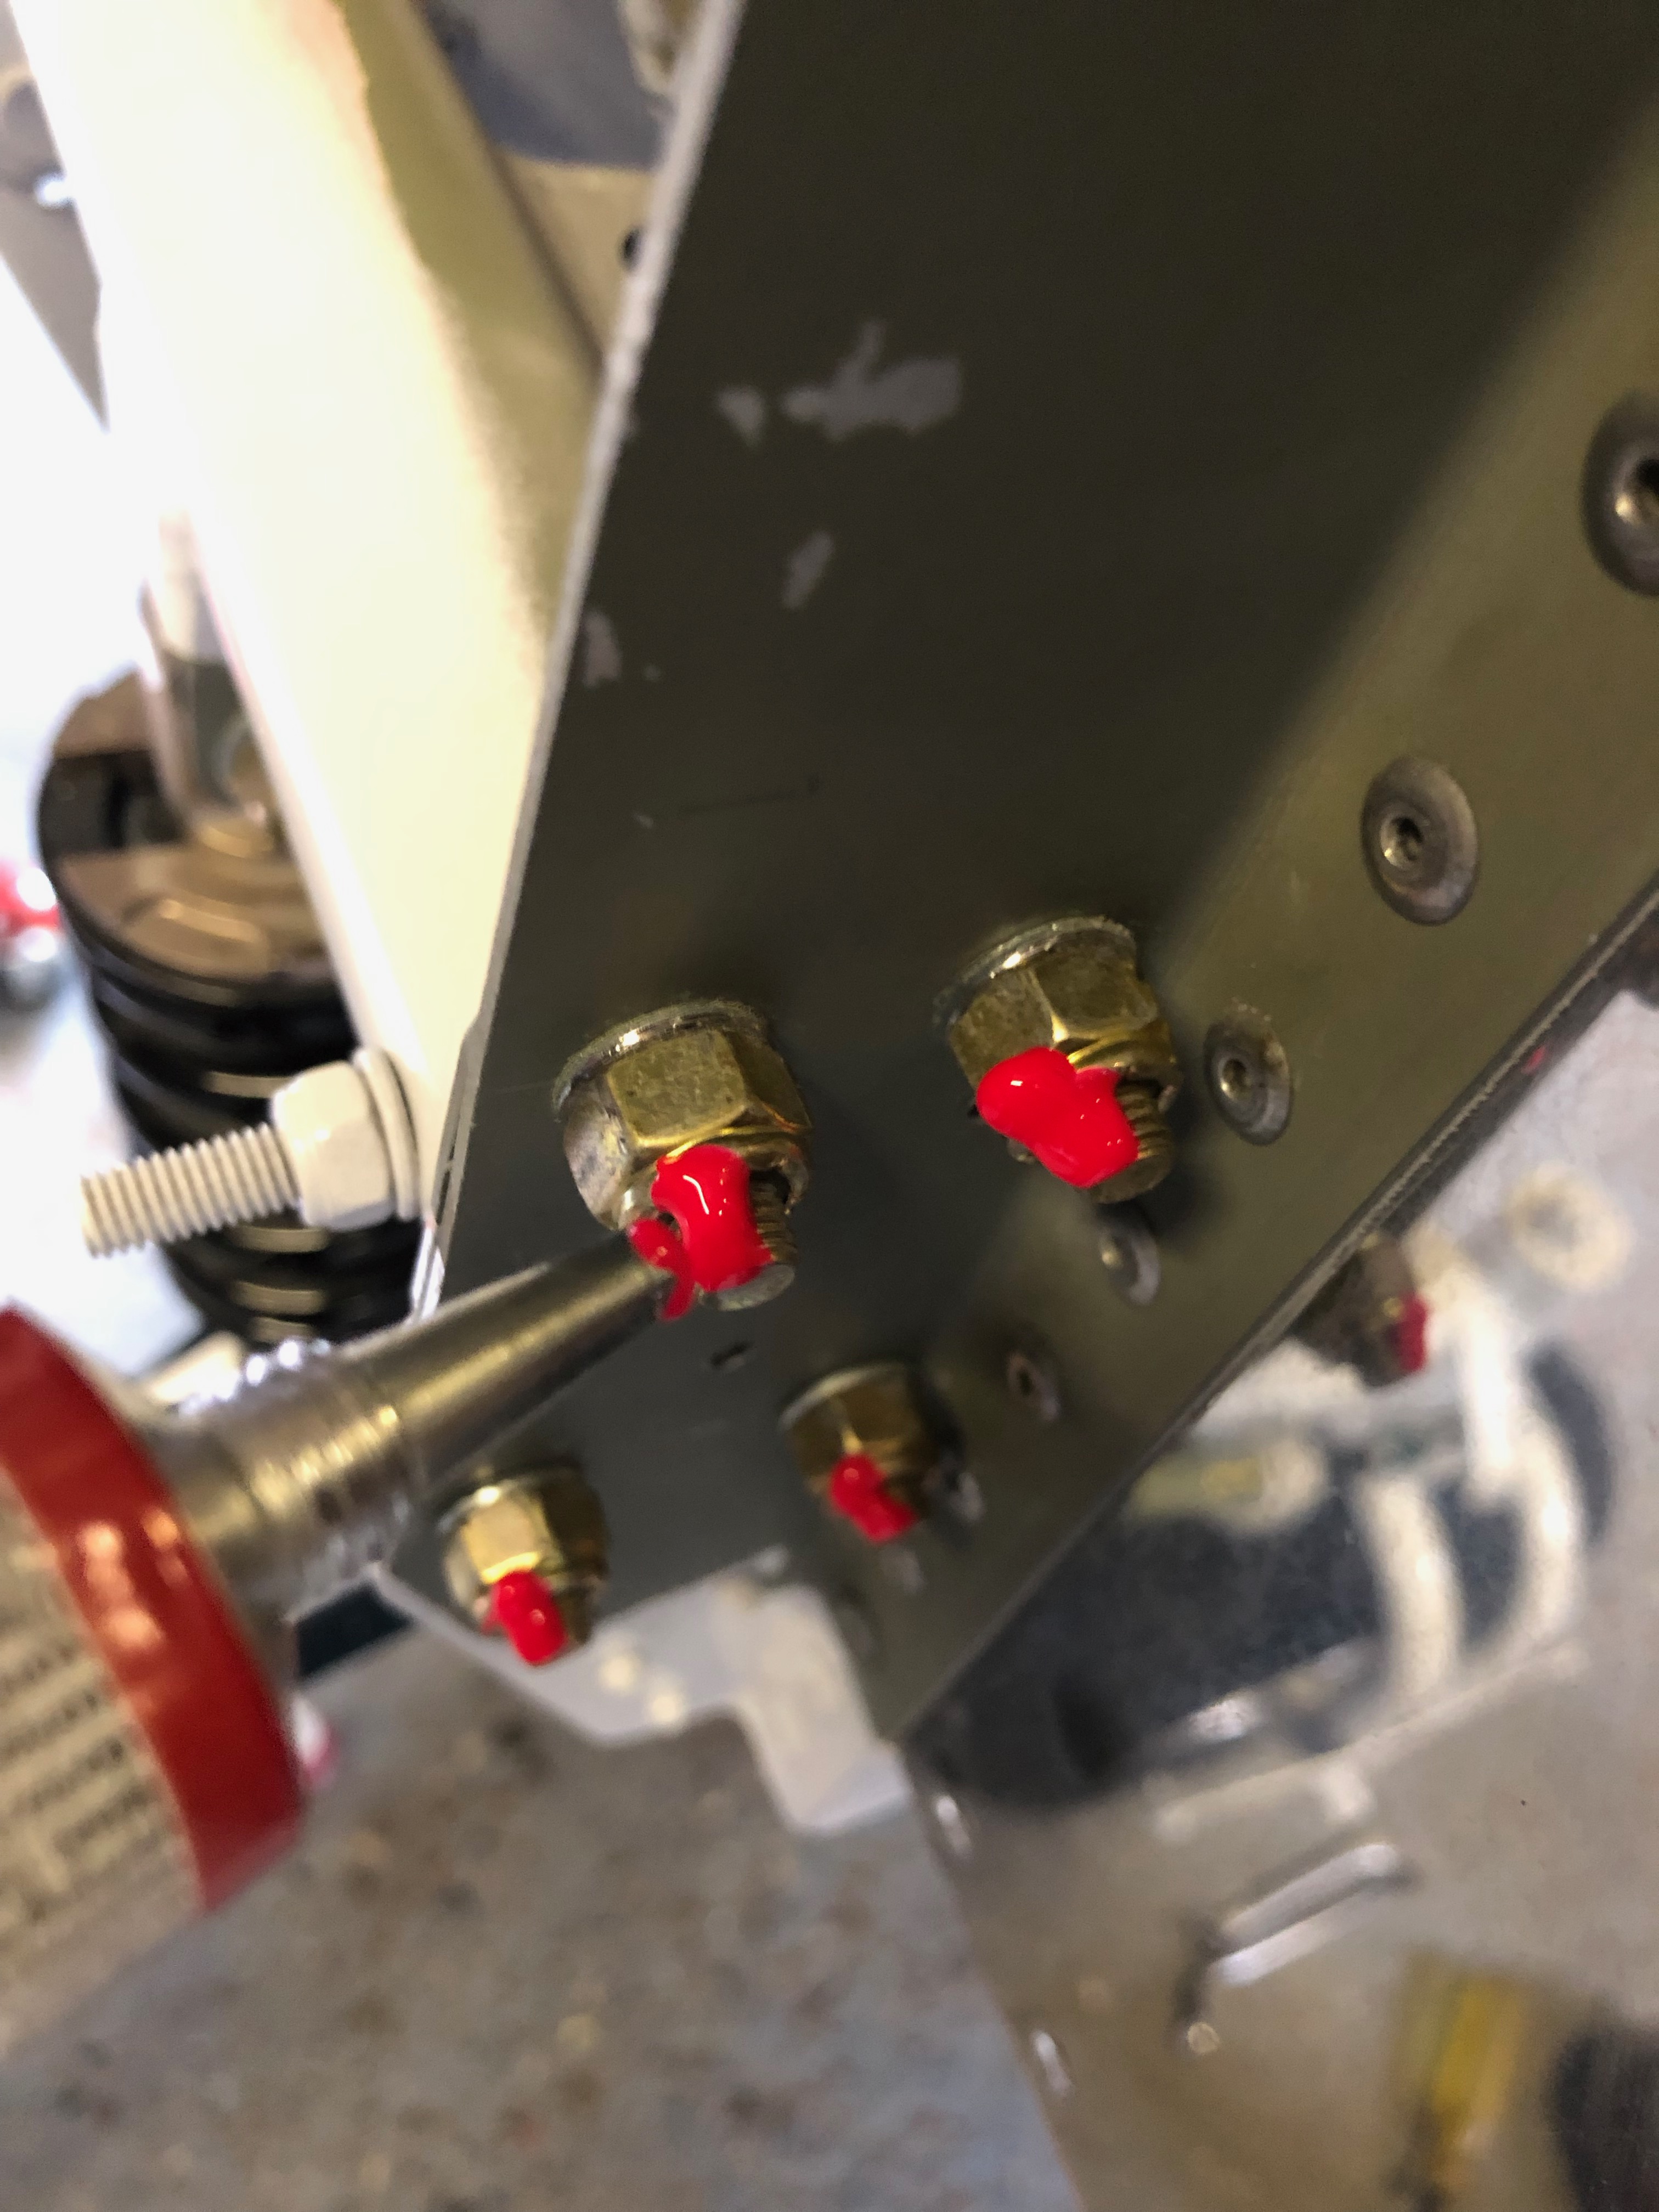
Once checked then Torque Seal is applied so an easy visual check can be made to ensure that they haven’t loosened.
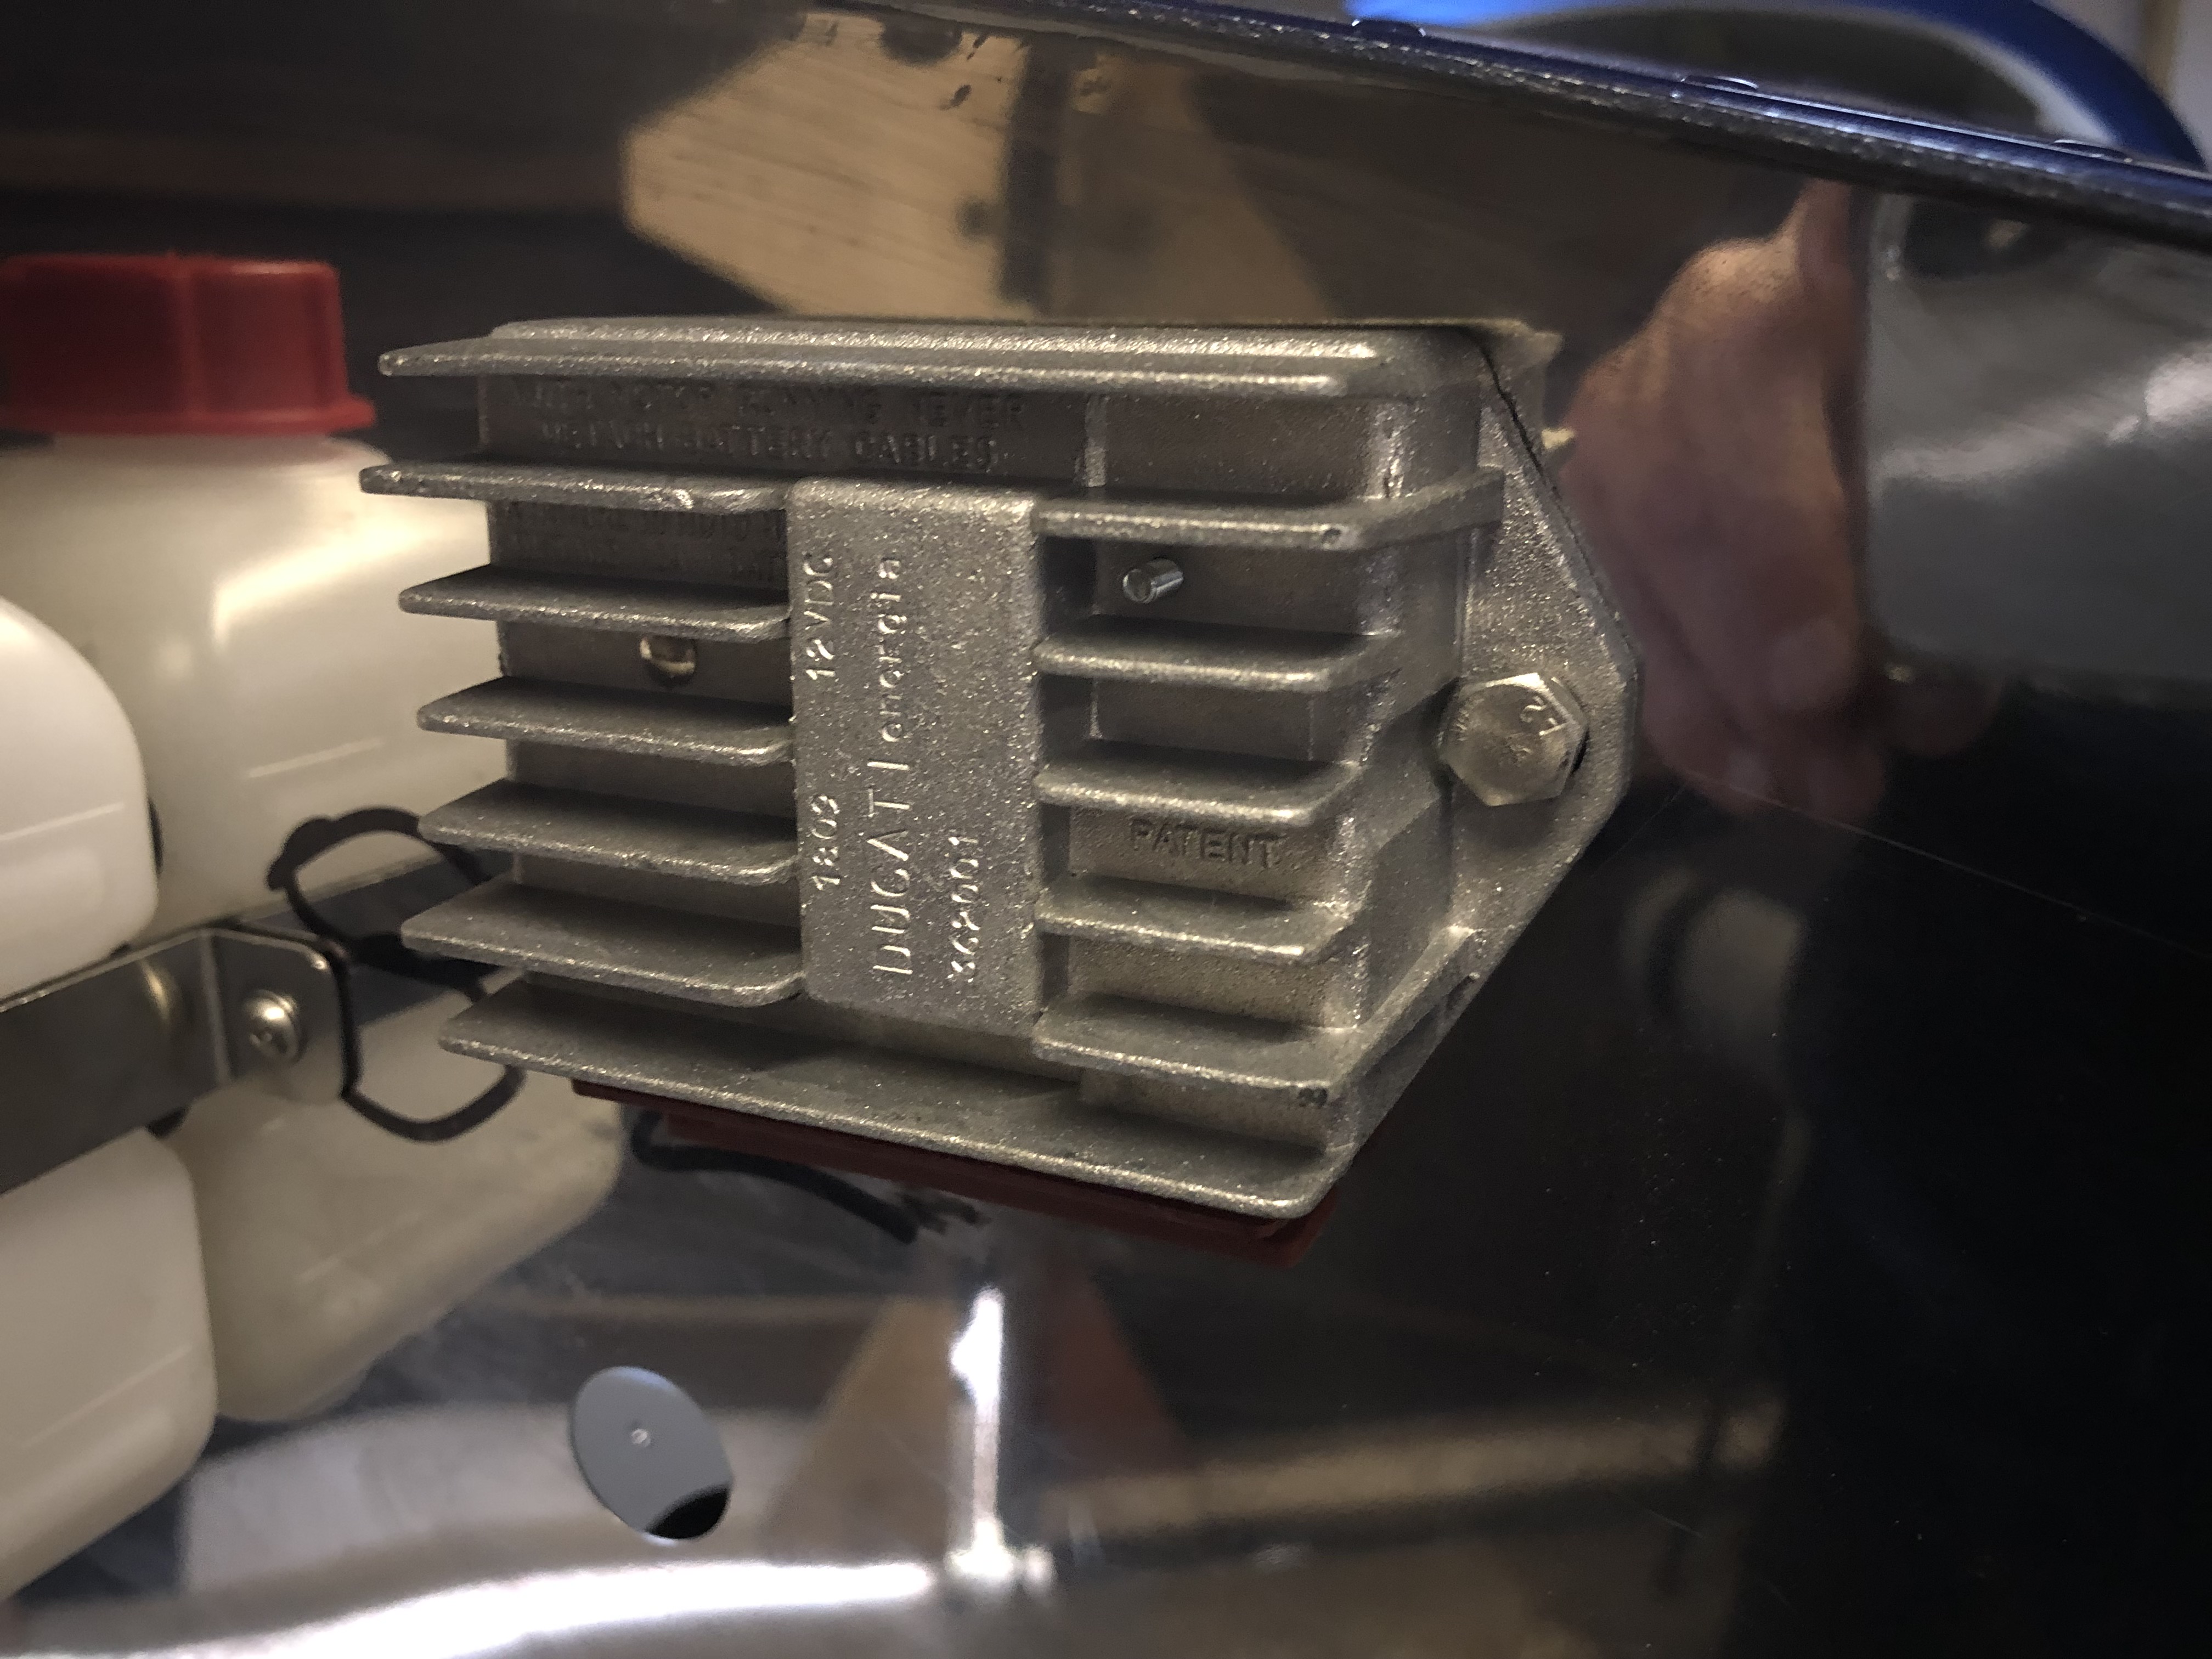
I wasn’t happy with the screws used for mounting the control unit so I removed the Rivnuts and used M6 stainless steel nuts and bolts instead.

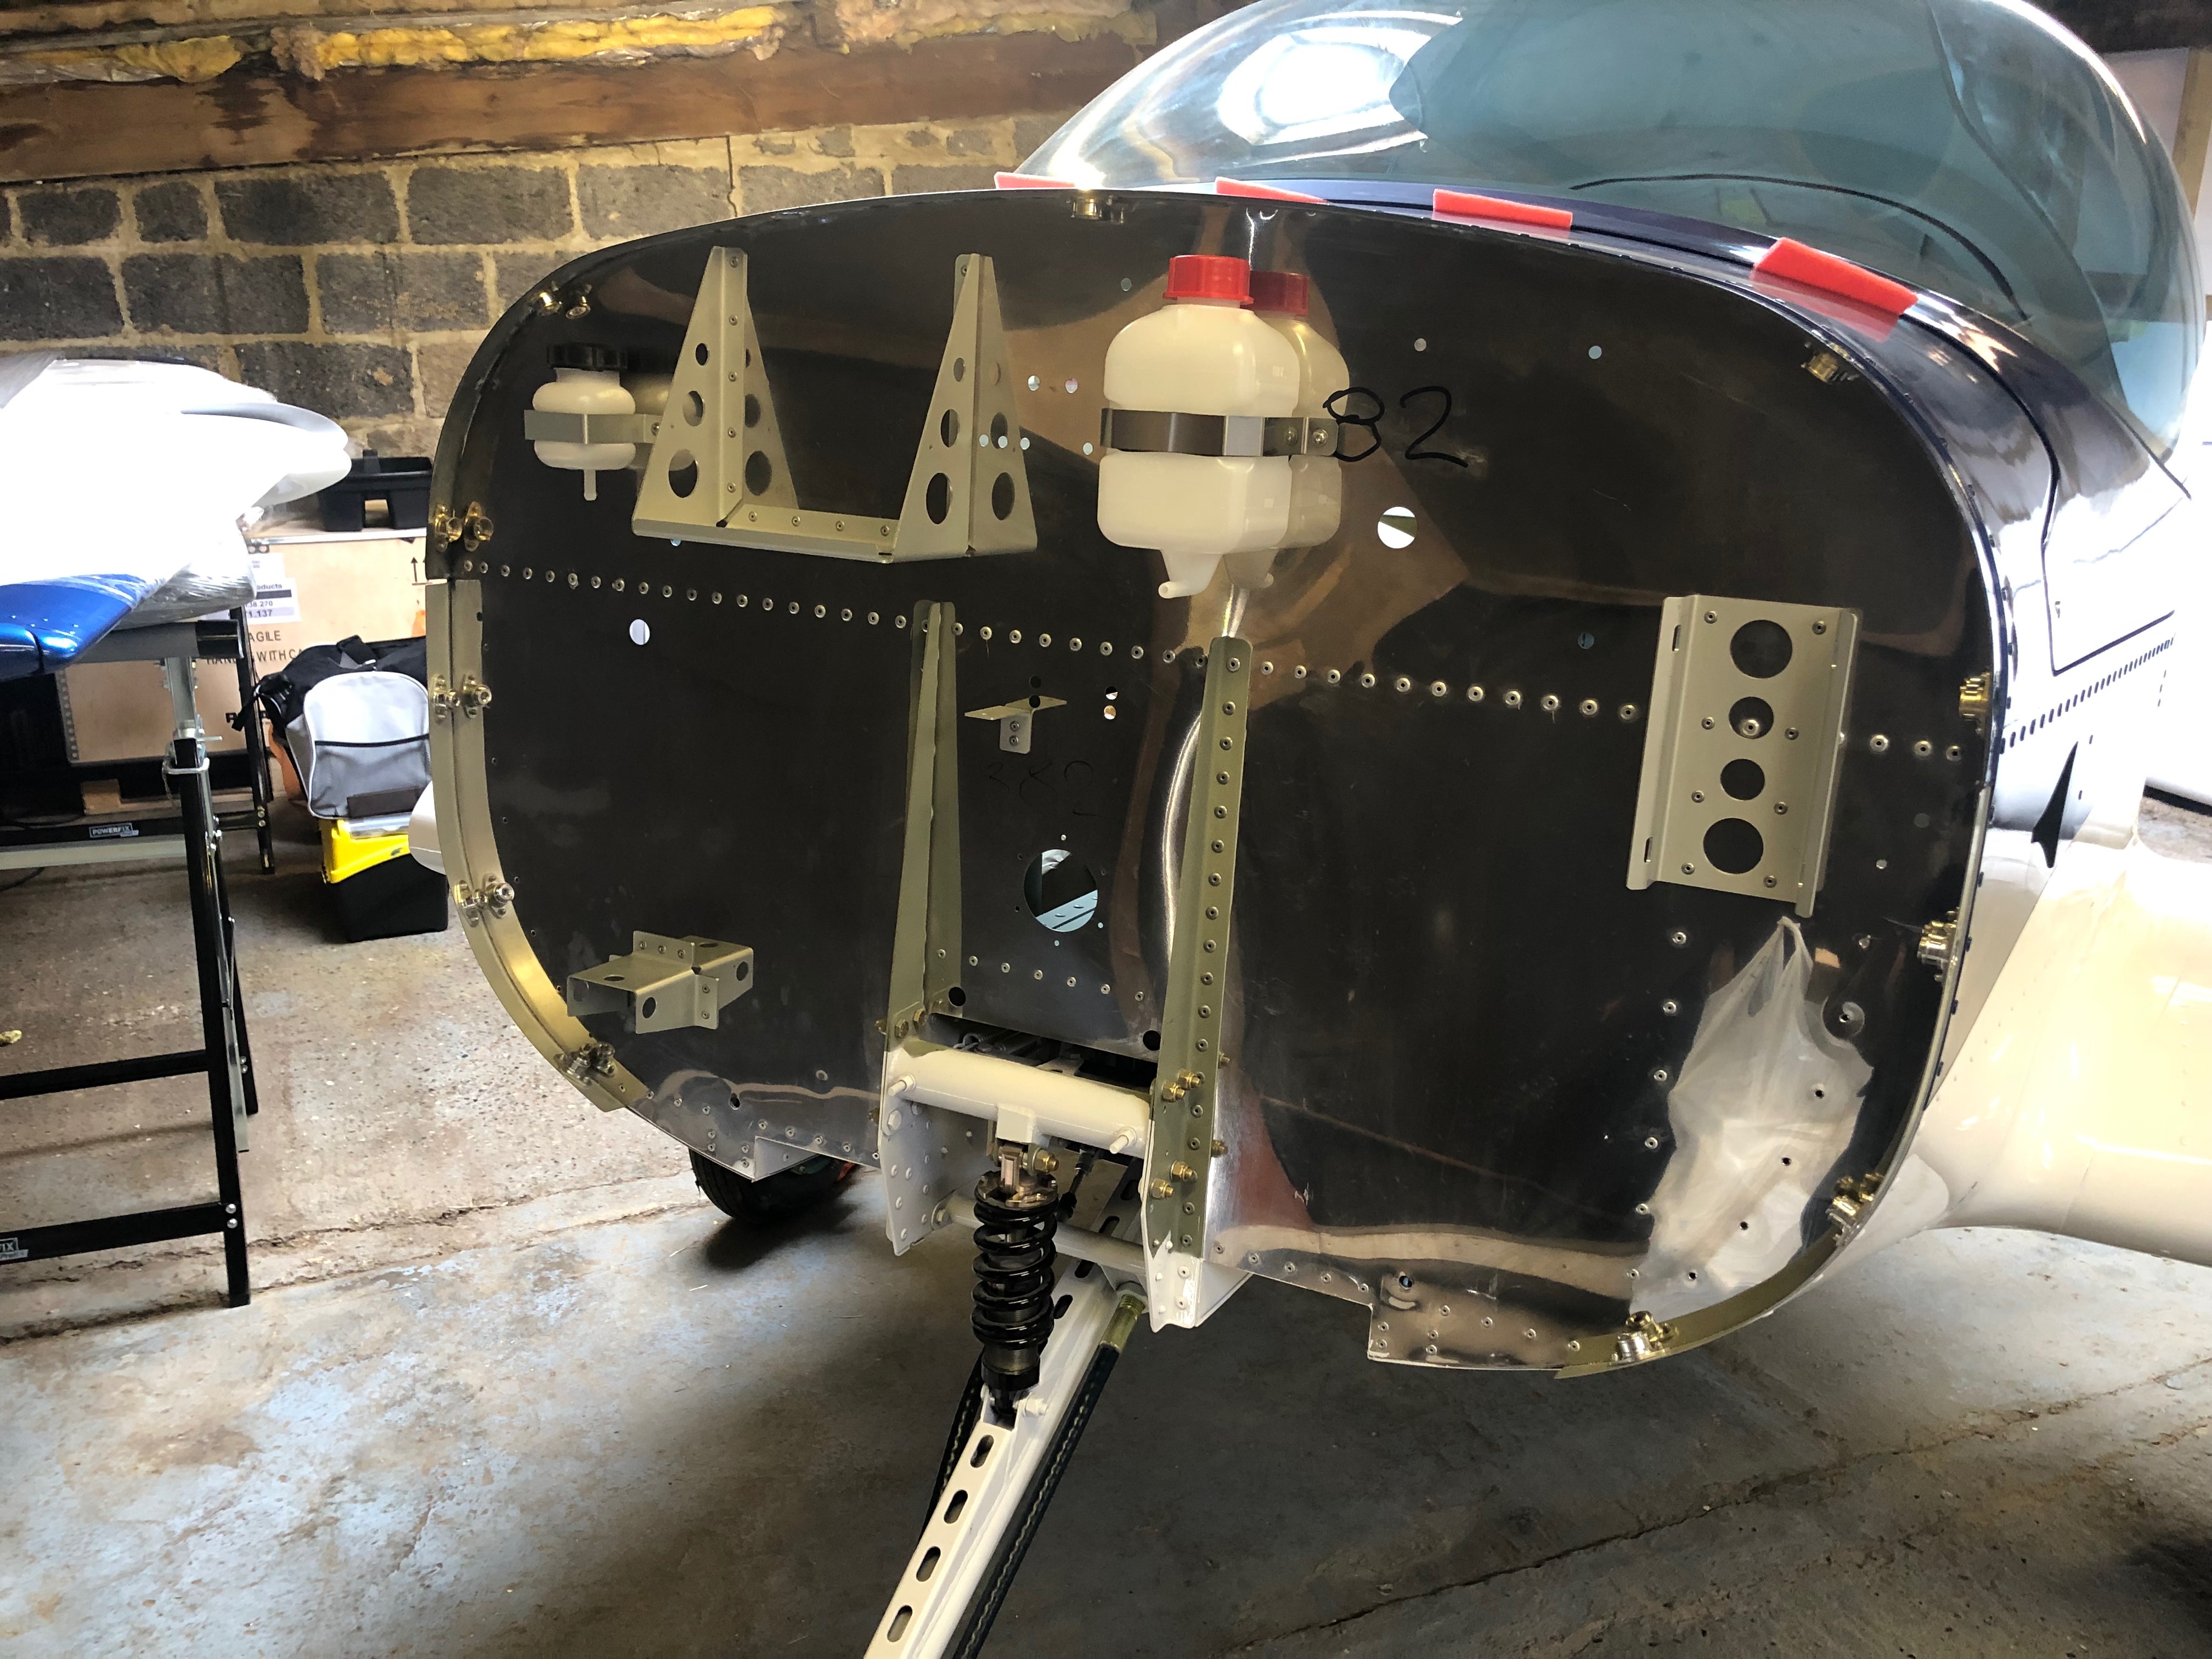
A view of the Firewall with the Torque Seal clearly visible.
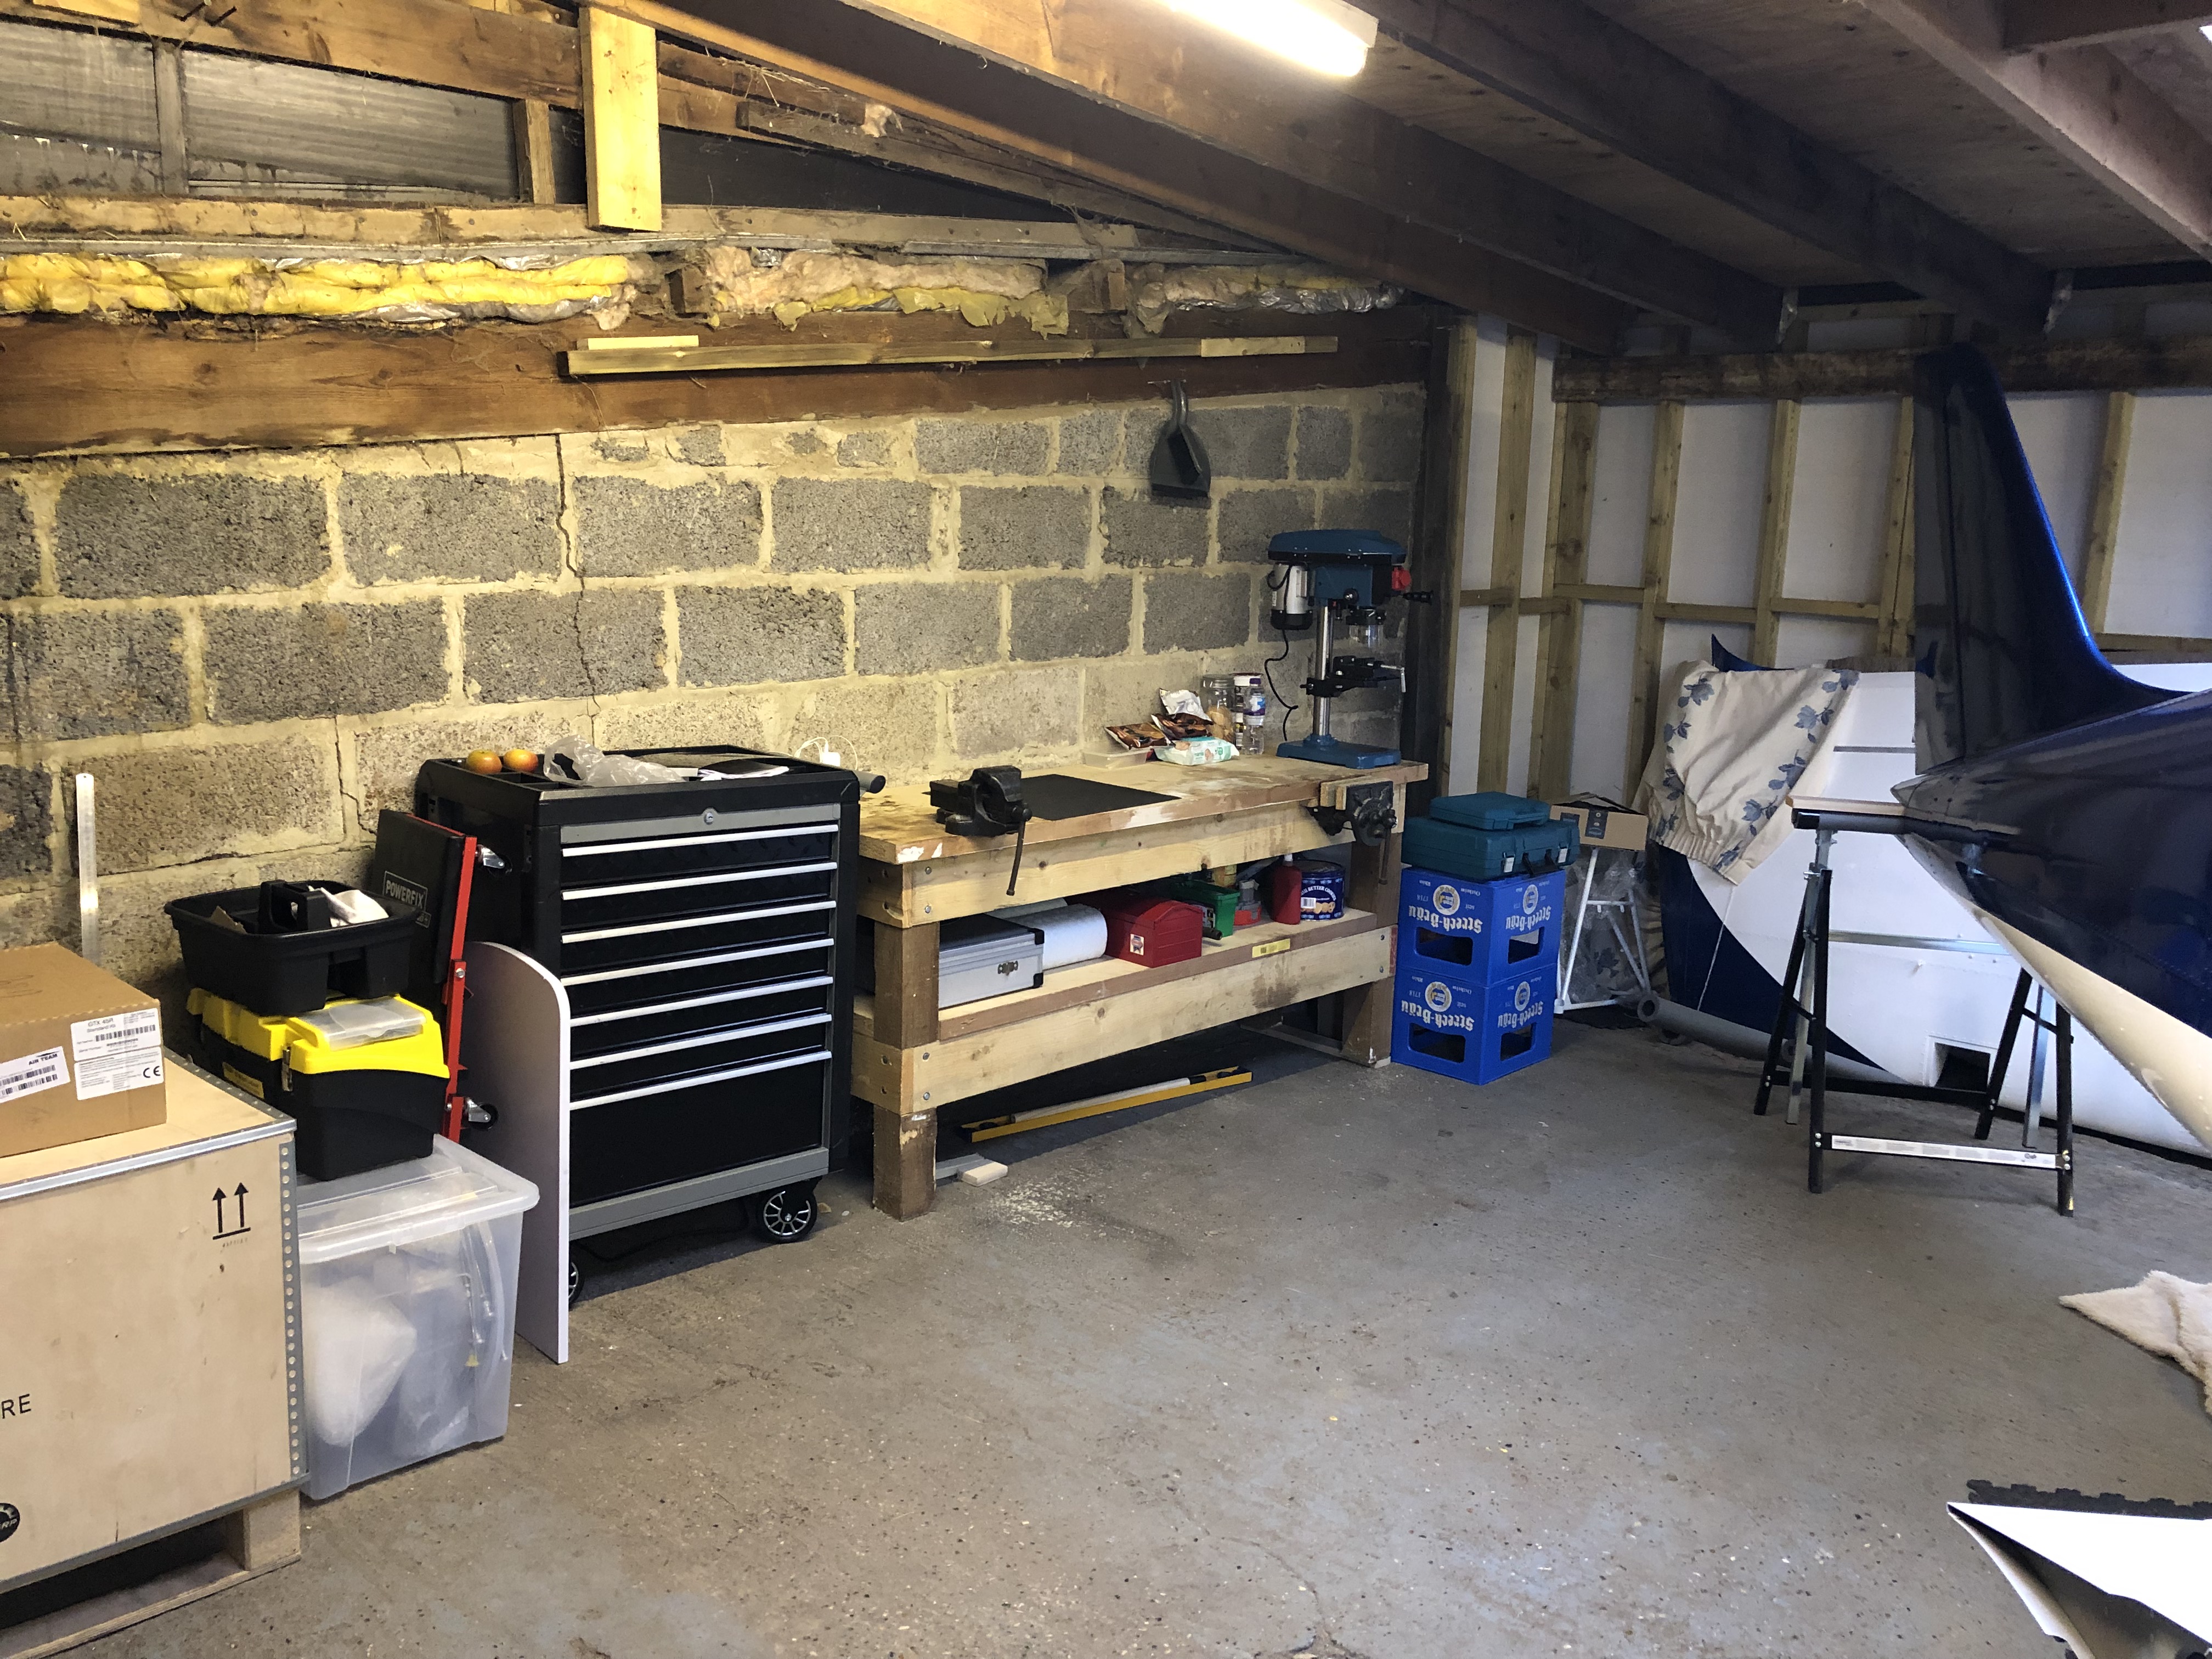
A tidy of the workshop was required to give me a bit more space on the workbench and clear area to work in.
Firewall installations continue…
Oil tank bracket. I’ve decided to use a different rivet gun which helps speed up the job
Gascolator bracket

Heater control cable bracket
The fuel pump and firewall air ducts are next to be fitted once the canopy is removed
To ensure the wing root bolts don’t rust some lithium grease was sprayed on them
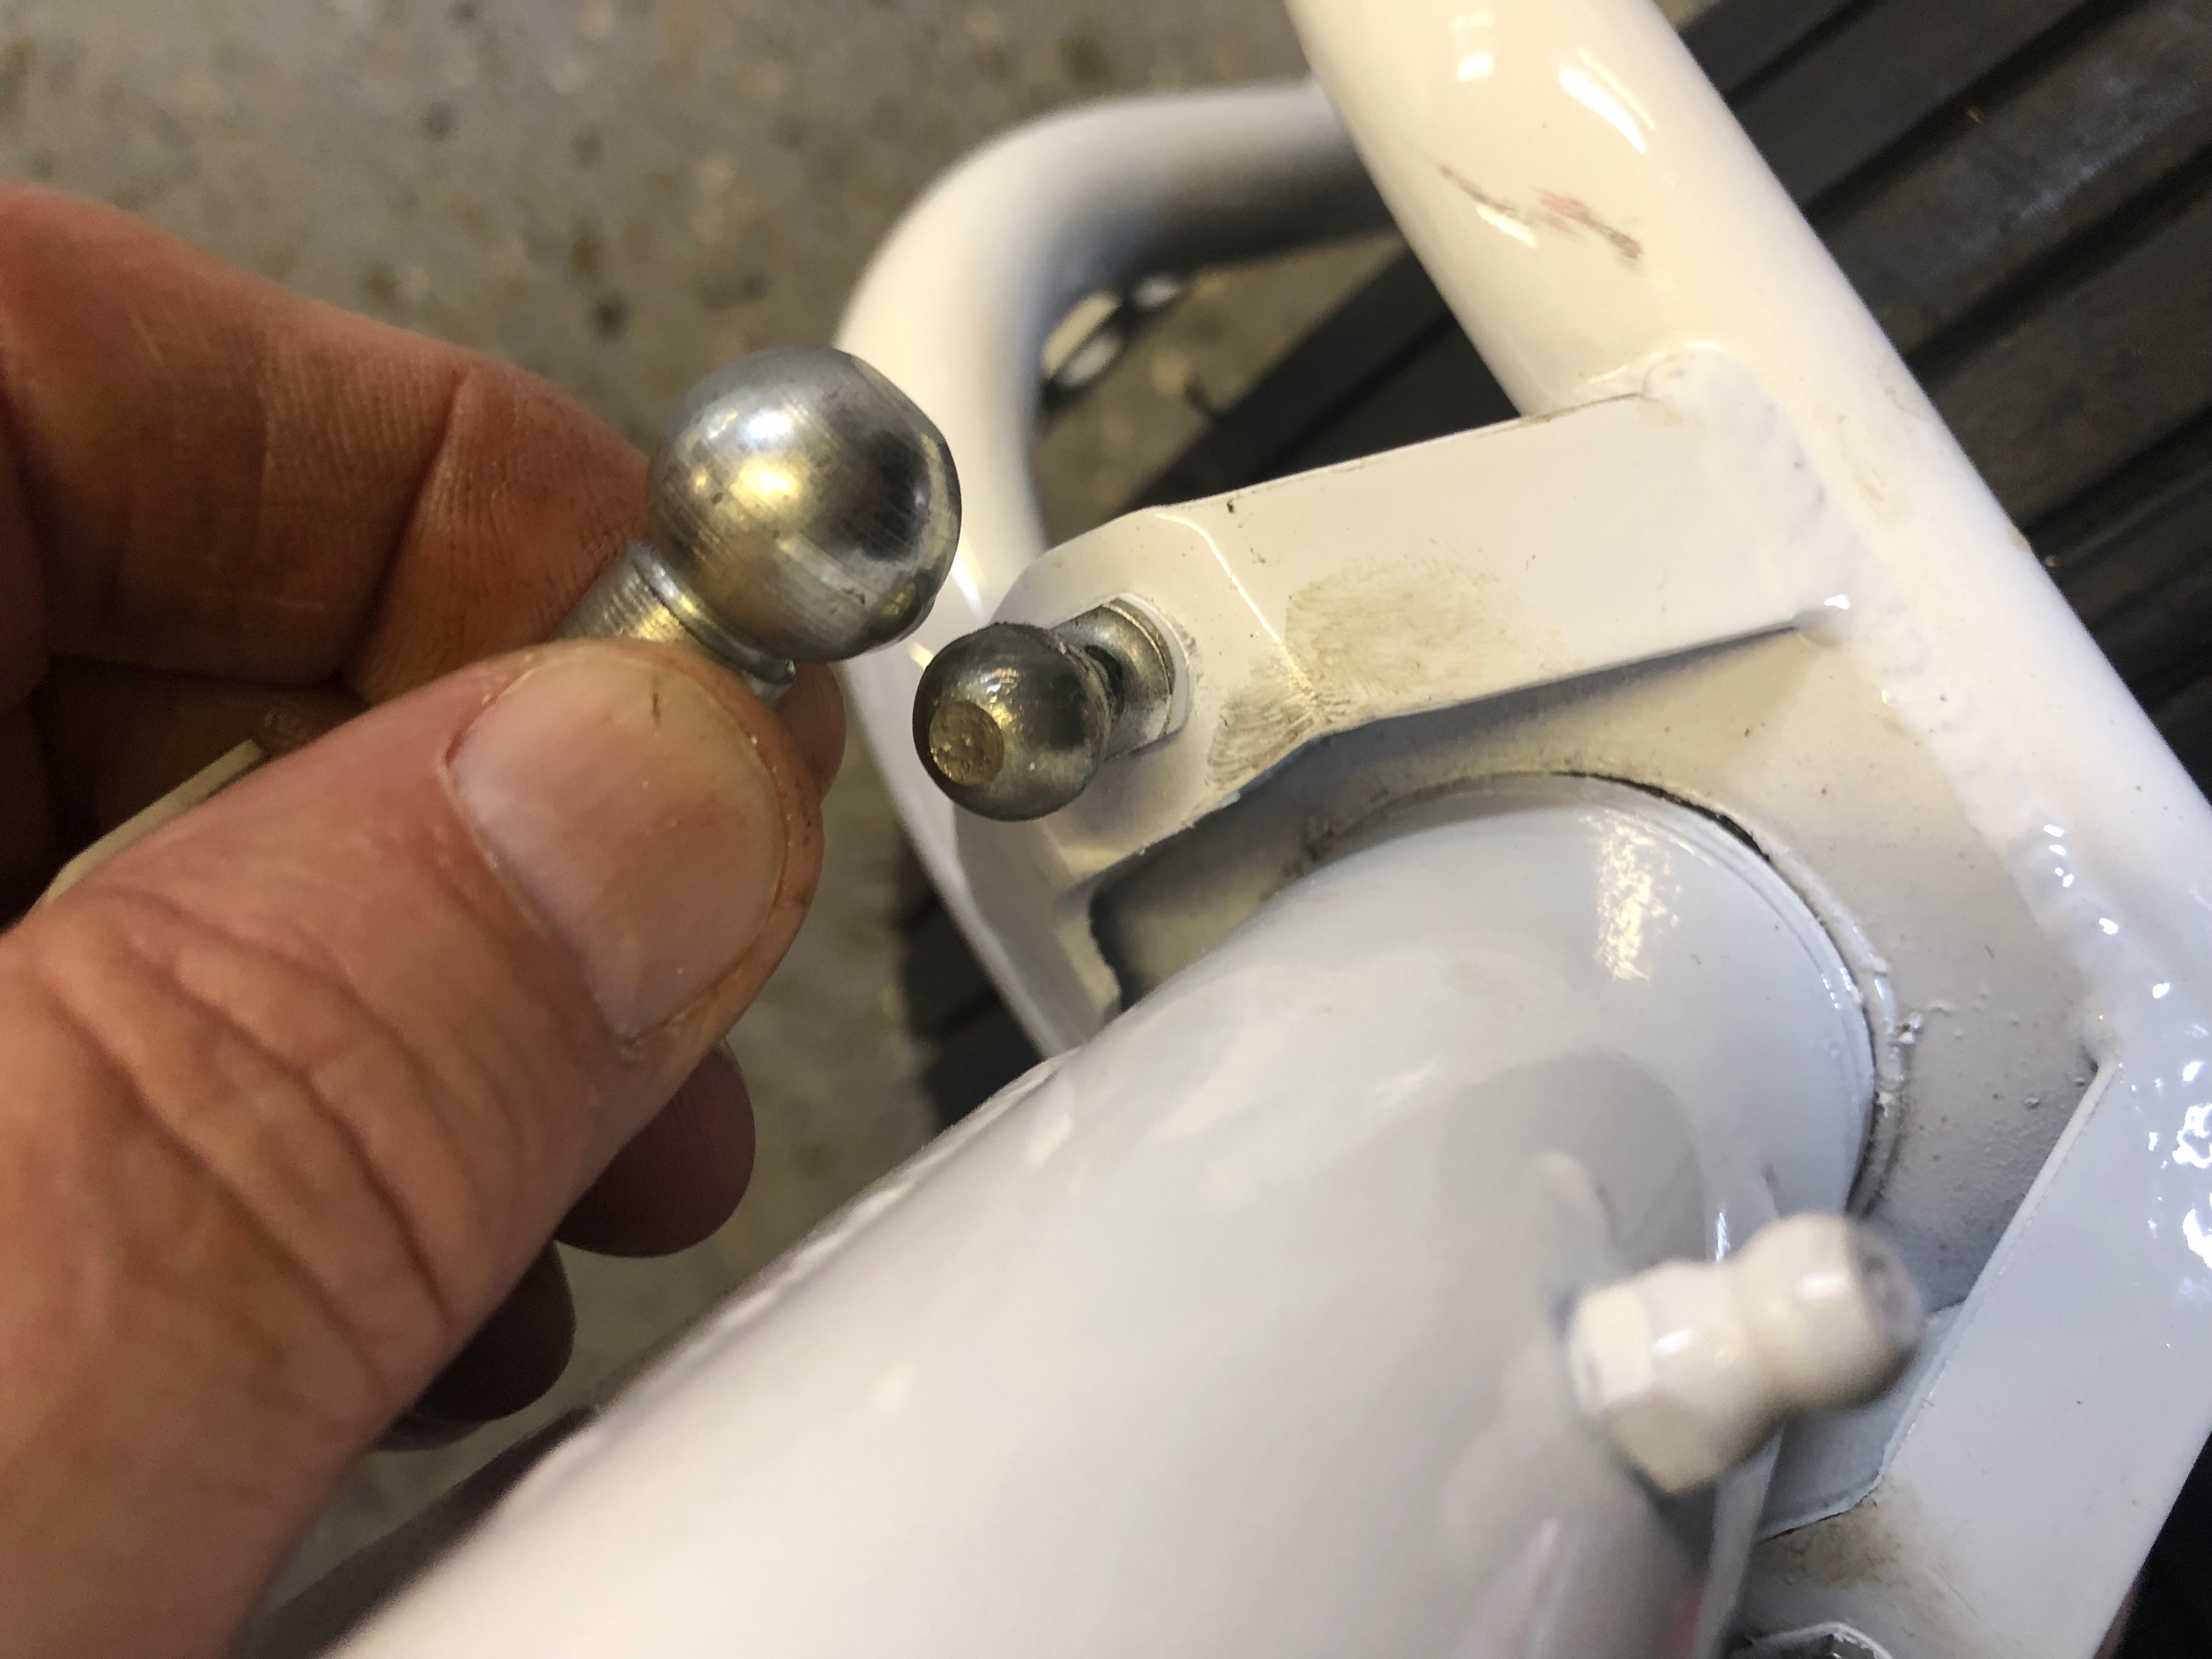
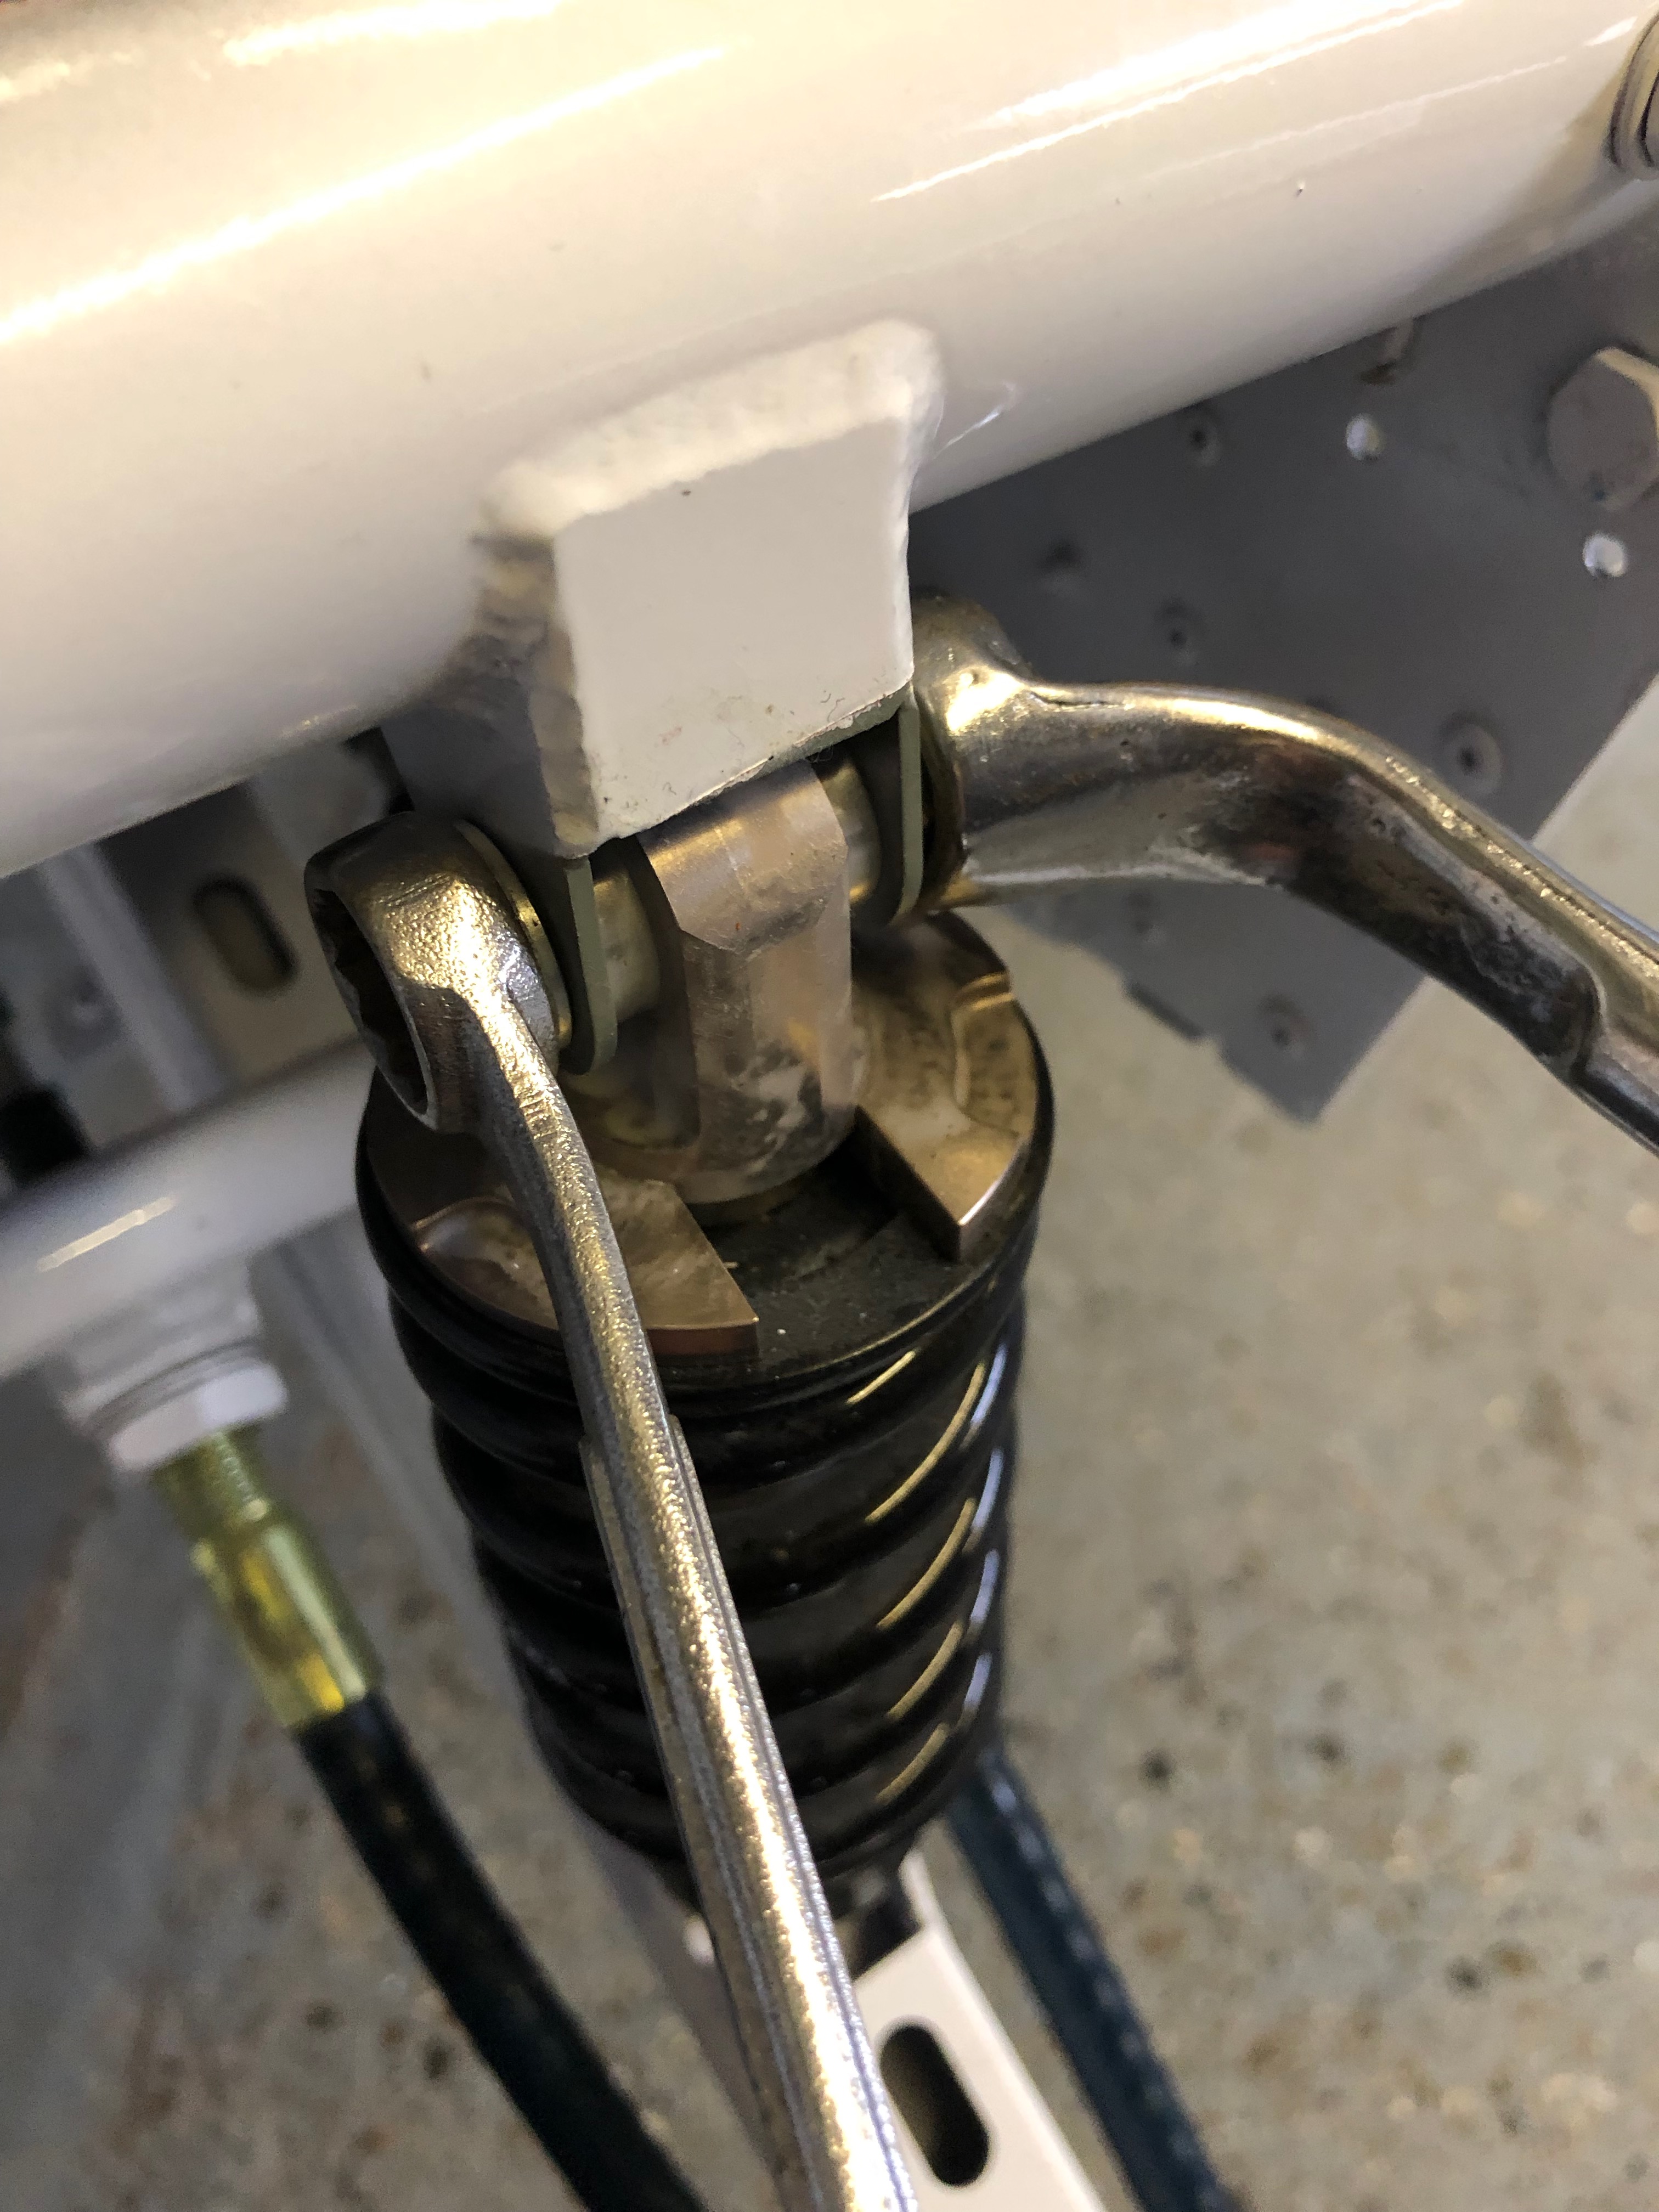
Steering cable ball connectors were removed, greased and refitted
The kit comes with the wheels, hubs and brake callipers fitted to facilitate transport and movement but are not final fit so need to be removed, greased, checked and refitted ensuring all bolts are correctly torqued.

To jack the aircraft so the wheel bearing can be removed and greased a simple wooden jack is made.
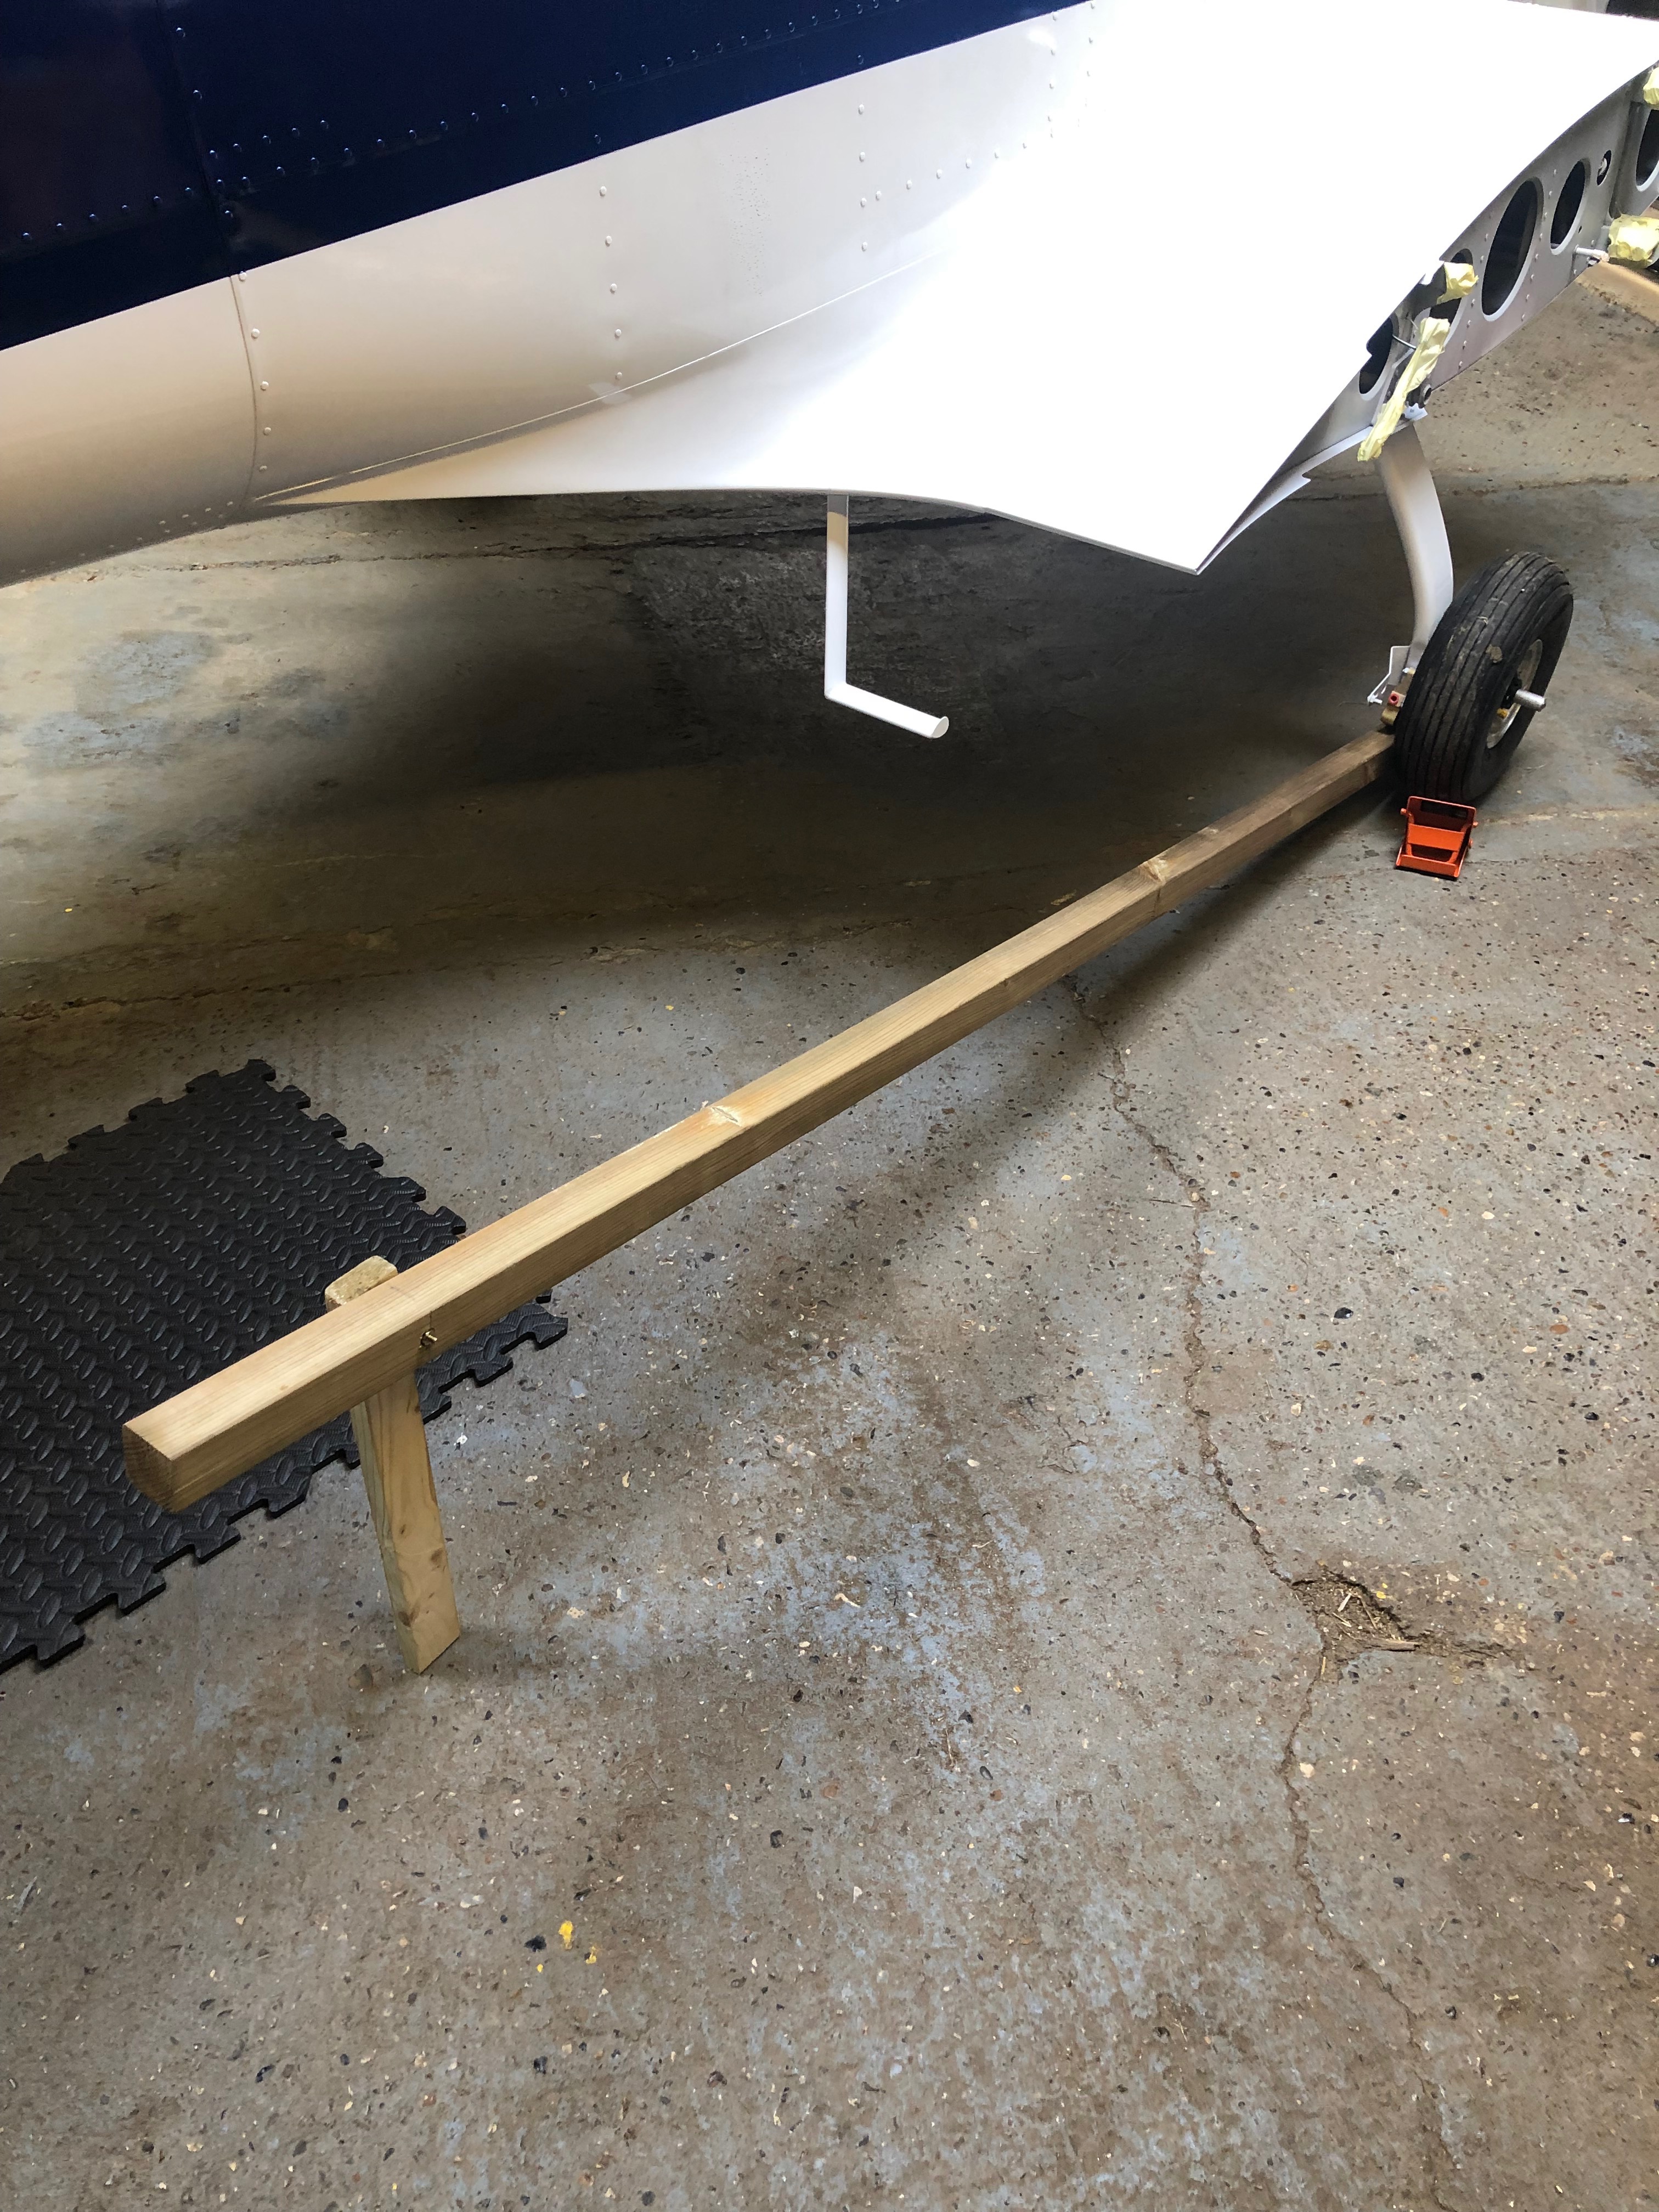
To help lift the wheel off the ground a suitable ‘jack’ was made from a length of 2″ x 2″ wood.
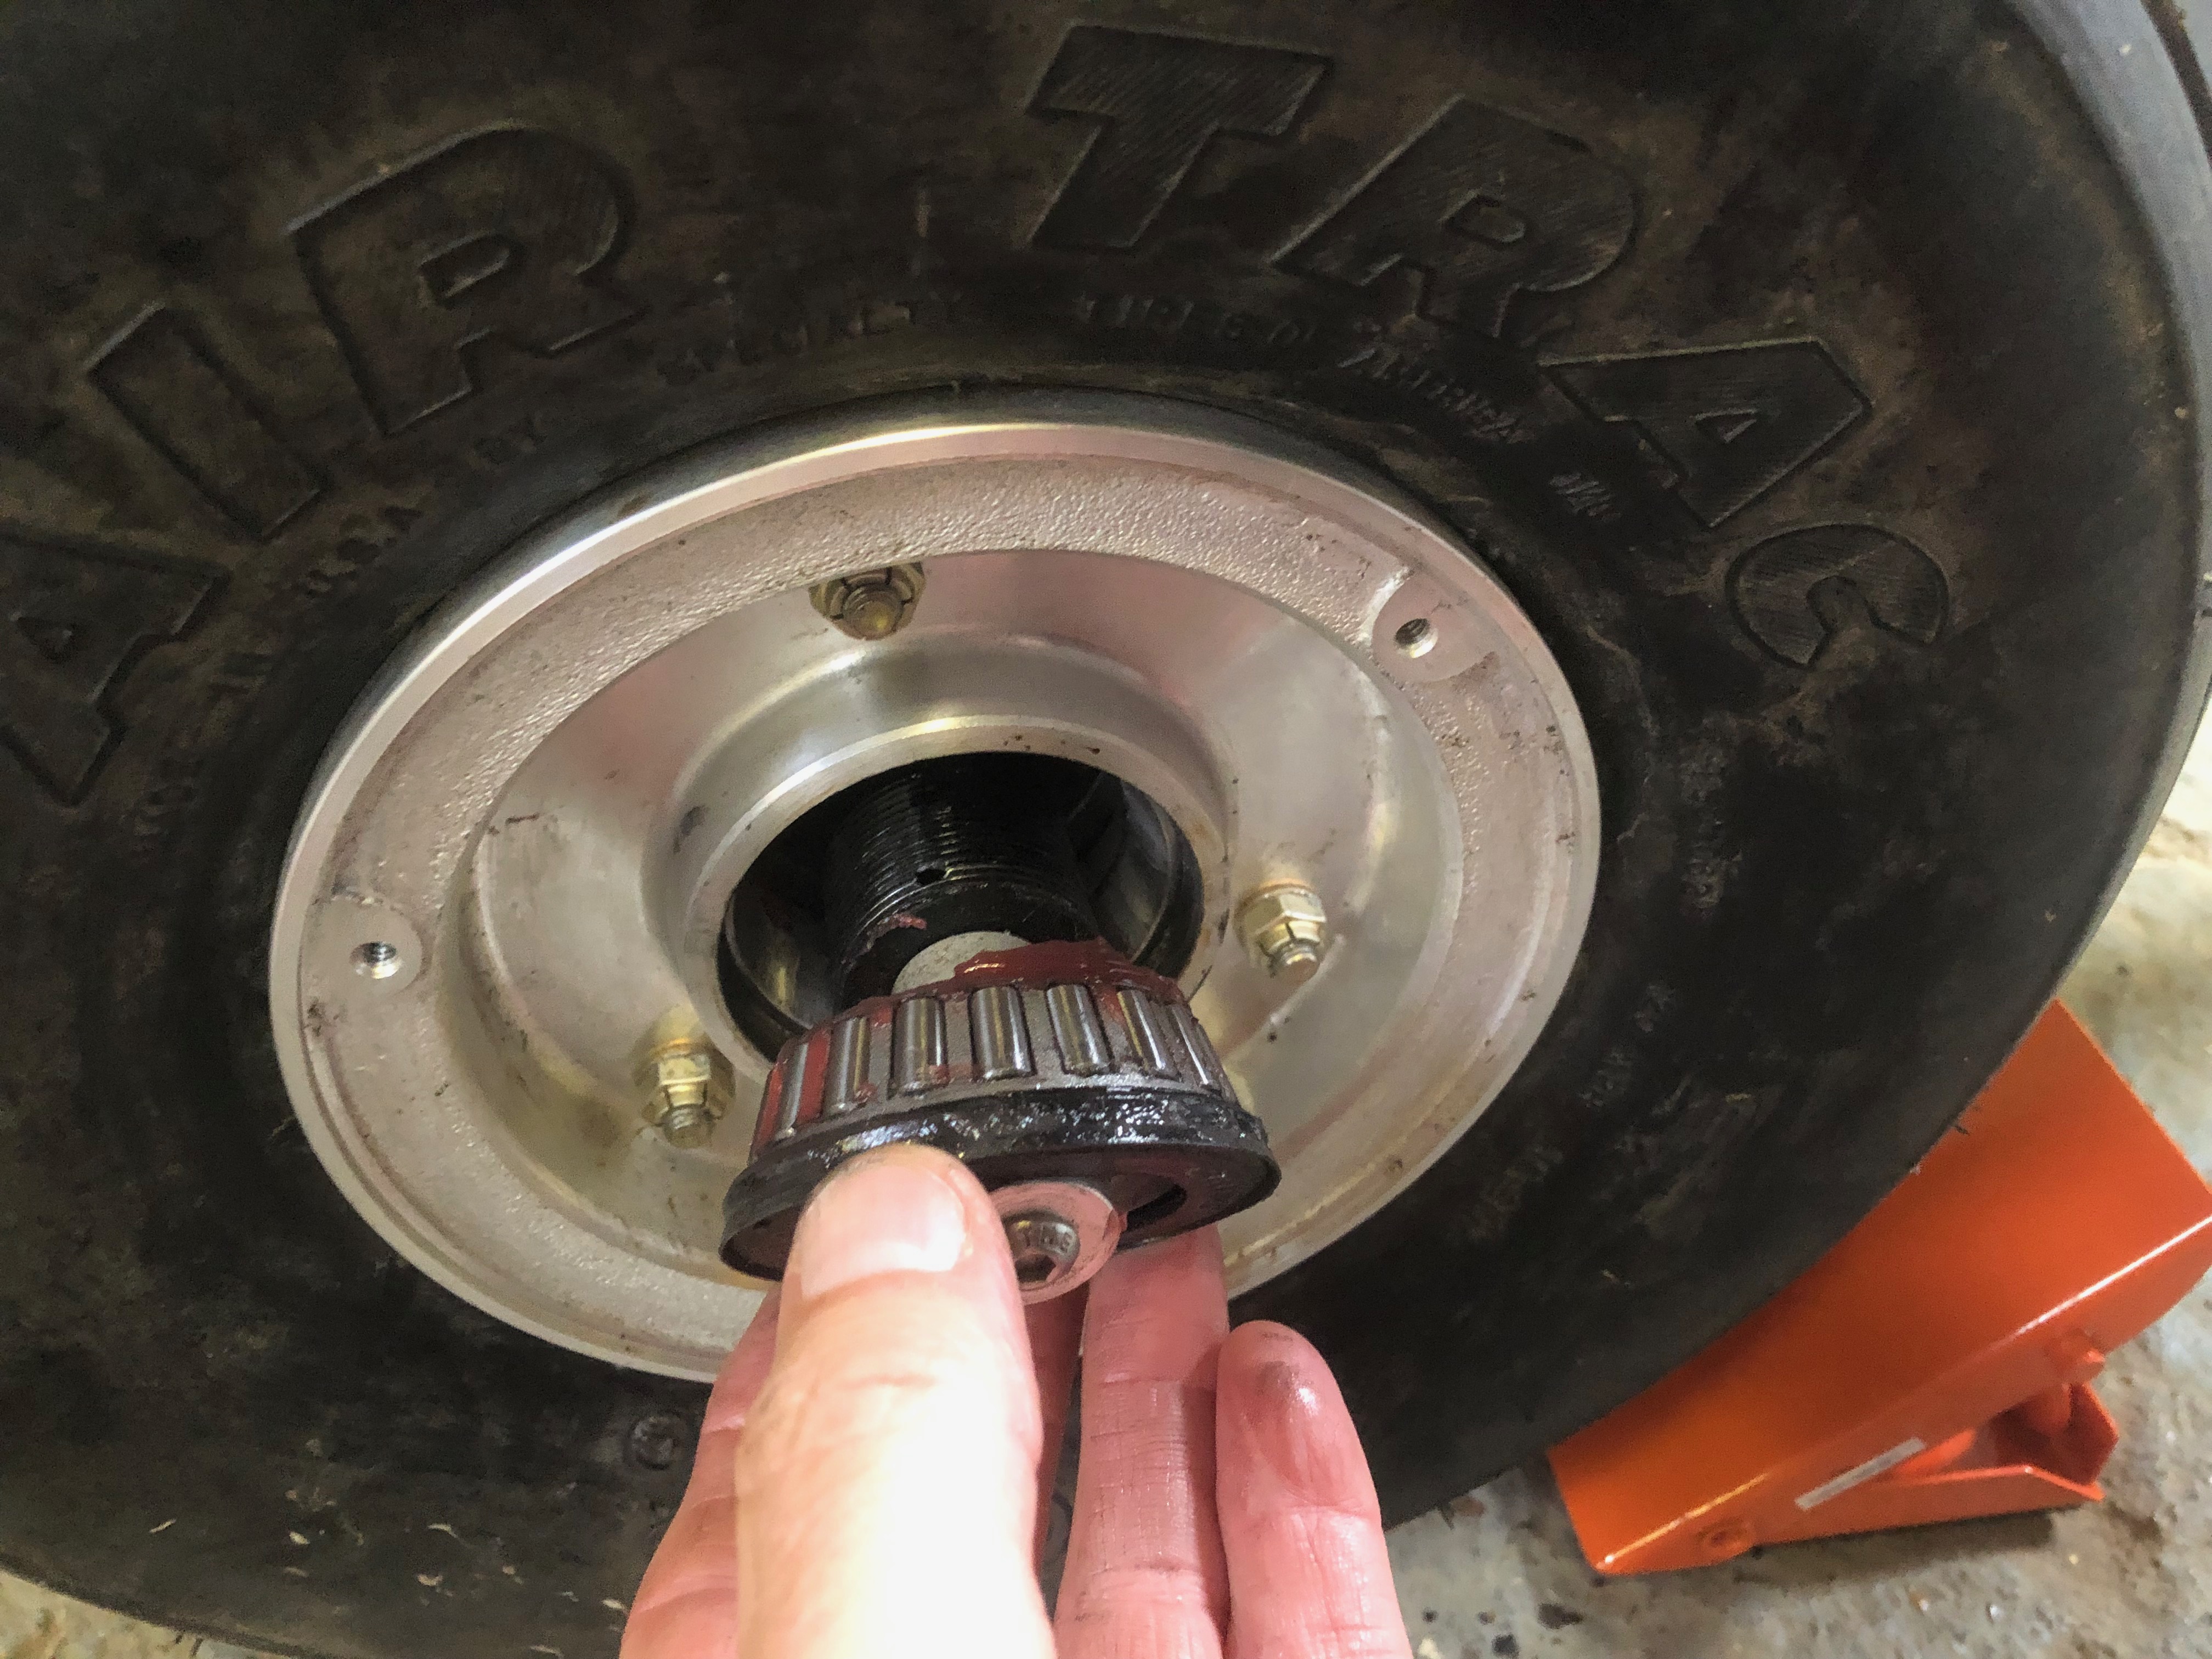
Once the wheel is clear of the ground the bearings are removed
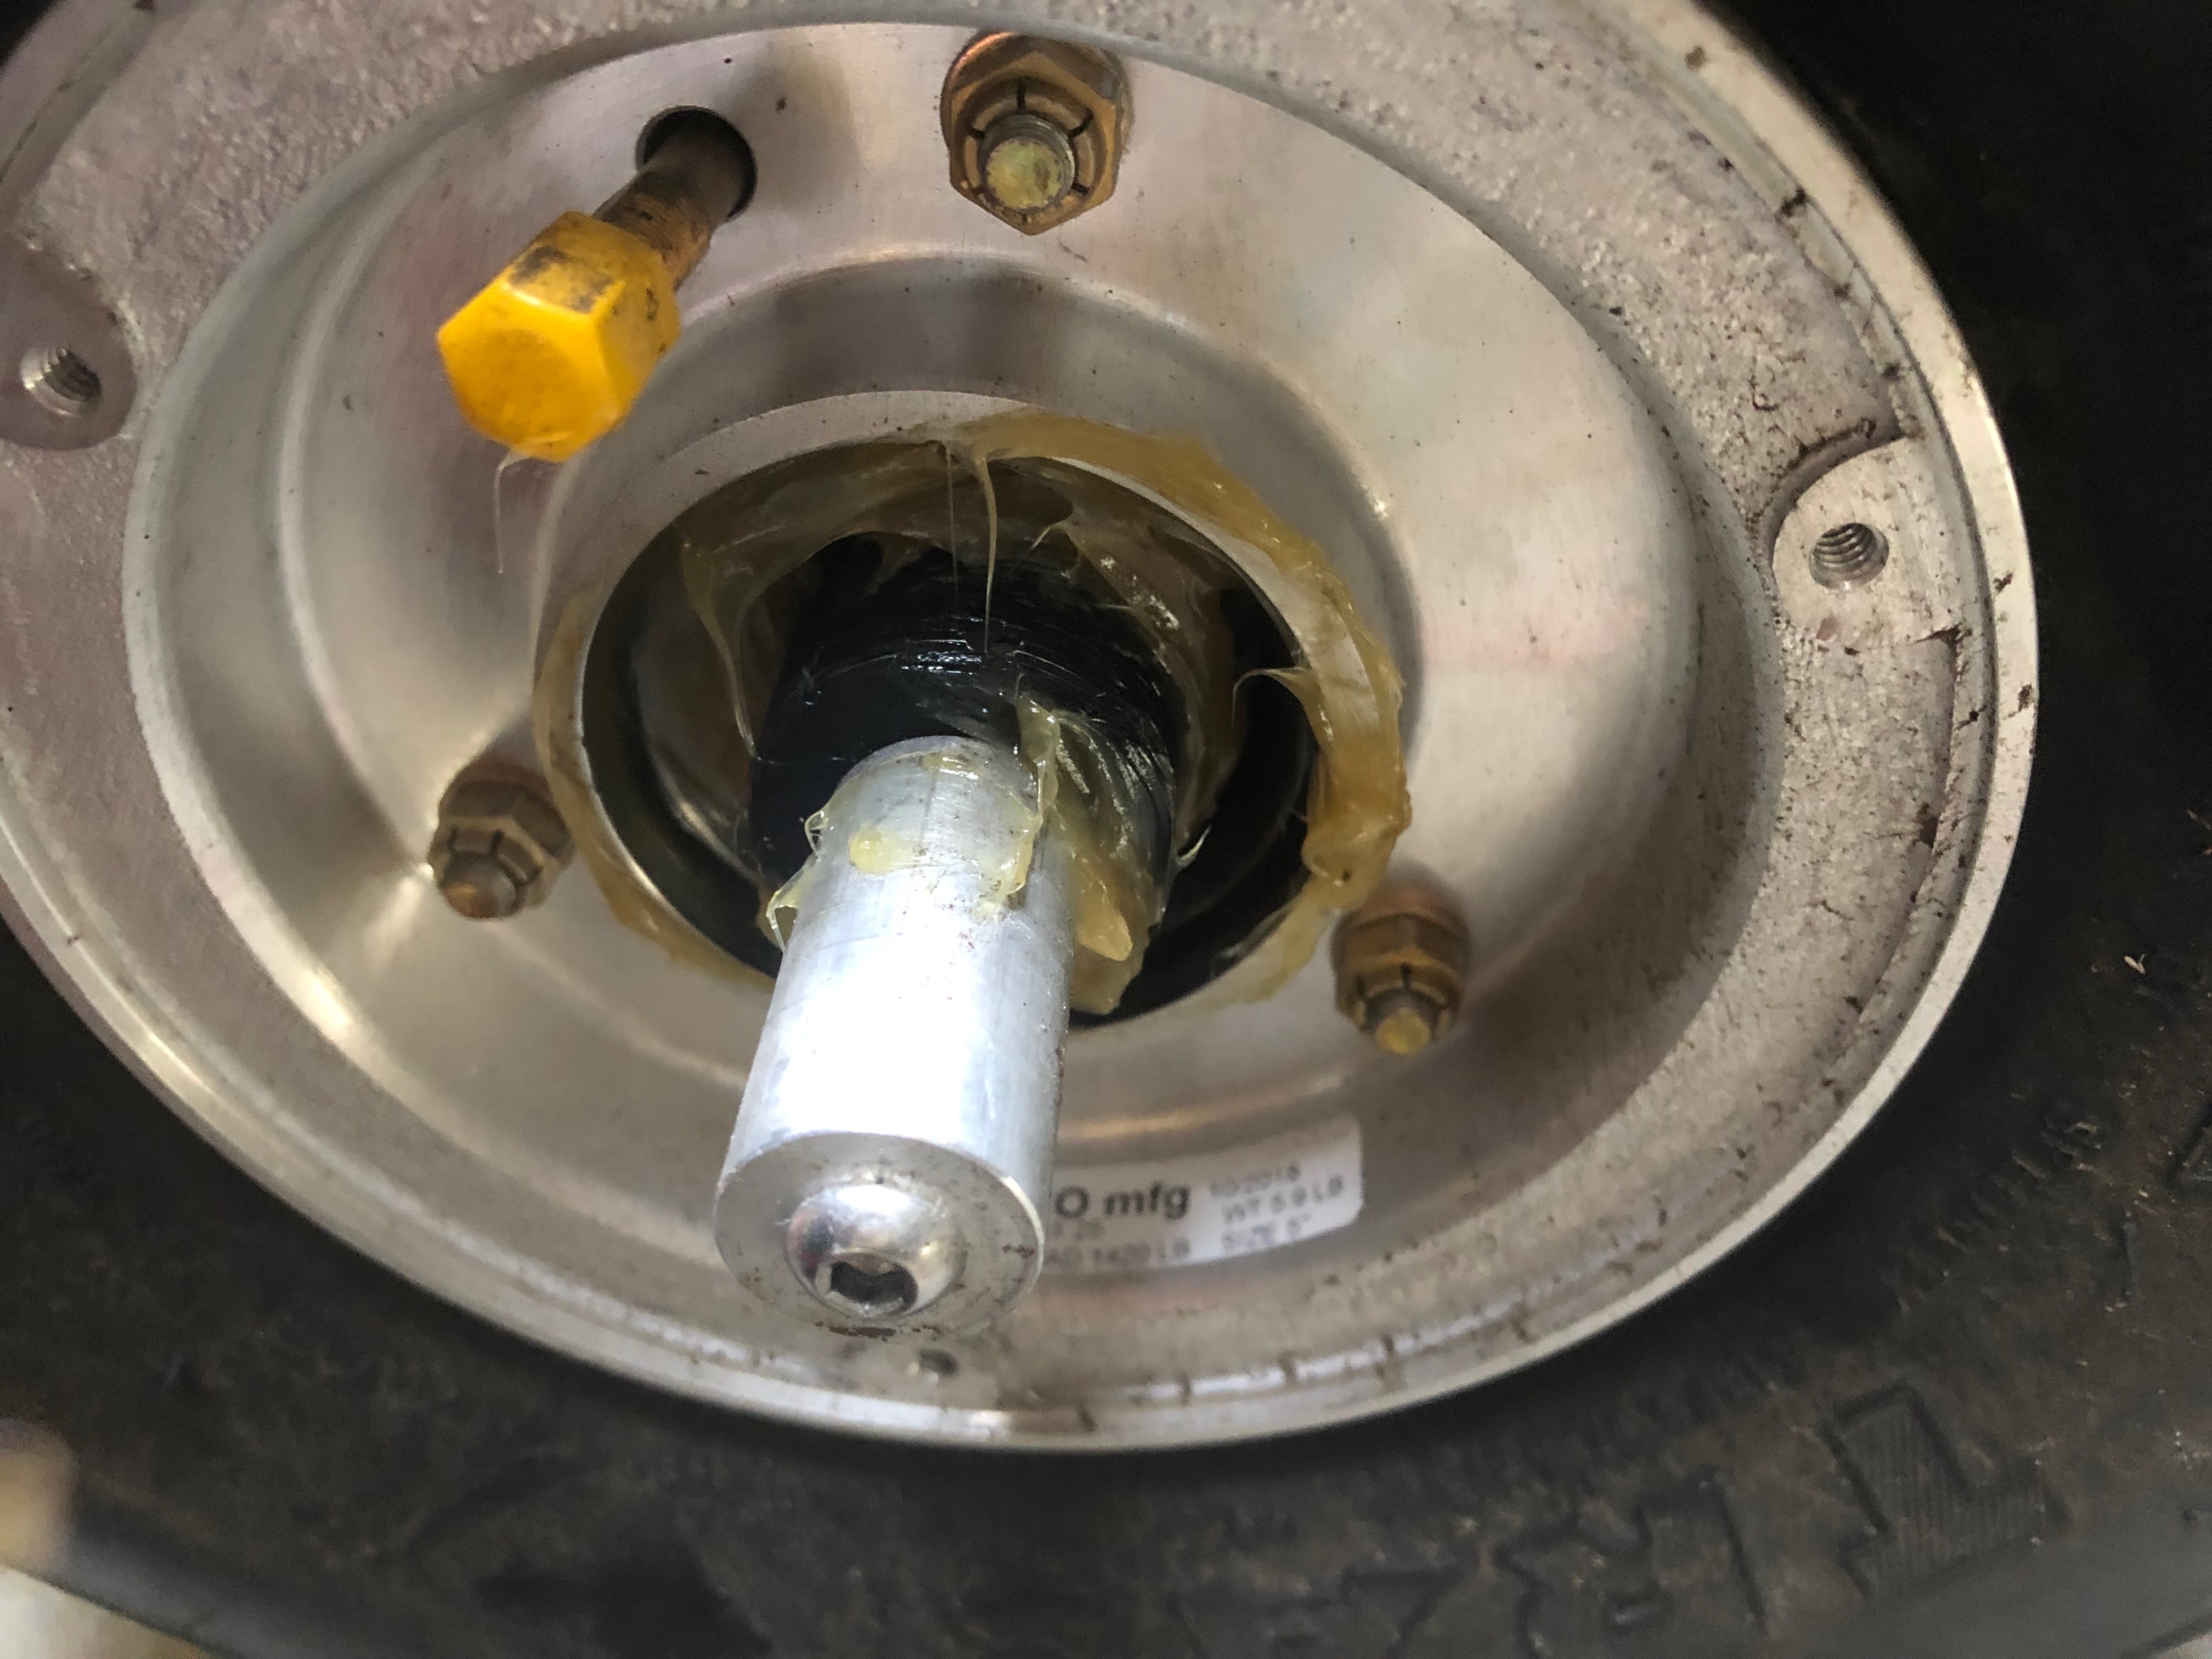
Recess packed with grease.
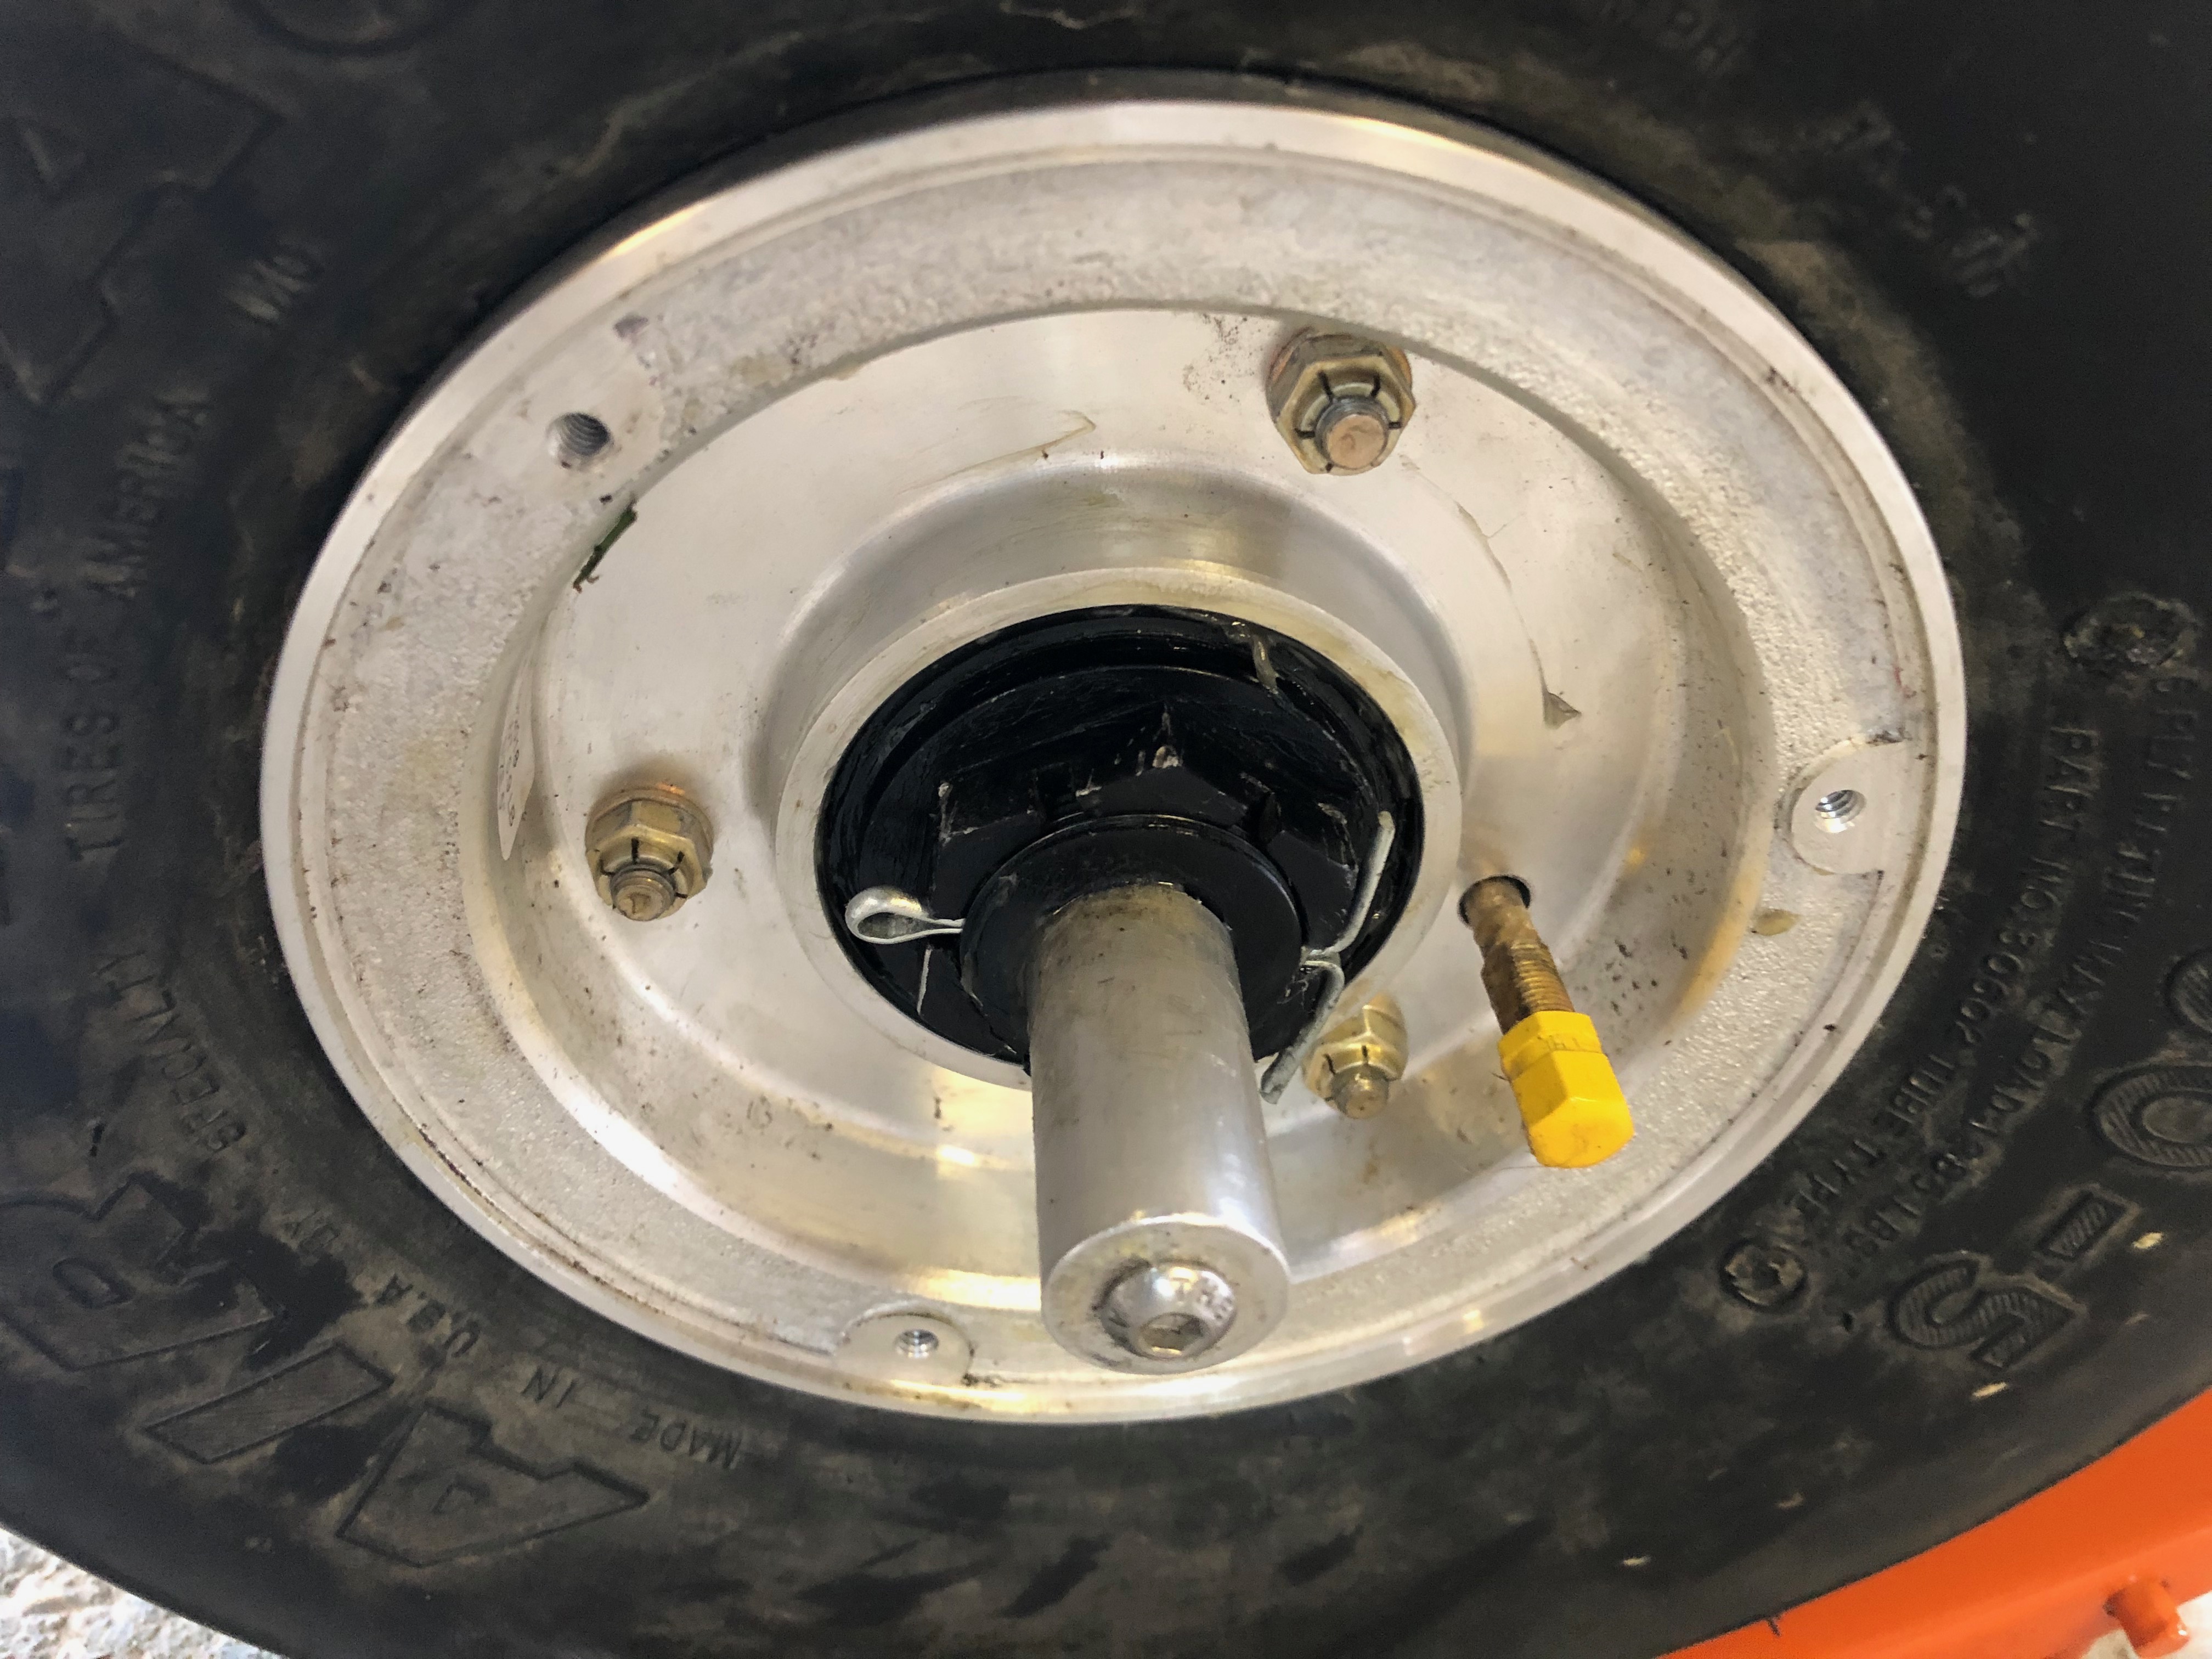
Wheel bearing is refitted, the wheel nut is refitted, tightened and a new split pin fitted.
