Back from Vienna just before Corona Virus closed all borders! With the transducer installed before I went away I rechecked the installation and carried out pressure testing to ensure there’s no leaks and all seems to be secure.
Wiring up the transducer into the EMS220 is straightforward using 3 wires, a 12v supply, signal and ground. The SkyView panels need to be configured with the ‘K’ factor of the FT60 unit. This is the number of rotations per US Gallon. Entering the config screen I found that the SkyView had already detected the unit and configured itself which was handy.
Once configured a check needs to be carried out between measured and actual fuel flow. I removed one of the banjos from the carb and captured the flow in a measuring jug to carry this out. With no restriction the electric fuel pump delivered 66 litres per minute and when restricted to give 3 psi within the fuel system the flow rate was 44 litres per minute. This is significantly more than the 27 rpm that the engine needs at full throttle.
Testing throughout the RPM range was carried out switching between left and right tanks and using the engine pump and engine and electric pumps options to ensure there were no issues with fuel supply. After the engine runs a thorough check of the installation was made to ensure there were no leaks or issues.All’s fine so now for the paperwork for the LAA. Worksheets covering the work carried out and a fuel flow check form needs to be completed. A suitable entry needs to be entered in the Airframe logbook signed by myself and a permit maintenance release needs to be signed off by and LAA inspector with the appropriate authority, in this case Ian Daniels.
Rotax issue Service Bulletins alerting owners of known issues or defects that need addressing. The first was to replace the carbruettor floats that have been found to be soaking up fuel and sinking. This could cause rough running or even engine failure. I changed these before the first flight to ensure my test pilot wasn’t at risk.
The latest one applies to my engine and relates to a circlip that holds the jet needle in place. The reason stated was ‘Due to deviations in the manufacturing process a partial fracture of the circlip may occur. This fracture might lead to a crack/ total fracture of the circlip which in consequence may lead to a malfunction of the carburettor. Possible effects might be rough engine running or an unusual engine operating behaviour.’ The replacement needed to be done within 25 hours of the notice issue date but in any event no later than 31st July 2020. Replacement circlips and the ‘O’ rings were supplied under warranty from CFS
As the engine is just coming up to 25 hours and with Maypole’s runway waterlogged it was an ideal time to carry out the change.
The circlips…and ‘O’ rings supplied under warranty.The first thing to do is to remove the carburettor tops which requires the choke spring and …throttle and choke cables to be removed.The two screws retaining the top are removed…which allows the top, spring and ……the slide to be removed.The needle retaining screw is removed next but Loctite has been applied to the thread so it’s quite tight to remove. Luckily it unscrewed without too much force.Once the retaining screw is removed the needle can be withdrawn the circlip removed and replaced making sure to note which of the 4 grooves it was located in first!The ‘O’ ring that stops the needle moving in situ is recessed in the retaining screw and is also replaced.The needle is reinserted and Loctite 243 is applied to the retaining screw.The carburettor can now be reassembled…and the choke and retaining springs reattached. The last thing to be done is to reconnect the throttle and choke cables.The carburettor reassembled.
Overall the process was very straightforward. The first carb took 45 minutes to do but the second was much quicker at 30 minutes. The engine logbook has been updated and the engine will be test run to check for correct operation before the next flight.
Let’s hope there’s not too many more of these mandatory service bulletins affecting my engine!
With the wet weather prevailing and Maypole closed due to a very wet runway it’s a great time to do some maintenance. With 24.4 hours on the hobbs I thought I’d do the initial 25 hour oil and filter change and a general inspection of the engine.
After this the next thing to do before she flies again is to carry out SB-912-073 which is to replace the carburettor needle circlips. I’ll do that in a couple of days after researching the method.
A quick run up of the engine to warm the oil, remove the cowling, burp the engine, remove the drain plug from the oil tank and drain off the oil. The oil filter is very tight so is unscrewed using a oil filter strap. The new filter’s oil seal is lubricated and the screwed back on and then tightened 3/4 of a turn by hand. Probably not totally necessary but I have used a jubilee clip to allow wire locking of the filter to stop is coming undone in servce.A check of the magnetic plug is required to see if there’s any large bits of engine sticking to it…I’m pleased to see nothing untoward so it can be cleaned and reinserted.The filter, magnetic plug and the oil tank drain plug are wire locked to stop them loosening during operation. The tank is refilled with 3 litres of oil. The oil filter is primed by rotating the prop several times before the first start. Then the oil can be checked and topped up as required.
Then a good check of the engine installation is performed to make sure that all is ok. As you can see by the pictures it’s all is in good order with not leaks evident and still sparkling clean! (for now)
I had restricted myself from taking passengers until I had 15 flights in MLSY. This was to ensure that I had fully tested the reliability of the aircraft and got used to its flight characteristics.
So I looking forward at the weather I saw a window of opportunity to take Karen on her first flight. The weather was good with blue skies and a 8-10 kts of SSW winds quite perfect for runway 20. After preparing the aircraft I walked the grass runway to check its suitability for use. It was slightly soft but ok to use.
Once Karen was seated and strapped in I briefed her on the emergency procedures and we headed for the runway. Even with the slightly soft runway and ‘two up’ MLSY leapt into the air and we headed for a trip round the coast.
It’s good to see that Karen was taking her first flight seriously! Although someone mentioned later that it’s only a 2 seater!
We flew at 1200′ most of the time and it lasted around an hour. I said to Karen not to worry about taking pictures or videos as I had the GoPro running however once I had landed I found that I had forgotten to start it – doh!
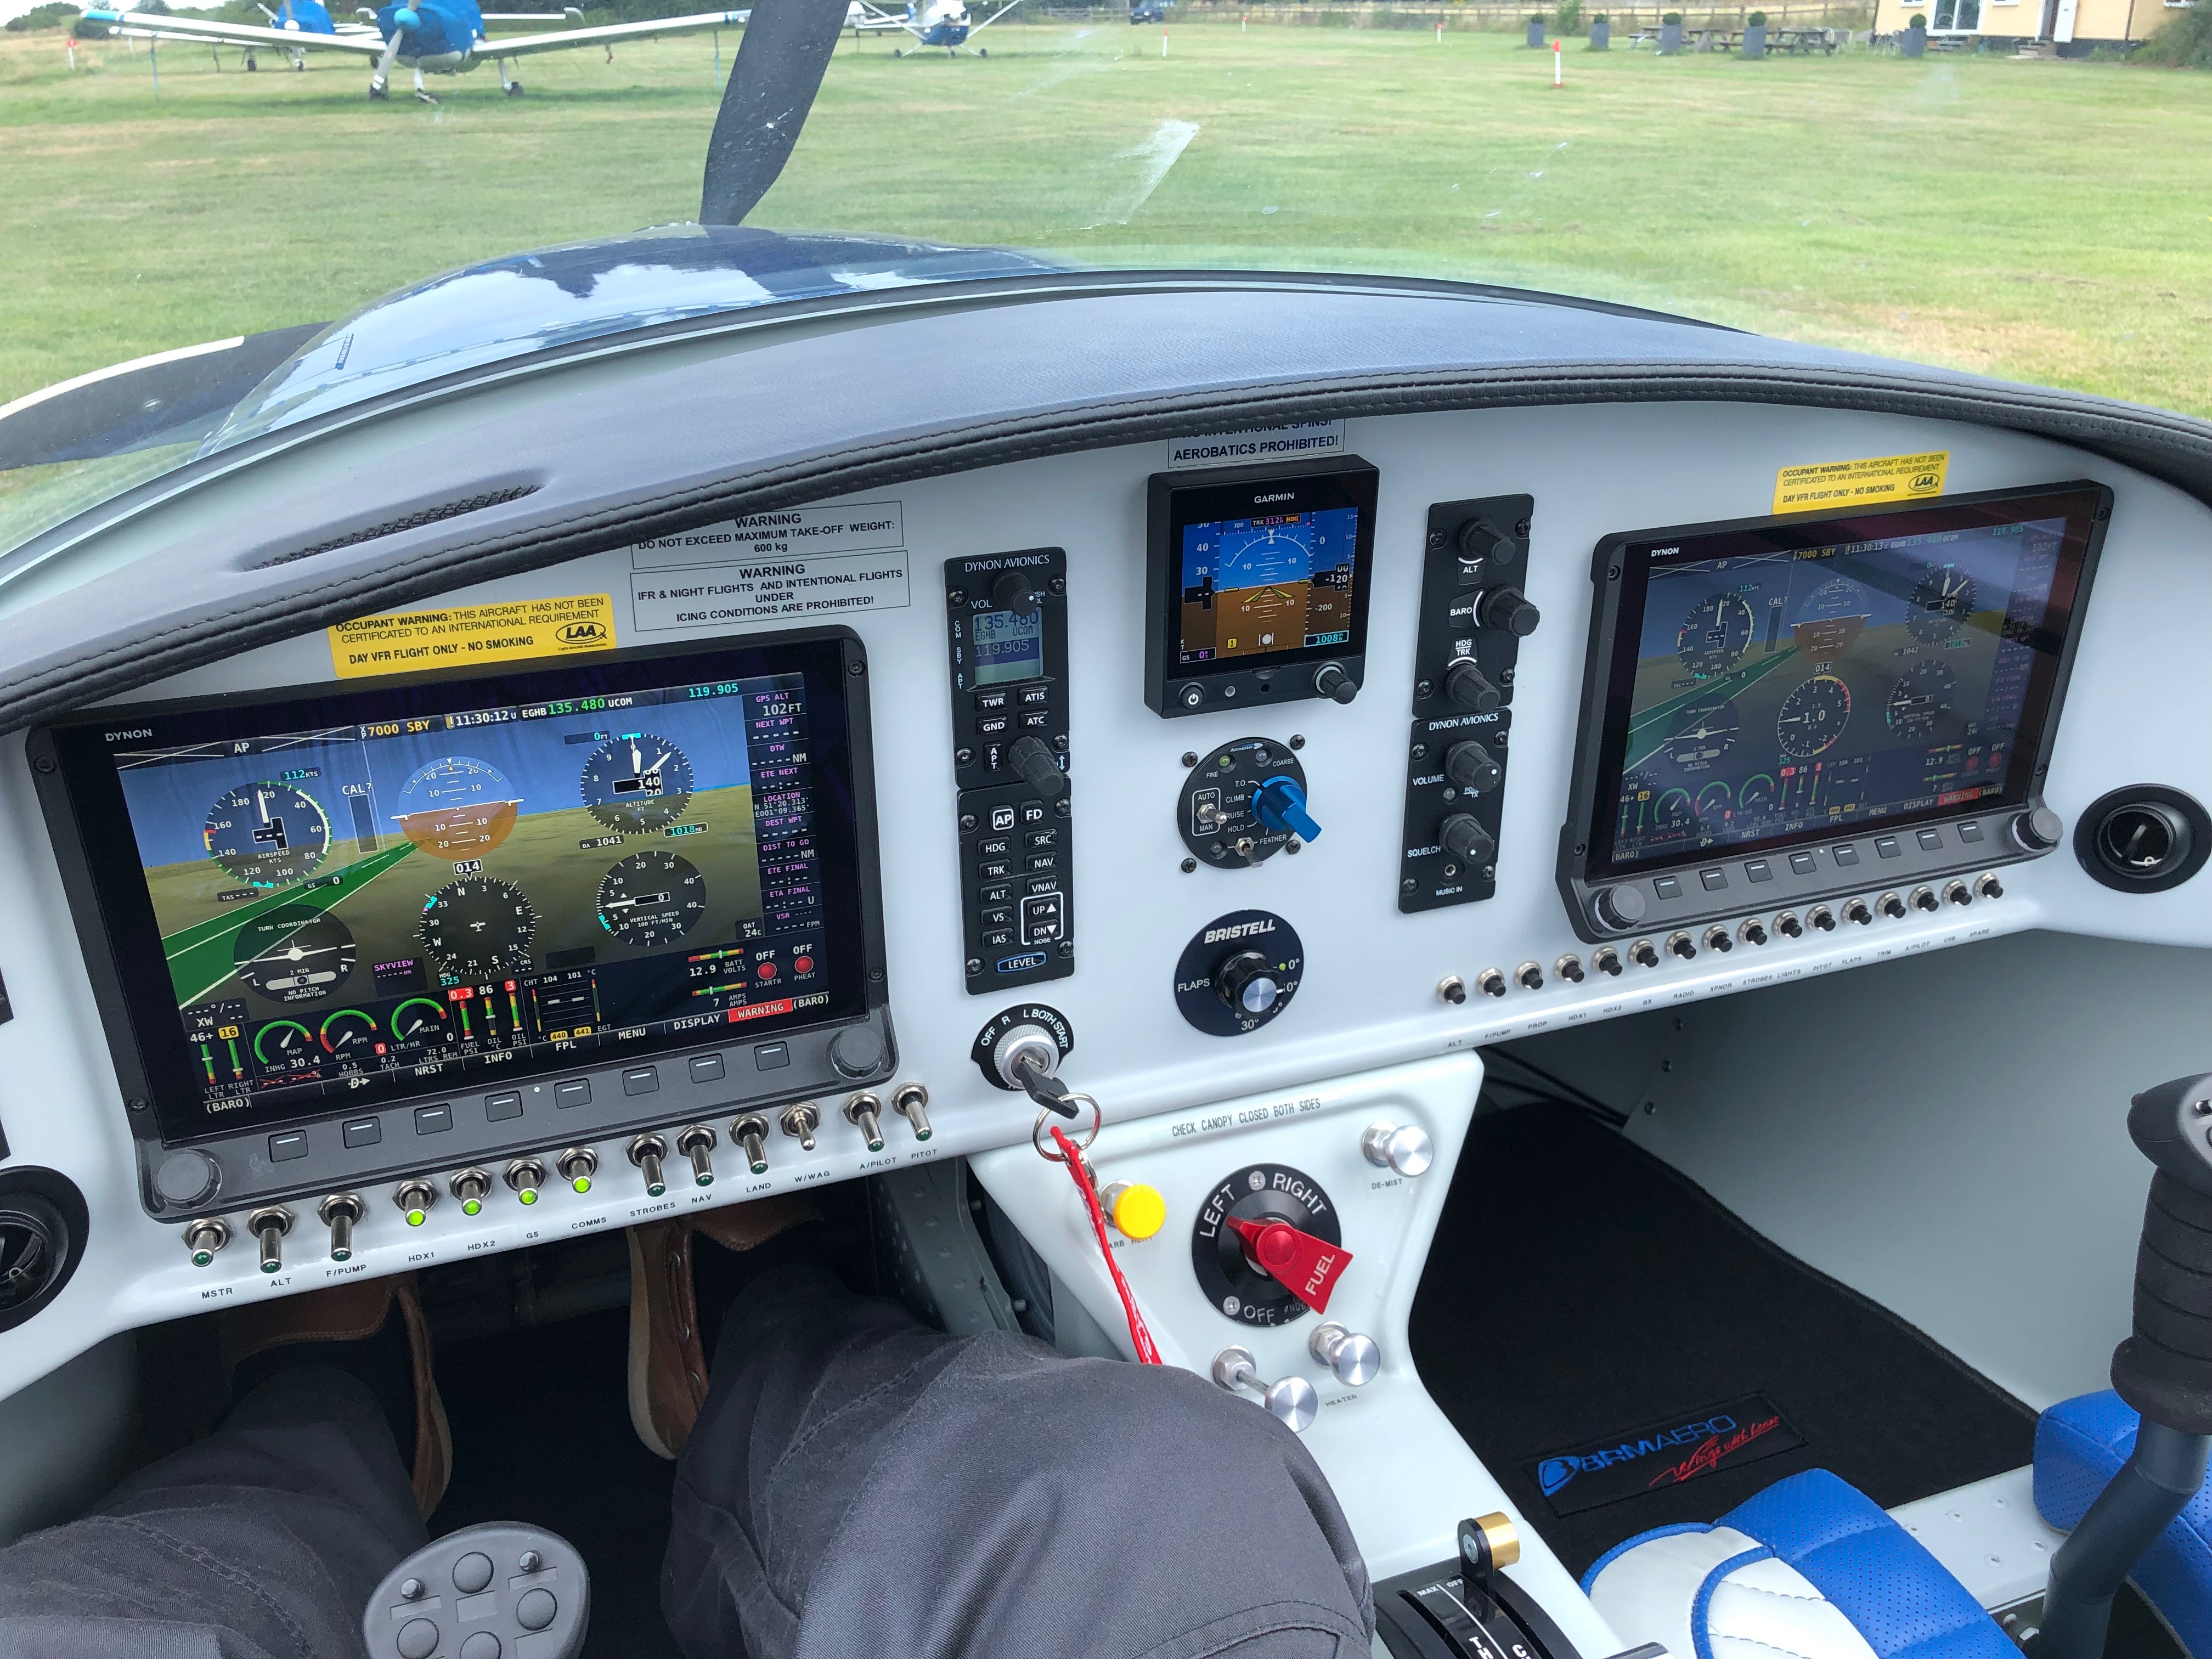
One of the great things about the SkyView HDX EFIS’ is the fact that it records every parameter of the flight. I’ve set it up to record every second which is suitable for what I want.
On approach I noticed that the wind had veered to become a crosswind. The landing proved challenging as the runway conditions further down were much softer. With the top section of the runway coned off I had to flare much higher and ended up running into the soft section and decided to go round. The second approach was better and I landed shorter but still had to taxi through the softer ground so caused some rutting that we walked out.
Maypole was closed two days later after further rain made the runway unusable.
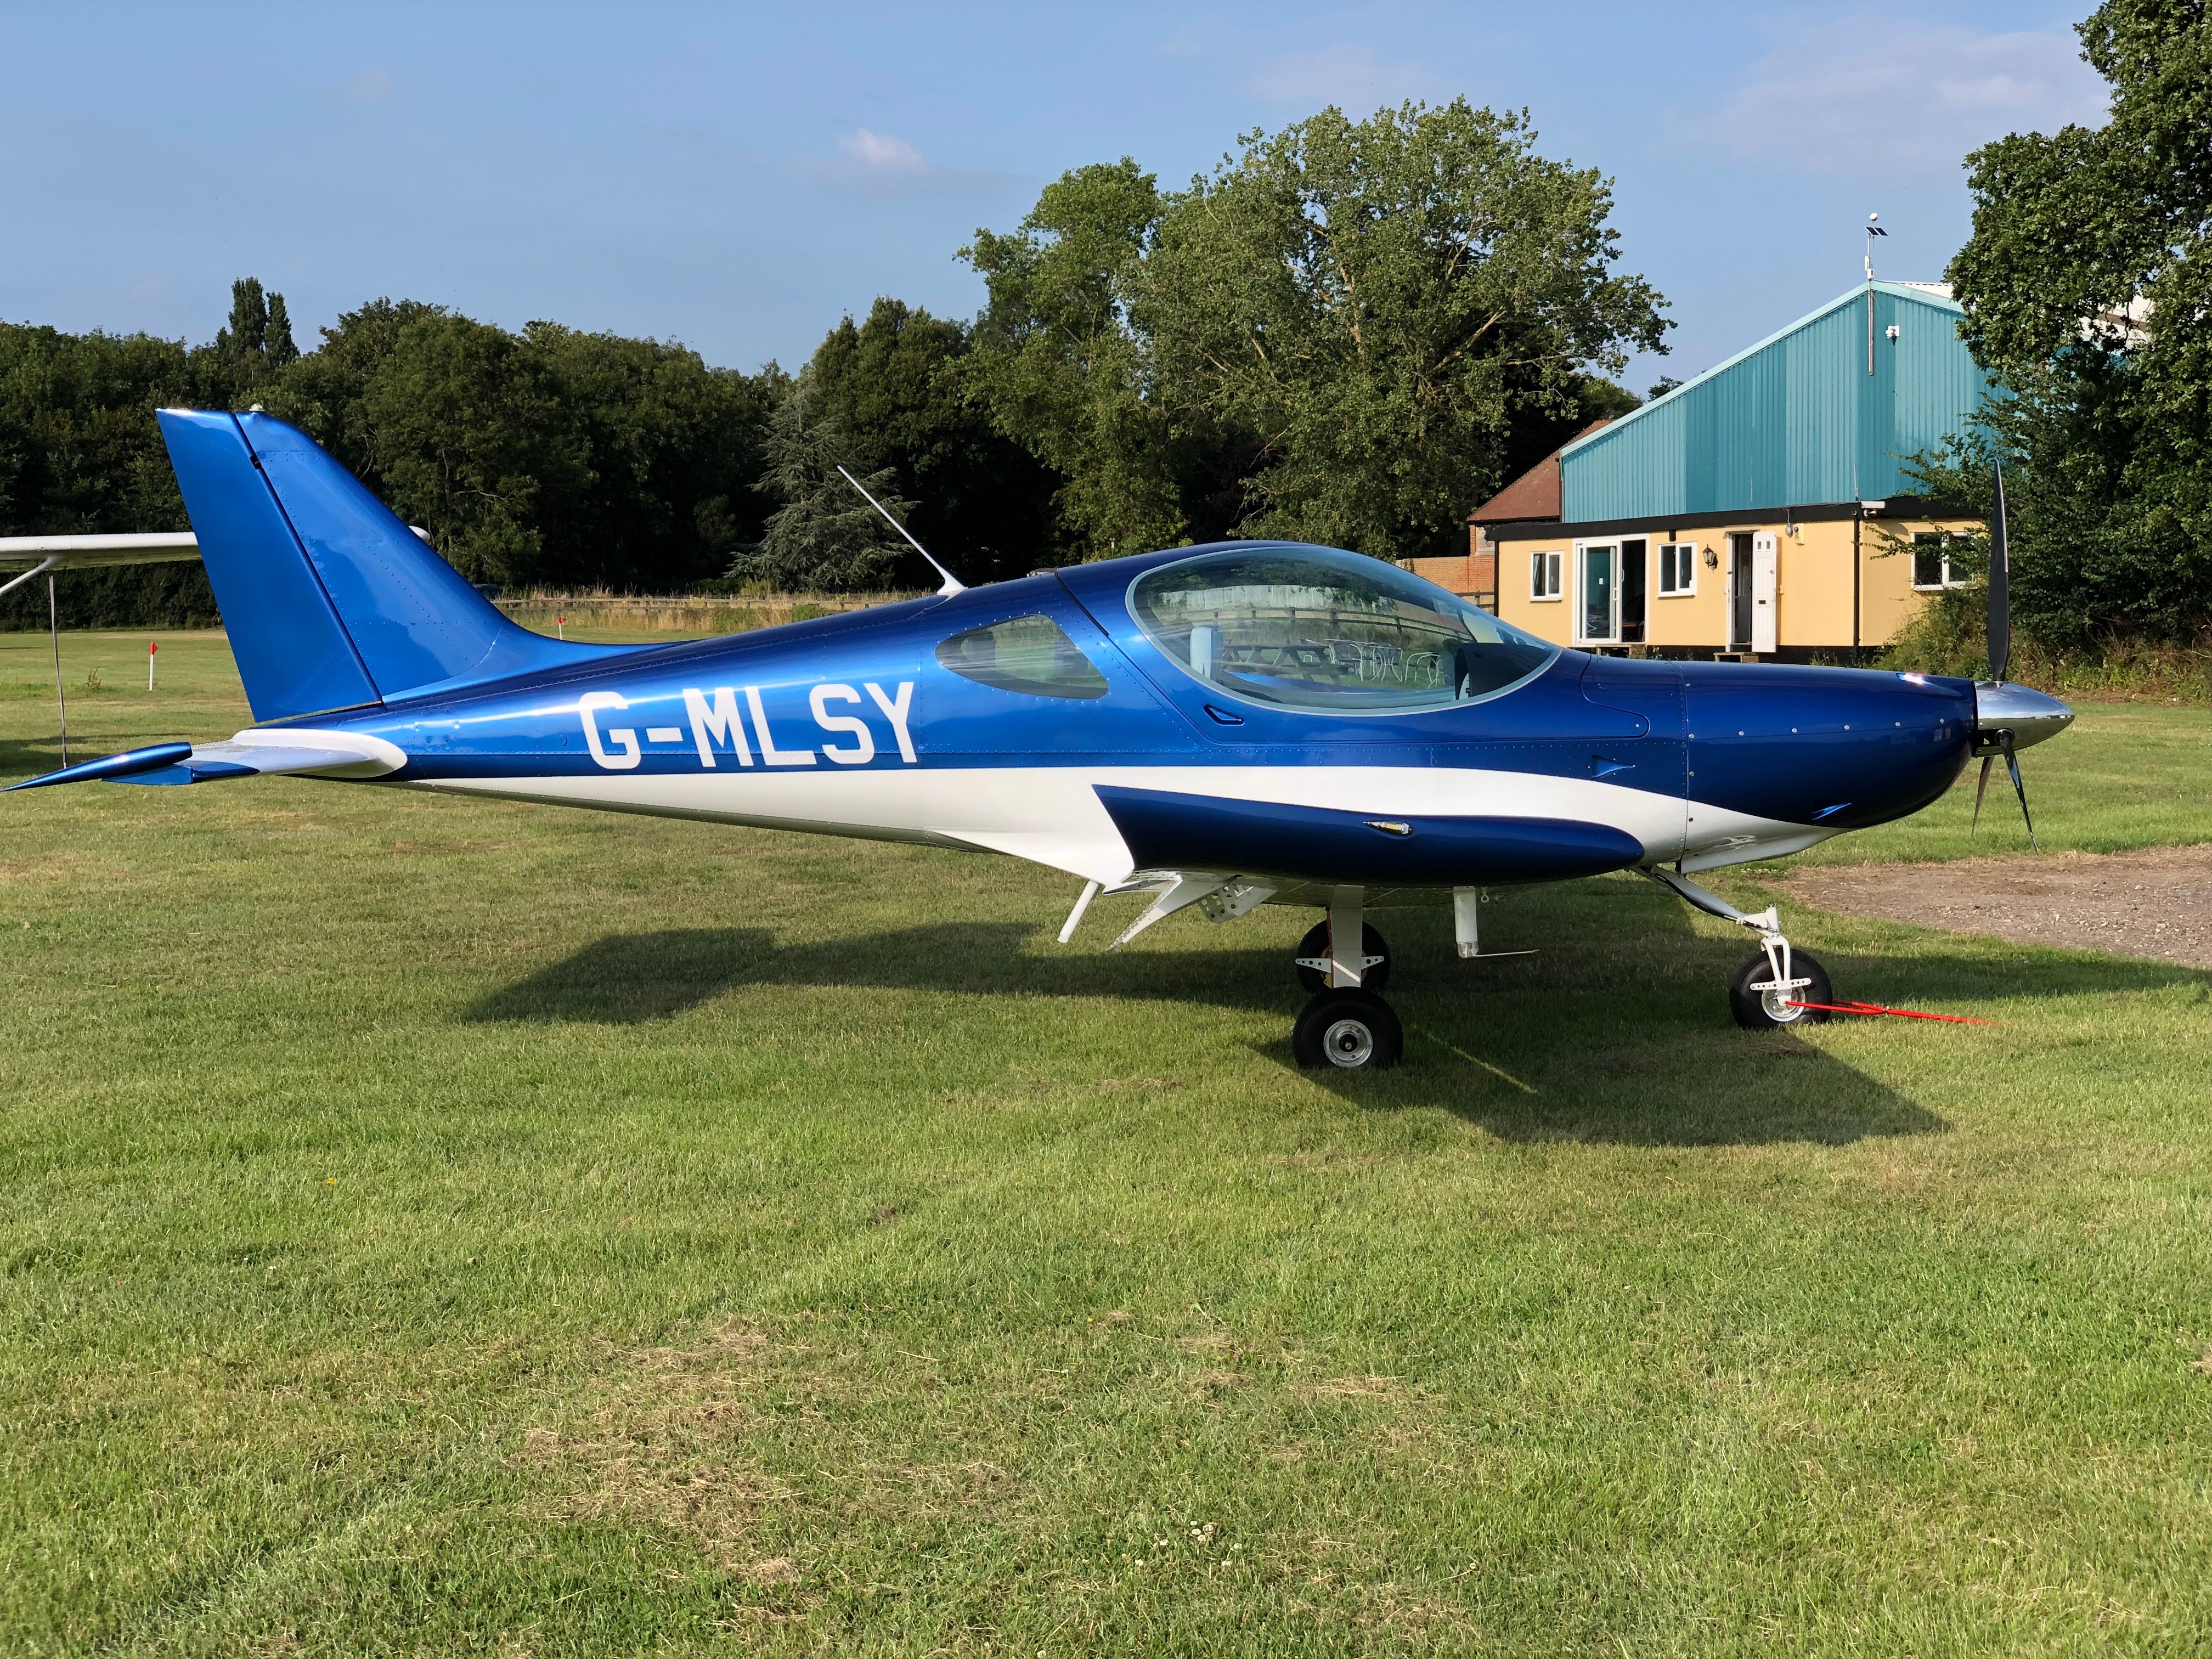
Since my first solo flight in G-MLSY on the 22nd November I’ve managed to log around 9 hours in 15 flights. The weather has been kind and quite dry. All of them have been used to familiarise myself with the aircraft and understand the flight characteristics and systems. It’s a delight to fly, reasonably fast and very responsive.
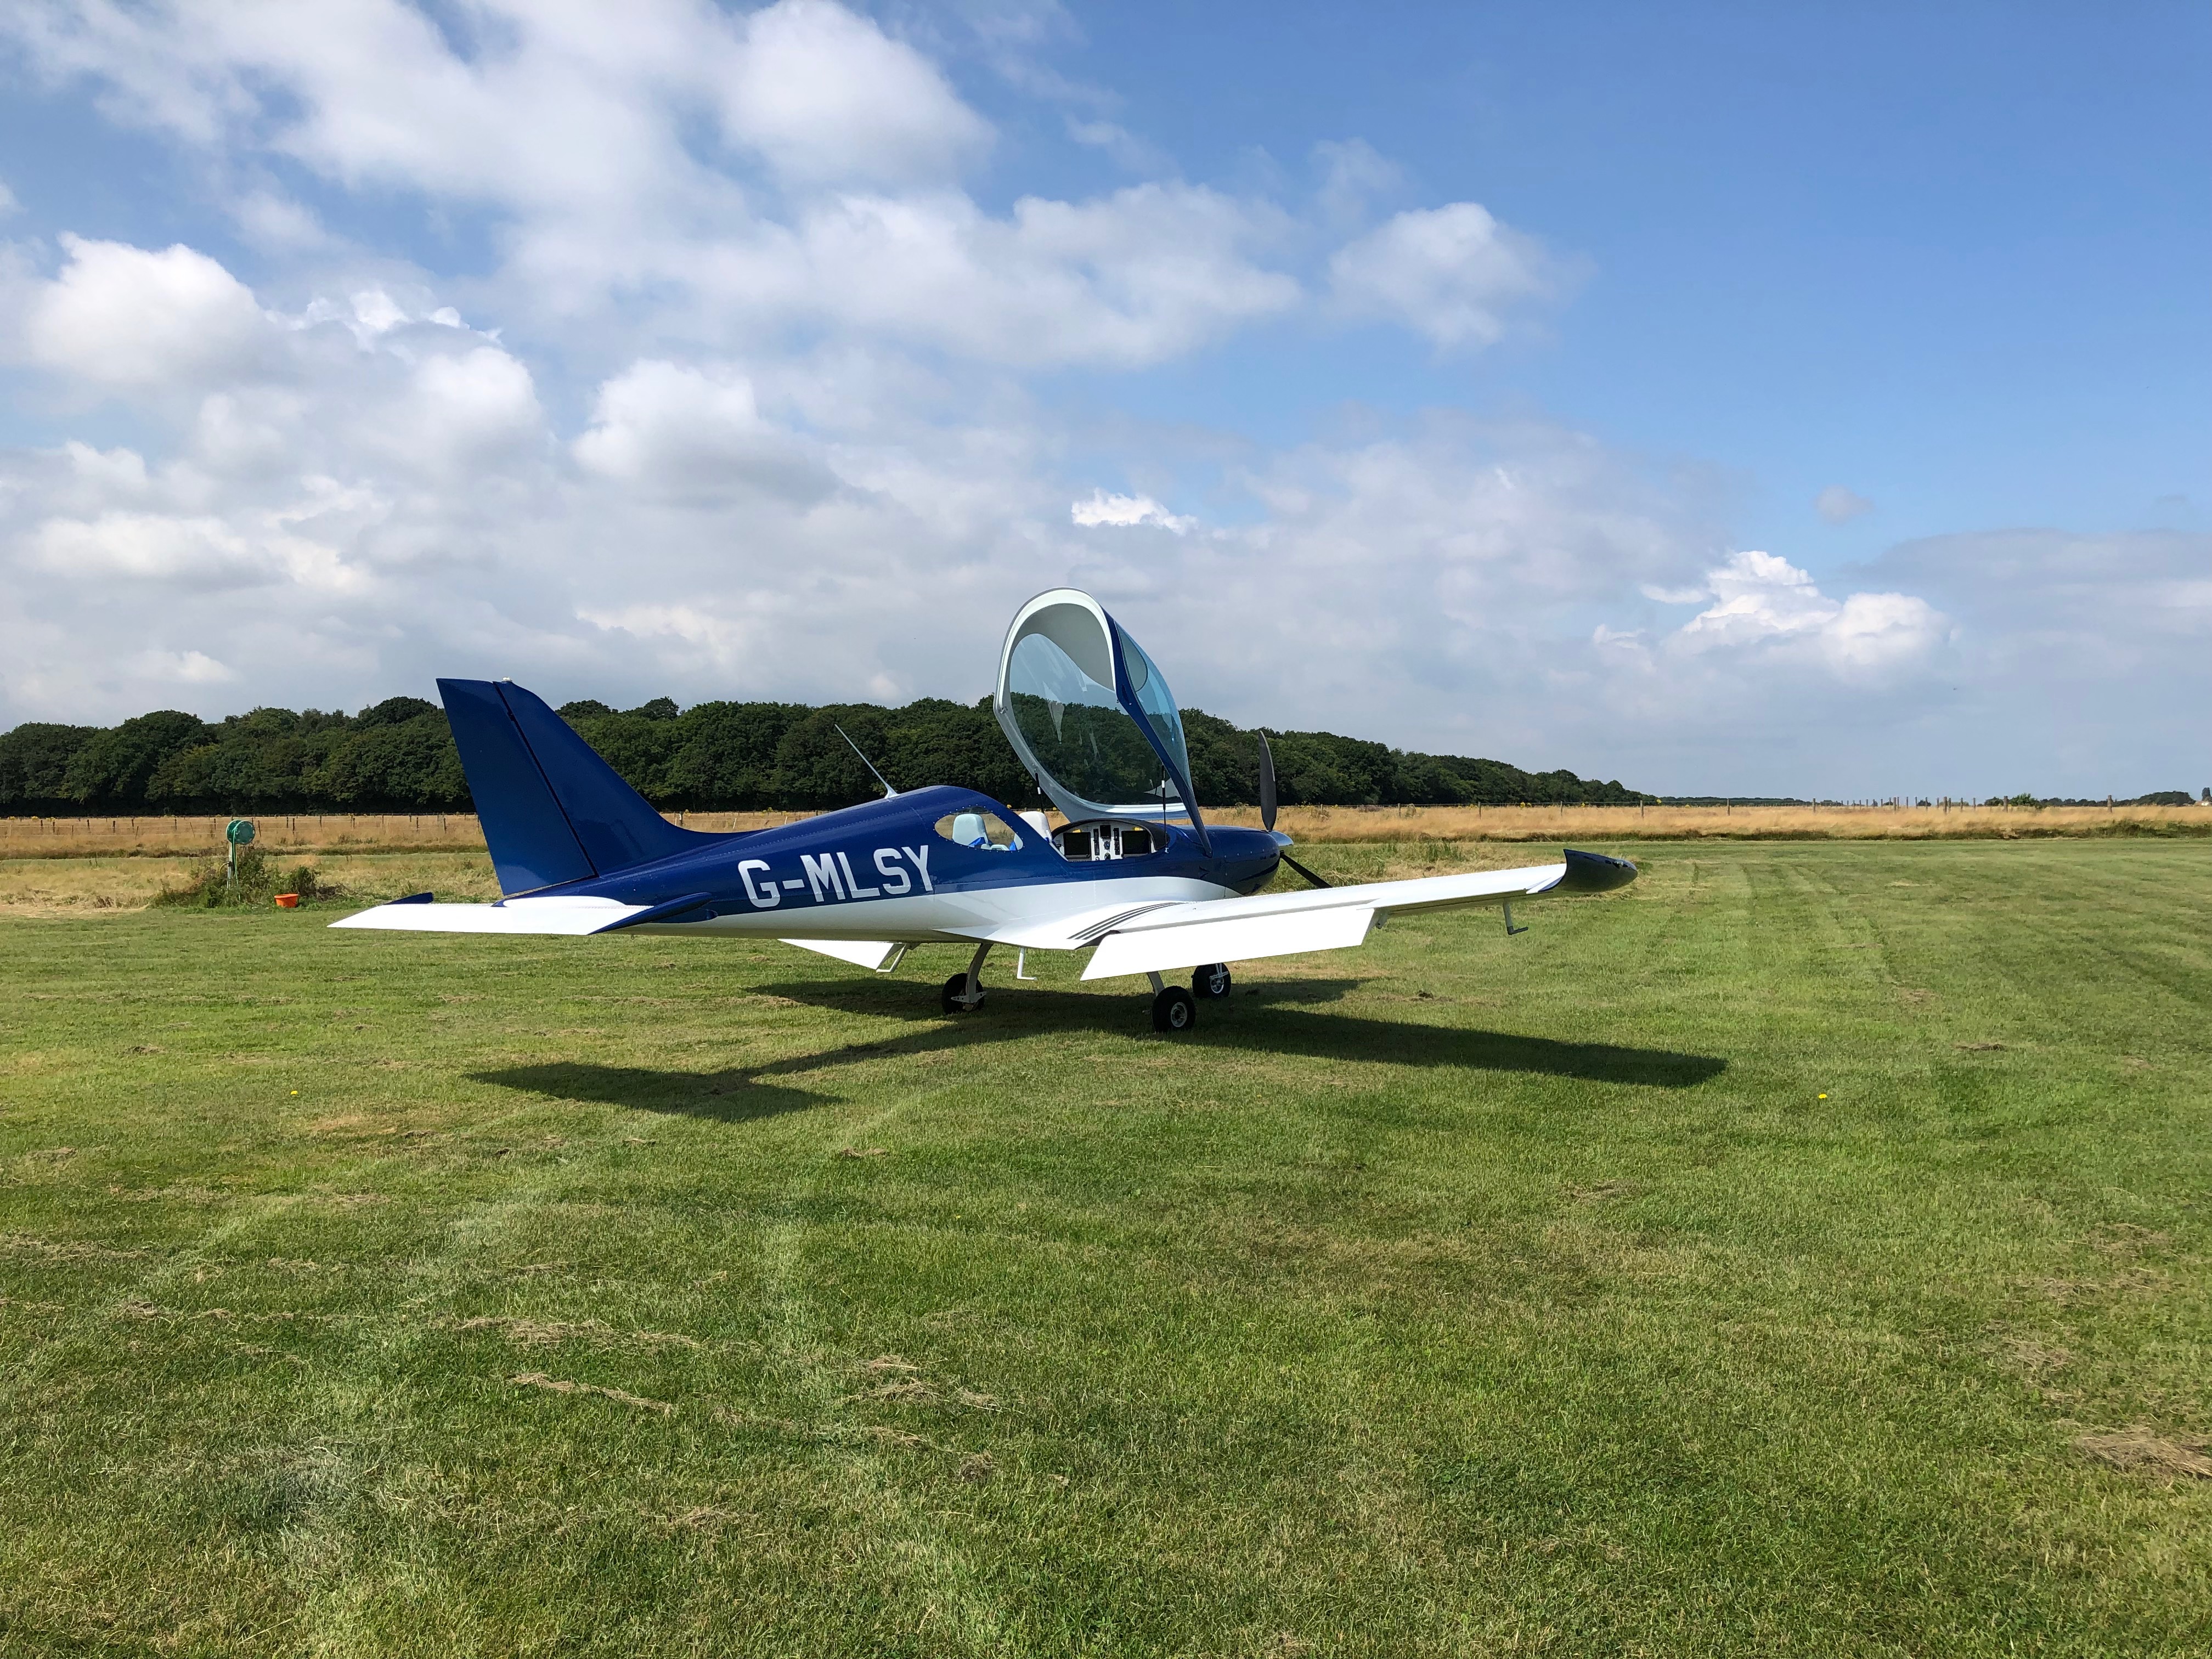
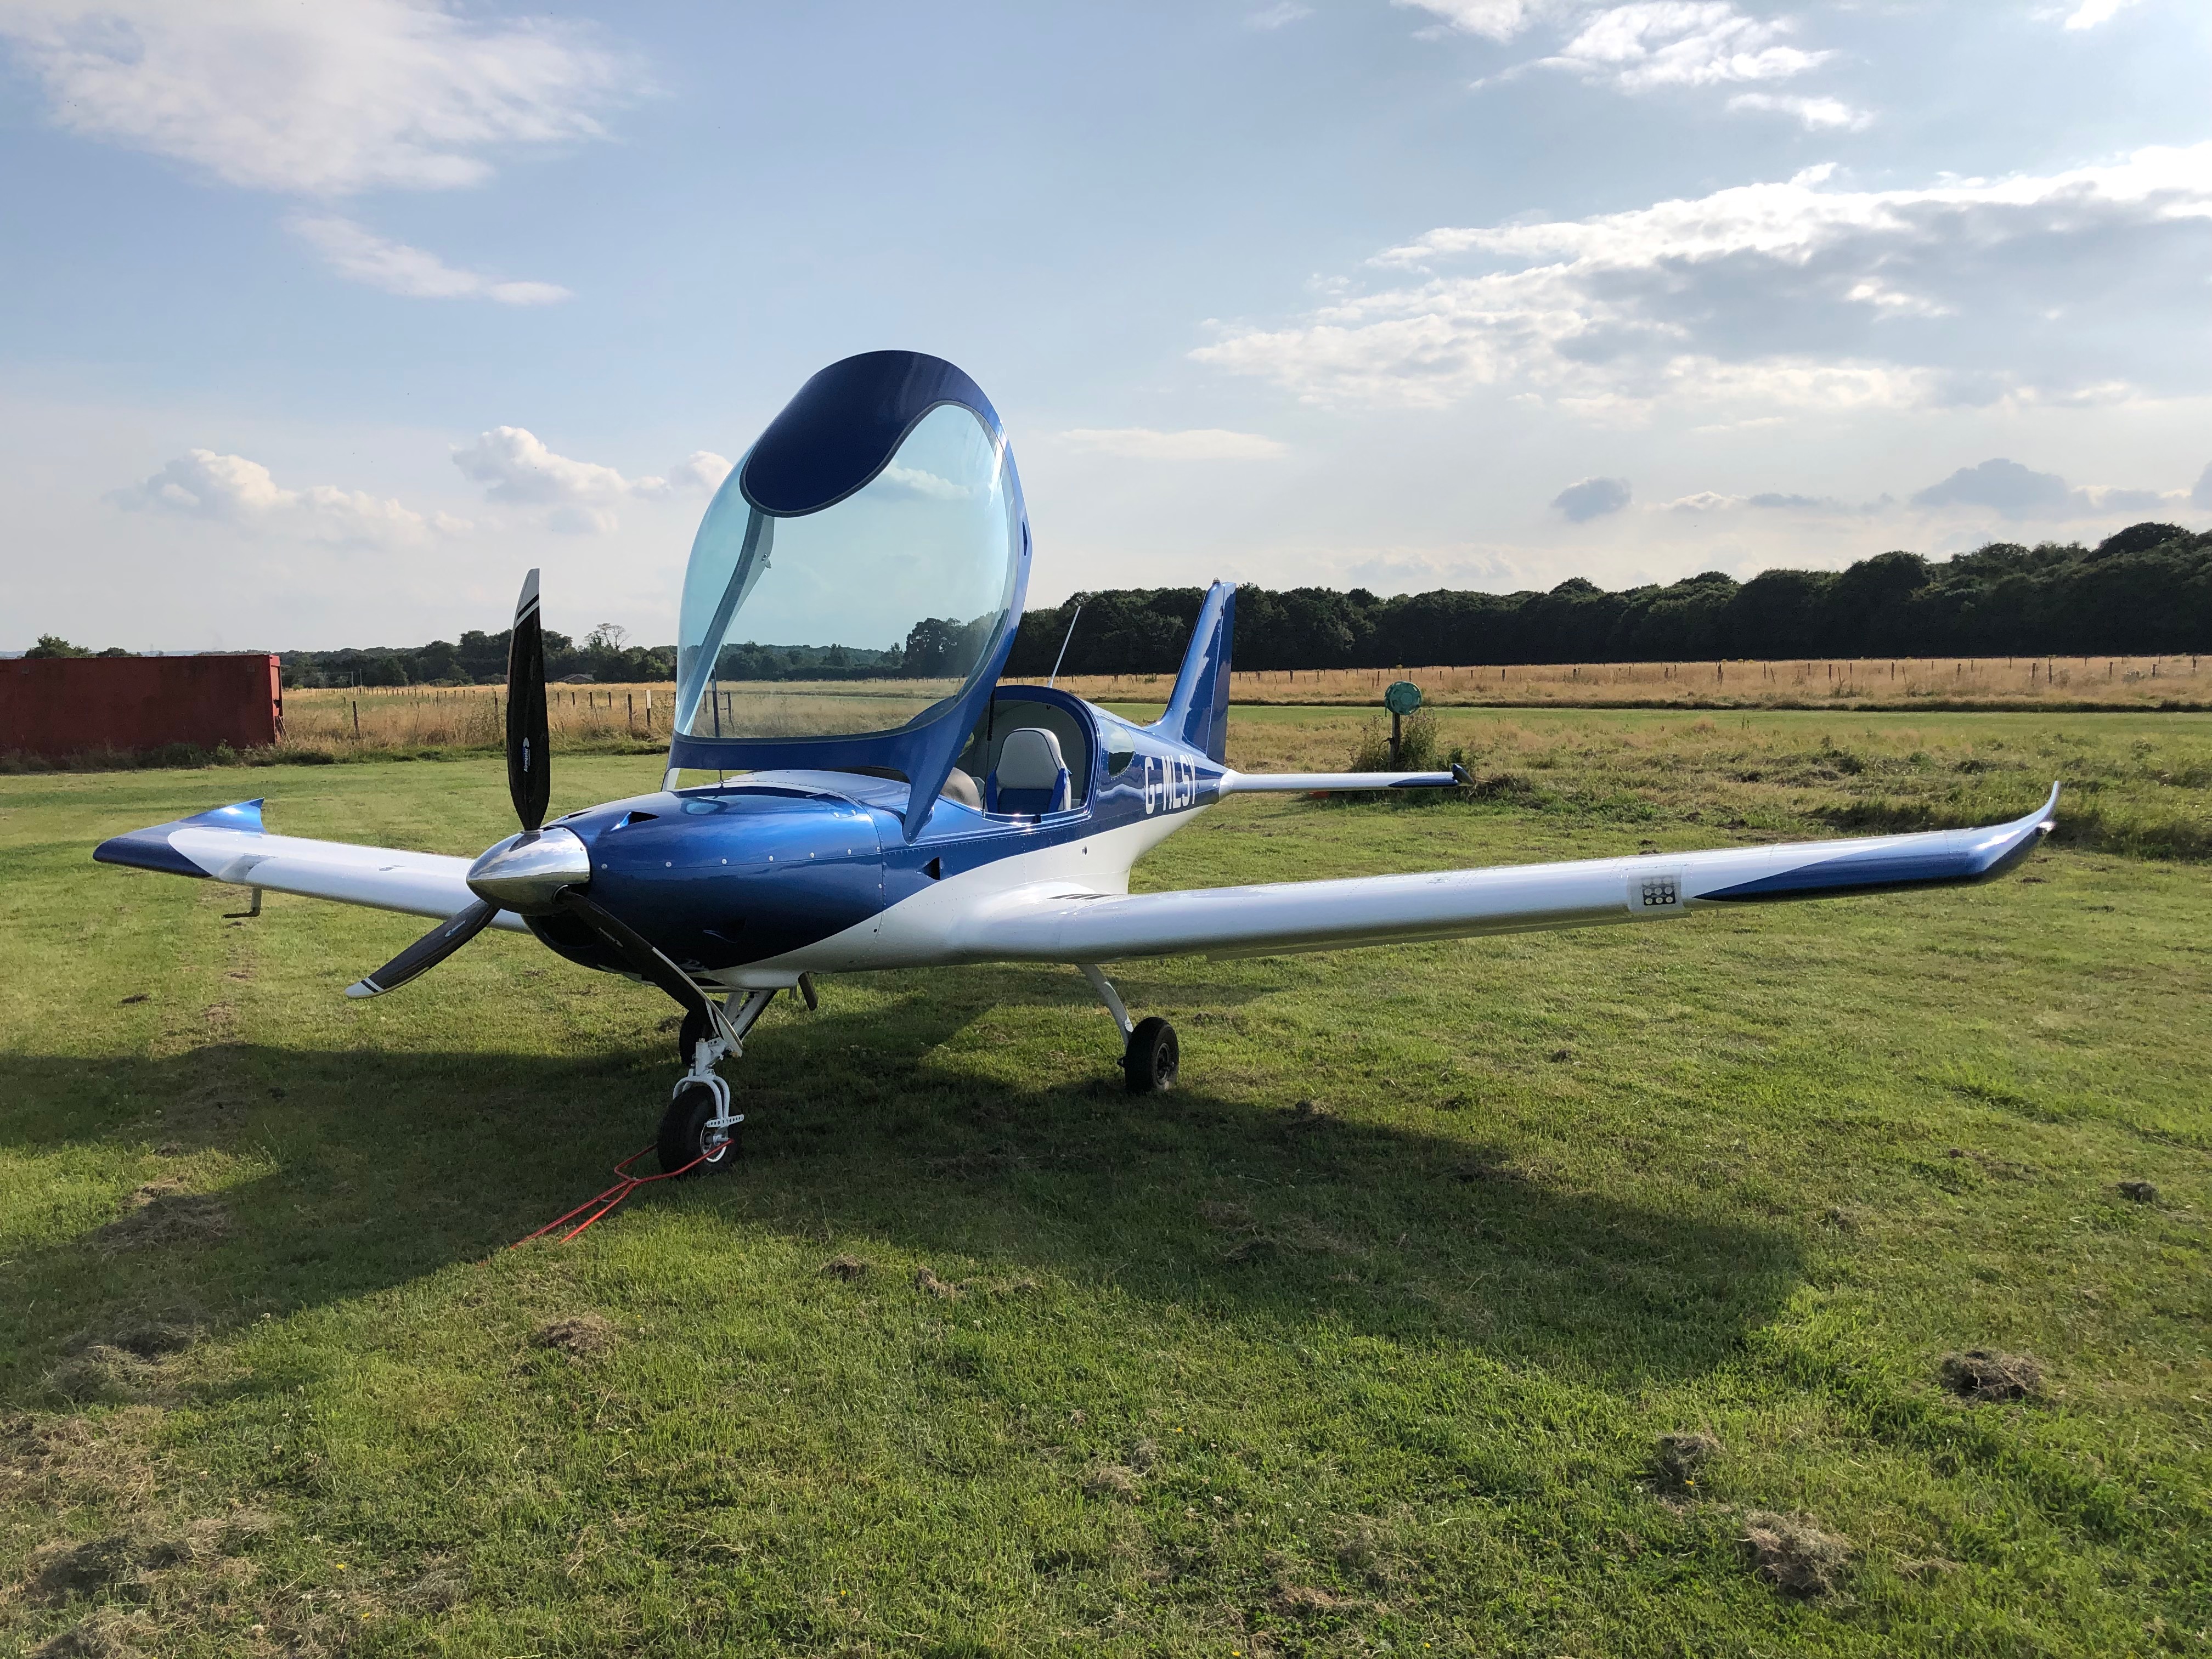
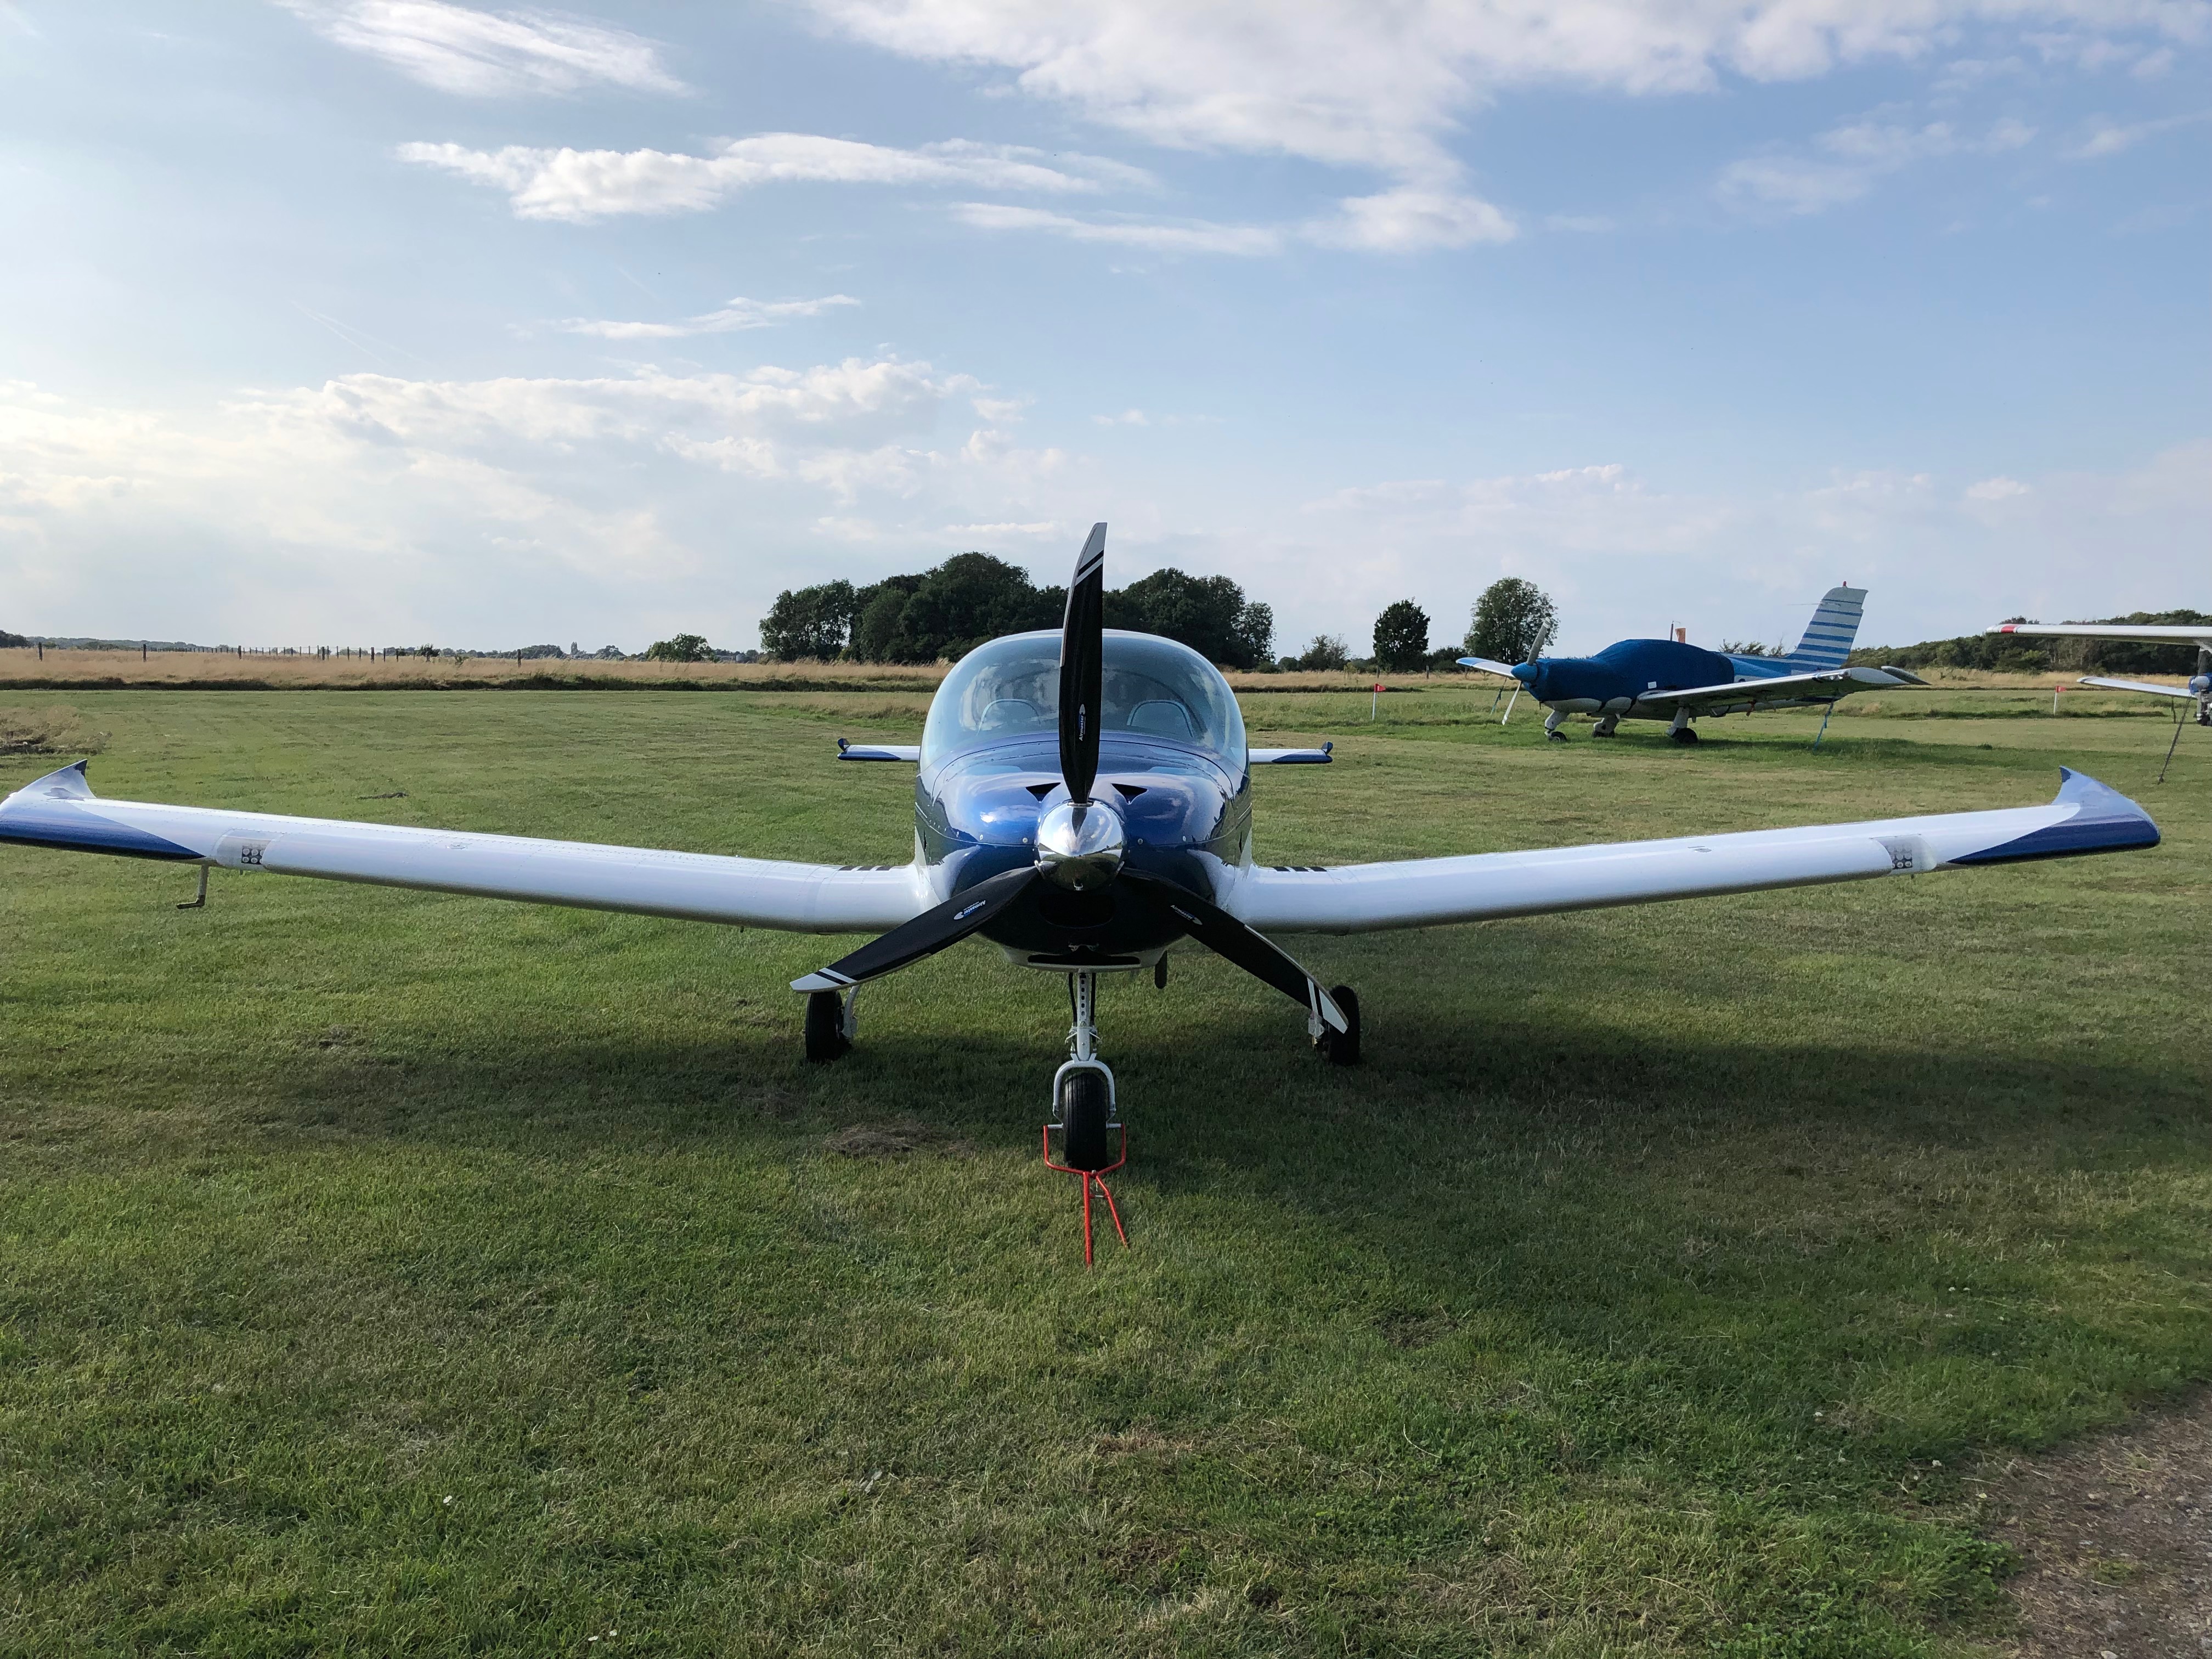
MLSY looking very sleek with her spats on.The Kent coast is lovely to fly round. Herne Bay pier
One of the things I needed to do was tune the autopilot. So where shall I go? I thought a little message to Karen would be very appropriate after all the support and encouragement she’s given me during the build so I programmed this up on SkyDemon and sent it to the SkyView.
Once I had taken off I engaged the autopilot and let it do the rest. I adjusted a few autopilot settings during the flight but it worked faultlessly. It’s a very impressive set up.
This flight can be seen on FlightRadar24 by searching for G-MLSY on 3rd December.Flying the route round the heart.
After just 10 months from the start of building G-MLSY she received her Permit to Fly on the 20th November. The LAA sent me an electronic copy on Friday so enabled me to fly if the weather played ball. It had been raining for days before and was due to be raining in the week ahead so my chances of grabbing a flight were slim. Luckily the sky opened up during Friday morning and it looked quite stable so it was time to fly!
A smile from ear to ear on my first solo flight in G-MLSY.
The take off run was impressively short and she climbed out like a home sick angel at over 1500 fpm. The cruise speed was definitely enhanced by the addition of the spats without adversely affecting the trim of the aircraft. It’s early days yet but cruise looked to be around 115kt. I need to work out the best power setting combination over the next few flights as I think there is another 5 kts to be gained. Landing onto ‘Two Zero’ with a 10 Kt crosswind was straightforward even with quite a bit of turbulence over the threshold.
Very pleased with the results so far but now need to fly her more so I can tune the autopilot and get used to how she handles and performs in varying conditions and loadings. Once I’ve built up my confidence in the way she performs I’ll be able to take Karen up as my first passenger.
With the aircraft largely finished it’s time for some more engine testing, taxiing and a wash and polish.
There’s very little to do now, it’s now come to the time that all the paperwork needs to be completed and signed off by my inspector. Unfortunately he’s not been around for a while and is unlikely to be for a week or two so all I can do is make sure that when he returns that everything is ready for him.
Once he signs off everything I have to have another inspector come to do a ‘Final Inspection Before First Flight’ after which I can send all the paperwork to the LAA to request an approval for its first test flight.
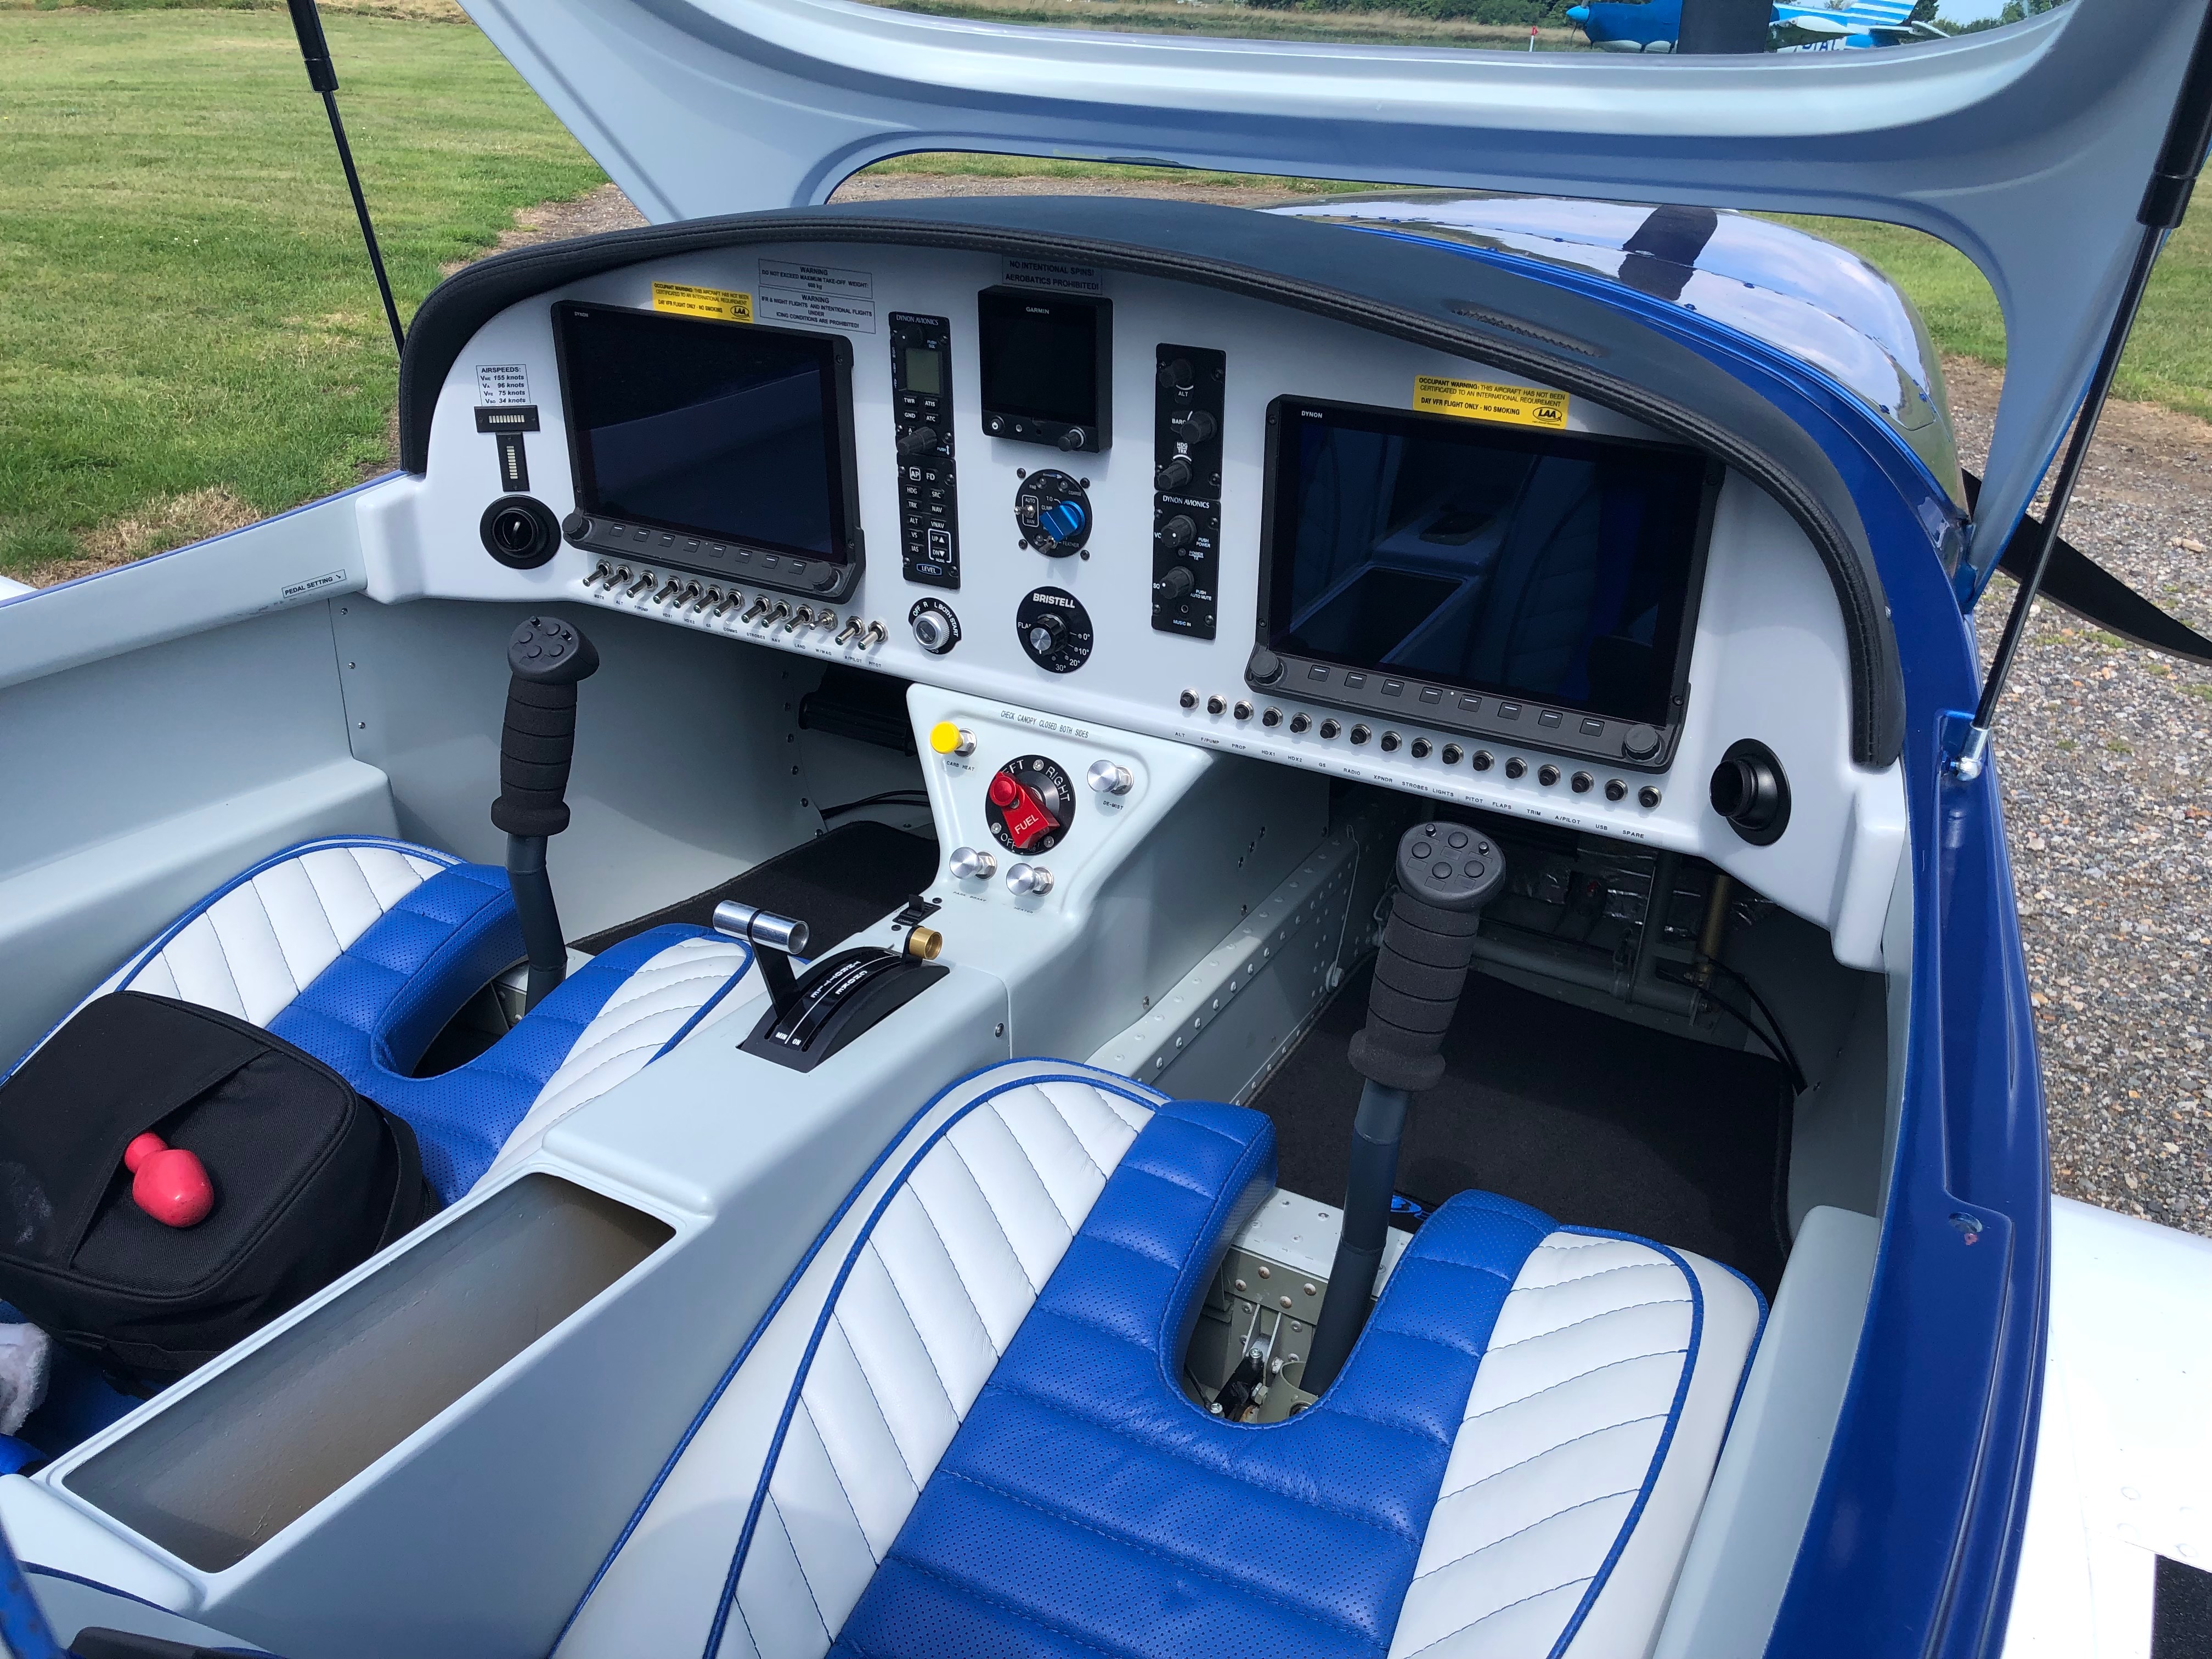
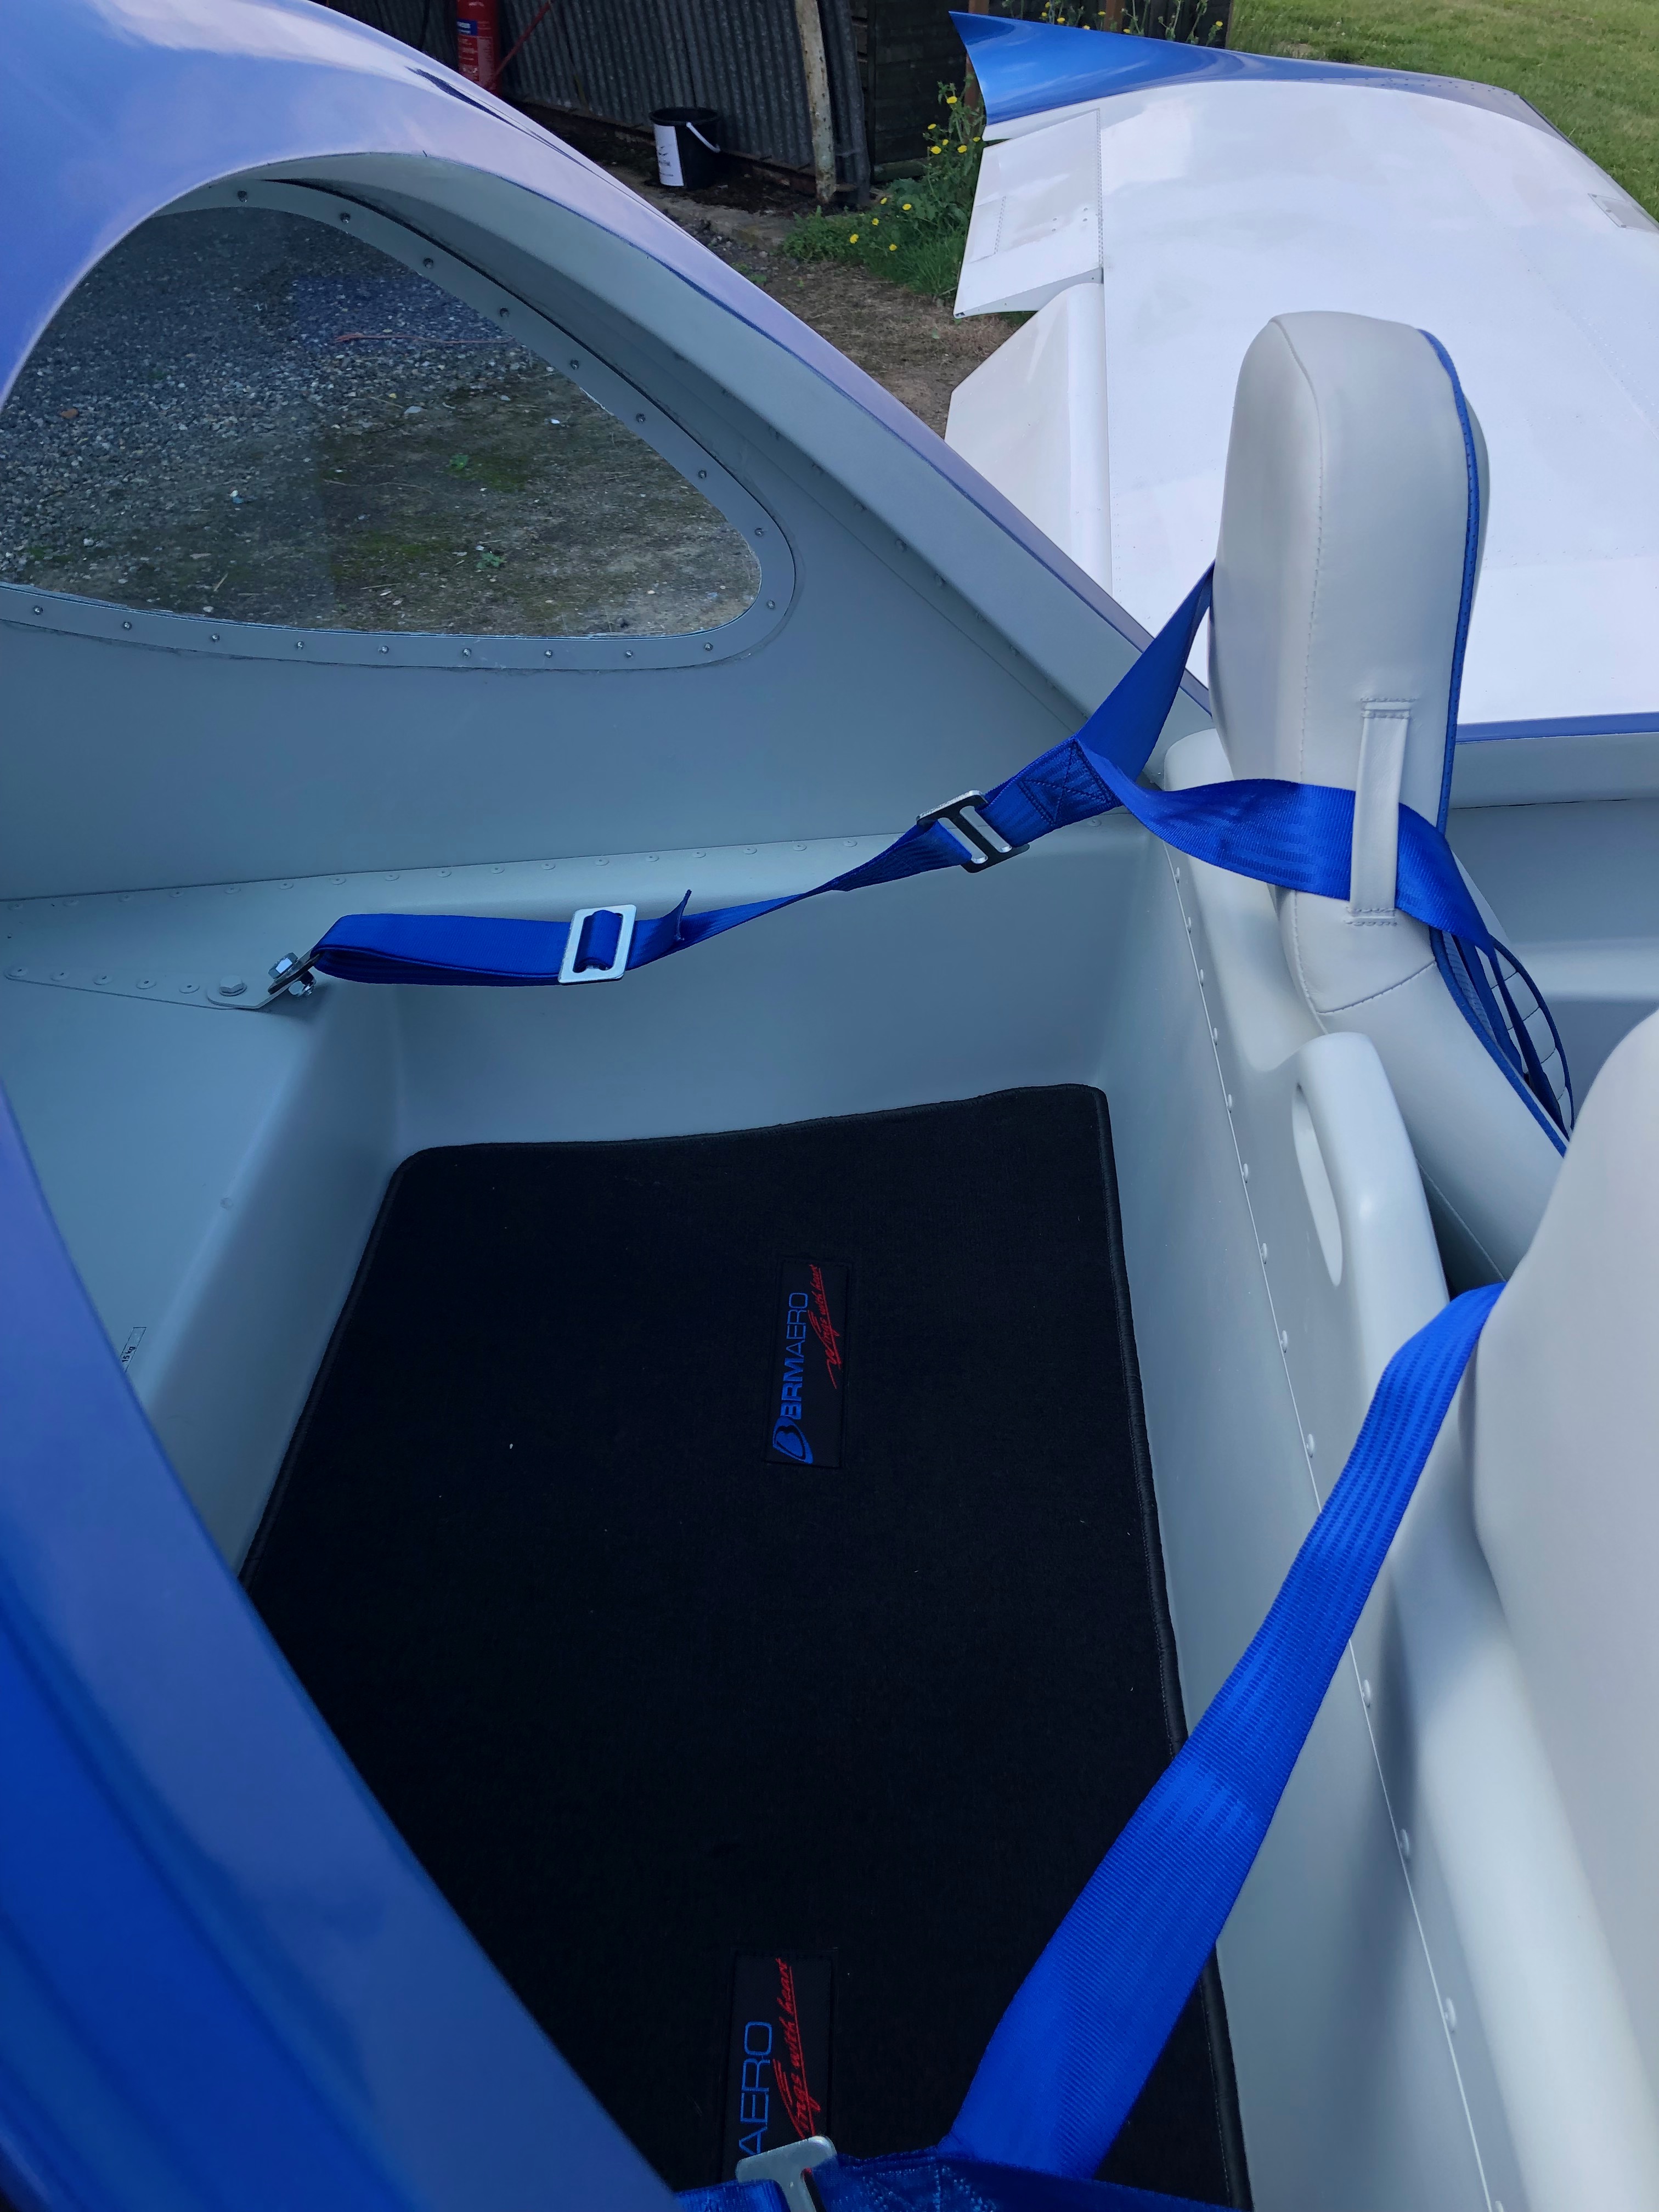
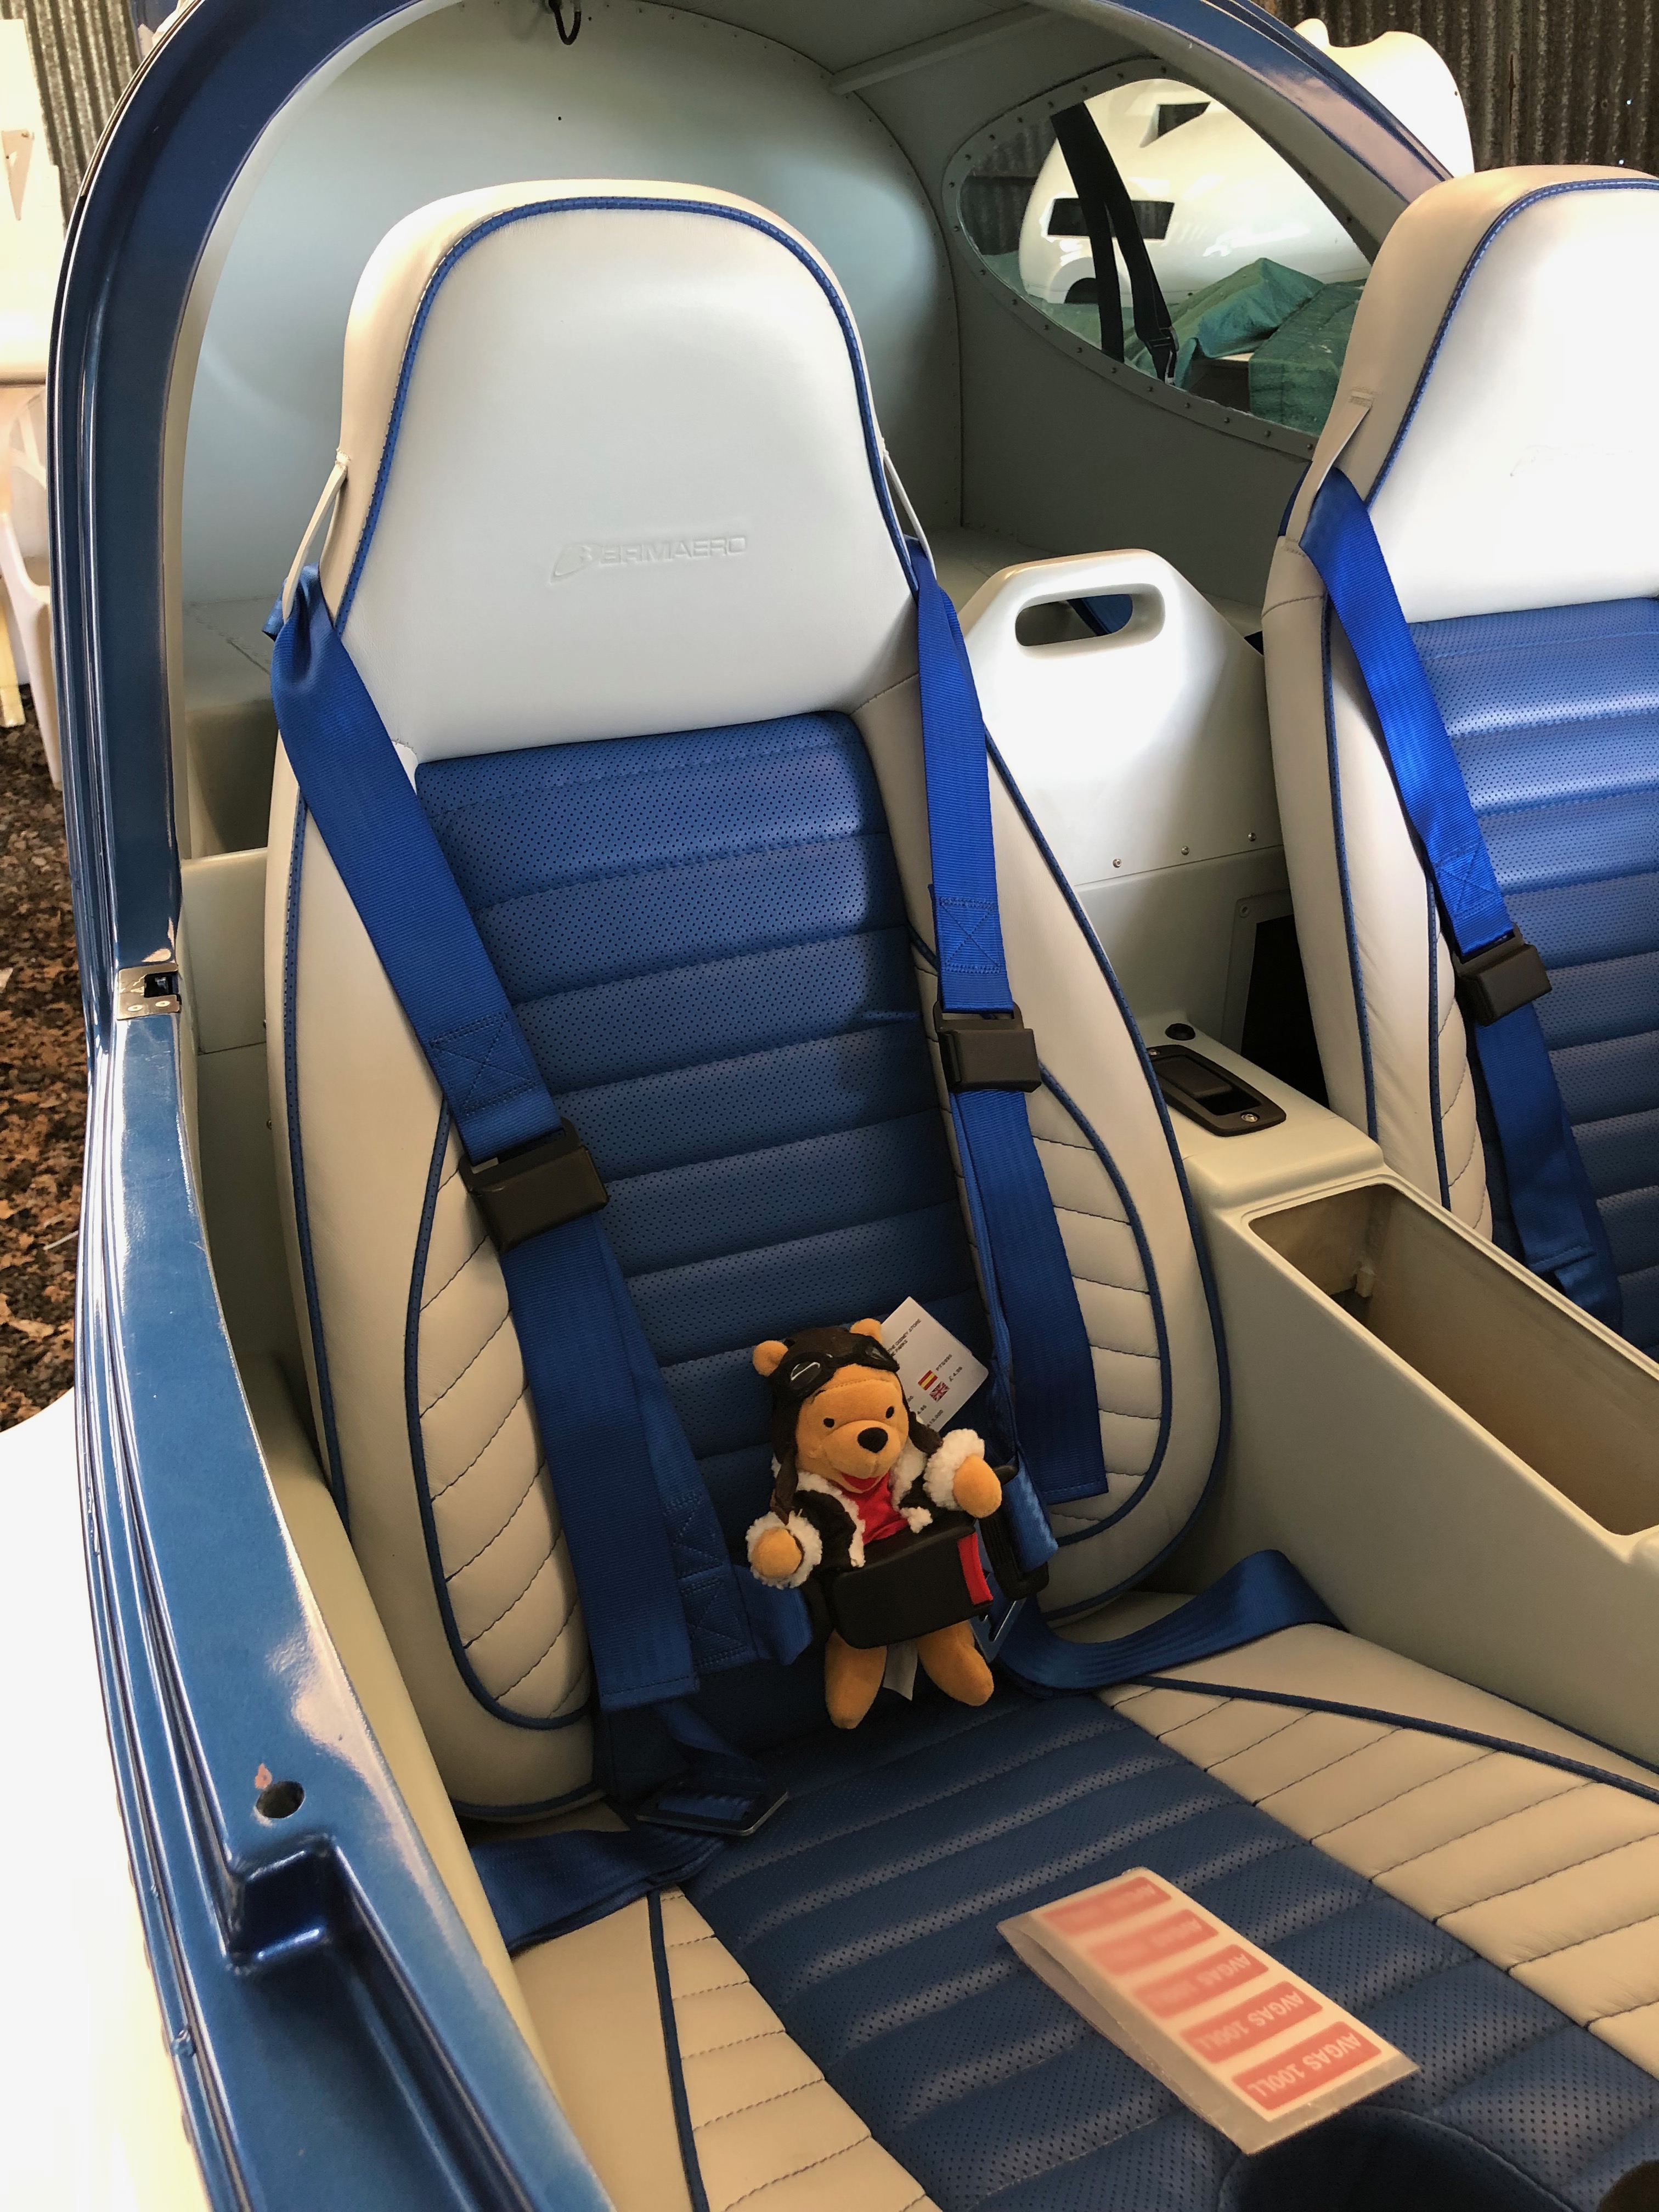
Time for the mats – footwell……and rear baggage compartment.The Dynon screens are very versatile and can be configured in a variety of ways. This is a traditional ‘6 pack’ mode.During the build the aircraft gets very dusty so it was time for a wash and a little polish. It was certainly much shinier afterwards.Just a couple of shots from different angles…Pilot Pooh or if you say it quickly enough it sounds like ‘Pile of Poo’! all strapped in and ready to go…
Following the build of my Bristell NG5 Kit No. 382 Registration G-MLSY