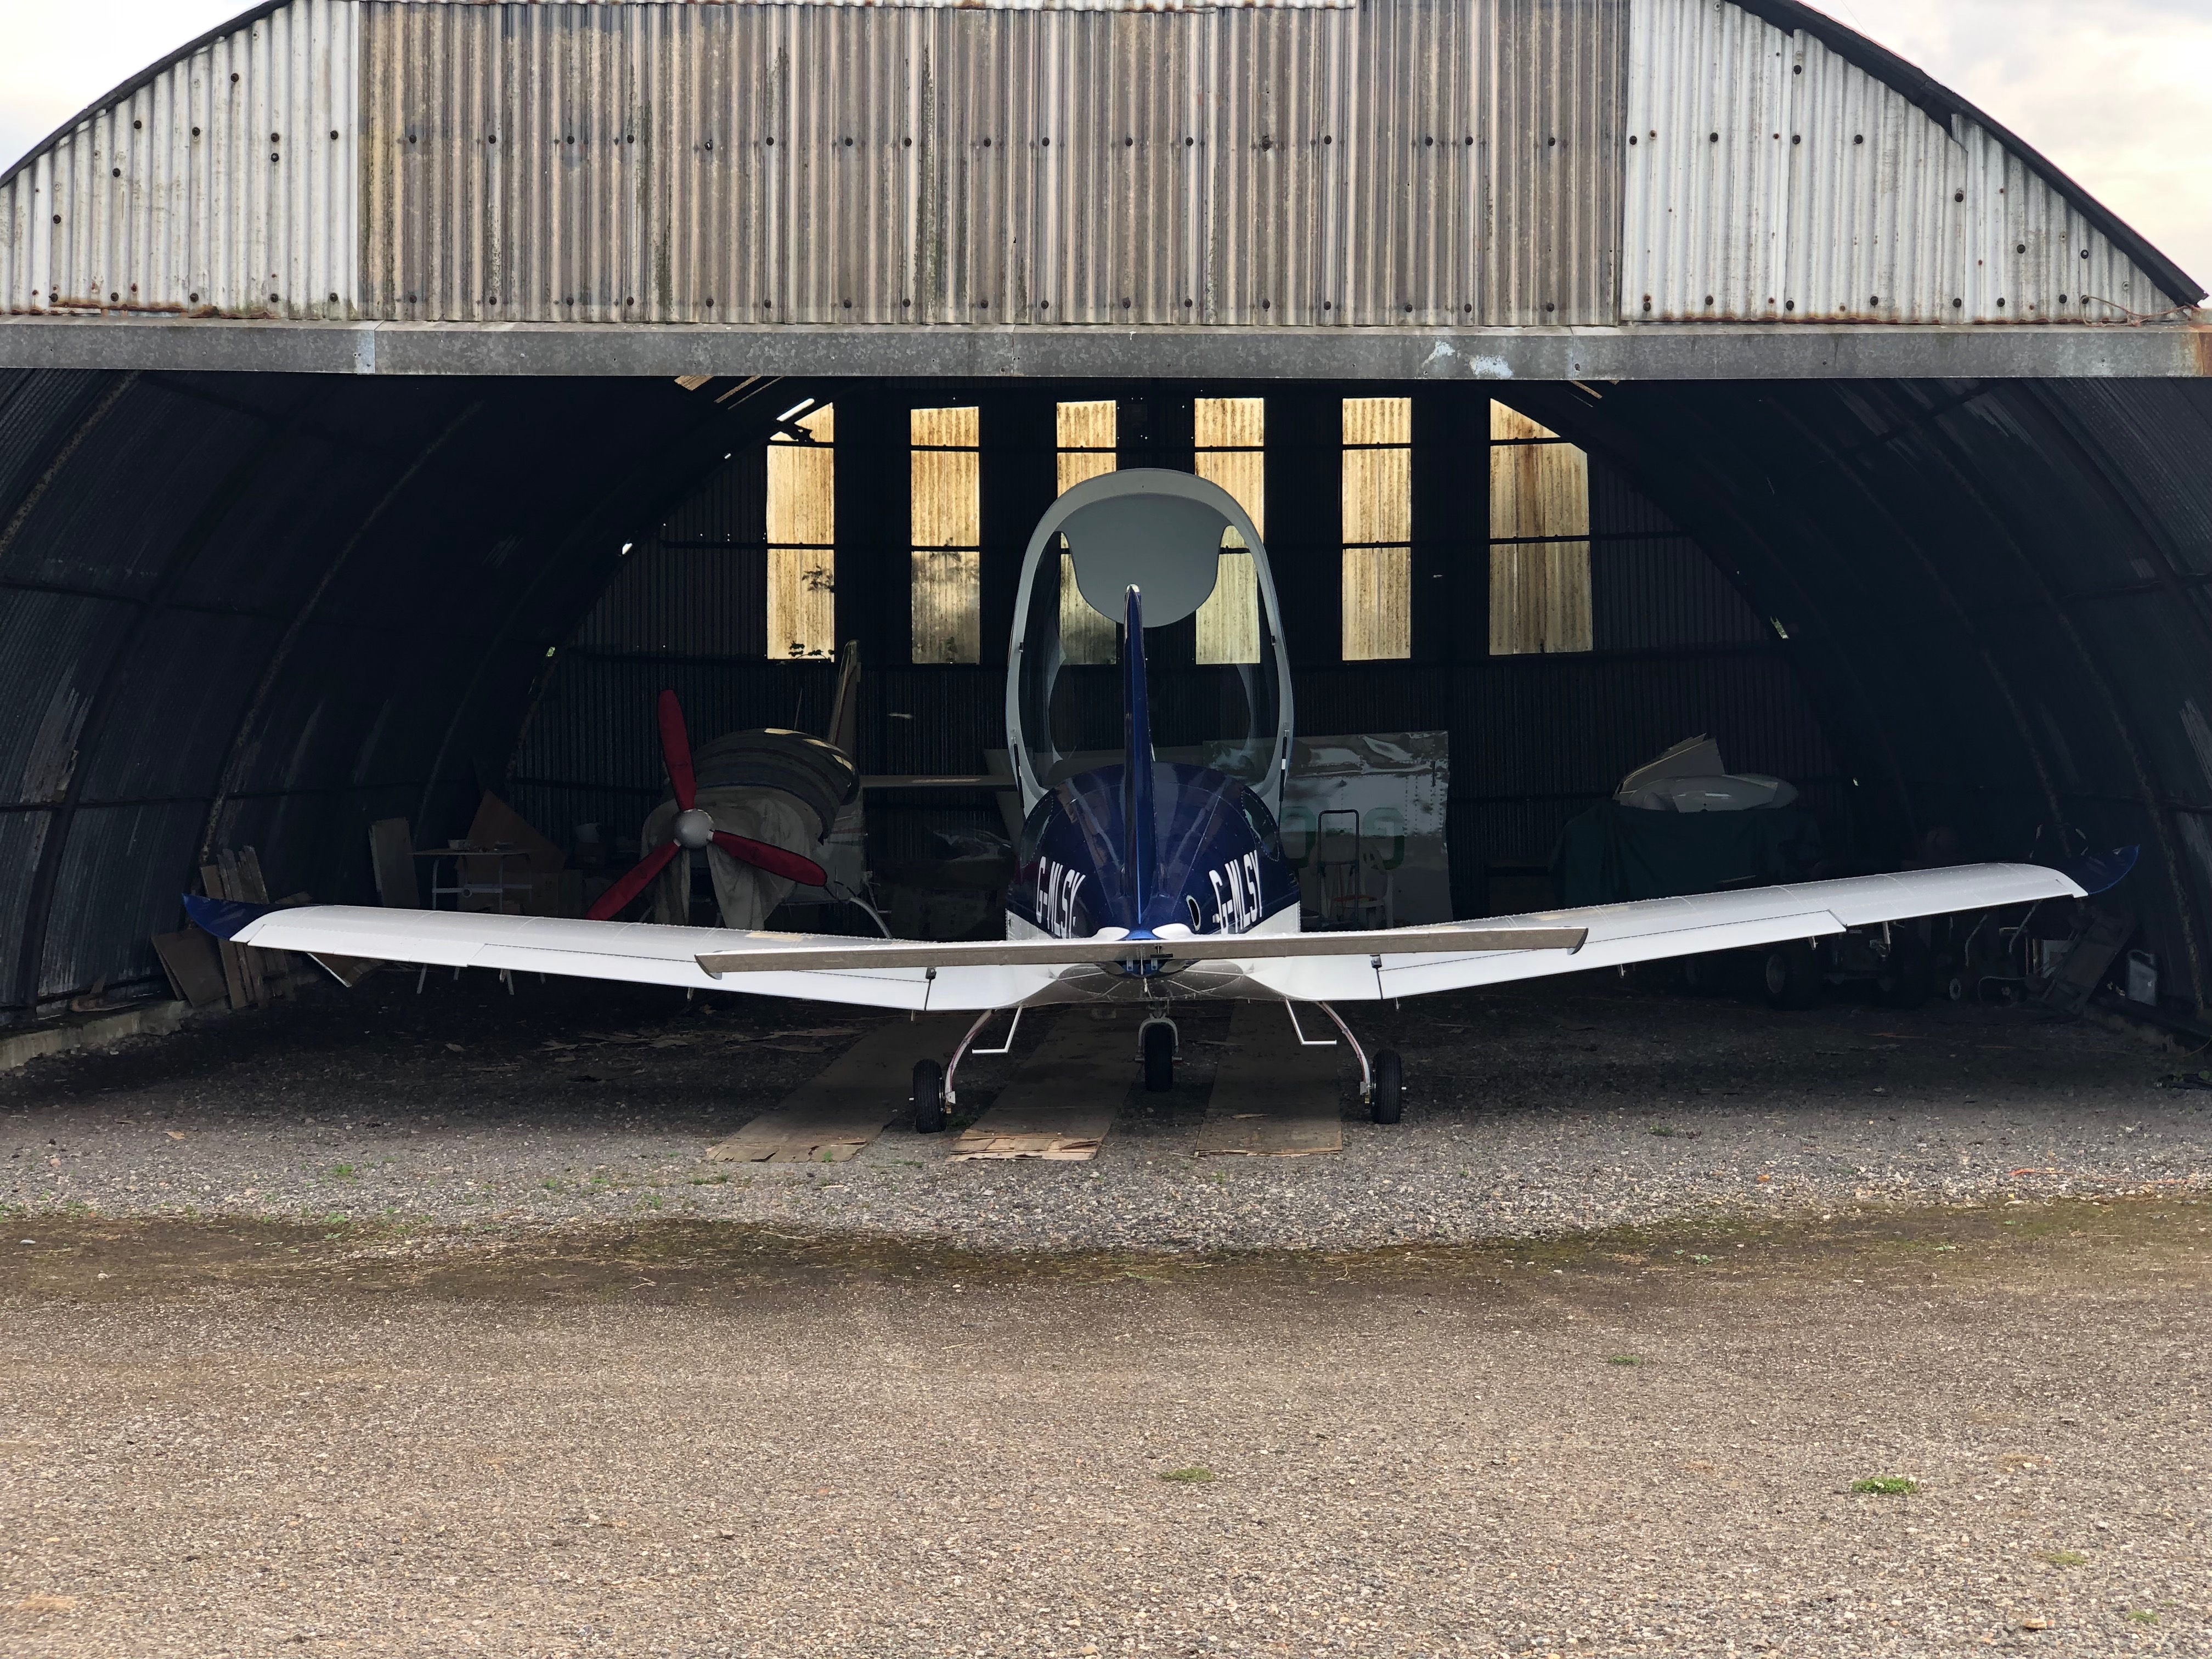
There’s still a few jobs to do before final sign off hopefully next week. I’ve moved G-MLSY out of the workshop but I’m still using it for my tools. It’s now housed in one of the mid sized hangers until I finish when it’ll be moved to the main hanger.
After the success of the first engine run on Friday I need to adjust and secure the canopy, fit the wing walk anti-slip tapes and fit the wing join covers.
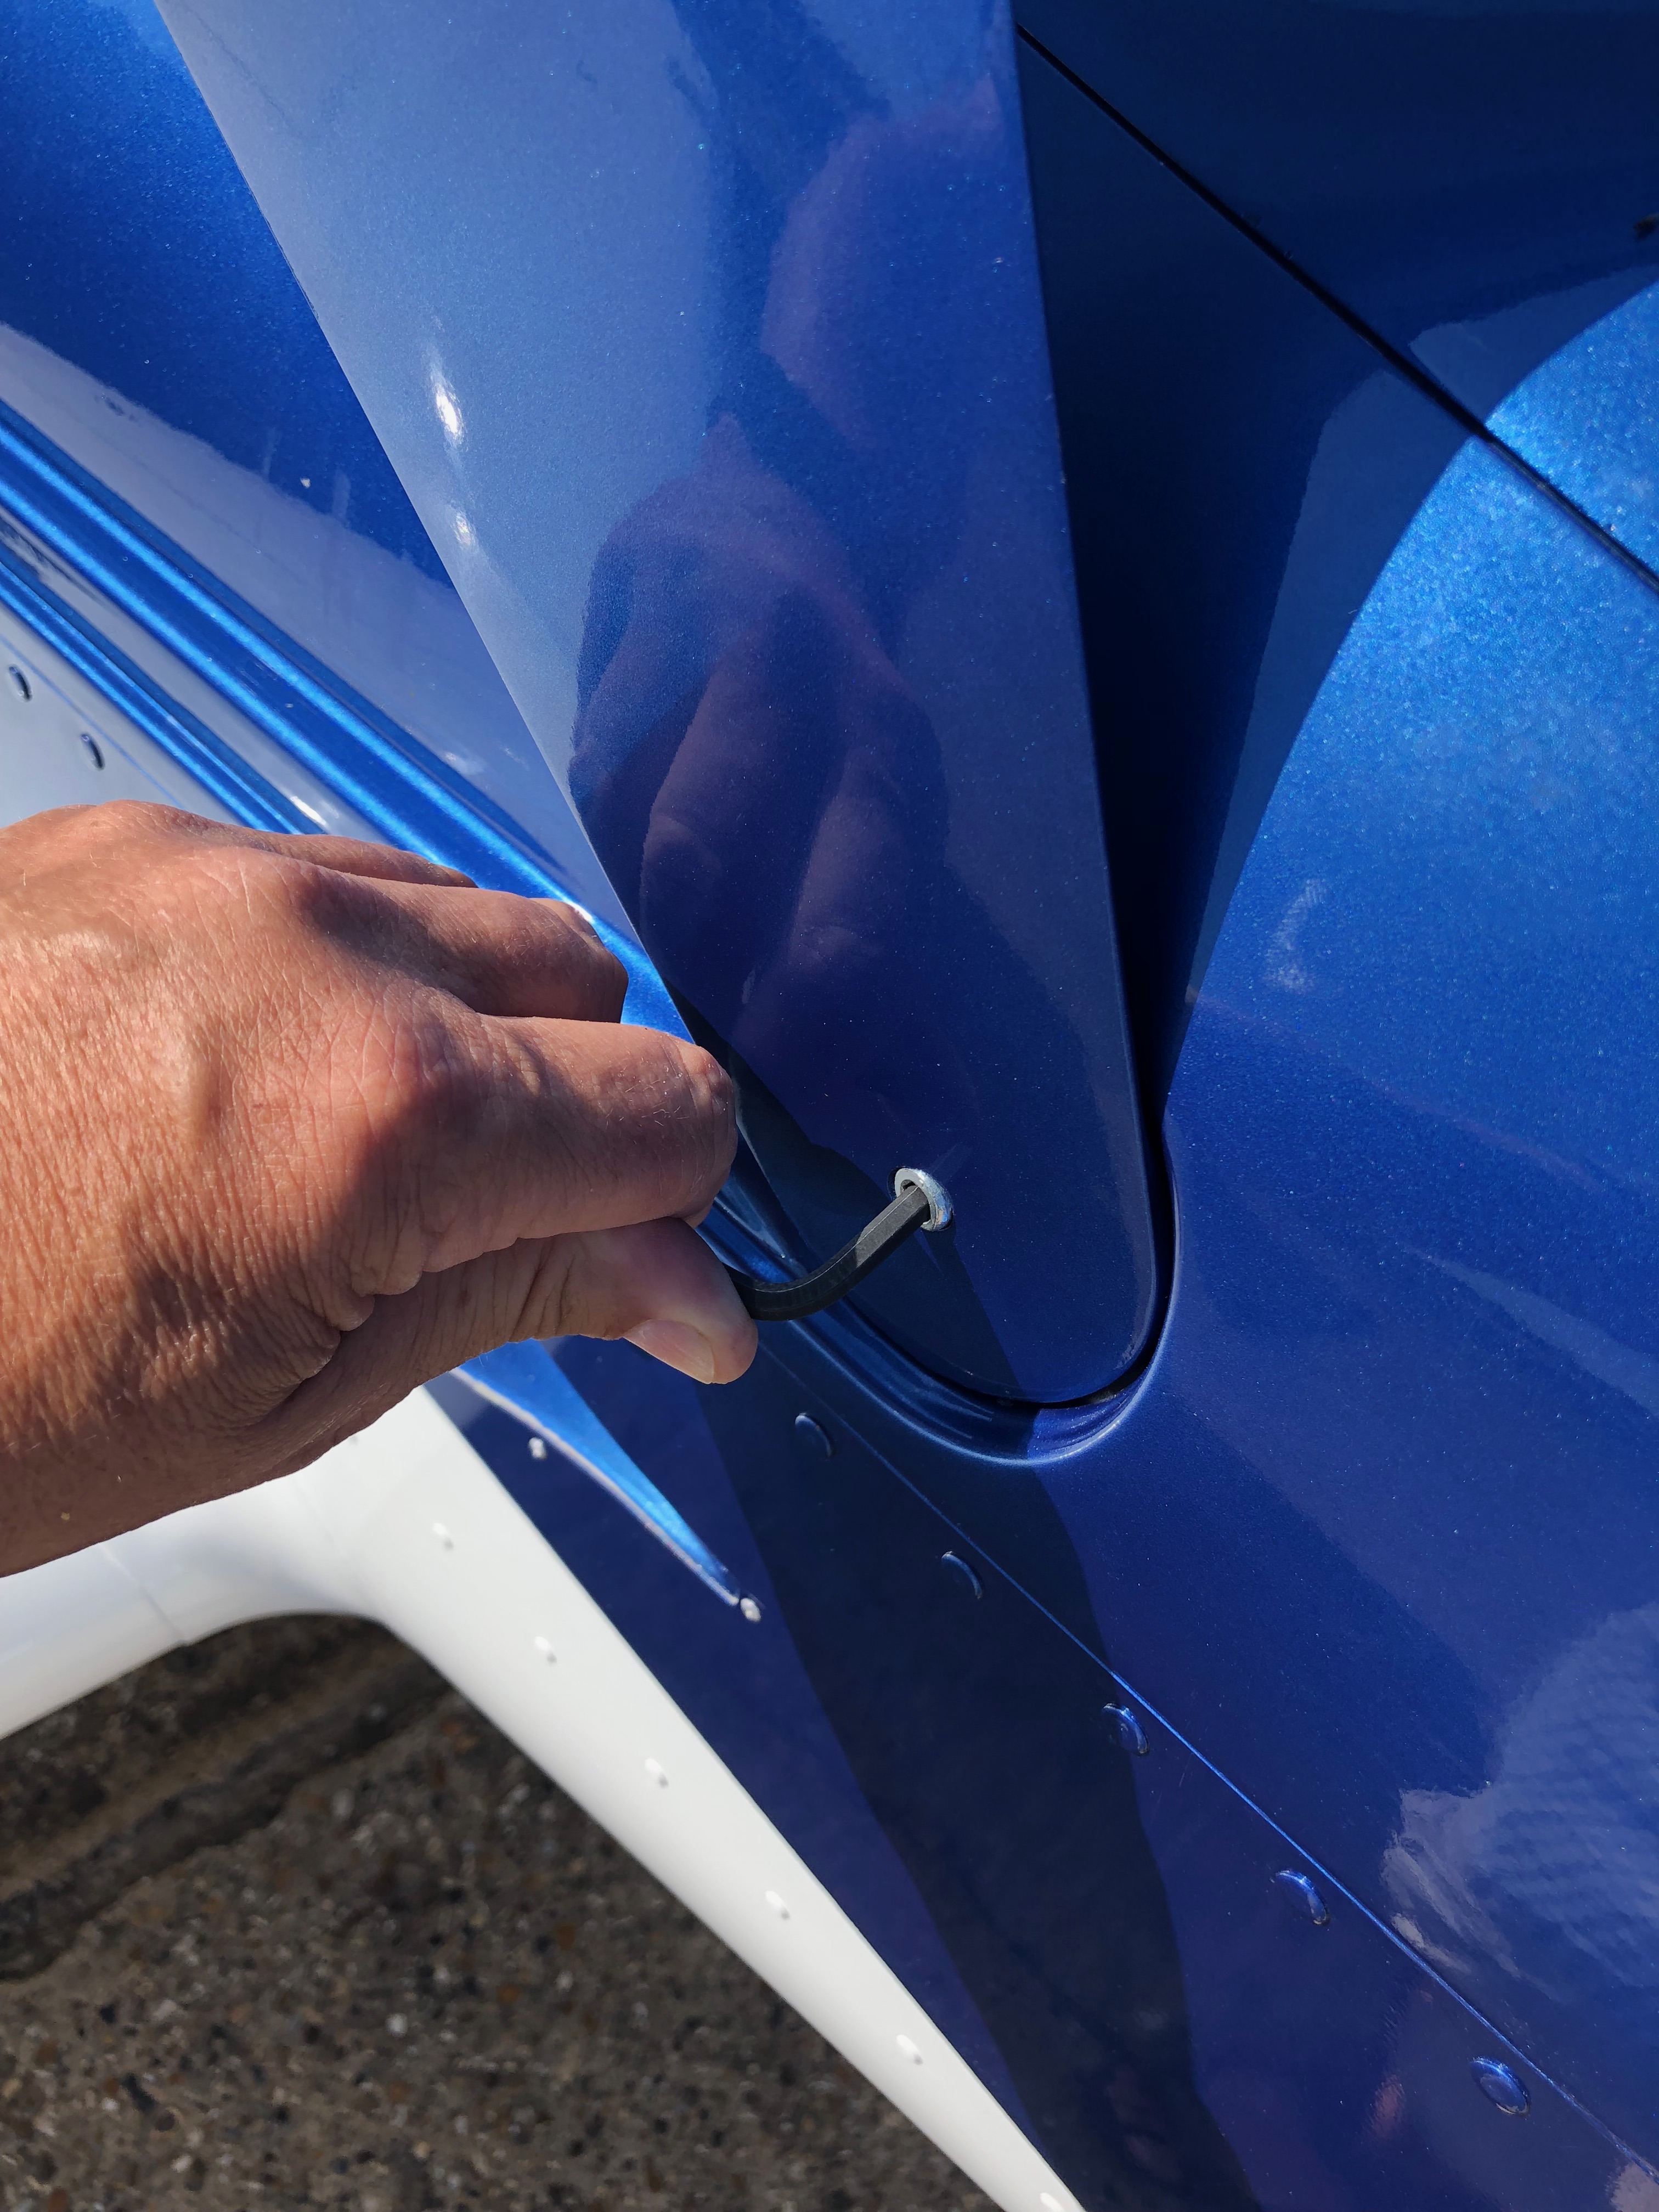
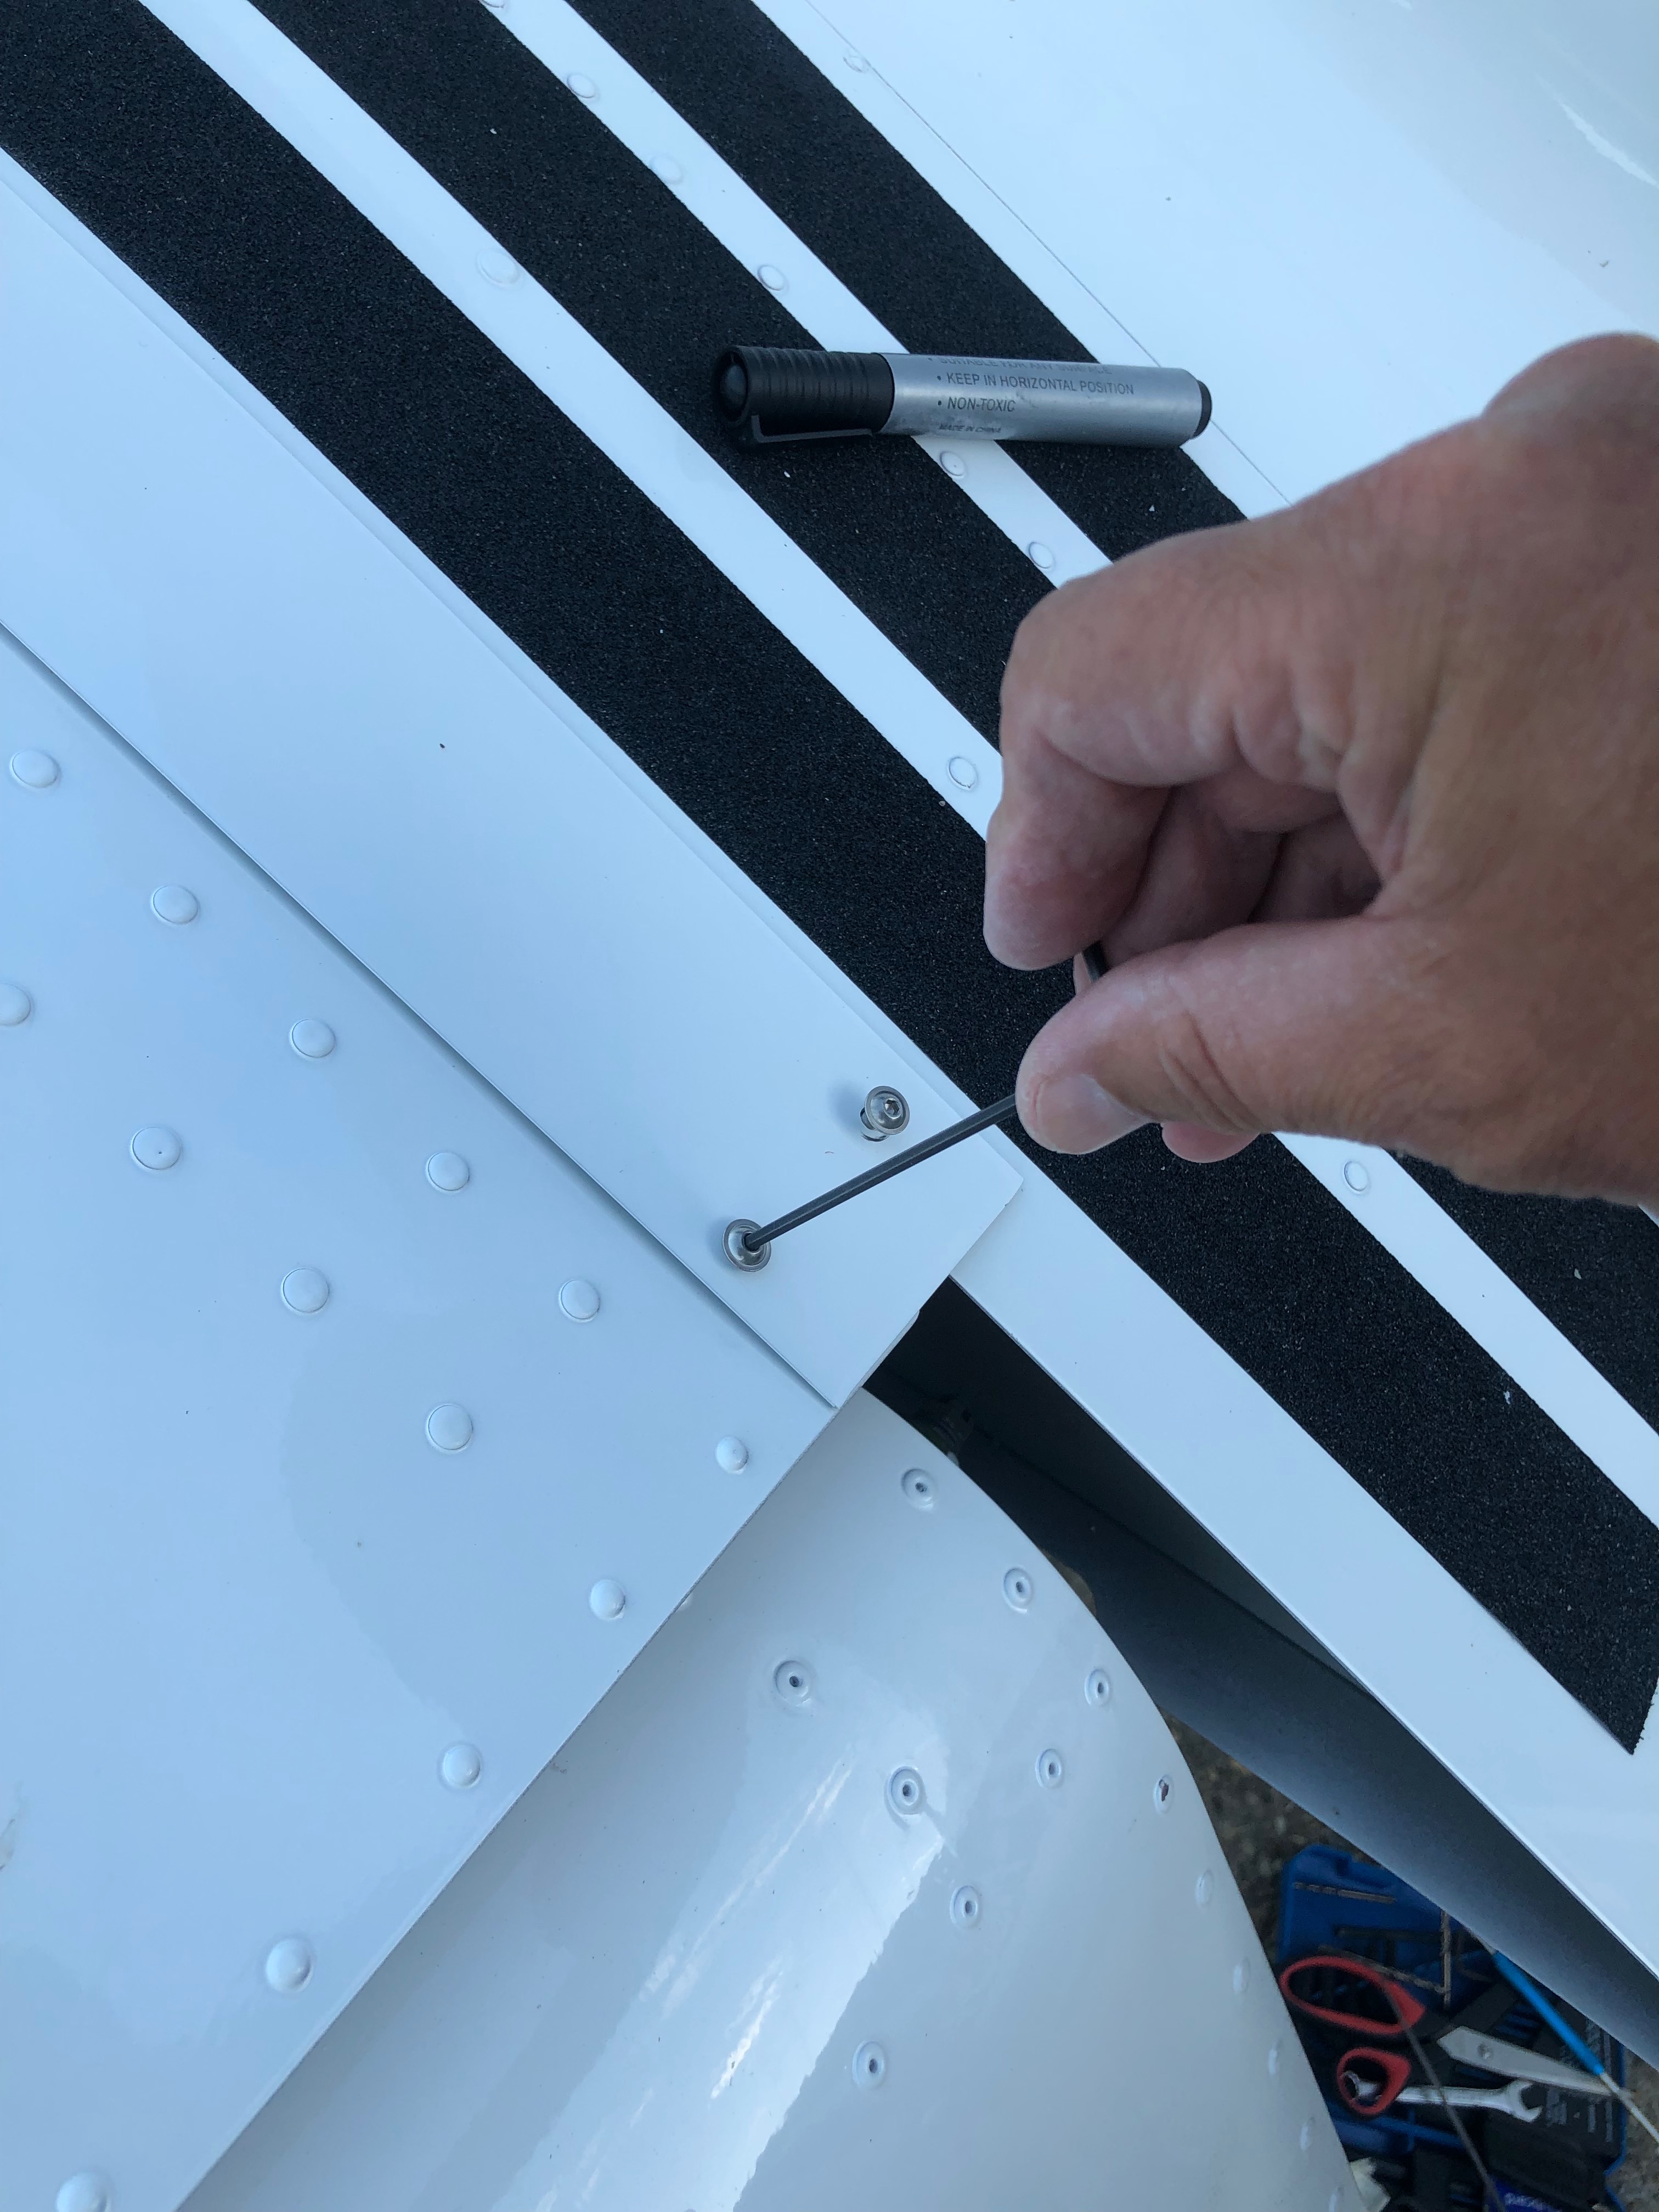
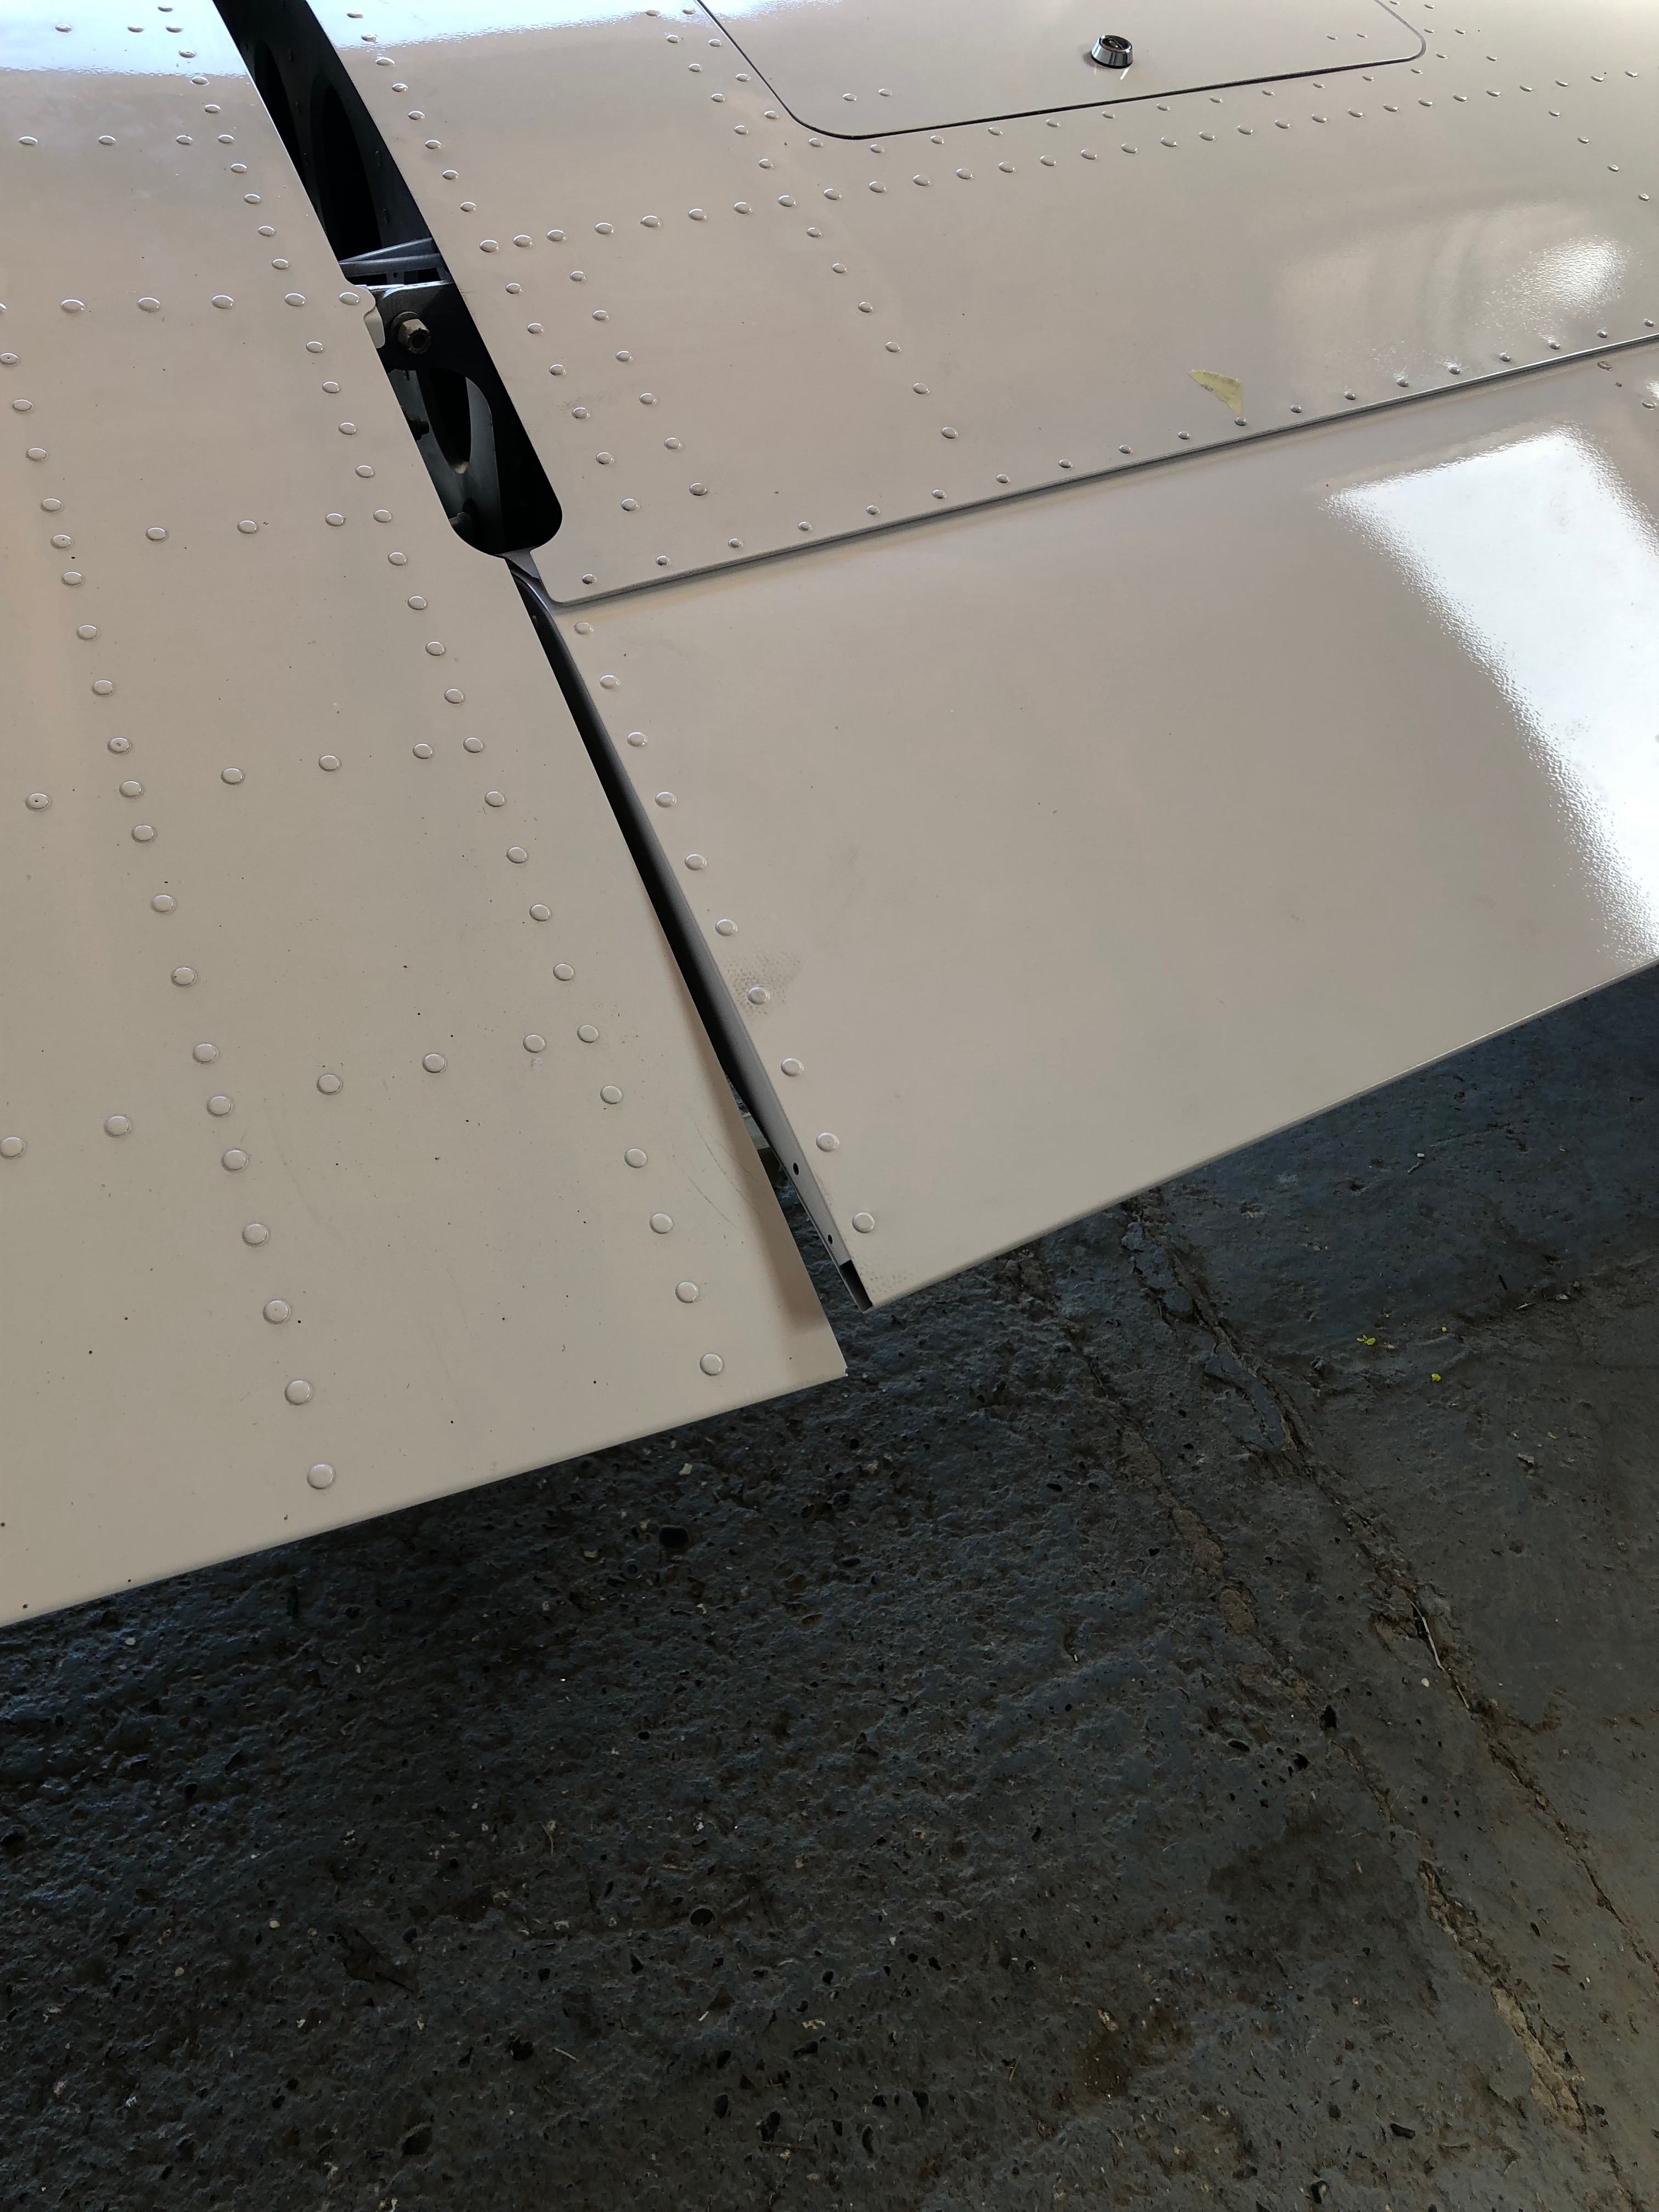
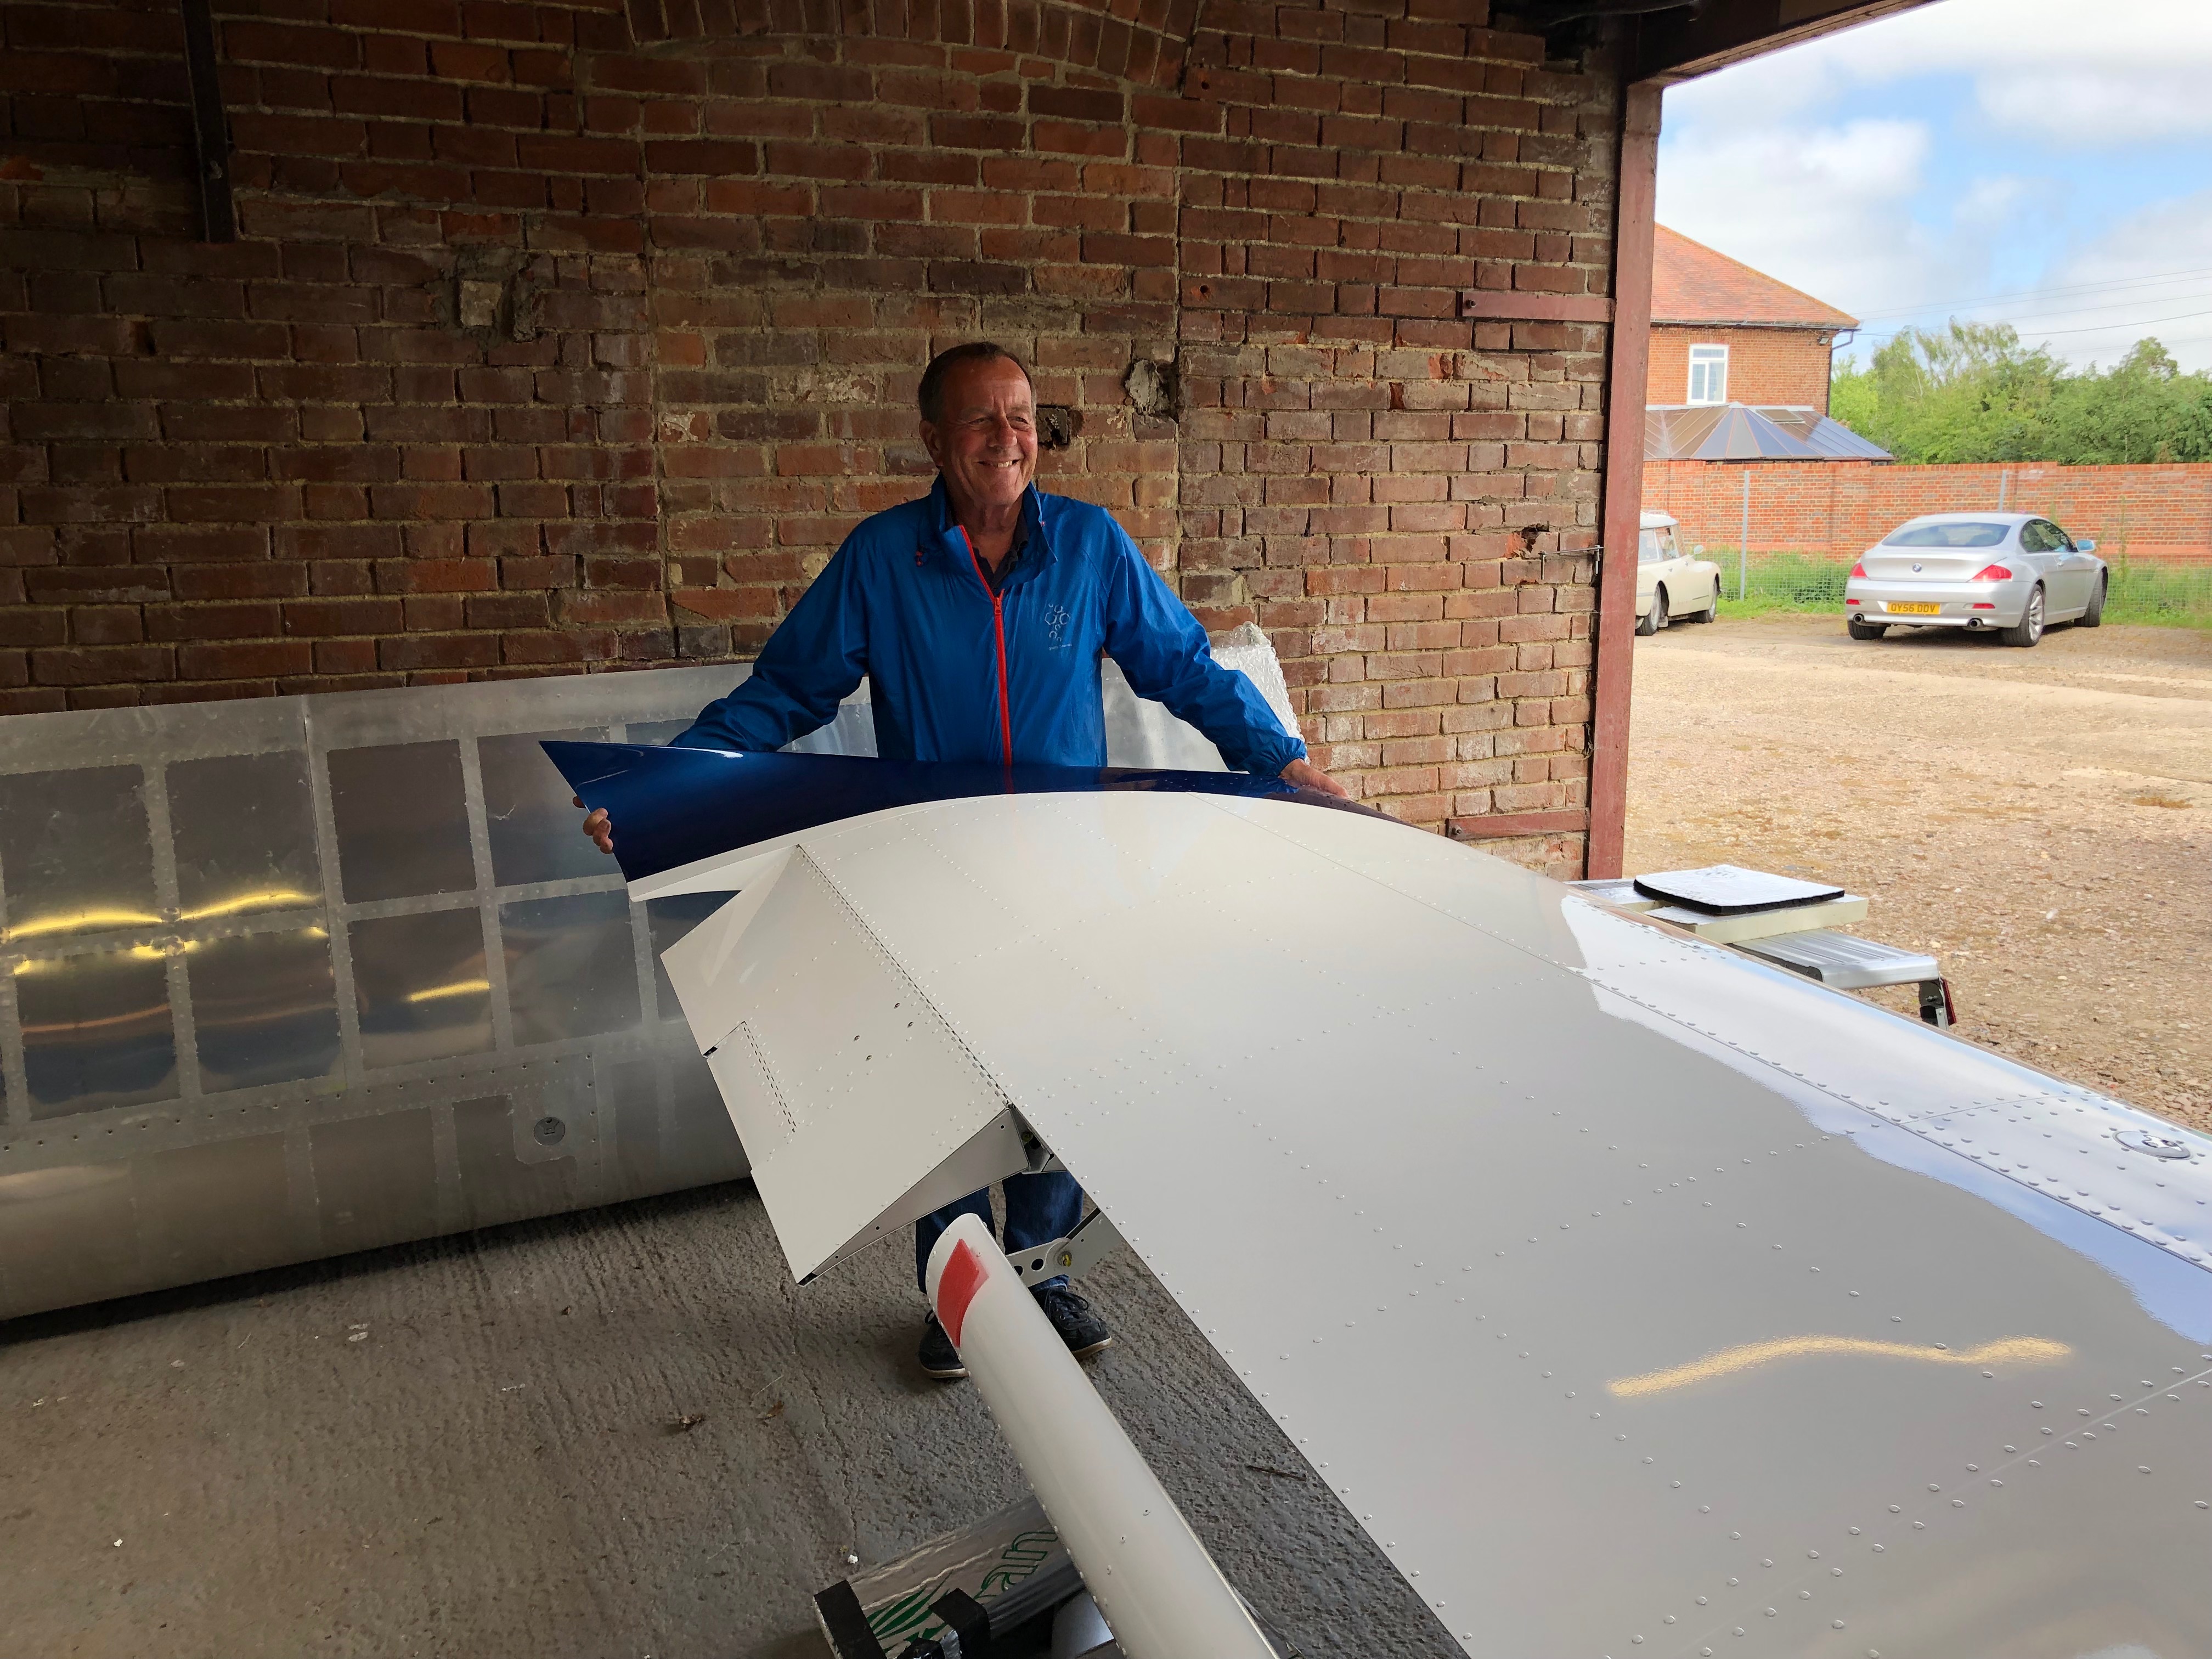
The canopy was temporarily fitted for the engine test so I adjusted the canopy catches and secured the hinge bolts.Next up is sticking the wing walk anti-slip tapes onto the wing root. The area is thoroughly cleaned and degreased to ensure they stick properly. They need to be straight and equally spaced otherwise it’ll look awful. Each tape is carefully placed in position and the backing paper is removed slowly to ensure that it’s parallel with the first tape. The finished job looks quite good.The Bristell’s wings attach to a wing root stub that protrudes from the side of the aircraft. The way the wing joins means that there is a small gap that needs to be covered. A metal joint strip is used which is attached at both ends and pulled together with springs. A couple of Rivnuts are installed on the top of the wing and one end is secured…… the strip is fitted round the front od the leading edge and the springs are added to pull and tension the strip.Finally a couple of Rivnuts are installed on the trailing edge and the joining strip is fixed into position.Quite pleased with final result. It’s important to ensure there is a bit of play in the fixing holes otherwise the strip may buckle and it won’t be flat on the wing. G-MLSY in it’s new home for now. Just the spats to fit now and then the external features of the aircraft will be complete.
With only a few things left to do one of them is to set the control surface deflections. On the face of it, it’s an easy job but it requires a differential movement from fully up to fully down. Due to that specification there’s more than one place to adjust. It requires a bit of juggling to get it right and in the heat of Thursday it wasn’t the day to do it.
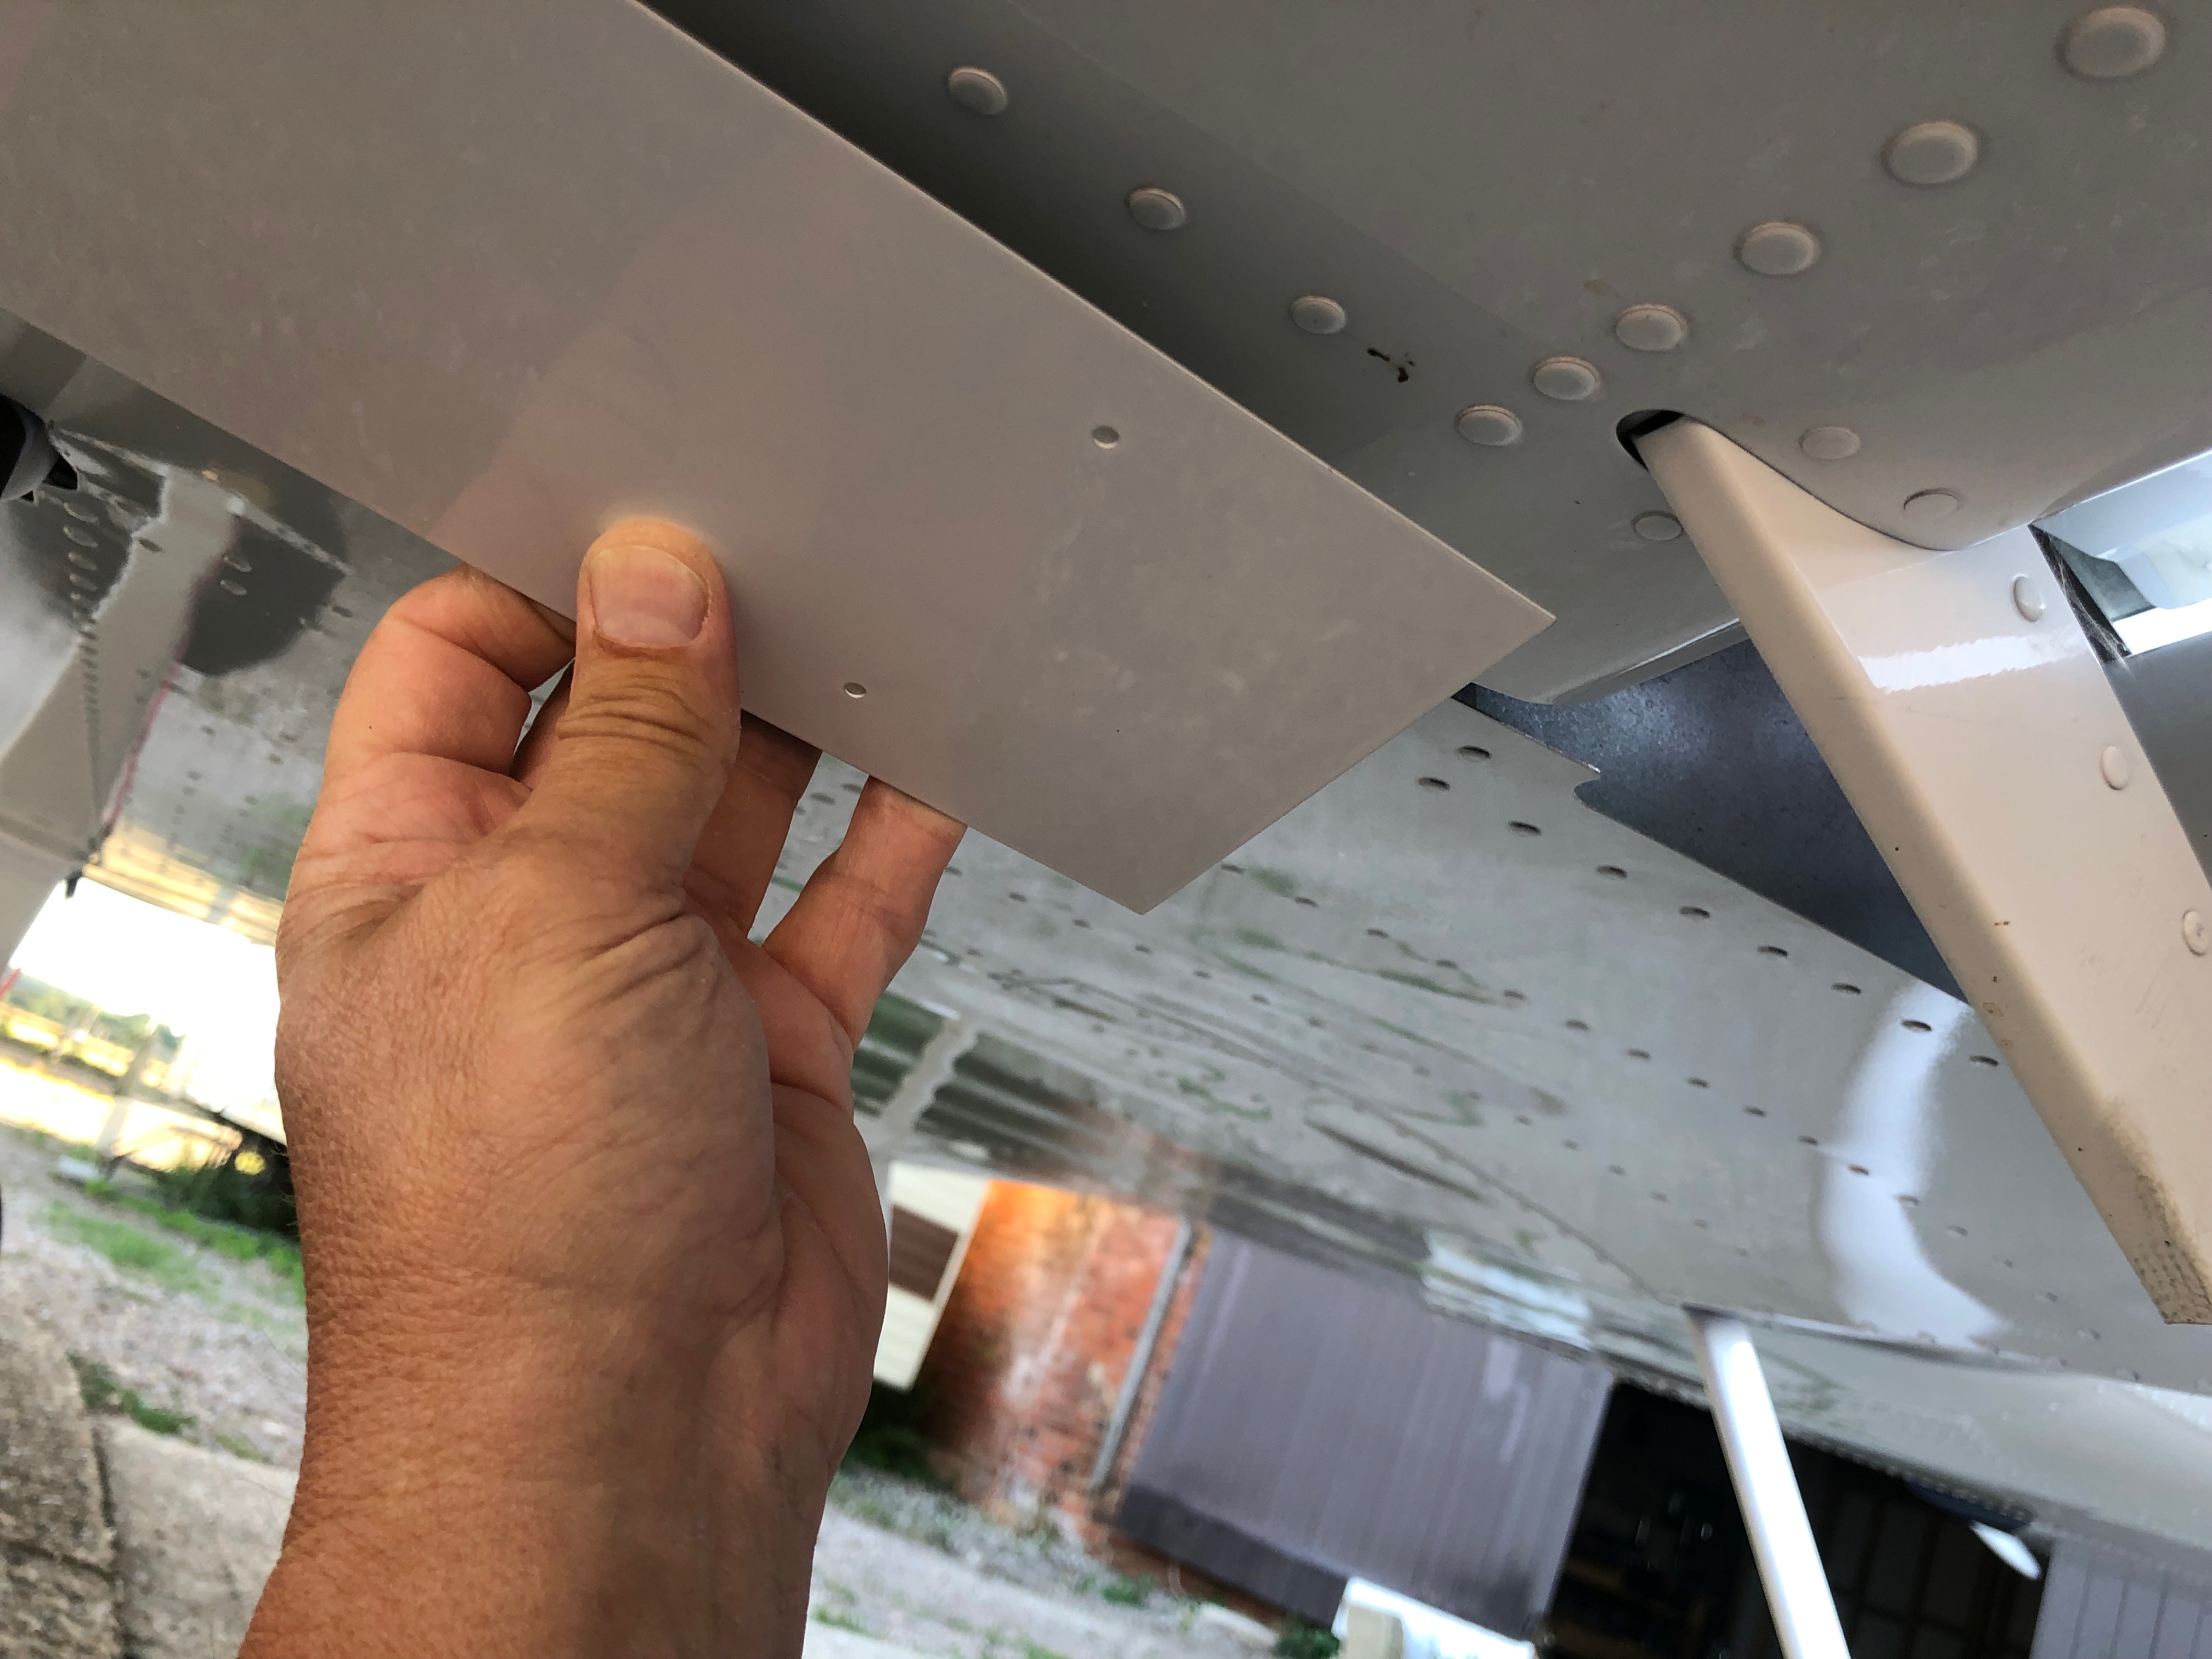
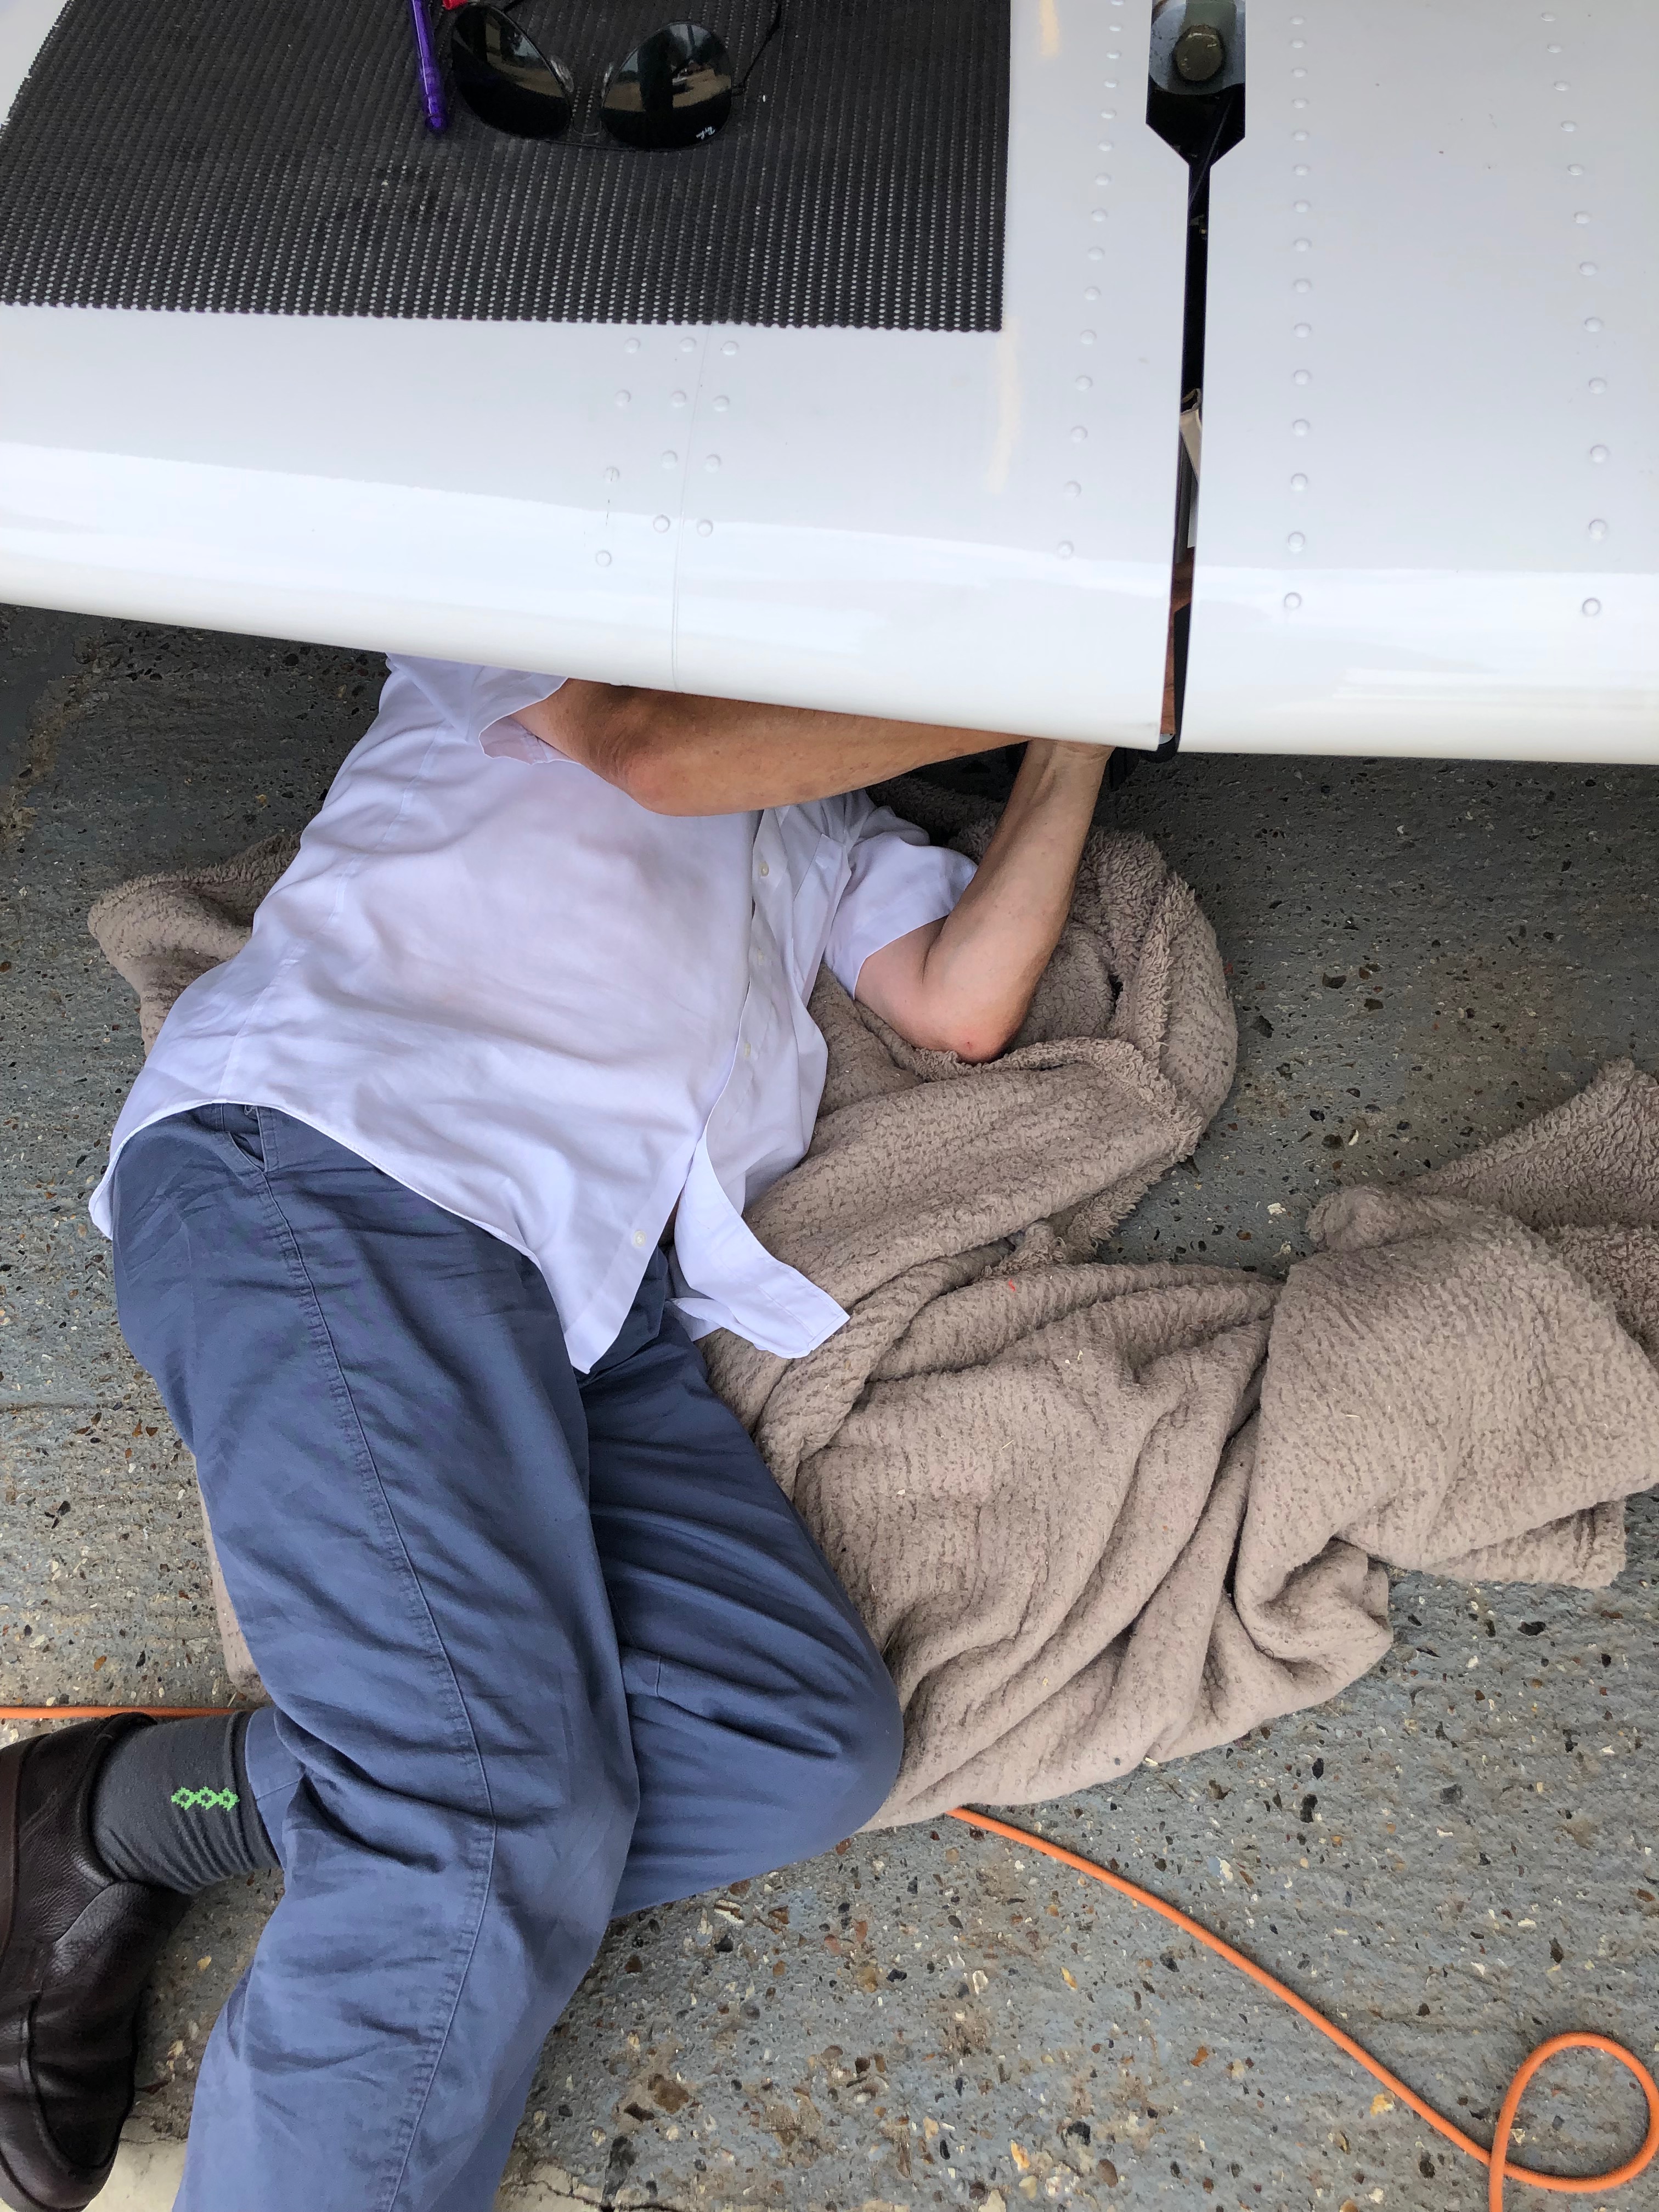
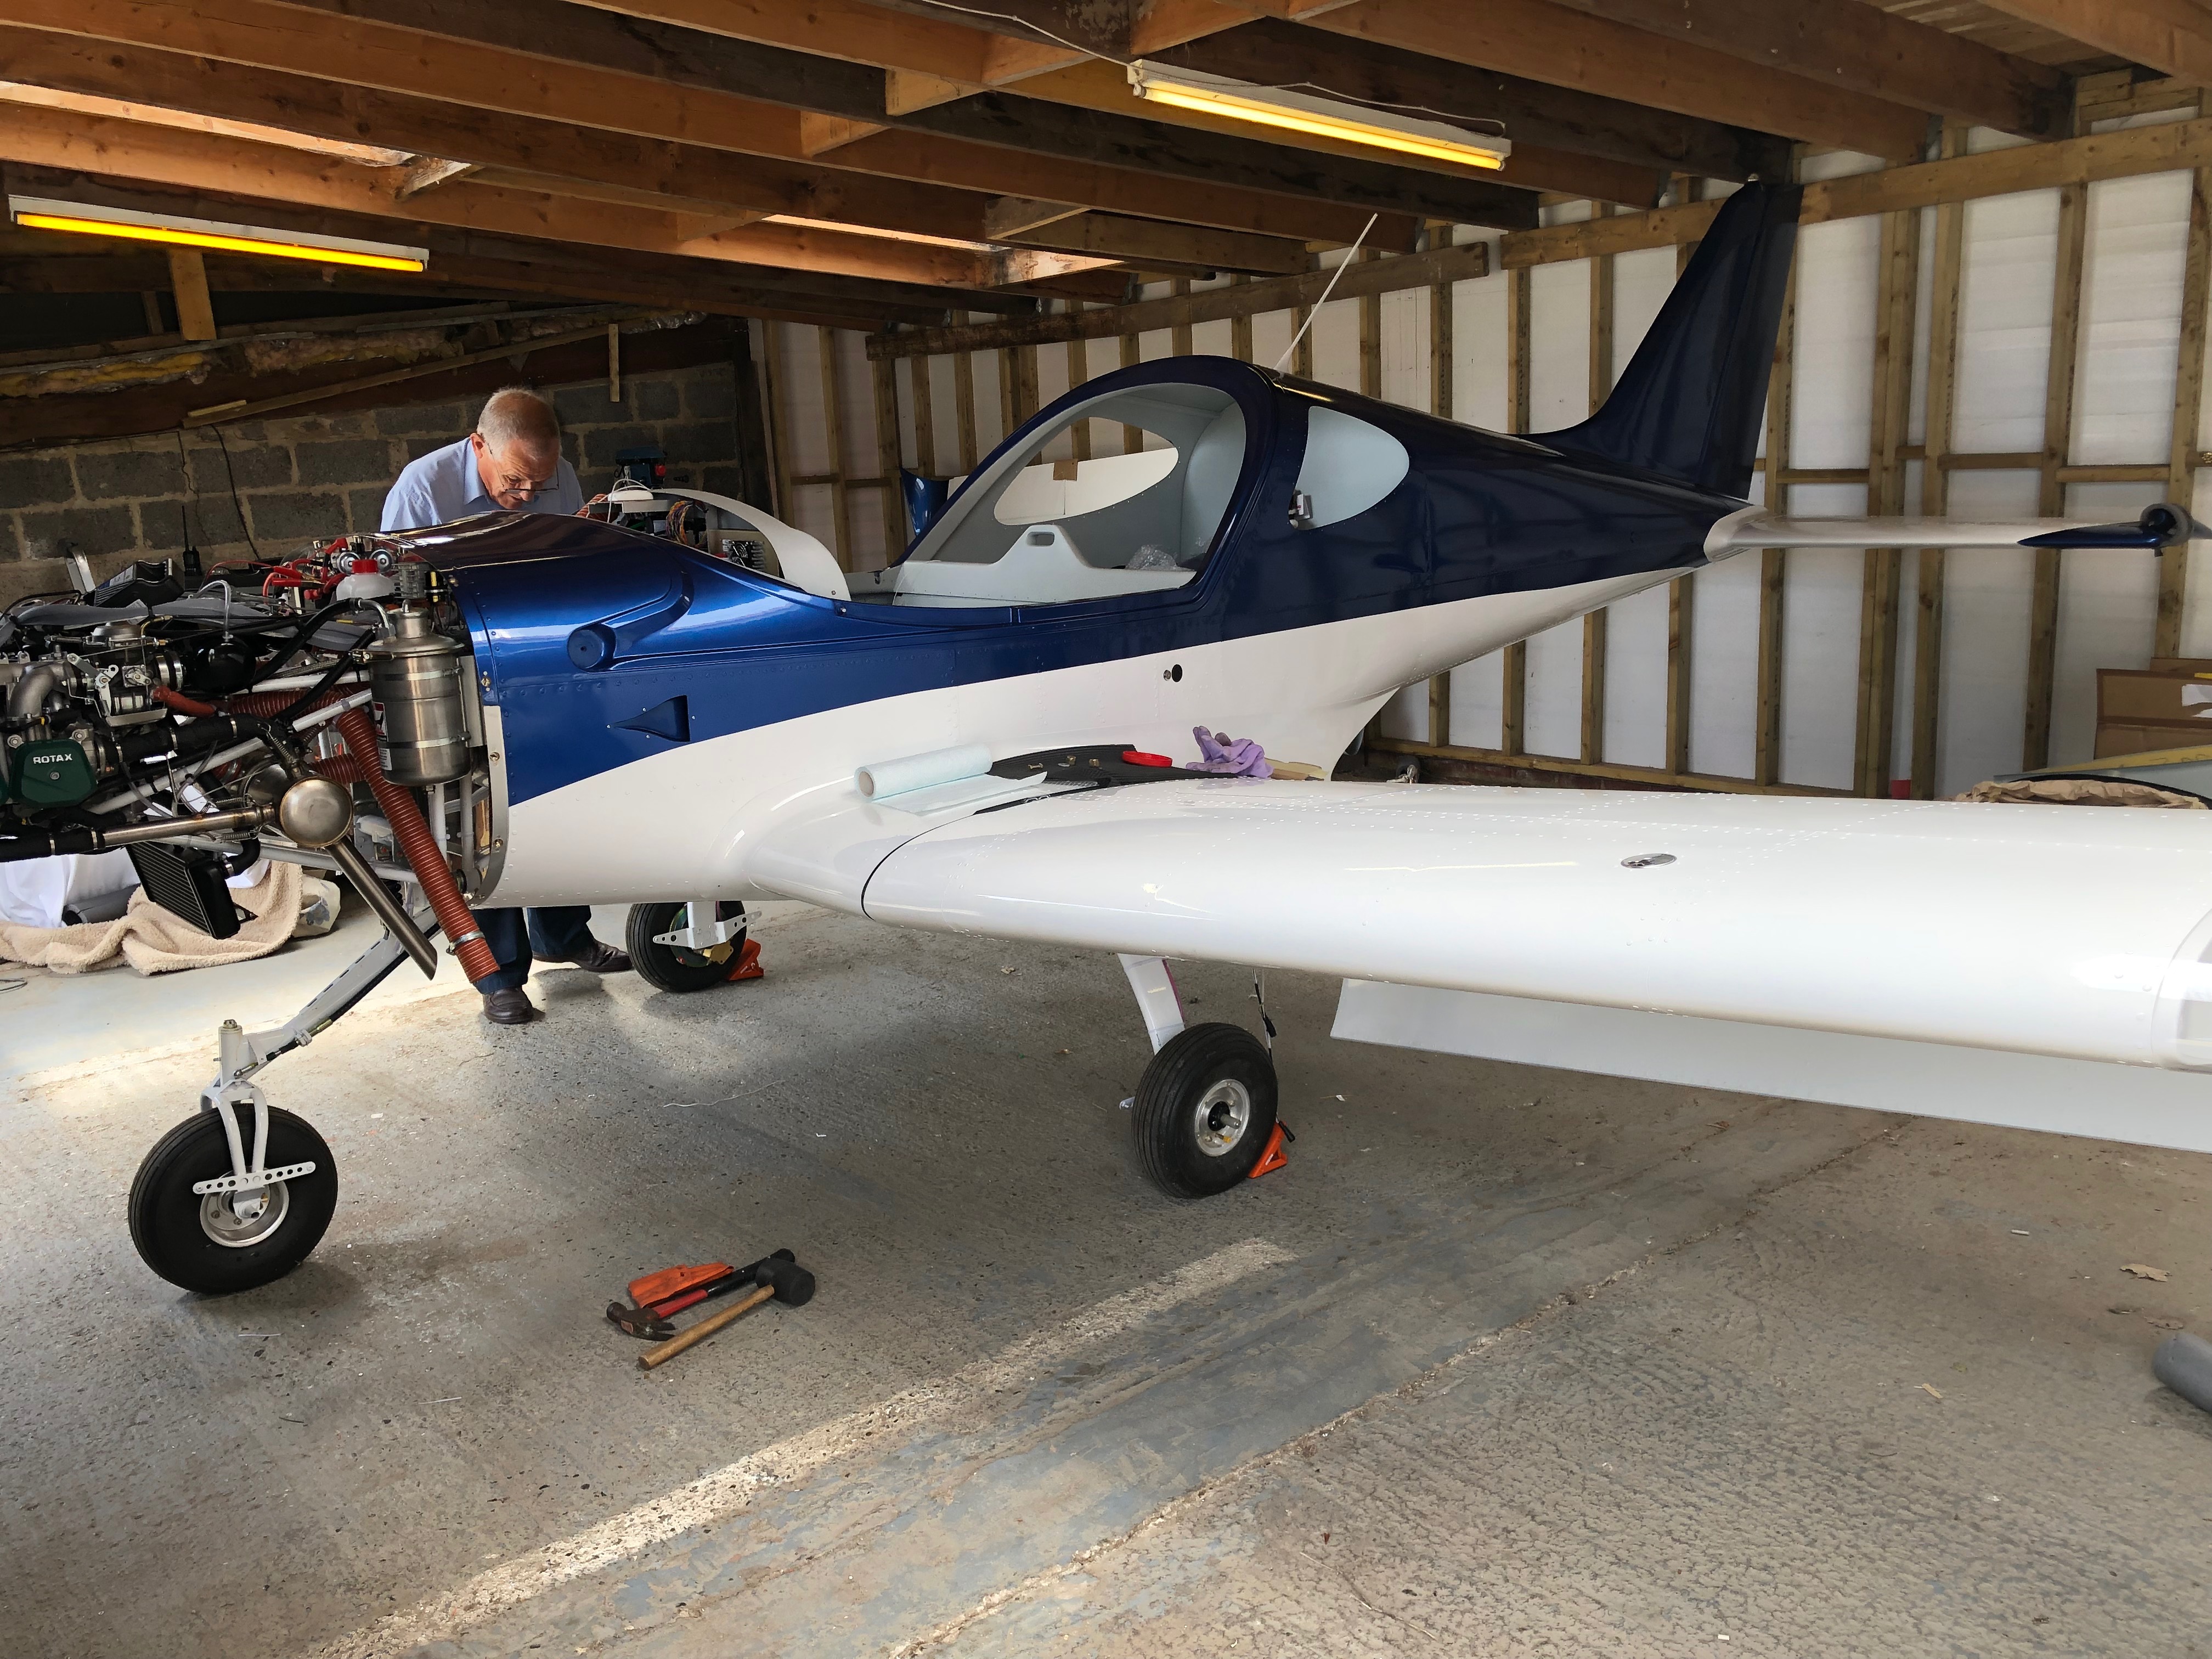
One of the adjustment points in in the rear of the aircraft with a very small inspection panel to undo nuts and make the adjustment. It was very tricky and time-consuming but got there in the end. I used an iPhone inbuilt app for the level that was then checked by Ian who has a digital protractor. Amazingly the iPhone reading match Ian’s readings +30 deg -15 deg.Ian came round to ask if I wanted to run the engine today as he’s away Monday and Tuesday. With the temperatures very much lower today it seemed a good idea so we got on with checking everything was ok before taking it out of the workshop.The workshop ceiling was far too low to fit the canopy so needed to do it once it was out. It took a lot of jiggling to get it out of the workshop and now it’s out it won’t be going back in! Out on the grass away from all the stones and Pete Sharpe recording the event on my iPhone it’s time to do a final check before the first start. The electric fuel pump was switched on to check for leaks from the fuel system, all seems ok. First time in the cockpit for real so another good check to make sure every thing is working as expected. Ian is standing by just in case anything goes wrong with a radio and fire extinguisher!Canopy down, calling “CLEAR PROP” as I turn the ignition key and my baby burst into life on the very first turn – I can only shake my head in disbelief – Amazing!Watching the Ts&Ps as the engine is running Ian does a walk round to check for any obvious problems but there aren’t any. It’s running as sweet as a nut.After being told to smile I look up as one happy chappy… Ian prompted me to taxy the aircraft to spread the noise about a bit so I did a few runs up and down the runway checking brakes, steering, instruments, pitot system and then power checks. All very good apart from the flys on the firewall. Ian carried out a further check once the engine had stopped but all was ok and there were no problems.A very empty workshop. It seemed big enough when I first started but as time went on it proved to be too small to house the aircraft on a permanent basis.So this is where G-MLSY will be for the weekend before being moved to its new position in the main hanger.
Music: Gerry Cinnamon, Stereophonics, The Libertines
6 months to the day since I took delivery of G-MLSY and it’s coming to the end of the build… but I say that every day to be fair. The next major stage is the testing and lots of paperwork to do and approvals to gain before it can fly.
A few people have dropped by to view how I’m doing and some have sent messages. All I can say is “Thanks”. It’s been a bit like a marathon and the support from those that have taken the time to visit or send messages is very much welcomed and keeps my motivation topped up.
I’ve decided to use the light function on the switches so each switch require an earth lead to be attached to the third contact to enable the function. It required a bit of back tracking but was fairly easy to do. The wings need to come off again so Ian is called to action again helped by Pete Sharpe I need to run the fuel level sensor wiring in, polish the wings and apply the registration before refitting for the final time. When I arrived home the stainless steel ID plate and Radio licence had arrived ticking off another couple of items from the list of Admin that accompanies the build.
Music: Reverend And The Makers, Ian Brown and Razorlight.
A few smaller jobs to do today including the last bit of wiring, wire locking the tailplane, adding a vent pipe to the coolant bottle and adjusting the flap operating arms.
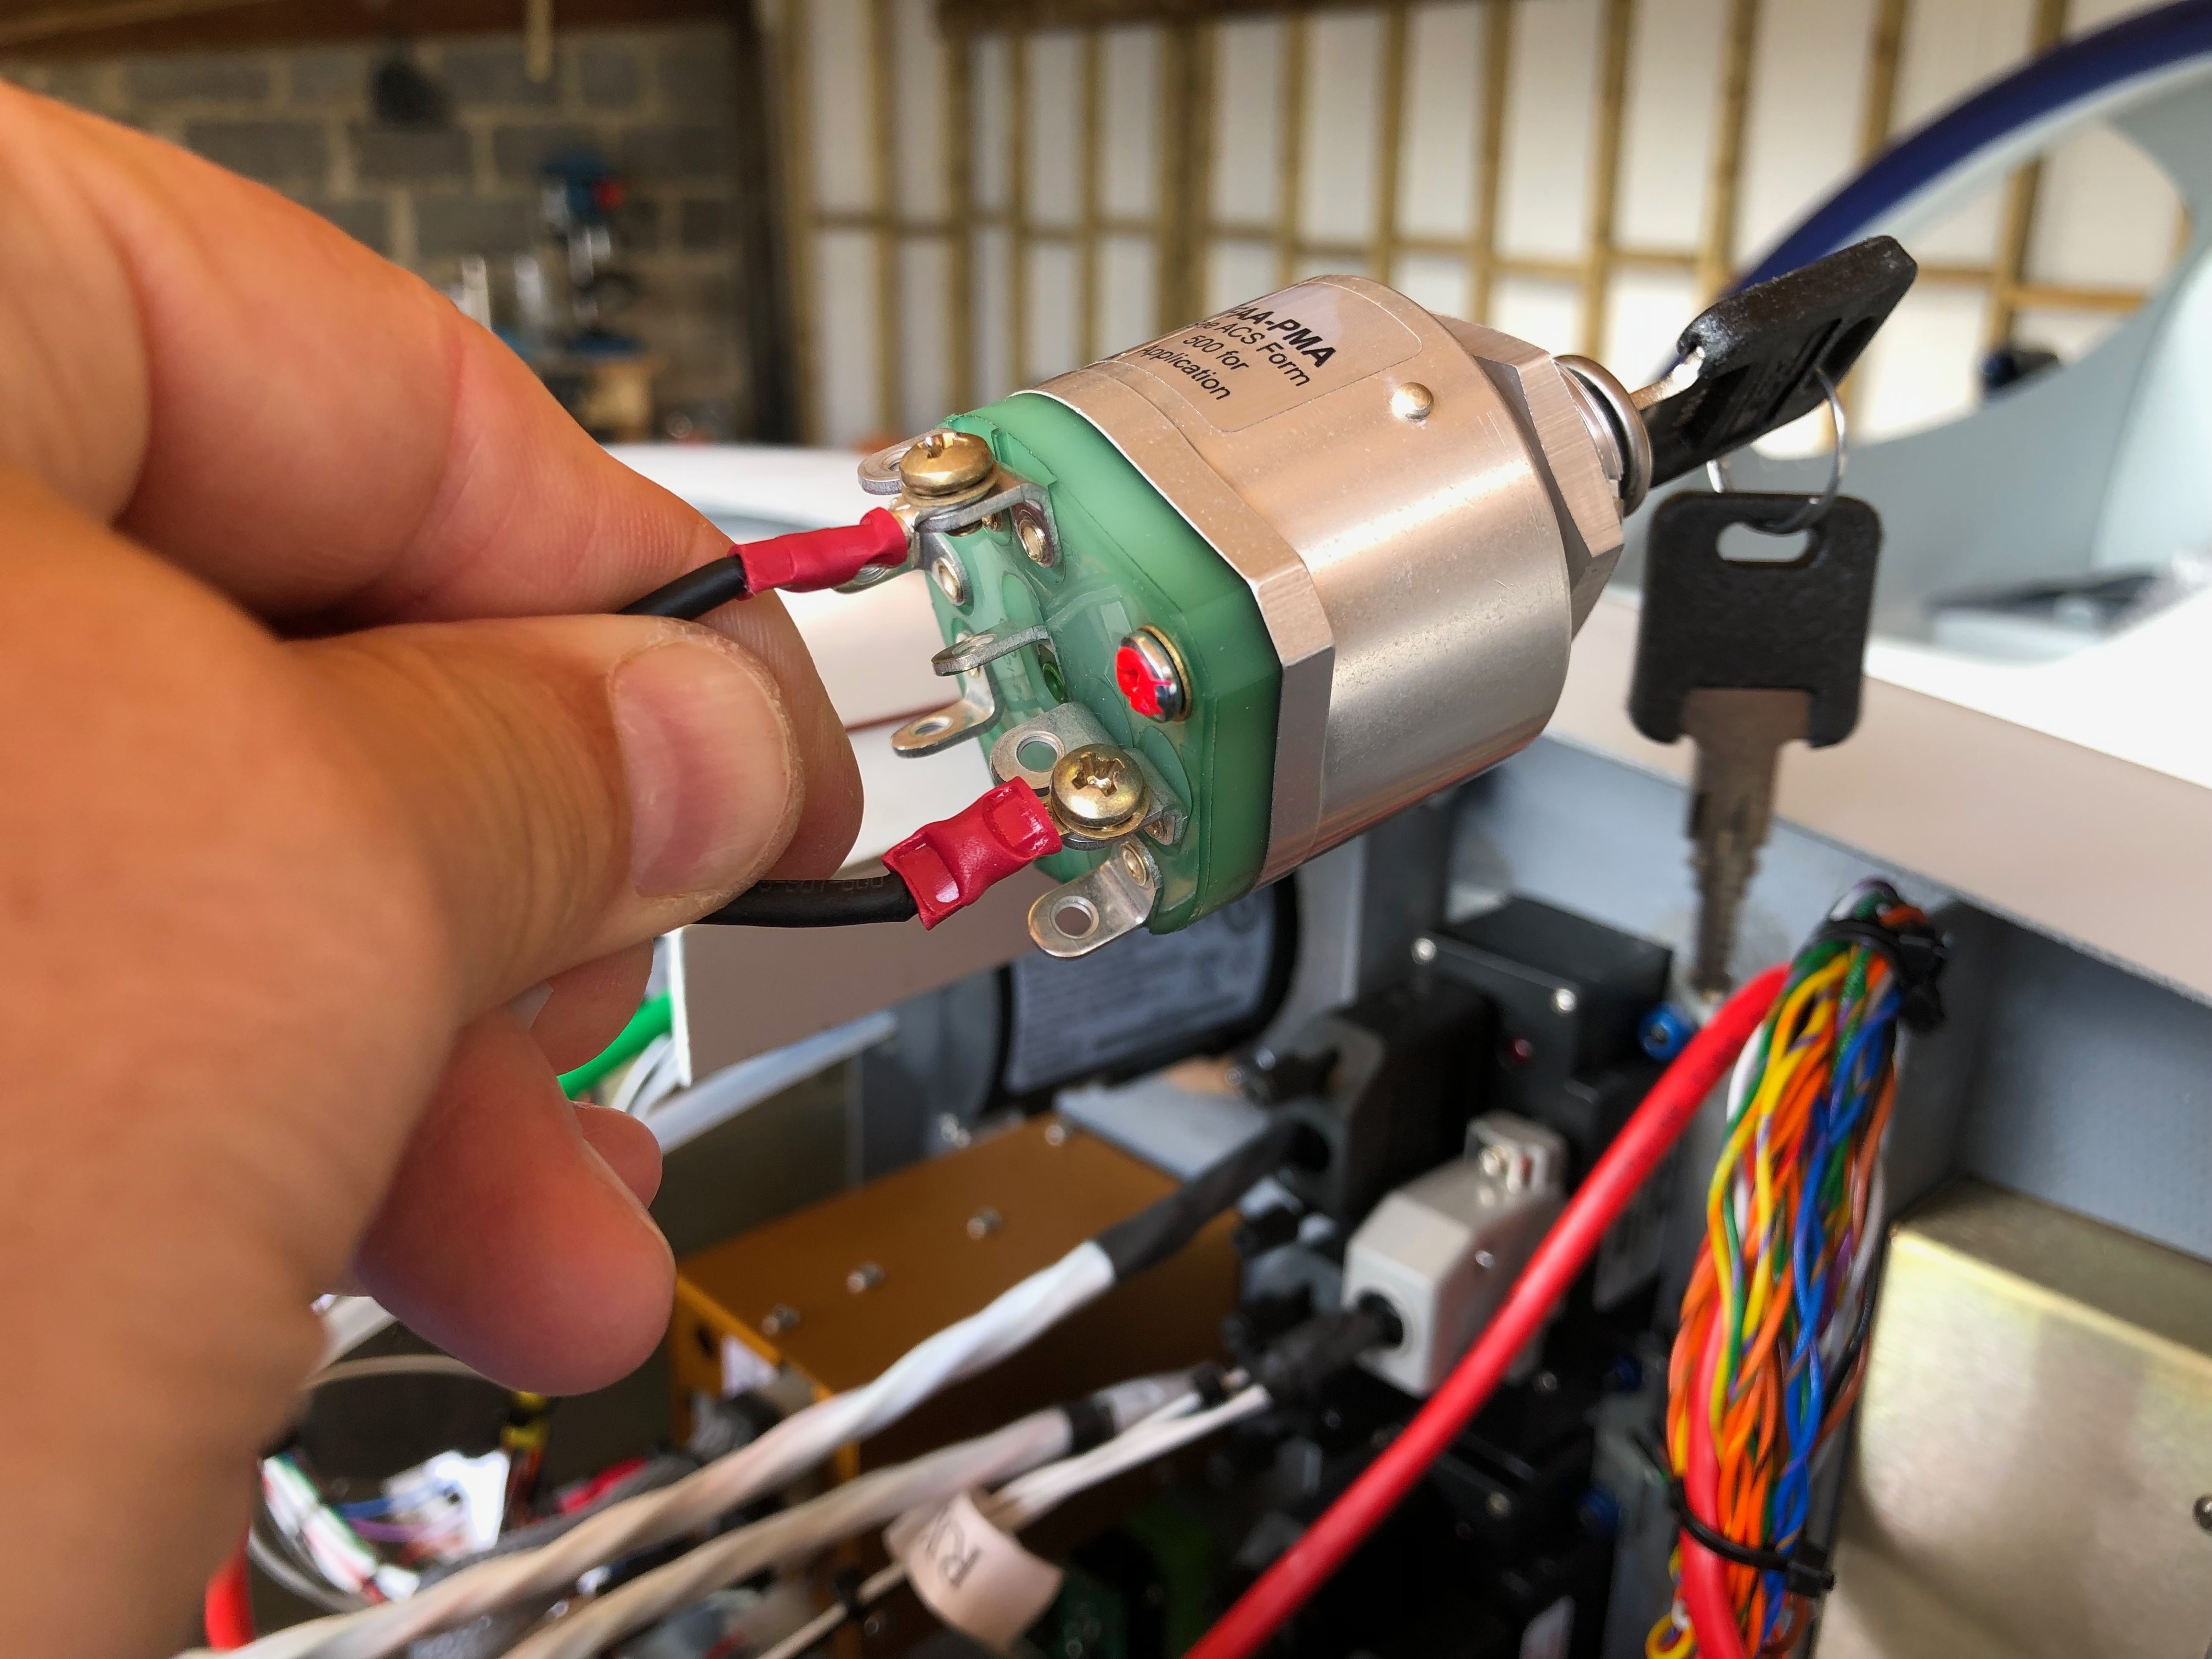
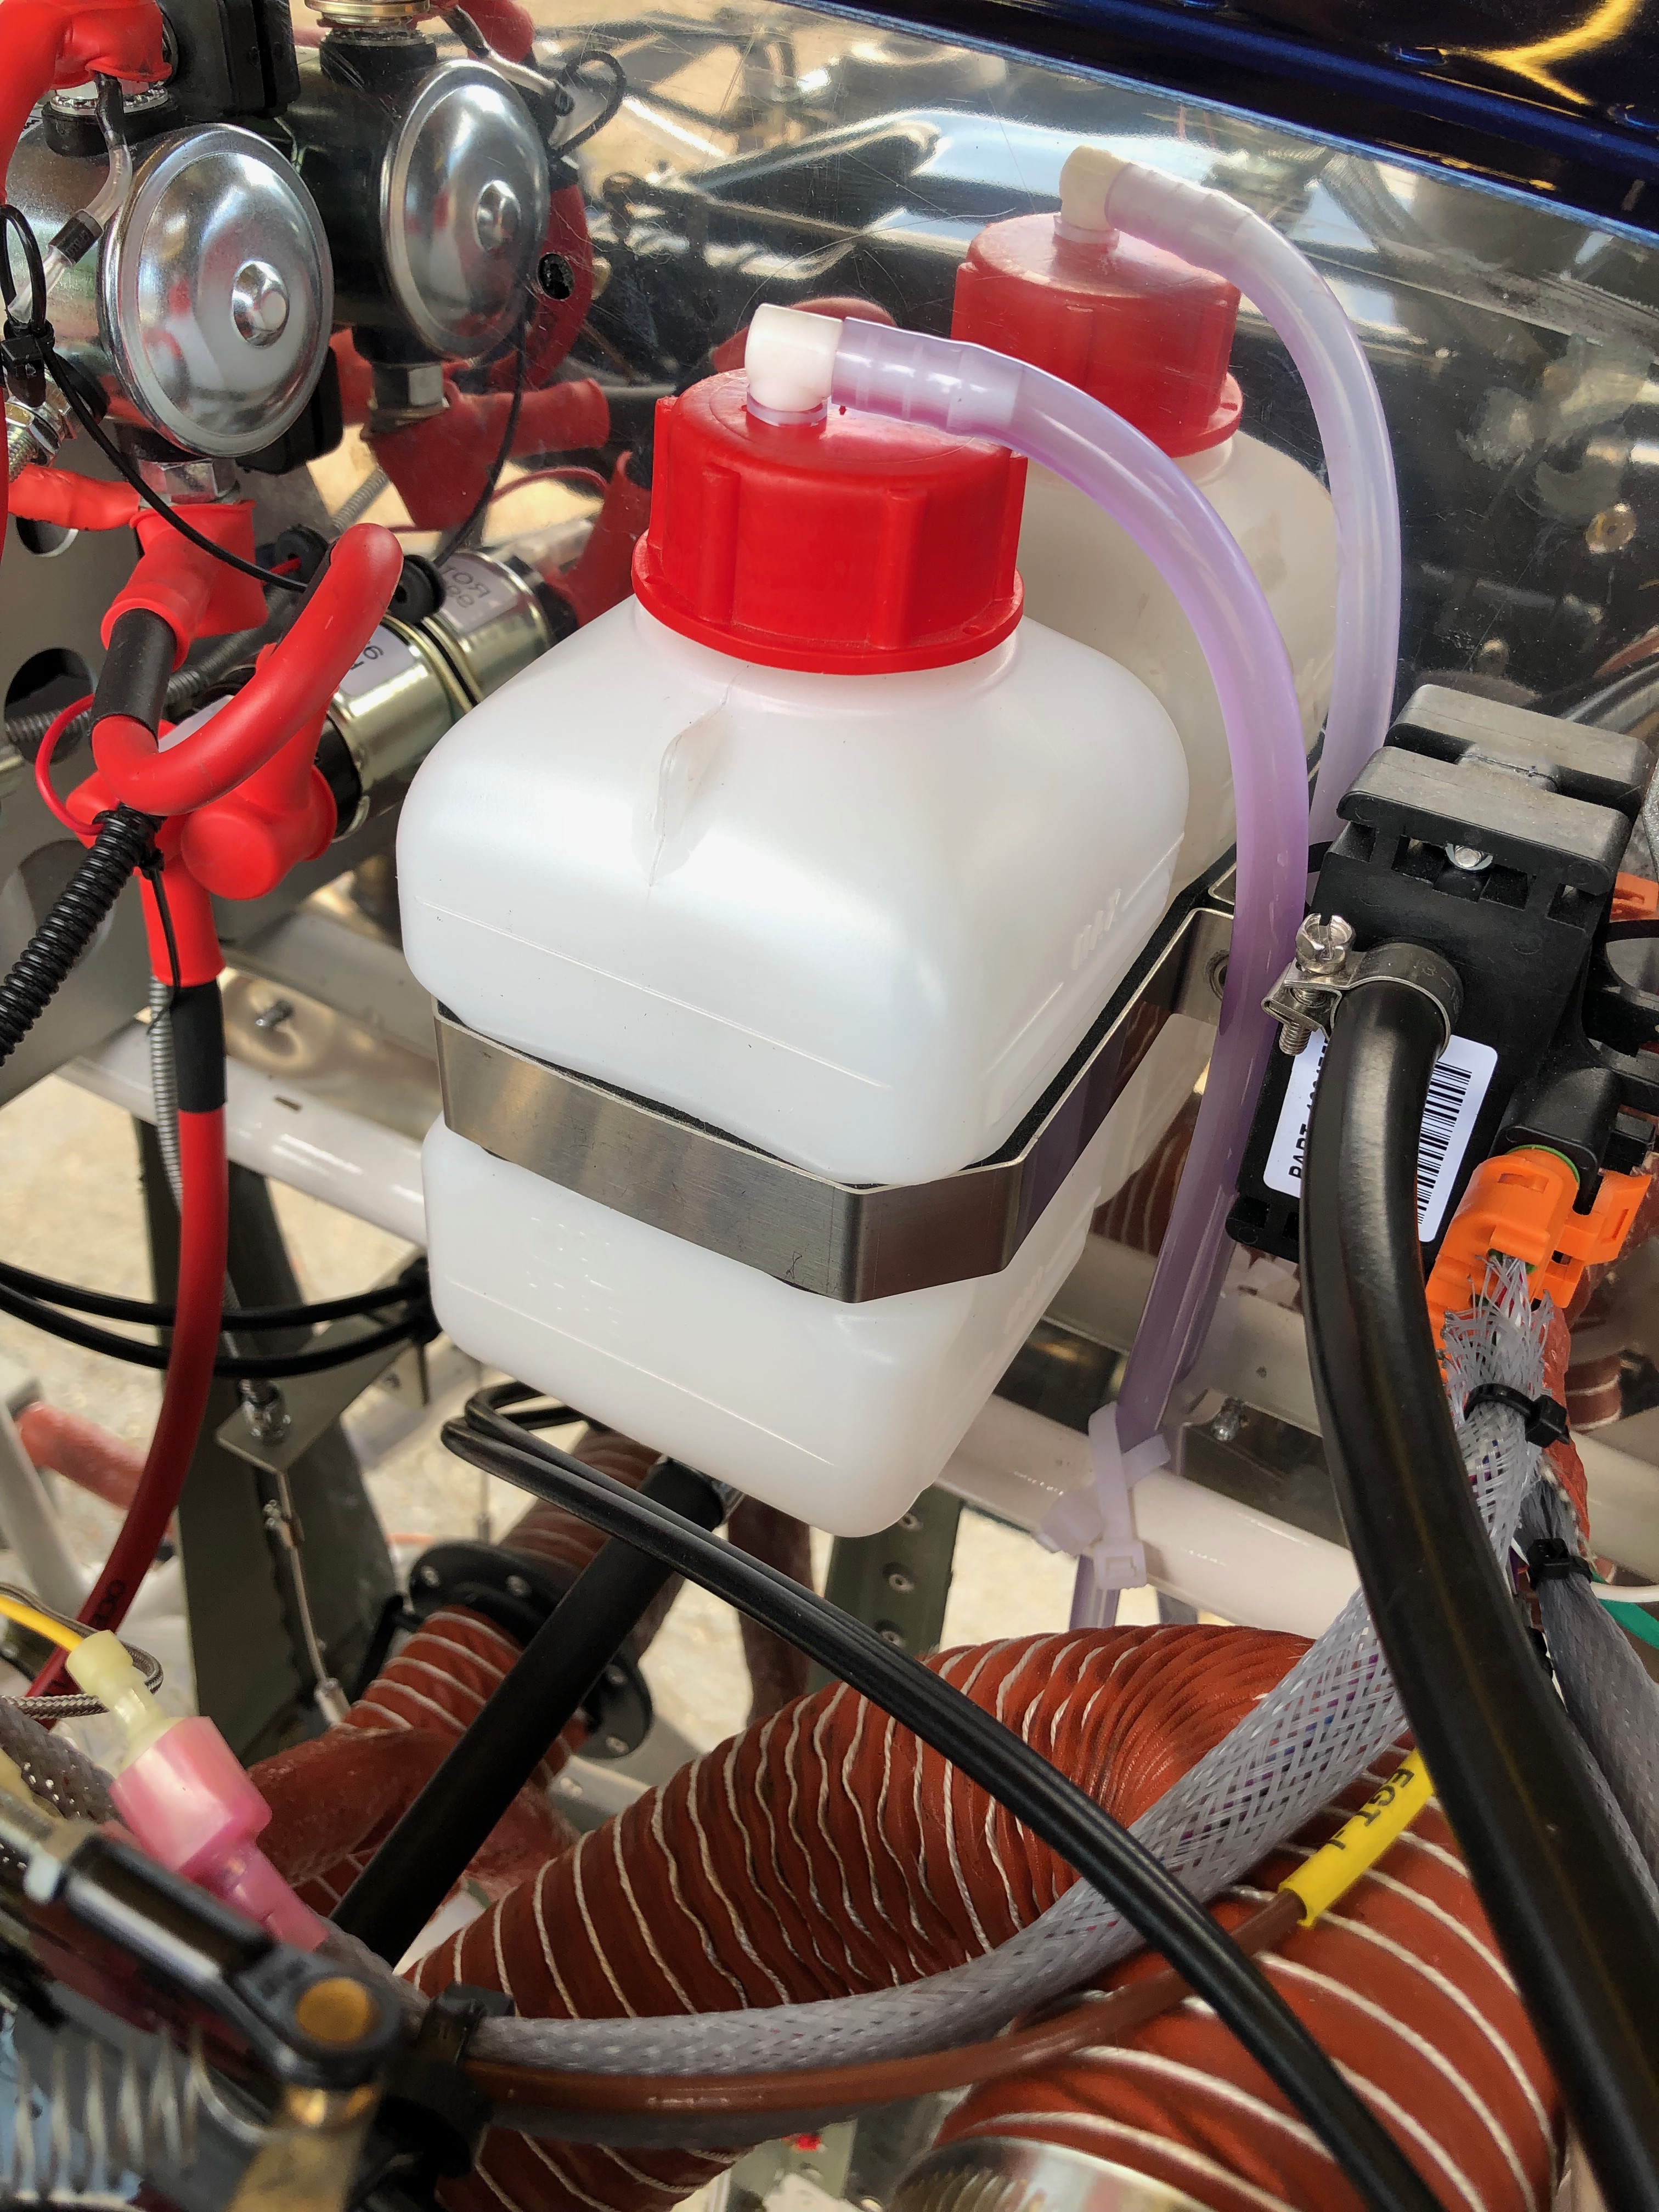
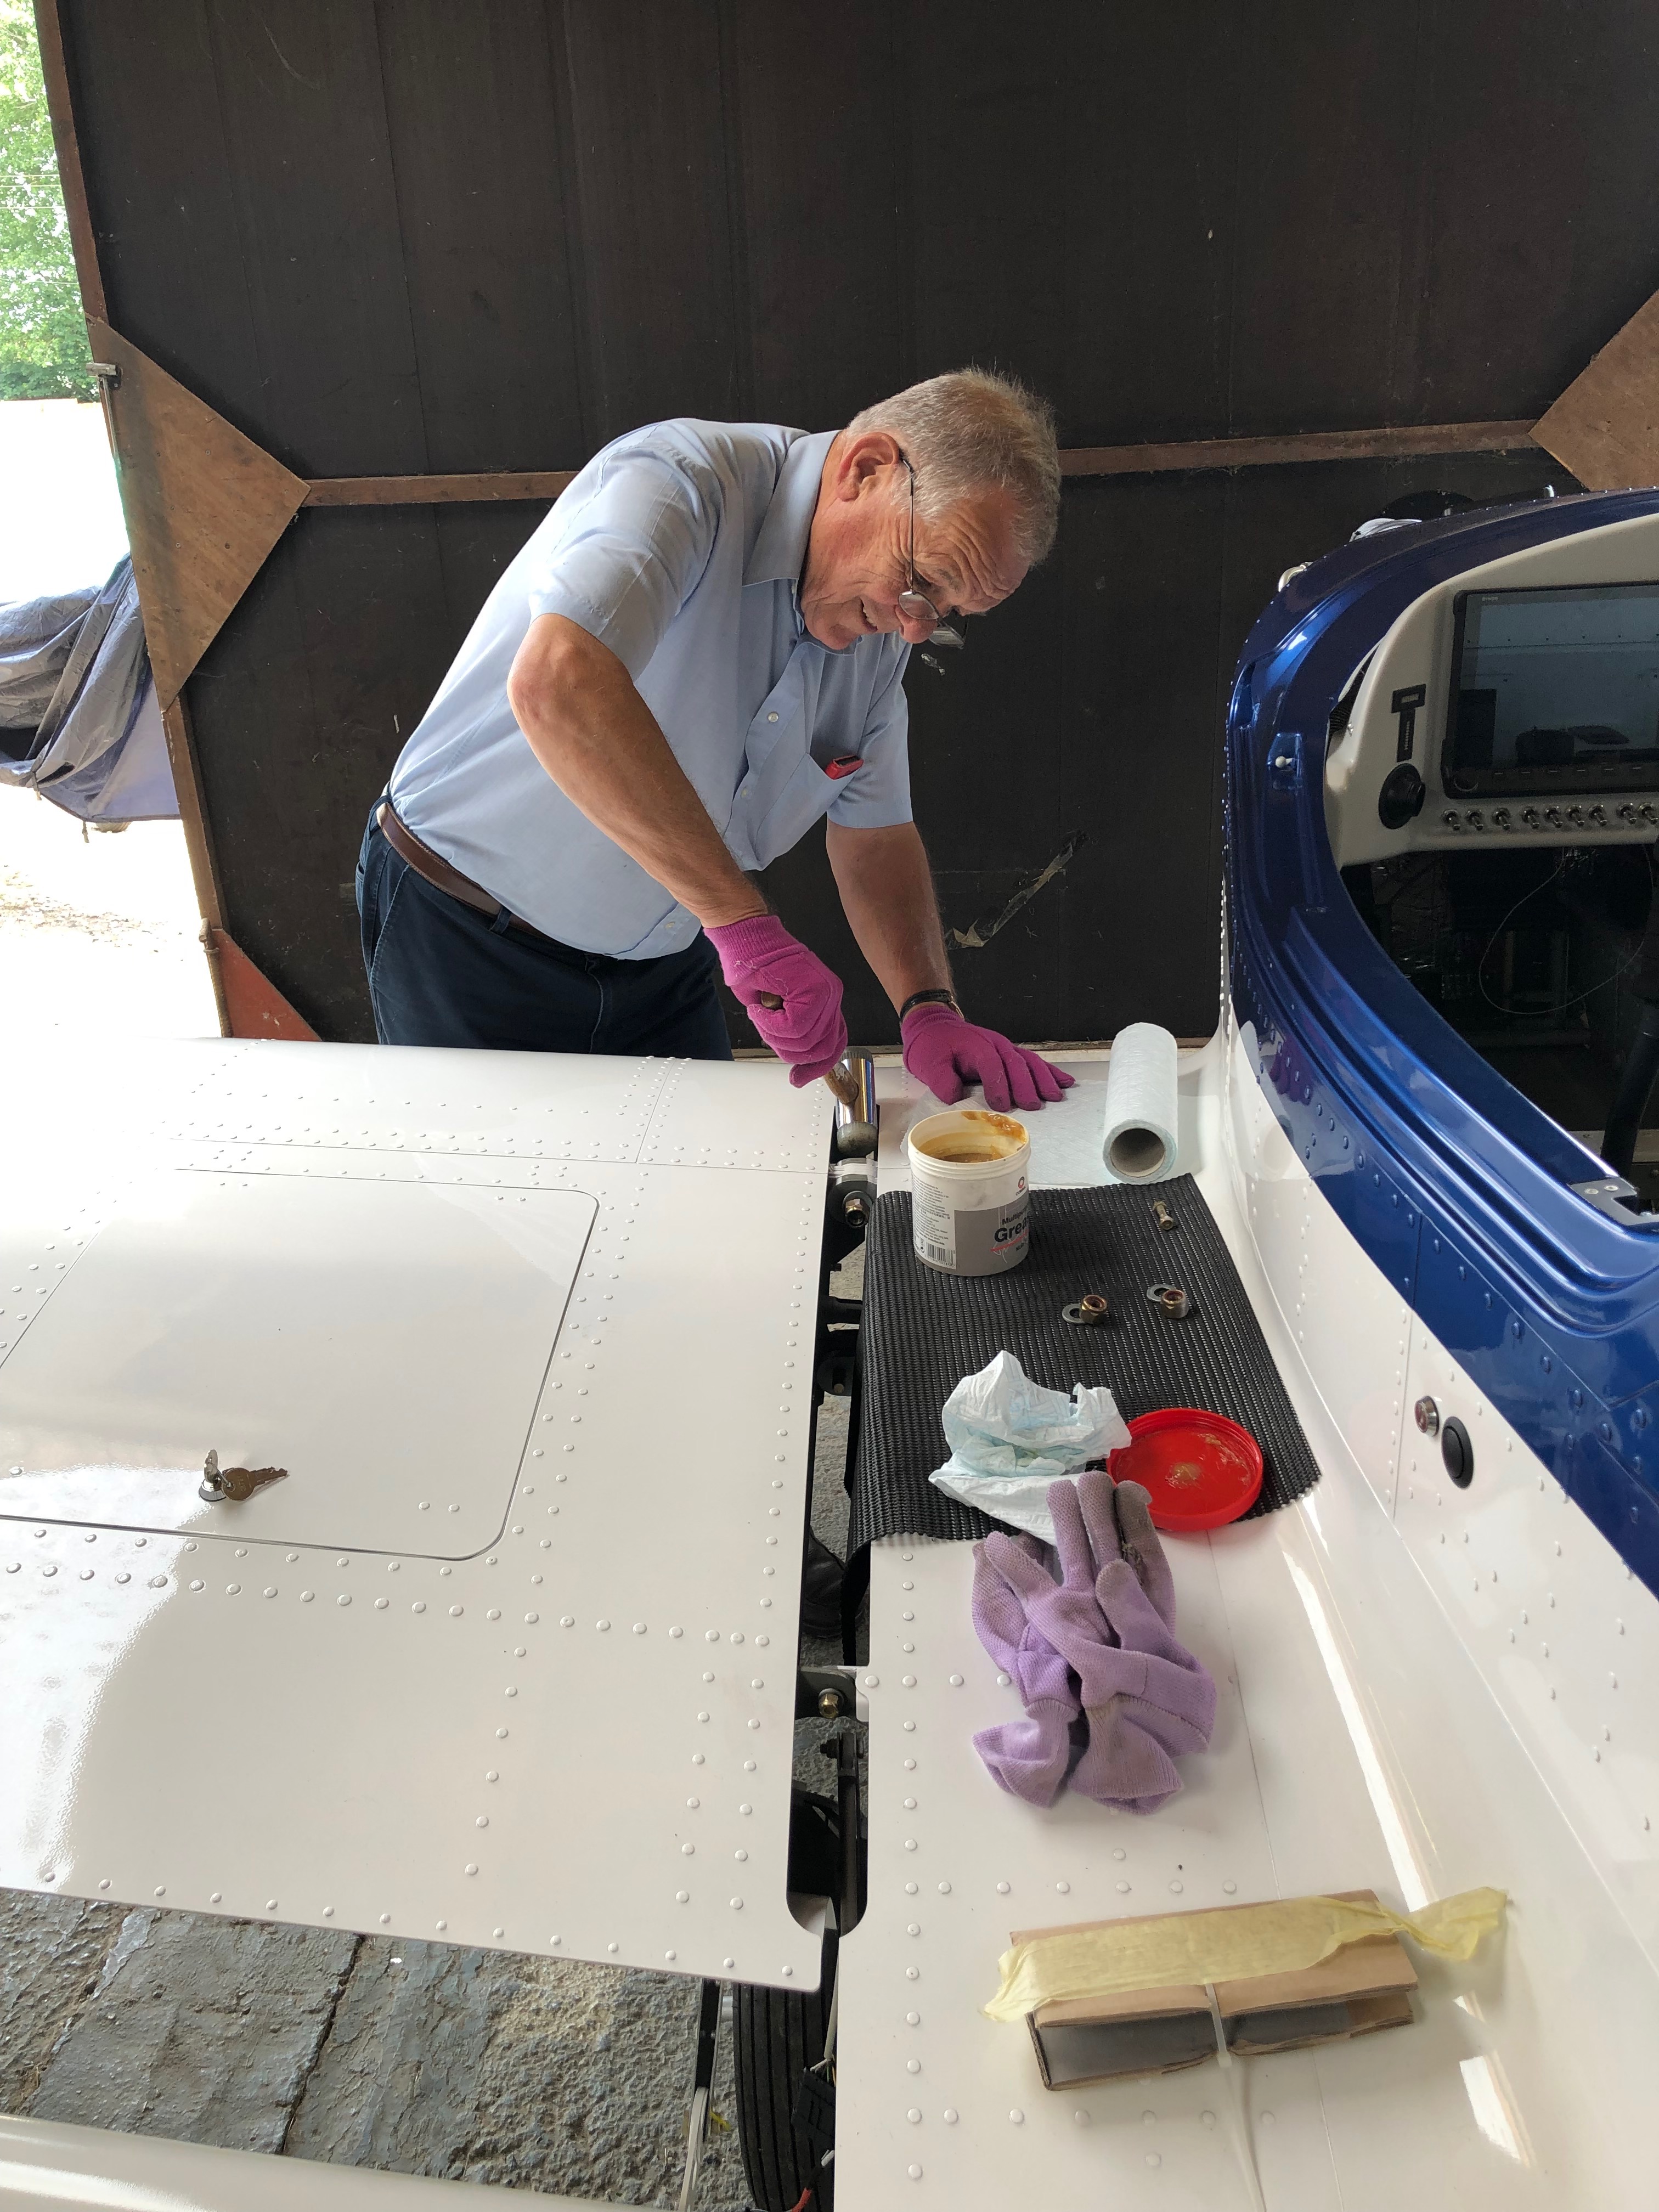
The ACS ignition switch requires 5 wires, Left and Right magnetos, battery, starter solenoid and ground. It uses 4mm ring connectors that are secured with screws and shake proof washers.The carb heat and heater controls require a positive stop to make sure you don’t pull the cable too far. I’ve used a ‘chocolate block’ with the insulation cut off……slid it on the cable and secured it with the 2 screws.The same was done for the heater control.I’ve added a breather in the coolant bootle and run the pipe down the firewall and out under the fuselage.Four bolts secure the tailplane and once torqued to the correct setting are wire locked to ensure they don’t undo.The wire locking is carried through from the top bolt and finished off around the bottom bolt.The flaps require adjusting to be flush with the trailing edge of the wing…The control rod arms have adjusters at either end and are adjusted equally before locking up.
it’s time to fit the wings so I need to add the connectors to the trim, landing lights and heated pitot looms that I have already run in. I’ve also run in the radio coax cable so need to terminate that and carry out a final tidying up of the wiring.
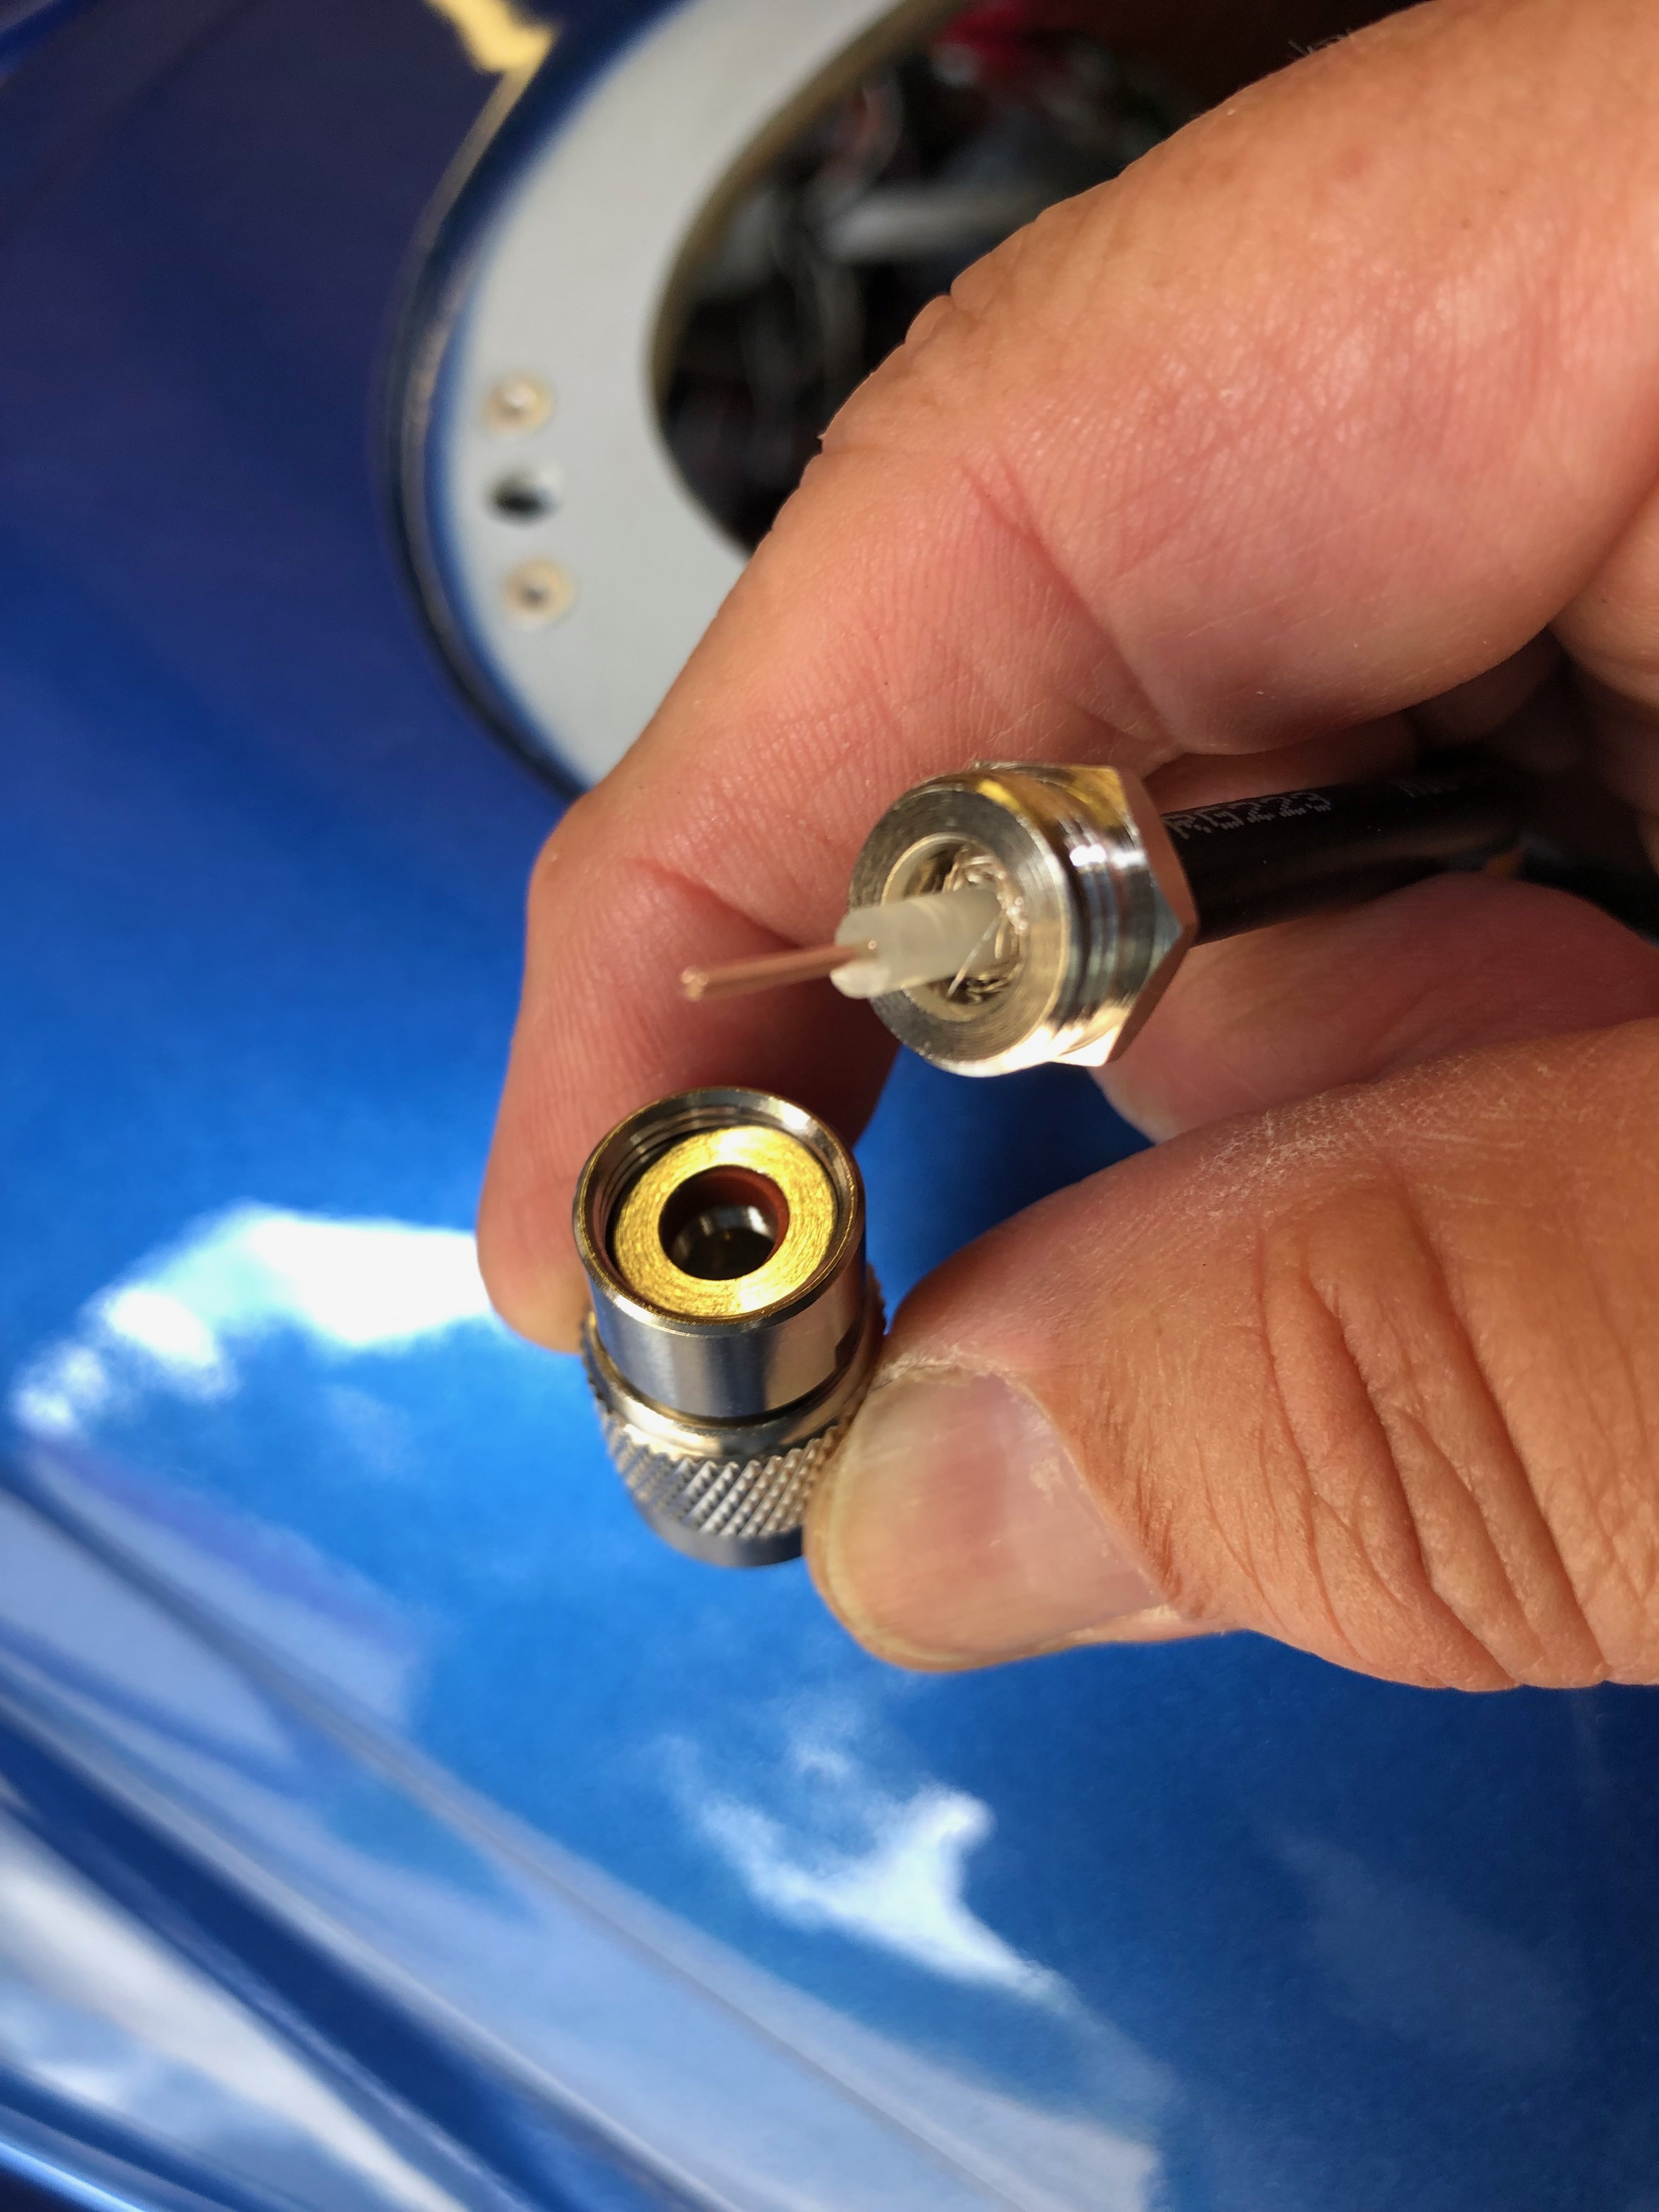
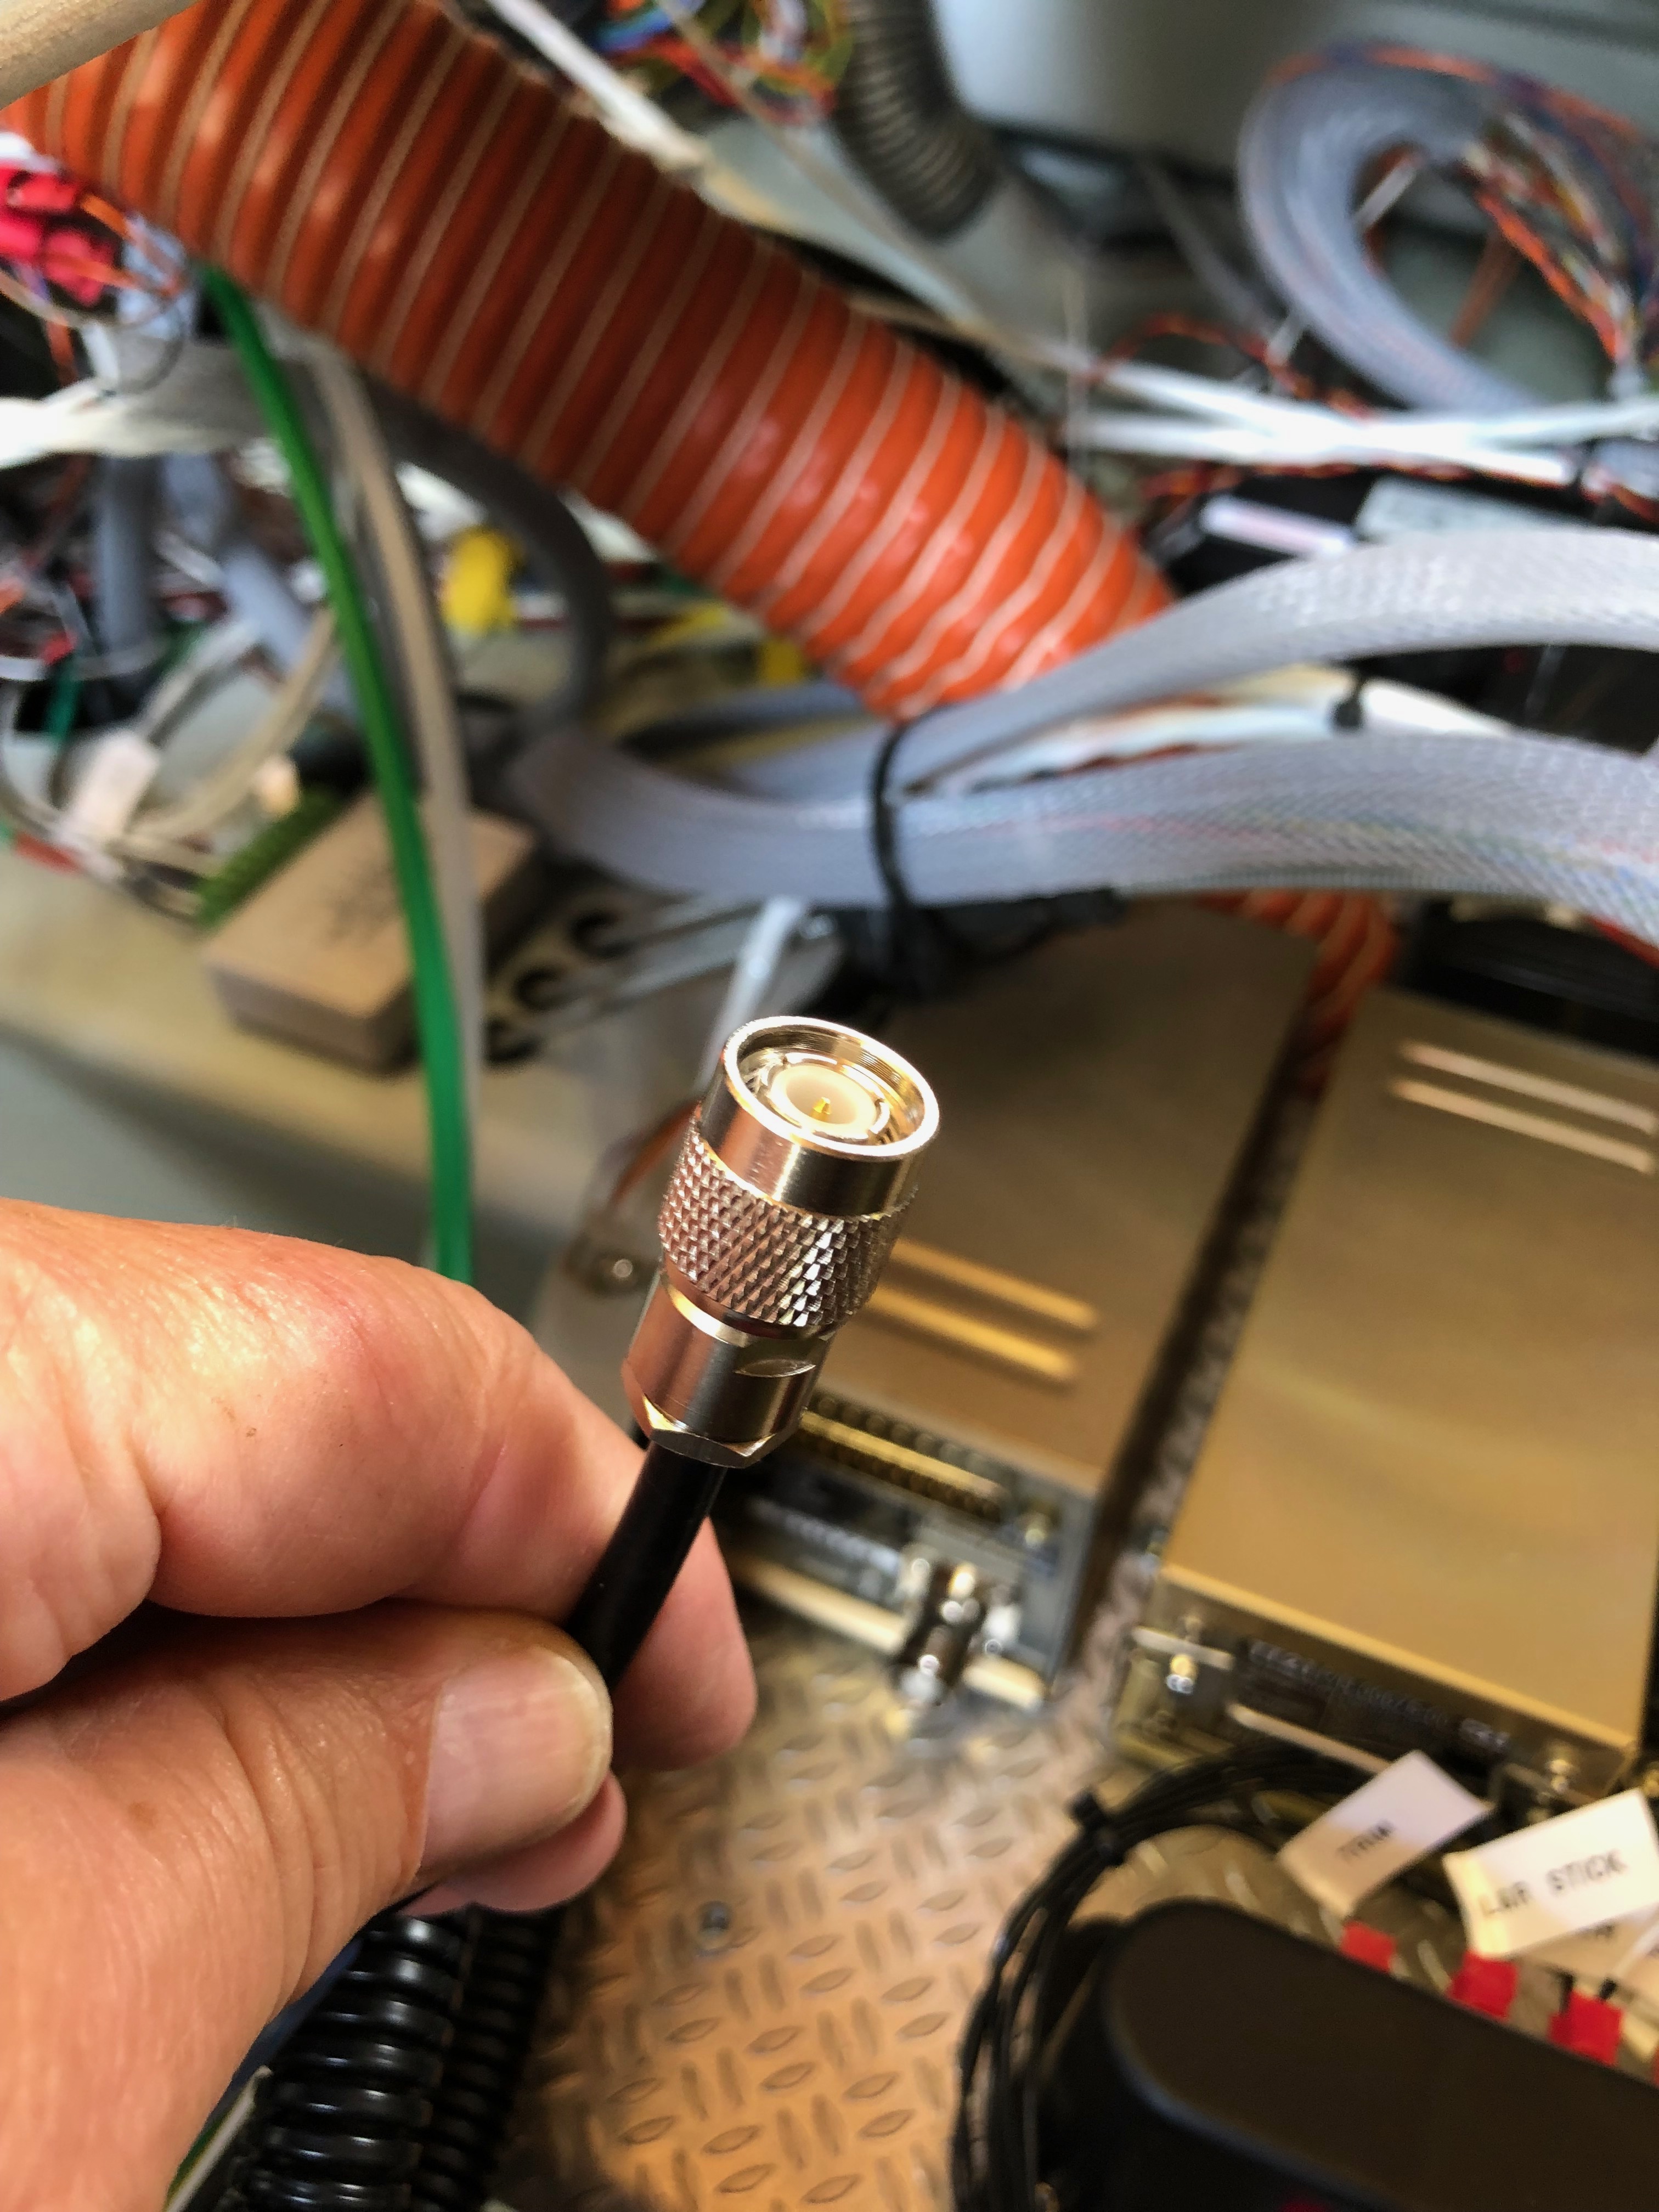
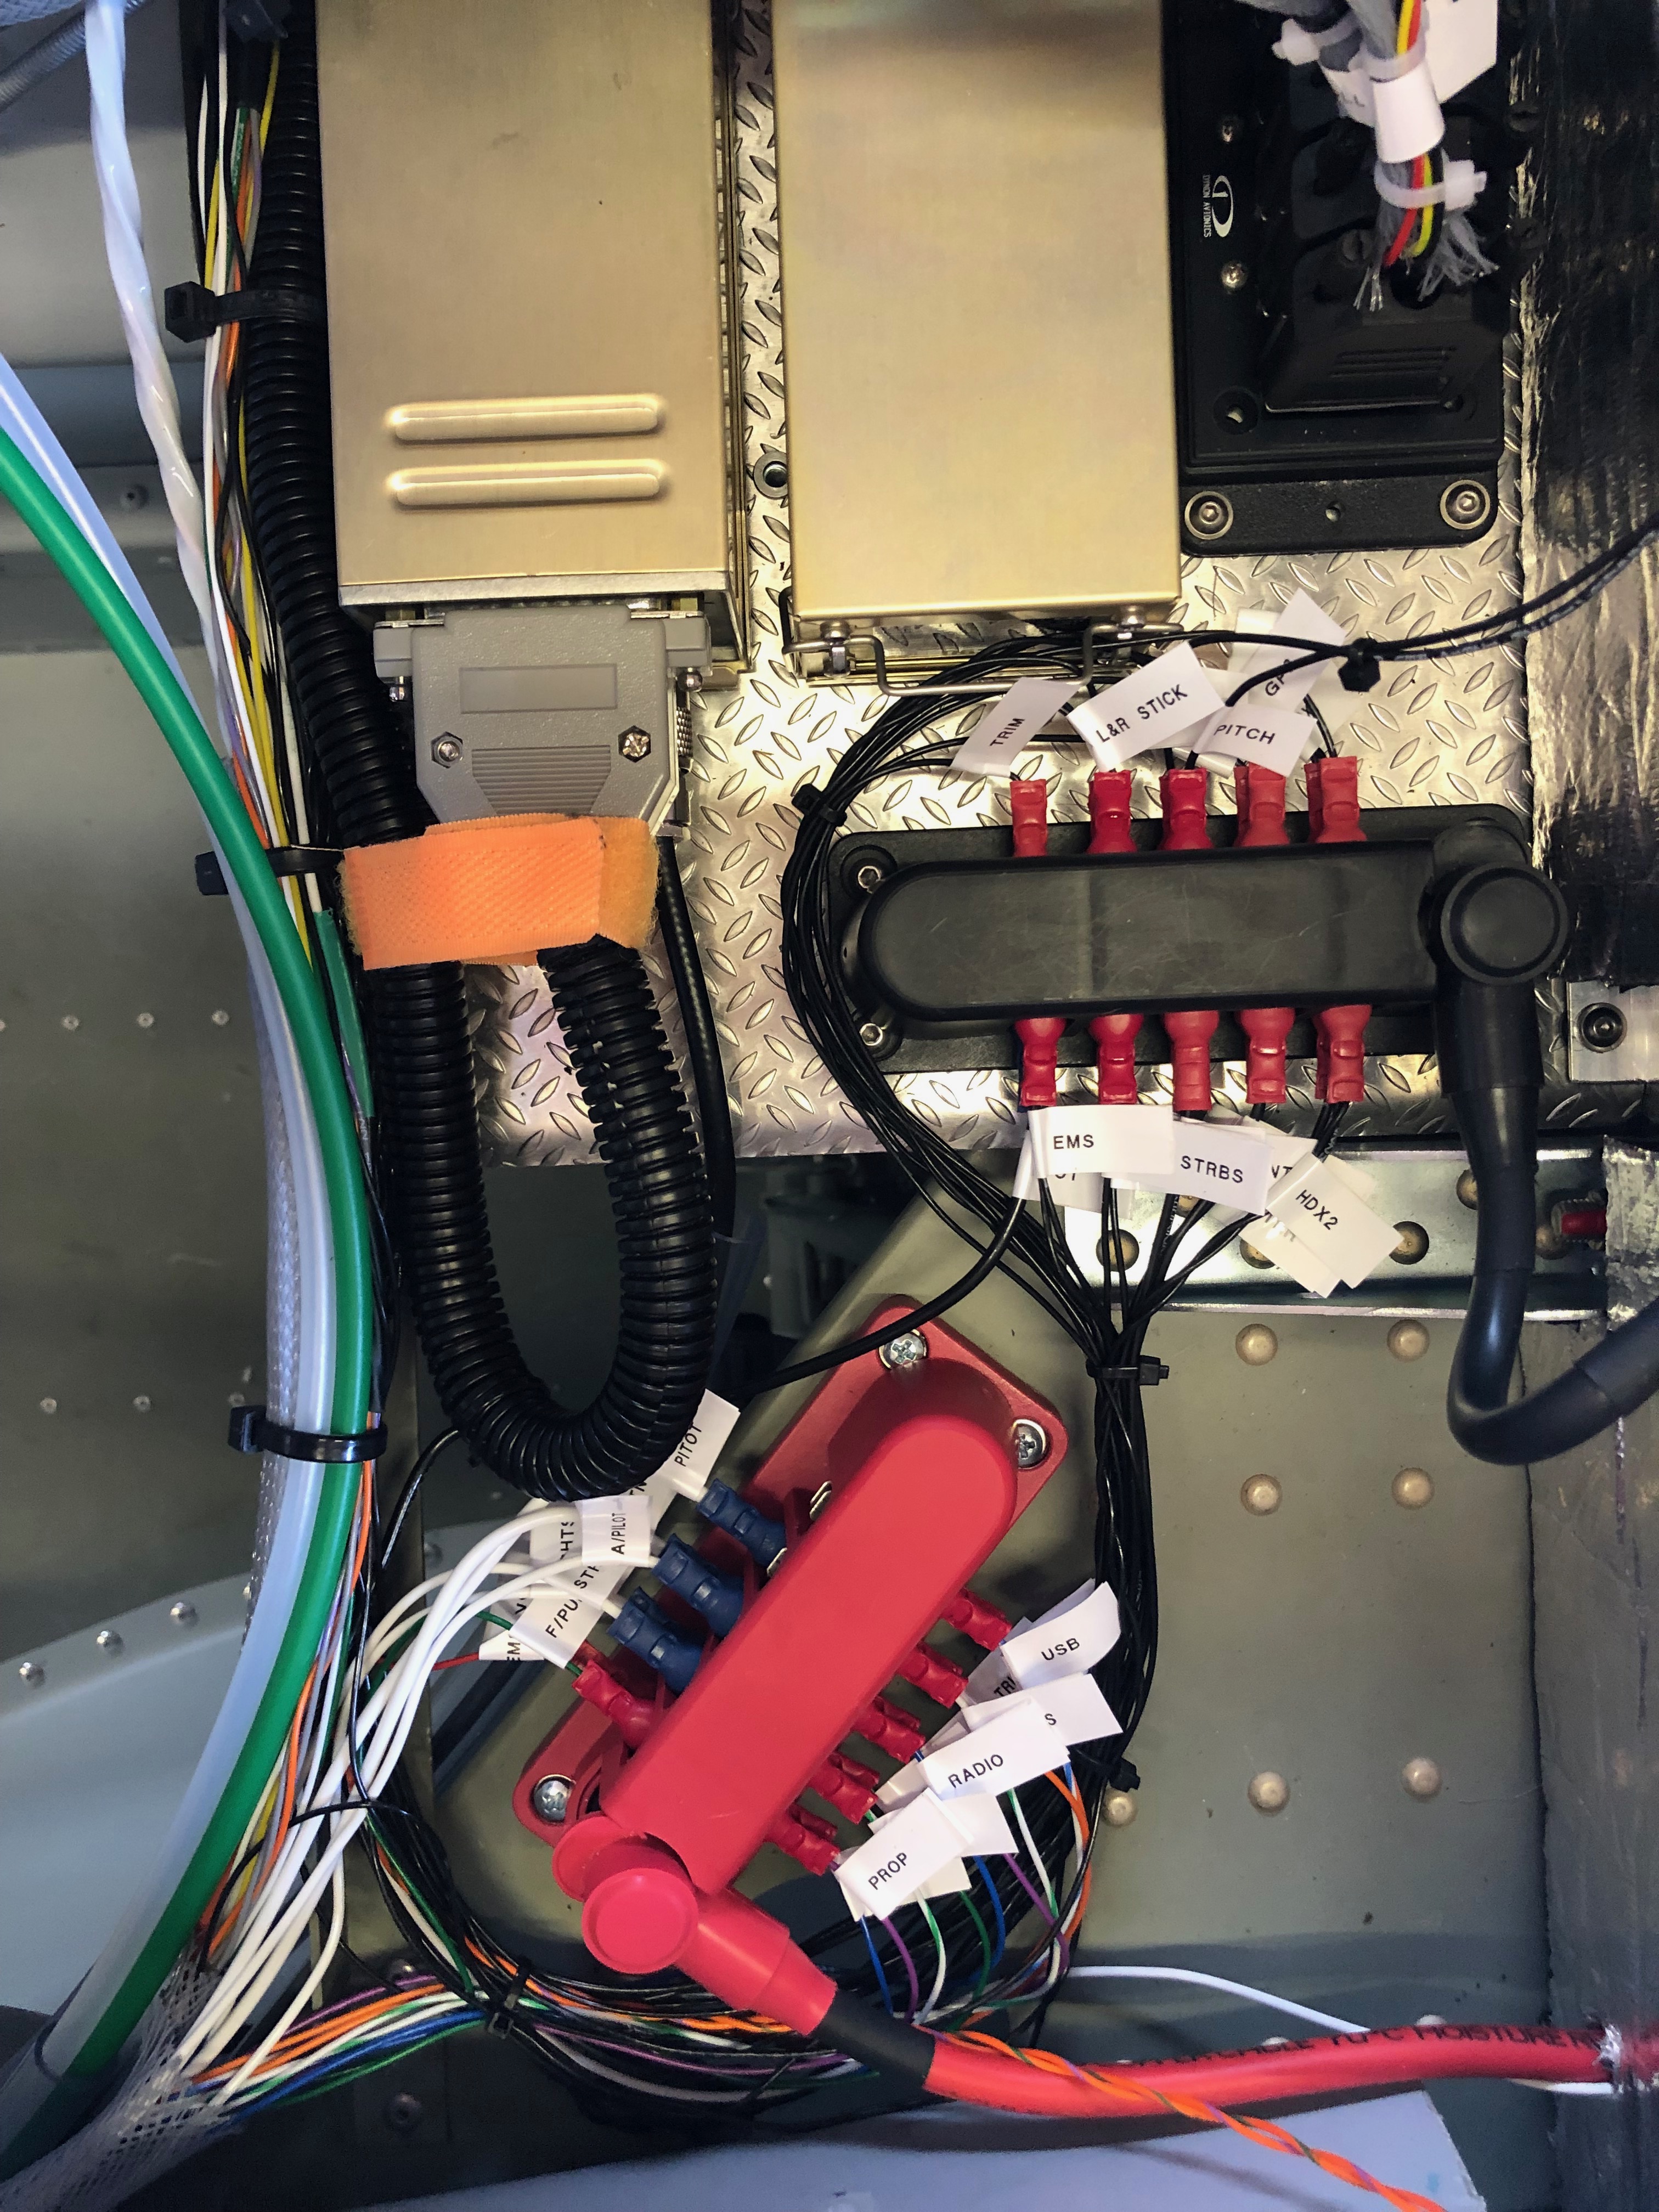
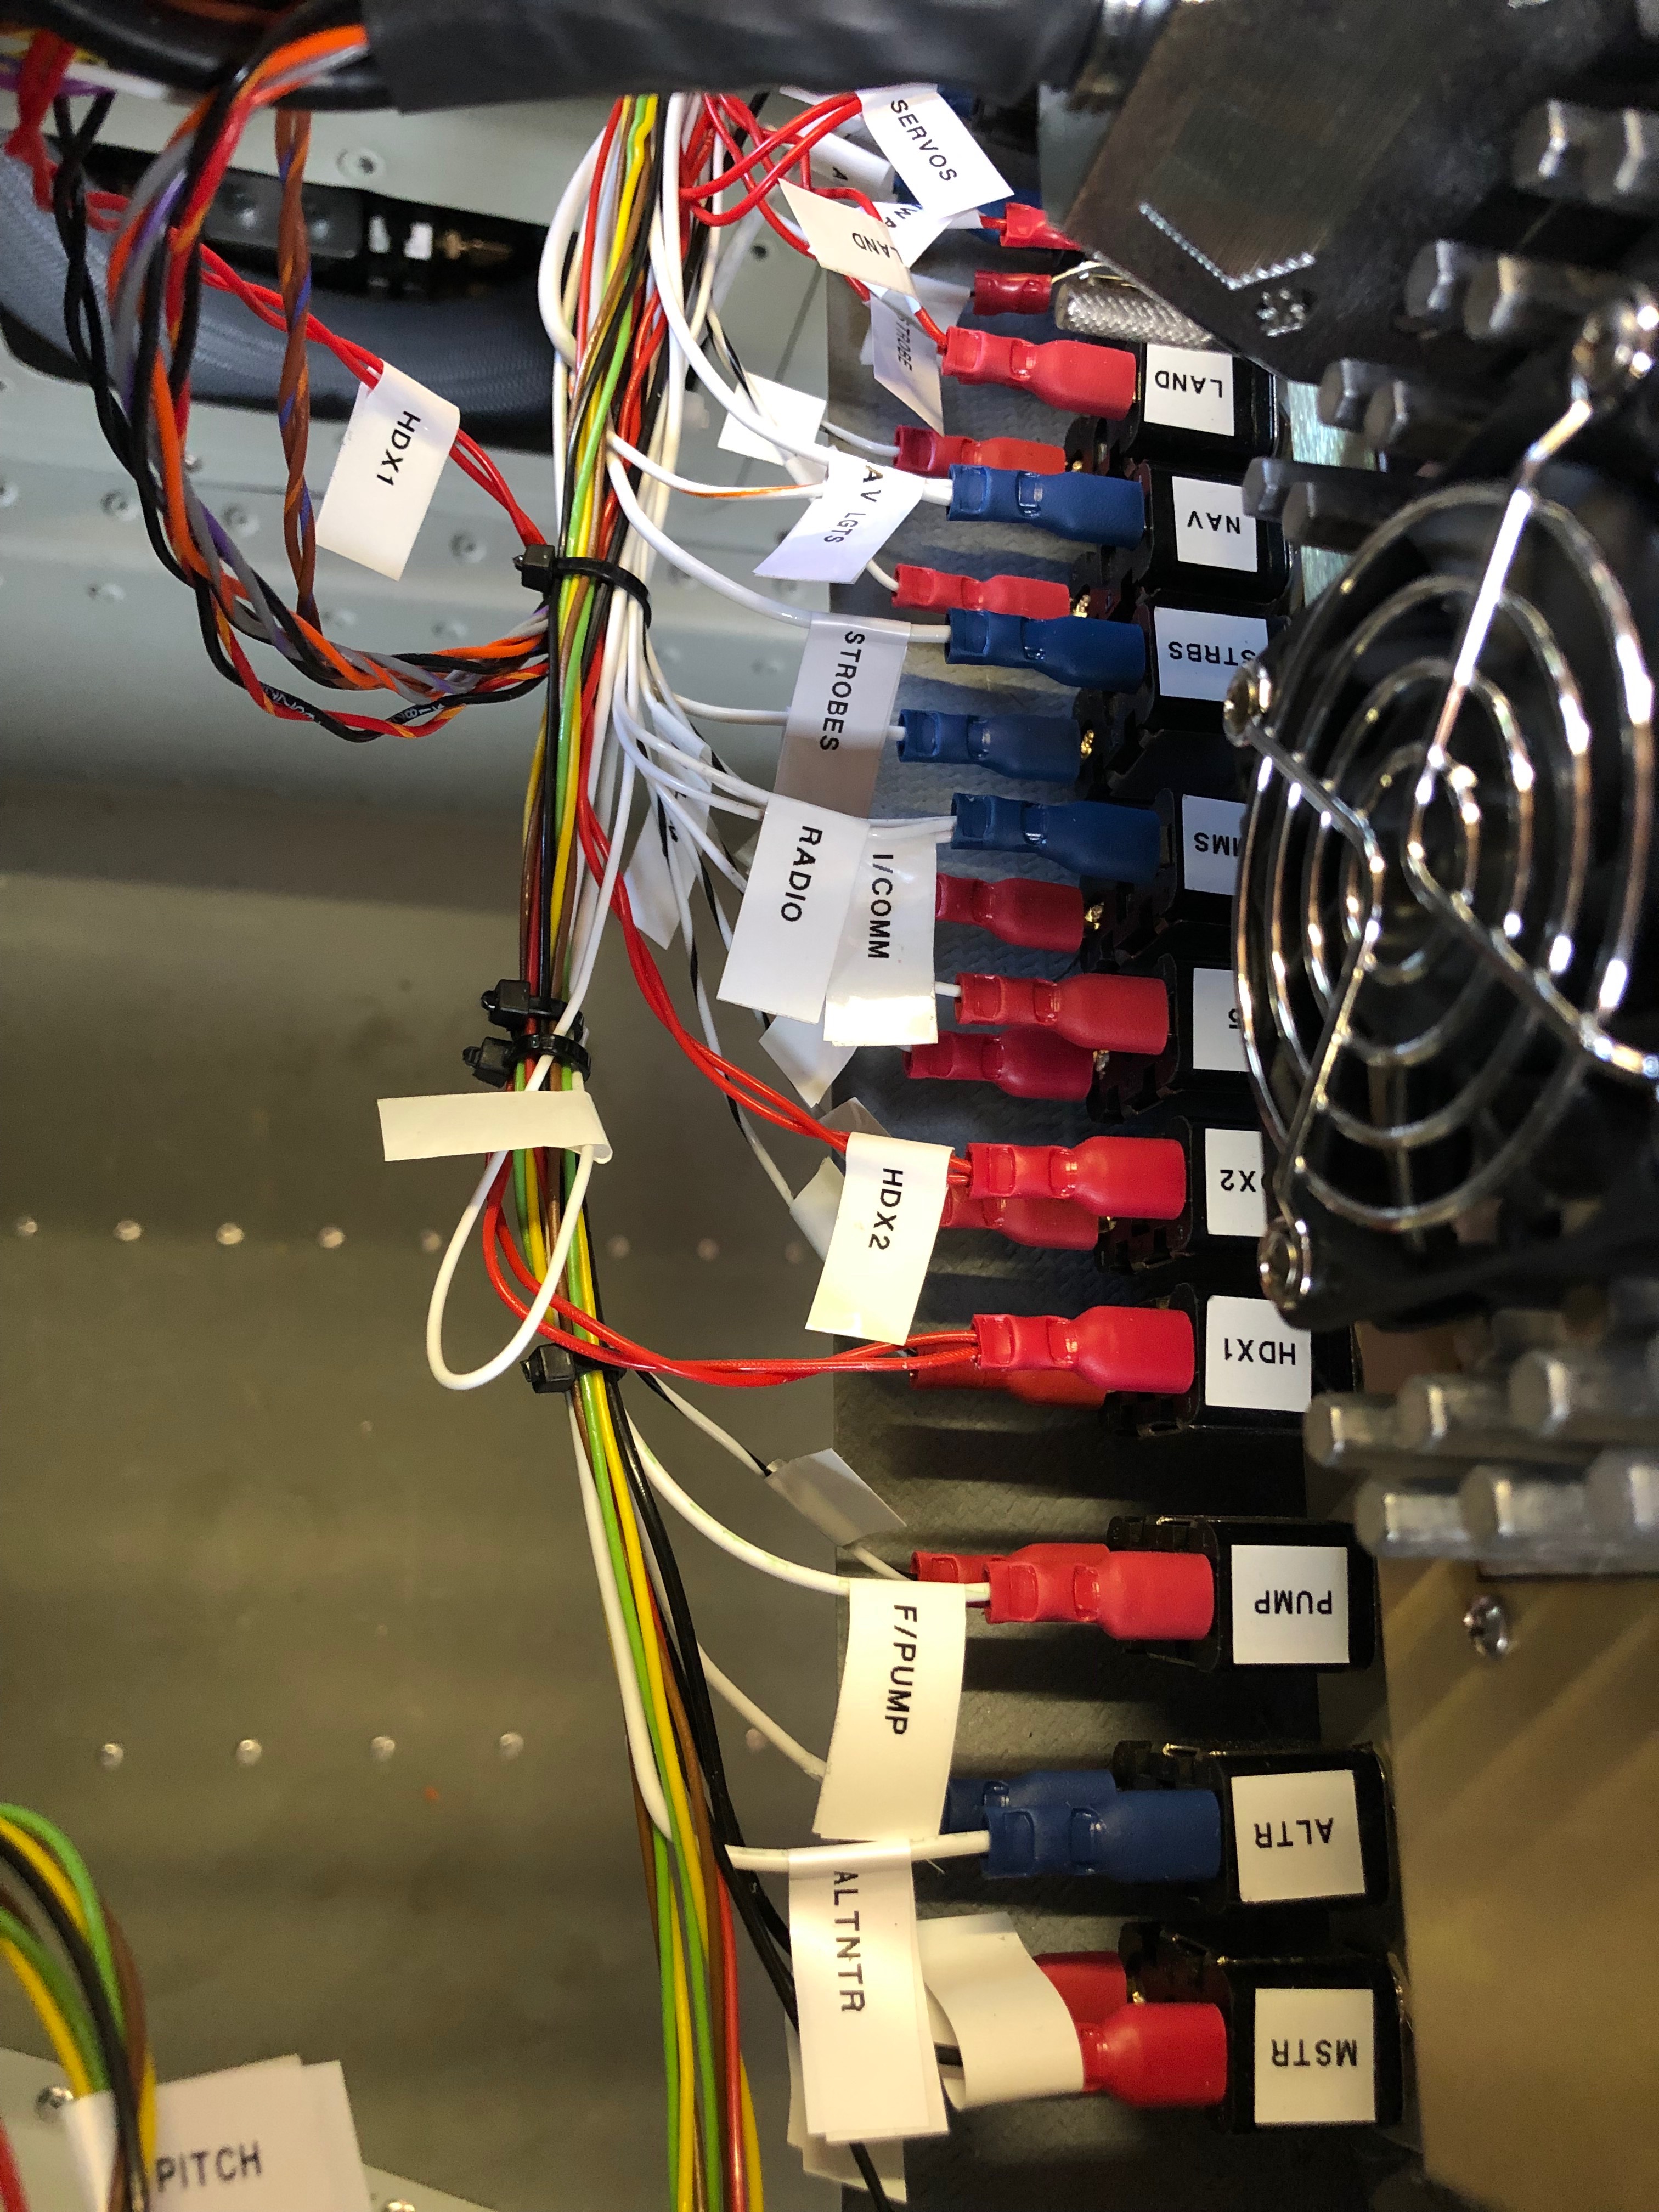
As mentioned before I decided to use superseal connectors as they are failproof and waterproof. I’d already completed quite a few of the connections but was distracted by another job. Whenever I’m distracted I always document what still needs to be done in my project plan.With all the connectors added the next job is to add an Amphenol to the end of the coax cable. It’s quite a complicated connector so I needed to test i on a cut off first. Once cut and trimmed the connector is soldered on to ensure a good connection.The finished connector, fairly straightforward but just needed to be thought about before committing,Now time to fit the wings so I can set all the ailerons, check the pitot, trim, flap, strobe and landing light circuits are working as wired. Ian and Peter Sharpe have offered to help and as usual Ian wears his designer gloves for the wing lift process. He looks quite fetching 🙂 Peter Sharpe at the ‘sharp’ end adding invaluable assistance. Once the wings are attached the main bolts need to be tapped home with a small nylon mallet before the nuts are added.With the wings added she’s a tight fit in the hanger with just 6″ between the front door and rear wall. If I had fitted the prop she wouldn’t fit!Now all the wiring has been completed and checked I can start to tidy th wiring. Ovrall I’m quite pleased with the results. Circuit Breakers……Bus Bars……Equipment trays and connectors…… and switches. All look a lot tidier now.She’s coming along nicely now and it won’t be long before I can start engine tests…
I received two pieces of good news today. The first was the dispatch notification of my Airmaster propellor which will be delivered on the 4th June. And the second was that the ignition switch that I ordered 5 days ago was arriving from Germany today! With Chris here for a couple of days he can give me a hand to do some of the jobs that I haven’t got round to like installing the rivnuts for the interior panels and fitting the wing locker seals. I continued preparing the panel for the instrument fit and working out how best to install the centre console.
Chris came down to visit and give me a hand with some outstanding items.As I’ve decided to make the interior panels removable rather than rivet them in Chris’ first job is to install the rivnuts that will take the 3mm button head retaining screws.Who says I’m a slave driver! A happy worker 🙂After the rivnuts the next job for Chris is to fit the wing locker seals to ensure that they are waterproof. As the seals are not included in the kit!?!? I’ve brought some draft excluder that should do the job.Good job done. The seals will ensure that any luggage is kept dryI continued prepping the panel for the instruments. These aluminium ‘washers’ are to spread the load of the nuts when used to secure the instruments.
With the delivery of a number of outstanding parts I was able to complete the wing locker and servo operating arm installs.
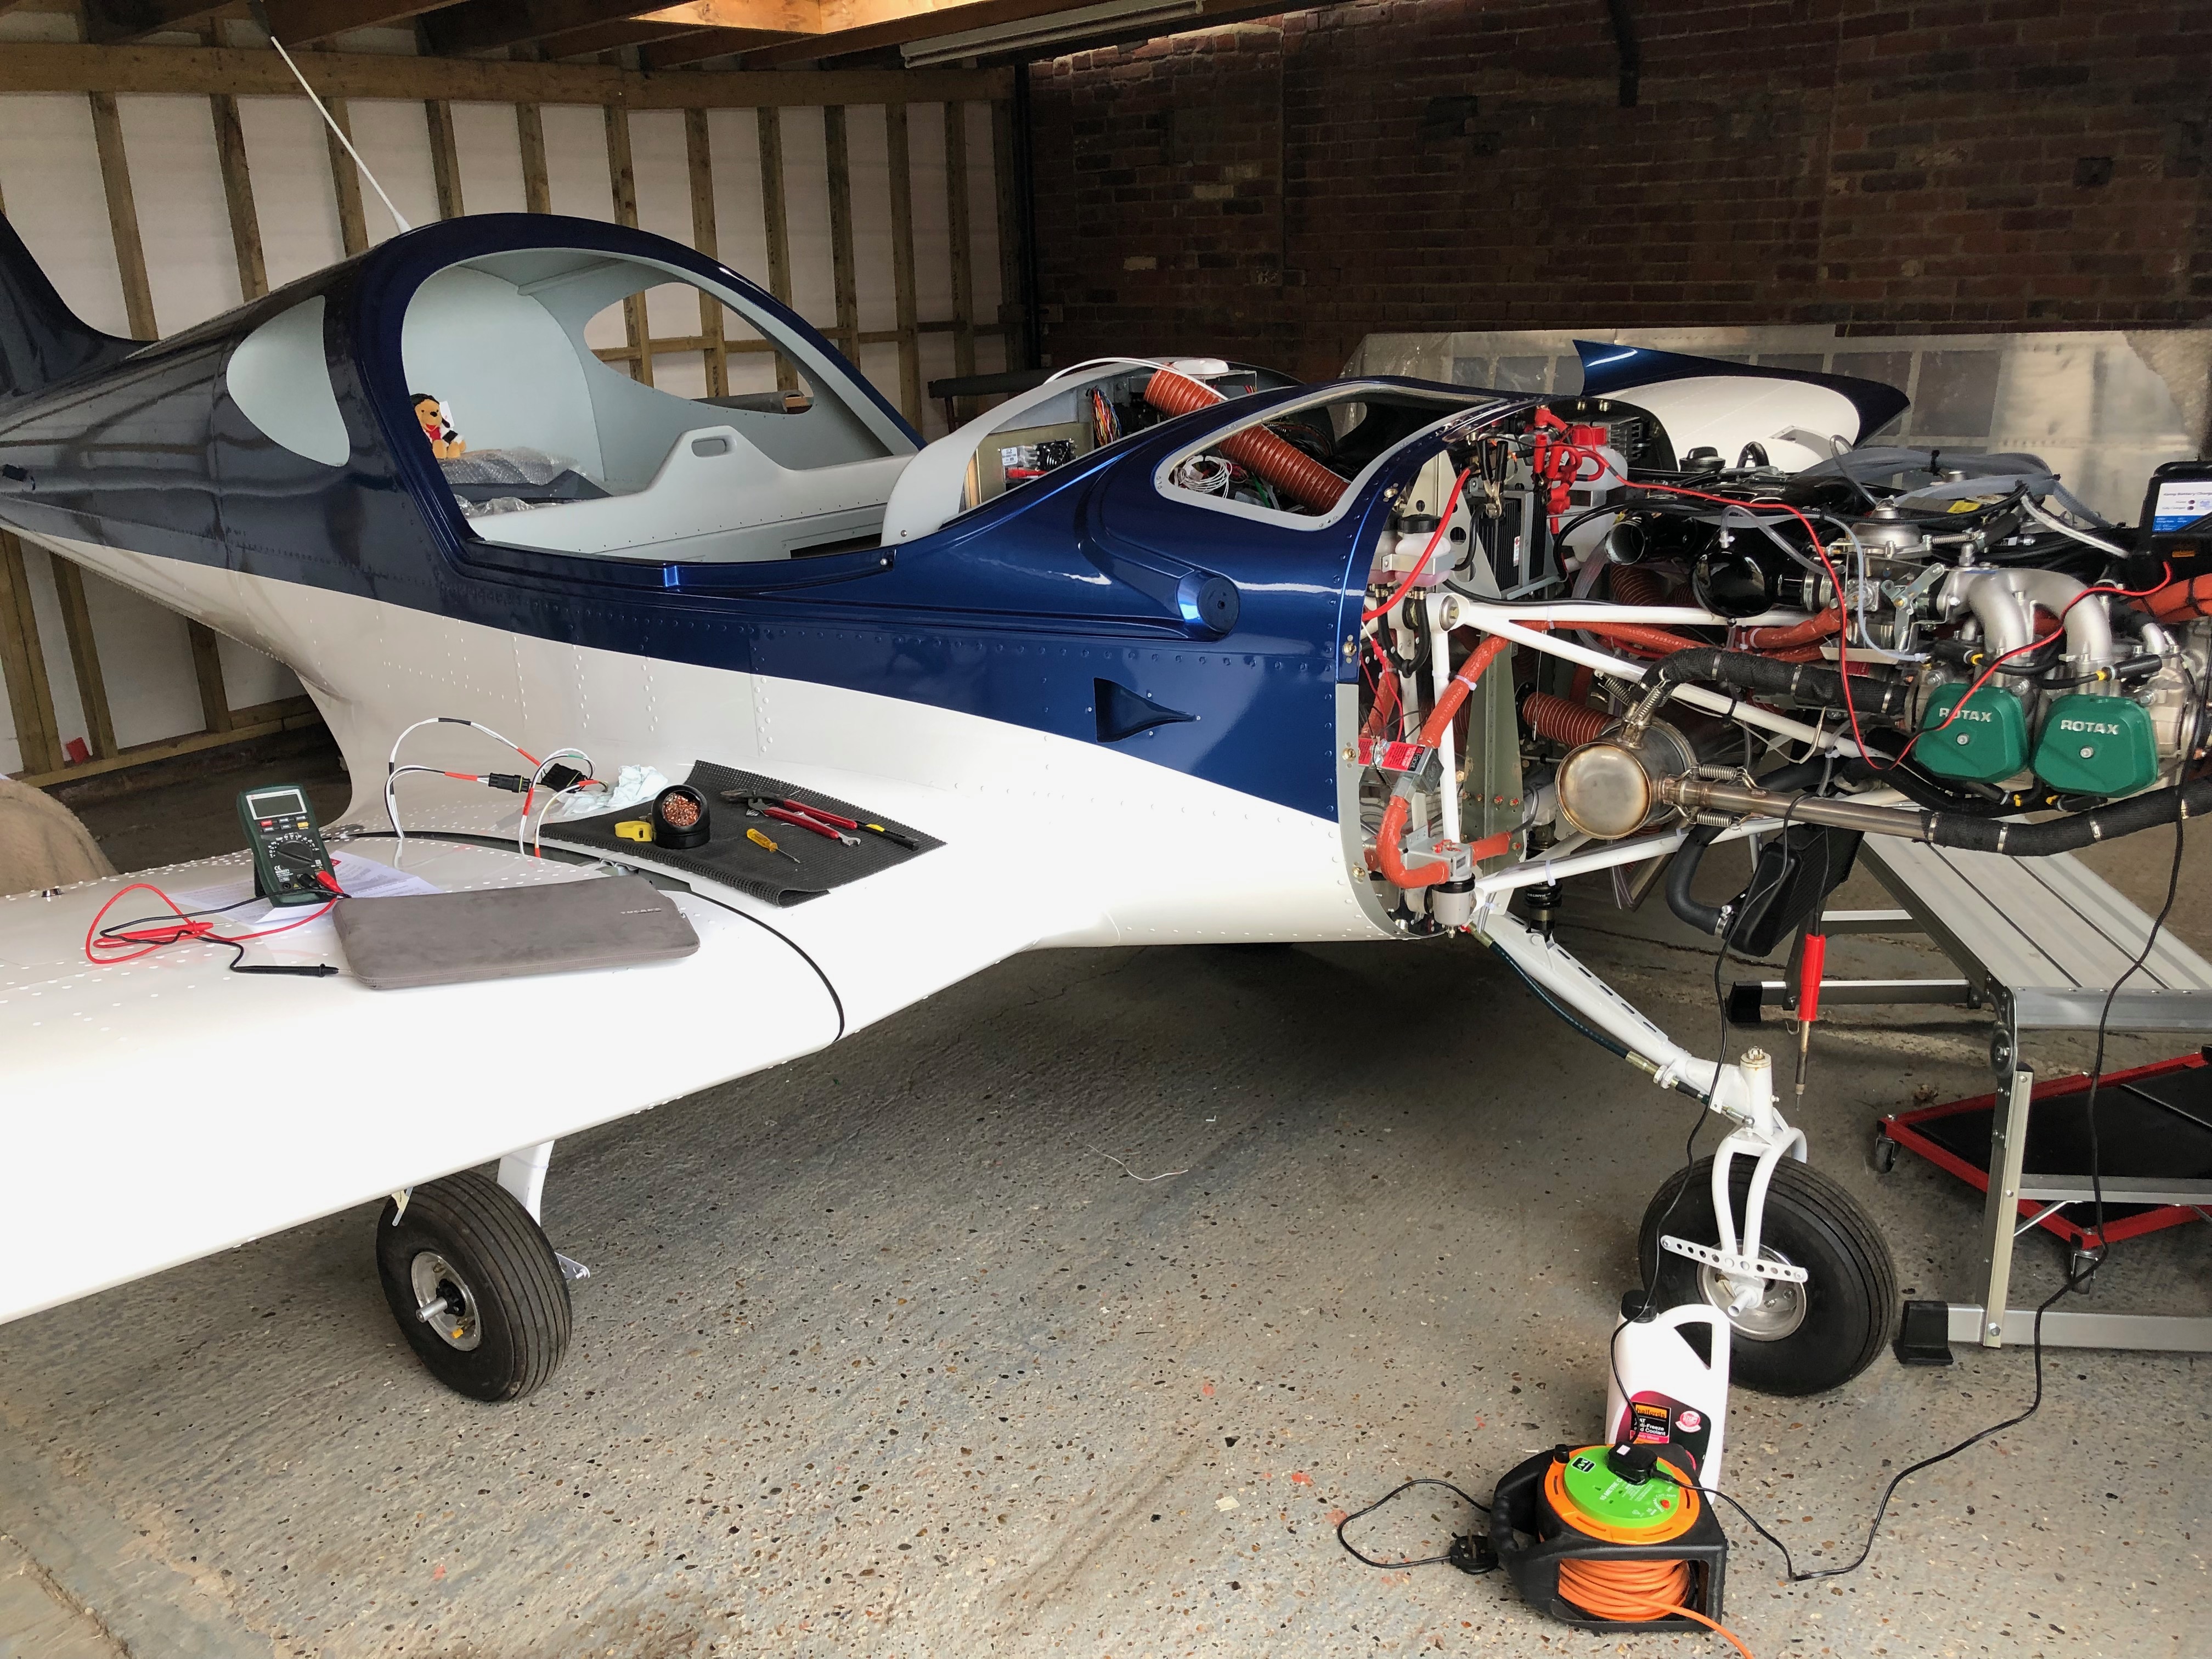
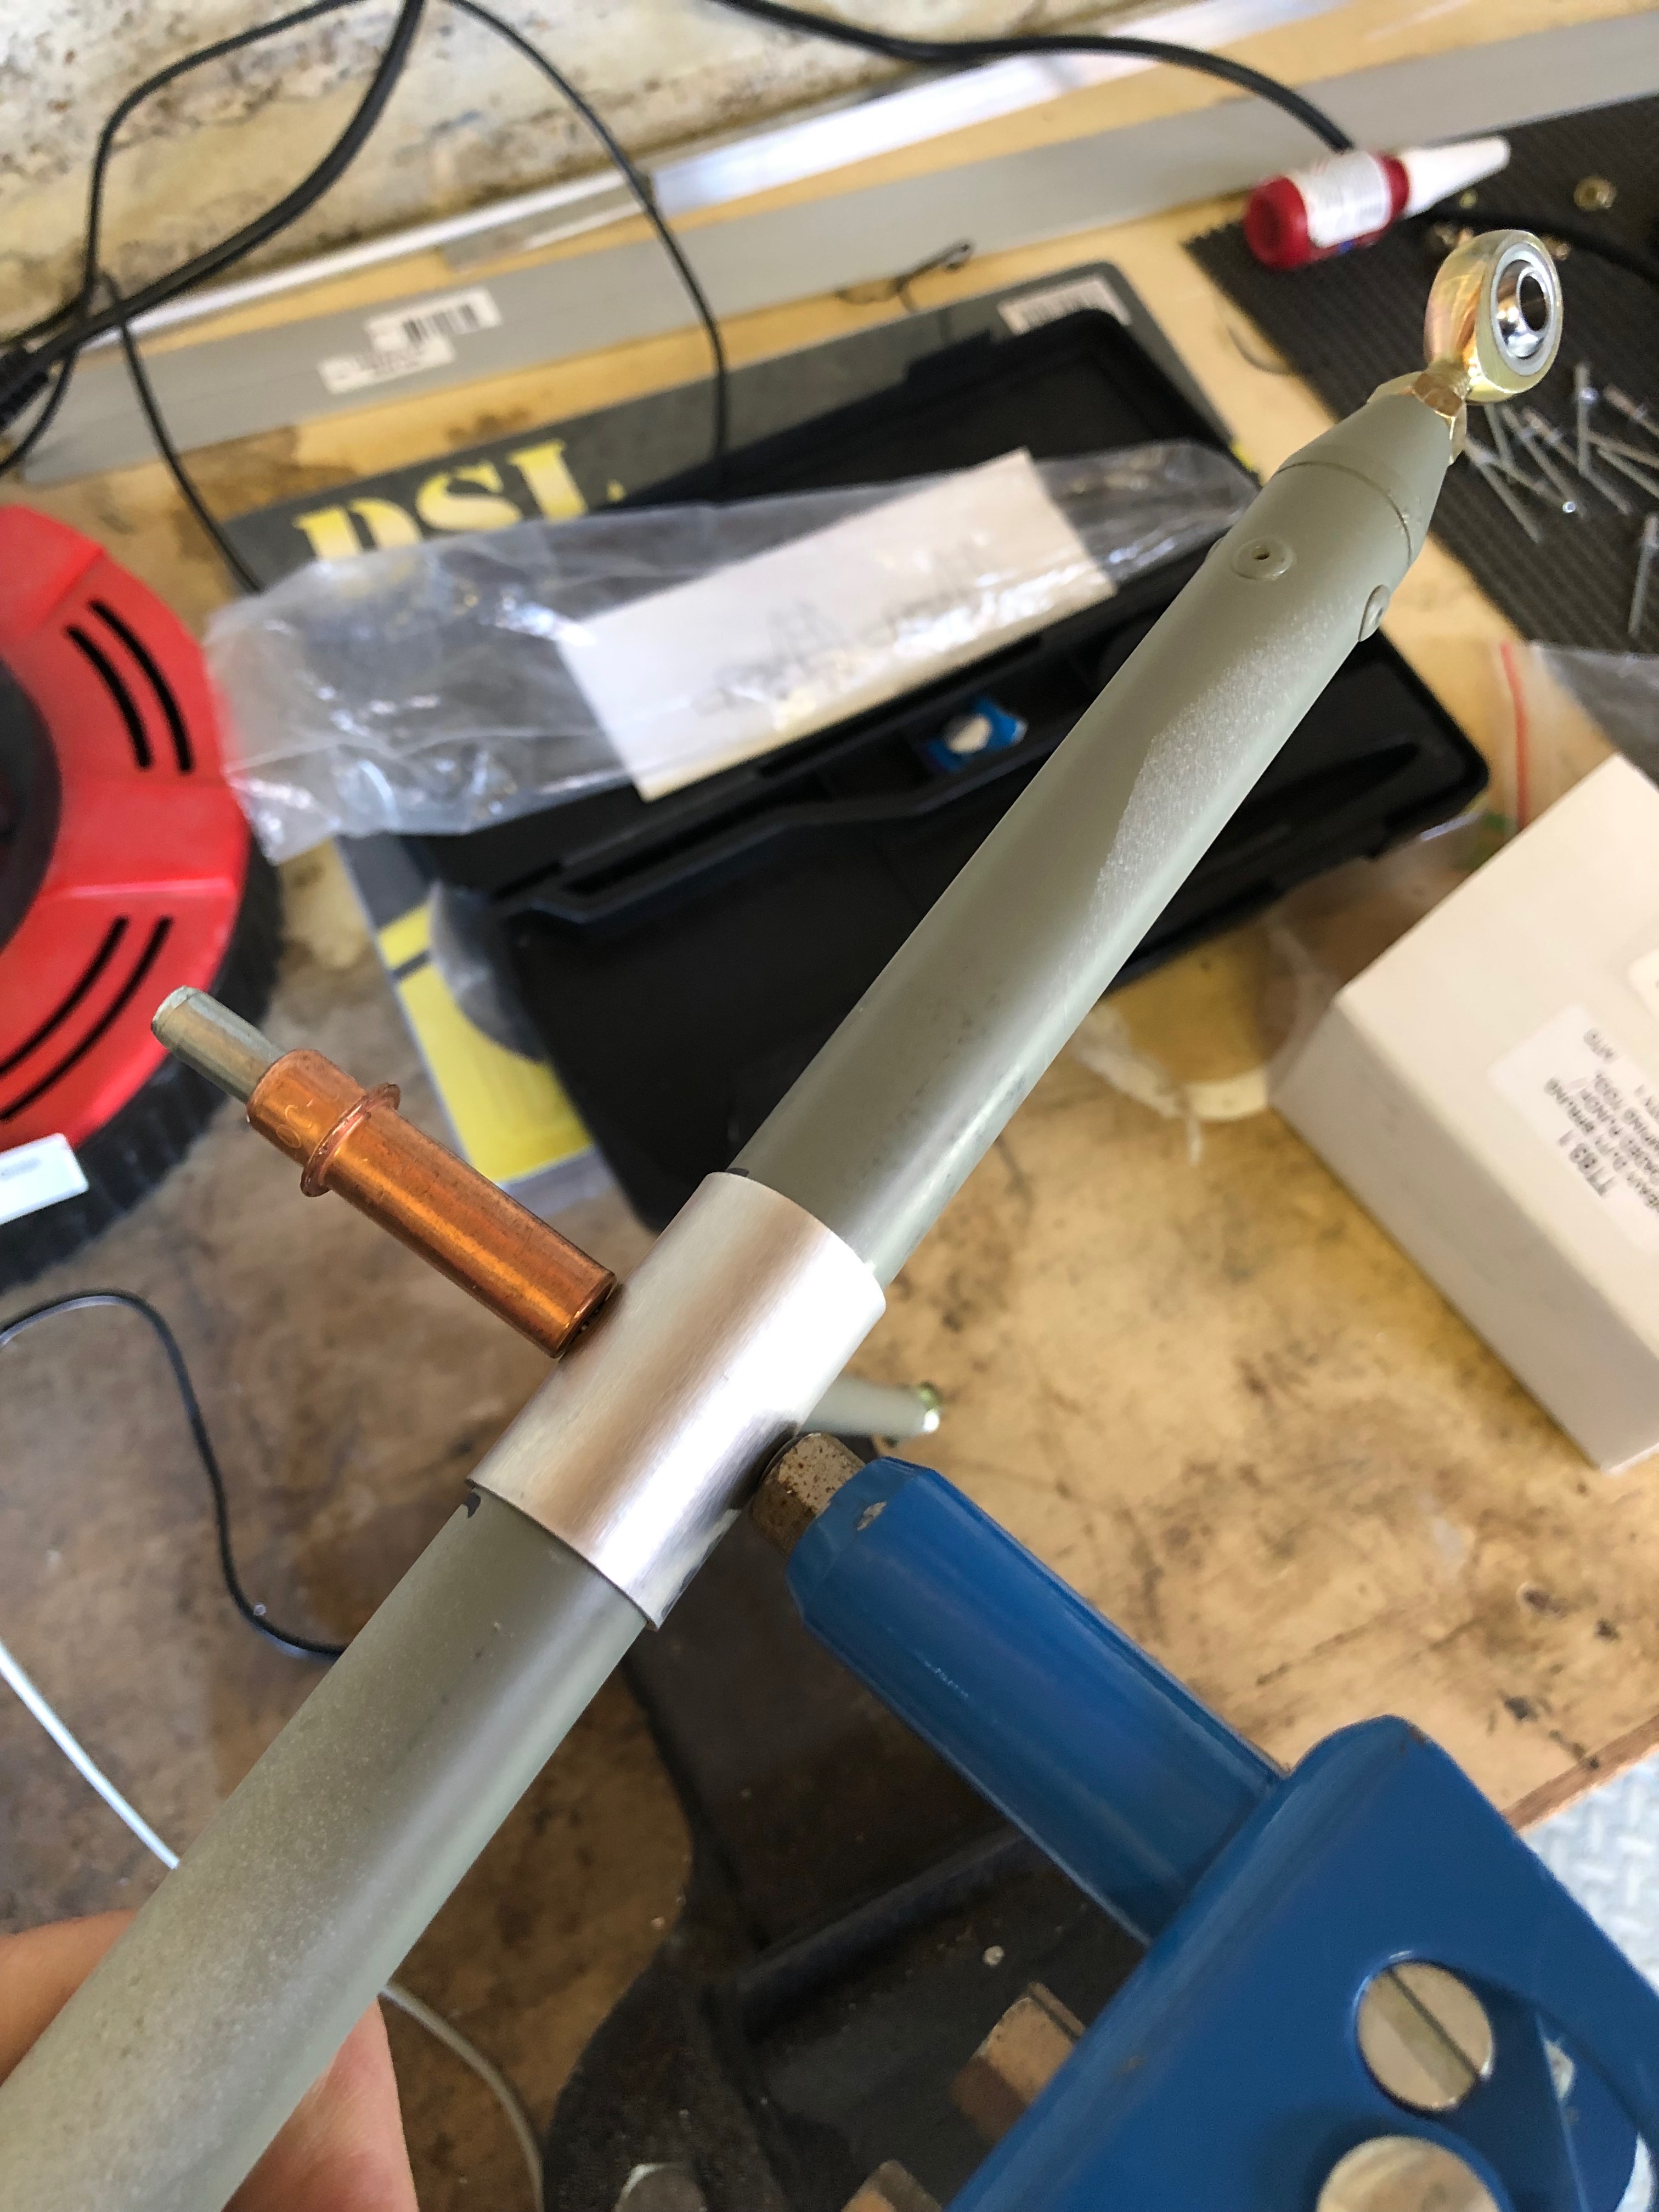
Now I have the fittings for the wing lockers I can finally finish off a long overdue job.The weather-proofing washer is put over the lock barrel and the unit is inserted into the pre-drilled hole…and locked into position with a nut.The locking bar mechanism is fitted onto the lock barrel and held in place with a screw and shake proof washer.The final part of the install is running a rubber seal around the inside edge of the wing locker to make it watertight. The same process is carried out for the starboard wing locker.The wings are now complete!Another item I’ve been waiting for is the servo operating arms so I could finish the servo install.The roll servo is connected to the aileron operating rod with a clamp.attached to the servo arm. The control stick and servo arm are centralised and the clamp position is marked so it can be riveted in place.The only way you can get the aileron control rod out to is by dismantling a lot of the fittings that hold the control sticksThe clamp has two pre-drilled holes holes either side of the clamp that are used as a guide for the rivets. The first hole is drilled and cleco’d in position to ensure it doesn’t moved when drilling the other side.Two 3.2mm rivets are used to further secure the clamp before refitting.The pitch servo rod is a lot simpler to fit. Two AN3 nuts and bolts secure the rod in place and the final adjustment is made once the aircraft is rigged.The roll servo and control arms completed.Final job for today is to start installing the pressure system pipework for the pitot, AOA and static fittings
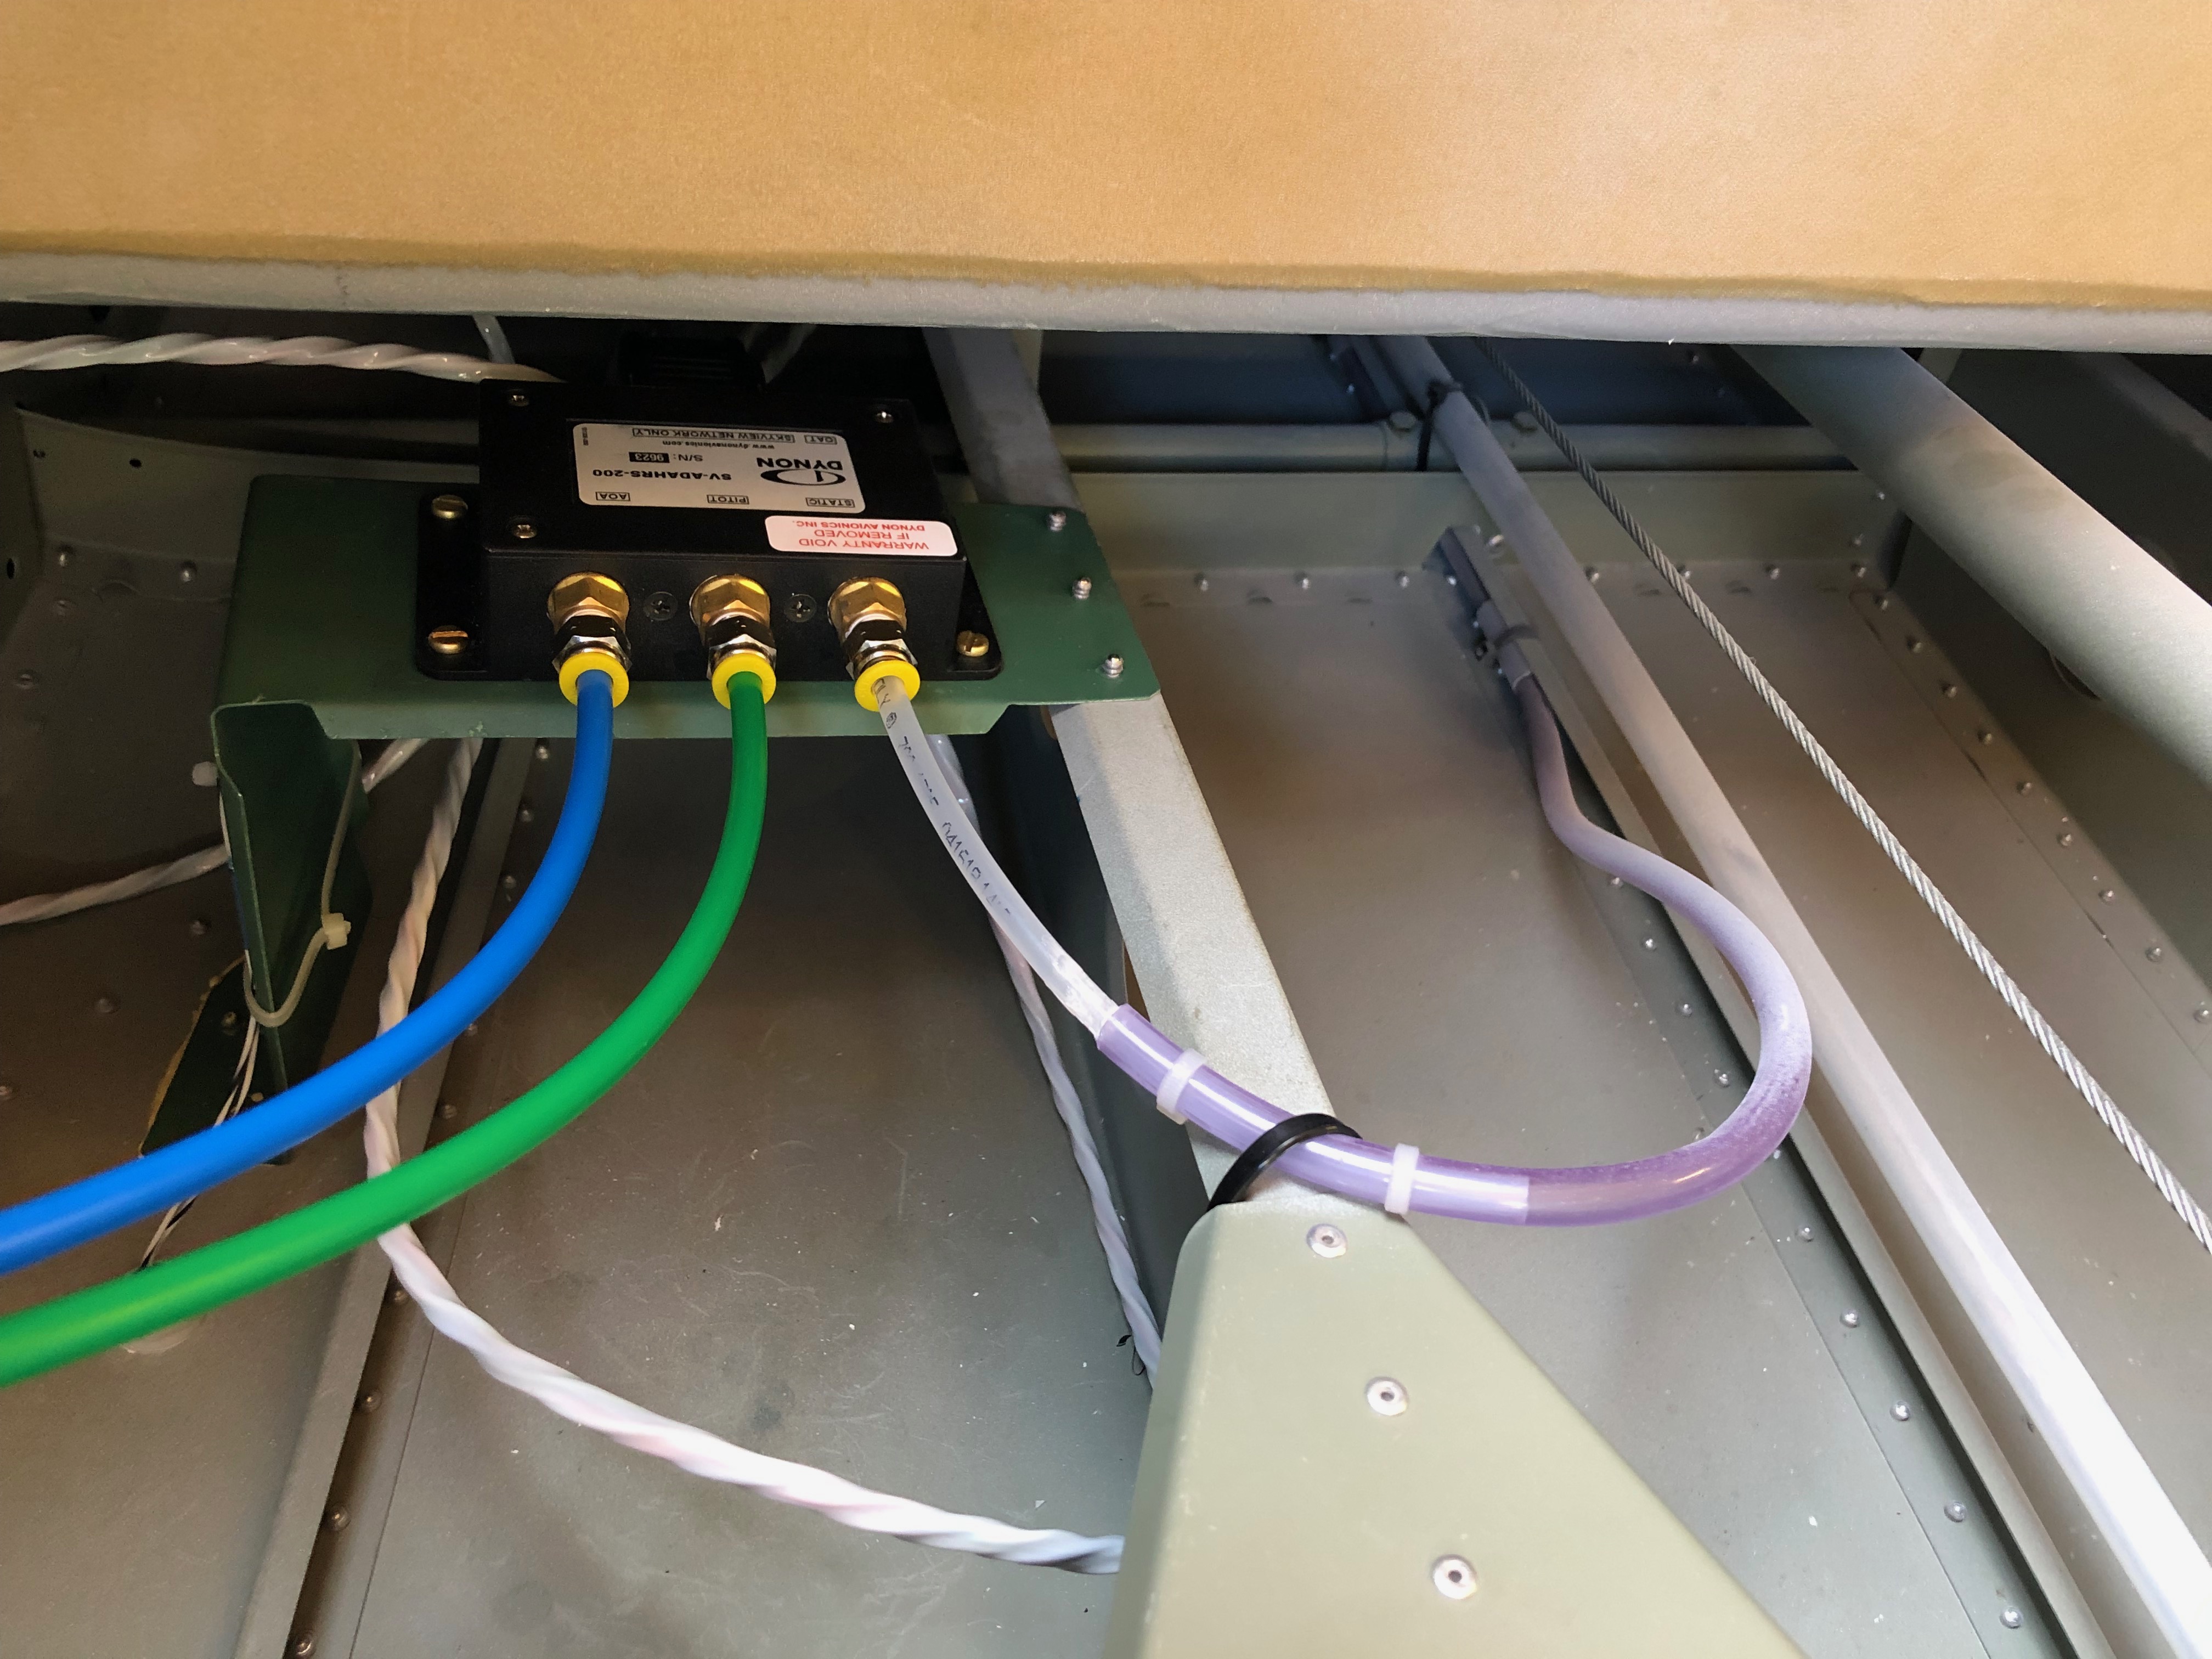
Andy came down to visit again so got him to work straight away! Now the ADAHRS and GMU mounts are in the units can be installed and the Pitot system can start to be installed. The aircraft was also rigged to to check for fitting and alignment which will allow Ian Daniels to sign off that stage.
I ordered some brass screws to secure the ADAHRS unit in place but they were too long so Andy’s first job, correct my mistake and cut 10mm off!
Getting Andy straight down to business.
A pilot hole (drilled by a Pilot!) for the OAT was opened up from below – I’m sure it could have been done from above but it got Andy on the crawler board 🙂
I sat the mounts quite a way back in the fuselage to keep them away from any EMI but it made securing quite tricky. A job for Andy!
The ADAHRS…
and GMU units installed.
The Pitot system pipes need to be installed so holes are drilled and grommets will be fitted to support the pipes and prevent chaffing.
One of the sign off stages is to check that the wings fit! Ian Daniels guiding the process of attaching the wings for checking.
Wings on and she starts to look more like an aeroplane!
Andy is here for another day so I can work on some outstanding things that need doing on the the wings.
With Andy here he can help me move the wings so I can get some of the outstanding work on them done.
The aileron hinges are of the piano top and need to be fitted, lubricated and locked in position with split pins.
The split pins I need are 1/16″ x 3/8″ but I only have a longer version so they are cut down in size with side cutters.
They are fitted from the top of the wing so they can’t fall out in service if the locking fails.
The ends are bent over to lock the pins in place.
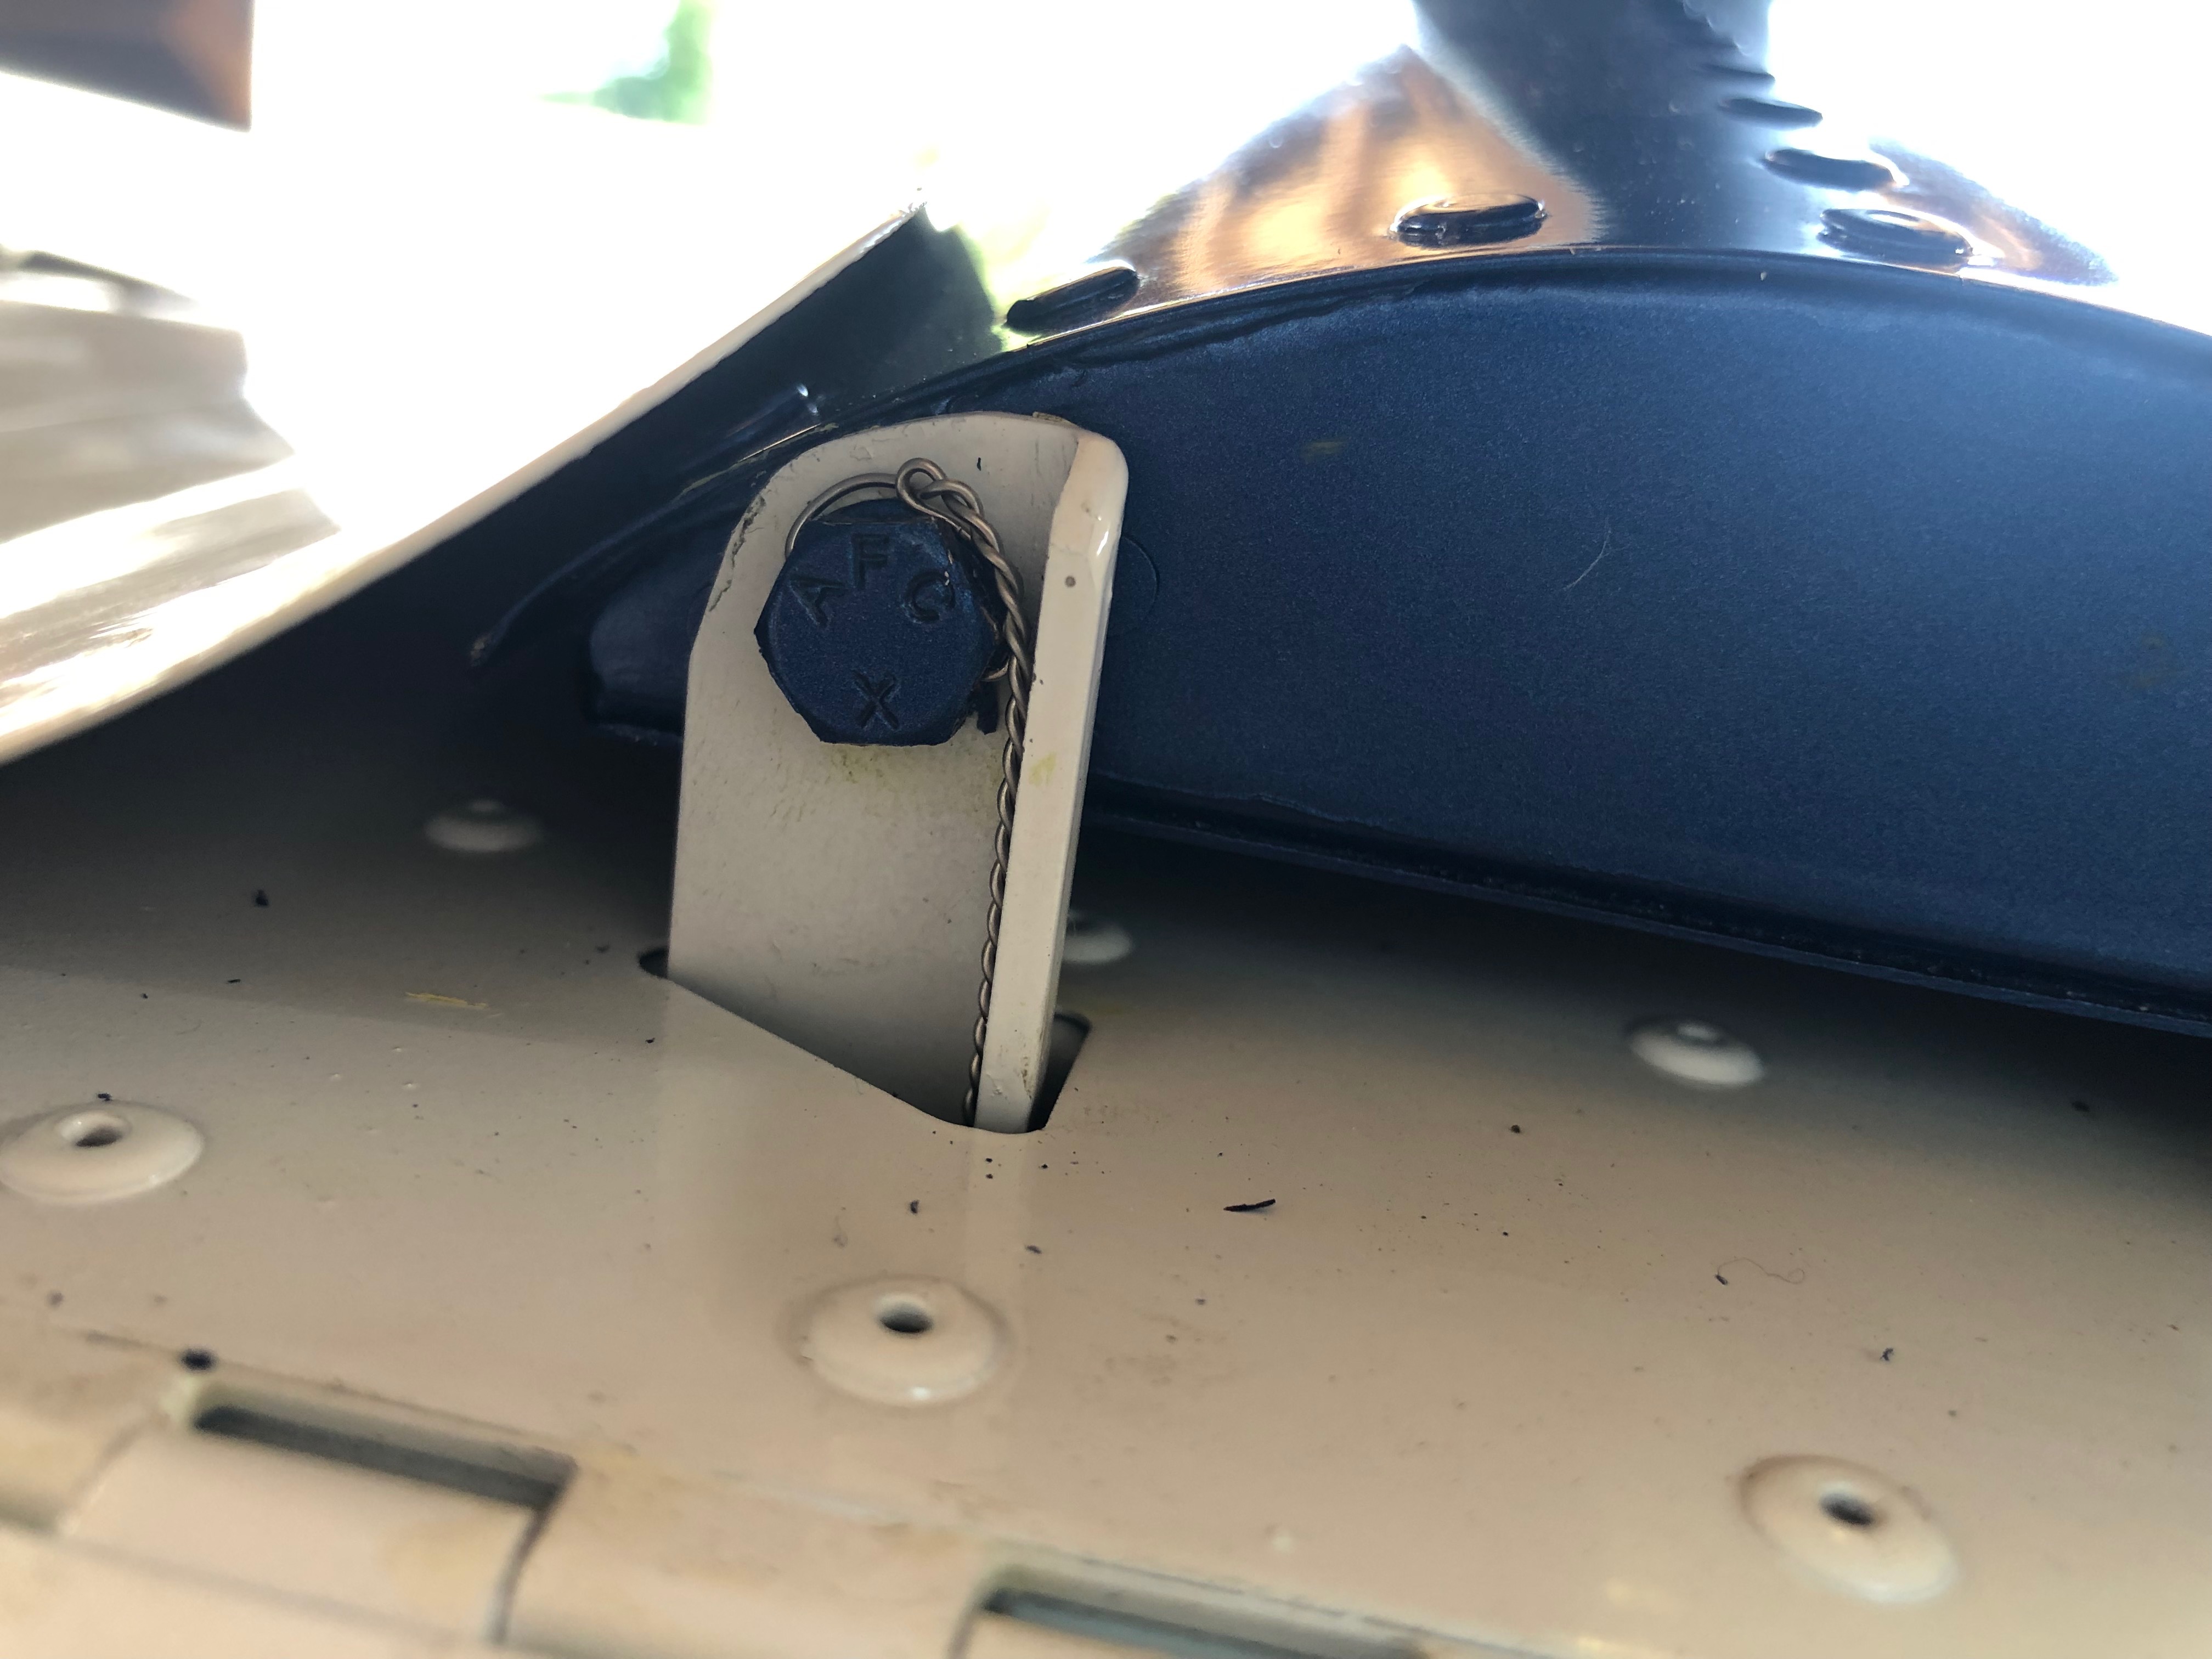
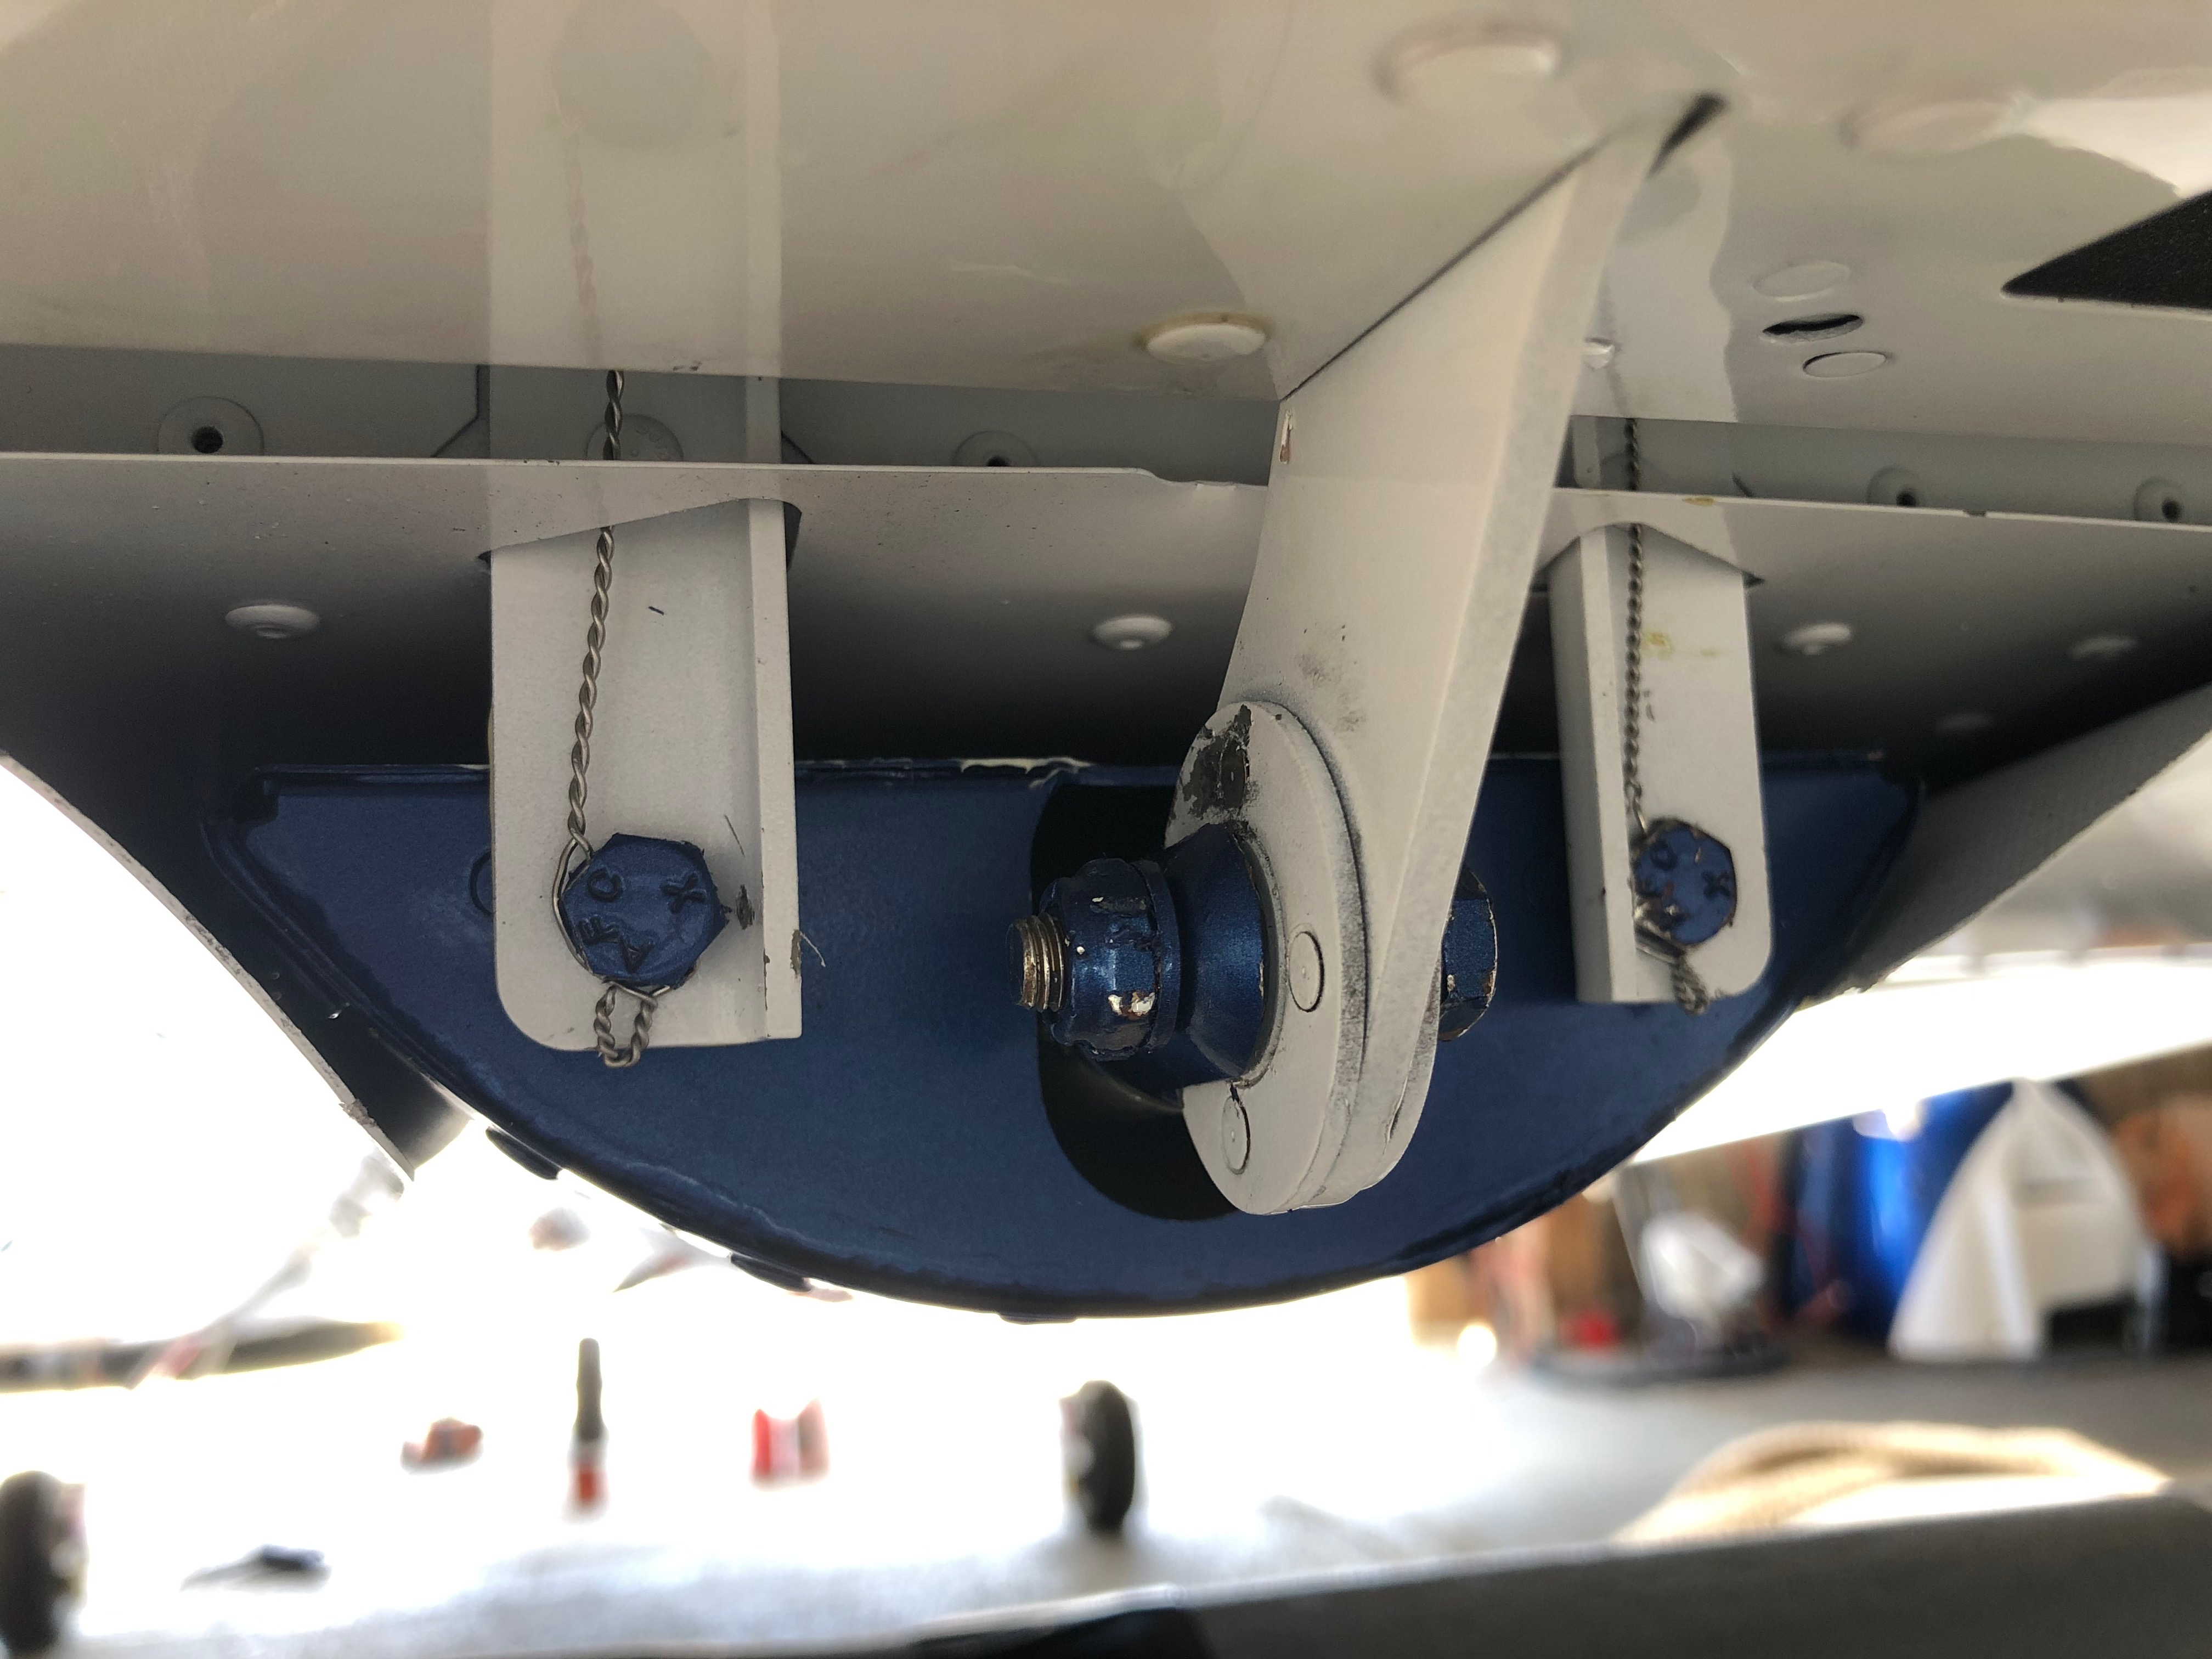
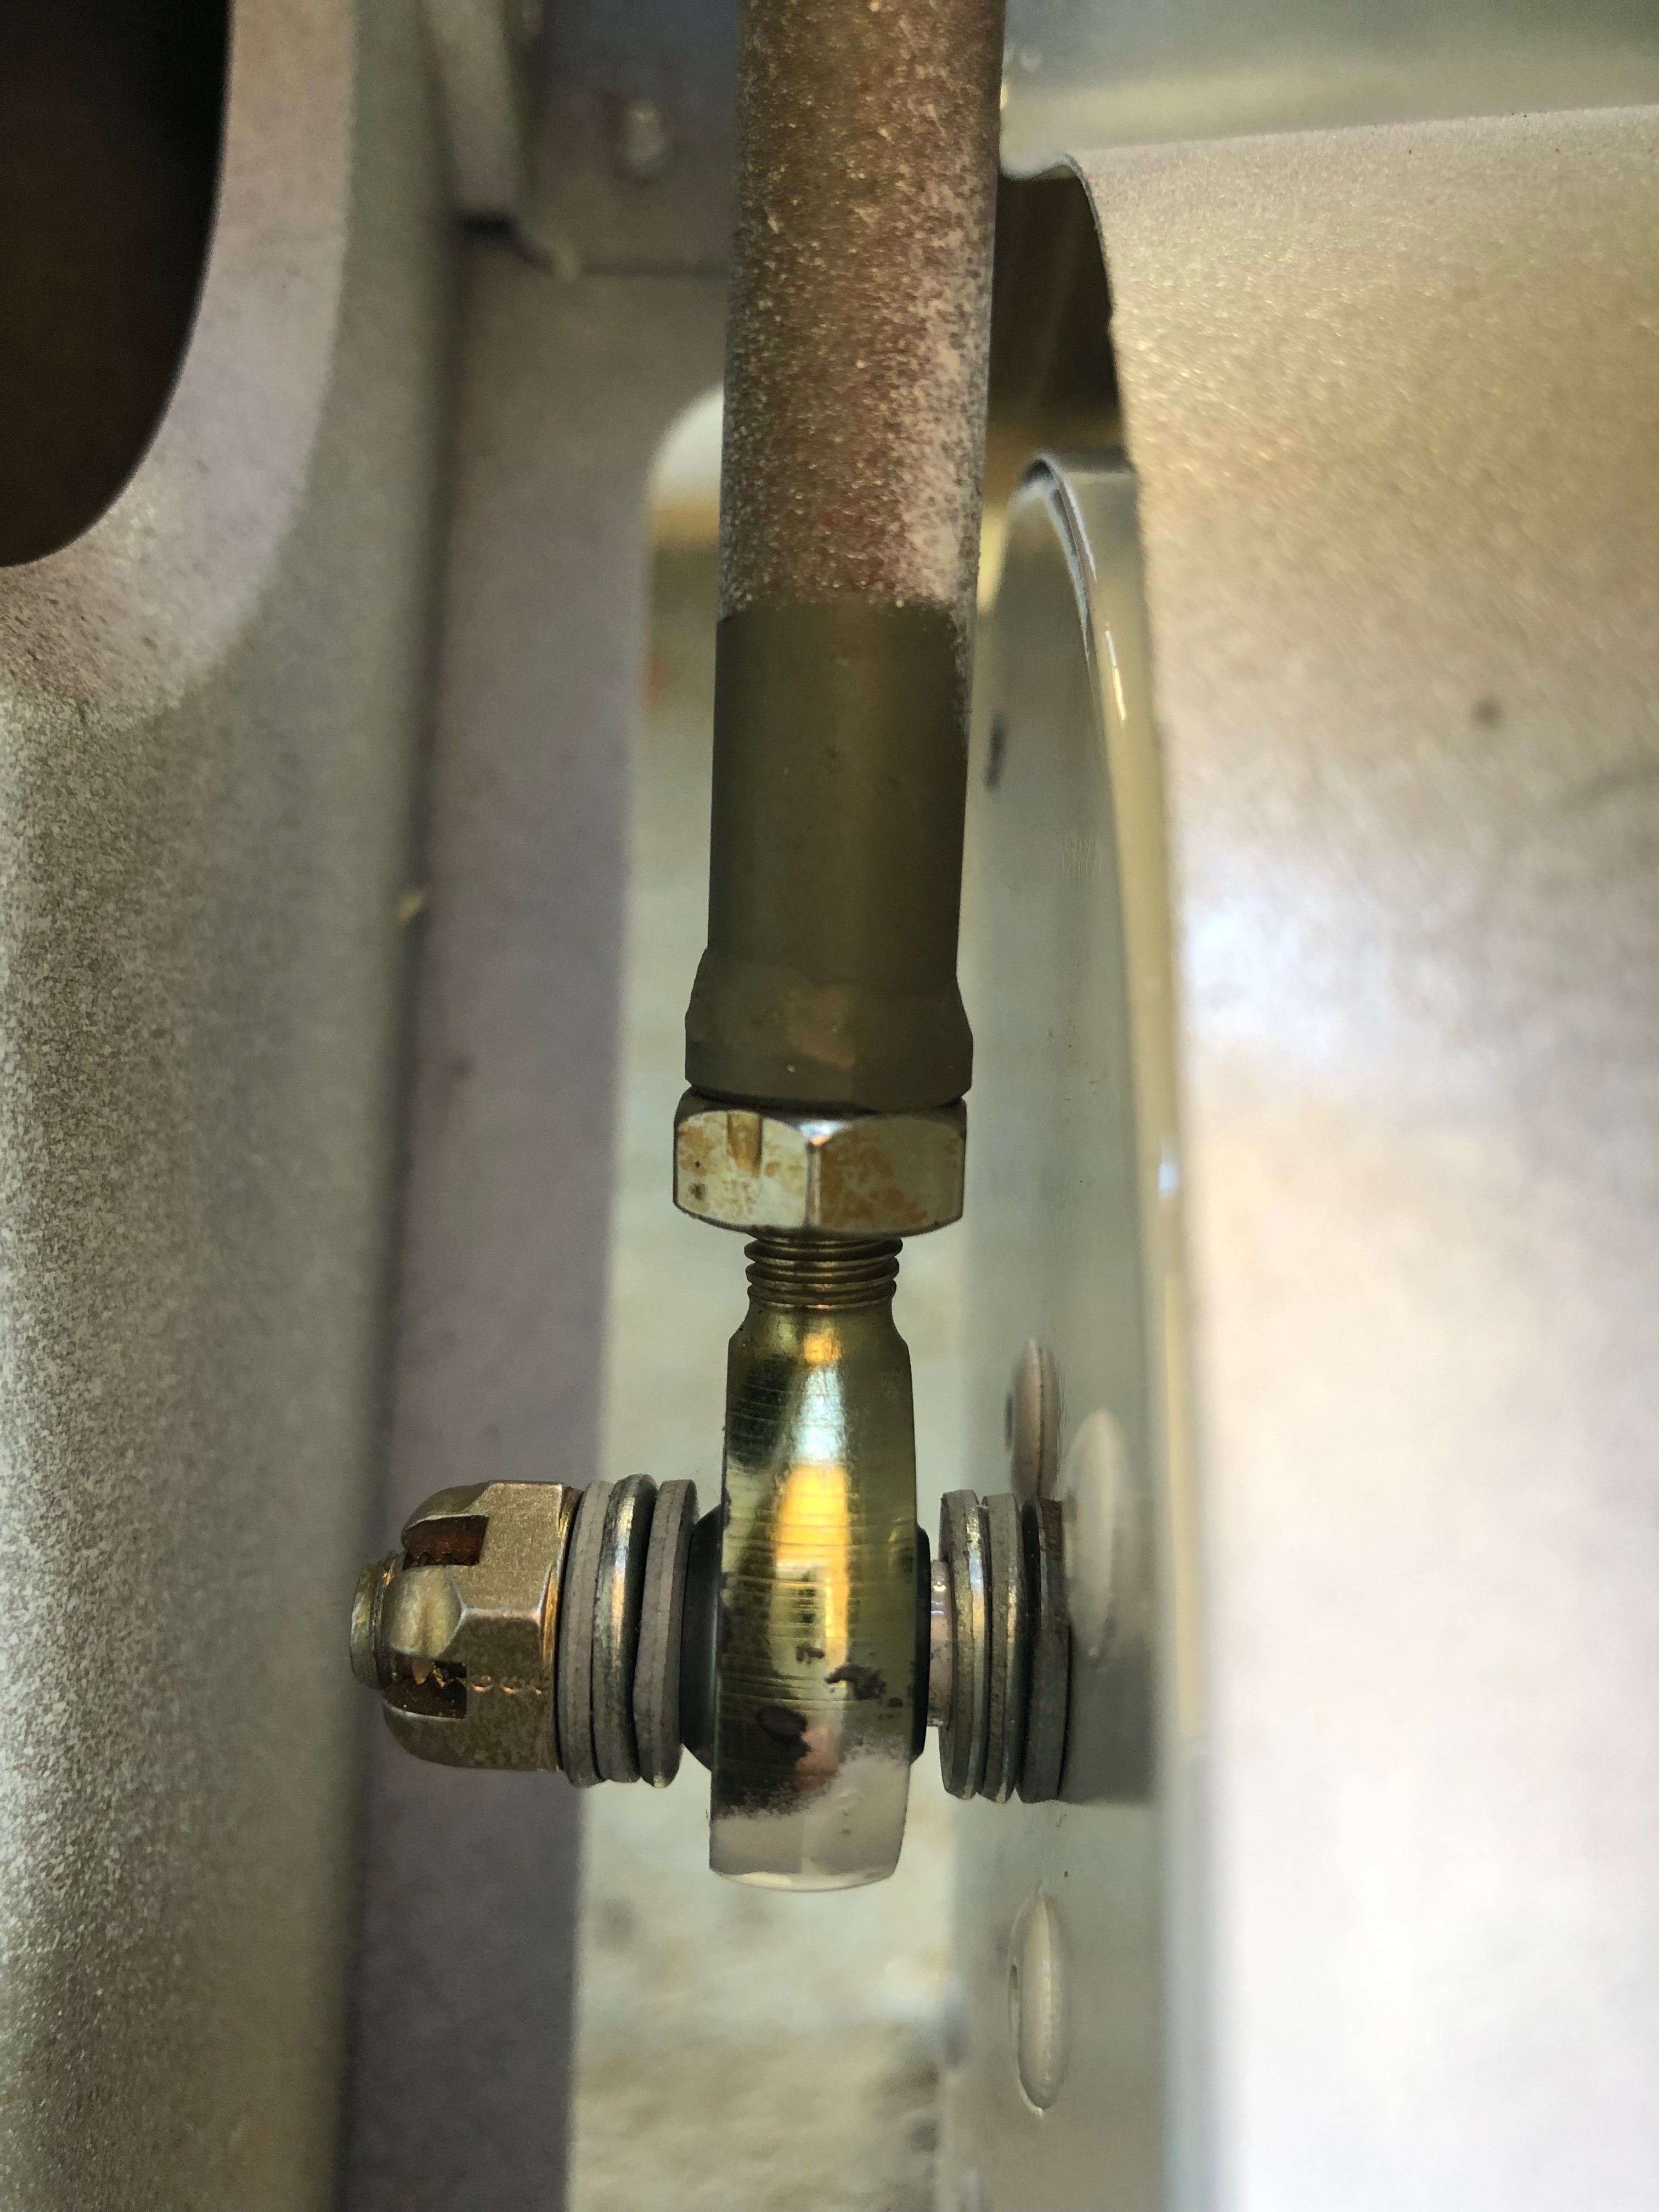
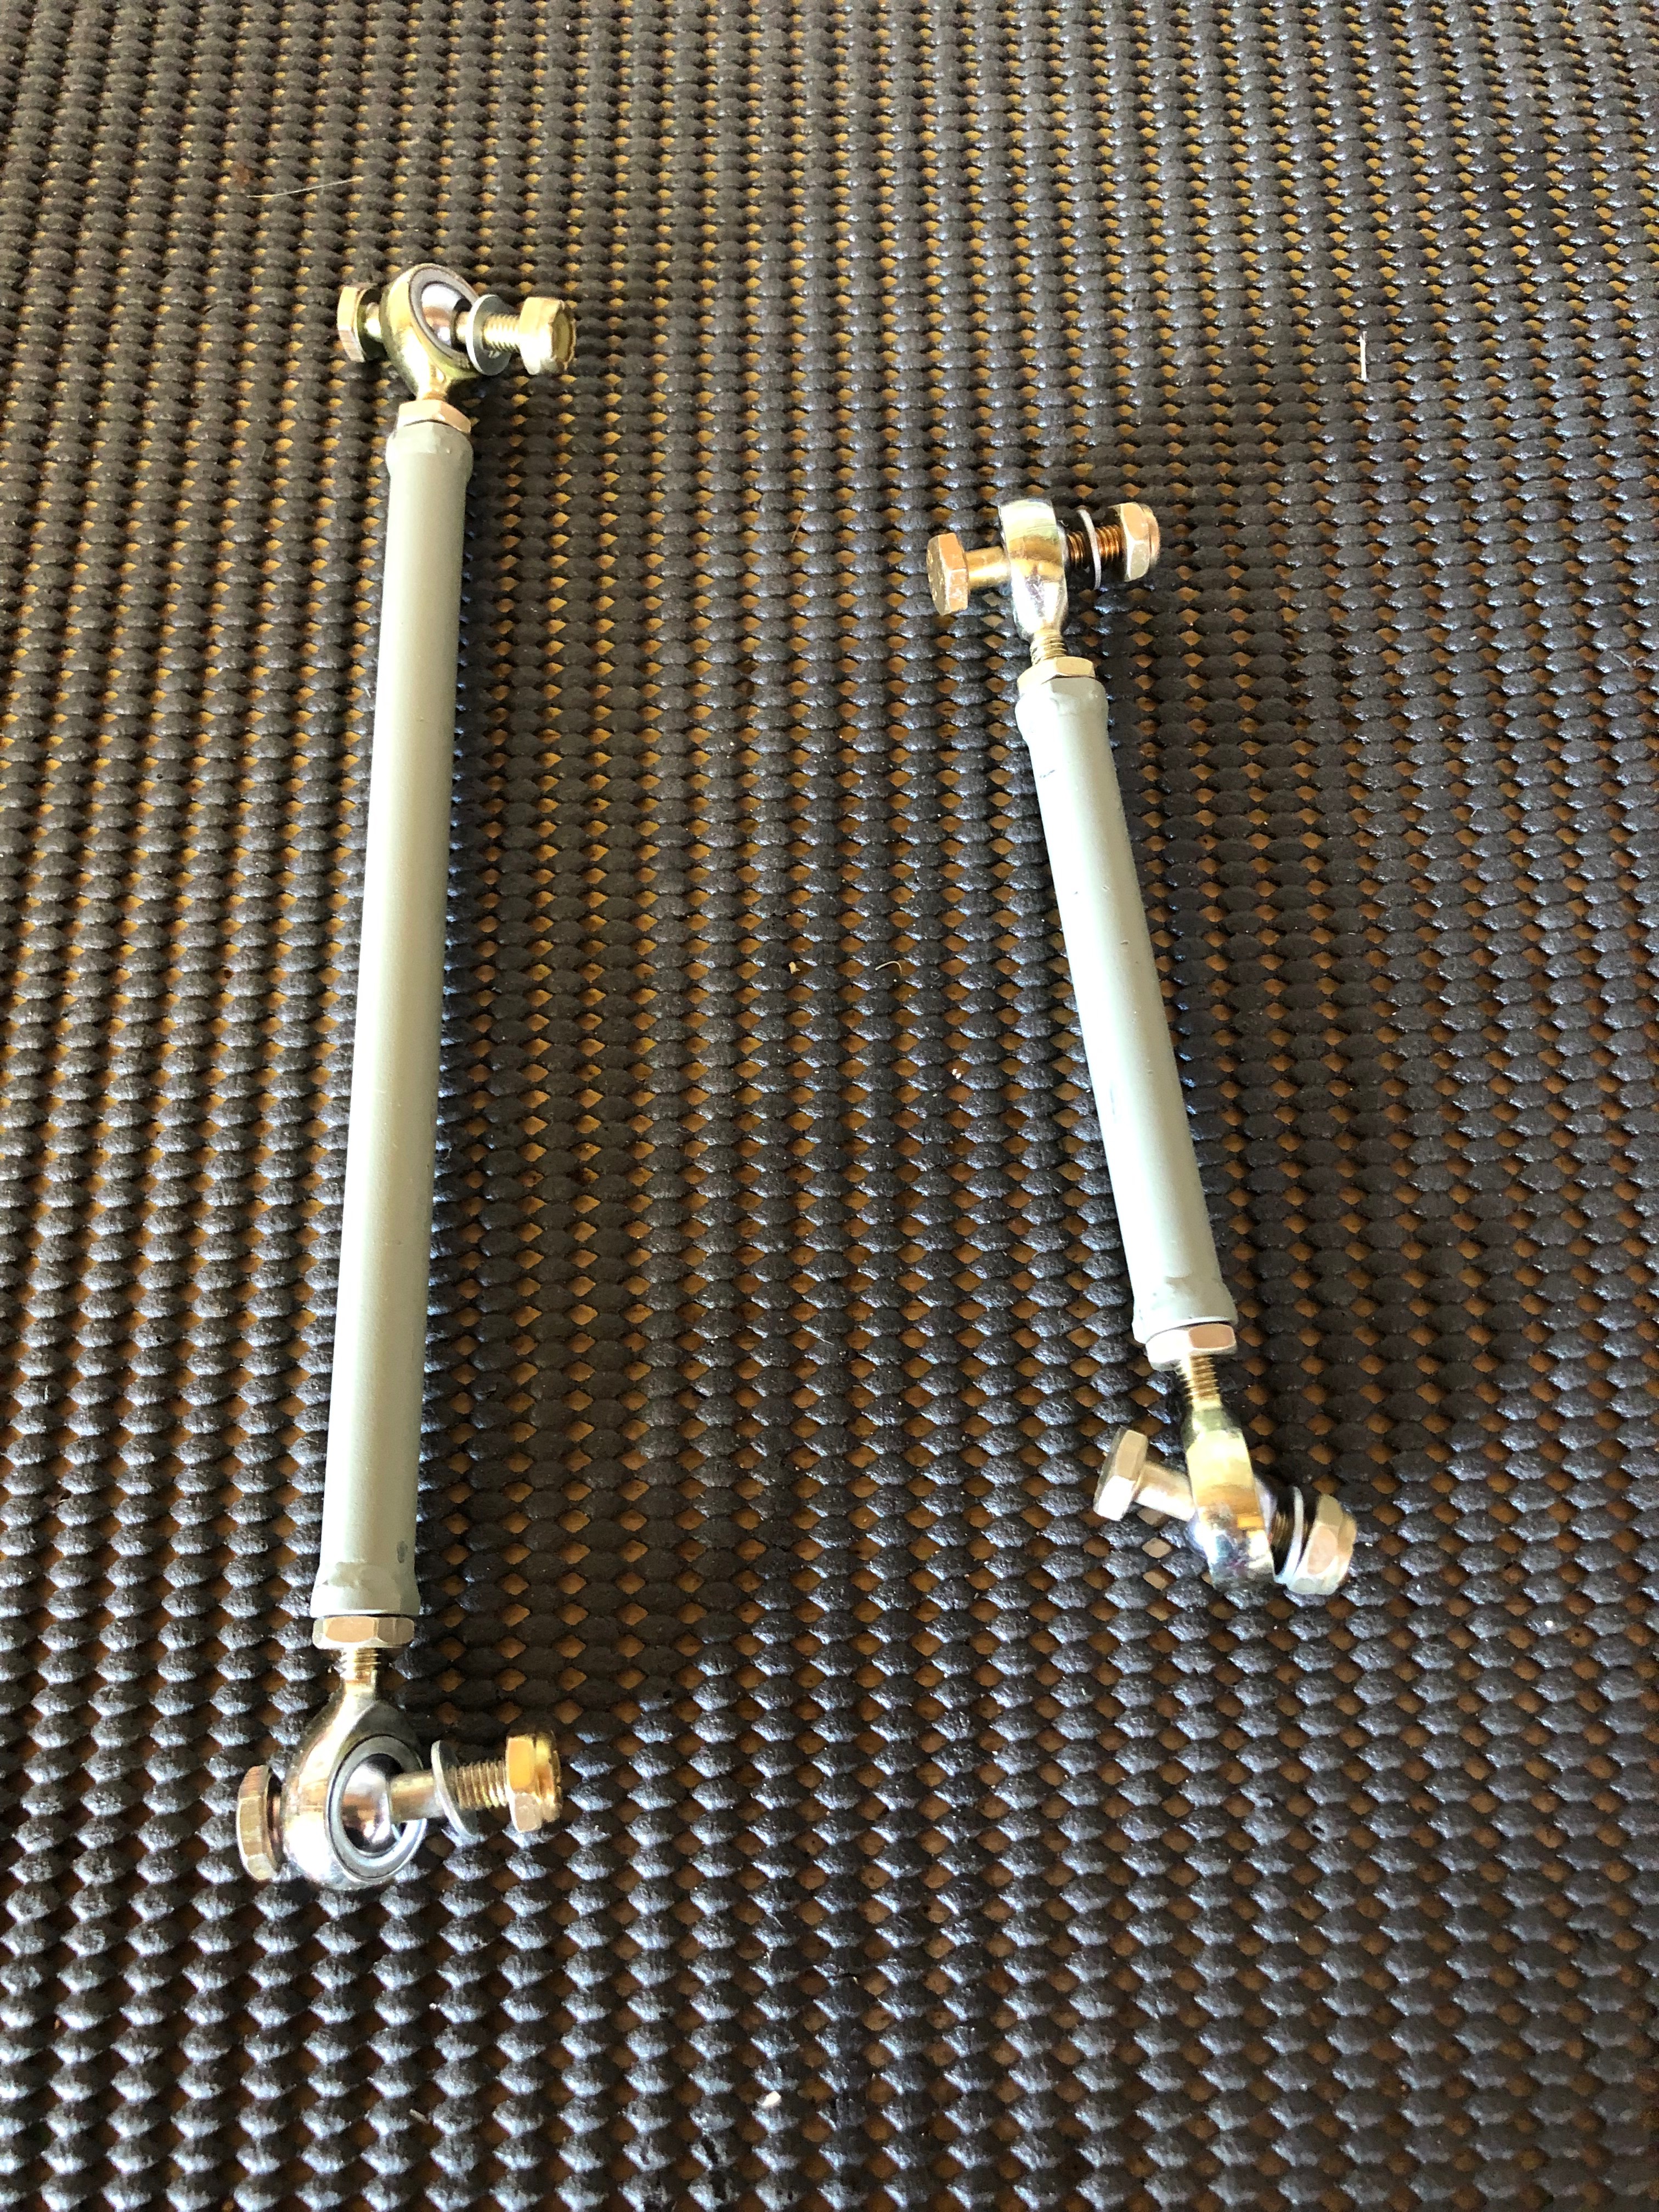
The Aileron actuator and flap hinge bolts are fitted and tightened against the bearing. They have Nyloc nuts to prevent them becoming loose.
A check for free movement after tightening is made.
To check any movement I’ve run some torque seal over the nut and threads. If the torque seal cracks it indicates movement and will need to be checked.
The hinge is lubricated with white lithium grease.
Once completed, the exact same work is carried out on other wing.
The elevator hinge is also a piano hinge so will need to have the same work carried out as the ailerons. The trim tab is already fitted and the hinge is secure when manufactured.
There’s two pieces of wire in the elevator which needs to be adjusted and secured at both ends and lubricated with white lithium grease.
I decided to change the landing light retaining screws to black cap head screws which I think look better.
Following the build of my Bristell NG5 Kit No. 382 Registration G-MLSY